> ## Documentation Index
> Fetch the complete documentation index at: https://docs.rocket.new/llms.txt
> Use this file to discover all available pages before exploring further.
# Calendly
> Connect Calendly to Rocket and embed booking widgets, demo schedulers, and team scheduling flows - all wired up from chat.
export const LlmsDirective = () =>
For the complete documentation index, see llms.txt.
For a lightweight markdown version of this page, append .md to the URL.
;
Describe the scheduling flow you need in chat and Rocket generates the embedded scheduler, confirmation pages, and notification flows automatically.
This connector is only available for **Next.js TypeScript** web build tasks.
## What you can do
Let visitors book a free or paid consultation directly from your website with automatic calendar sync.
Give prospects a frictionless way to schedule product demos with your sales team.
Route meetings to available team members with round-robin or collective scheduling.
Let users sign up for webinars, workshops, or group events with automatic capacity tracking.
Combine a questionnaire with appointment booking so you have context before every meeting.
## Connect Calendly
Calendly connects via OAuth, so no API key is needed.
Calendly is a **workspace-level** connector. No matter where you connect it (Settings, Connectors tab, or chat), it links to your entire Rocket workspace and is available across all tasks.
You can connect from three places. All do the same thing.
**Option 1: From chat**
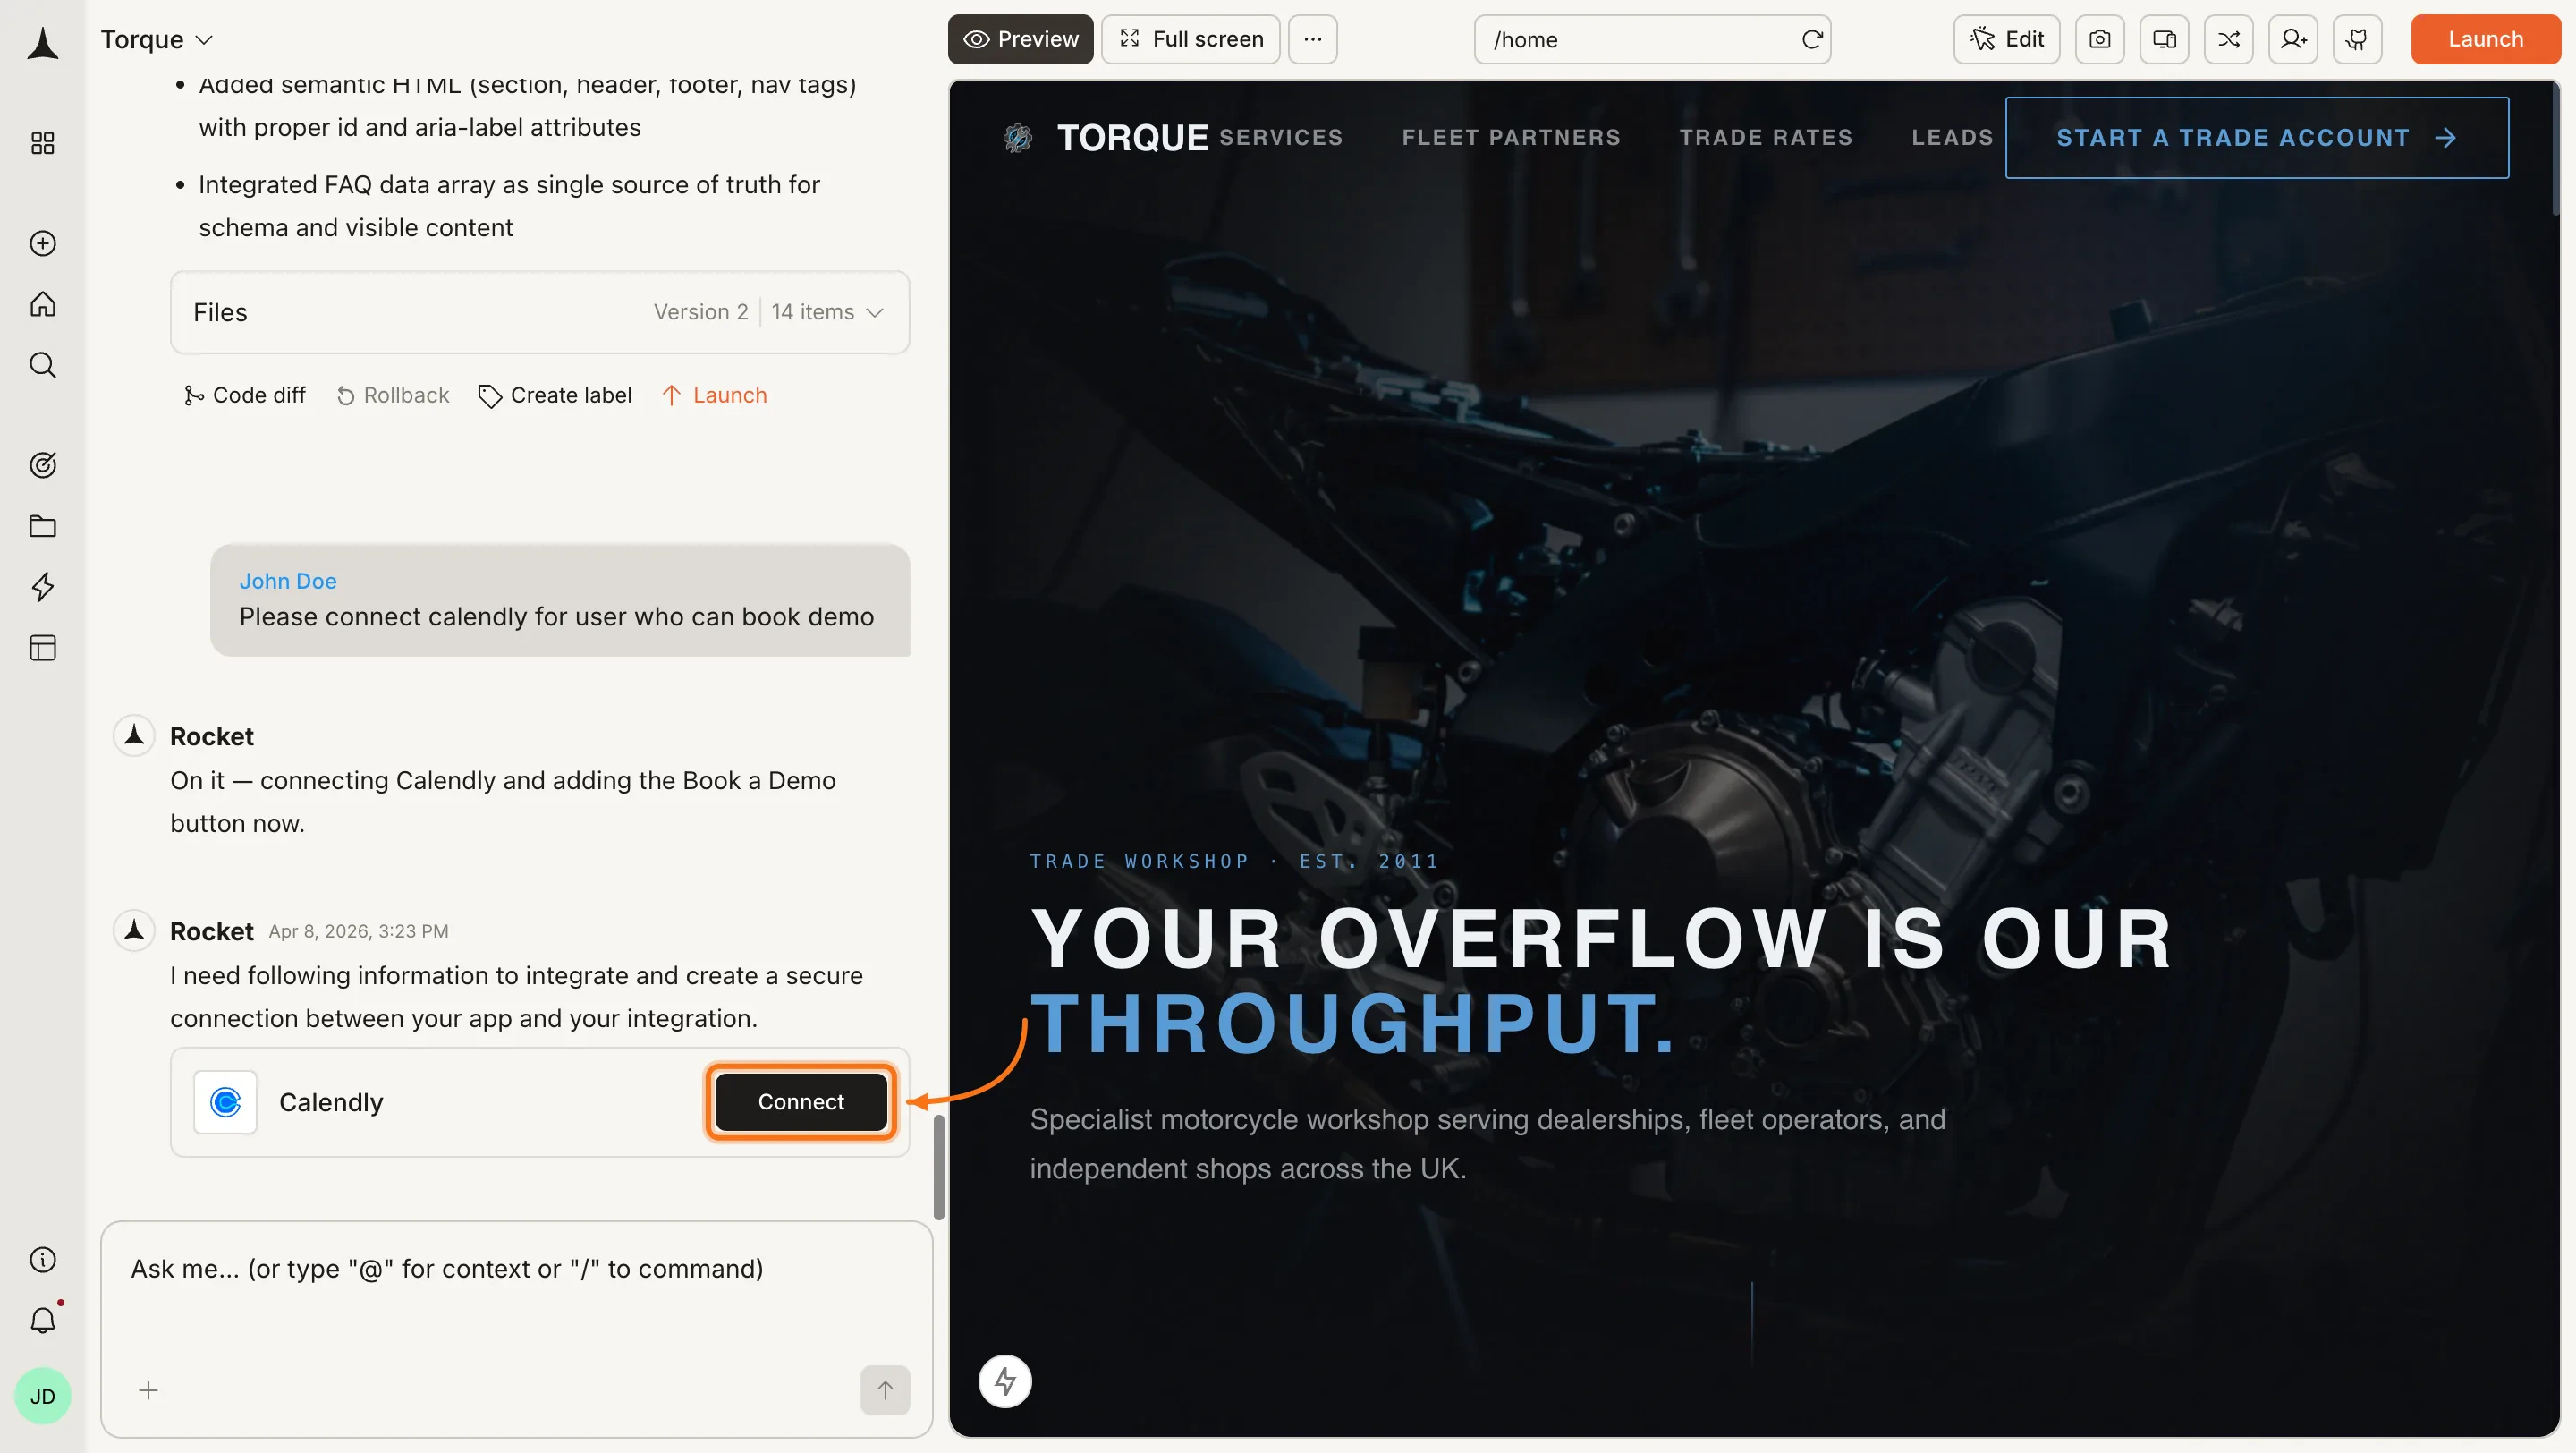
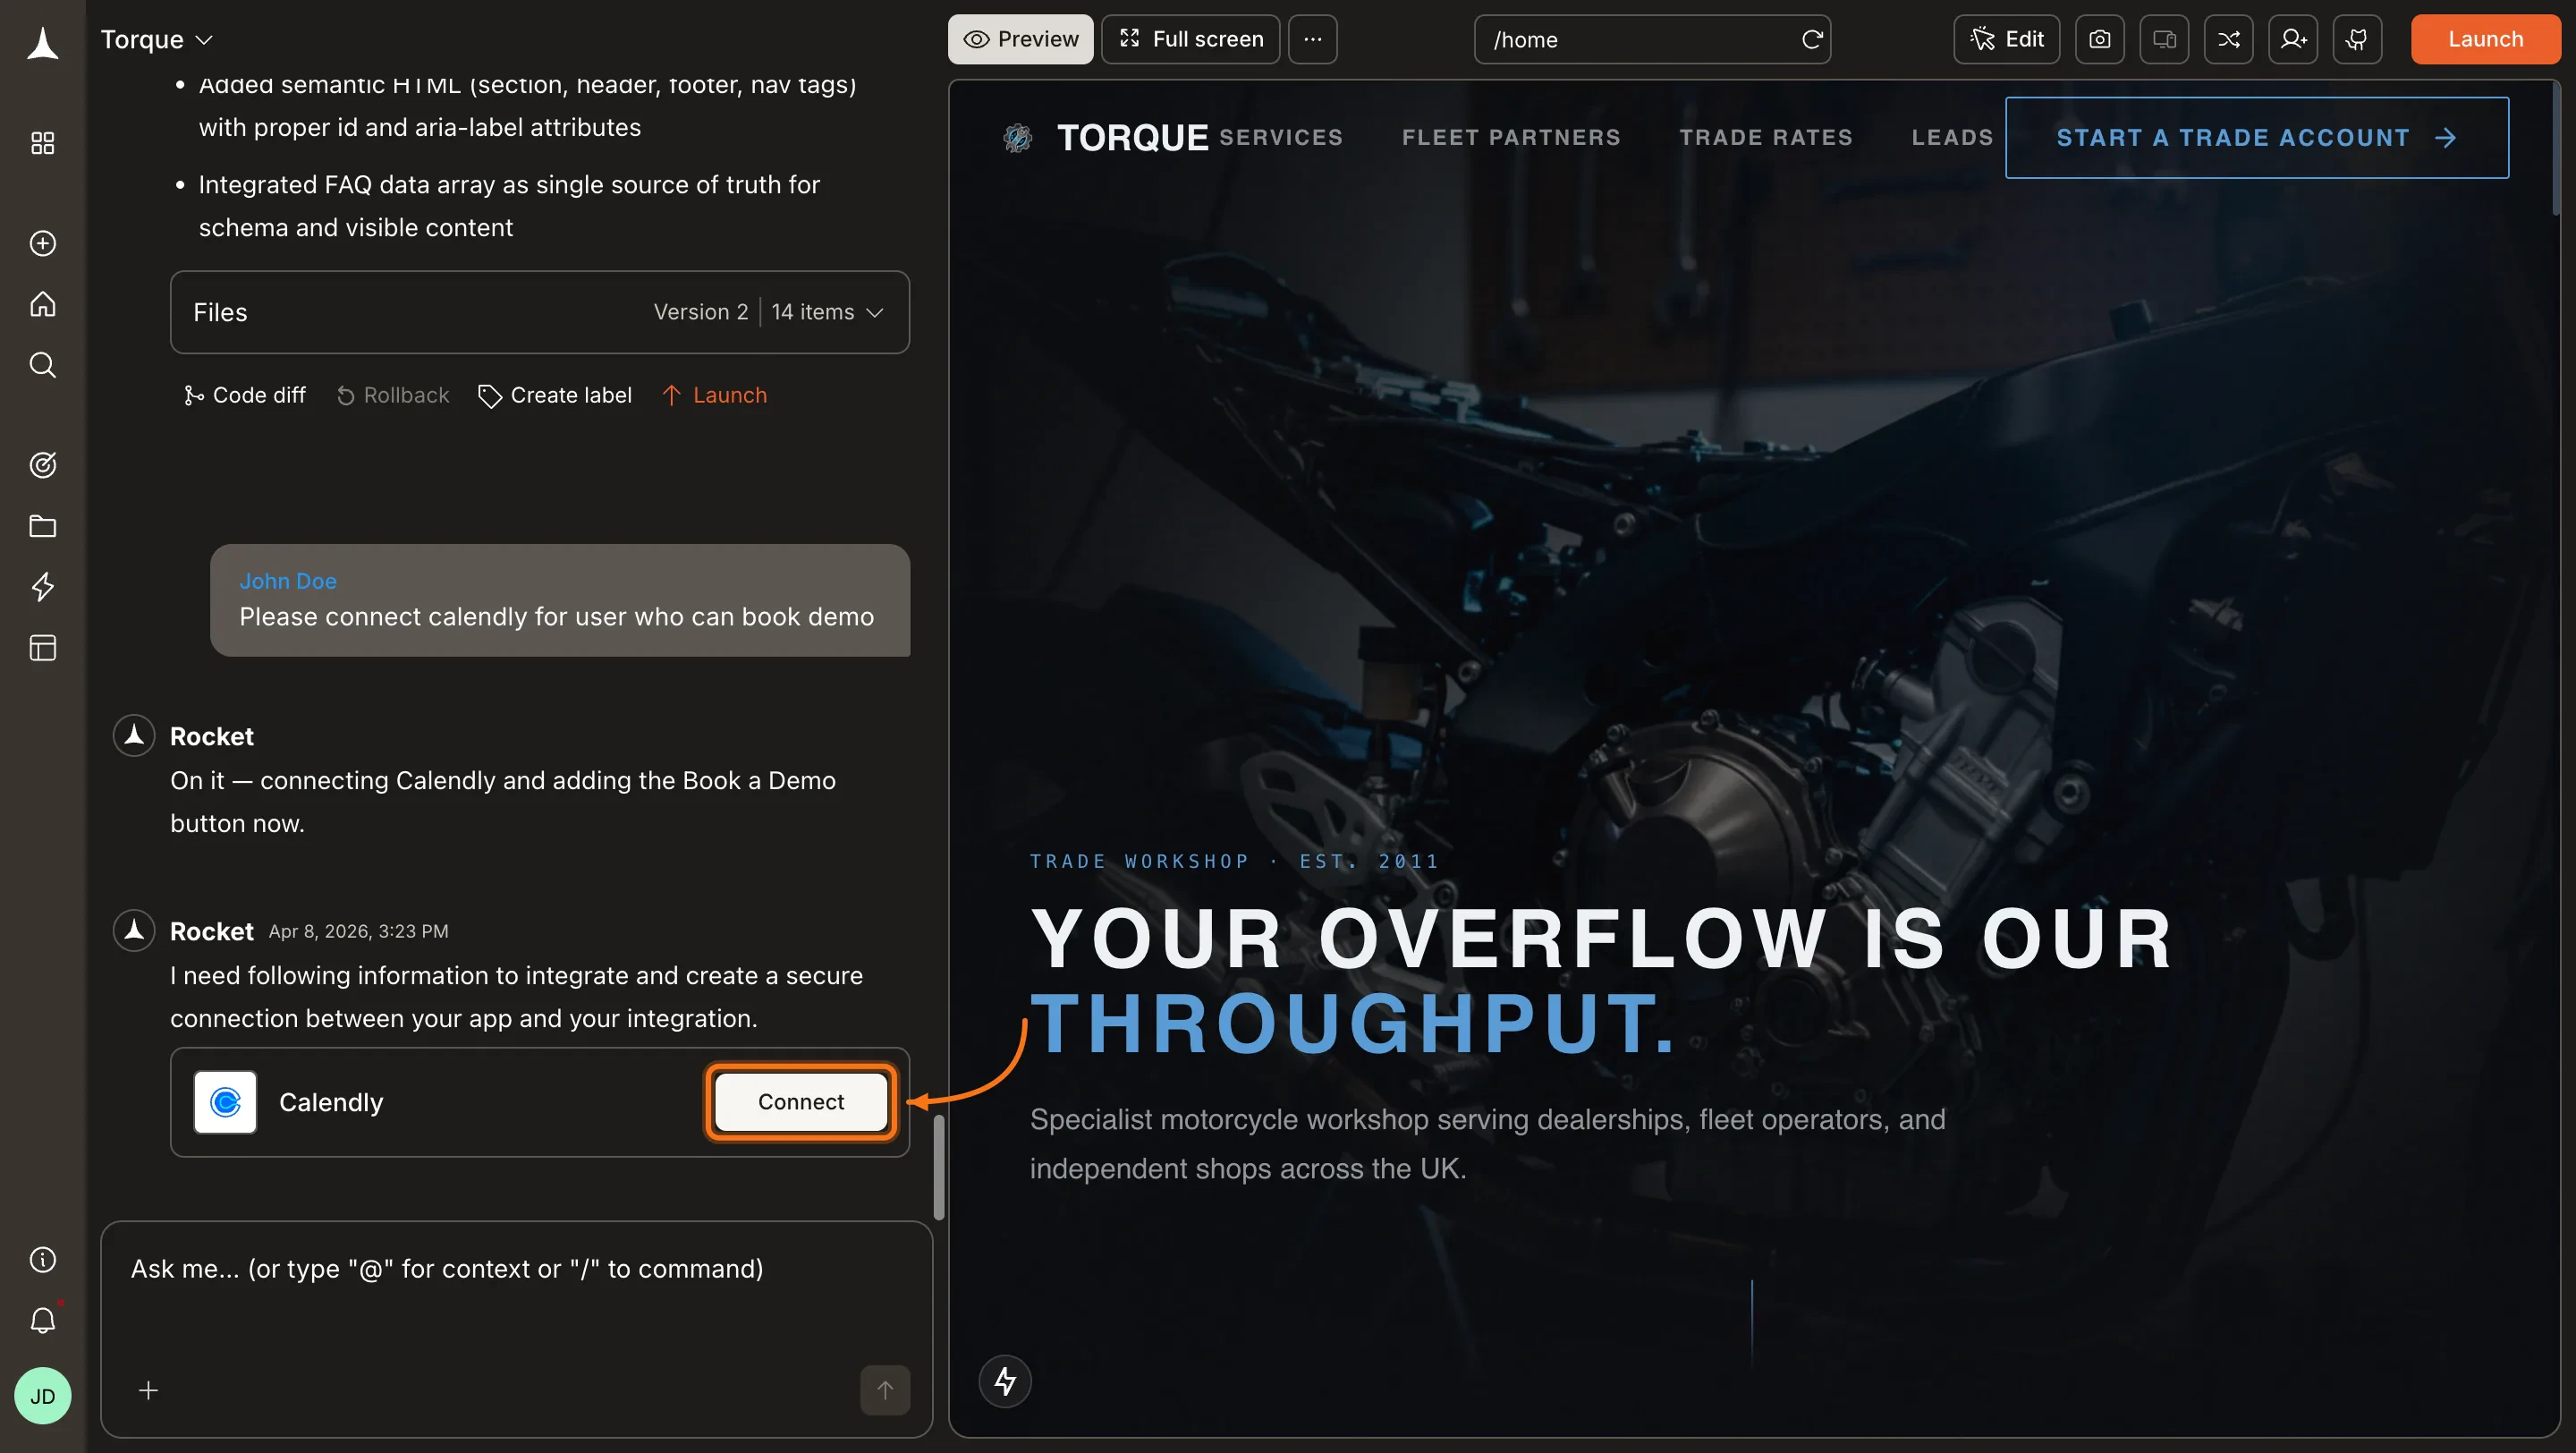
Type a prompt that mentions Calendly, for example `Connect Calendly and add a Book a Demo button to my pricing page`. Rocket detects the intent and shows a **Connect** button inline. Click it and the OAuth flow opens.
 **Option 2: From the Connectors tab**
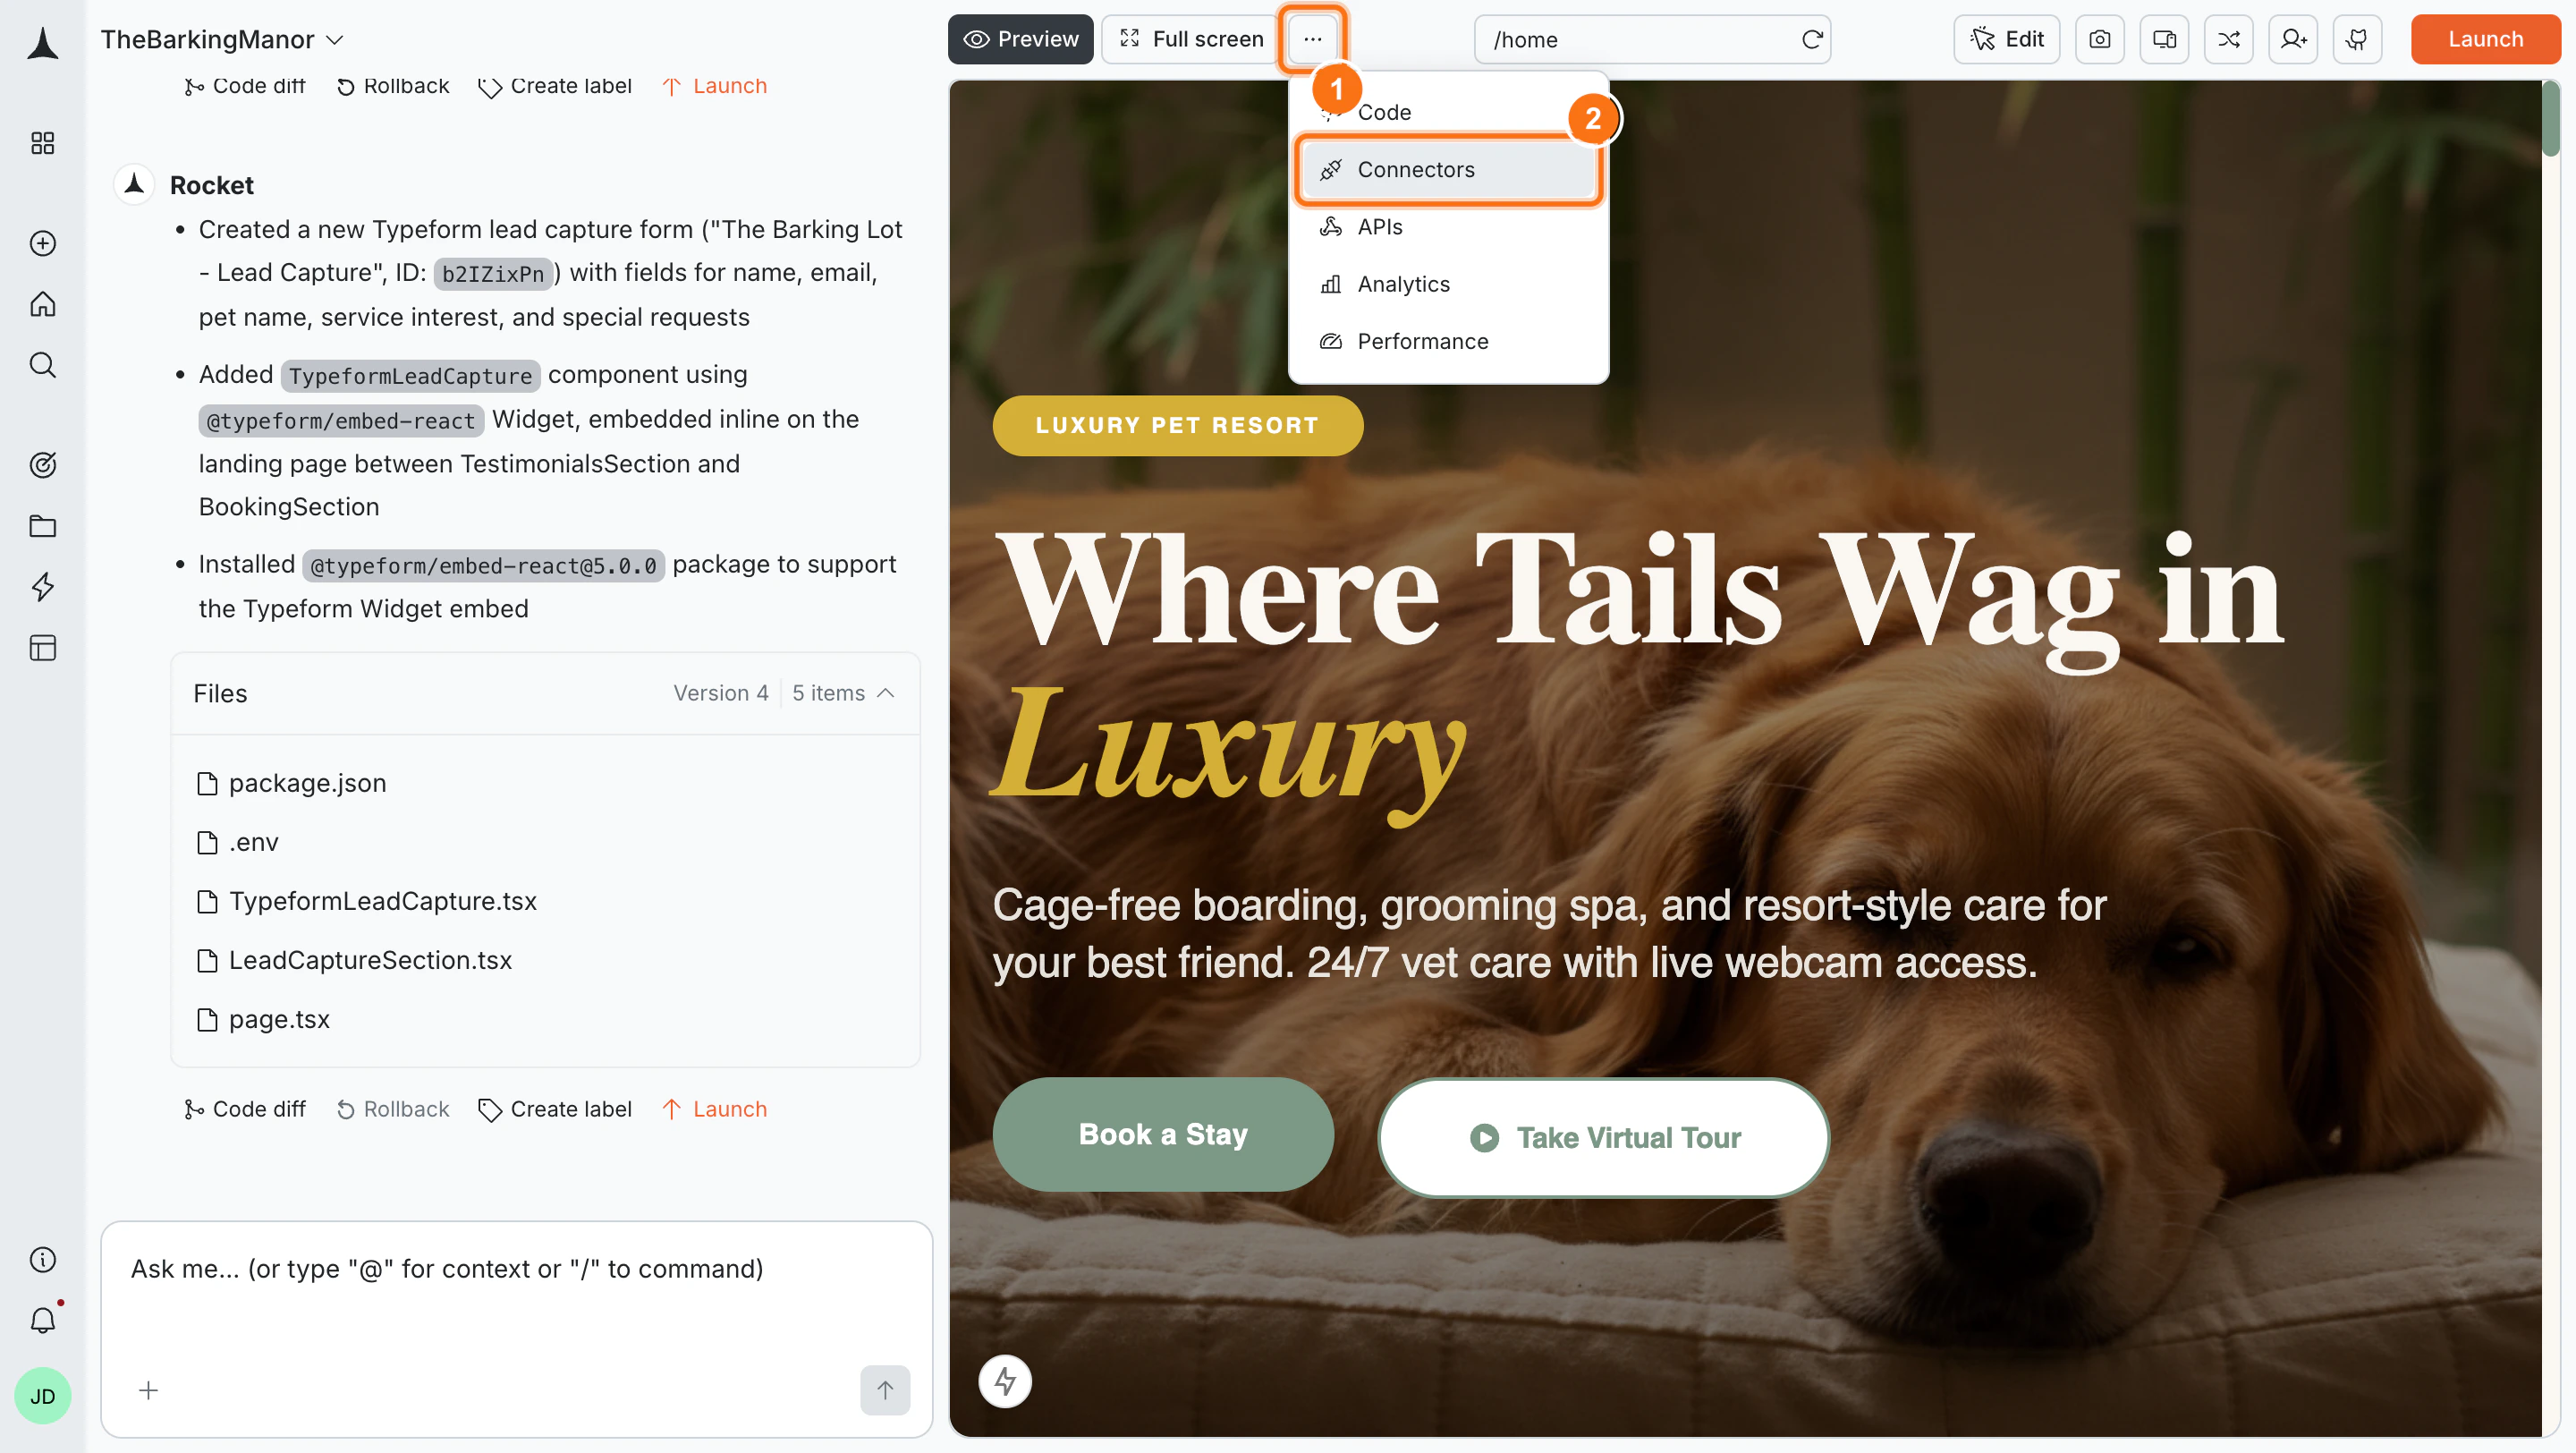
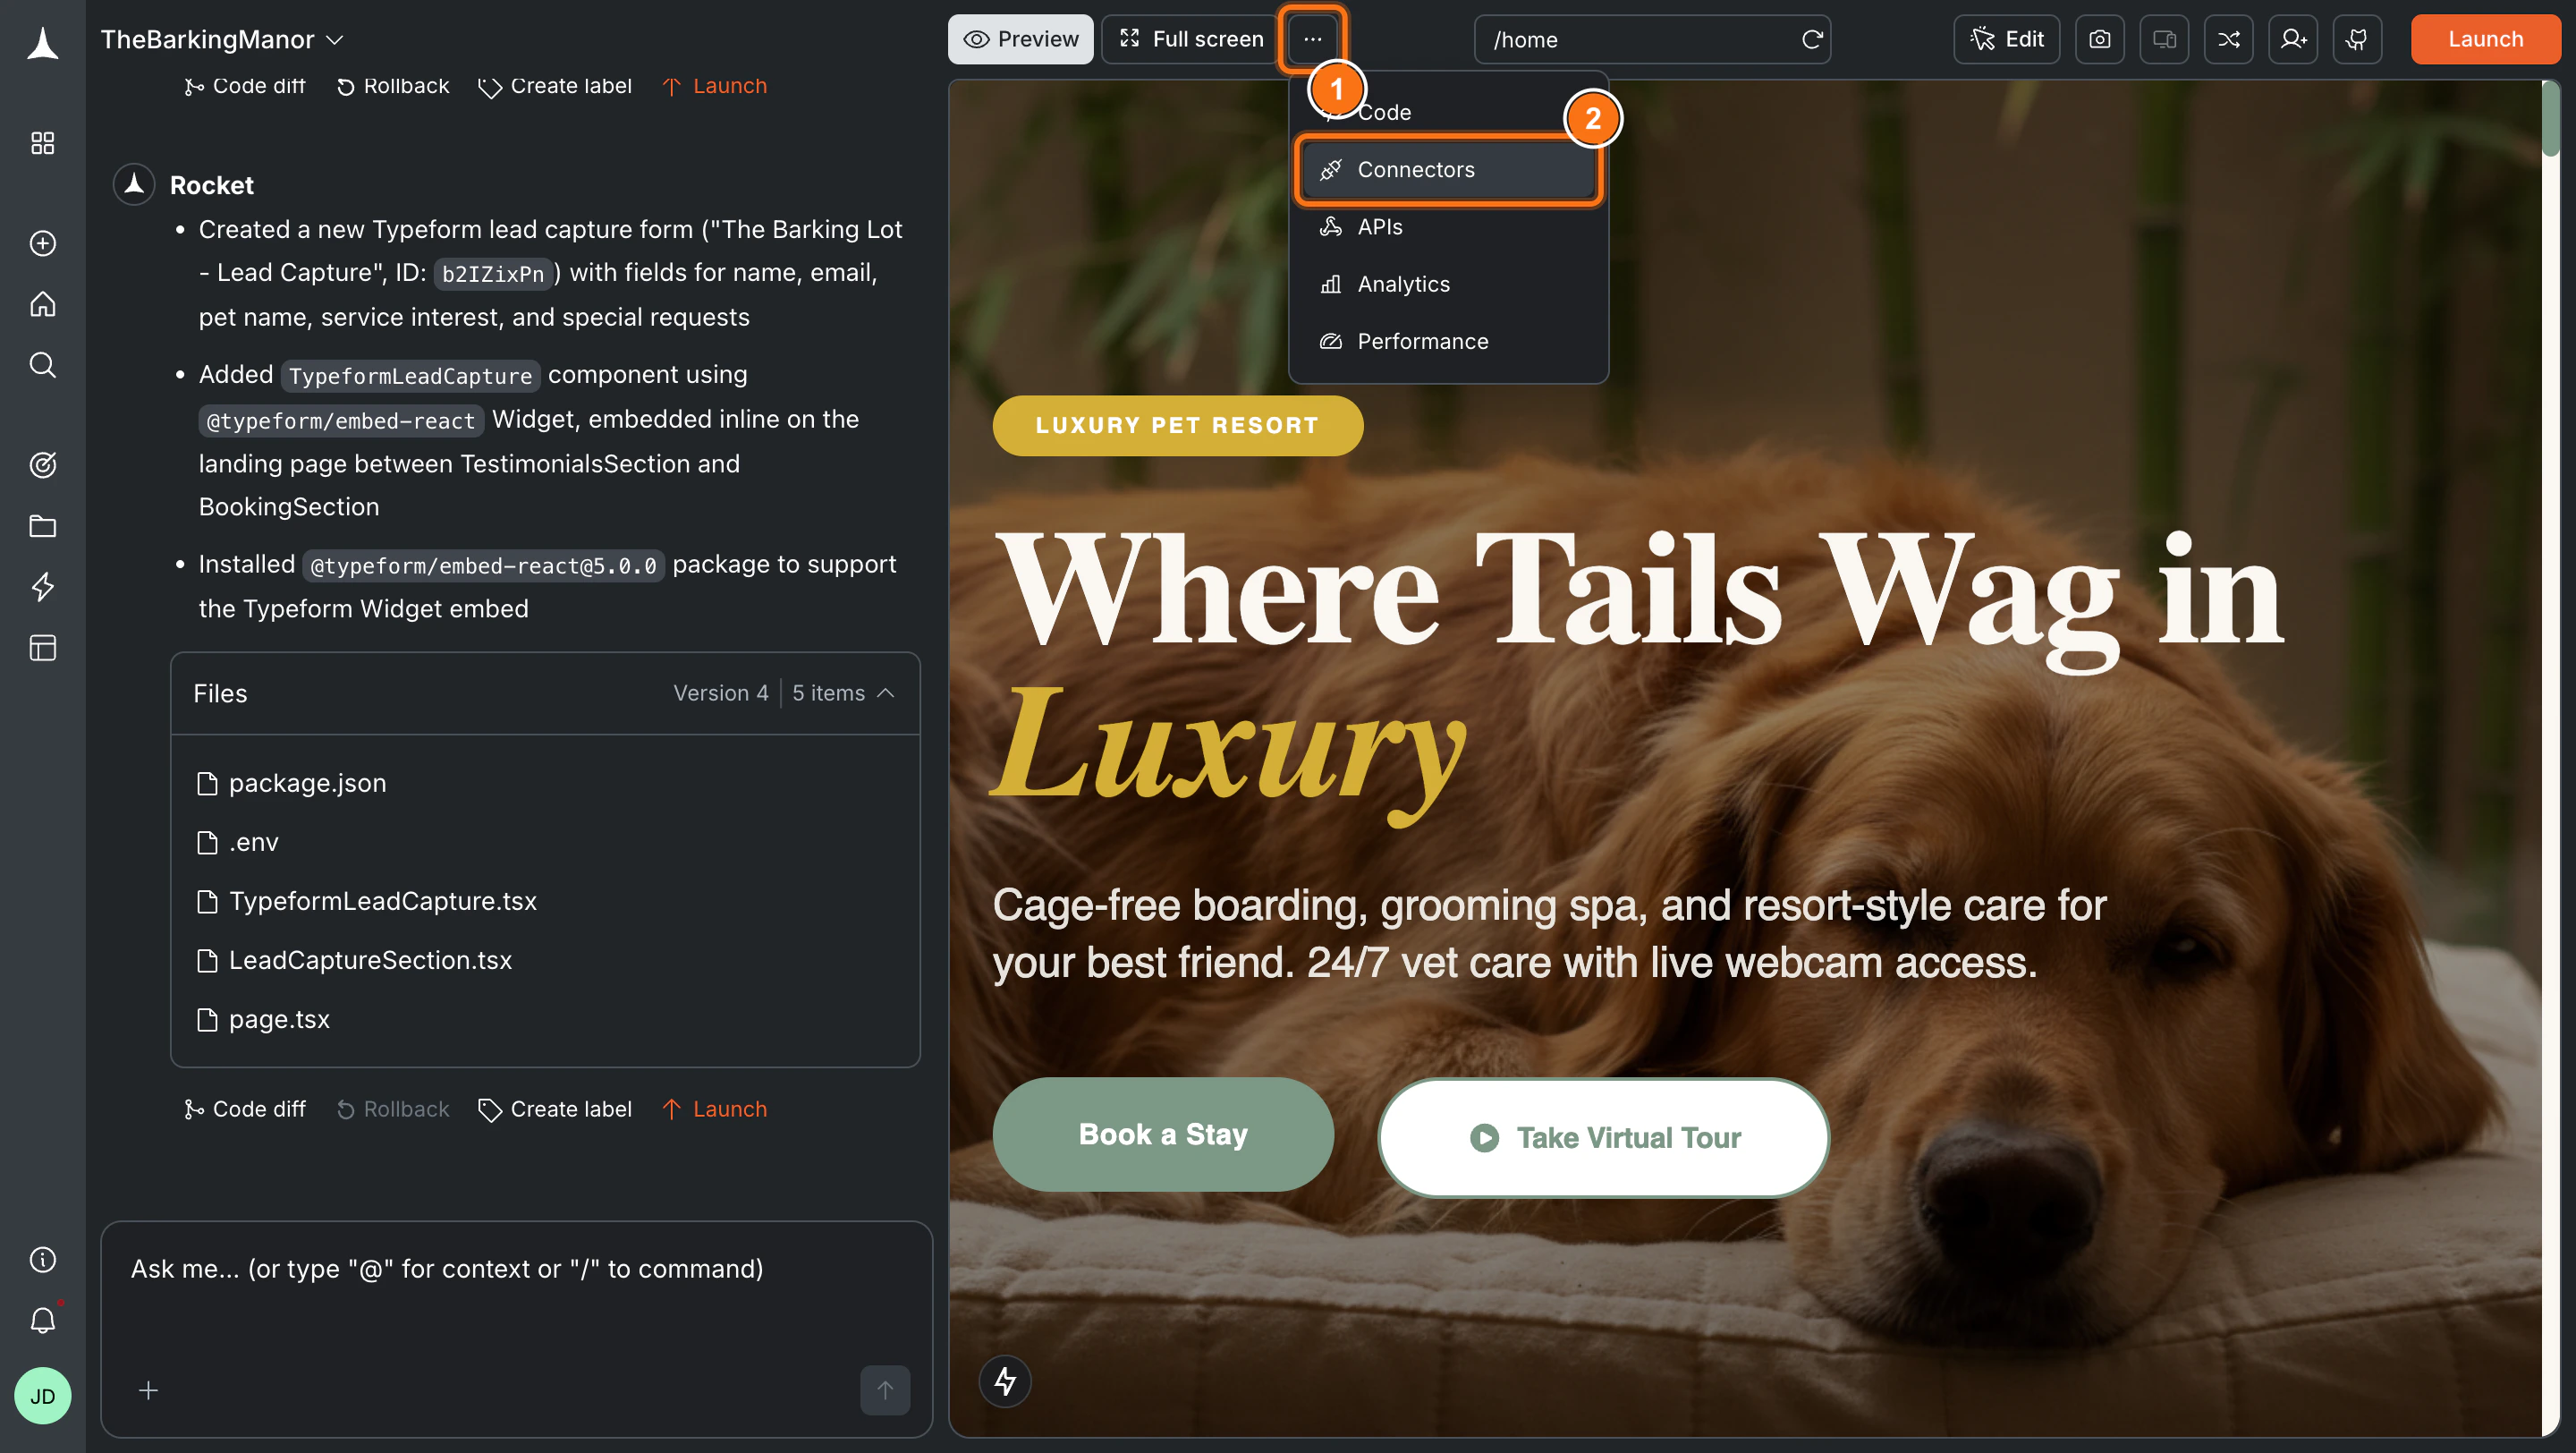
Click the **`...`** button in the preview toolbar, then select **Connectors**.
**Option 2: From the Connectors tab**
Click the **`...`** button in the preview toolbar, then select **Connectors**.
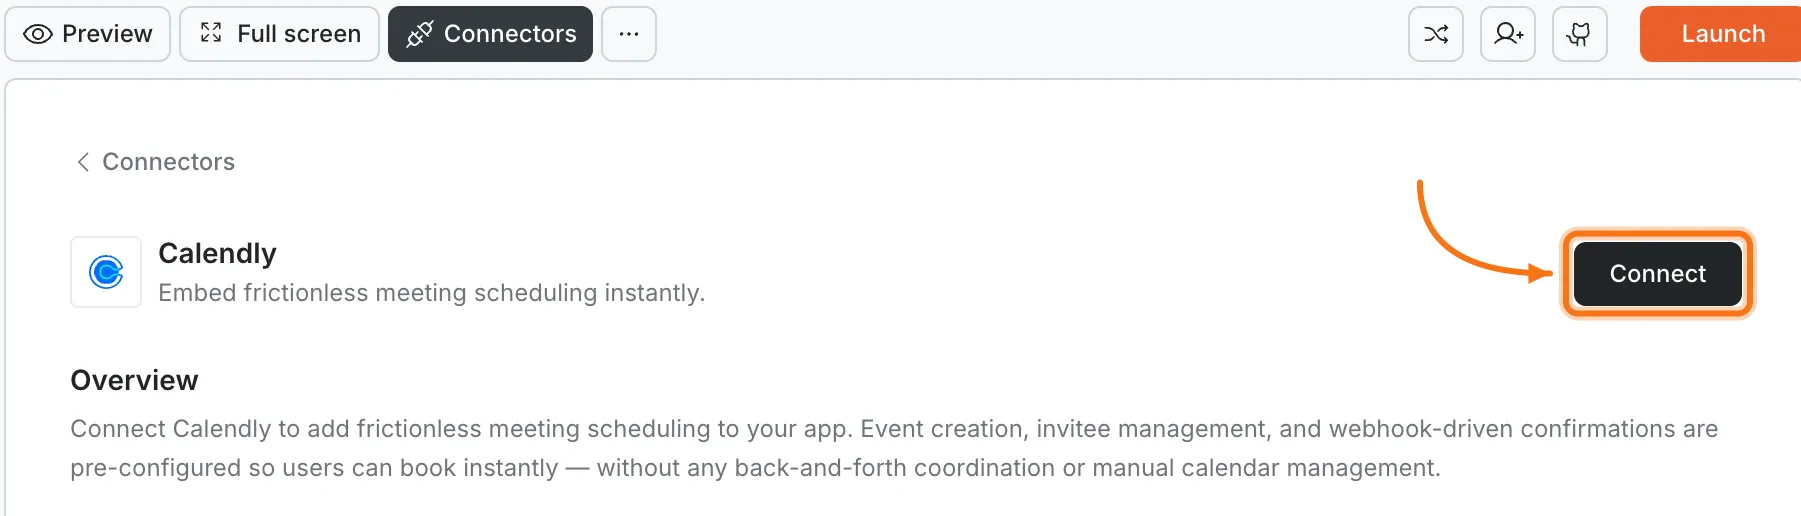
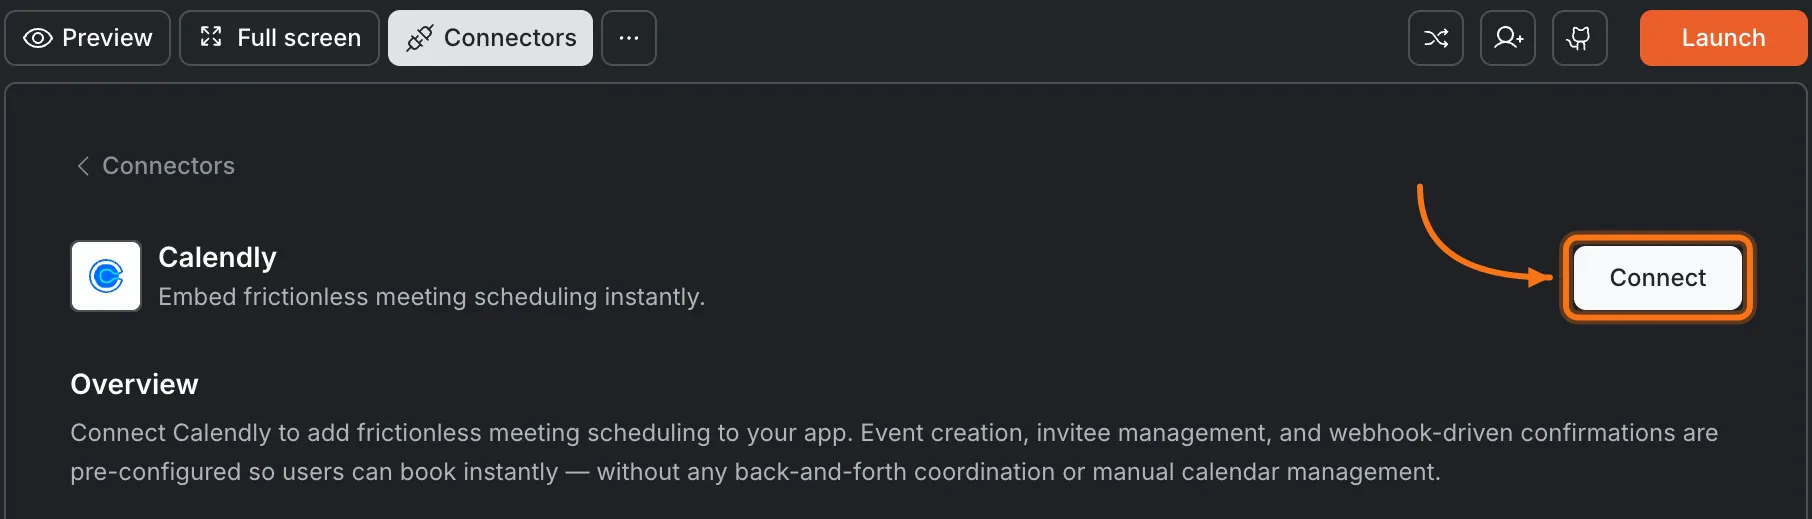
 Click the **Calendly** card, then click **Connect**.
 **Option 3: From workspace Settings**
Connect once from Settings and it is available across all tasks.
**After clicking Connect**
A Calendly authorization screen opens in your browser. Log in and grant Rocket access to your scheduling data. A green dot appears next to Calendly when the connection is active.
**Disconnect**
Disconnect or switch accounts from workspace Settings.
You can connect from three places. All do the same thing.
**Option 1: From chat**
Type a prompt that mentions Calendly. Rocket detects the intent and shows a **Connect** button inline. Tap it and the OAuth flow opens.
**Option 2: From the Connectors tab**
1. Tap the **More** button in the header.
2. Tap **Integrations**.
3. Tap the **Calendly** card, then tap **Connect**.
**Option 3: From workspace Settings**
Open your workspace, go to **Settings**, and tap **Connectors**. Tap the **Calendly** card and tap **Connect**.
**After tapping Connect**
A Calendly authorization screen opens. Log in and grant Rocket access to your scheduling data. A green dot appears next to Calendly when the connection is active.
**Disconnect**
Go back to the **Calendly** card in Integrations. Tap **Disconnect** to remove the integration.
## Example prompts
| What you want | Prompt to use |
| :------------------- | :----------------------------------------------------------------------------------------- |
| Consultation page | `Embed a Calendly widget on my /book page for 30-minute consultations.` |
| Sales demo | `Add a Book a Demo button on my pricing page that opens a Calendly popup.` |
| Onboarding call | `Add a Calendly booking step after a user signs up for a 15-minute onboarding call.` |
| Team scheduling | `Create a team booking page where clients are matched with an available rep.` |
| Webinar registration | `Build an event page for my weekly webinar with Calendly registration.` |
| Paid consultation | `Embed a Calendly booking widget and charge $50 per session via Stripe before confirming.` |
| Intake plus booking | `Create a two-step flow: intake form first, then Calendly time picker on step two.` |
| Office hours | `Add a Calendly embed for weekly office hours on my /support page.` |
| Reminder email | `Send a custom reminder email via Resend 24 hours before each Calendly appointment.` |
| Post-meeting survey | `After a Calendly meeting ends, email the attendee a Typeform feedback survey.` |
## Tips
* **Calendar sync is automatic.** Calendly syncs with Google Calendar, Outlook, and iCloud. Availability updates in real time.
* **Embedding options.** Rocket can embed Calendly as an inline widget, popup, or full-page view. Describe the style you want in chat.
* **Free plan limits.** Calendly's free tier supports one event type. Upgrade for team scheduling, round-robin, and multiple event types.
* **Webhooks for custom flows.** Calendly sends webhook events when meetings are booked or canceled. Use these to trigger Supabase inserts or email notifications through Rocket.
* **One Calendly account per workspace.** All tasks share the same connected account.
## What's next?
Store booking records in a database for reporting and in-app display.
Send custom confirmation and reminder emails for each booking.
Charge for consultations or demos by combining Calendly with Stripe checkout.
**Option 3: From workspace Settings**
Connect once from Settings and it is available across all tasks.
**After clicking Connect**
A Calendly authorization screen opens in your browser. Log in and grant Rocket access to your scheduling data. A green dot appears next to Calendly when the connection is active.
**Disconnect**
Disconnect or switch accounts from workspace Settings.
You can connect from three places. All do the same thing.
**Option 1: From chat**
Type a prompt that mentions Calendly. Rocket detects the intent and shows a **Connect** button inline. Tap it and the OAuth flow opens.
**Option 2: From the Connectors tab**
1. Tap the **More** button in the header.
2. Tap **Integrations**.
3. Tap the **Calendly** card, then tap **Connect**.
**Option 3: From workspace Settings**
Open your workspace, go to **Settings**, and tap **Connectors**. Tap the **Calendly** card and tap **Connect**.
**After tapping Connect**
A Calendly authorization screen opens. Log in and grant Rocket access to your scheduling data. A green dot appears next to Calendly when the connection is active.
**Disconnect**
Go back to the **Calendly** card in Integrations. Tap **Disconnect** to remove the integration.
## Example prompts
| What you want | Prompt to use |
| :------------------- | :----------------------------------------------------------------------------------------- |
| Consultation page | `Embed a Calendly widget on my /book page for 30-minute consultations.` |
| Sales demo | `Add a Book a Demo button on my pricing page that opens a Calendly popup.` |
| Onboarding call | `Add a Calendly booking step after a user signs up for a 15-minute onboarding call.` |
| Team scheduling | `Create a team booking page where clients are matched with an available rep.` |
| Webinar registration | `Build an event page for my weekly webinar with Calendly registration.` |
| Paid consultation | `Embed a Calendly booking widget and charge $50 per session via Stripe before confirming.` |
| Intake plus booking | `Create a two-step flow: intake form first, then Calendly time picker on step two.` |
| Office hours | `Add a Calendly embed for weekly office hours on my /support page.` |
| Reminder email | `Send a custom reminder email via Resend 24 hours before each Calendly appointment.` |
| Post-meeting survey | `After a Calendly meeting ends, email the attendee a Typeform feedback survey.` |
## Tips
* **Calendar sync is automatic.** Calendly syncs with Google Calendar, Outlook, and iCloud. Availability updates in real time.
* **Embedding options.** Rocket can embed Calendly as an inline widget, popup, or full-page view. Describe the style you want in chat.
* **Free plan limits.** Calendly's free tier supports one event type. Upgrade for team scheduling, round-robin, and multiple event types.
* **Webhooks for custom flows.** Calendly sends webhook events when meetings are booked or canceled. Use these to trigger Supabase inserts or email notifications through Rocket.
* **One Calendly account per workspace.** All tasks share the same connected account.
## What's next?
Store booking records in a database for reporting and in-app display.
Send custom confirmation and reminder emails for each booking.
Charge for consultations or demos by combining Calendly with Stripe checkout.