> ## Documentation Index
> Fetch the complete documentation index at: https://docs.rocket.new/llms.txt
> Use this file to discover all available pages before exploring further.
# Figma
> Import your Figma designs into Rocket and convert them into production-ready code - layouts, spacing, and components included.
export const LlmsDirective = () =>
For the complete documentation index, see llms.txt.
For a lightweight markdown version of this page, append .md to the URL.
;
Import a Figma frame and describe what you want to build. Rocket converts your visual layers into working, production-ready components - no manual translation needed.
Figma import is available on web only. It is not supported in the Rocket mobile app.
## What you can do
Import any Figma frame and get a fully coded version with responsive layouts. Rocket matches your layers, spacing, and styling automatically.
Turn your Figma component library into reusable code components with variant support.
Import a clickable Figma prototype and get a working multi-page app with real navigation and route transitions.
Convert Figma marketing designs into pixel-perfect, responsive code for desktop, tablet, and mobile.
## Connect Figma
Figma connects via OAuth - no API key needed.
You can connect from two places - both open the same popup.
**Option 1: From the import flow (fastest)**
Click the **+** button at the lower left of the chat input and select **Add from Figma**.
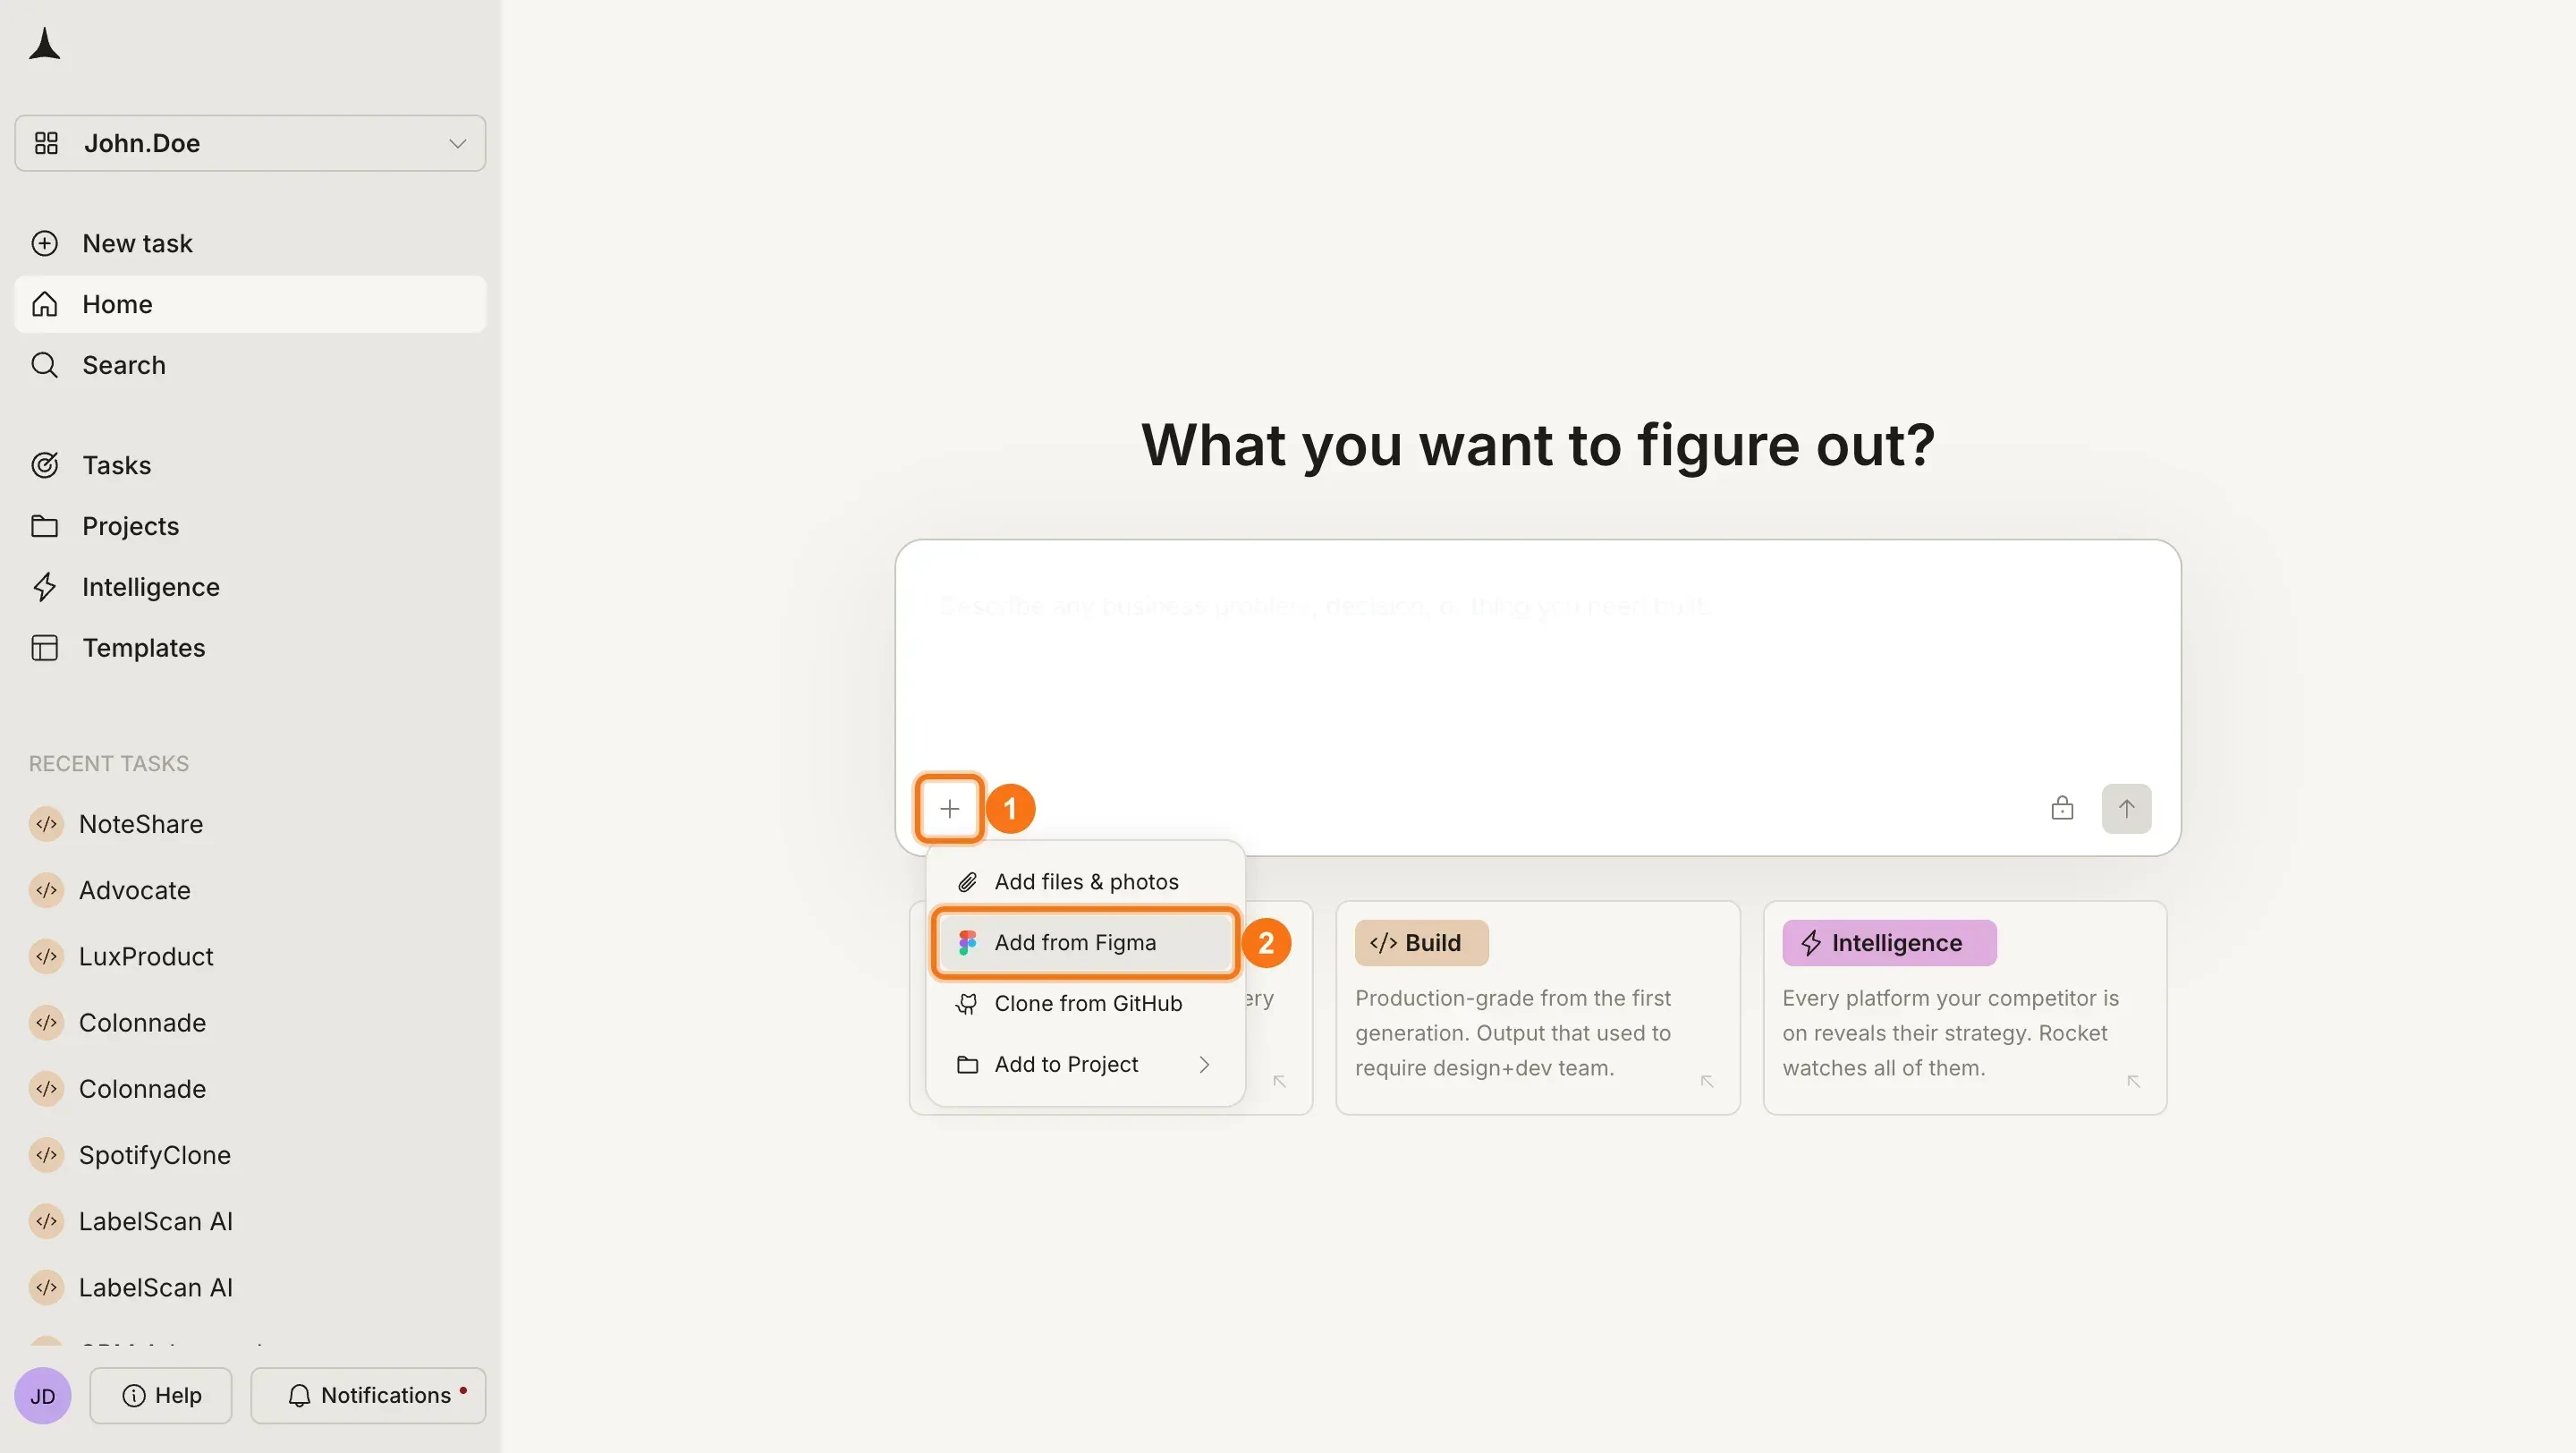
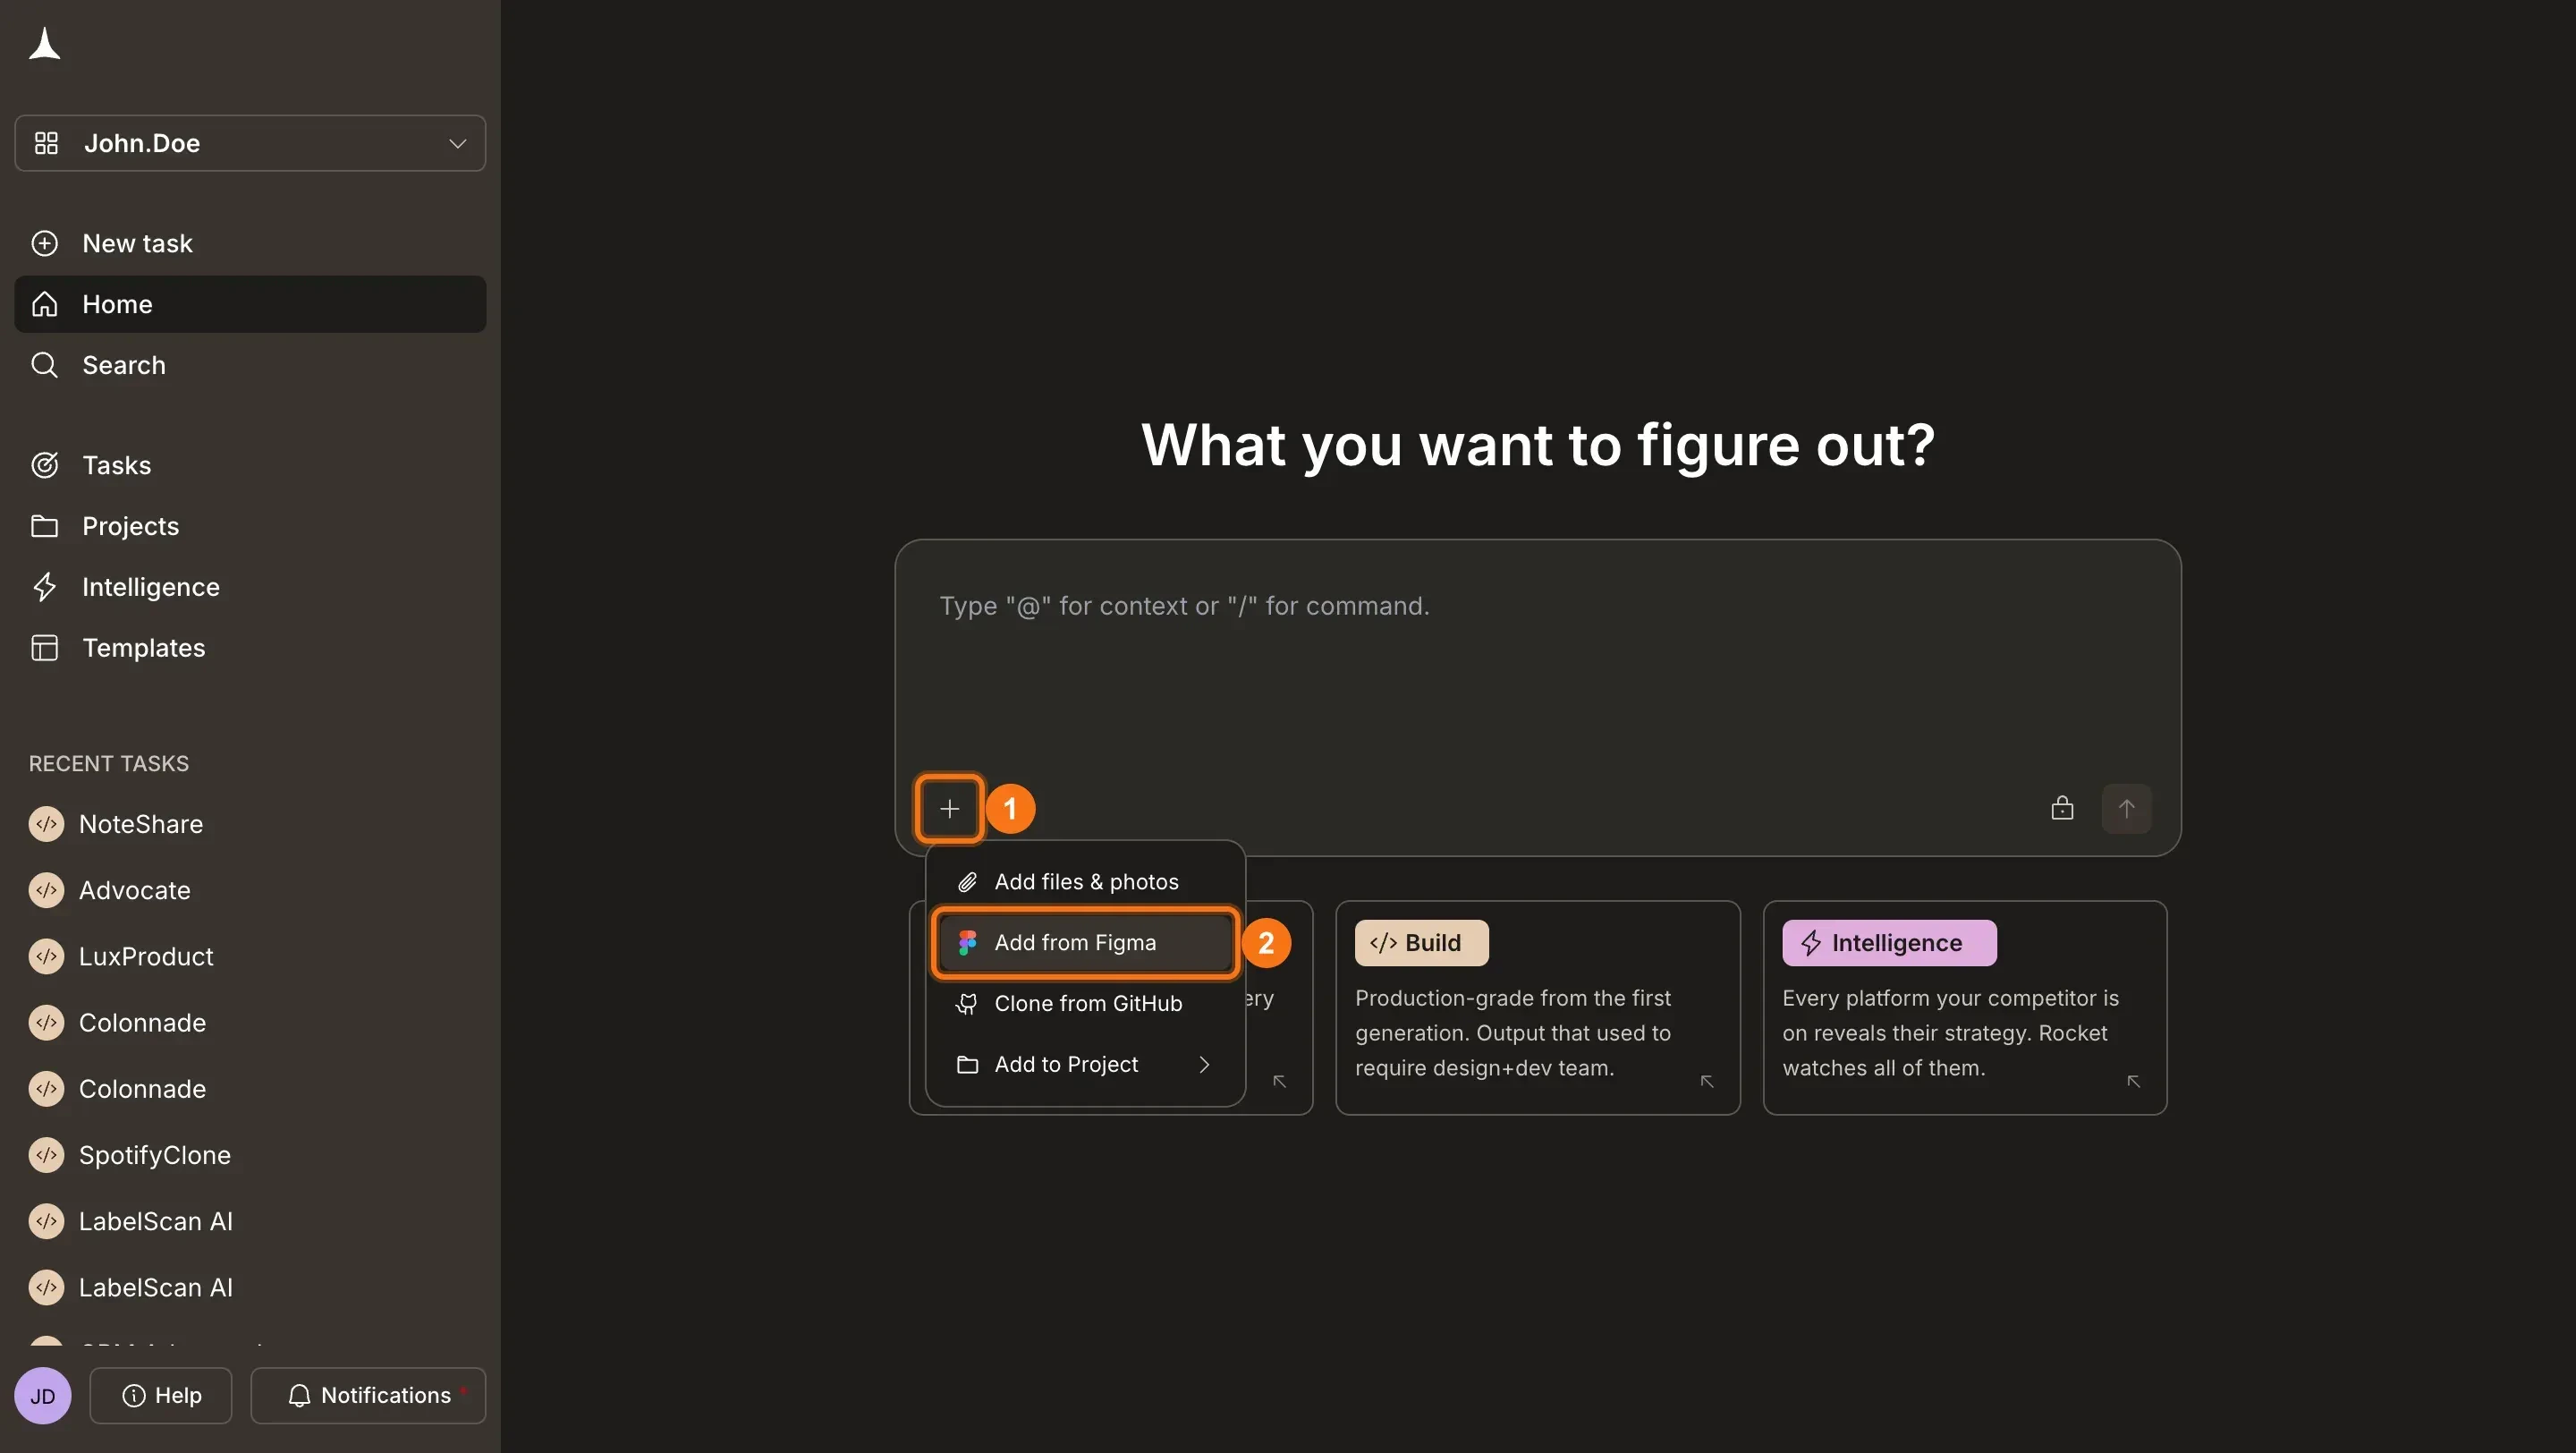 A popup appears asking you to connect.
 **Option 2: From workspace Settings**
Click your workspace name in the top-left, select **Settings**, then open the **Connectors** tab. Click the **Figma** card and click **Connect**.
Connect once from Settings and it is available to all tasks.
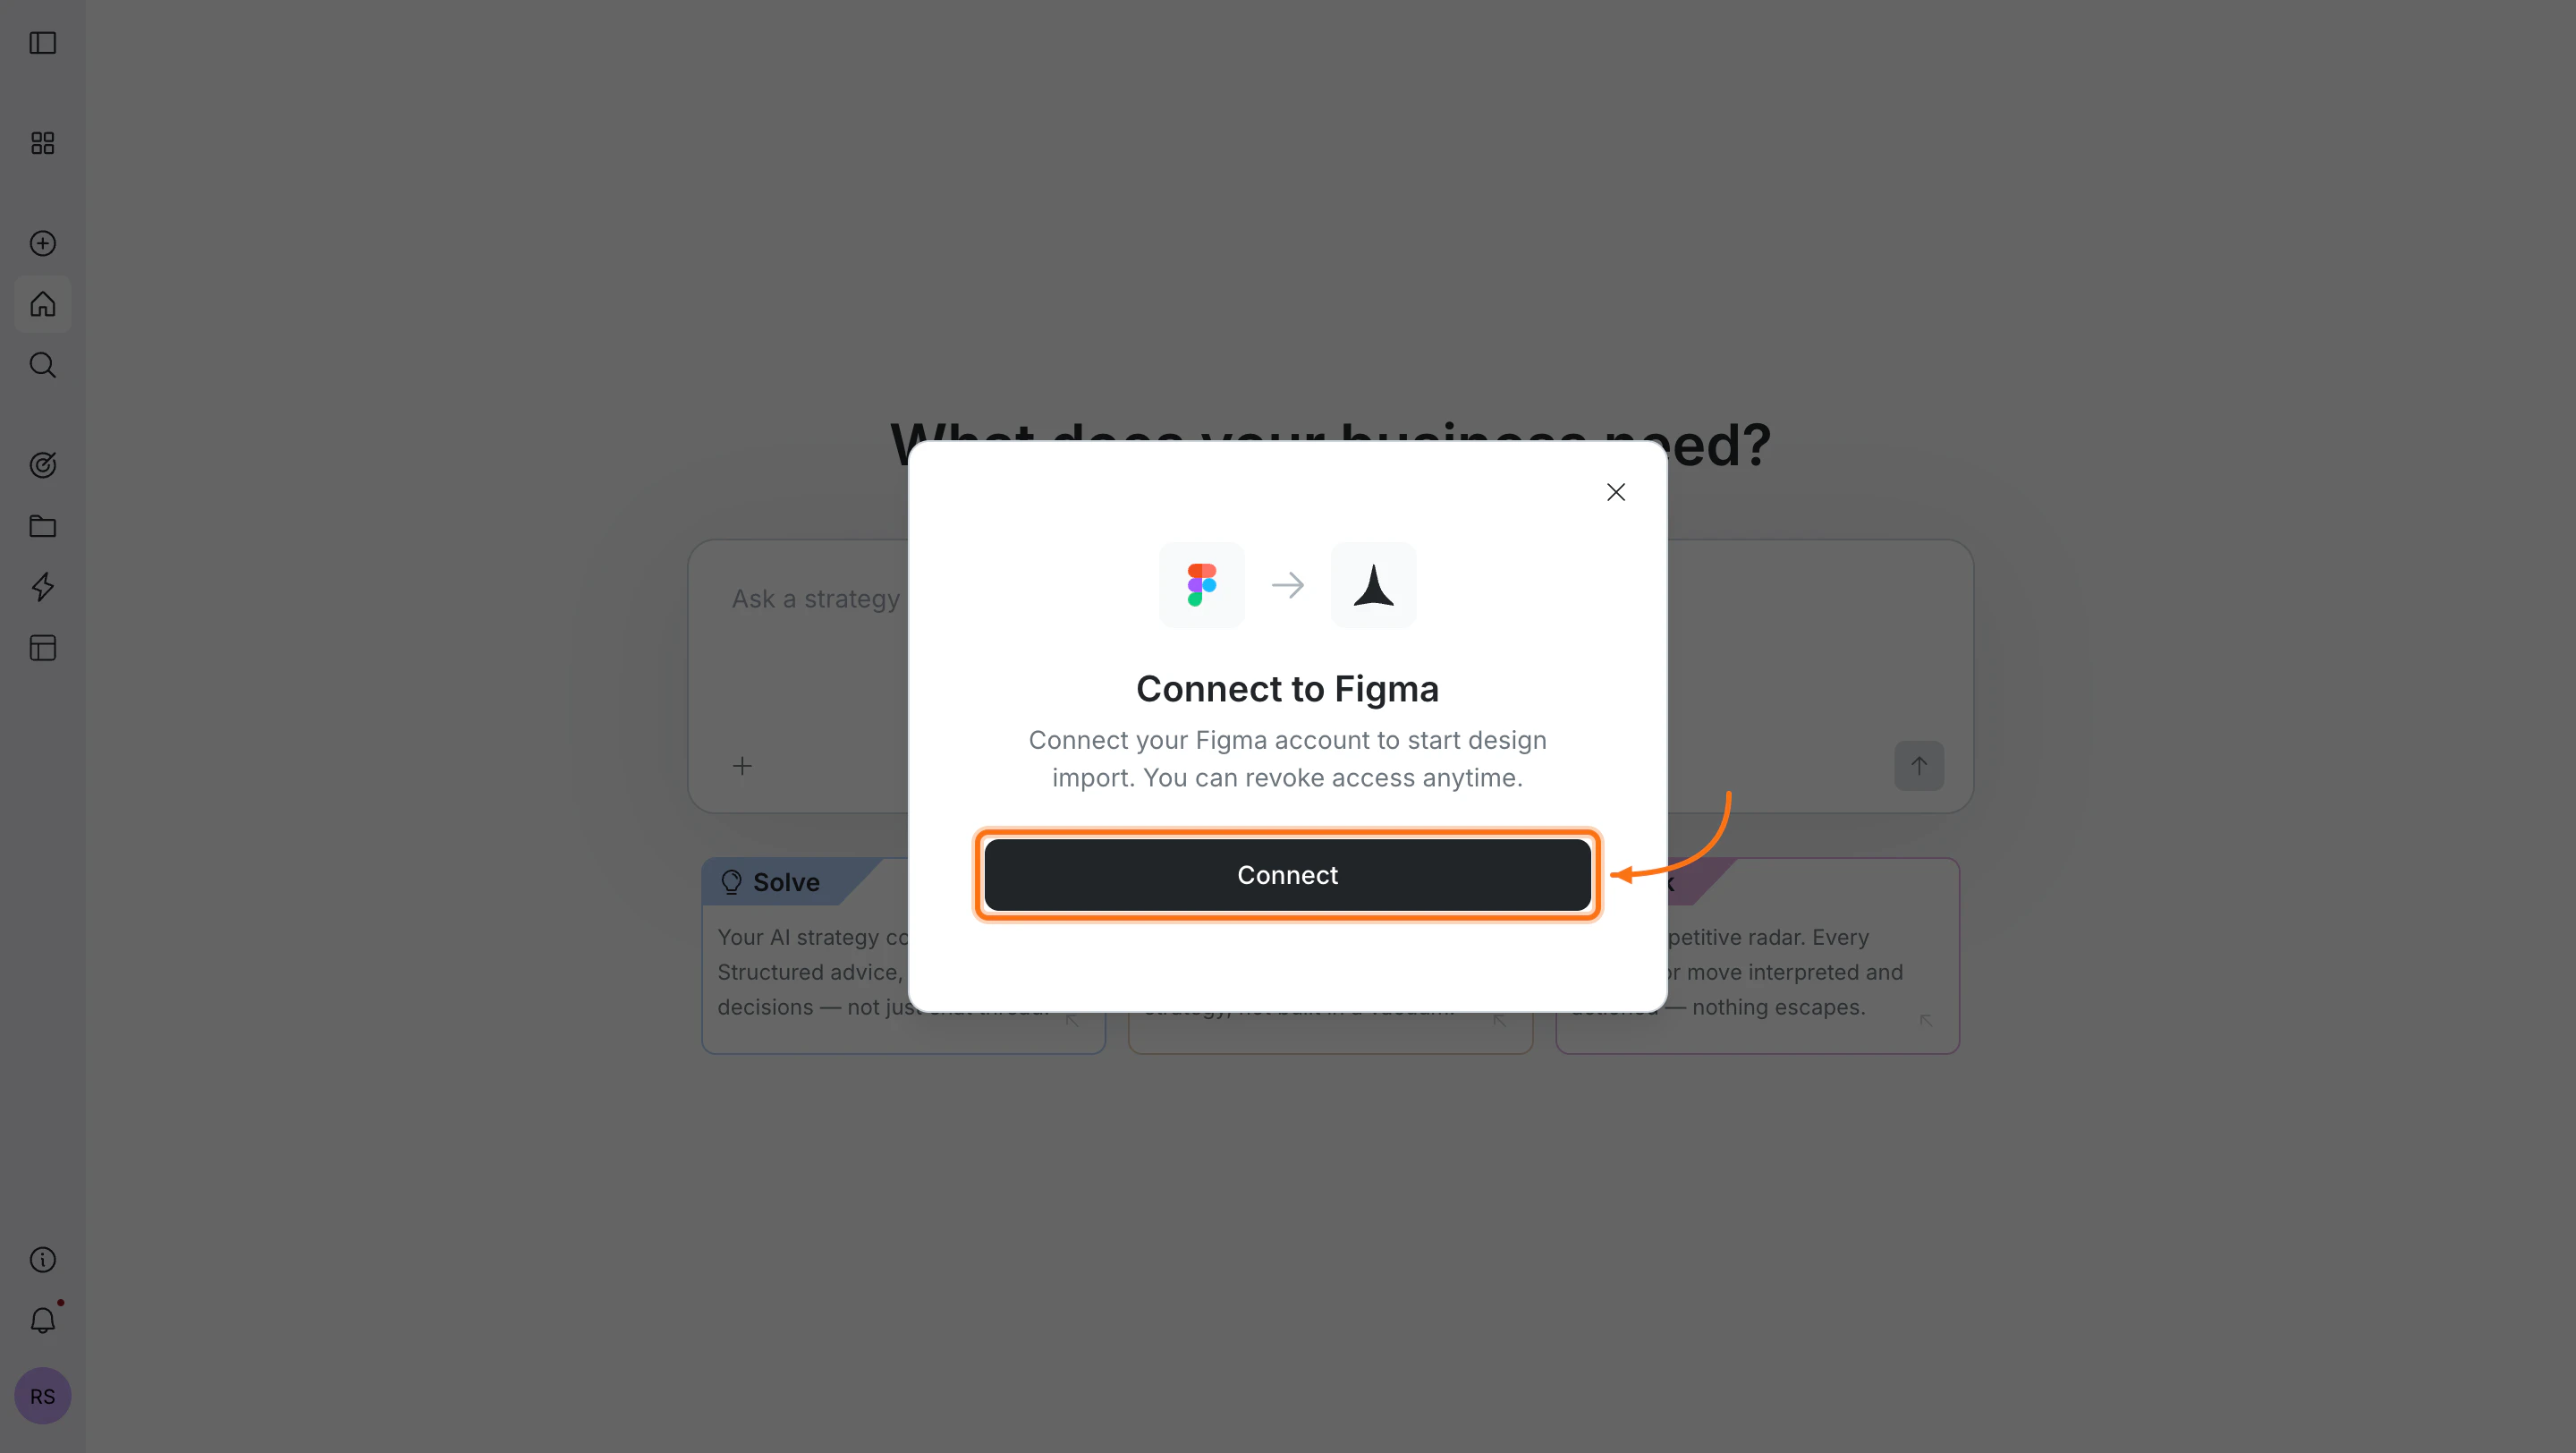
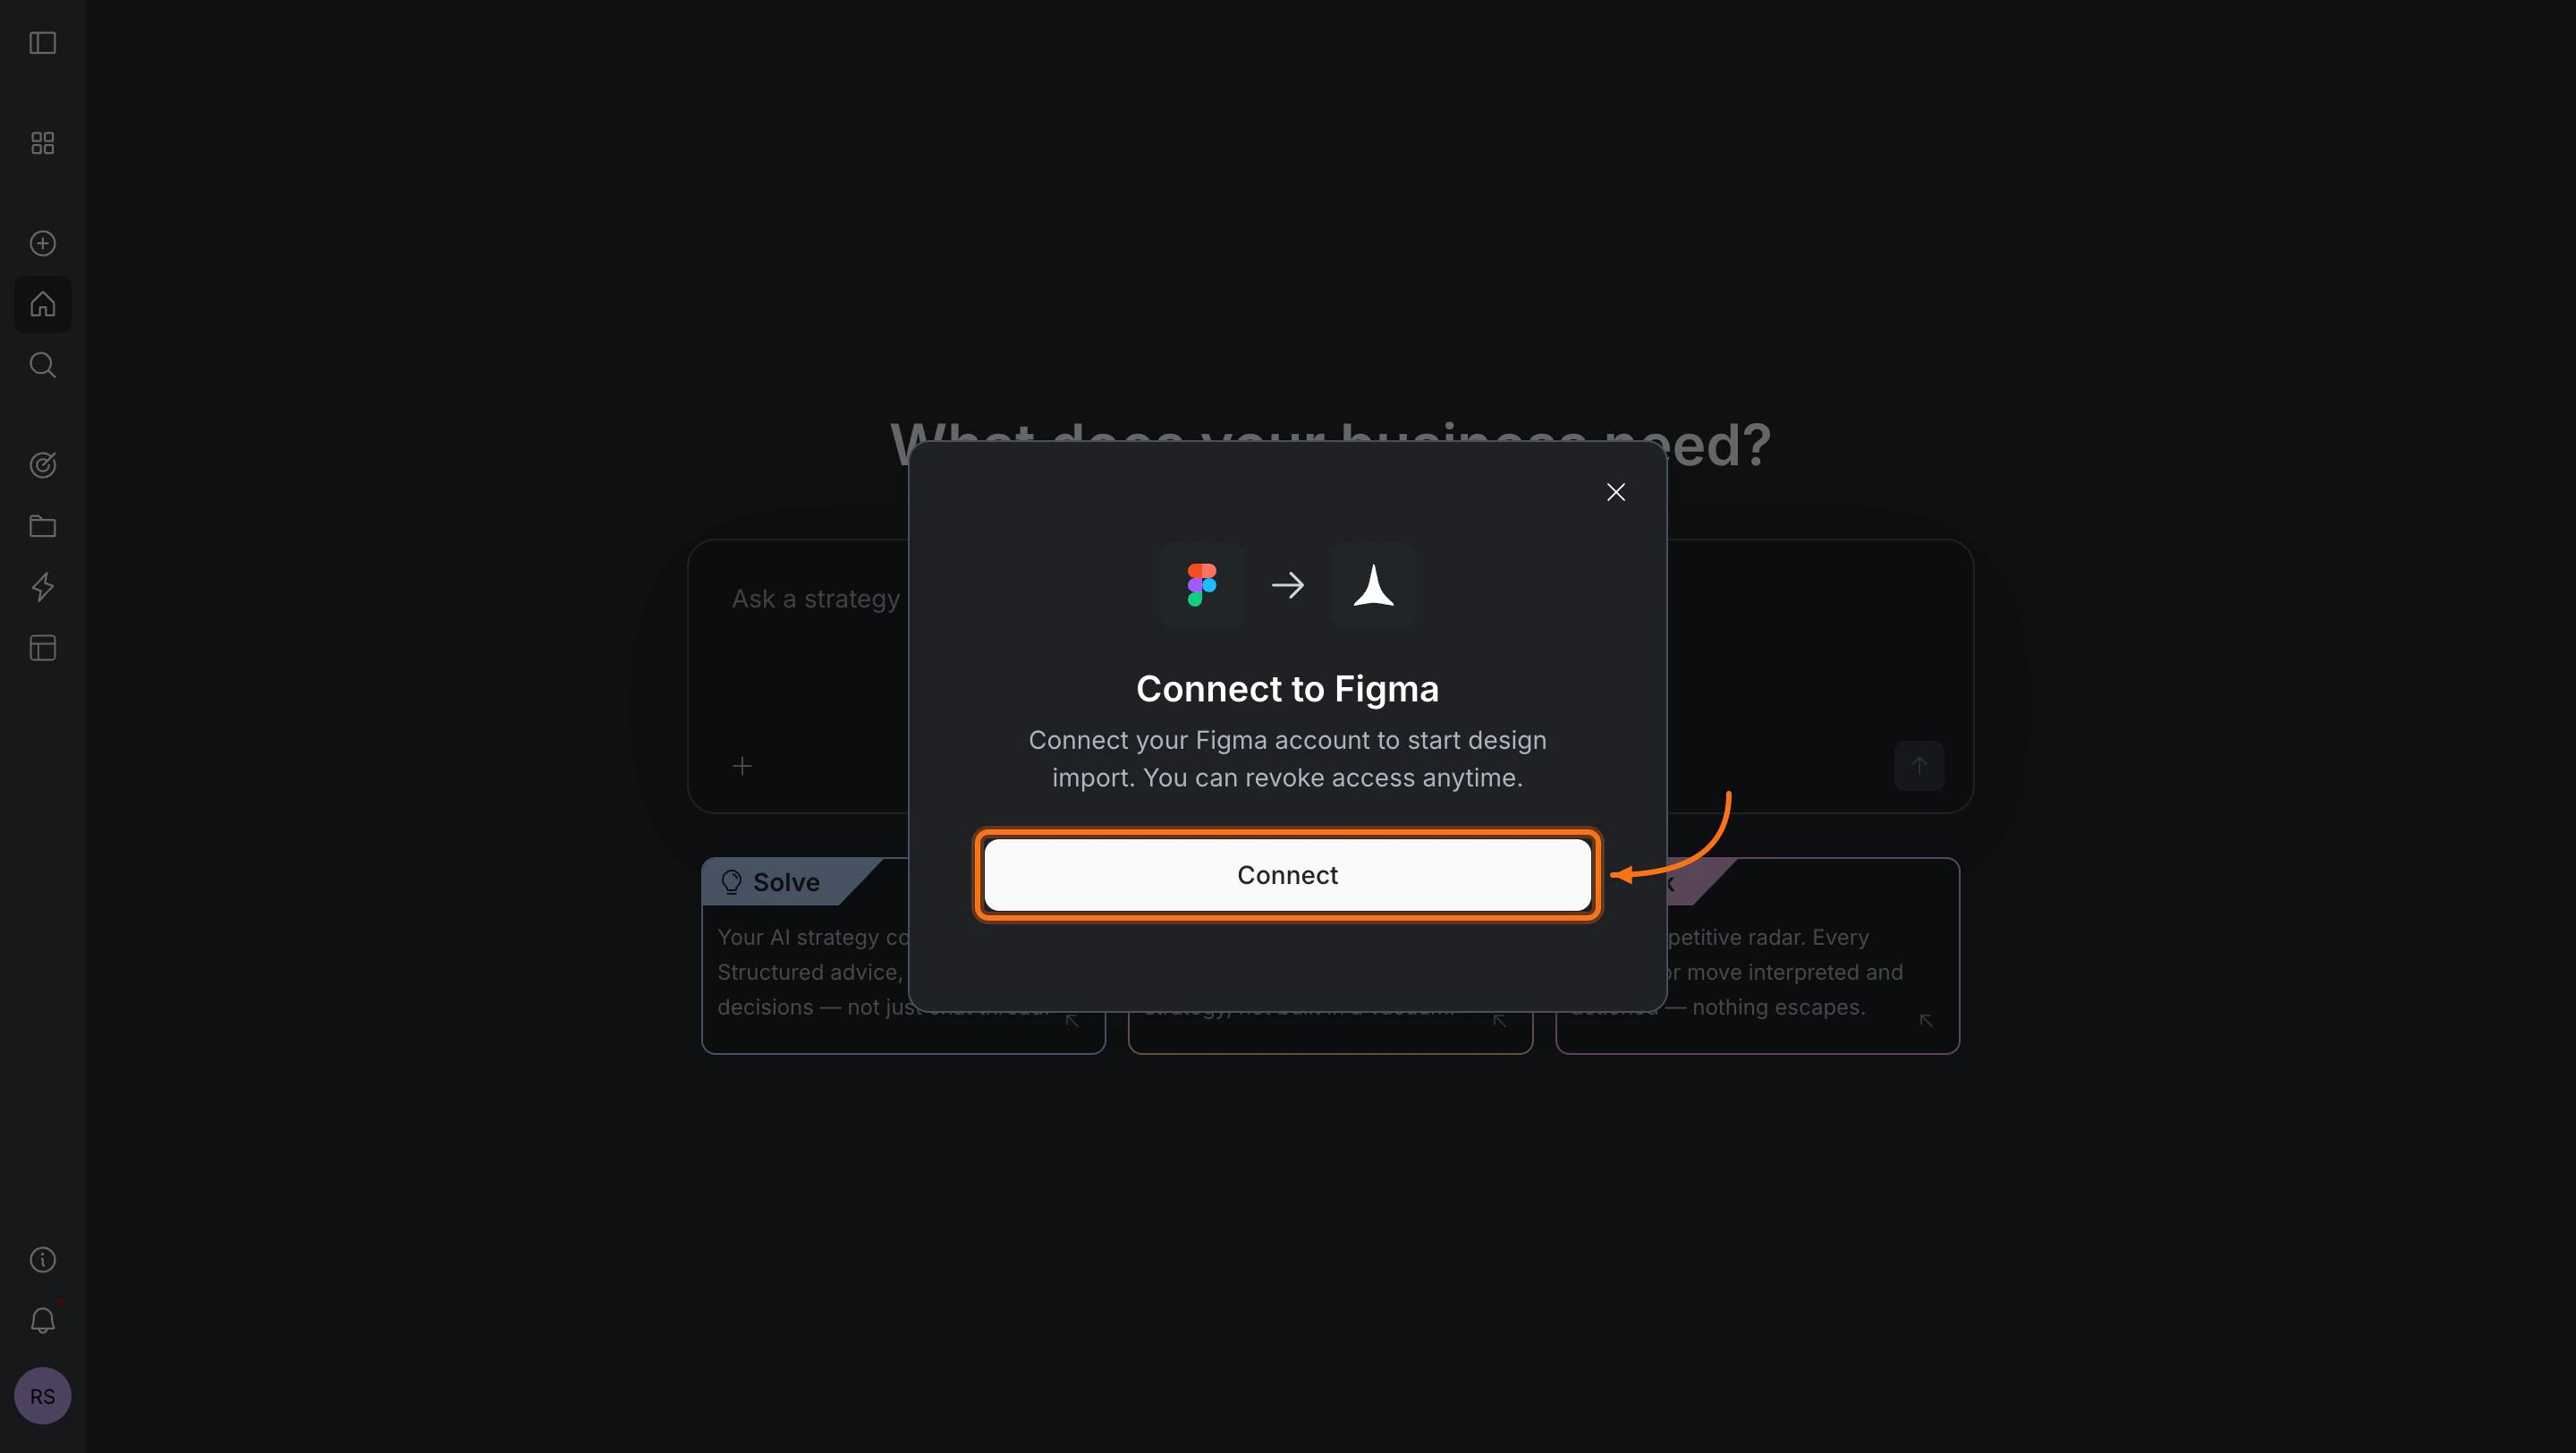
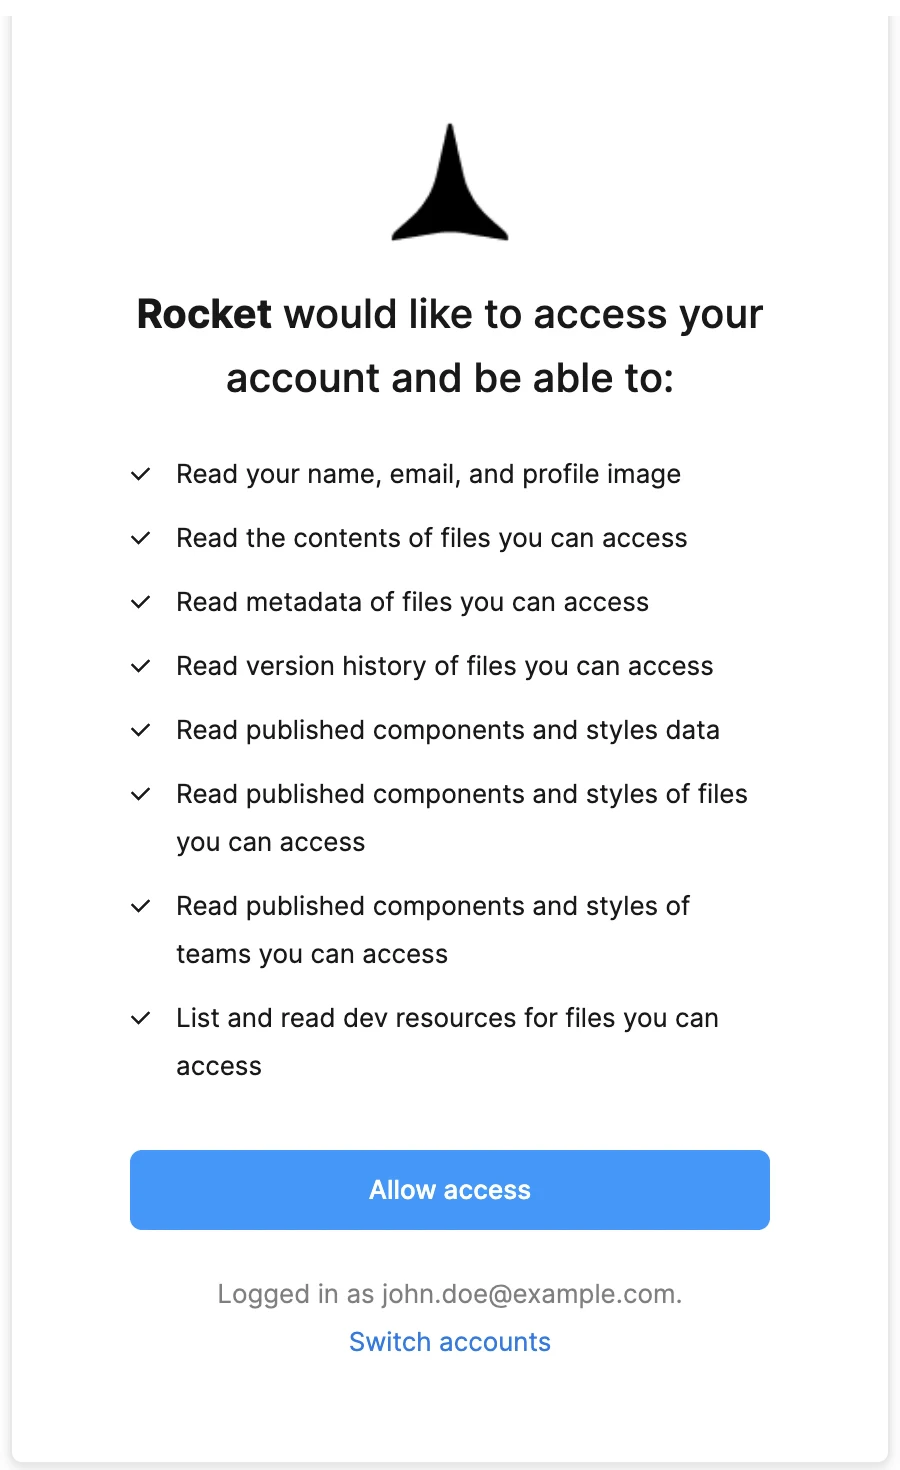
**After clicking Connect**
Figma opens an authorization screen. Sign in if prompted, review the permissions, and click **Allow access**.
**Option 2: From workspace Settings**
Click your workspace name in the top-left, select **Settings**, then open the **Connectors** tab. Click the **Figma** card and click **Connect**.
Connect once from Settings and it is available to all tasks.
**After clicking Connect**
Figma opens an authorization screen. Sign in if prompted, review the permissions, and click **Allow access**.
 A green dot appears next to Figma when the connection is active.
**Disconnect or switch accounts**
Open workspace Settings, go to **Connectors**, and click the **Figma** card. Click **Disconnect** and confirm. Connect again to use a different account.
Disconnect or switch accounts from workspace Settings.
## Import a design
Once connected:
In Figma, open your file and click **Share > Copy link** to get the URL.
In Rocket, click the **+** button at the lower left of the chat input and select **Add from Figma**.
Paste your Figma URL and select the frames you want to import.
Click **Import**. Rocket generates production-ready code from your selected screens.
Use chat to add interactivity, connect data sources, or refine layouts.
Step-by-step guide to finding and copying your Figma file URL.
Follow these Figma best practices to get the best code output.
## Tips
* **File organization affects output quality.** Well-named layers, proper auto-layout, and consistent spacing produce better code. Flattened images or ungrouped elements may need manual cleanup.
* **Prototype flows map to routes.** Click-through connections in your Figma prototype are mapped to page routes and navigation links in the generated app.
* **Complex animations may need refinement.** Rocket handles standard transitions, but advanced Figma animations may need adjustment after import.
* **One Figma account per Rocket workspace.** To switch accounts, disconnect and reconnect from workspace Settings.
* **Web only.** Figma import is not available in the Rocket mobile app.
## What's next?
Wire up your imported Figma designs with real data from Supabase.
Add payment flows to your Figma-designed pages with Stripe checkout.
Deploy your Figma-to-code project to a live URL with Netlify.
Browse every available integration.
A green dot appears next to Figma when the connection is active.
**Disconnect or switch accounts**
Open workspace Settings, go to **Connectors**, and click the **Figma** card. Click **Disconnect** and confirm. Connect again to use a different account.
Disconnect or switch accounts from workspace Settings.
## Import a design
Once connected:
In Figma, open your file and click **Share > Copy link** to get the URL.
In Rocket, click the **+** button at the lower left of the chat input and select **Add from Figma**.
Paste your Figma URL and select the frames you want to import.
Click **Import**. Rocket generates production-ready code from your selected screens.
Use chat to add interactivity, connect data sources, or refine layouts.
Step-by-step guide to finding and copying your Figma file URL.
Follow these Figma best practices to get the best code output.
## Tips
* **File organization affects output quality.** Well-named layers, proper auto-layout, and consistent spacing produce better code. Flattened images or ungrouped elements may need manual cleanup.
* **Prototype flows map to routes.** Click-through connections in your Figma prototype are mapped to page routes and navigation links in the generated app.
* **Complex animations may need refinement.** Rocket handles standard transitions, but advanced Figma animations may need adjustment after import.
* **One Figma account per Rocket workspace.** To switch accounts, disconnect and reconnect from workspace Settings.
* **Web only.** Figma import is not available in the Rocket mobile app.
## What's next?
Wire up your imported Figma designs with real data from Supabase.
Add payment flows to your Figma-designed pages with Stripe checkout.
Deploy your Figma-to-code project to a live URL with Netlify.
Browse every available integration.