> ## Documentation Index
> Fetch the complete documentation index at: https://docs.rocket.new/llms.txt
> Use this file to discover all available pages before exploring further.
# Overview
> Connect GitHub to your Rocket.new app: push code to repos, collaborate with your team, and keep version history.
export const LlmsDirective = () =>
For the complete documentation index, see llms.txt.
For a lightweight markdown version of this page, append .md to the URL.
;
Connect GitHub and push your task code to a repository with one click. Rocket handles the Git setup automatically, no terminal needed.
For **Next.js TypeScript** tasks, Rocket supports full two-way sync: push automatically creates a `rocket-update` branch and opens a pull request to `main`, and pull brings changes from `main` back into your task. For all other frameworks, GitHub integration is one-way and manual — click **Push** when you want to update GitHub. No automatic pull request is created.
## What you can do
Push your Rocket project to GitHub whenever you want a snapshot of your work. Click the GitHub icon in the toolbar and push.
Share your codebase with teammates by pushing to a shared GitHub repo. They can review, fork, or clone your code from there.
Once your code is on GitHub, connect it to services like GitHub Actions, Vercel, or Netlify for automated builds and deployments.
Publish your Rocket projects as public repositories to build a developer portfolio or contribute to open source.
## Connect GitHub
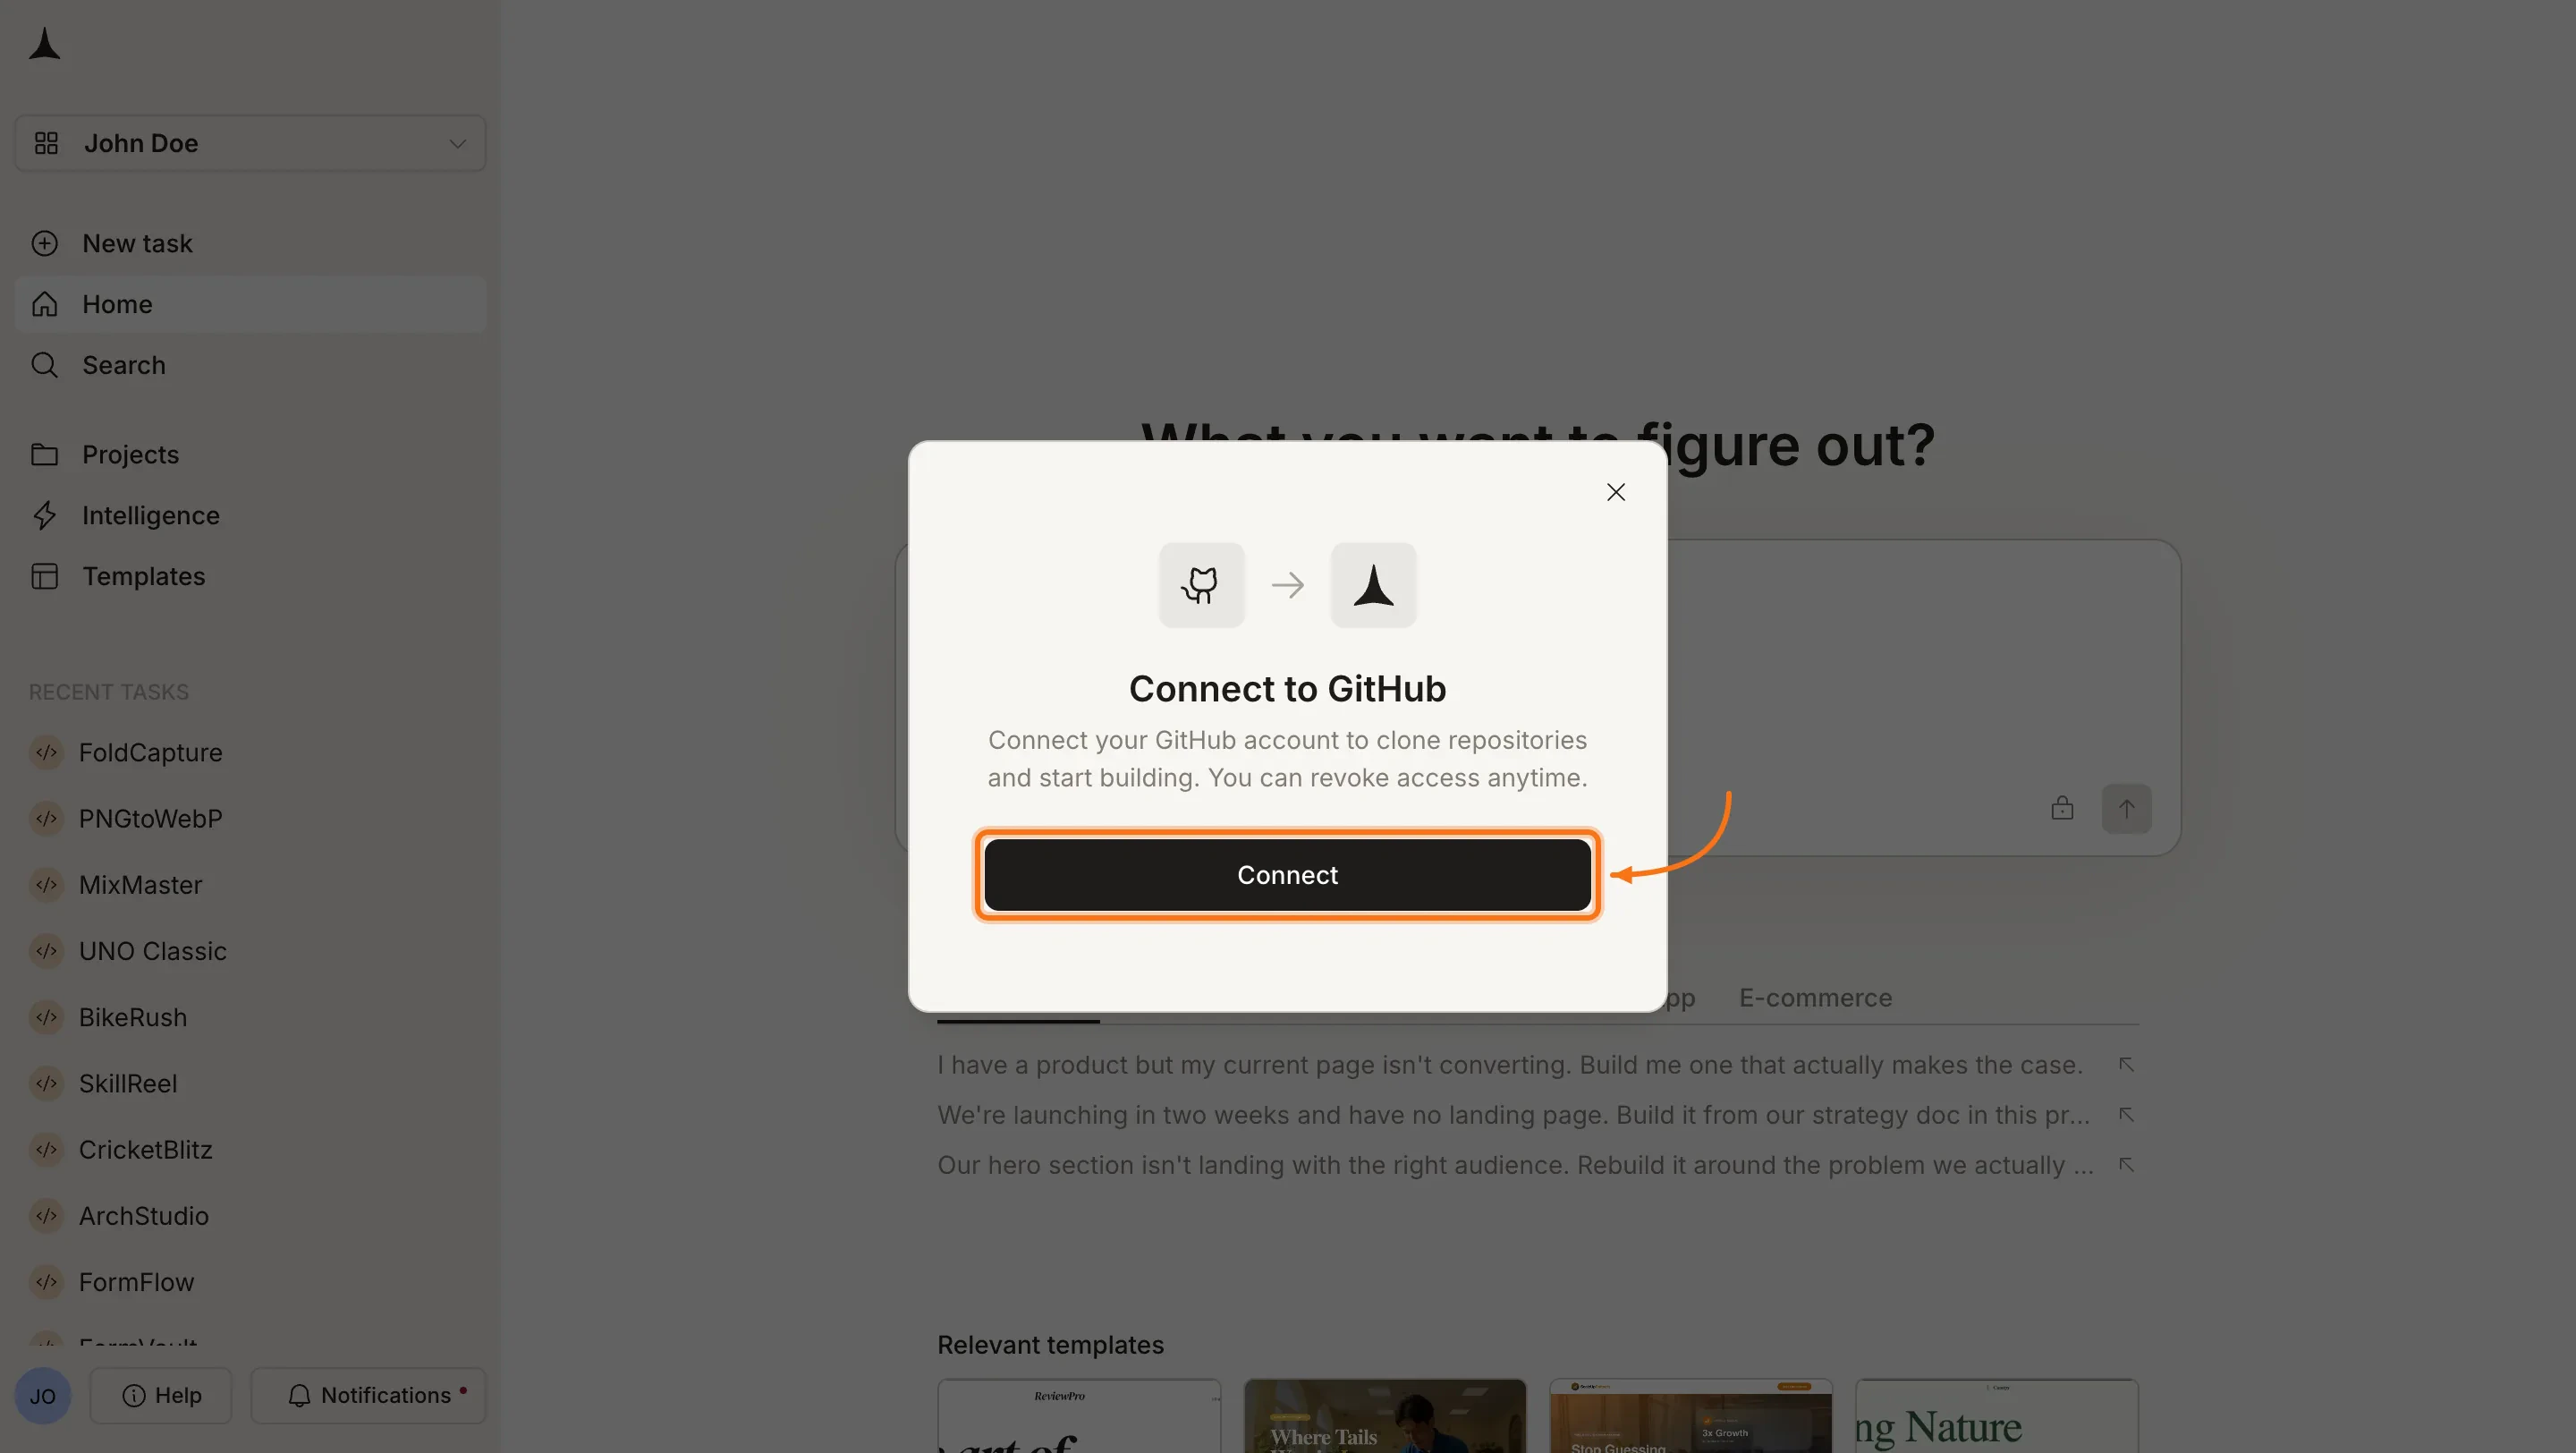
GitHub connects via OAuth, so no API key is needed. It is a **workspace-level** connector, so connect it once and it is available across all tasks.
You can connect from four places. All do the same thing.
**Option 1: When creating a task (Clone from GitHub)**
Click the **+** button at the lower left of the input box on the home screen and select **Clone from GitHub**. If you have not connected GitHub yet, Rocket prompts you to authorize at this point.
Clone a Next.js TypeScript repo and continue building with AI.
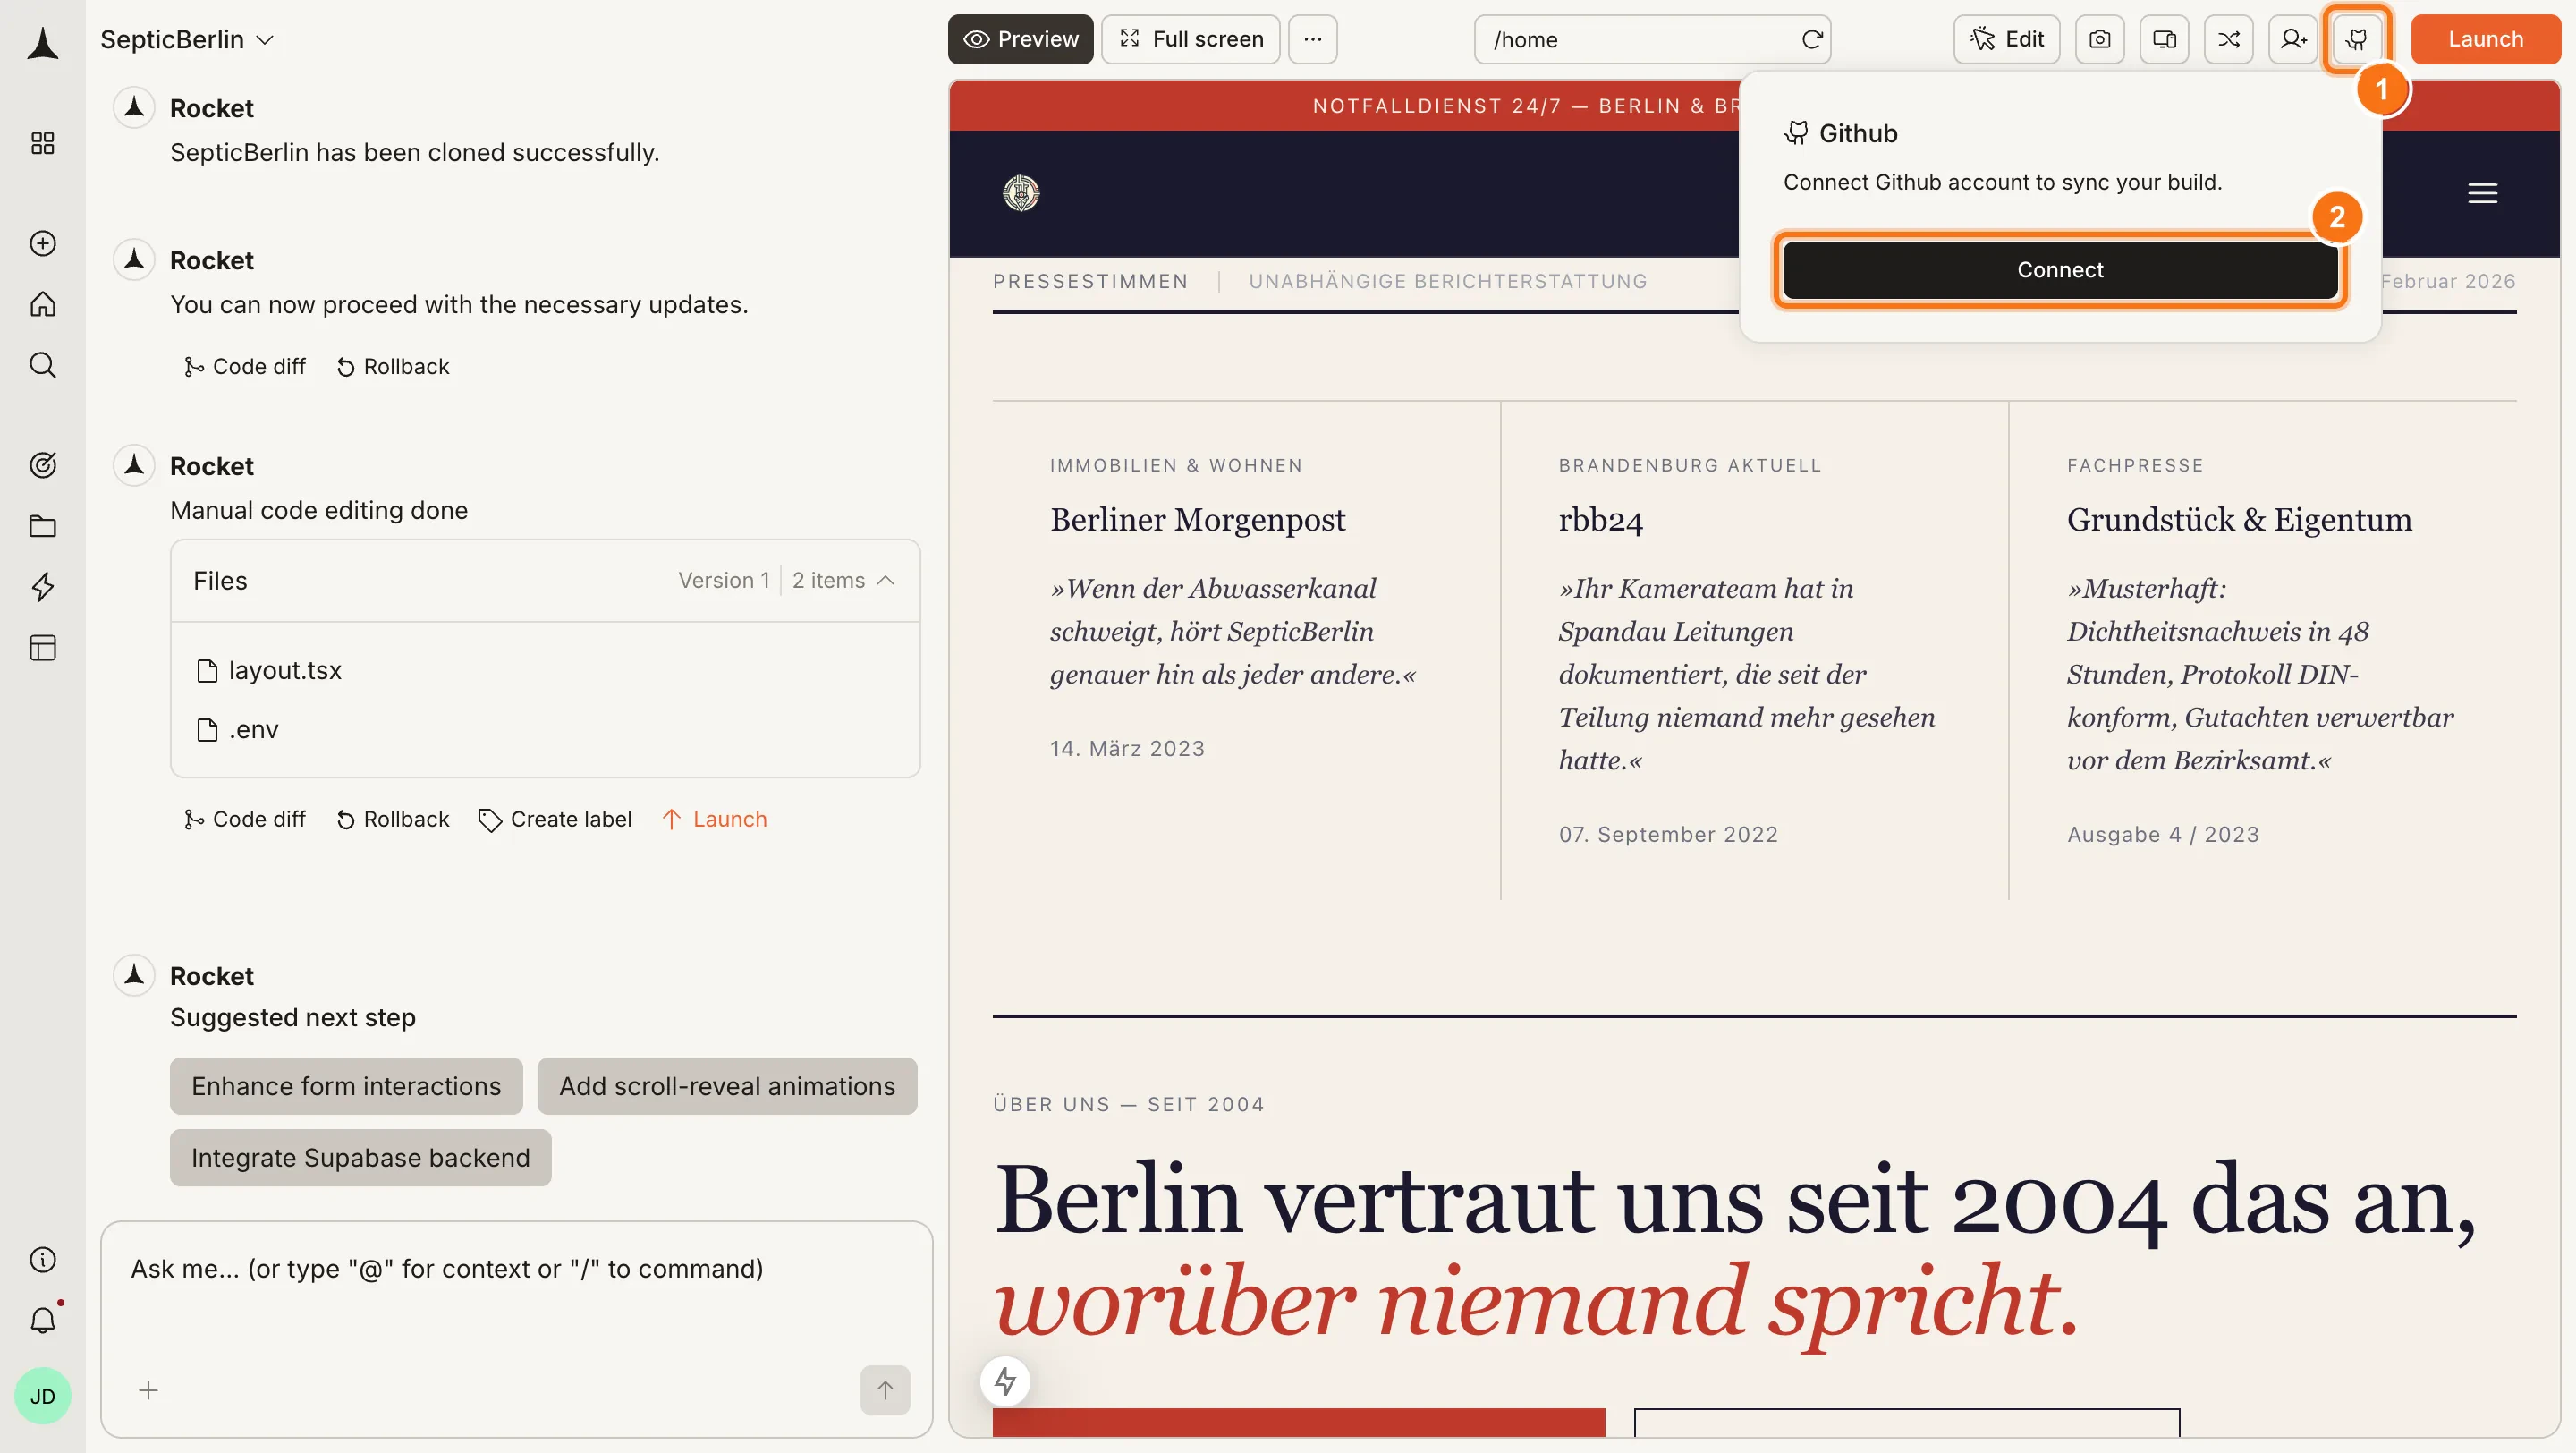
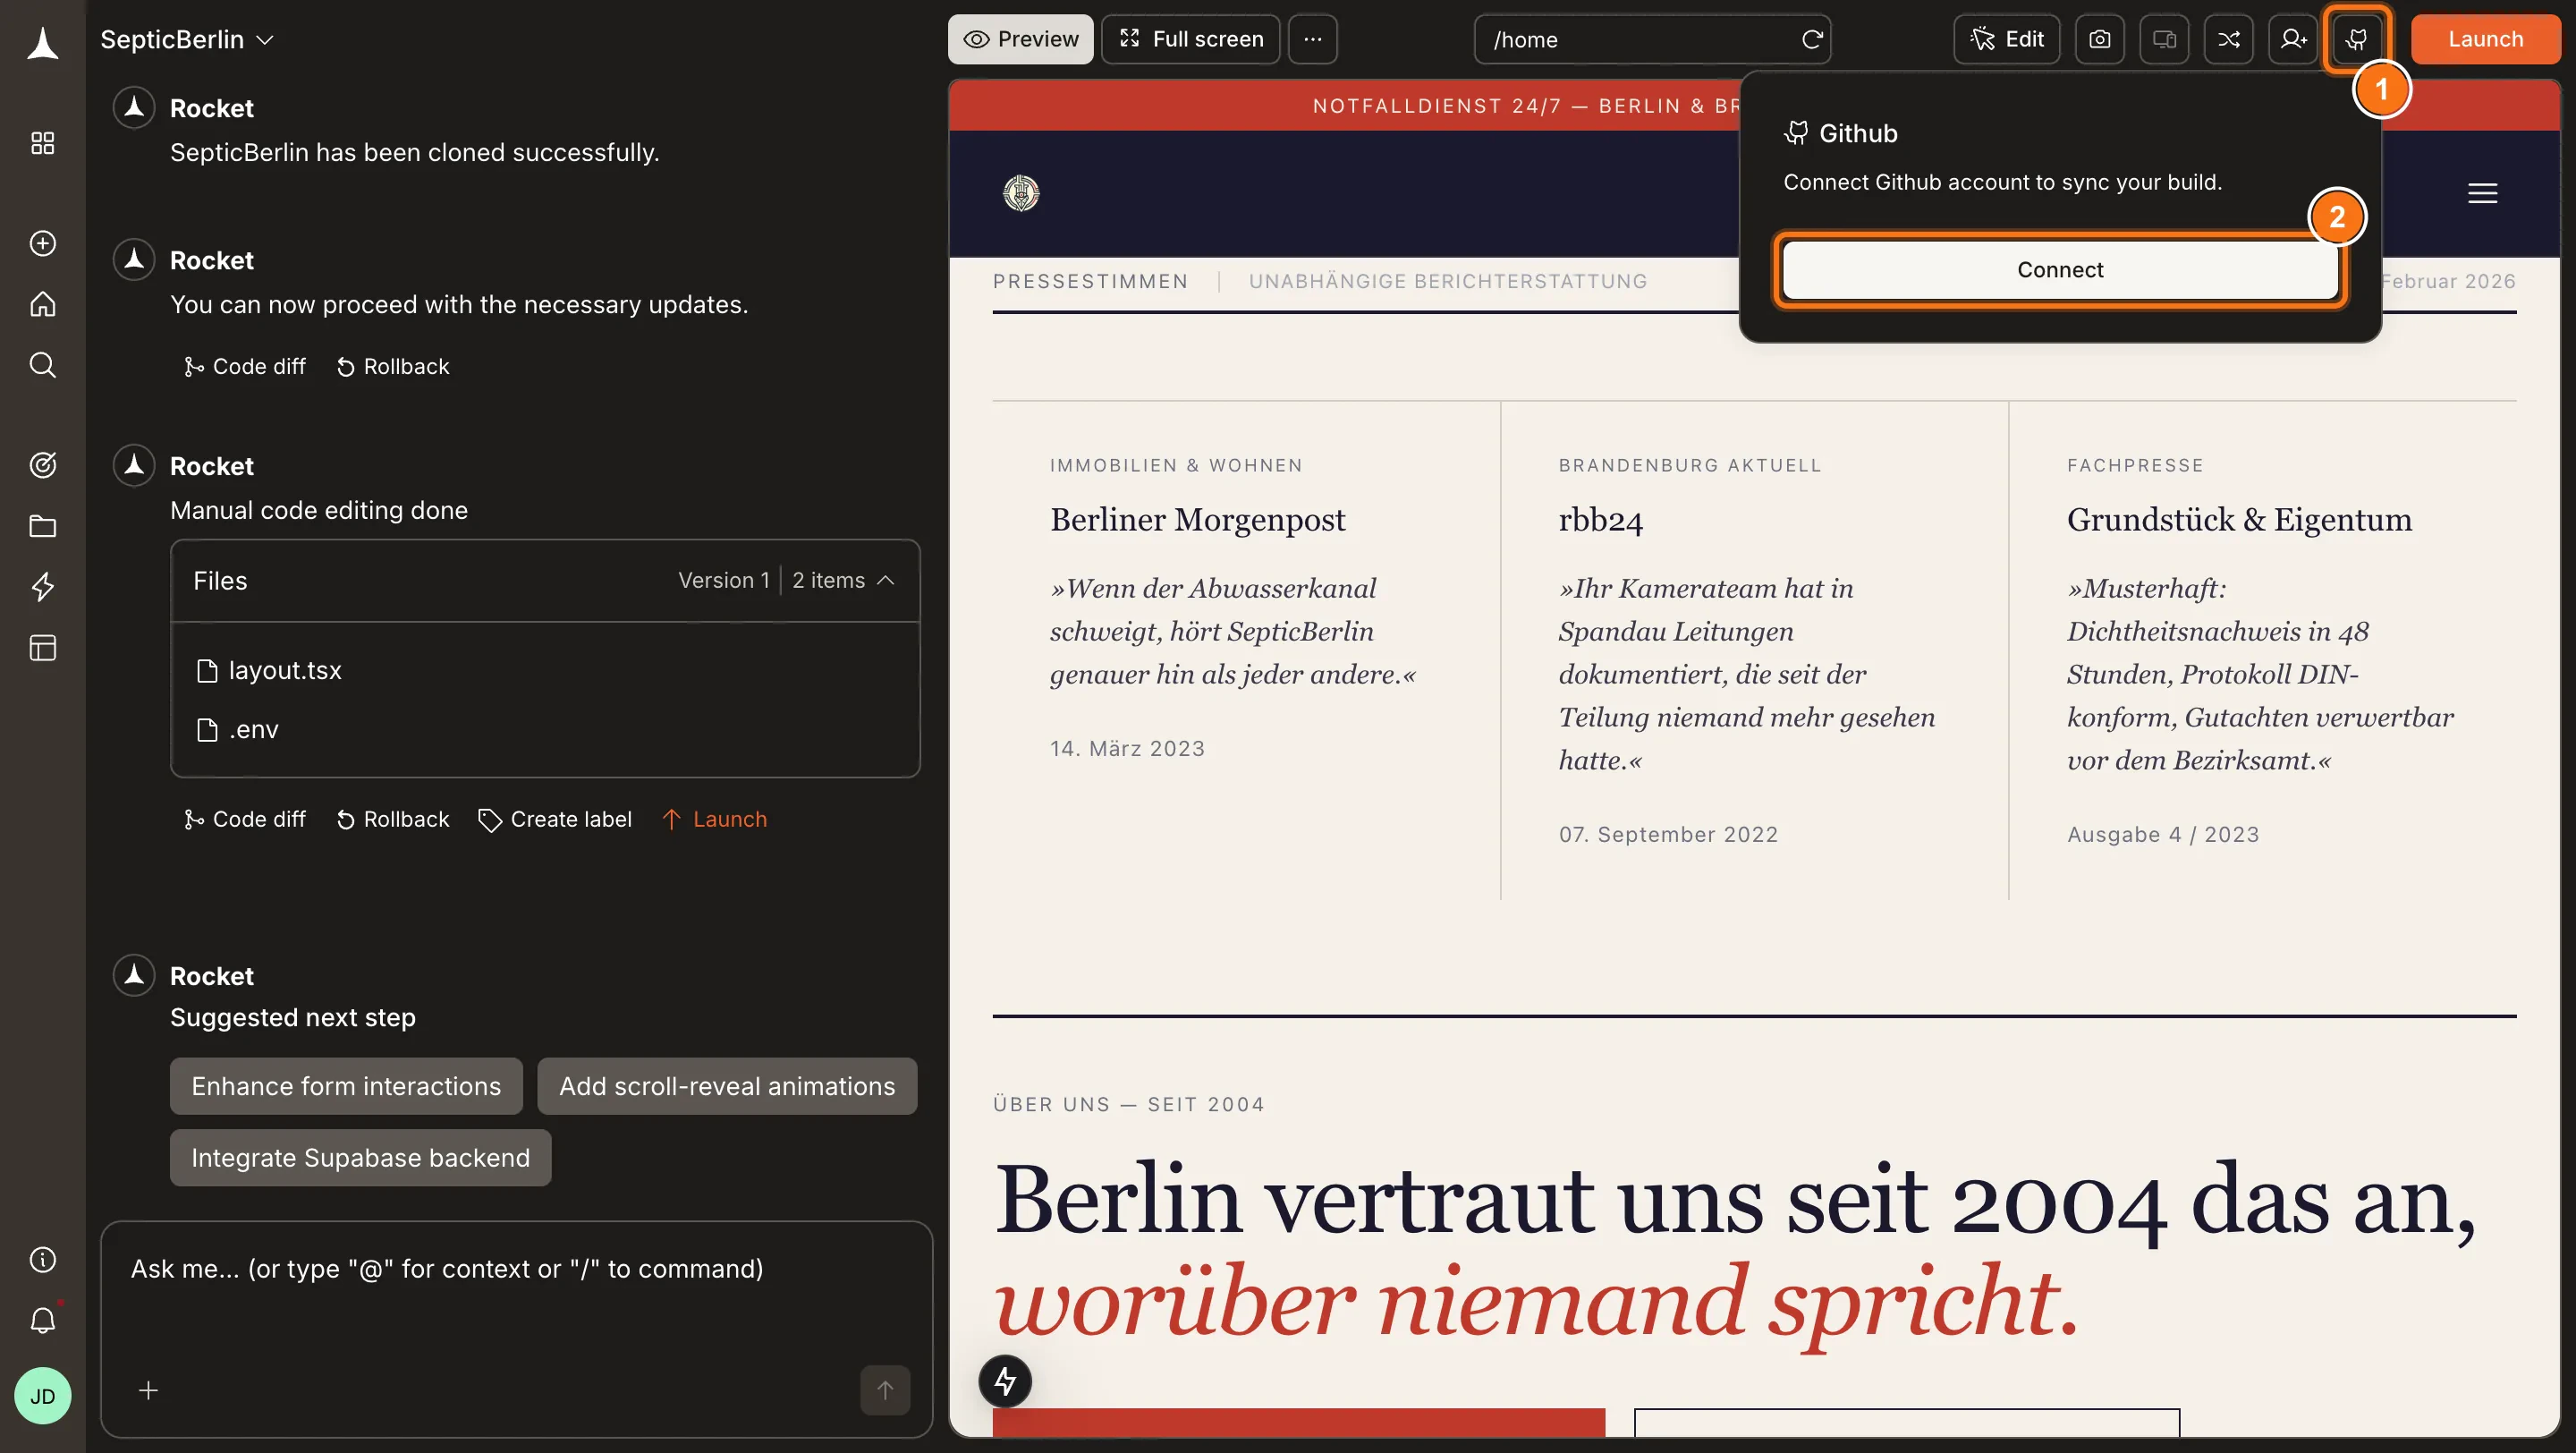
**Option 2: From the GitHub button in the toolbar**
Click the **GitHub** icon in the top-right of the code view toolbar. A popup opens with a **Connect** button.
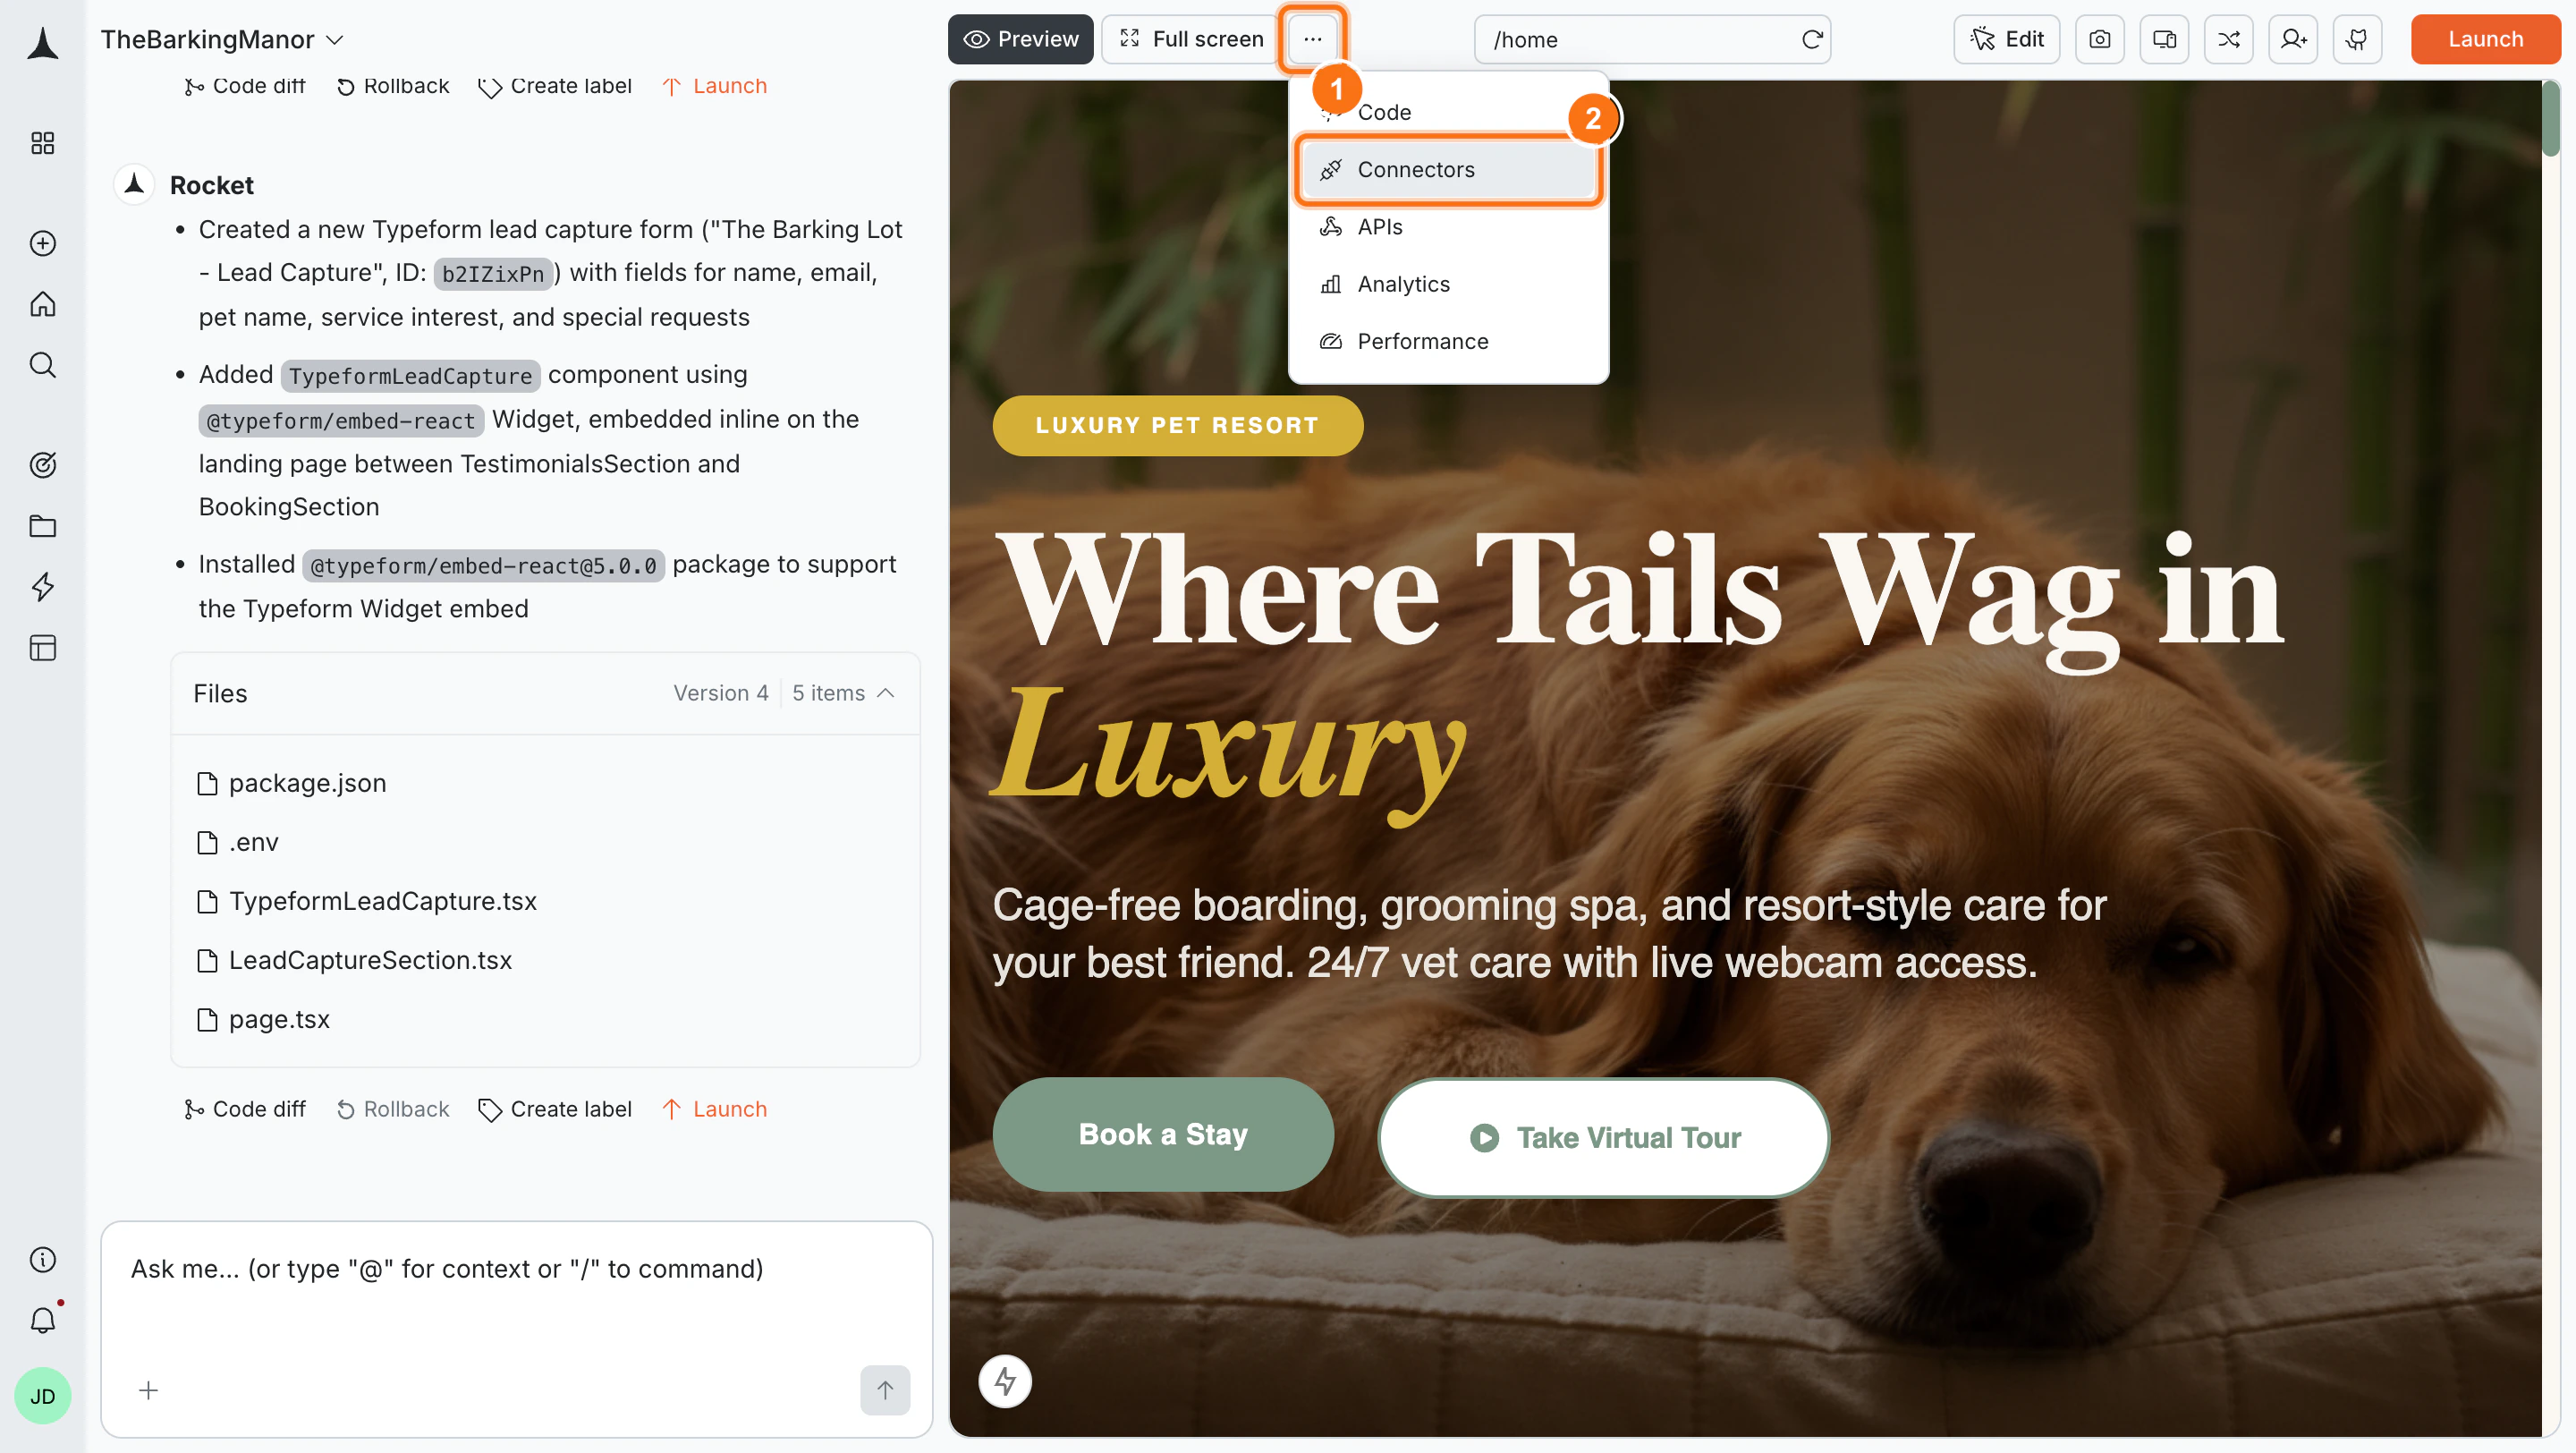
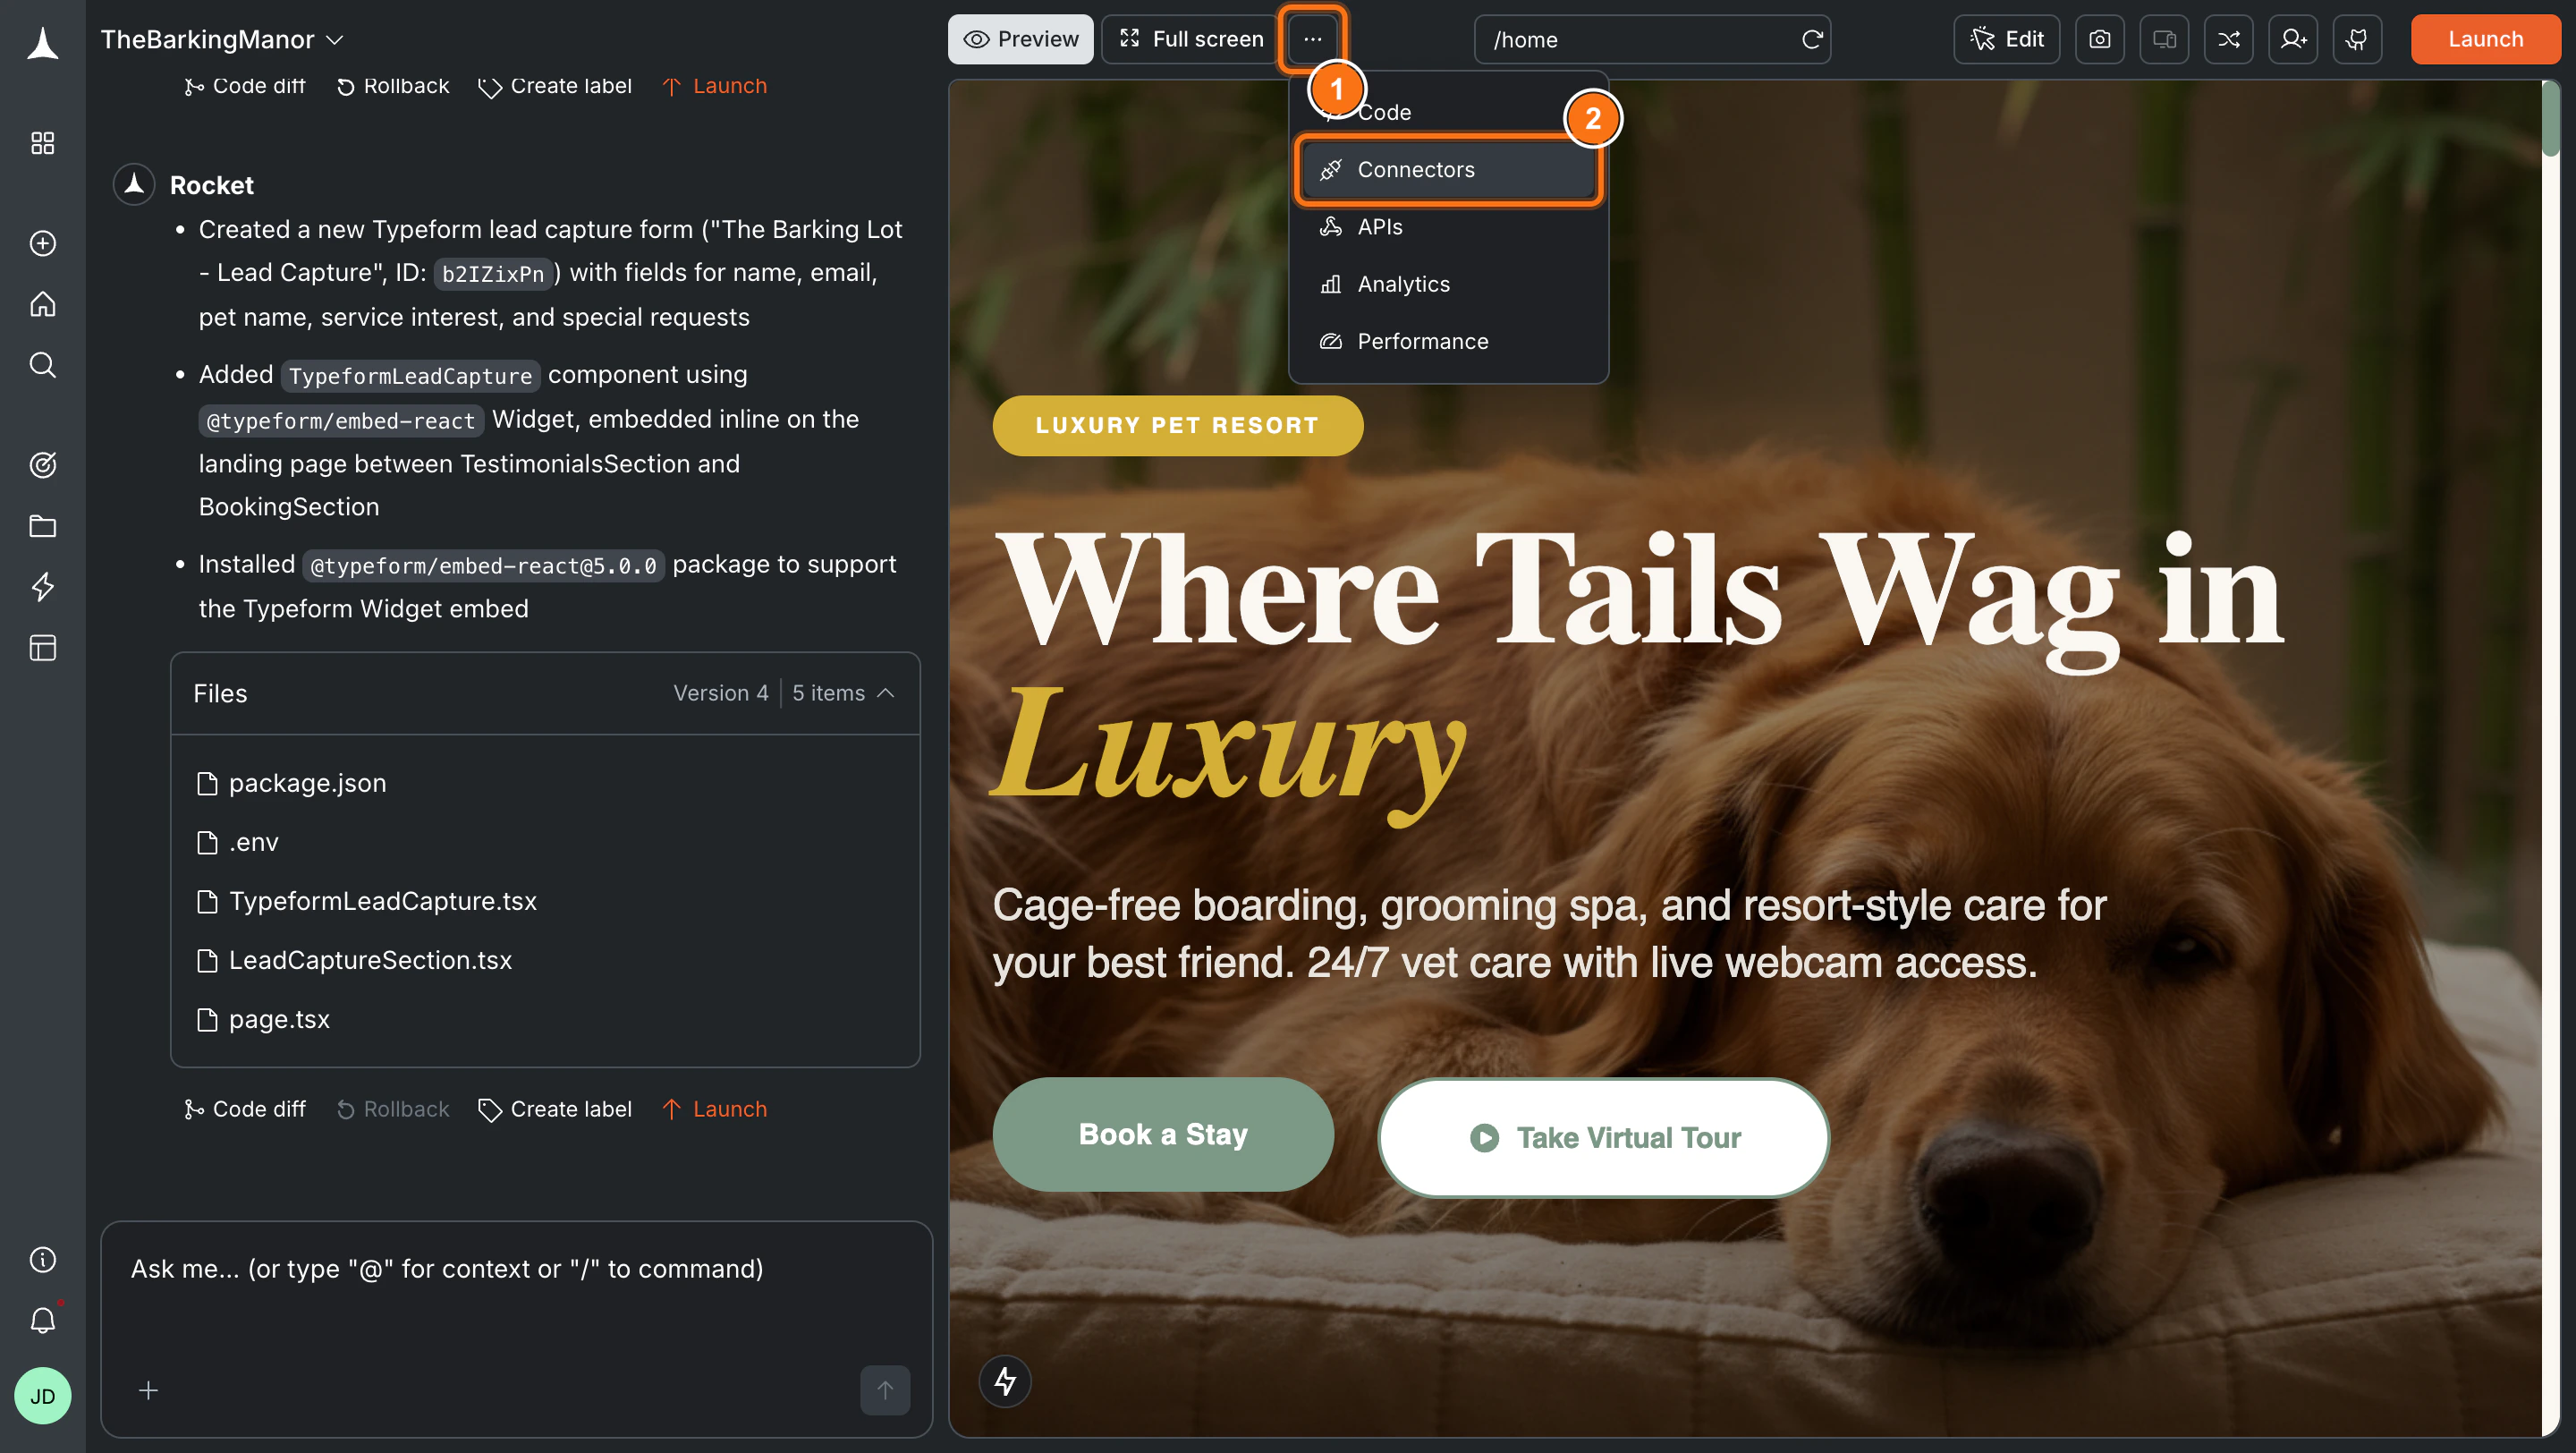
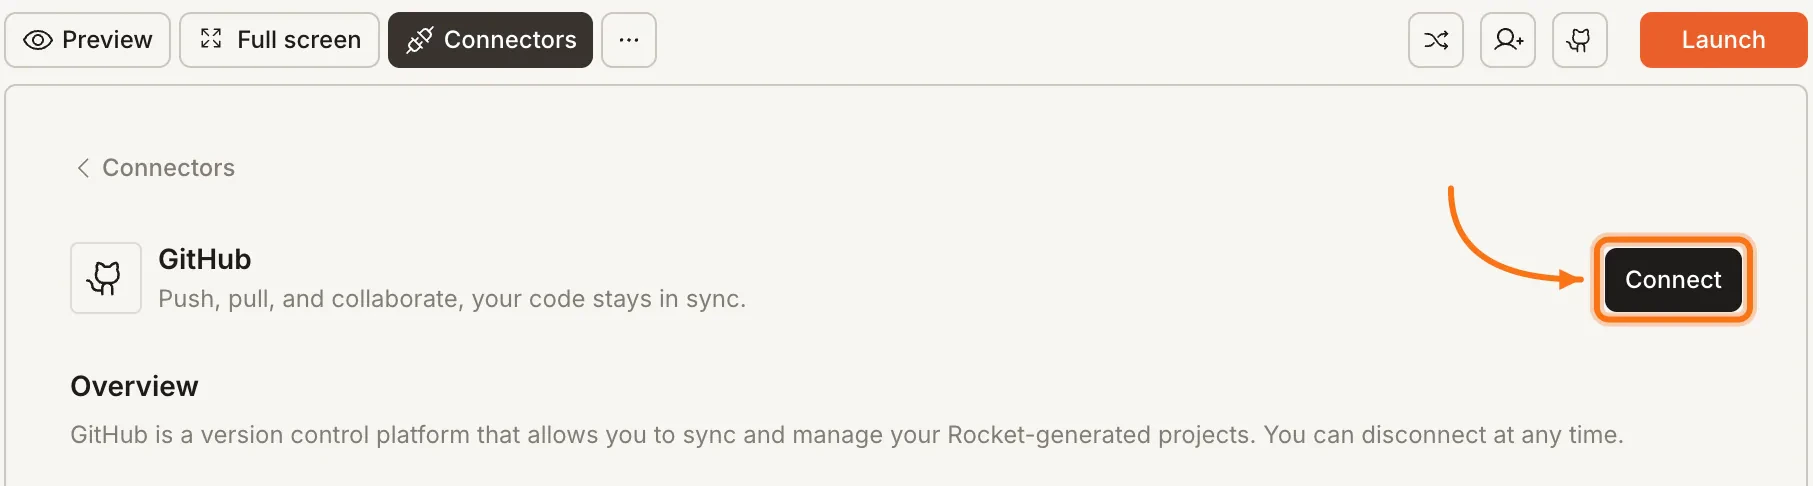
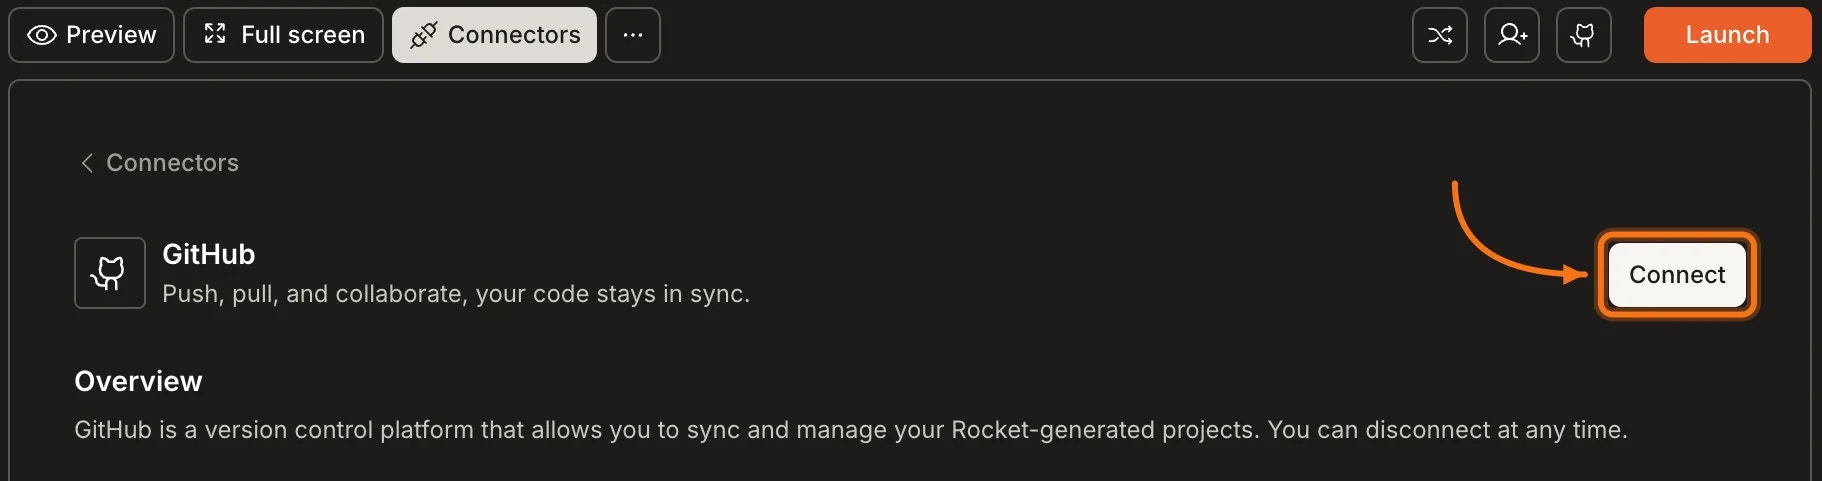
 **Option 3: From the Connectors tab**
Click the **`...`** button in the preview toolbar, then select **Connectors**.
**Option 3: From the Connectors tab**
Click the **`...`** button in the preview toolbar, then select **Connectors**.
 Click the **GitHub** card, then click **Connect**.
 **Option 4: From workspace Settings**
Connect once from Settings and it is available across all tasks.
**After clicking Connect**
You are redirected to GitHub's authorization page. Sign in if prompted, review the permissions, and click **Authorize DhiWisePvtLtd**.
**Option 4: From workspace Settings**
Connect once from Settings and it is available across all tasks.
**After clicking Connect**
You are redirected to GitHub's authorization page. Sign in if prompted, review the permissions, and click **Authorize DhiWisePvtLtd**.
 After authorization you are redirected back to Rocket with GitHub connected.
Permissions Rocket requests from GitHub: create new repositories on your behalf, read public and private repo names and metadata, and access your GitHub username and email address.
**Disconnect**
Disconnect or switch accounts from workspace Settings.
You can connect from two places. Both do the same thing.
**Option 1: From the GitHub button in the toolbar**
Tap the **GitHub** icon in the toolbar. In the popup, tap **Connect** to begin authorization.
**Option 2: From the Connectors tab**
Tap the **More** button in the header.
Tap **Integrations**.
Tap the **GitHub** card, then tap **Connect**.
**After tapping Connect**
Sign in to GitHub if prompted, review the permissions, and tap **Authorize DhiWisePvtLtd**. You are redirected back to Rocket with GitHub connected.
Permissions Rocket requests from GitHub: create new repositories on your behalf, read public and private repo names and metadata, and access your GitHub username and email address.
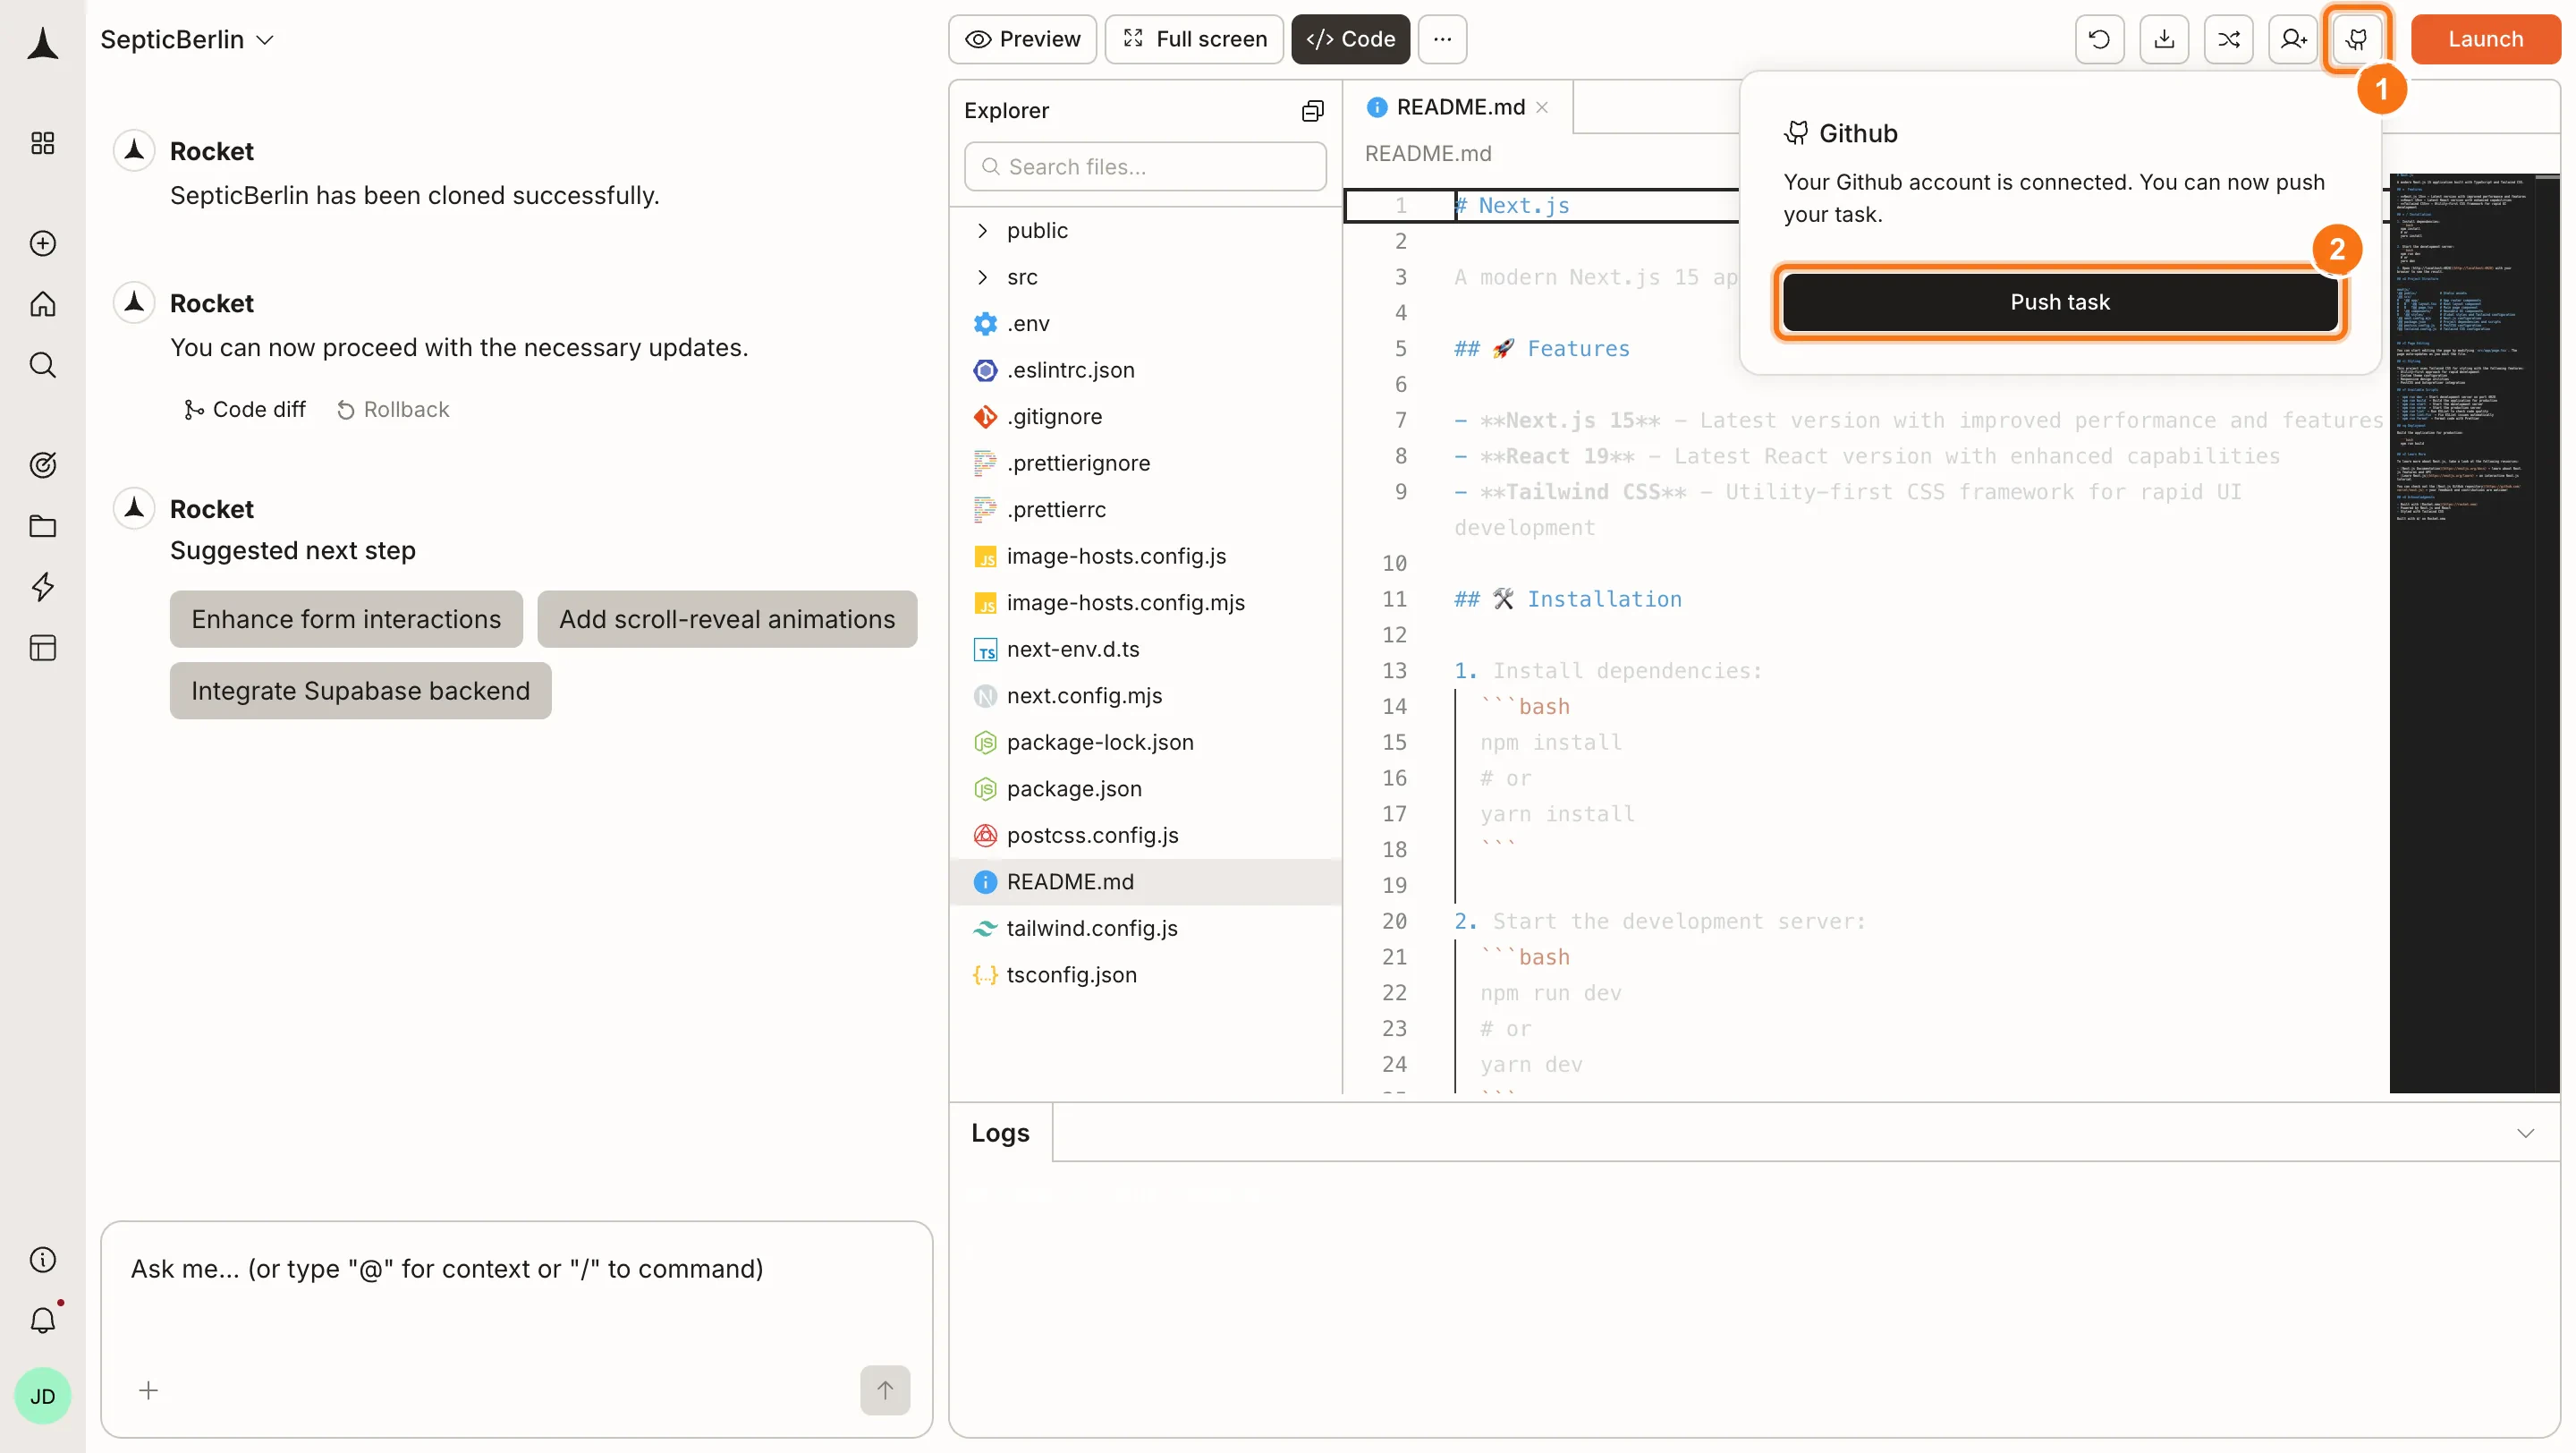
## Push to GitHub
Click the **GitHub** icon in the toolbar.
Click **Push** to send your task code to GitHub.
Rocket automatically creates a repository for you.
After authorization you are redirected back to Rocket with GitHub connected.
Permissions Rocket requests from GitHub: create new repositories on your behalf, read public and private repo names and metadata, and access your GitHub username and email address.
**Disconnect**
Disconnect or switch accounts from workspace Settings.
You can connect from two places. Both do the same thing.
**Option 1: From the GitHub button in the toolbar**
Tap the **GitHub** icon in the toolbar. In the popup, tap **Connect** to begin authorization.
**Option 2: From the Connectors tab**
Tap the **More** button in the header.
Tap **Integrations**.
Tap the **GitHub** card, then tap **Connect**.
**After tapping Connect**
Sign in to GitHub if prompted, review the permissions, and tap **Authorize DhiWisePvtLtd**. You are redirected back to Rocket with GitHub connected.
Permissions Rocket requests from GitHub: create new repositories on your behalf, read public and private repo names and metadata, and access your GitHub username and email address.
## Push to GitHub
Click the **GitHub** icon in the toolbar.
Click **Push** to send your task code to GitHub.
Rocket automatically creates a repository for you.
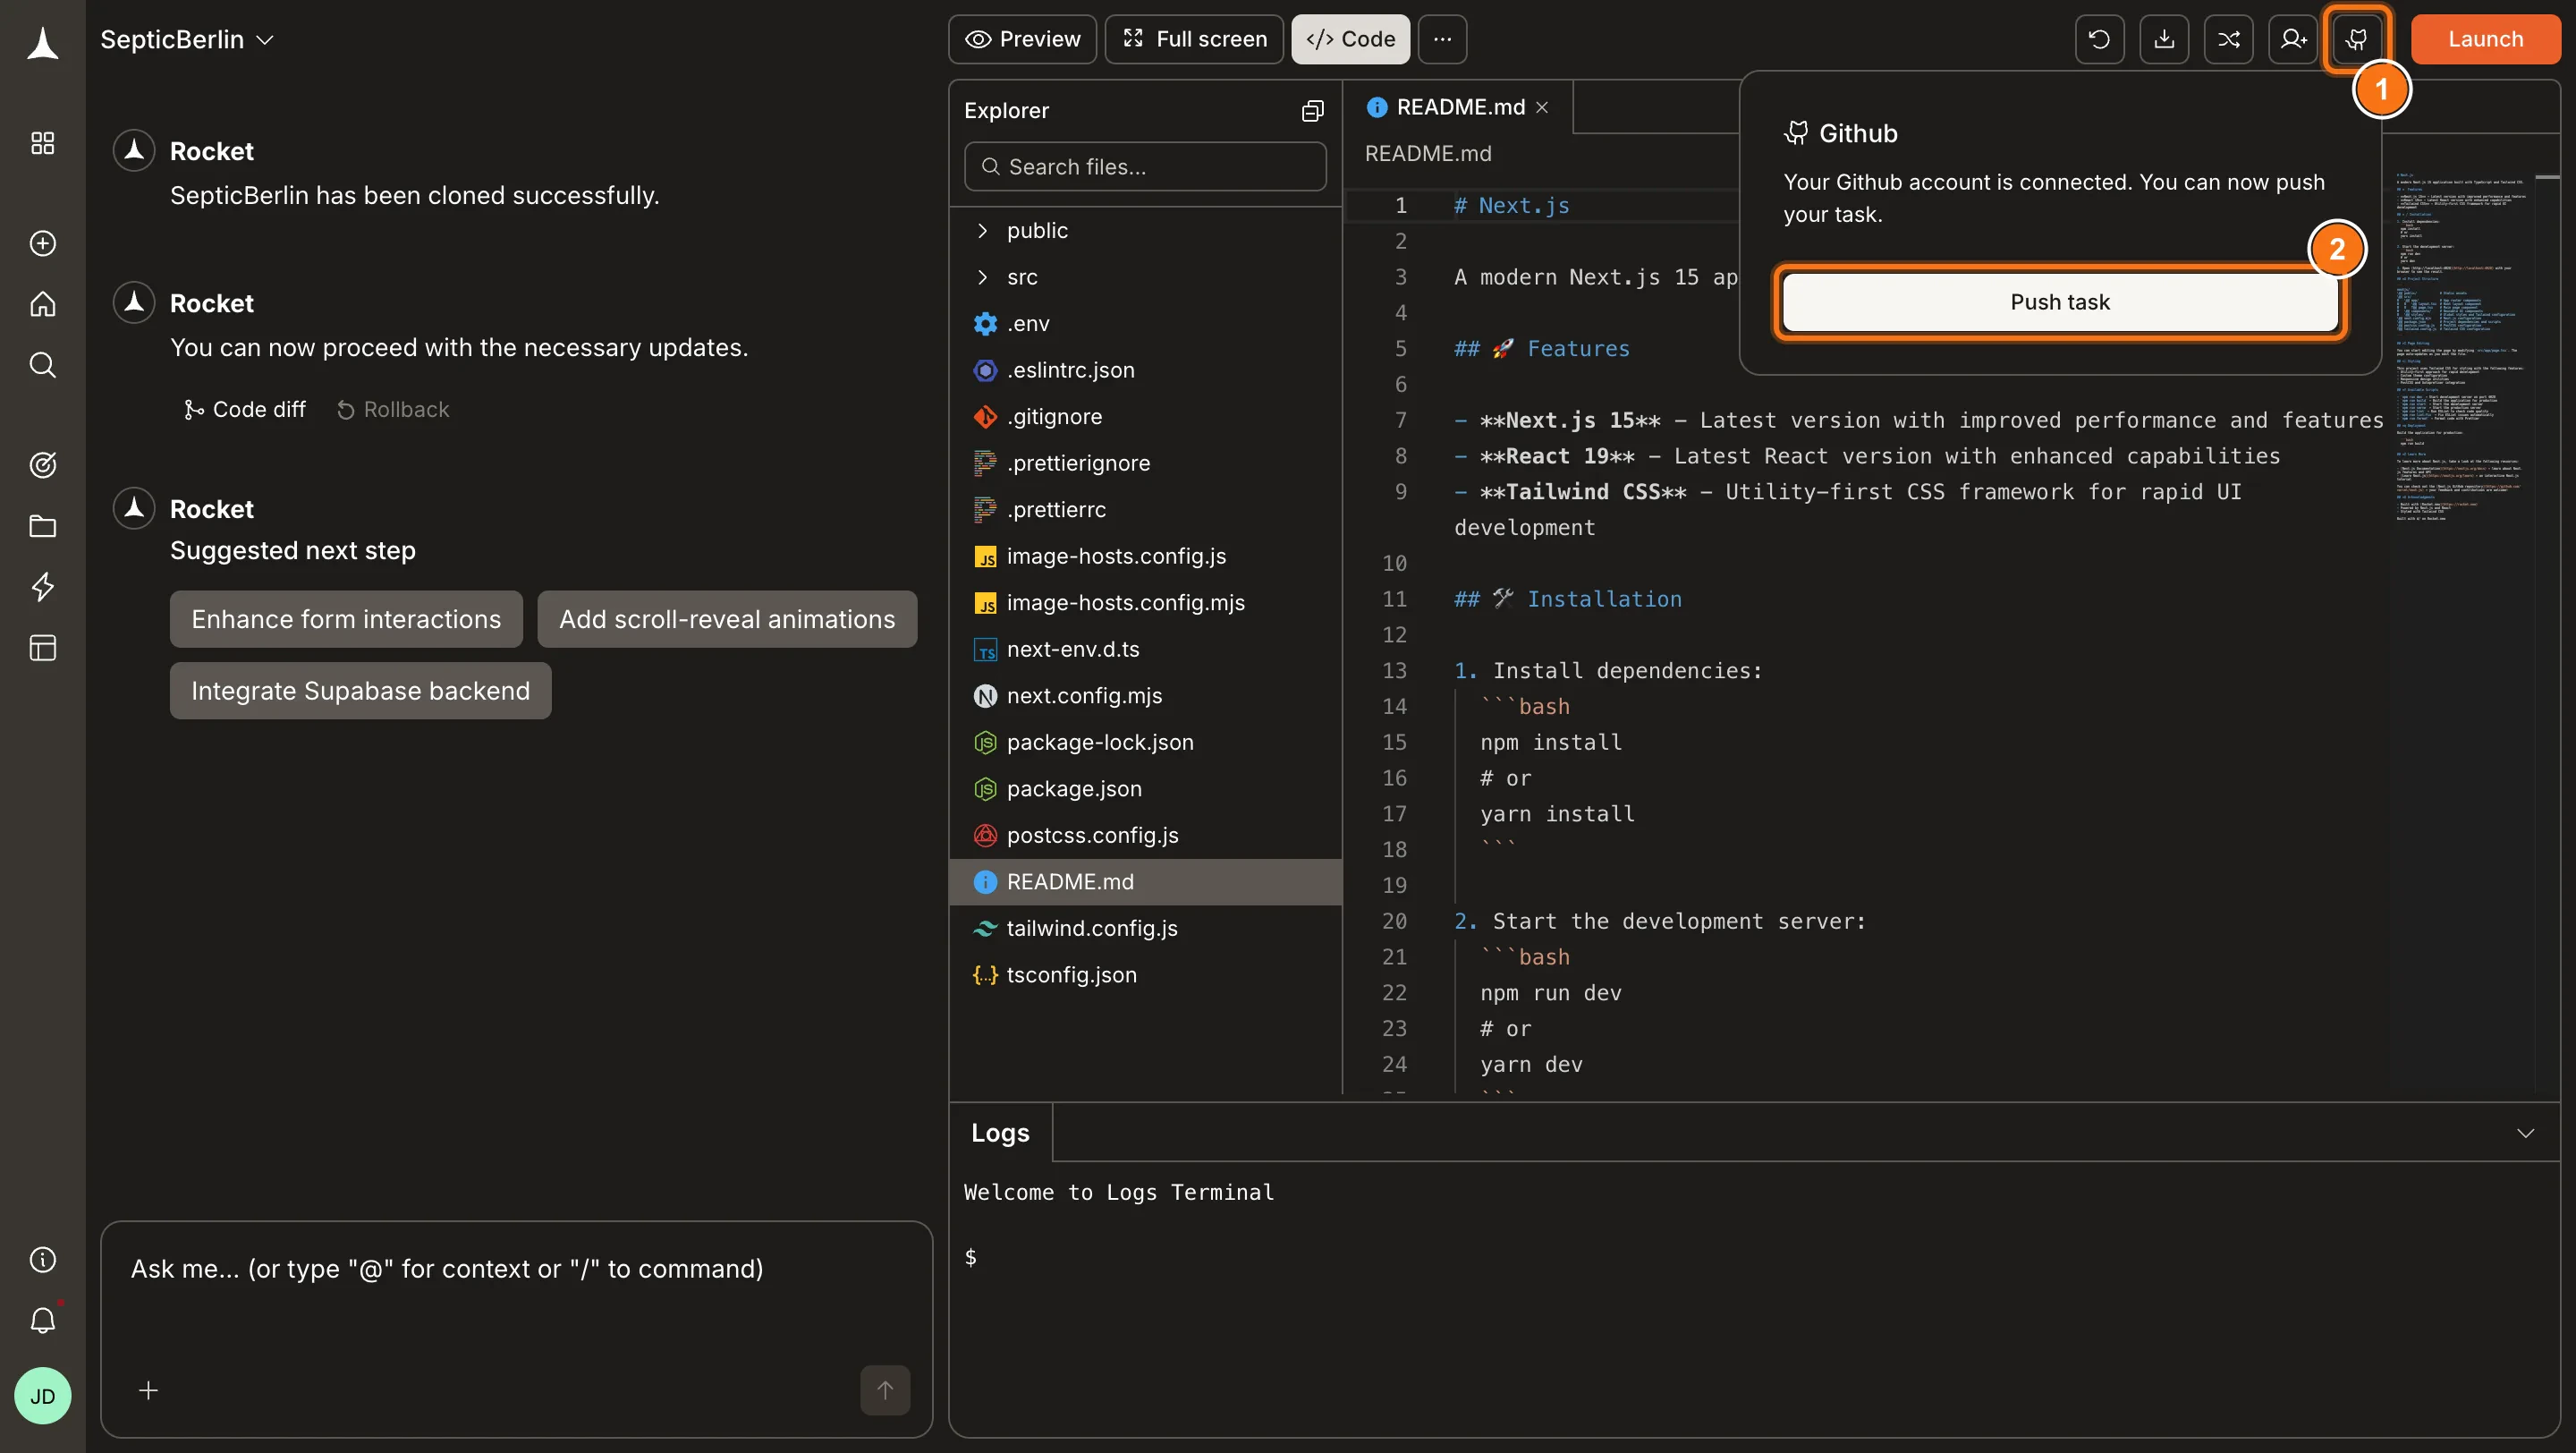 Push again anytime to update the repository with your latest changes.
For **Next.js TypeScript** tasks, Rocket pushes to the `rocket-update` branch and automatically opens a pull request to `main` each time. After the initial push, the button changes to **Pull from GitHub** so you can bring in the latest state of `main` from your local IDE or from teammates.
For all other frameworks, clicking Push sends your code to GitHub but no automatic pull request is created. Push manually whenever you want to update.
## Tips
* **Two-way sync for Next.js TypeScript.** After pushing, Rocket auto-creates a PR to `main` and the button switches to Pull from GitHub so you can import changes back into Rocket.
* **One-way sync for other frameworks.** Non-Next.js tasks support manual push only. No automatic PR is created — always make changes in Rocket first, then click Push when ready.
* **Branch behaviour.** For Next.js TypeScript, Rocket pushes to `rocket-update` and opens a PR to `main`. Pull always reads from `main`.
* **Repository naming.** Rocket automatically creates a repository for your task. Use a clear task name so repos are easy to find.
* **Public vs. private.** Public repos are great for portfolios. Private repos are better for client work or proprietary tasks.
* **Permissions are scoped.** Rocket only requests access to create repos and read metadata. It does not delete repos or modify existing code on GitHub.
## What's next?
Two-way sync for Next.js TypeScript projects. Push changes out and pull external edits back in.
Deploy your Rocket app to the web. Works great after pushing code to GitHub.
Learn more about browsing and managing your project's source code in Rocket.
Push again anytime to update the repository with your latest changes.
For **Next.js TypeScript** tasks, Rocket pushes to the `rocket-update` branch and automatically opens a pull request to `main` each time. After the initial push, the button changes to **Pull from GitHub** so you can bring in the latest state of `main` from your local IDE or from teammates.
For all other frameworks, clicking Push sends your code to GitHub but no automatic pull request is created. Push manually whenever you want to update.
## Tips
* **Two-way sync for Next.js TypeScript.** After pushing, Rocket auto-creates a PR to `main` and the button switches to Pull from GitHub so you can import changes back into Rocket.
* **One-way sync for other frameworks.** Non-Next.js tasks support manual push only. No automatic PR is created — always make changes in Rocket first, then click Push when ready.
* **Branch behaviour.** For Next.js TypeScript, Rocket pushes to `rocket-update` and opens a PR to `main`. Pull always reads from `main`.
* **Repository naming.** Rocket automatically creates a repository for your task. Use a clear task name so repos are easy to find.
* **Public vs. private.** Public repos are great for portfolios. Private repos are better for client work or proprietary tasks.
* **Permissions are scoped.** Rocket only requests access to create repos and read metadata. It does not delete repos or modify existing code on GitHub.
## What's next?
Two-way sync for Next.js TypeScript projects. Push changes out and pull external edits back in.
Deploy your Rocket app to the web. Works great after pushing code to GitHub.
Learn more about browsing and managing your project's source code in Rocket.