> ## Documentation Index
> Fetch the complete documentation index at: https://docs.rocket.new/llms.txt
> Use this file to discover all available pages before exploring further.
# Google Analytics
> Connect Google Analytics GA4 to Rocket and track page views, conversions, and traffic sources: all wired up from chat.
export const LlmsDirective = () =>
For the complete documentation index, see llms.txt.
For a lightweight markdown version of this page, append .md to the URL.
;
Describe what you want to measure in chat and Rocket wires up the tracking tags, custom events, and e-commerce data layer automatically.
## What you can do
See which pages users visit most, where they come from, and how long they stay.
Track key actions like signups, form submissions, and purchases as GA4 conversion events.
Send product views, add-to-cart actions, and purchase events to GA4 for revenue reporting.
Understand your user demographics, devices, and geographic distribution.
Track any interaction as a custom GA4 event with parameters you define.
## Before you connect
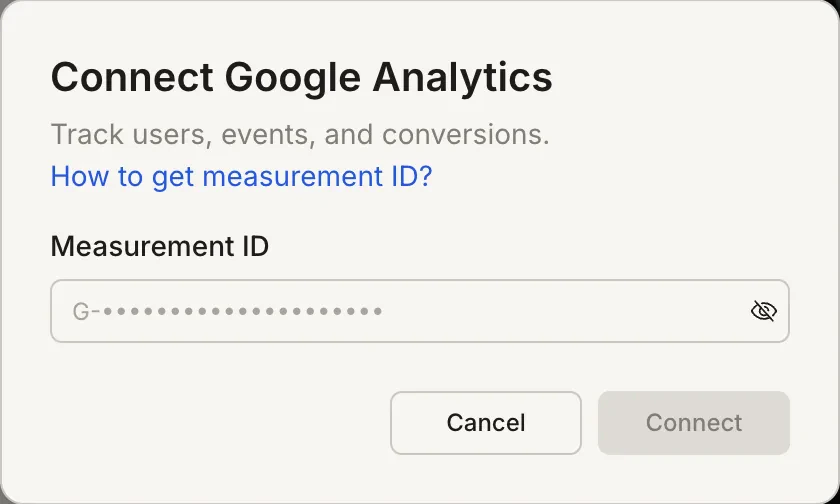
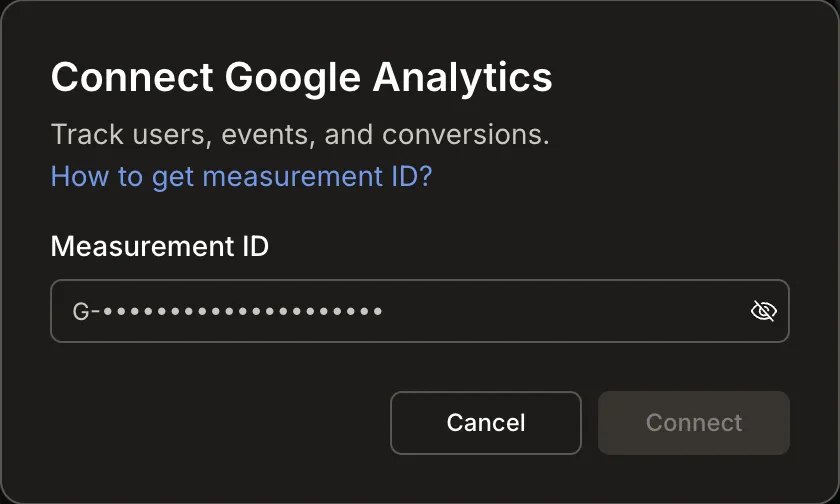
You need your **Measurement ID** from Google Analytics. It starts with `G-`, for example `G-XXXXXXXXXX`.
**Find your Measurement ID** from the Google Analytics help centre.
Go to **Admin > Data Streams**, click your stream, and copy the **Measurement ID**.
Google Analytics is a **task-level** connector. Each Rocket task connects to its own Measurement ID independently.
## Connect Google Analytics
You can connect from two places. Both do the same thing.
**Option 1: From chat**
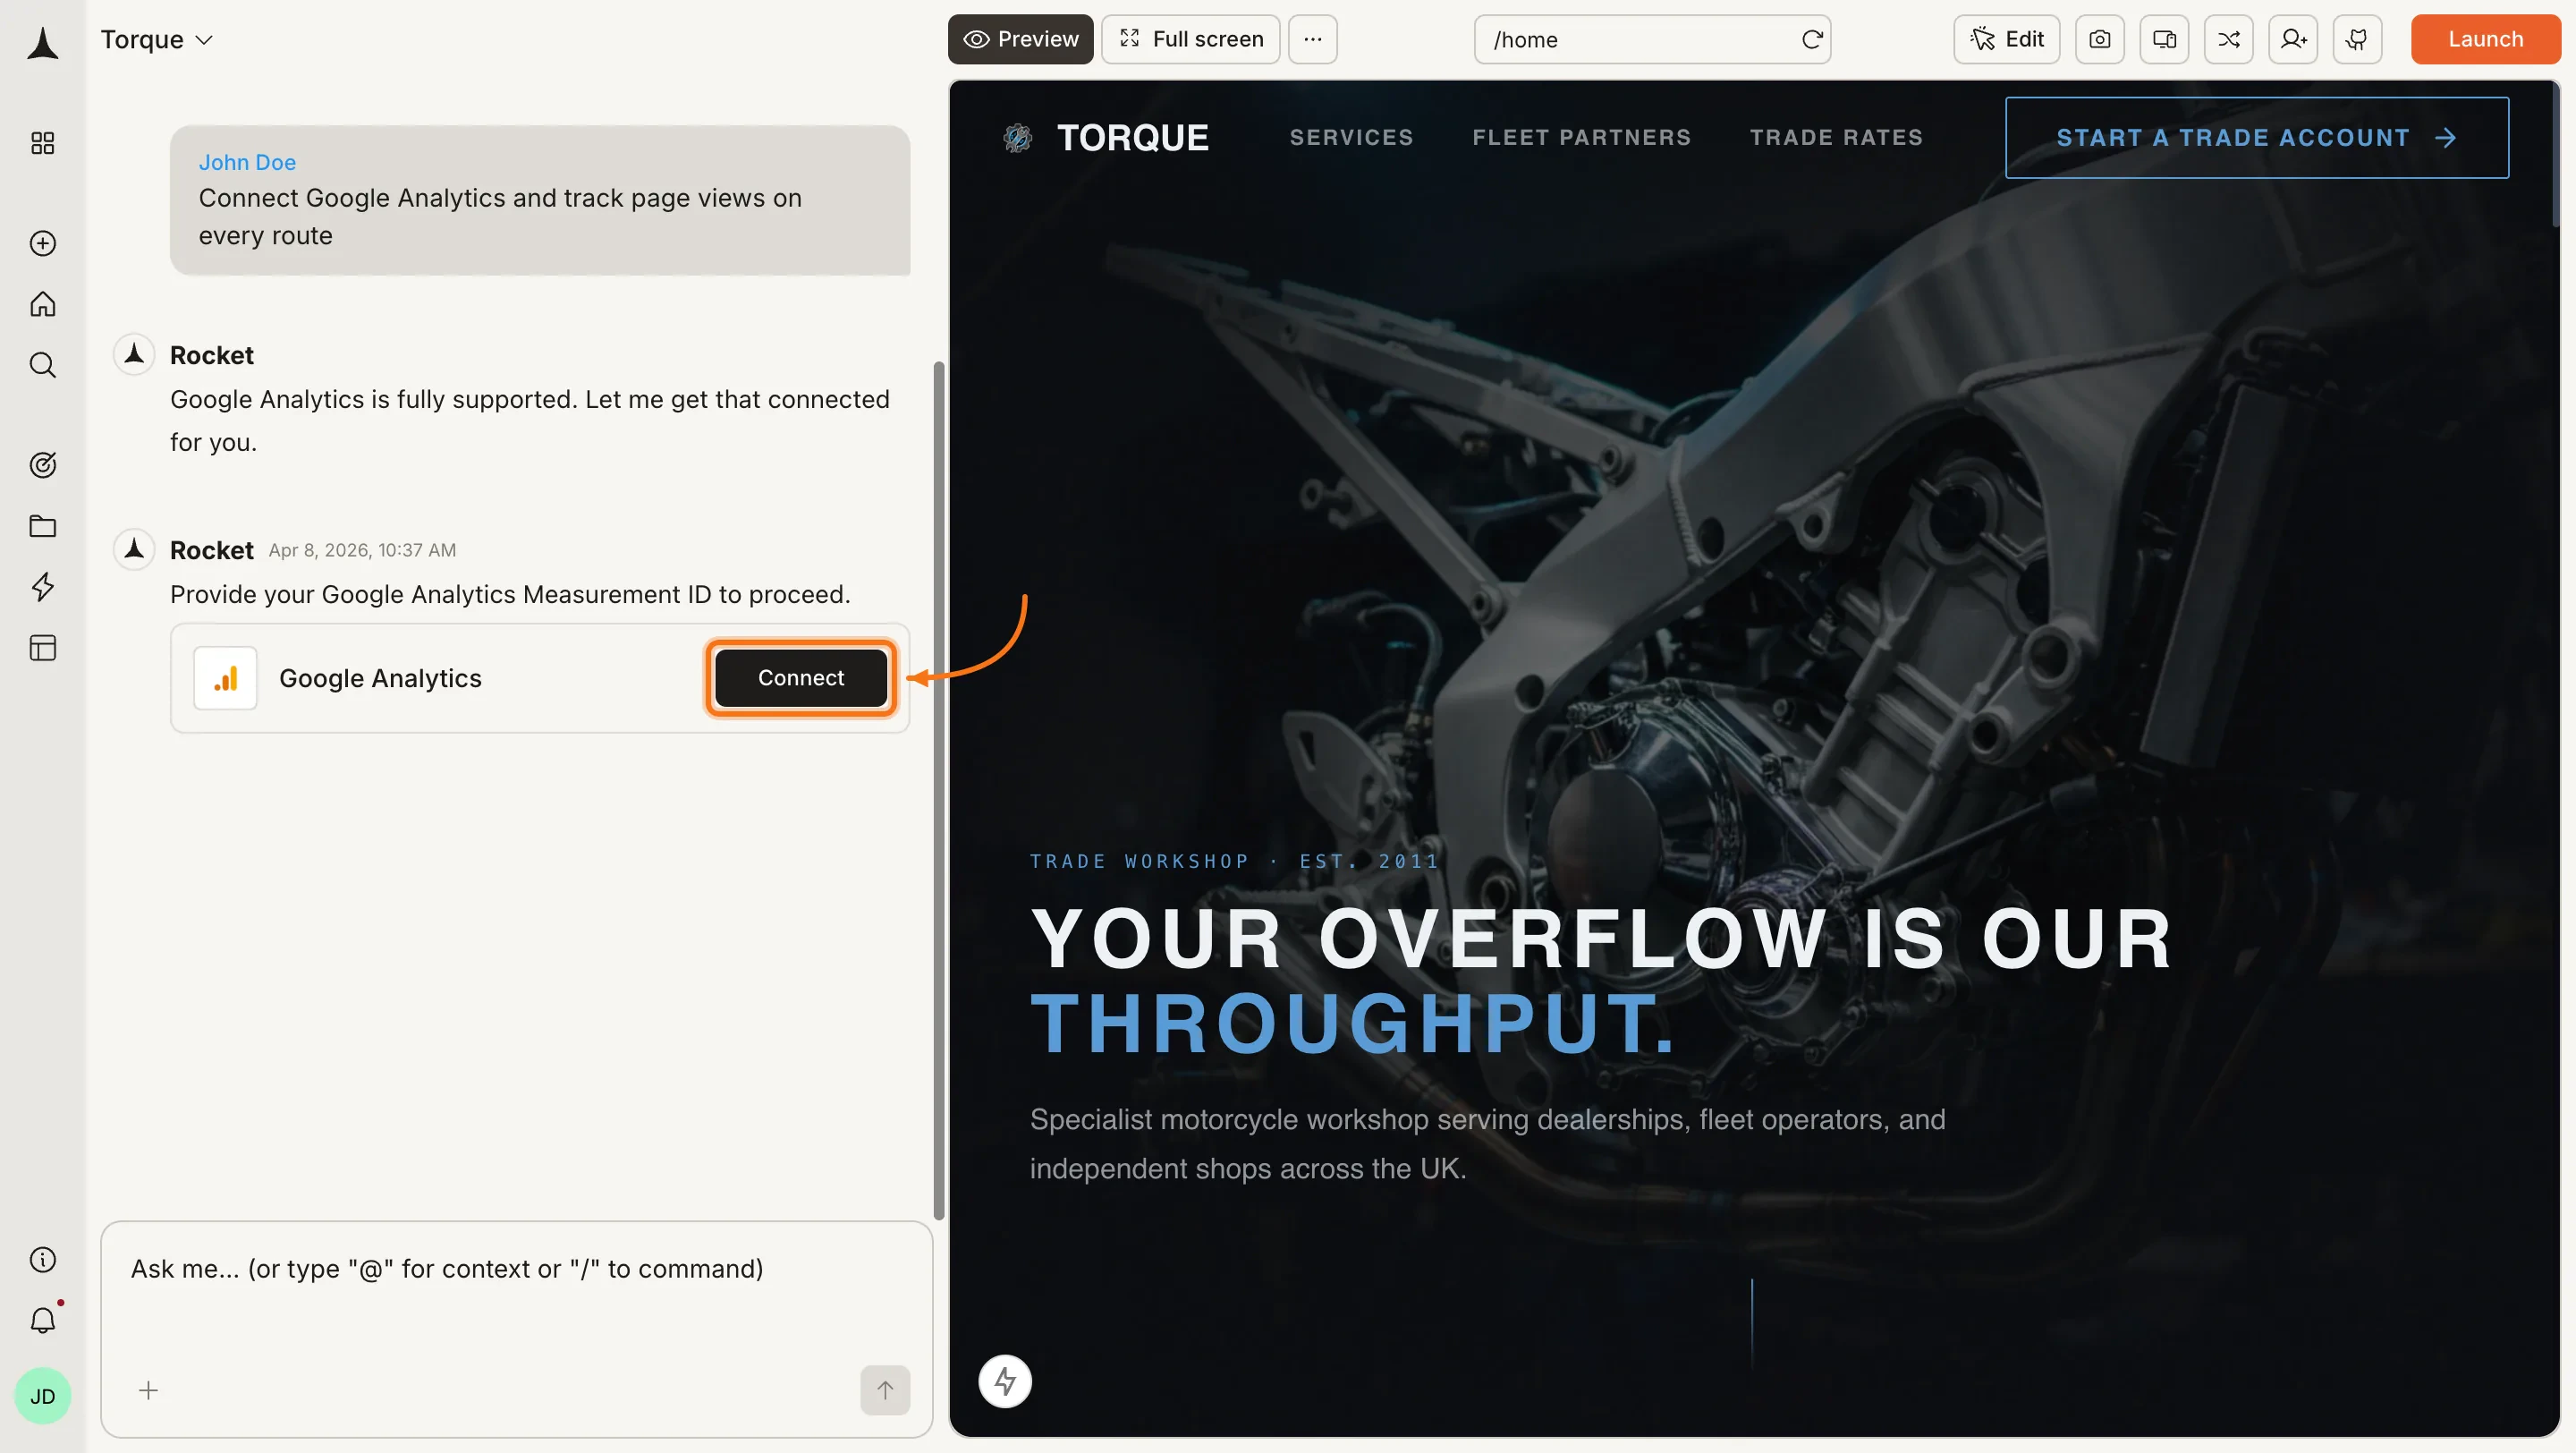
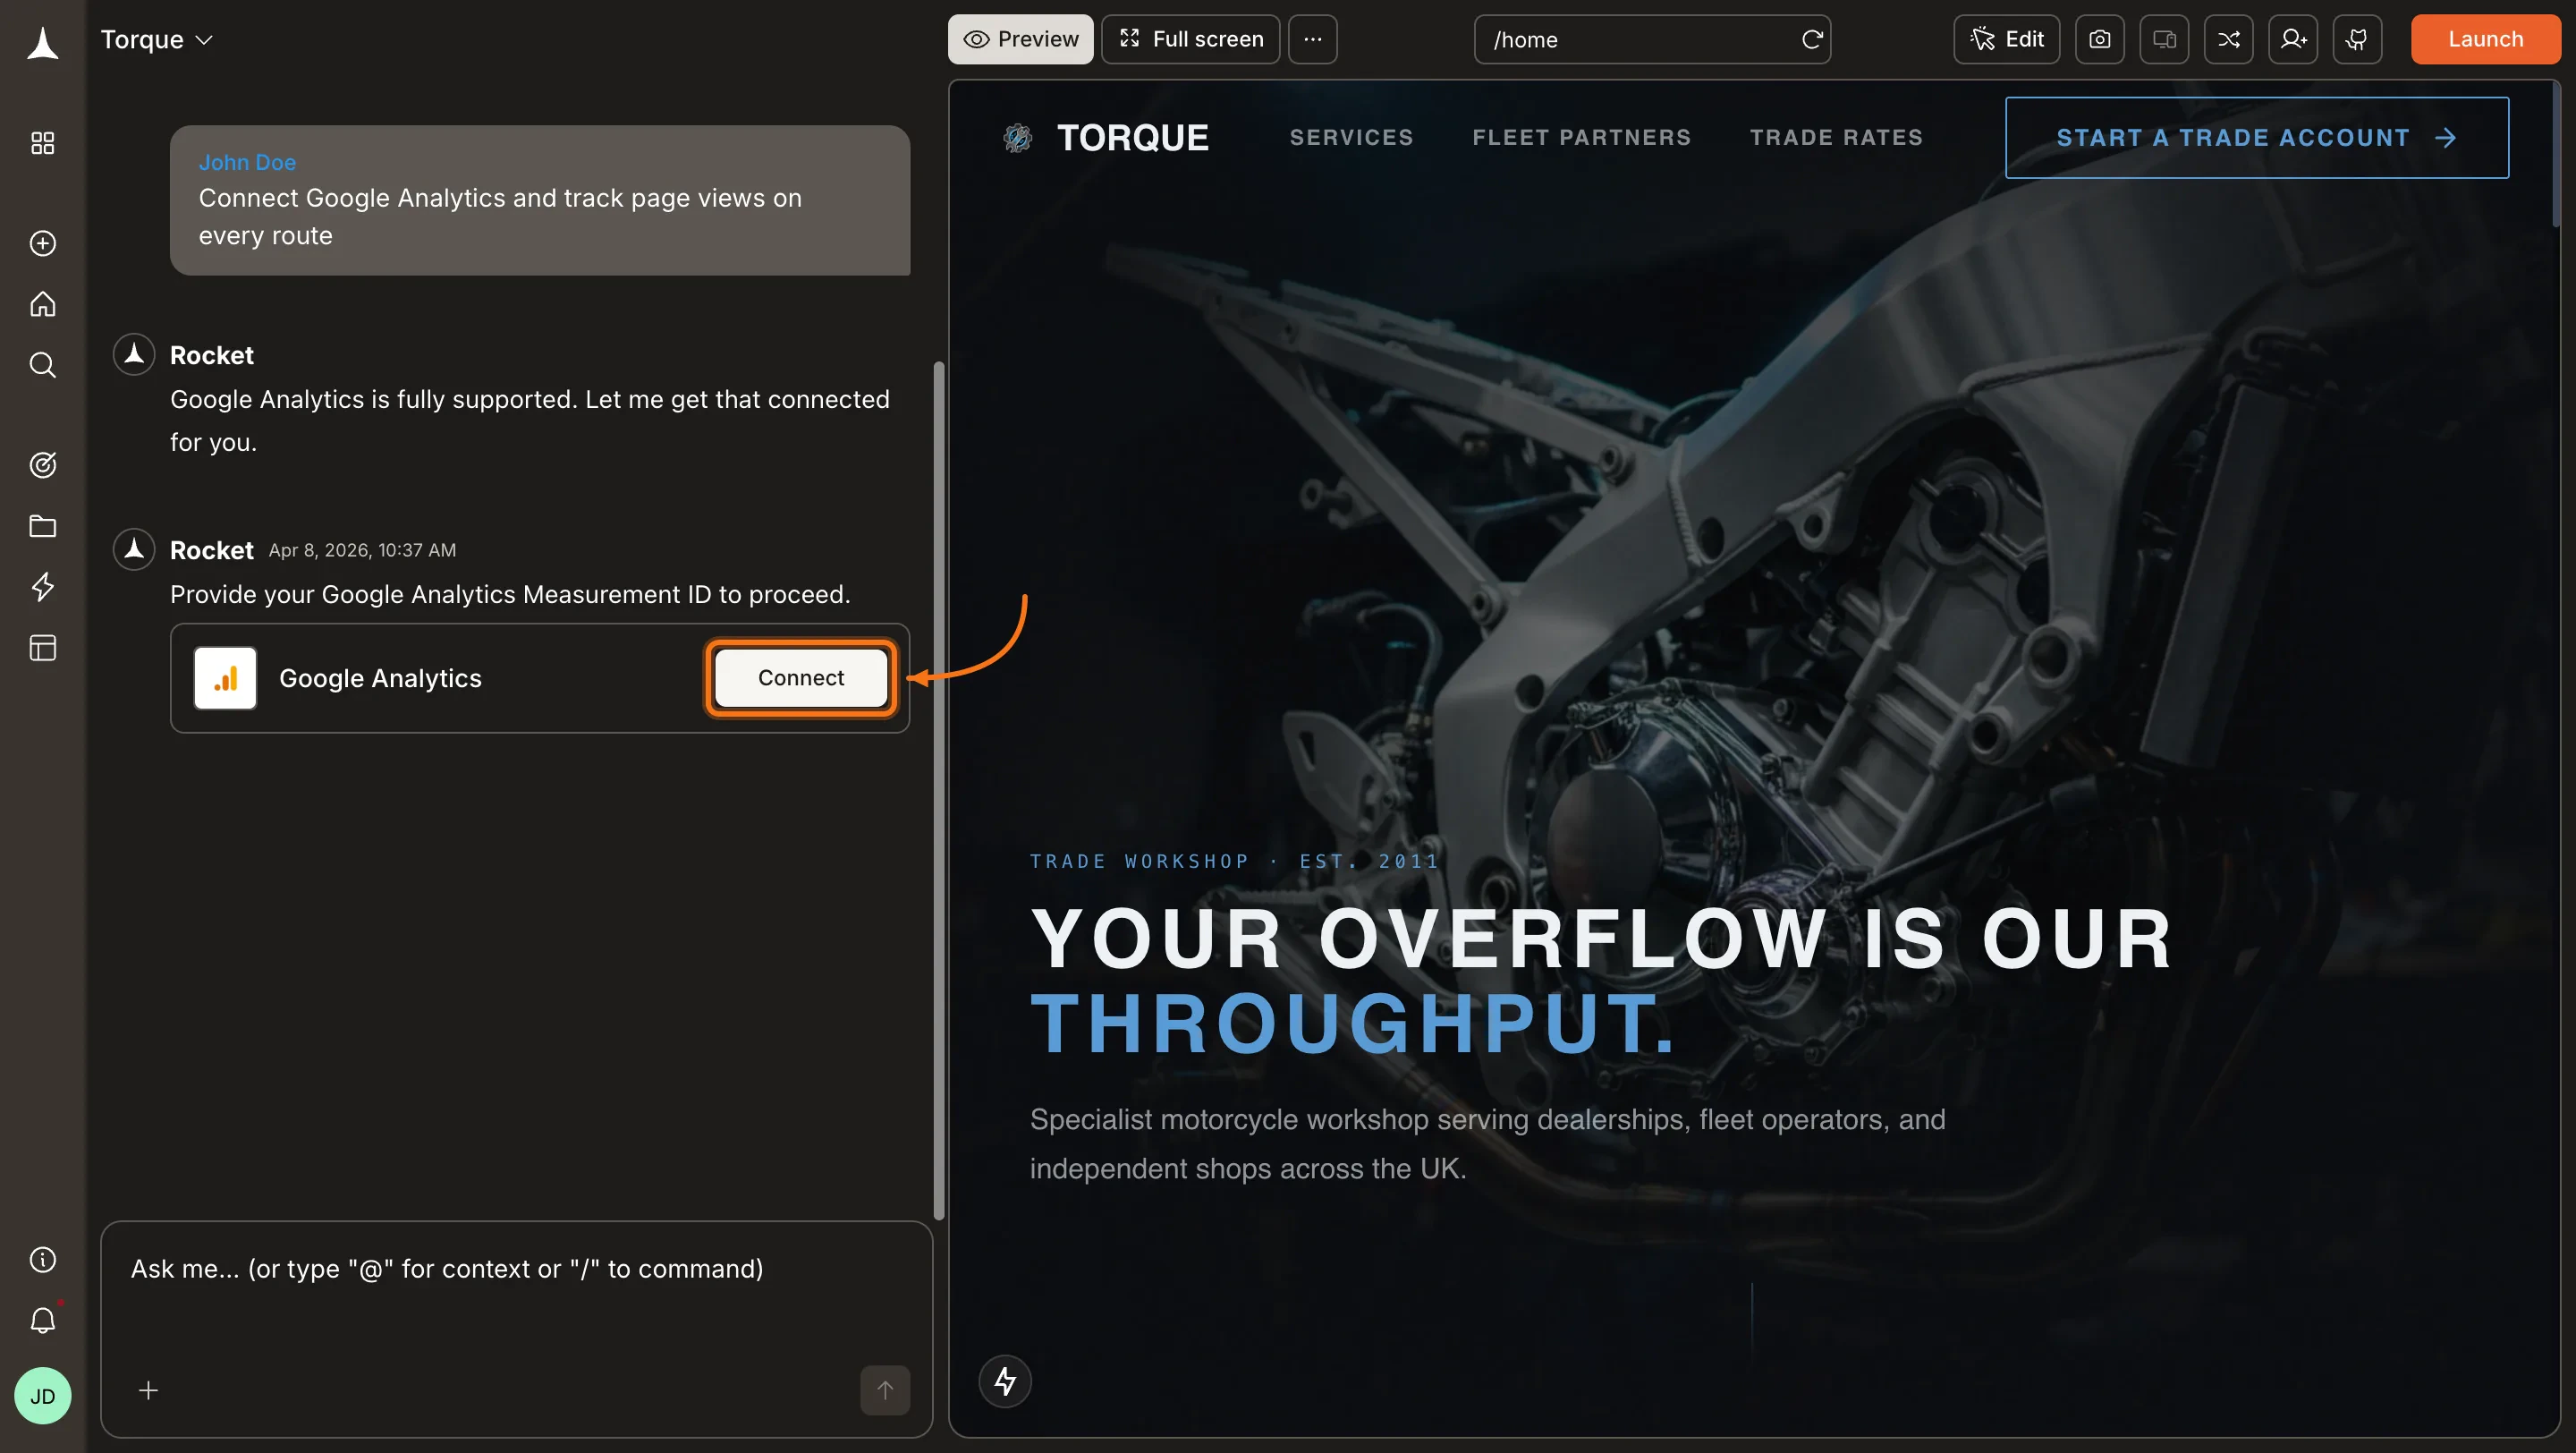
Type a prompt that mentions Google Analytics, for example `Connect Google Analytics and track page views on every route`. Rocket detects the intent and shows a **Connect** button inline. Click it to open the credentials popup.
 **Option 2: From the Connectors tab**
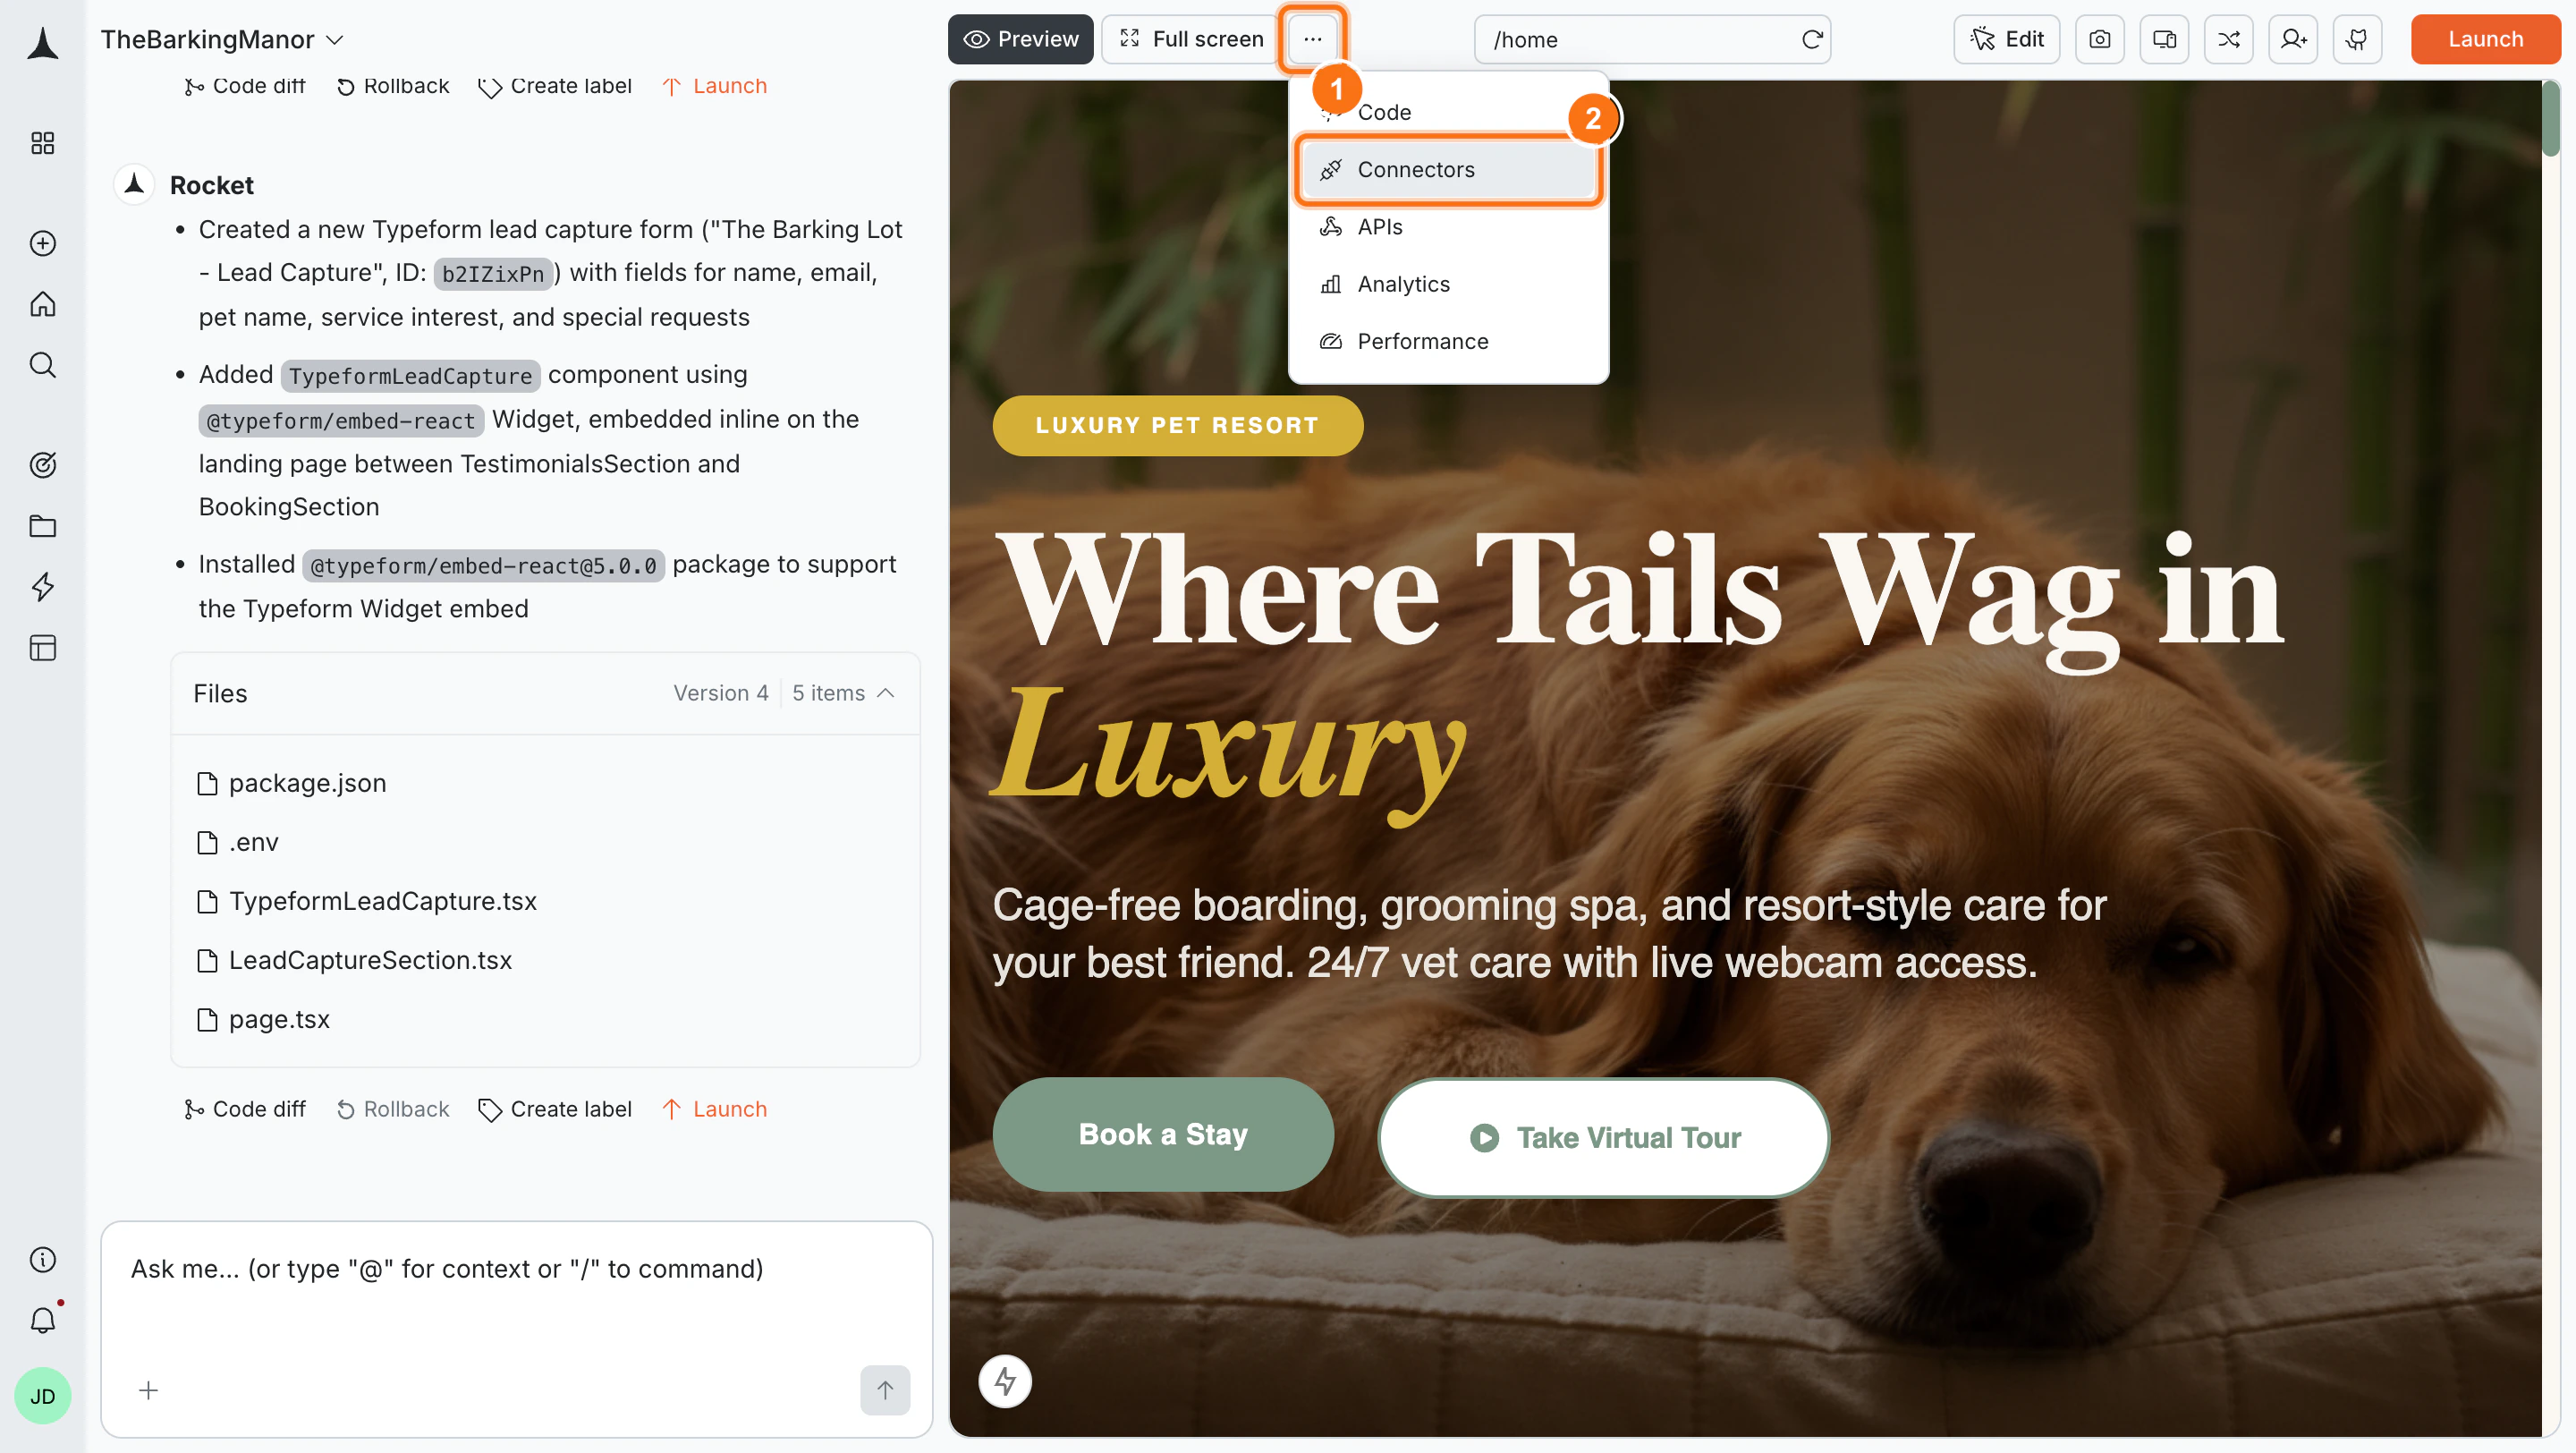
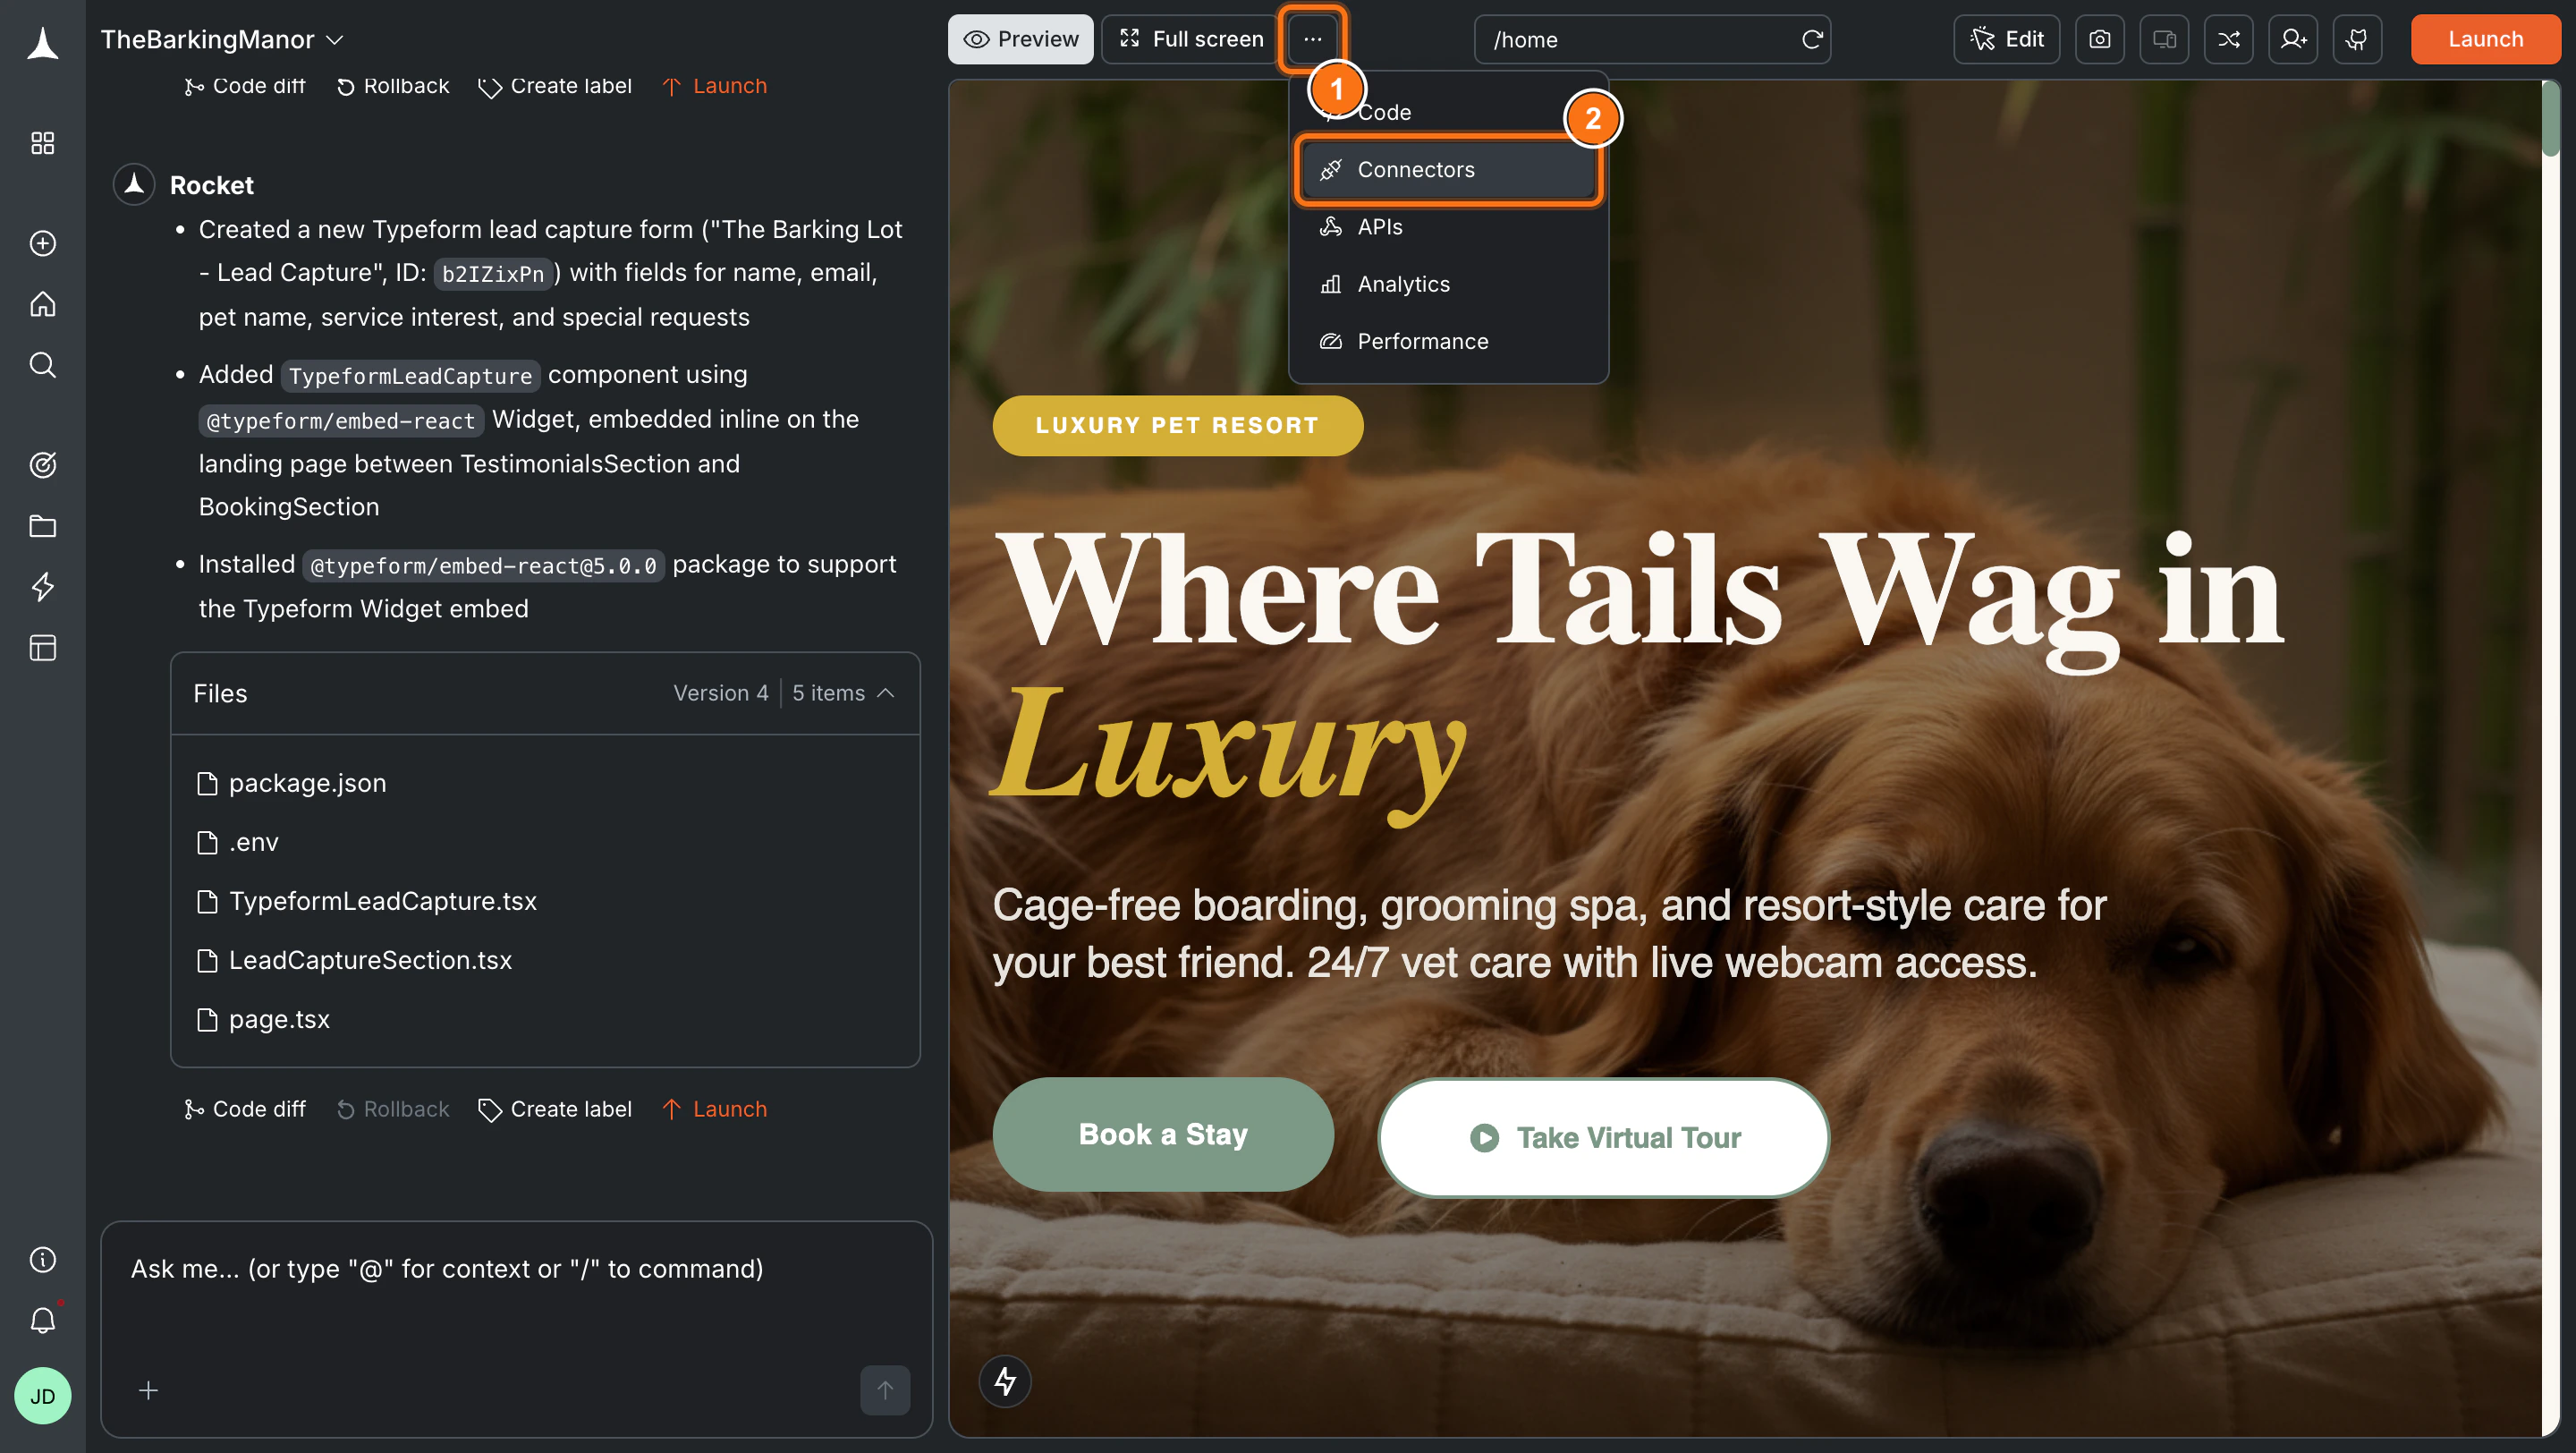
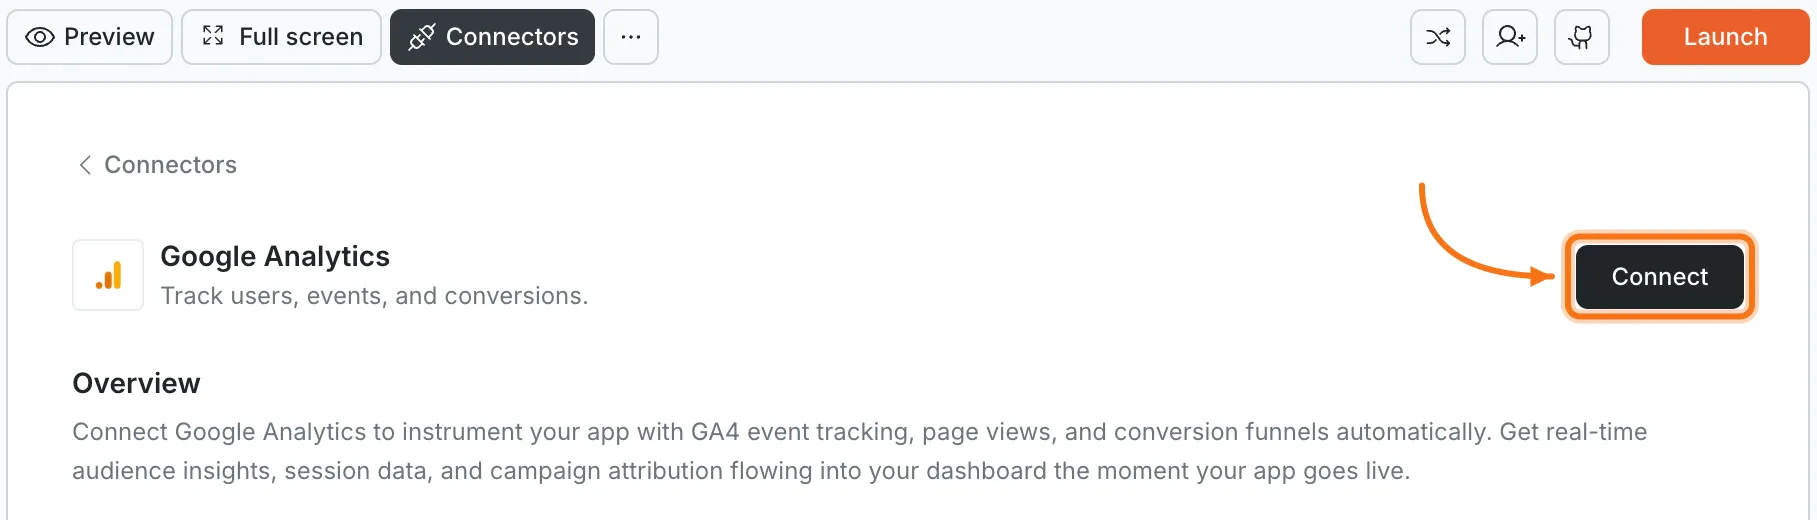
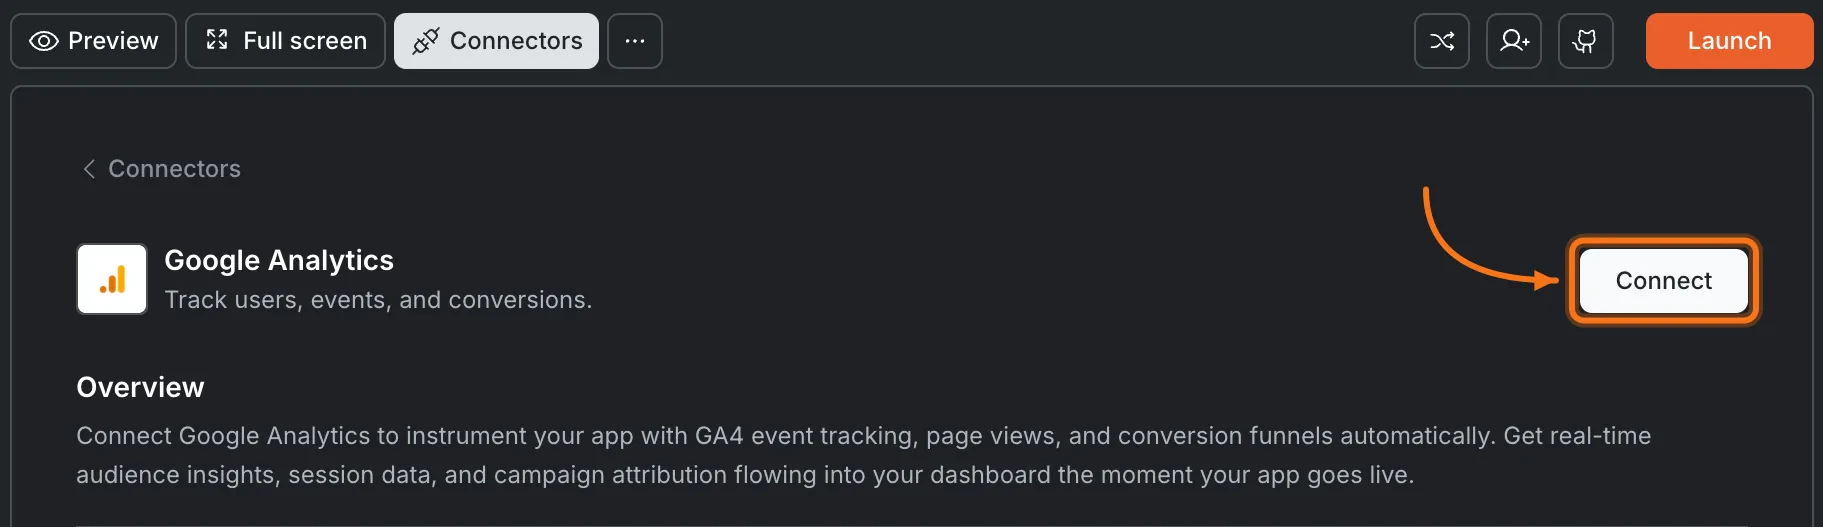
Click the **`...`** button in the preview toolbar, then select **Connectors**.
**Option 2: From the Connectors tab**
Click the **`...`** button in the preview toolbar, then select **Connectors**.
 Click the **Google Analytics** card, then click **Connect**.
 **After clicking Connect**
A popup opens. Enter your **Measurement ID**, then click **Connect**.
**After clicking Connect**
A popup opens. Enter your **Measurement ID**, then click **Connect**.
 A green dot appears next to Google Analytics when the connection is active.
**Update or disconnect**
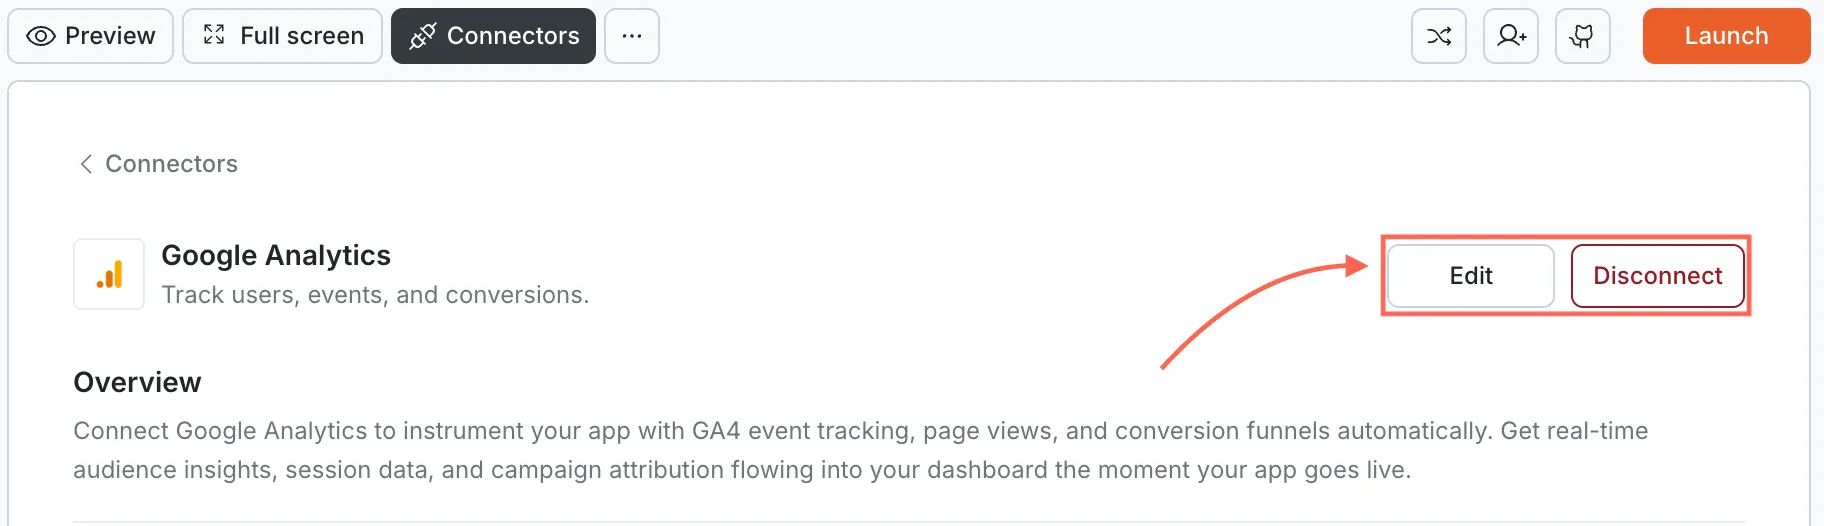
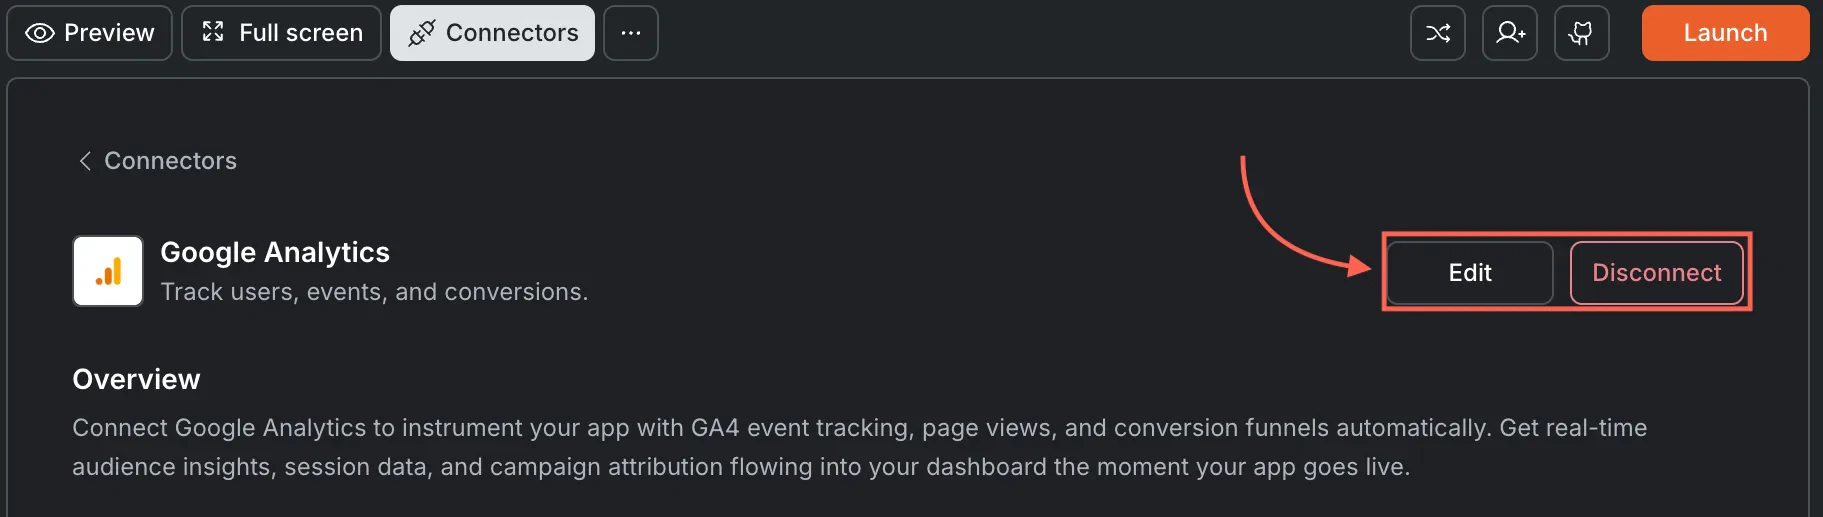
Open [**Connectors > Google Analytics**](#connect-google-analytics) and click the card. Click **Edit** to update your Measurement ID or **Disconnect** to remove the integration from this task.
A green dot appears next to Google Analytics when the connection is active.
**Update or disconnect**
Open [**Connectors > Google Analytics**](#connect-google-analytics) and click the card. Click **Edit** to update your Measurement ID or **Disconnect** to remove the integration from this task.
 You can connect from two places. Both do the same thing.
**Option 1: From chat**
Type a prompt that mentions Google Analytics. Rocket detects the intent and shows a **Connect** button inline. Tap it to open the credentials screen.
**Option 2: From the Connectors tab**
1. Tap the **More** button in the header.
2. Tap **Integrations**.
3. Tap the **Google Analytics** card, then tap **Connect**.
**After tapping Connect**
A popup opens. Enter your **Measurement ID**, then tap **Done**.
A green dot appears next to Google Analytics when the connection is active.
**Update or disconnect**
Go back to the **Google Analytics** card in Integrations. Tap **Edit** to update your Measurement ID or **Disconnect** to remove it from this task.
## Example prompts
| What you want | Prompt to use |
| :------------------ | :------------------------------------------------------------------------------------ |
| Page views | `Track page views on every route and send them to Google Analytics automatically.` |
| Button clicks | `Track clicks on the Sign Up and Contact Sales buttons as GA4 custom events.` |
| Form submissions | `Send a conversion event to GA4 when users submit the contact form.` |
| E-commerce purchase | `Track completed purchases with order total, product names, and quantities in GA4.` |
| Scroll depth | `Track when users scroll past 25%, 50%, 75%, and 100% of the page.` |
| Outbound links | `Track clicks on external links as GA4 events with the destination URL.` |
| Search tracking | `Send a search event to GA4 when users use the site search bar, including the query.` |
| Video engagement | `Track play, pause, and completion events for embedded videos in GA4.` |
| UTM attribution | `Parse UTM parameters from the URL and forward them to GA4 as campaign data.` |
| User properties | `Set GA4 user properties for plan type and signup date when users log in.` |
## Tips
* **Tracking only works on deployed tasks.** Google Analytics does not fire events in the Rocket preview. Deploy your task and test on the live URL.
* **GA4 data has a processing delay.** Real-time reports update within seconds, but standard reports may take 24 to 48 hours to fully populate.
* **Only GA4 Measurement IDs are supported.** IDs start with `G-`. Universal Analytics (`UA-`) was sunset in 2024 and no longer processes data.
* **Ad blockers may prevent tracking.** Some users run browser extensions that block Google Analytics scripts. Keep this in mind when evaluating traffic numbers.
* **One Measurement ID per task.** Each Rocket task connects to one Google Analytics property. Use different tasks for different properties.
## What's next?
Need deeper event-level analytics? Add Mixpanel for funnel analysis and user segmentation.
Track checkout conversion rates and revenue attribution with Stripe and GA4 together.
Monetize your traffic with Google AdSense display ads.
Deploy your task so Google Analytics can start collecting real data.
You can connect from two places. Both do the same thing.
**Option 1: From chat**
Type a prompt that mentions Google Analytics. Rocket detects the intent and shows a **Connect** button inline. Tap it to open the credentials screen.
**Option 2: From the Connectors tab**
1. Tap the **More** button in the header.
2. Tap **Integrations**.
3. Tap the **Google Analytics** card, then tap **Connect**.
**After tapping Connect**
A popup opens. Enter your **Measurement ID**, then tap **Done**.
A green dot appears next to Google Analytics when the connection is active.
**Update or disconnect**
Go back to the **Google Analytics** card in Integrations. Tap **Edit** to update your Measurement ID or **Disconnect** to remove it from this task.
## Example prompts
| What you want | Prompt to use |
| :------------------ | :------------------------------------------------------------------------------------ |
| Page views | `Track page views on every route and send them to Google Analytics automatically.` |
| Button clicks | `Track clicks on the Sign Up and Contact Sales buttons as GA4 custom events.` |
| Form submissions | `Send a conversion event to GA4 when users submit the contact form.` |
| E-commerce purchase | `Track completed purchases with order total, product names, and quantities in GA4.` |
| Scroll depth | `Track when users scroll past 25%, 50%, 75%, and 100% of the page.` |
| Outbound links | `Track clicks on external links as GA4 events with the destination URL.` |
| Search tracking | `Send a search event to GA4 when users use the site search bar, including the query.` |
| Video engagement | `Track play, pause, and completion events for embedded videos in GA4.` |
| UTM attribution | `Parse UTM parameters from the URL and forward them to GA4 as campaign data.` |
| User properties | `Set GA4 user properties for plan type and signup date when users log in.` |
## Tips
* **Tracking only works on deployed tasks.** Google Analytics does not fire events in the Rocket preview. Deploy your task and test on the live URL.
* **GA4 data has a processing delay.** Real-time reports update within seconds, but standard reports may take 24 to 48 hours to fully populate.
* **Only GA4 Measurement IDs are supported.** IDs start with `G-`. Universal Analytics (`UA-`) was sunset in 2024 and no longer processes data.
* **Ad blockers may prevent tracking.** Some users run browser extensions that block Google Analytics scripts. Keep this in mind when evaluating traffic numbers.
* **One Measurement ID per task.** Each Rocket task connects to one Google Analytics property. Use different tasks for different properties.
## What's next?
Need deeper event-level analytics? Add Mixpanel for funnel analysis and user segmentation.
Track checkout conversion rates and revenue attribution with Stripe and GA4 together.
Monetize your traffic with Google AdSense display ads.
Deploy your task so Google Analytics can start collecting real data.