> ## Documentation Index
> Fetch the complete documentation index at: https://docs.rocket.new/llms.txt
> Use this file to discover all available pages before exploring further.
# MailerLite
> Connect MailerLite to your Rocket.new app - build newsletters, subscriber forms, and email automation.
export const LlmsDirective = () =>
For the complete documentation index, see llms.txt.
For a lightweight markdown version of this page, append .md to the URL.
;
Connect MailerLite and describe the email flow you want in chat. Rocket generates the complete logic: signup forms, subscriber list management, automation triggers, and email sending.
MailerLite is ideal for clean, straightforward email marketing without the complexity of enterprise platforms. Pair with [Supabase](/build/connectors/supabase/overview) for user data and [Stripe](/build/connectors/stripe) for payment-triggered emails.
## What you can do
Collect subscriber emails through forms and deliver regular newsletters with rich content.
Embedded forms, popups, and scroll-triggered captures that grow your email list.
Waitlists and early access campaigns with subscriber tagging.
Drip campaigns and automation workflows triggered by subscriber actions.
Organize subscribers into groups and send targeted emails based on interests or behavior.
## Before you connect
You need your **API token** from the MailerLite dashboard.
**Create or copy your MailerLite API token**
Never paste your MailerLite API token directly into chat. Always use the secure connection popup. If your token has been exposed, revoke it from MailerLite and generate a new one.
## Connect MailerLite
You can connect from two places - both open the same popup.
**Option 1: From chat**
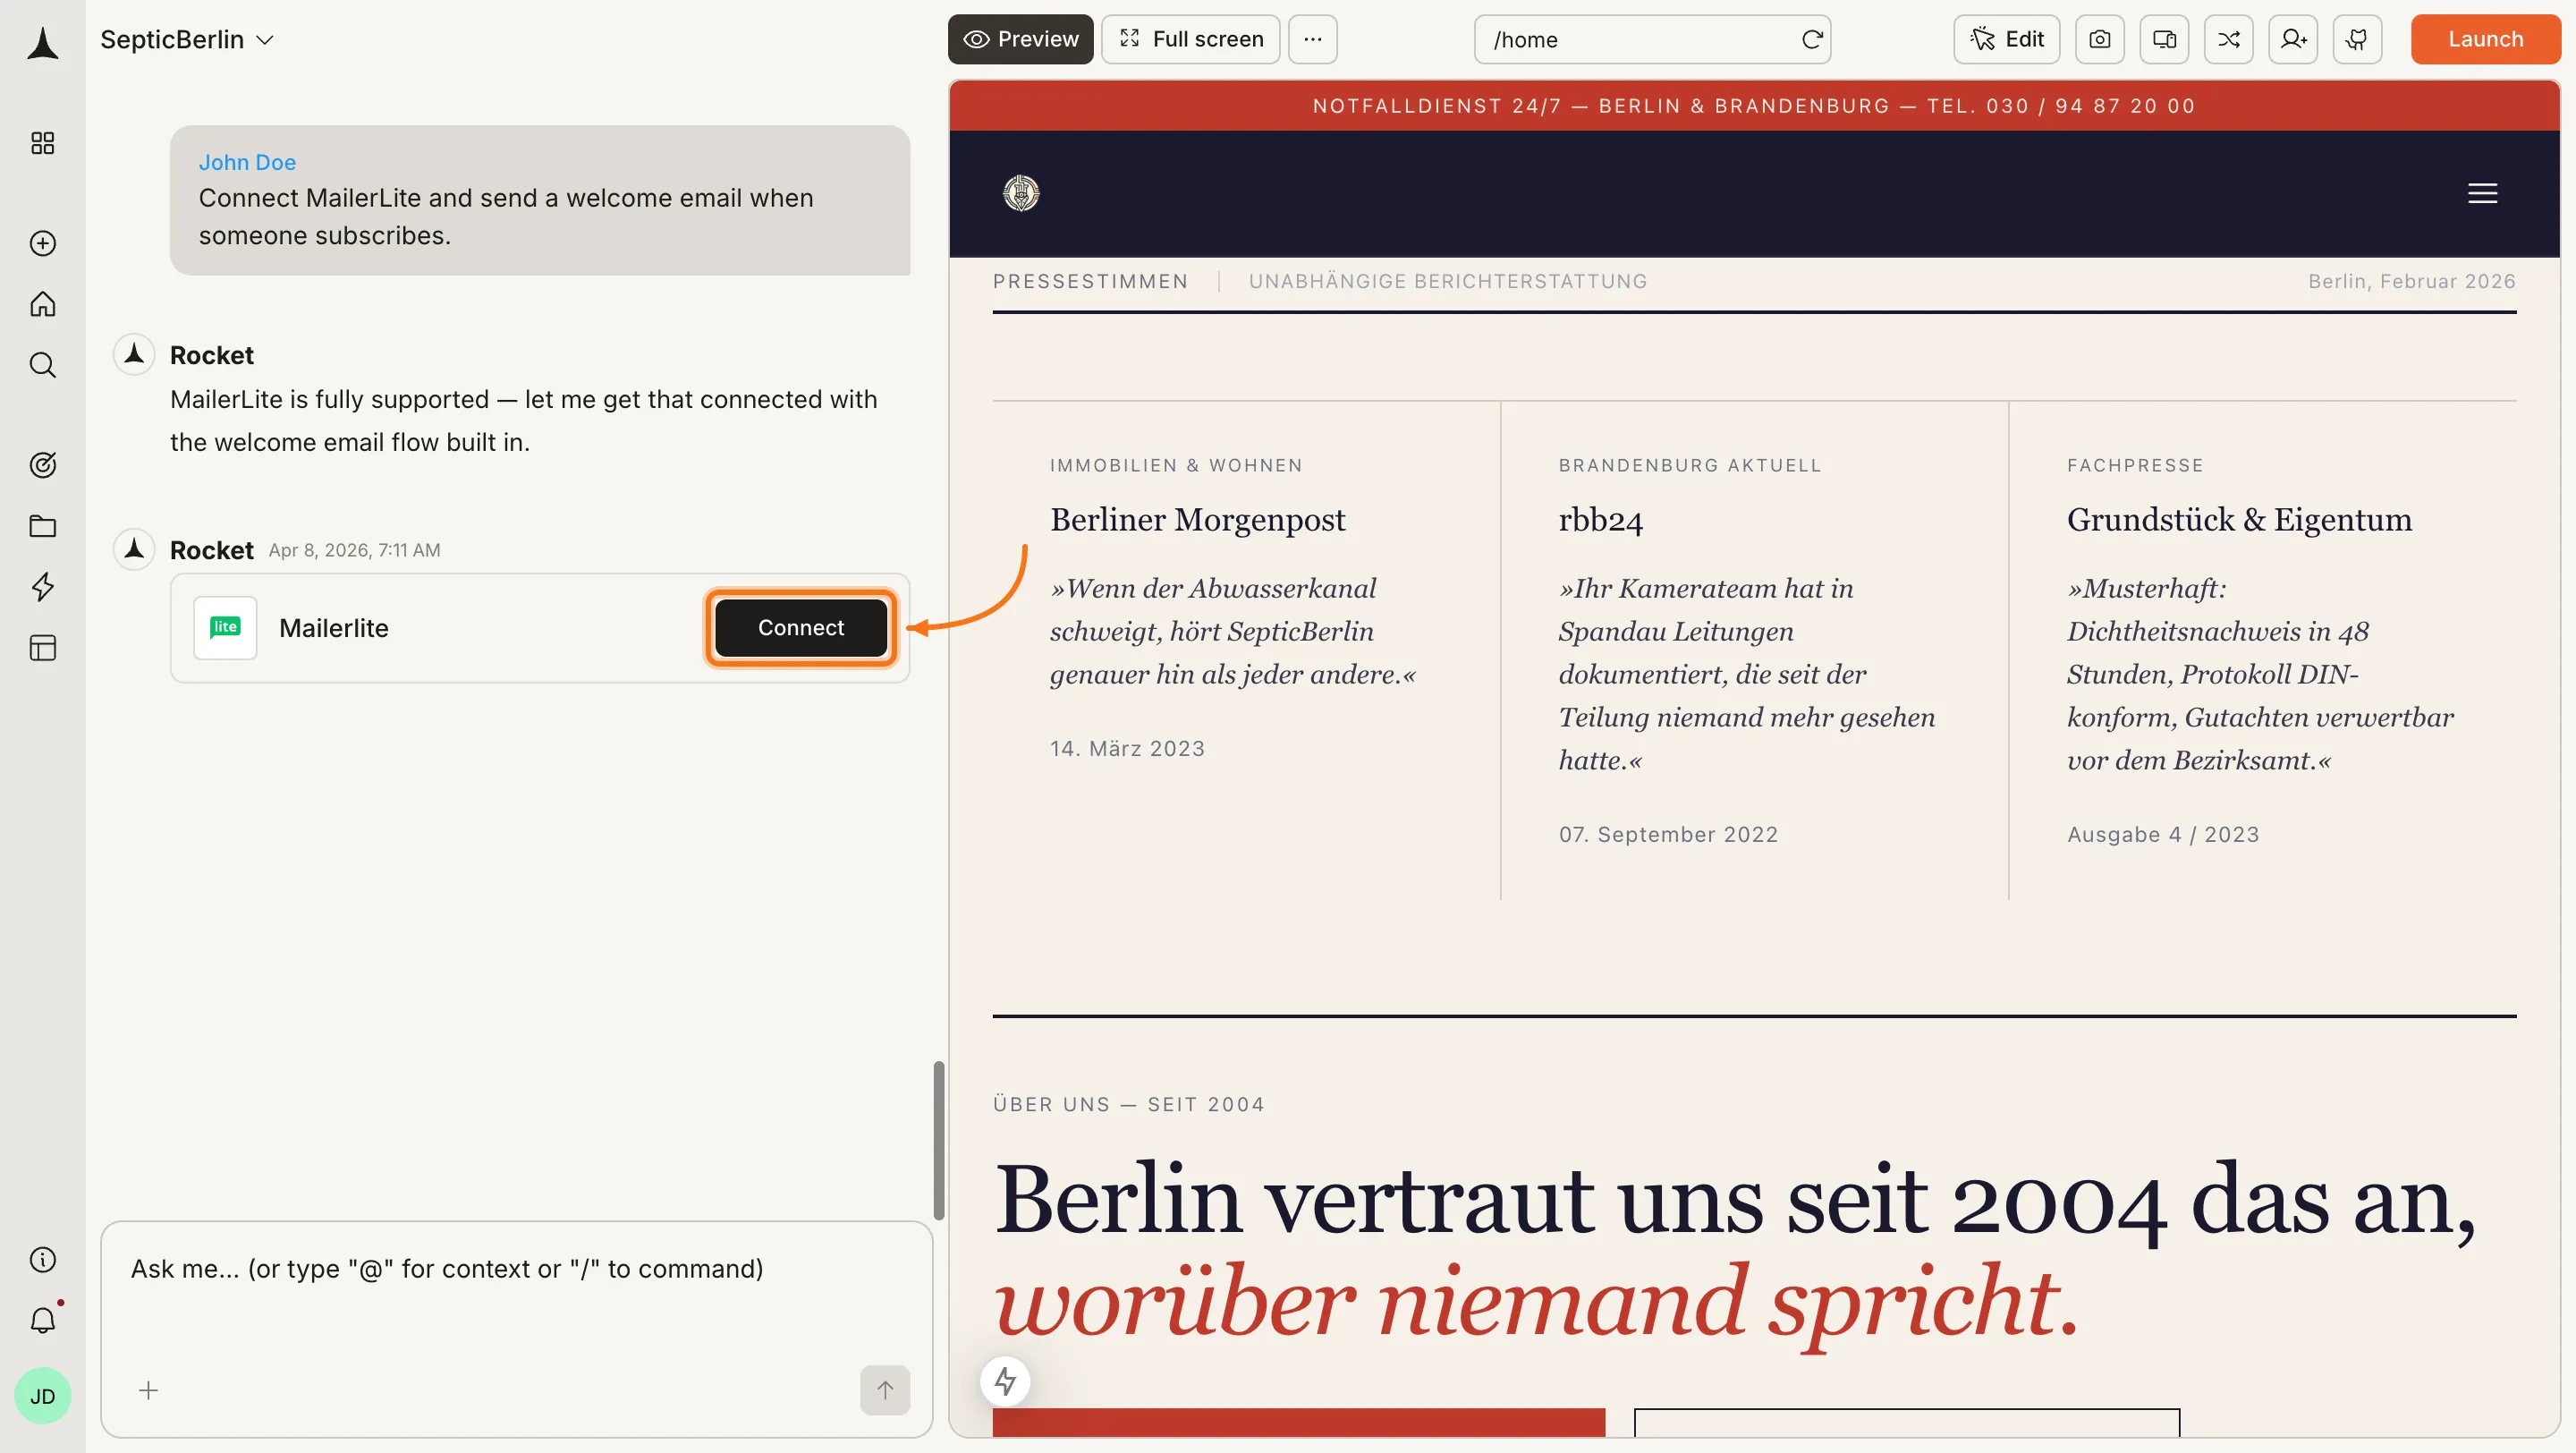
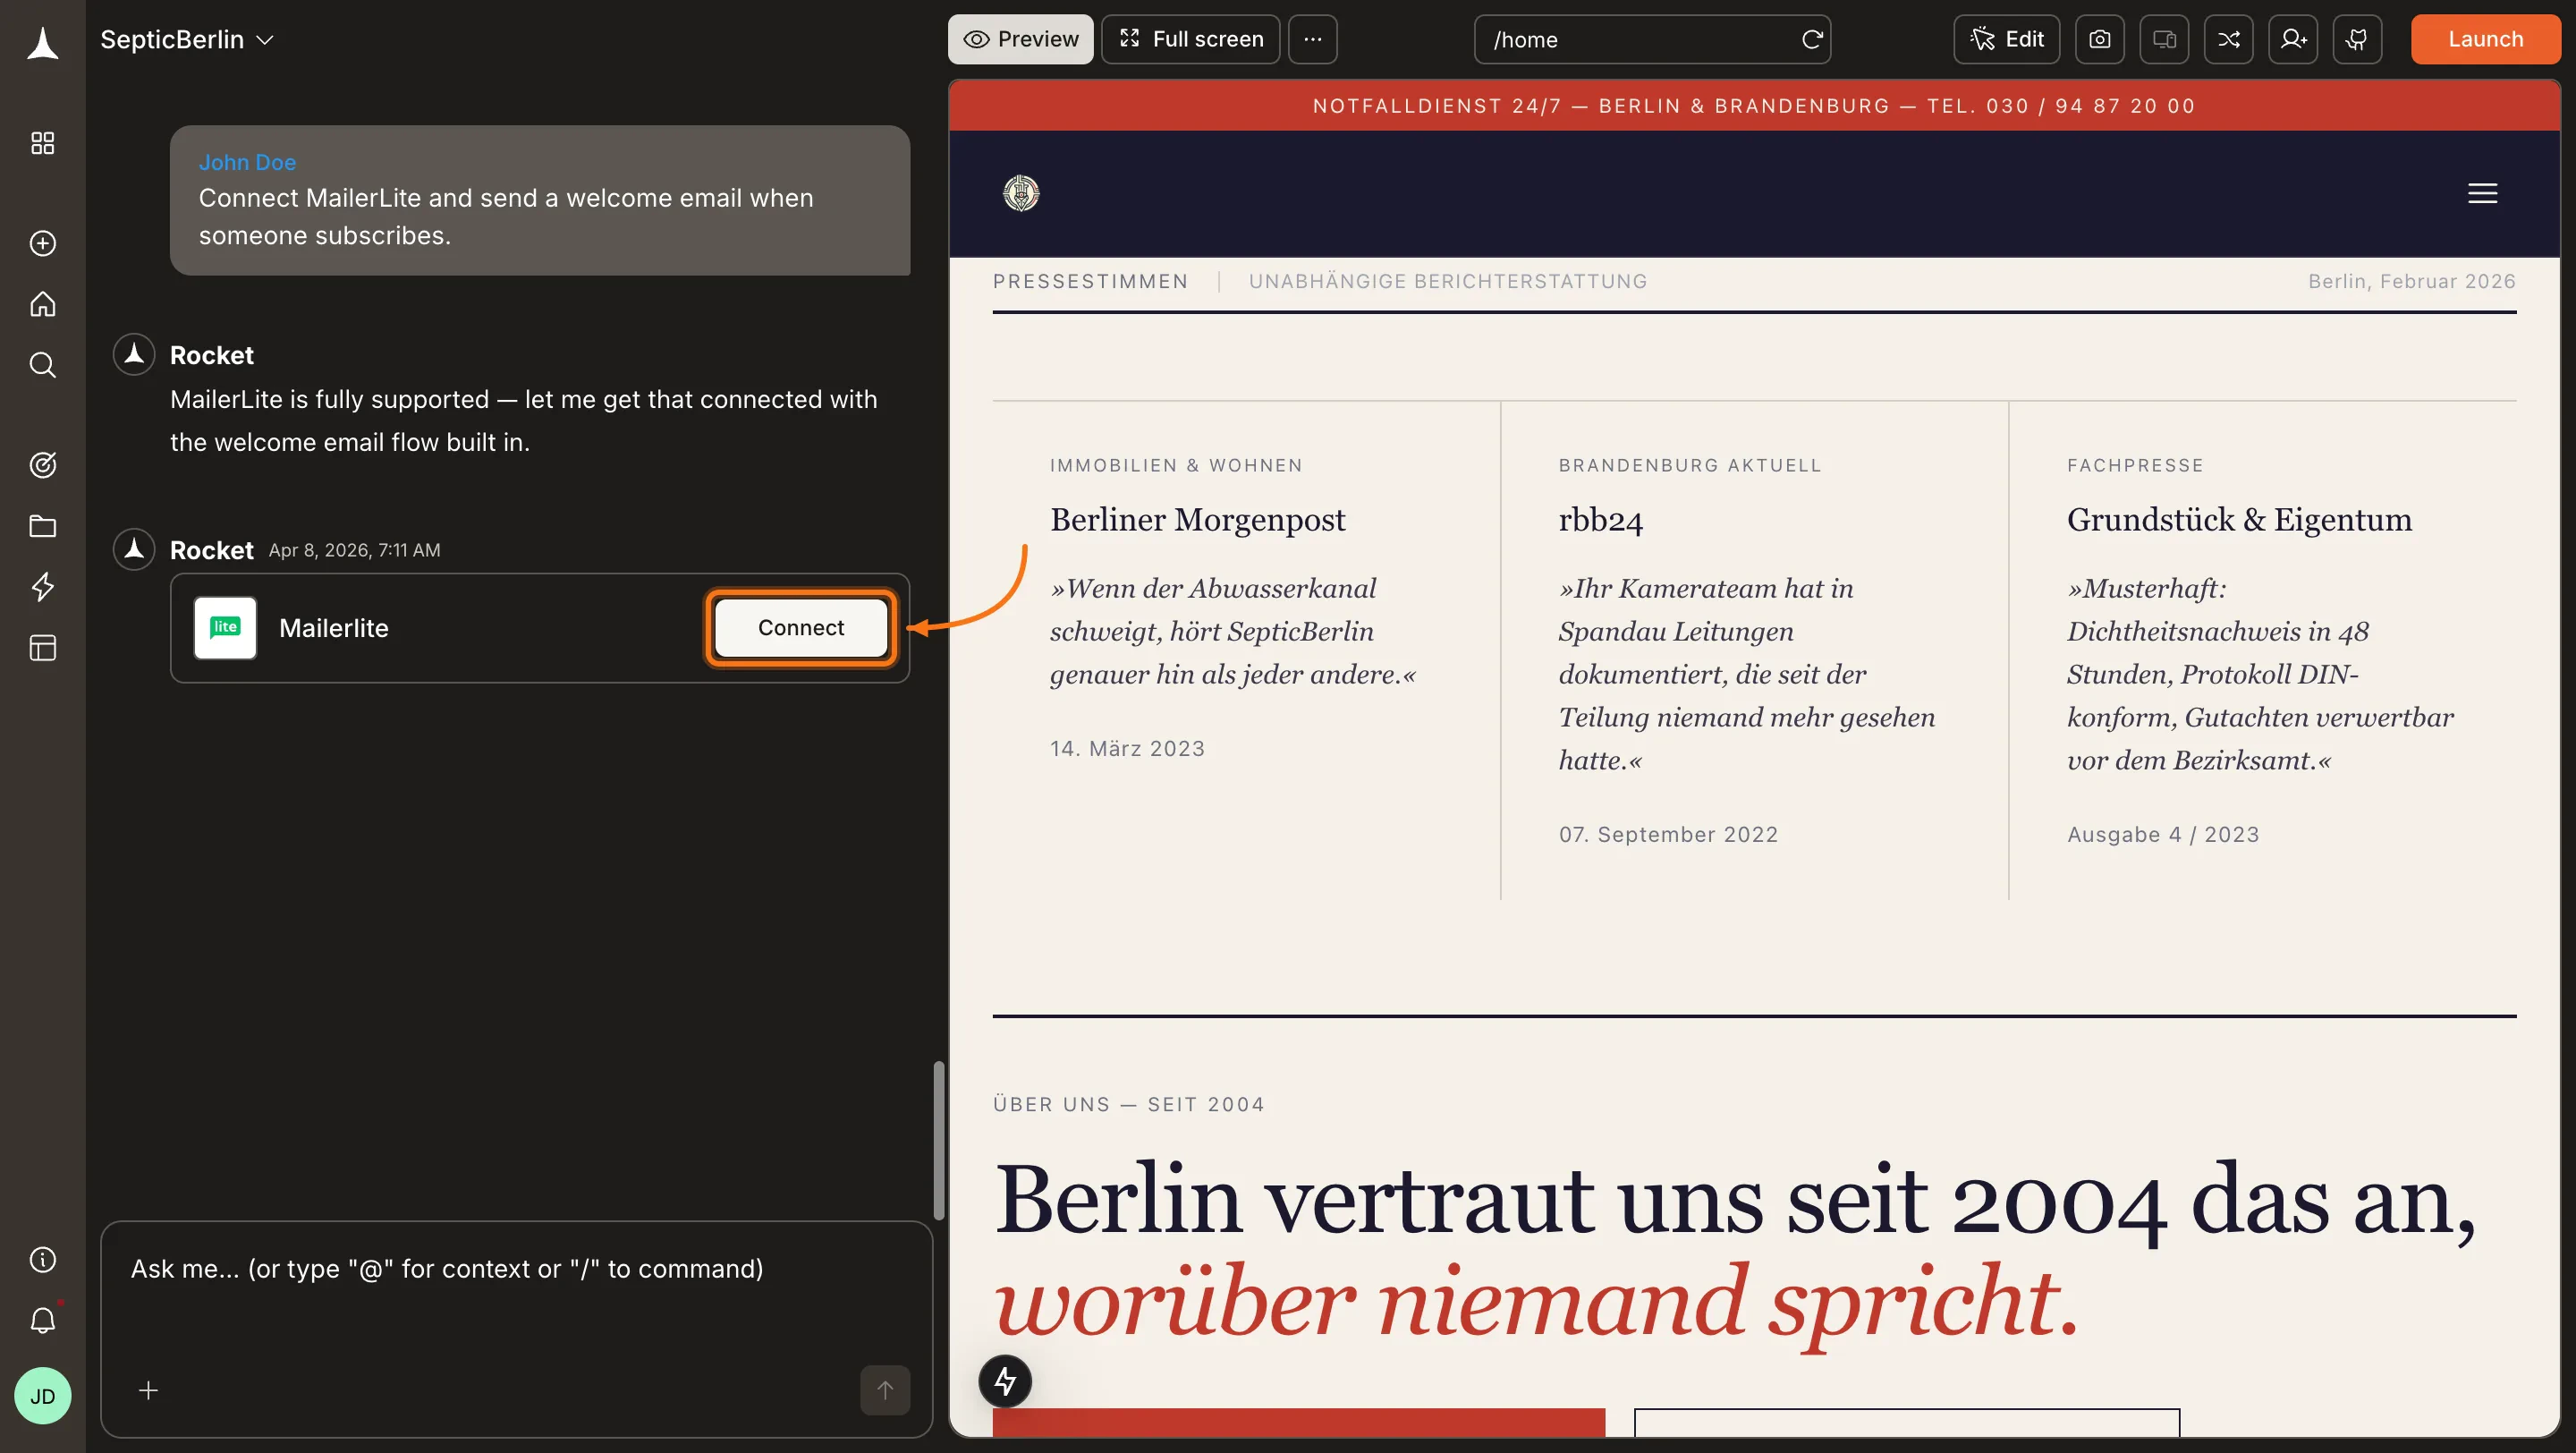
Type a prompt that mentions MailerLite - for example, `Connect MailerLite and add a newsletter signup form to my landing page`. Rocket detects the intent and shows a **Connect** button inline. Click it and the popup opens.
 **Option 2: From the Connectors tab**
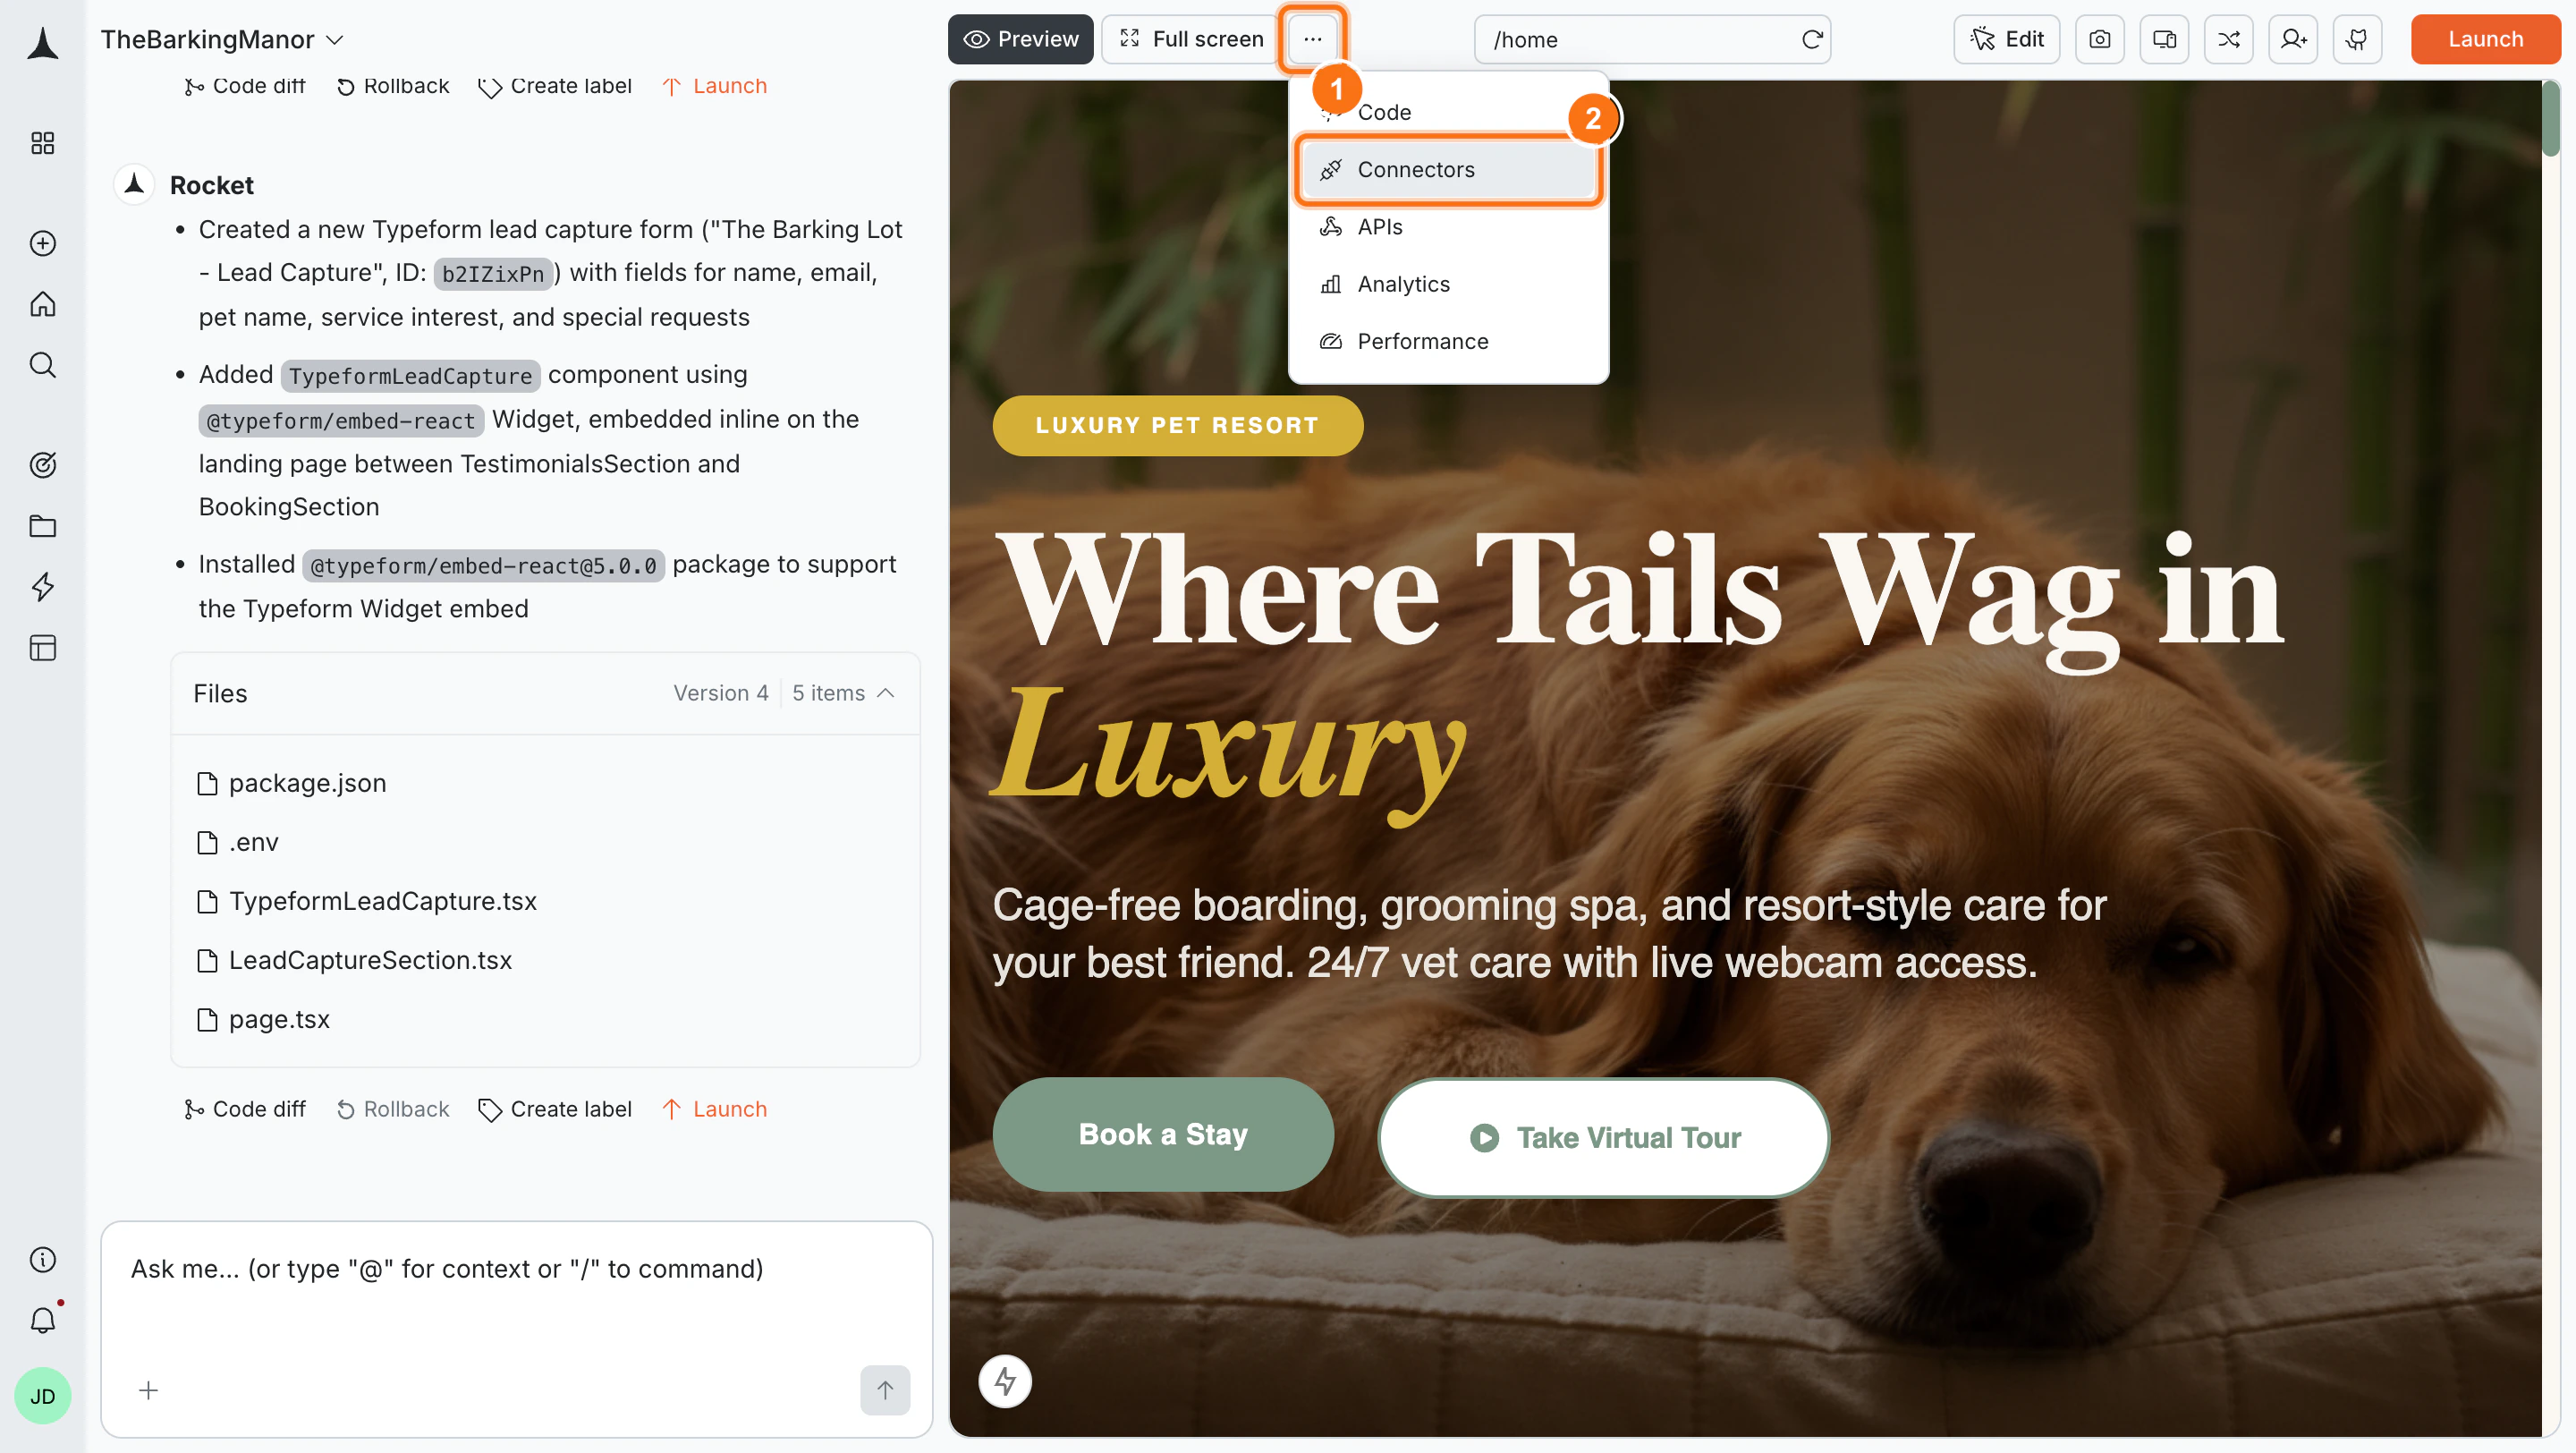
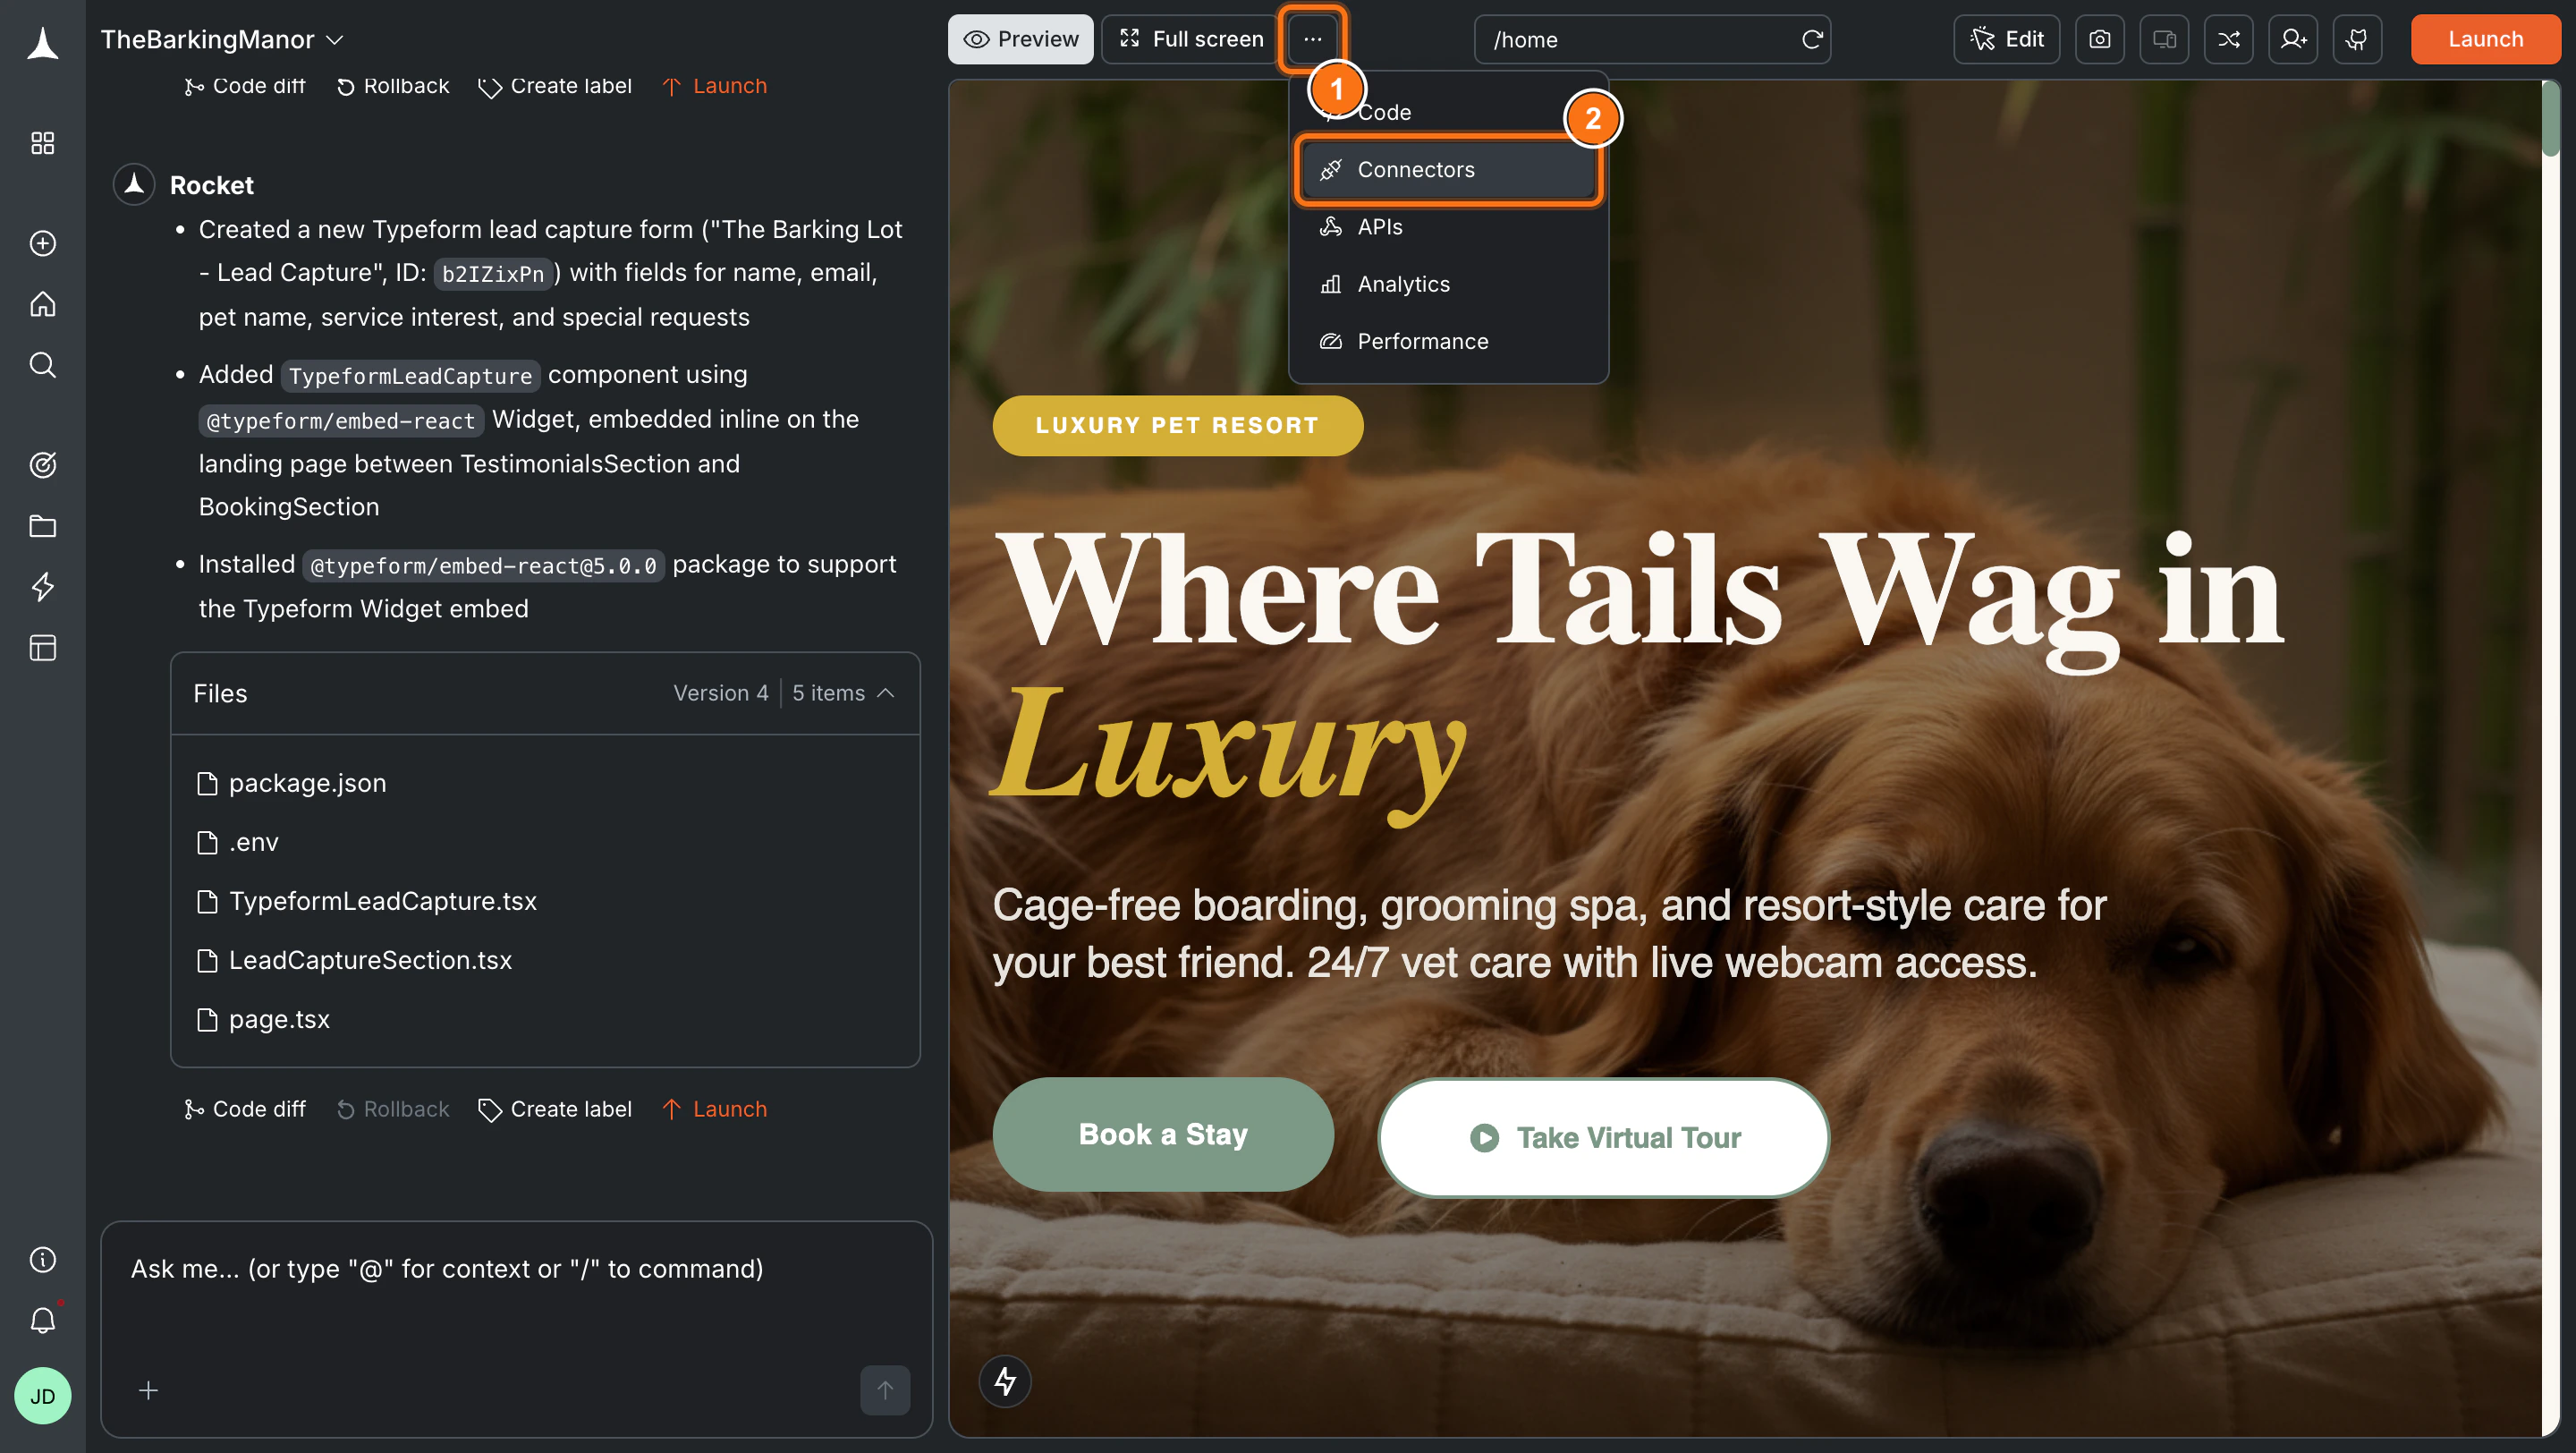
Click the **`...`** button in the preview toolbar, then select **Connectors**.
**Option 2: From the Connectors tab**
Click the **`...`** button in the preview toolbar, then select **Connectors**.
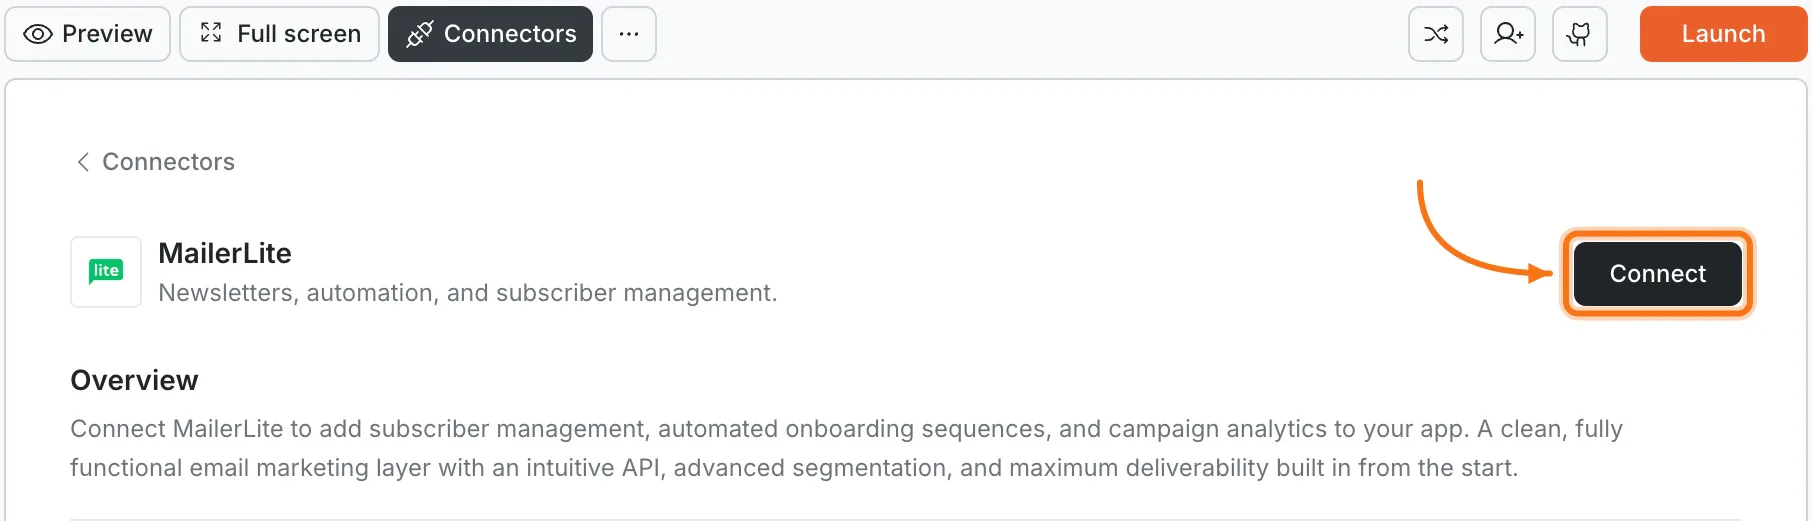
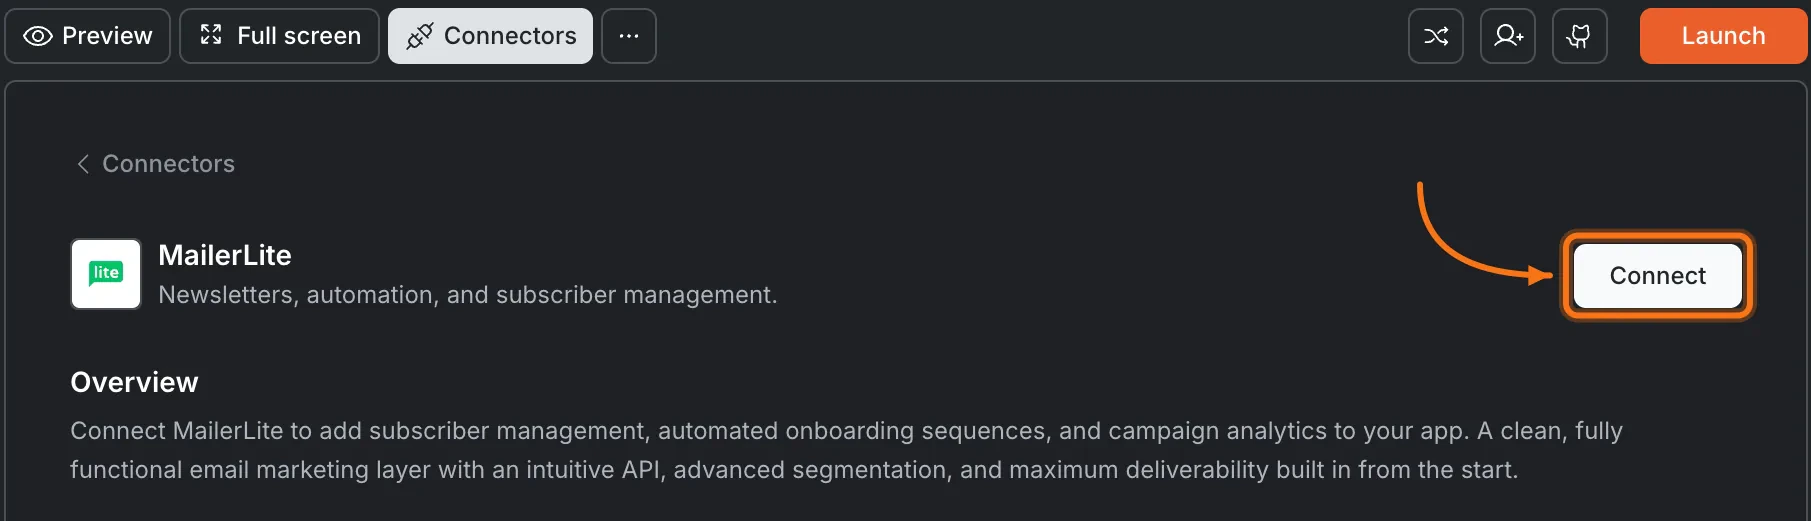
 Click the **MailerLite** card, then click **Connect**.
 **After clicking Connect**
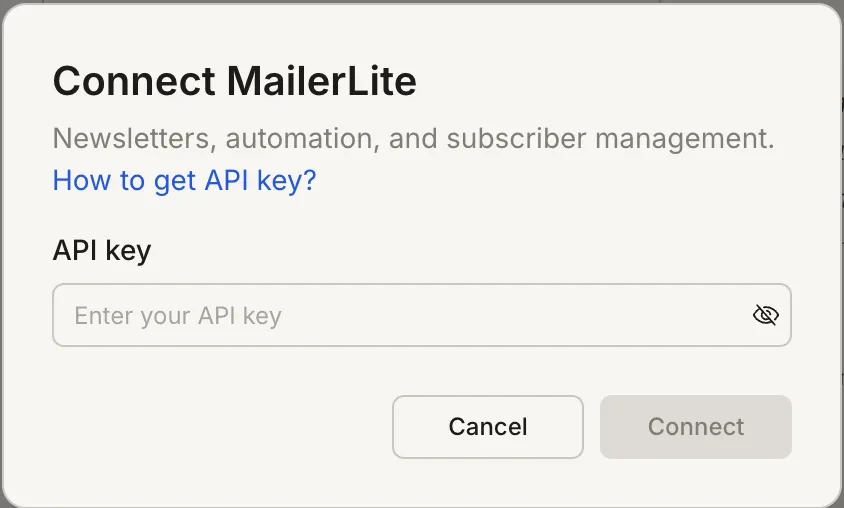
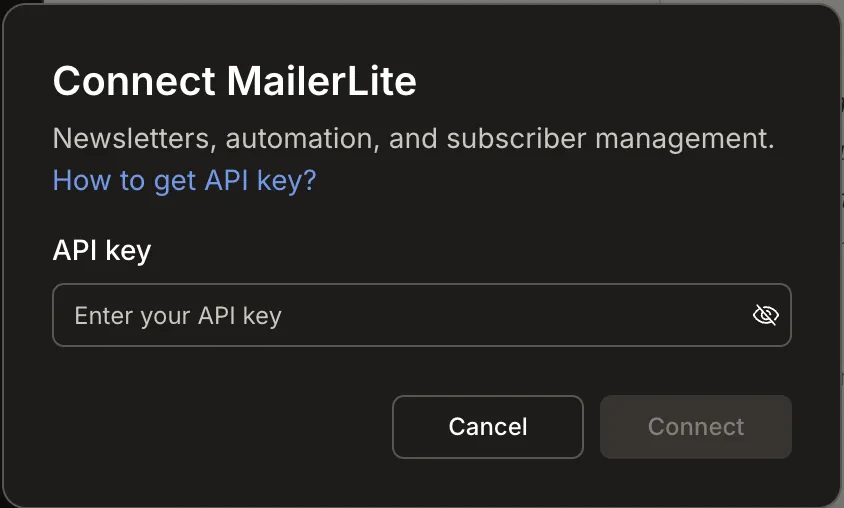
A popup opens. Paste your **API token**, then click **Save**. A green dot appears next to MailerLite when the connection is active.
**After clicking Connect**
A popup opens. Paste your **API token**, then click **Save**. A green dot appears next to MailerLite when the connection is active.
 **Update or disconnect**
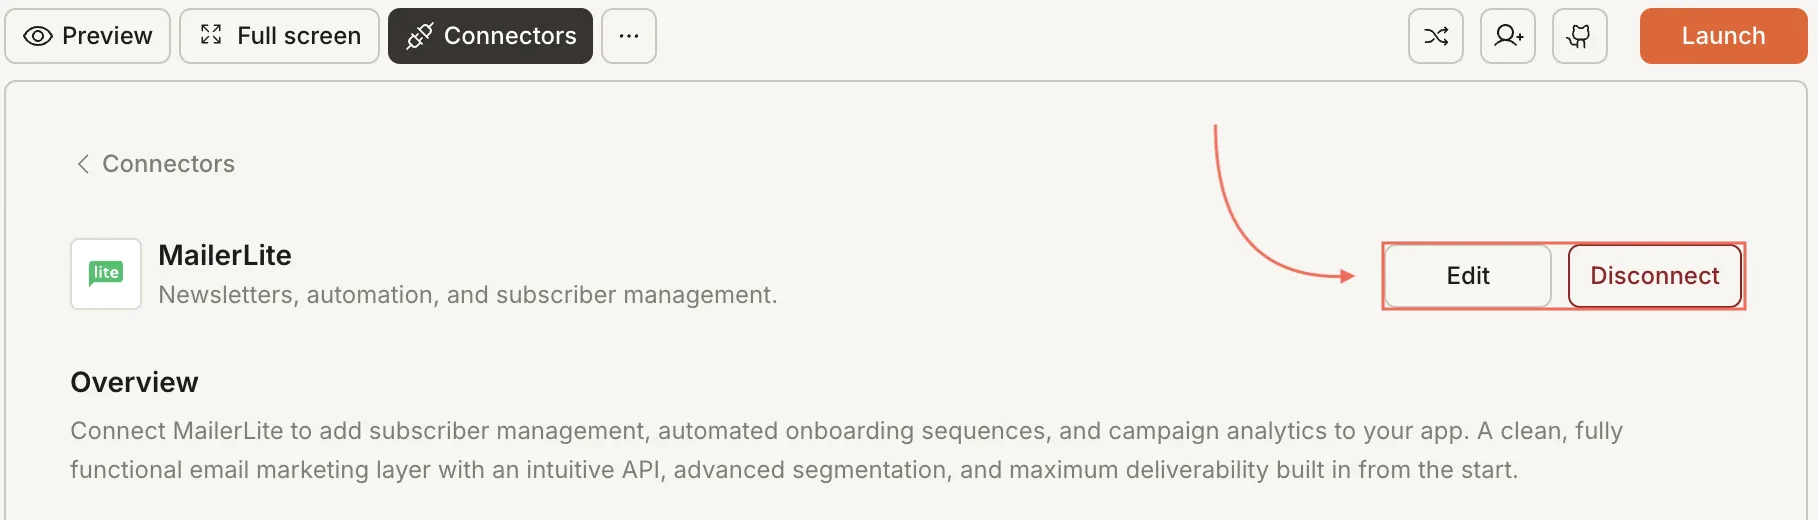
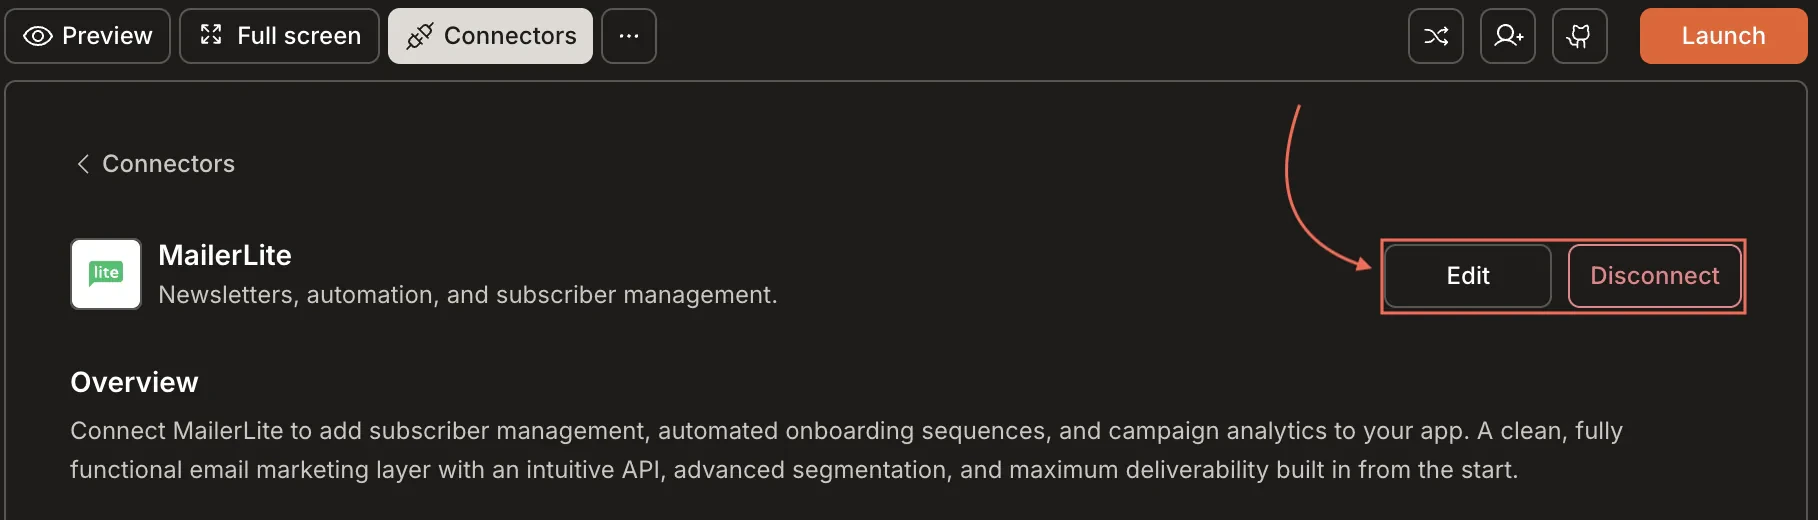
Go to [**Connectors > MailerLite**](#connect-mailerlite). Update your token or click **Disconnect** to remove the integration.
**Update or disconnect**
Go to [**Connectors > MailerLite**](#connect-mailerlite). Update your token or click **Disconnect** to remove the integration.
 You can connect from two places - both open the same popup.
**Option 1: From chat**
Type a prompt that mentions MailerLite. Rocket detects the intent, shows a **Connect** button, and the popup opens when you tap it.
**Option 2: From the Connectors tab**
1. Tap the **More** button in the header.
2. Tap **Integrations**.
3. Tap the **MailerLite** card, then tap **Connect**.
**After tapping Connect**
A popup opens. Paste your **API token**, then tap **Done**. A green dot appears next to MailerLite when the connection is active.
**Update or disconnect**
Go to **Integrations > MailerLite**. Update your token or tap **Disconnect** to remove the integration.
## Example prompts
| Use case | Prompt |
| ----------------- | ---------------------------------------------------------------------------------------------------------------------- |
| Newsletter signup | `Add a newsletter signup form to my landing page that stores subscribers in MailerLite.` |
| Welcome sequence | `When a new subscriber joins, start a 5-email welcome sequence through MailerLite over 5 days.` |
| Blog digest | `Send a weekly email digest through MailerLite with the latest blog posts every Monday morning.` |
| Popup form | `Show a signup popup after 30 seconds on the page. Add the email to MailerLite on submit.` |
| Waitlist signup | `Add a MailerLite signup form for my product waitlist. Tag subscribers as "waitlist" and show a confirmation.` |
| Segmented send | `Let users pick topics during signup and add them to matching MailerLite groups for targeted emails.` |
| Re-engagement | `Send a re-engagement email through MailerLite to subscribers who have not opened an email in 90 days.` |
| Subscriber count | `Show a live subscriber count on my homepage by pulling the total from MailerLite's API.` |
| Unsubscribe page | `Build a custom unsubscribe page that removes the user from the MailerLite list and shows a confirmation.` |
| A/B subject line | `Send two versions of the newsletter with different subject lines to a small group, then send the winner to everyone.` |
## Tips
* **MailerLite is built for email marketing.** It excels at newsletters, subscriber management, and automation. For transactional emails like password resets, pair it with [Resend](/build/connectors/resend) or [SendGrid](/build/connectors/sendgrid).
* **Free tier includes 500 subscribers and 12,000 emails per month.** A solid starting point. Upgrade as your list grows.
* **API token permissions matter.** Generate a token with the permissions your app needs. Read-only tokens cannot add subscribers or send emails.
* **Manage subscribers in MailerLite.** You can add subscribers through Rocket, but removing subscribers, managing unsubscribes, and editing groups must be done in the MailerLite dashboard.
* **One MailerLite account per project.** Each Rocket project connects to one MailerLite API token.
## What's next?
Store user data and sync subscriber information with your database.
Trigger email sequences when users subscribe to paid plans.
Add transactional email alongside MailerLite for password resets and receipts.
Track newsletter signup conversions and email-driven traffic.
You can connect from two places - both open the same popup.
**Option 1: From chat**
Type a prompt that mentions MailerLite. Rocket detects the intent, shows a **Connect** button, and the popup opens when you tap it.
**Option 2: From the Connectors tab**
1. Tap the **More** button in the header.
2. Tap **Integrations**.
3. Tap the **MailerLite** card, then tap **Connect**.
**After tapping Connect**
A popup opens. Paste your **API token**, then tap **Done**. A green dot appears next to MailerLite when the connection is active.
**Update or disconnect**
Go to **Integrations > MailerLite**. Update your token or tap **Disconnect** to remove the integration.
## Example prompts
| Use case | Prompt |
| ----------------- | ---------------------------------------------------------------------------------------------------------------------- |
| Newsletter signup | `Add a newsletter signup form to my landing page that stores subscribers in MailerLite.` |
| Welcome sequence | `When a new subscriber joins, start a 5-email welcome sequence through MailerLite over 5 days.` |
| Blog digest | `Send a weekly email digest through MailerLite with the latest blog posts every Monday morning.` |
| Popup form | `Show a signup popup after 30 seconds on the page. Add the email to MailerLite on submit.` |
| Waitlist signup | `Add a MailerLite signup form for my product waitlist. Tag subscribers as "waitlist" and show a confirmation.` |
| Segmented send | `Let users pick topics during signup and add them to matching MailerLite groups for targeted emails.` |
| Re-engagement | `Send a re-engagement email through MailerLite to subscribers who have not opened an email in 90 days.` |
| Subscriber count | `Show a live subscriber count on my homepage by pulling the total from MailerLite's API.` |
| Unsubscribe page | `Build a custom unsubscribe page that removes the user from the MailerLite list and shows a confirmation.` |
| A/B subject line | `Send two versions of the newsletter with different subject lines to a small group, then send the winner to everyone.` |
## Tips
* **MailerLite is built for email marketing.** It excels at newsletters, subscriber management, and automation. For transactional emails like password resets, pair it with [Resend](/build/connectors/resend) or [SendGrid](/build/connectors/sendgrid).
* **Free tier includes 500 subscribers and 12,000 emails per month.** A solid starting point. Upgrade as your list grows.
* **API token permissions matter.** Generate a token with the permissions your app needs. Read-only tokens cannot add subscribers or send emails.
* **Manage subscribers in MailerLite.** You can add subscribers through Rocket, but removing subscribers, managing unsubscribes, and editing groups must be done in the MailerLite dashboard.
* **One MailerLite account per project.** Each Rocket project connects to one MailerLite API token.
## What's next?
Store user data and sync subscriber information with your database.
Trigger email sequences when users subscribe to paid plans.
Add transactional email alongside MailerLite for password resets and receipts.
Track newsletter signup conversions and email-driven traffic.