> ## Documentation Index
> Fetch the complete documentation index at: https://docs.rocket.new/llms.txt
> Use this file to discover all available pages before exploring further.
# Mixpanel
> Connect Mixpanel to Rocket and track feature adoption, analyze funnels, and segment users: all wired up from chat.
export const LlmsDirective = () =>
For the complete documentation index, see llms.txt.
For a lightweight markdown version of this page, append .md to the URL.
;
Describe the analytics you want in chat and Rocket generates the complete tracking logic: event calls, funnel visualizations, retention charts, and user segmentation.
This connector is only available for **Next.js TypeScript** web build tasks.
## What you can do
Measure which features users engage with and how often, so you can prioritize what to build next.
Visualize how users move through multi-step flows like signups, onboarding, or checkout.
Compare metrics across experiment variants to see which version performs better.
Group users by behavior, plan type, or demographics to understand how different audiences use your app.
Measure how many users return to your app over time and which actions drive long-term engagement.
## Before you connect
You need three values from [Mixpanel Settings](https://mixpanel.com/settings/org):
* **Account username:** your Mixpanel service account username
* **Account secret:** your Mixpanel service account secret
* **Region:** `US` or `EU`, depending on where your Mixpanel project data is hosted
**Create a Mixpanel service account** from the Mixpanel documentation.
**How to create a service account:**
Open [Mixpanel Settings](https://mixpanel.com/settings/org) and go to **Organization Settings > Service Accounts**.
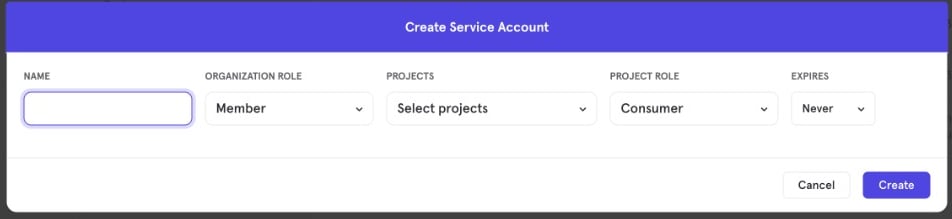
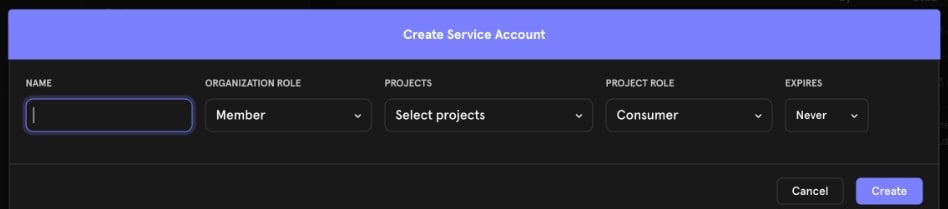
Click **Add Service Account** to open the Create Service Account dialog.
Enter a **Name**, set **Organization Role** and **Project Role**, and choose the **Projects** this account can access. Leave **Expires** as **Never** unless your organization requires rotation.
Click **Create**, then copy the **username** and **secret** immediately. Mixpanel shows the secret only once.
 Mixpanel is a **task-level** connector. Each Rocket task connects to its own Mixpanel credentials independently.
## Connect Mixpanel
You can connect from two places. Both do the same thing.
**Option 1: From chat**
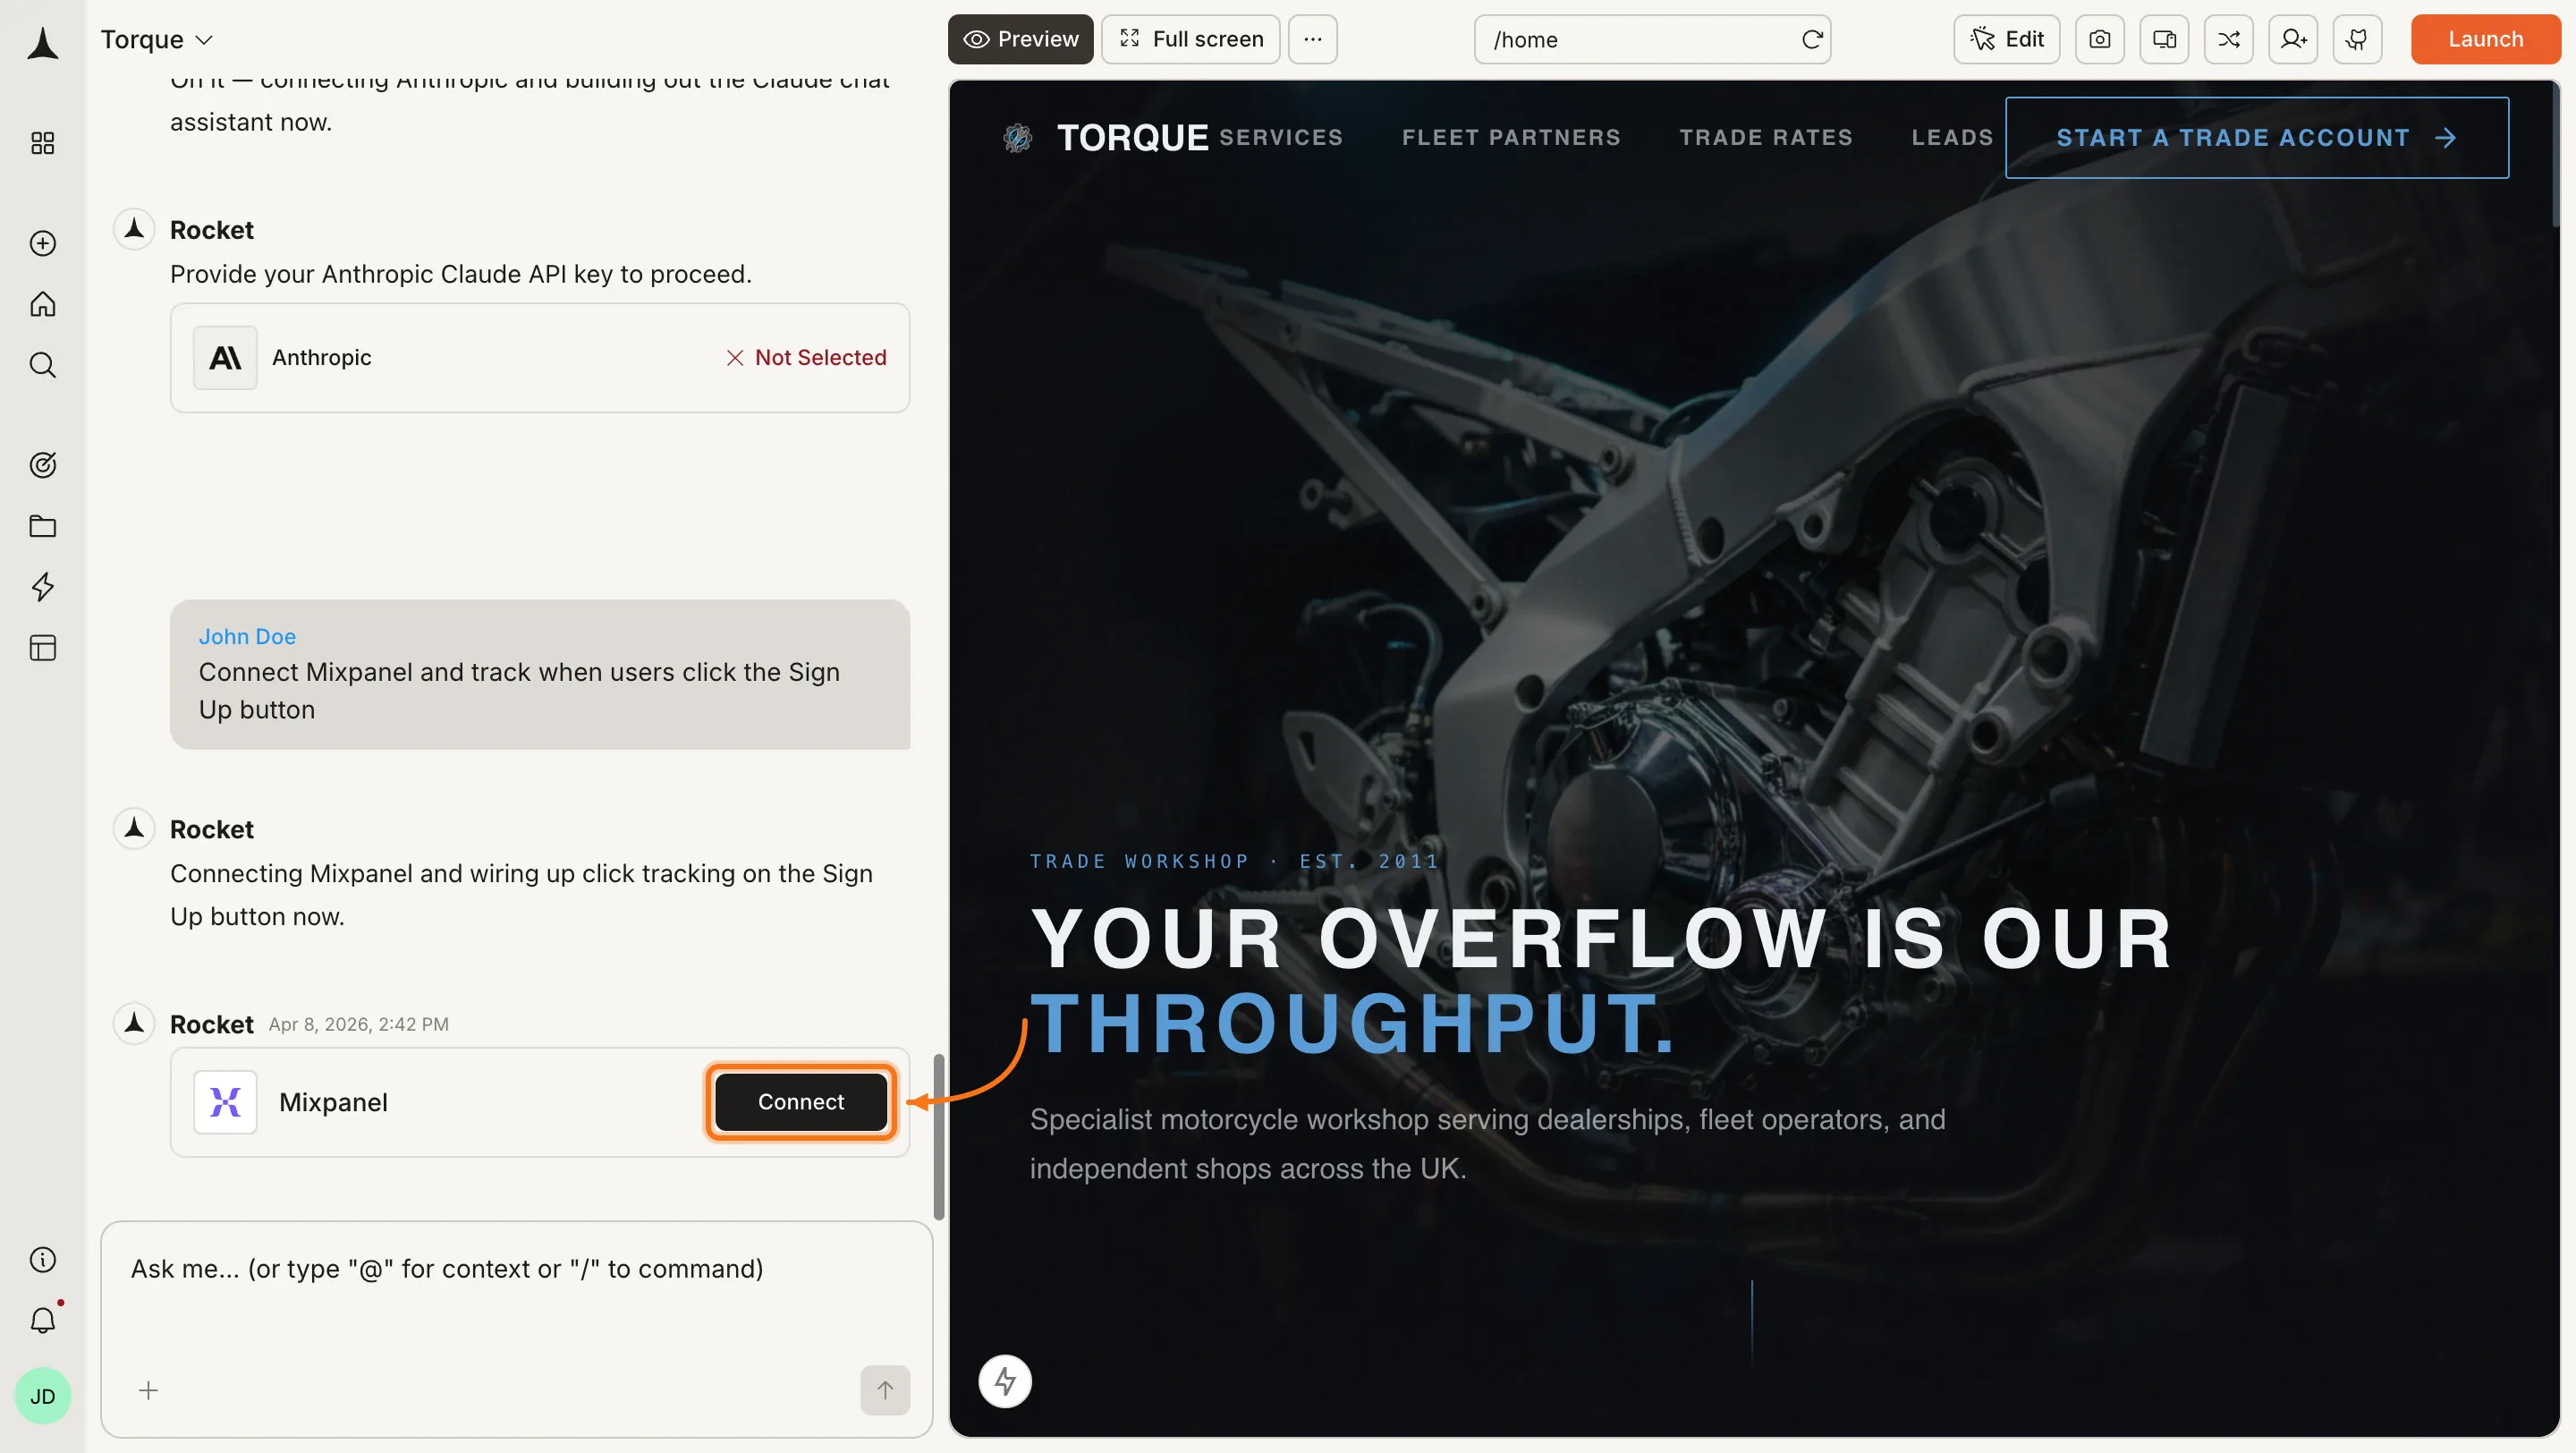
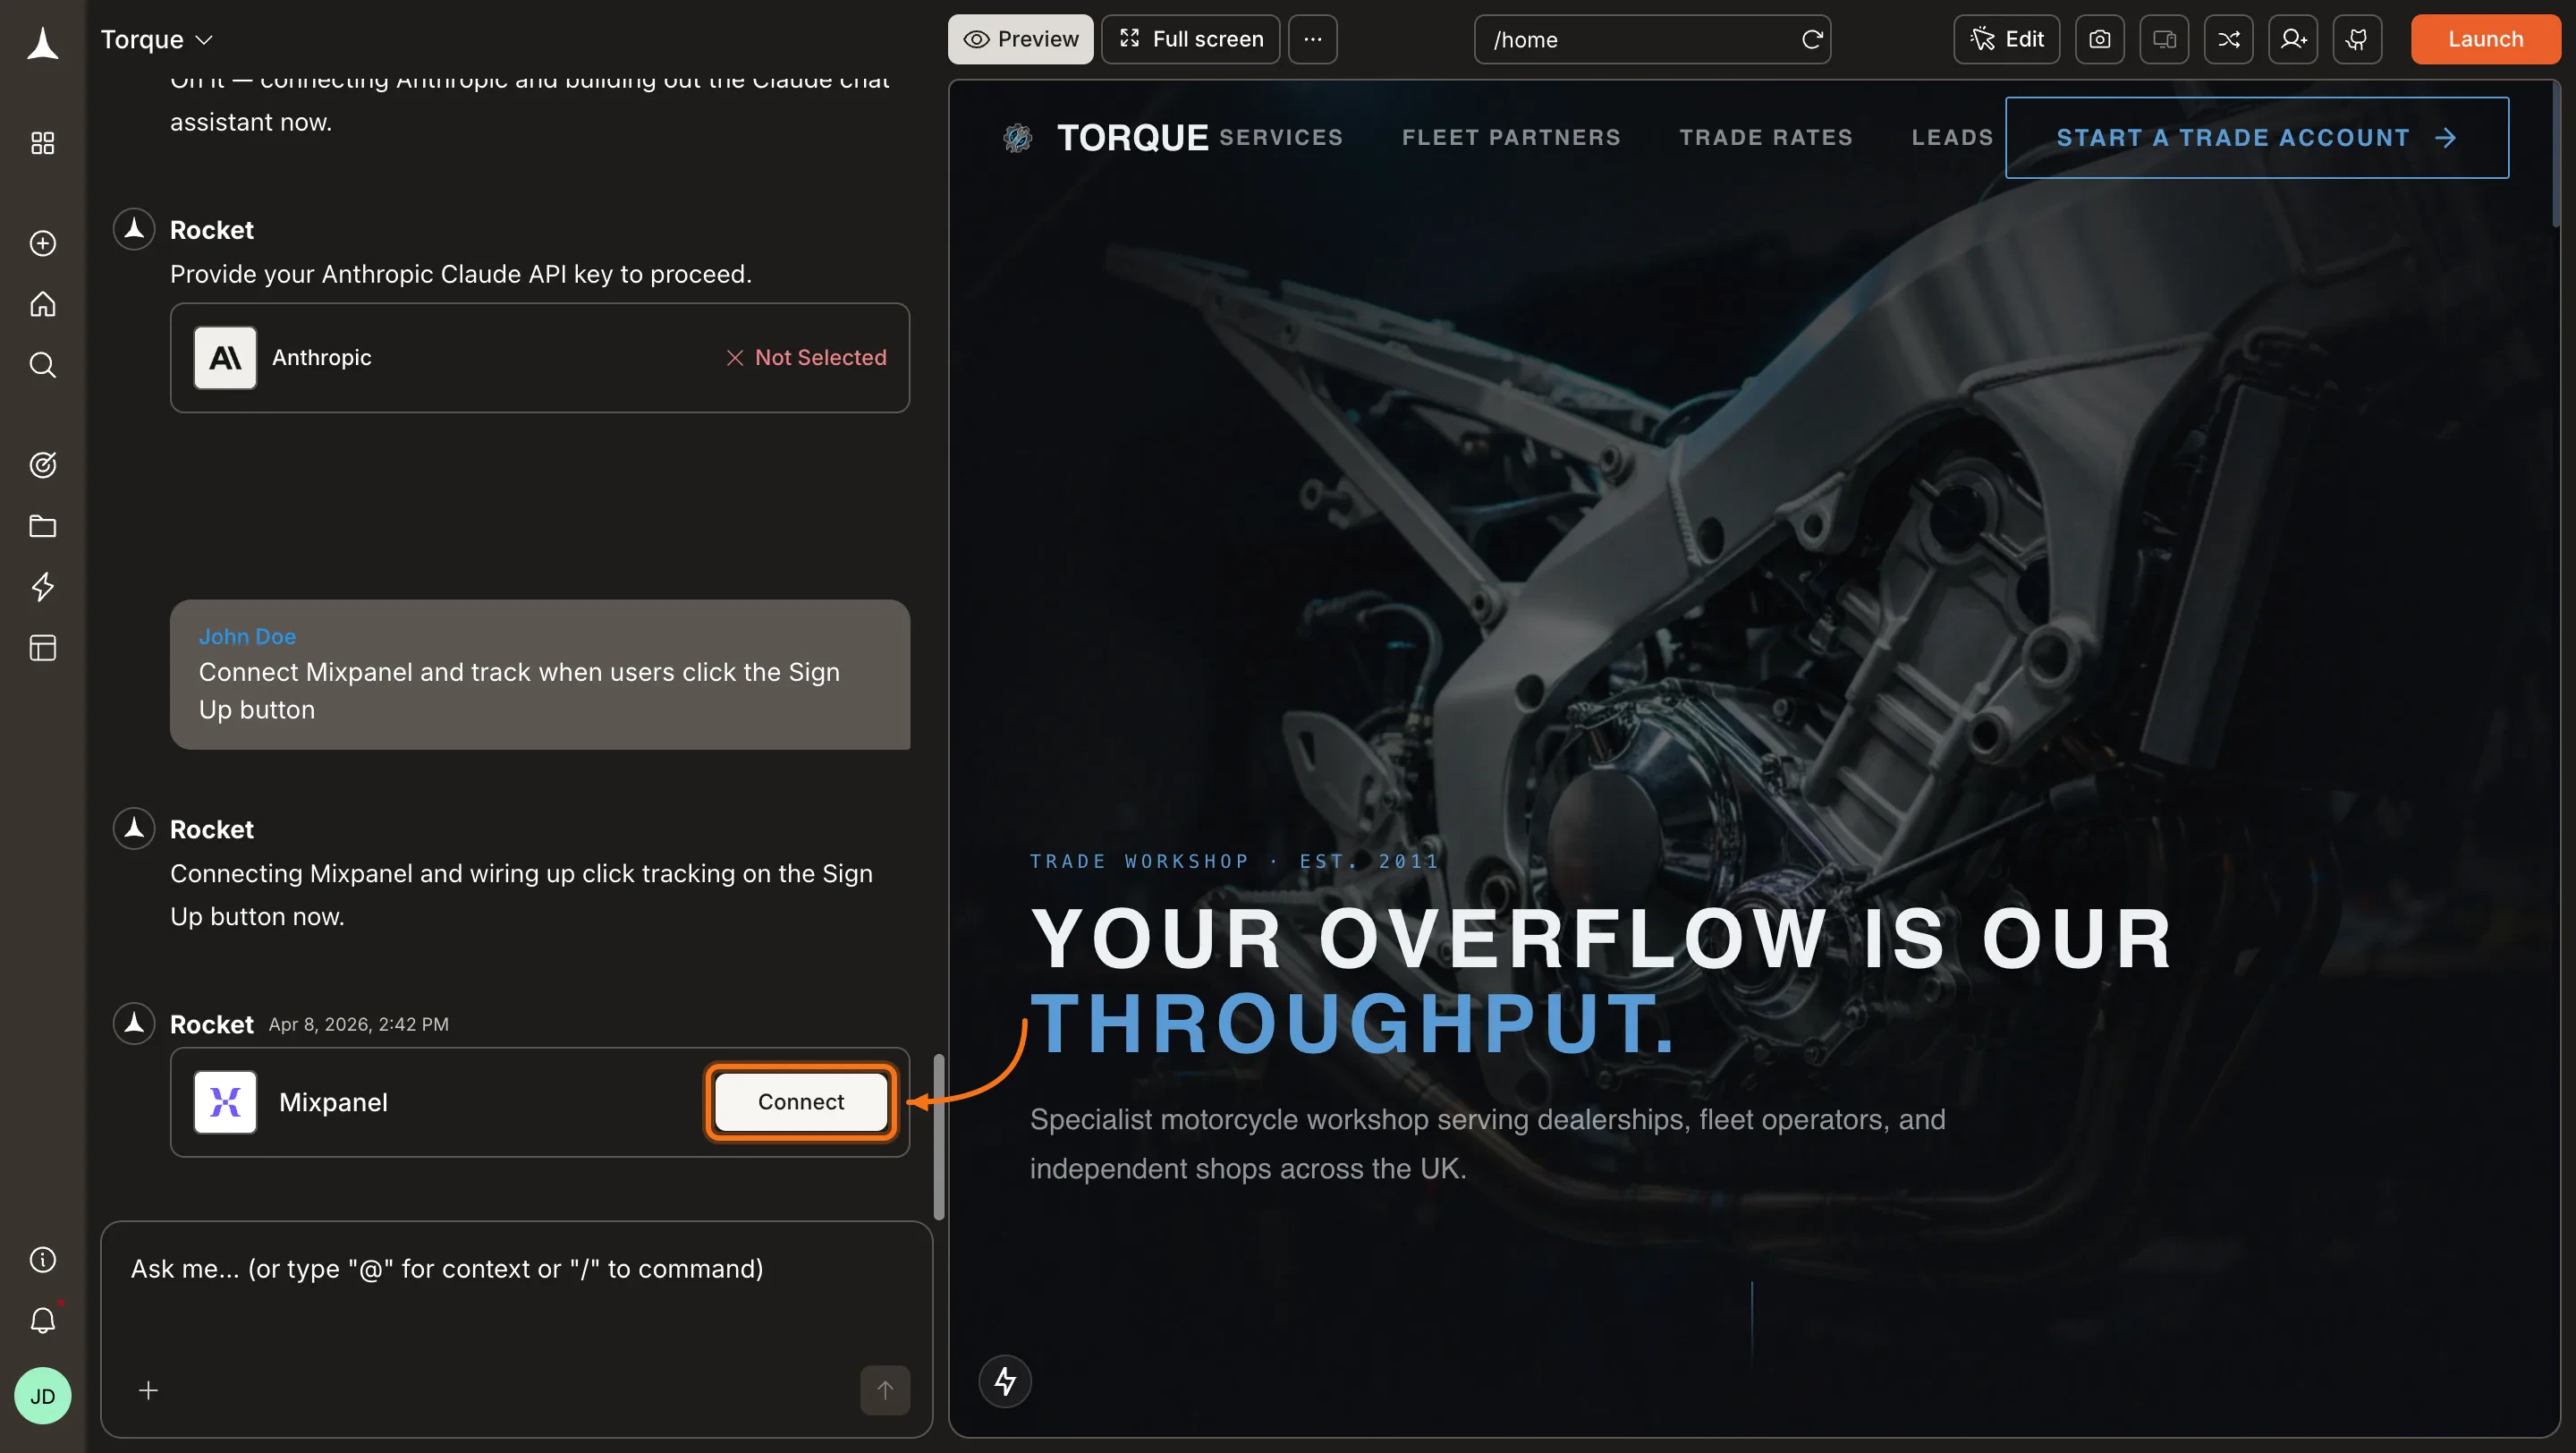
Type a prompt that mentions Mixpanel, for example `Connect Mixpanel and track when users click the Sign Up button`. Rocket detects the intent and shows a **Connect** button inline. Click it to open the credentials popup.
Mixpanel is a **task-level** connector. Each Rocket task connects to its own Mixpanel credentials independently.
## Connect Mixpanel
You can connect from two places. Both do the same thing.
**Option 1: From chat**
Type a prompt that mentions Mixpanel, for example `Connect Mixpanel and track when users click the Sign Up button`. Rocket detects the intent and shows a **Connect** button inline. Click it to open the credentials popup.
 **Option 2: From the Connectors tab**
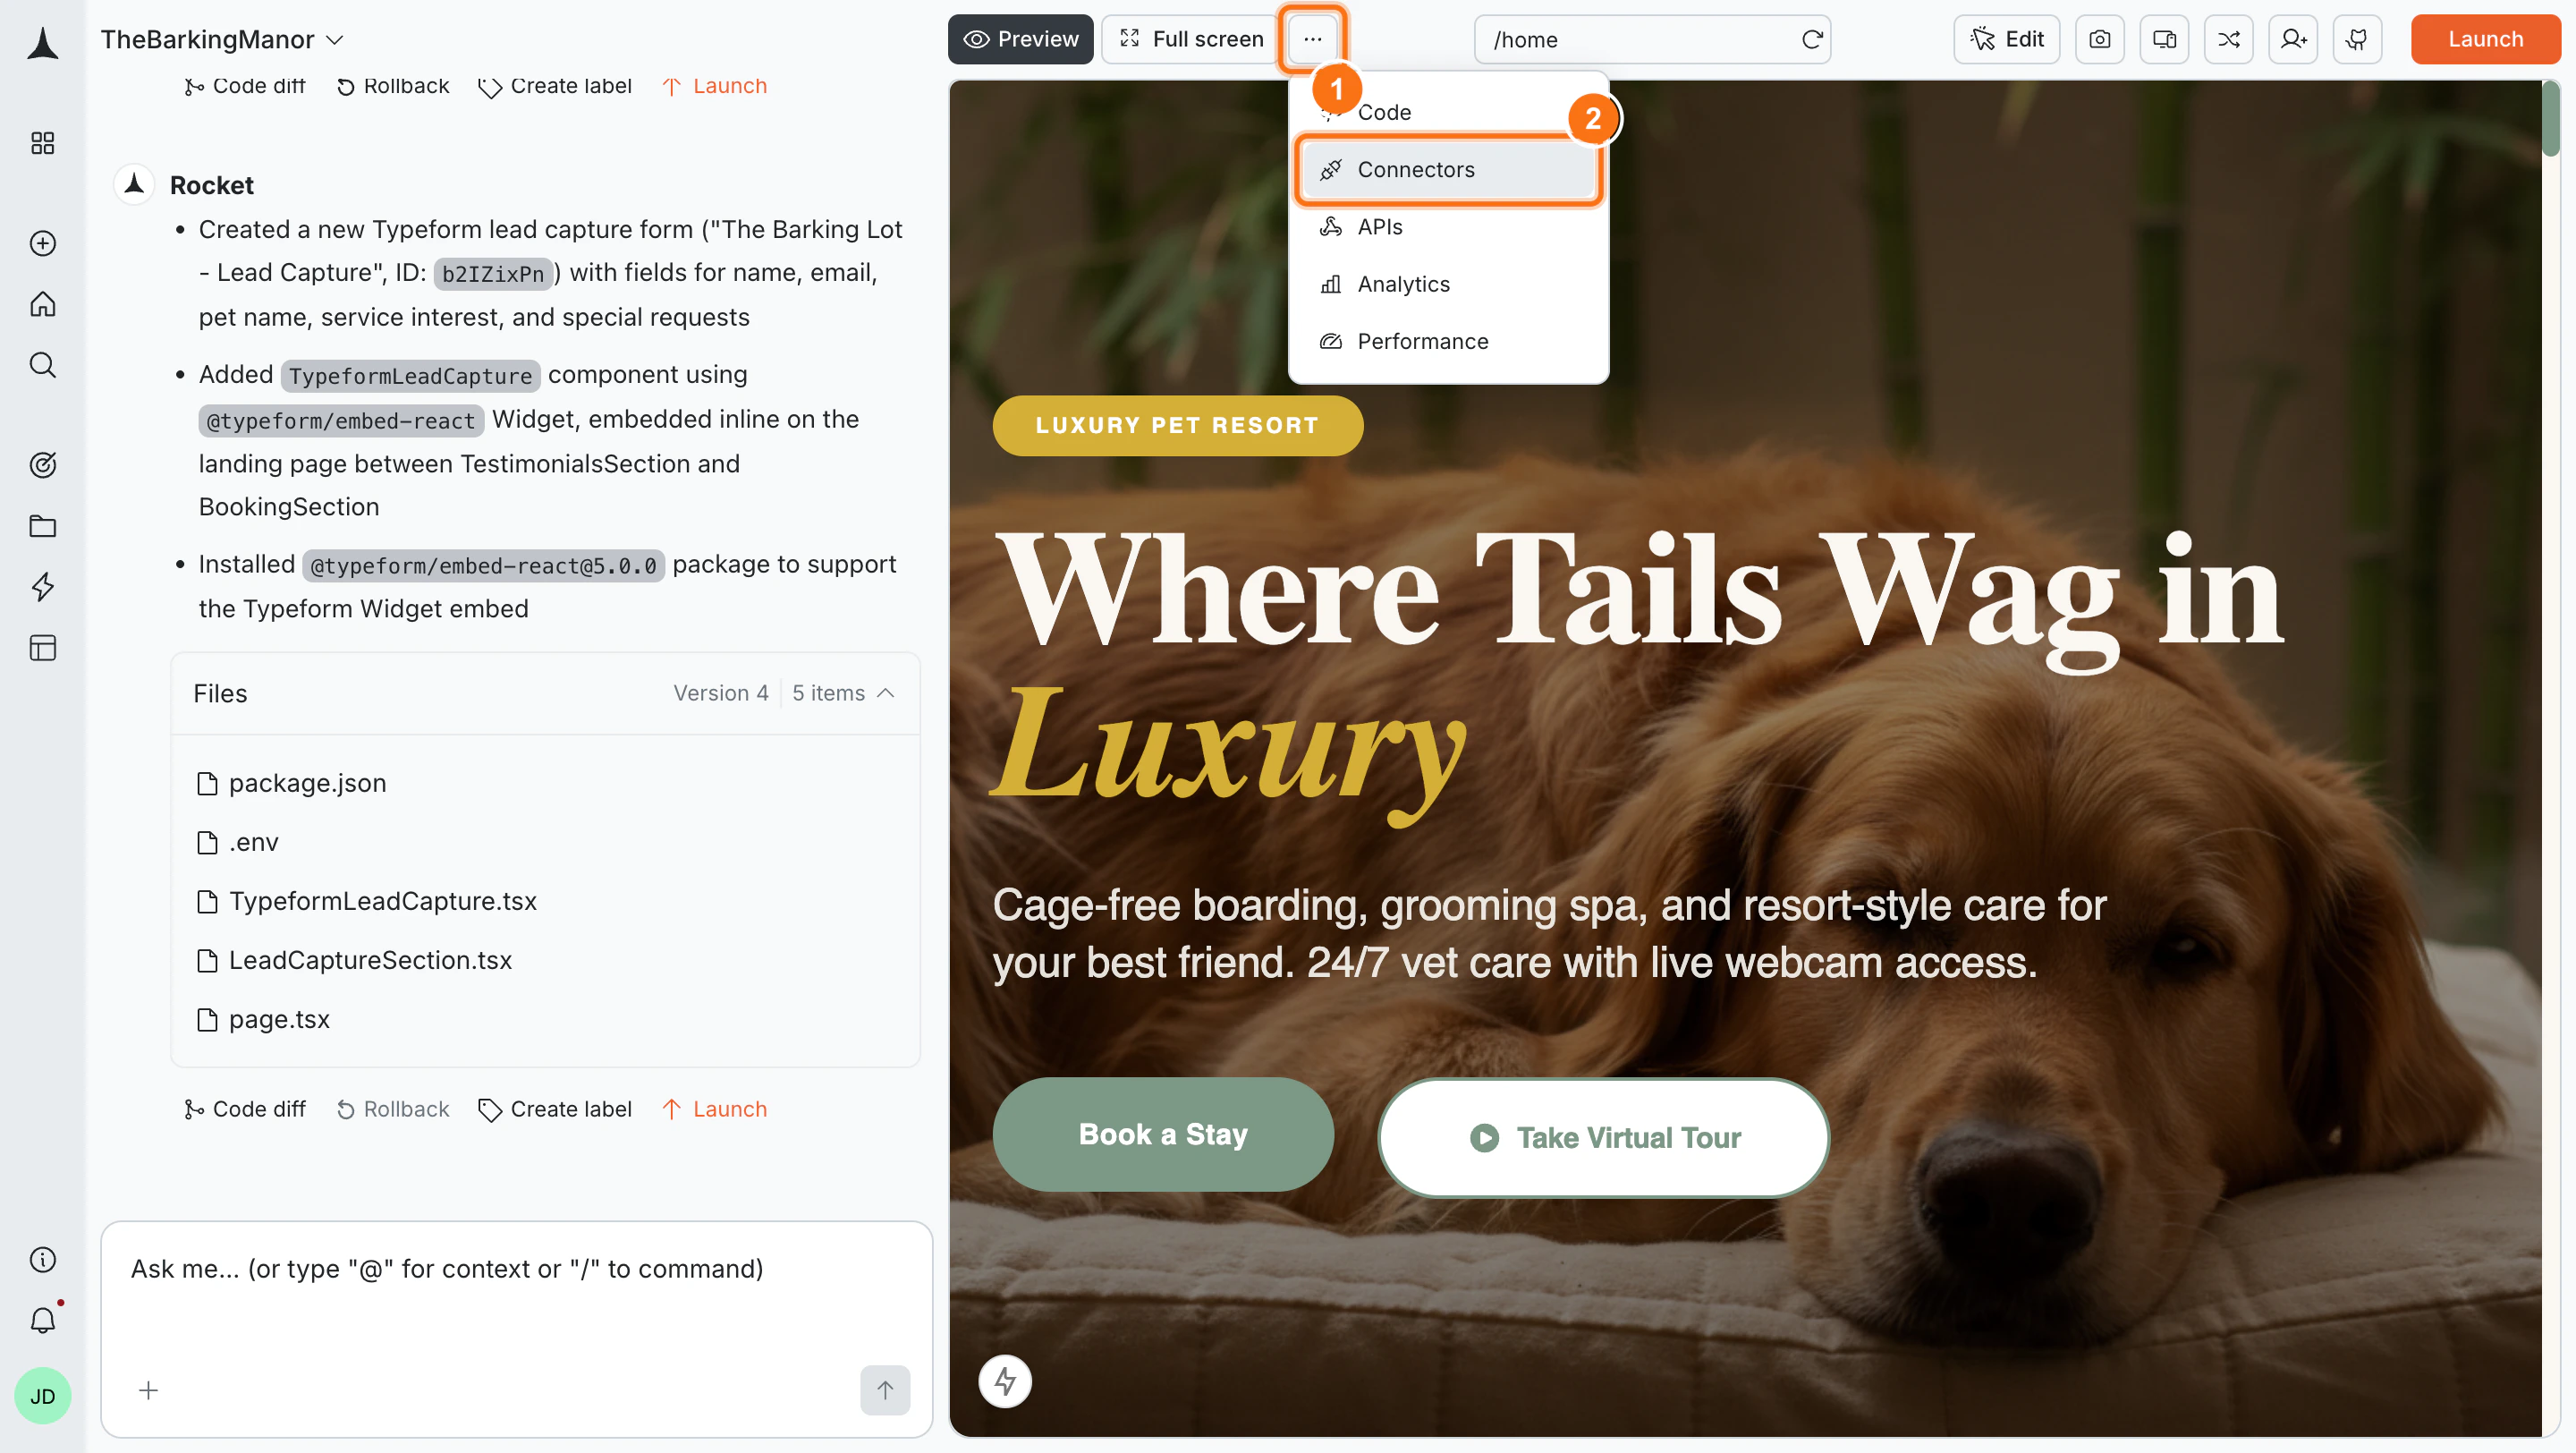
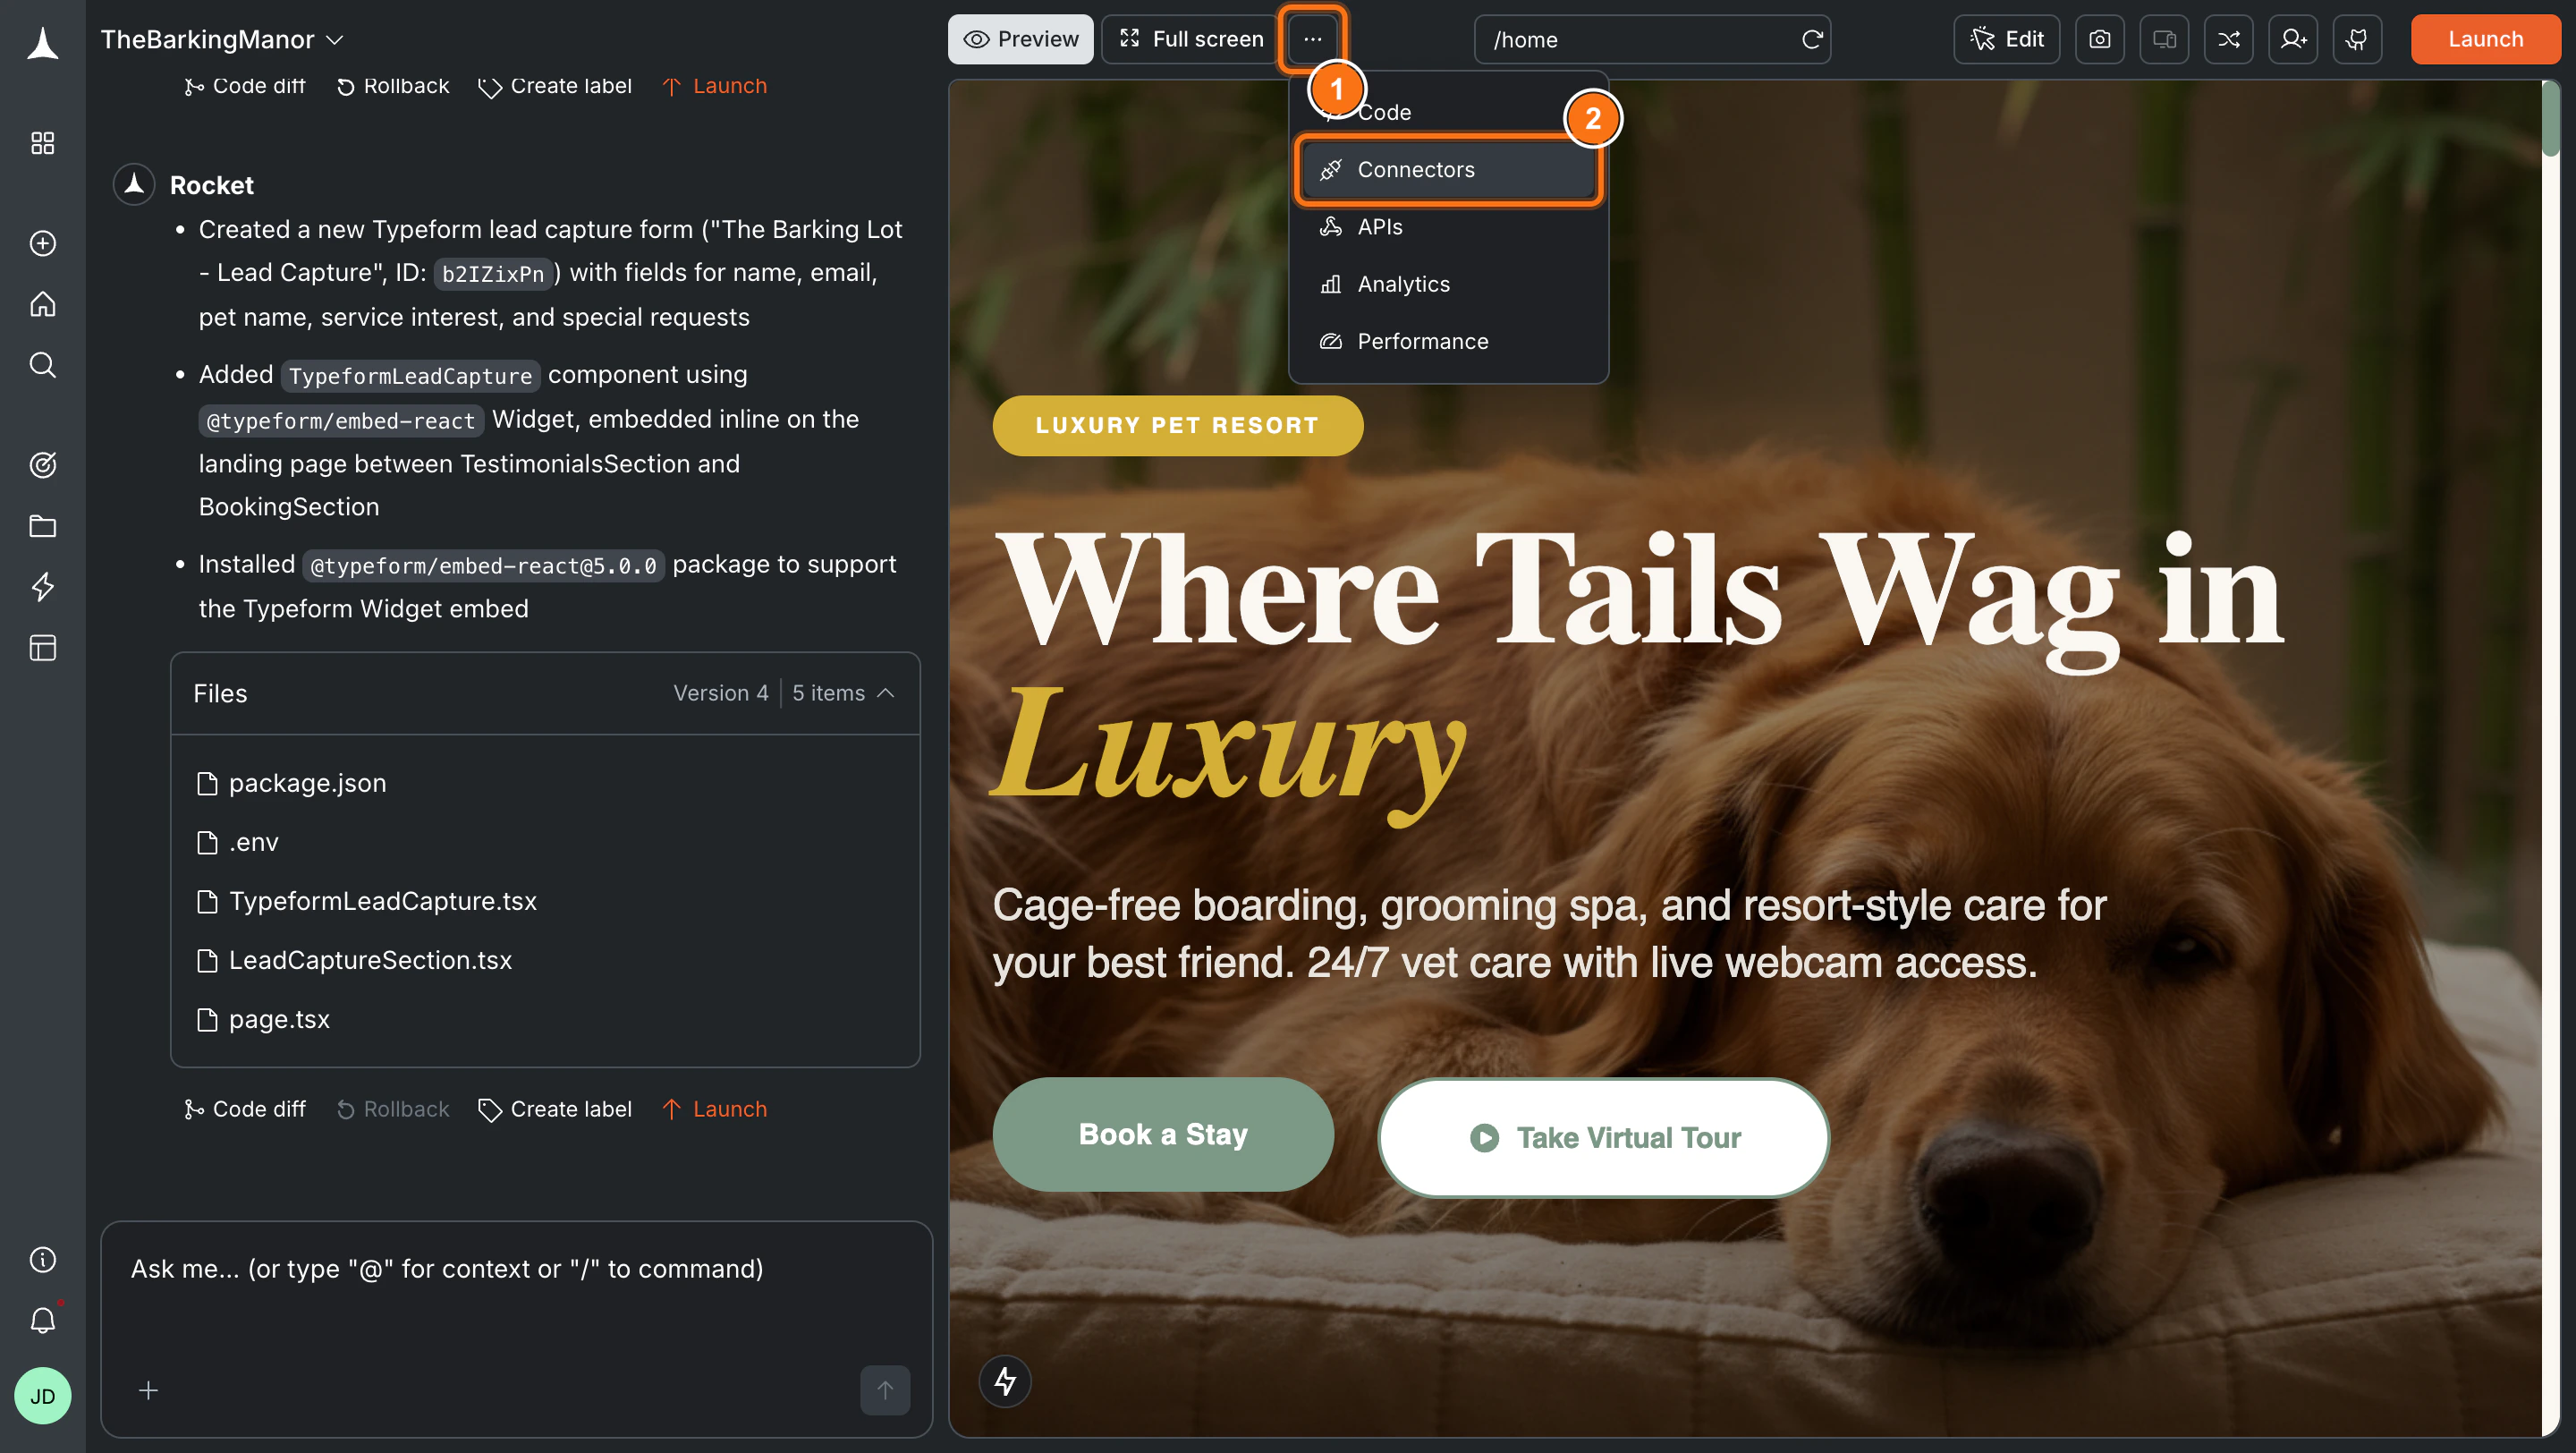
Click the **`...`** button in the preview toolbar, then select **Connectors**.
**Option 2: From the Connectors tab**
Click the **`...`** button in the preview toolbar, then select **Connectors**.
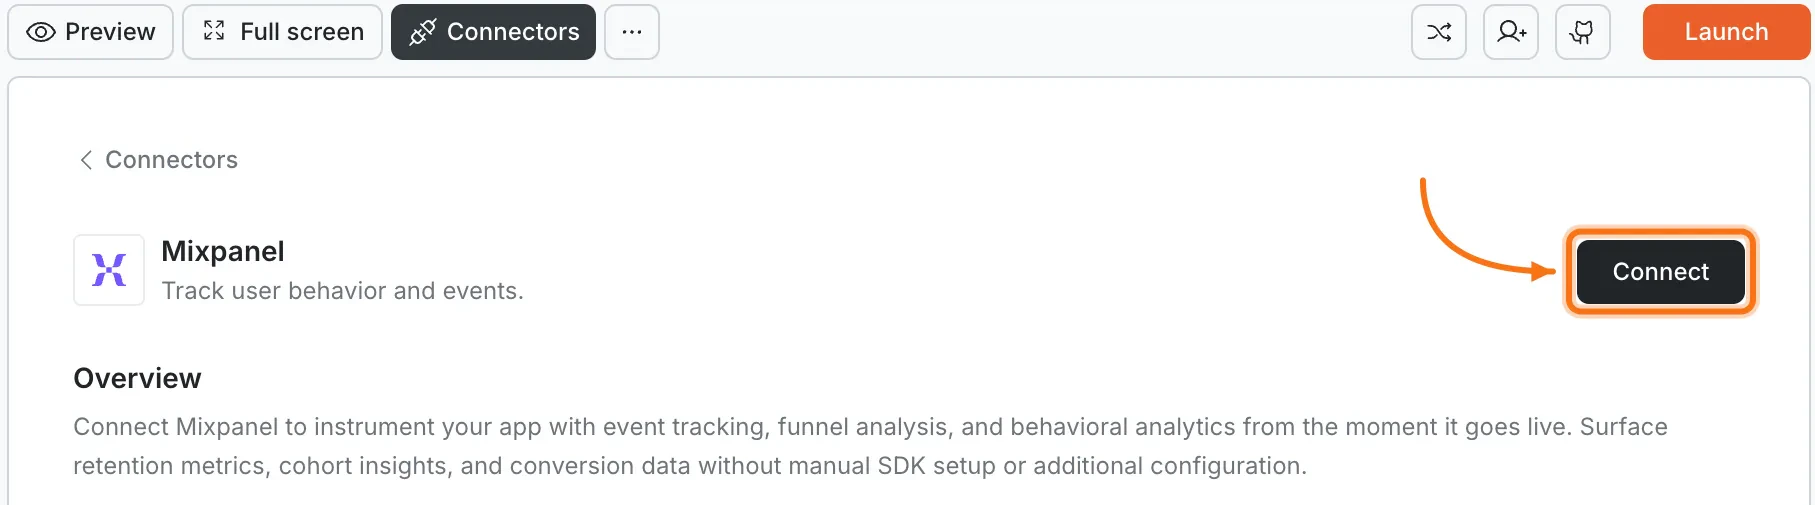
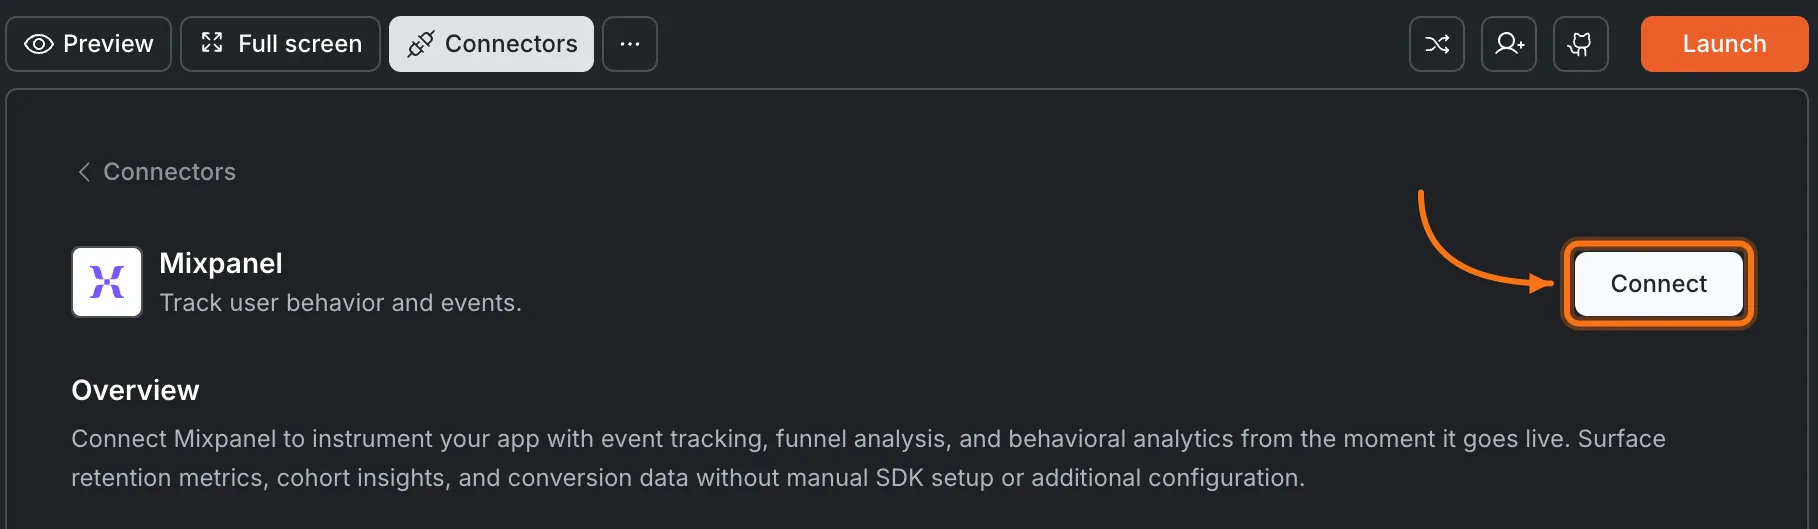
 Click the **Mixpanel** card, then click **Connect**.
 **After clicking Connect**
A popup opens. Enter your **Account username**, **Account secret**, and **Region**.
**After clicking Connect**
A popup opens. Enter your **Account username**, **Account secret**, and **Region**.
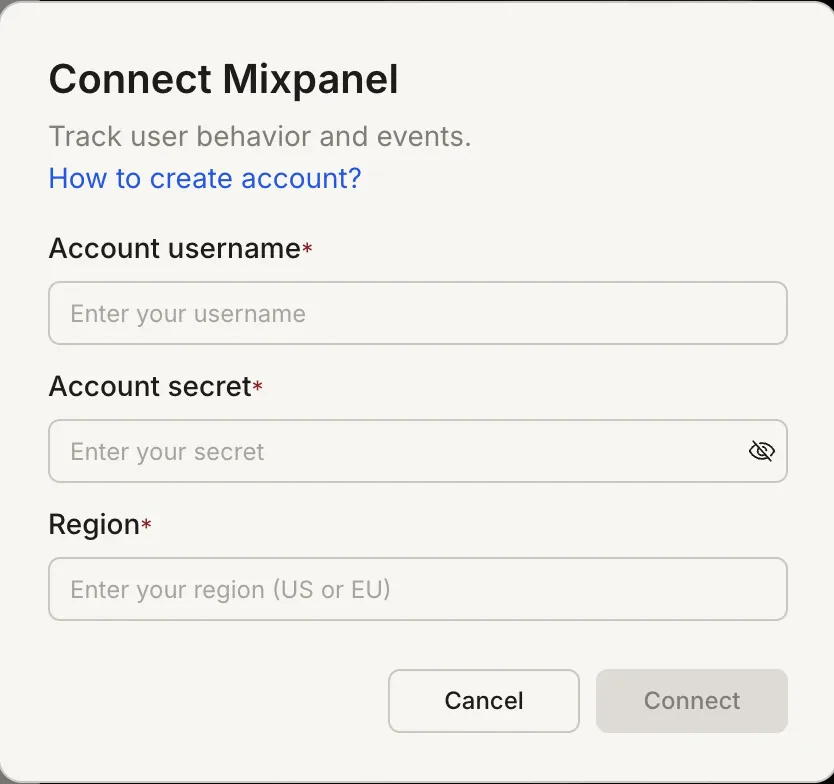
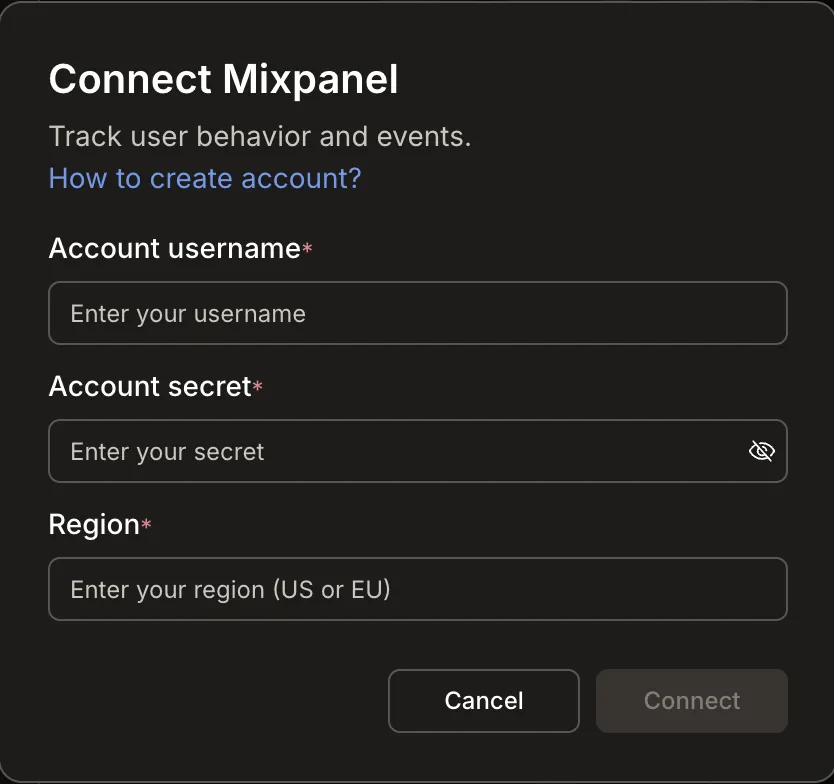 Click **Connect**. A green dot appears next to Mixpanel when the connection is active.
**Update or disconnect**
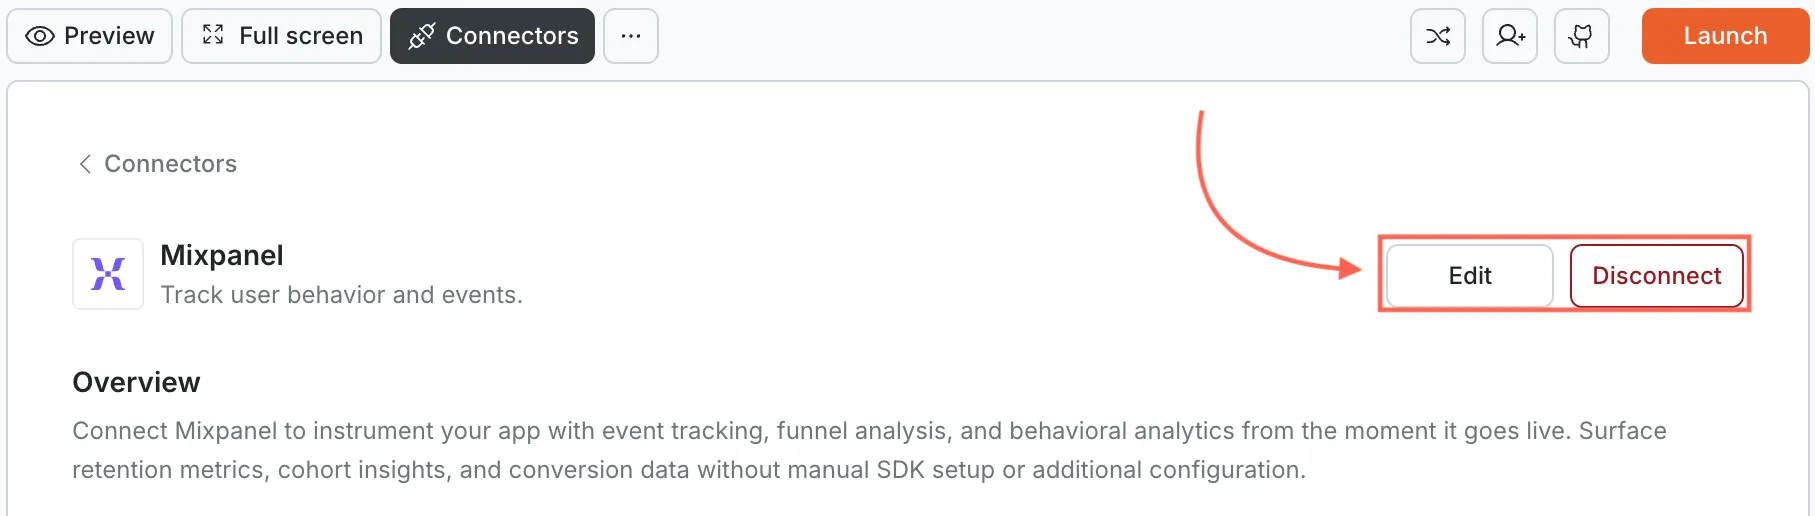
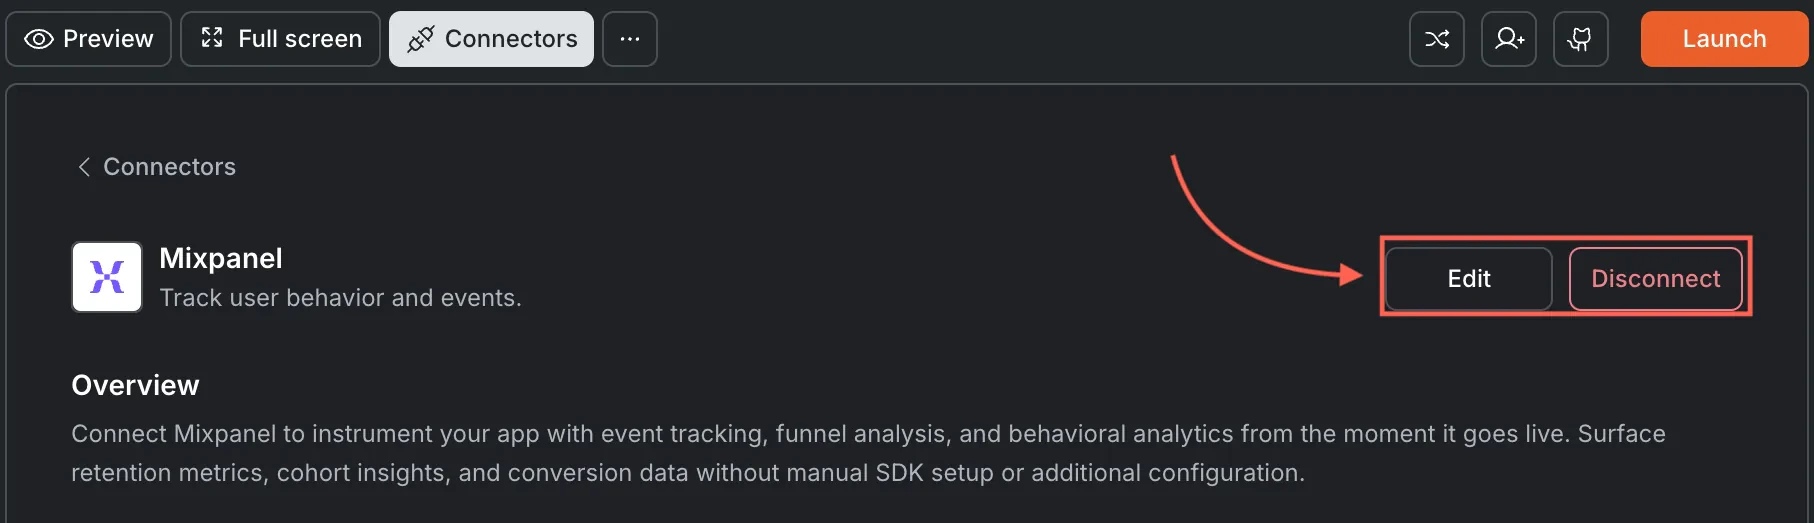
Open [**Connectors > Mixpanel**](#connect-mixpanel) and click the card. Click **Edit** to update your credentials or **Disconnect** to remove the integration from this task.
Click **Connect**. A green dot appears next to Mixpanel when the connection is active.
**Update or disconnect**
Open [**Connectors > Mixpanel**](#connect-mixpanel) and click the card. Click **Edit** to update your credentials or **Disconnect** to remove the integration from this task.
 You can connect from two places. Both do the same thing.
**Option 1: From chat**
Type a prompt that mentions Mixpanel. Rocket detects the intent and shows a **Connect** button inline. Tap it to open the credentials screen.
**Option 2: From the Connectors tab**
Tap the **More** button in the header.
Tap **Integrations**.
Tap the **Mixpanel** card, then tap **Connect**.
**After tapping Connect**
A popup opens. Enter your **Account username**, **Account secret**, and **Region**, then tap **Done**.
A green dot appears next to Mixpanel when the connection is active.
**Update or disconnect**
Go back to the **Mixpanel** card in Integrations. Tap **Edit** to update credentials or **Disconnect** to remove it from this task.
## Example prompts
| What you want | Prompt to use |
| :--------------- | :------------------------------------------------------------------------------------------------------- |
| Button tracking | `Track clicks on the Sign Up and Subscribe buttons and send events to Mixpanel.` |
| Page views | `Track page views for every route in my app and send them to Mixpanel with the page name.` |
| Signup funnel | `Track a signup funnel: Visit > Click Sign Up > Complete Form > Verify Email. Show drop-off rates.` |
| Feature usage | `Track usage of the search, filter, and export features. Show a daily usage chart for the last 30 days.` |
| User properties | `Set Mixpanel user properties for plan type, signup date, and company name on login.` |
| Retention chart | `Show a weekly retention chart for users who completed onboarding in the last 8 weeks.` |
| A/B test | `Track an A/B test on the pricing page. Compare conversion rates for monthly vs. annual pricing.` |
| Revenue tracking | `Send a Purchase Completed event to Mixpanel with the order total and product name.` |
| Error tracking | `Track JavaScript errors as Mixpanel events with the error message and stack trace.` |
| Session duration | `Track session start and end times. Show average session duration per day on a line chart.` |
## Tips
* **Data region matters.** Choose `US` or `EU` to match where your Mixpanel project data is hosted.
Using the wrong region causes events to fail silently - they appear to send but never appear in your Mixpanel dashboard.
* **Events appear with a short delay.** Mixpanel typically processes events within a few seconds, but dashboard aggregations may take a few minutes to update.
* **Some analytics features depend on your Mixpanel plan.** Advanced features like signal reports and data pipelines may require a paid plan.
* **One Mixpanel account per task.** Each Rocket task connects to one set of Mixpanel credentials. Use different tasks for different Mixpanel accounts.
* **Credentials are stored securely.** Rocket encrypts them at rest and never exposes them in client-side code.
## What's next?
Link Mixpanel events to authenticated users with Supabase user management.
Track payment events and revenue alongside user behavior in Mixpanel.
Combine SMS notifications with analytics for a complete user communication picture.
Browse every available integration.
You can connect from two places. Both do the same thing.
**Option 1: From chat**
Type a prompt that mentions Mixpanel. Rocket detects the intent and shows a **Connect** button inline. Tap it to open the credentials screen.
**Option 2: From the Connectors tab**
Tap the **More** button in the header.
Tap **Integrations**.
Tap the **Mixpanel** card, then tap **Connect**.
**After tapping Connect**
A popup opens. Enter your **Account username**, **Account secret**, and **Region**, then tap **Done**.
A green dot appears next to Mixpanel when the connection is active.
**Update or disconnect**
Go back to the **Mixpanel** card in Integrations. Tap **Edit** to update credentials or **Disconnect** to remove it from this task.
## Example prompts
| What you want | Prompt to use |
| :--------------- | :------------------------------------------------------------------------------------------------------- |
| Button tracking | `Track clicks on the Sign Up and Subscribe buttons and send events to Mixpanel.` |
| Page views | `Track page views for every route in my app and send them to Mixpanel with the page name.` |
| Signup funnel | `Track a signup funnel: Visit > Click Sign Up > Complete Form > Verify Email. Show drop-off rates.` |
| Feature usage | `Track usage of the search, filter, and export features. Show a daily usage chart for the last 30 days.` |
| User properties | `Set Mixpanel user properties for plan type, signup date, and company name on login.` |
| Retention chart | `Show a weekly retention chart for users who completed onboarding in the last 8 weeks.` |
| A/B test | `Track an A/B test on the pricing page. Compare conversion rates for monthly vs. annual pricing.` |
| Revenue tracking | `Send a Purchase Completed event to Mixpanel with the order total and product name.` |
| Error tracking | `Track JavaScript errors as Mixpanel events with the error message and stack trace.` |
| Session duration | `Track session start and end times. Show average session duration per day on a line chart.` |
## Tips
* **Data region matters.** Choose `US` or `EU` to match where your Mixpanel project data is hosted.
Using the wrong region causes events to fail silently - they appear to send but never appear in your Mixpanel dashboard.
* **Events appear with a short delay.** Mixpanel typically processes events within a few seconds, but dashboard aggregations may take a few minutes to update.
* **Some analytics features depend on your Mixpanel plan.** Advanced features like signal reports and data pipelines may require a paid plan.
* **One Mixpanel account per task.** Each Rocket task connects to one set of Mixpanel credentials. Use different tasks for different Mixpanel accounts.
* **Credentials are stored securely.** Rocket encrypts them at rest and never exposes them in client-side code.
## What's next?
Link Mixpanel events to authenticated users with Supabase user management.
Track payment events and revenue alongside user behavior in Mixpanel.
Combine SMS notifications with analytics for a complete user communication picture.
Browse every available integration.