> ## Documentation Index
> Fetch the complete documentation index at: https://docs.rocket.new/llms.txt
> Use this file to discover all available pages before exploring further.
# OpenAI
> Connect OpenAI to Rocket and add GPT-powered AI to your app - from chat assistants and content generators to search and summarization.
export const LlmsDirective = () =>
For the complete documentation index, see llms.txt.
For a lightweight markdown version of this page, append .md to the URL.
;
Connect your OpenAI API key and describe the AI feature you need in chat. Rocket handles all the integration code automatically so you can focus on what your features should do.
This connector is only available for **Next.js TypeScript** web build tasks.
## What you can do
Conversational chatbot that answers questions, provides recommendations, or guides users through workflows.
Let users generate blog posts, marketing copy, product descriptions, or social media content from simple prompts.
Upload documents or paste text and get concise summaries, key takeaways, or action items automatically.
Semantic search that understands user intent instead of just matching keywords.
Automate first-line support with a bot that answers FAQs, triages issues, and escalates complex requests.
## Before you connect
You need an OpenAI API key.
Get your OpenAI API key from the dashboard
Never paste your API key directly into chat. Always use the secure connector popup. If your key is exposed, rotate it immediately from the OpenAI dashboard.
OpenAI is a **task-level** connector. Each Rocket task connects to its own API key independently.
## Connect OpenAI
You can connect from two places - both open the same popup.
**Option 1: From chat**
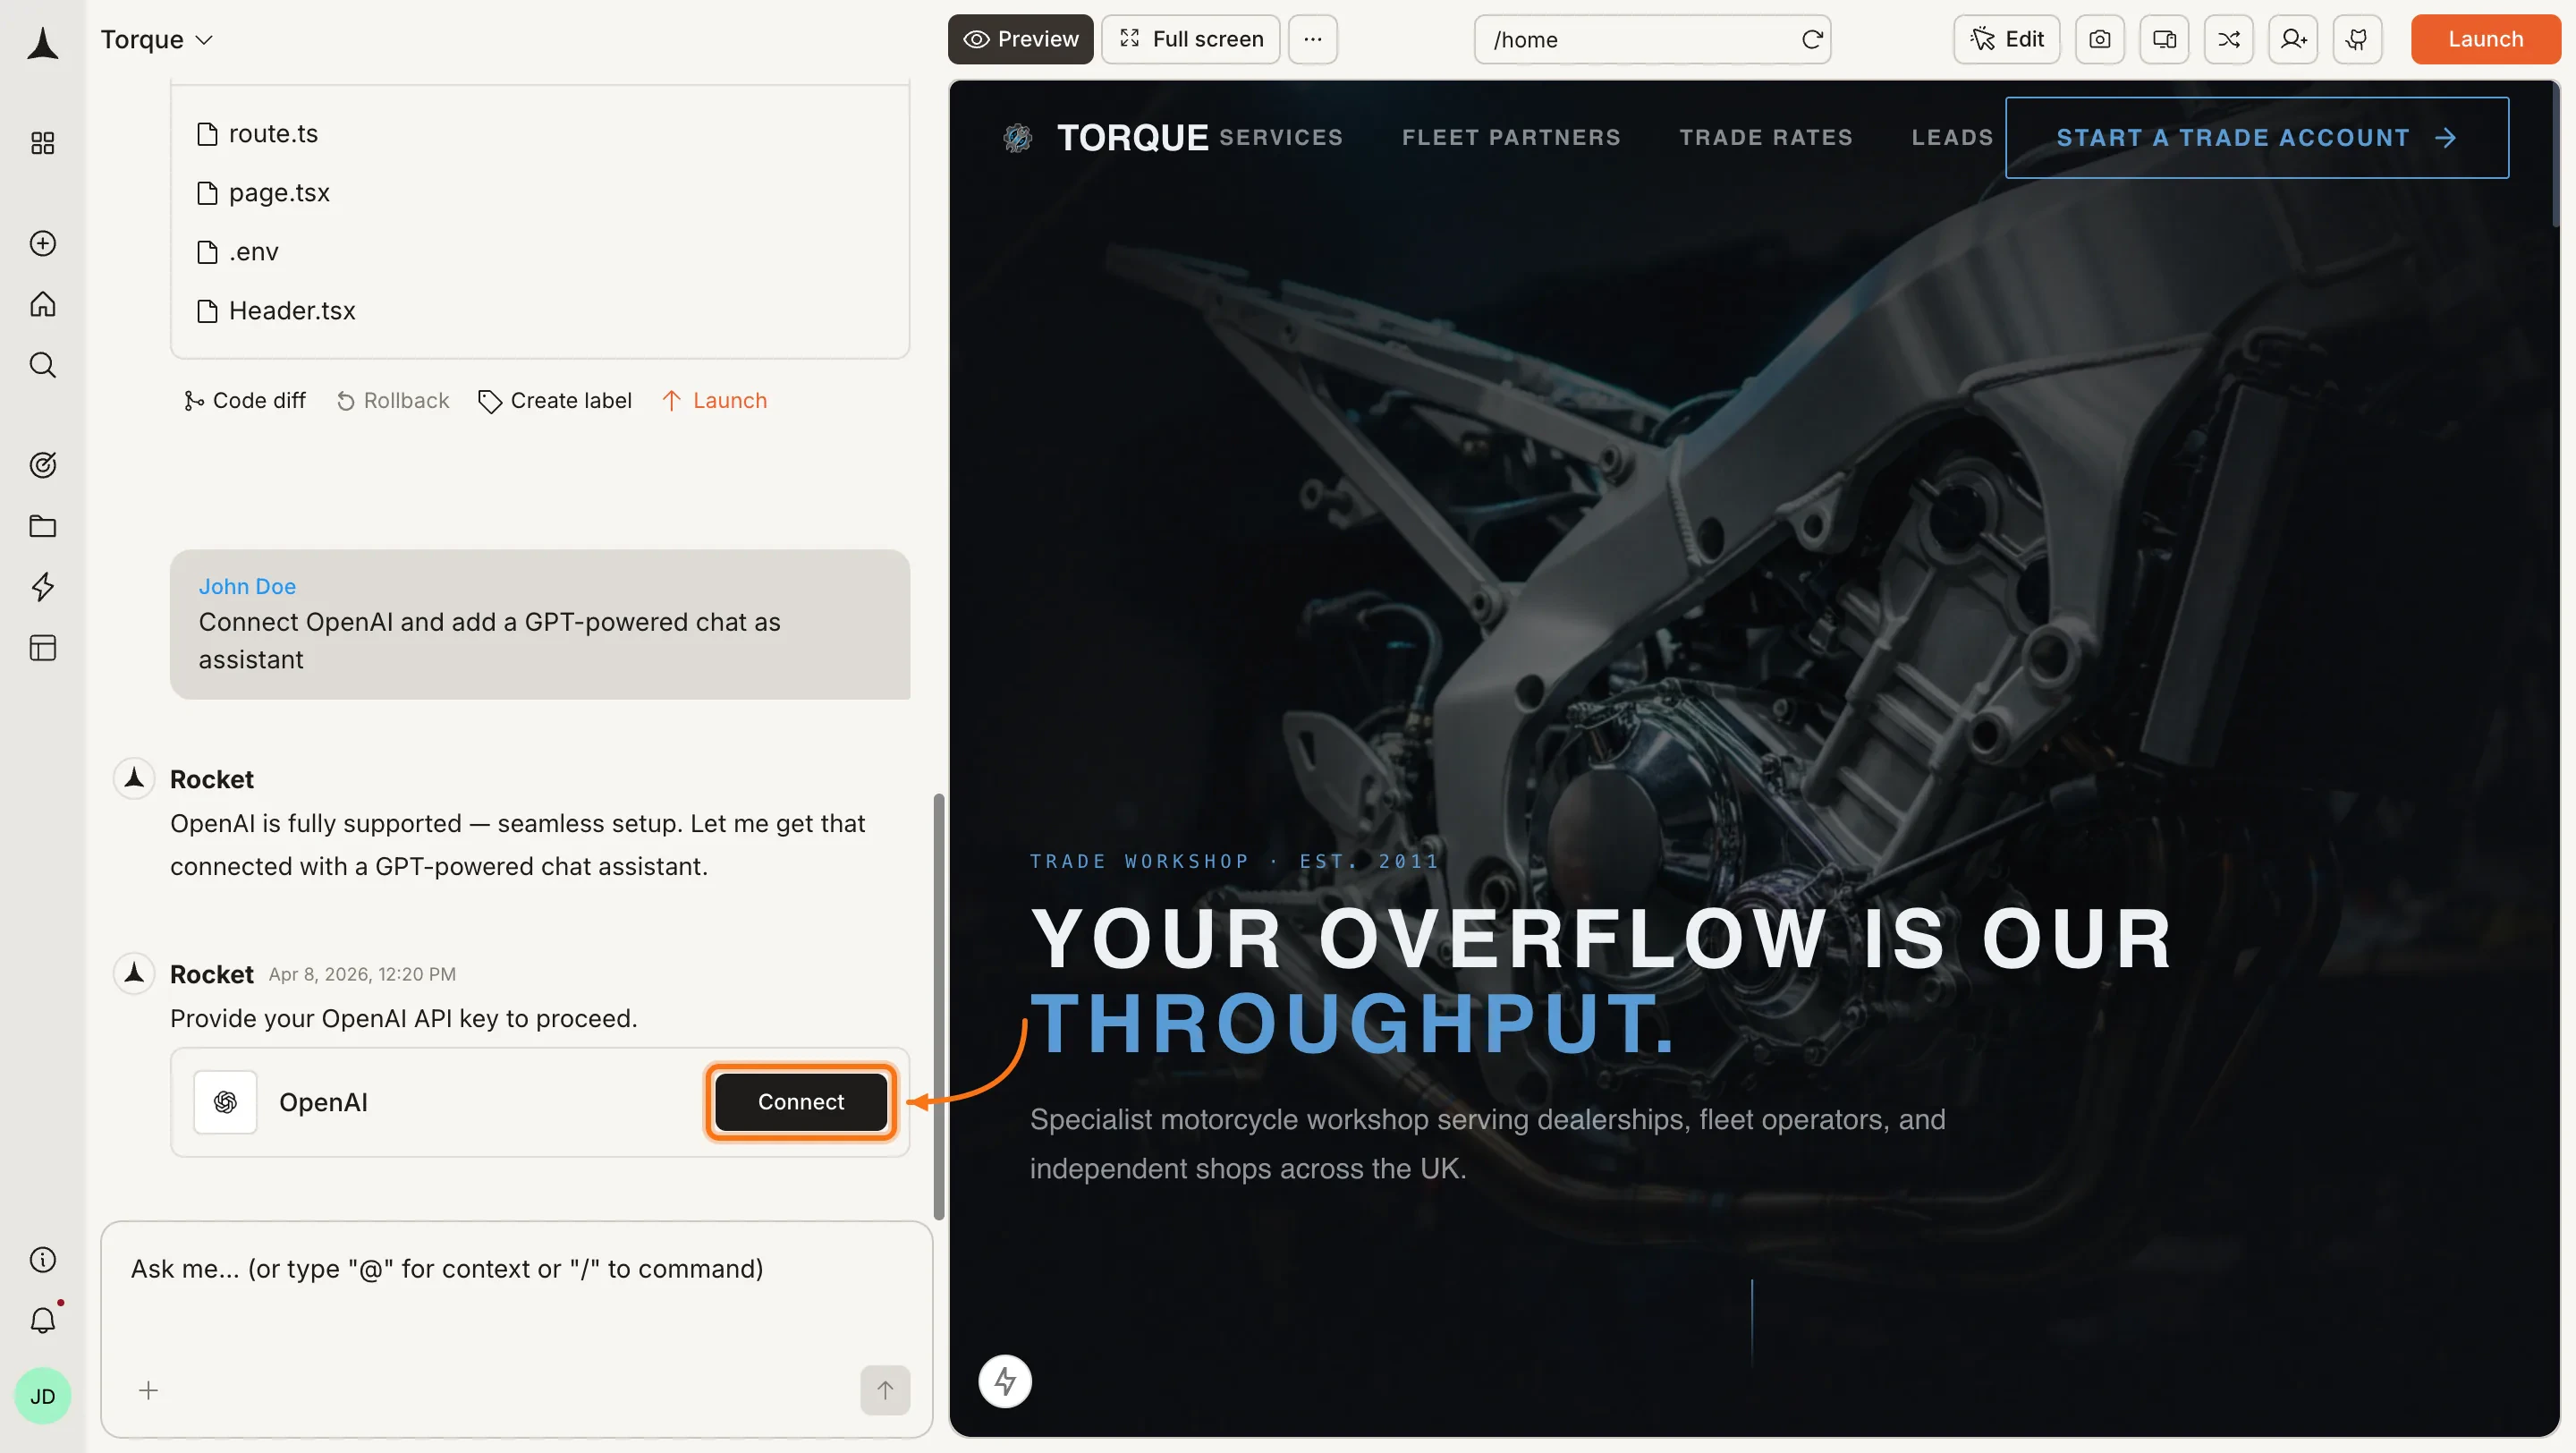
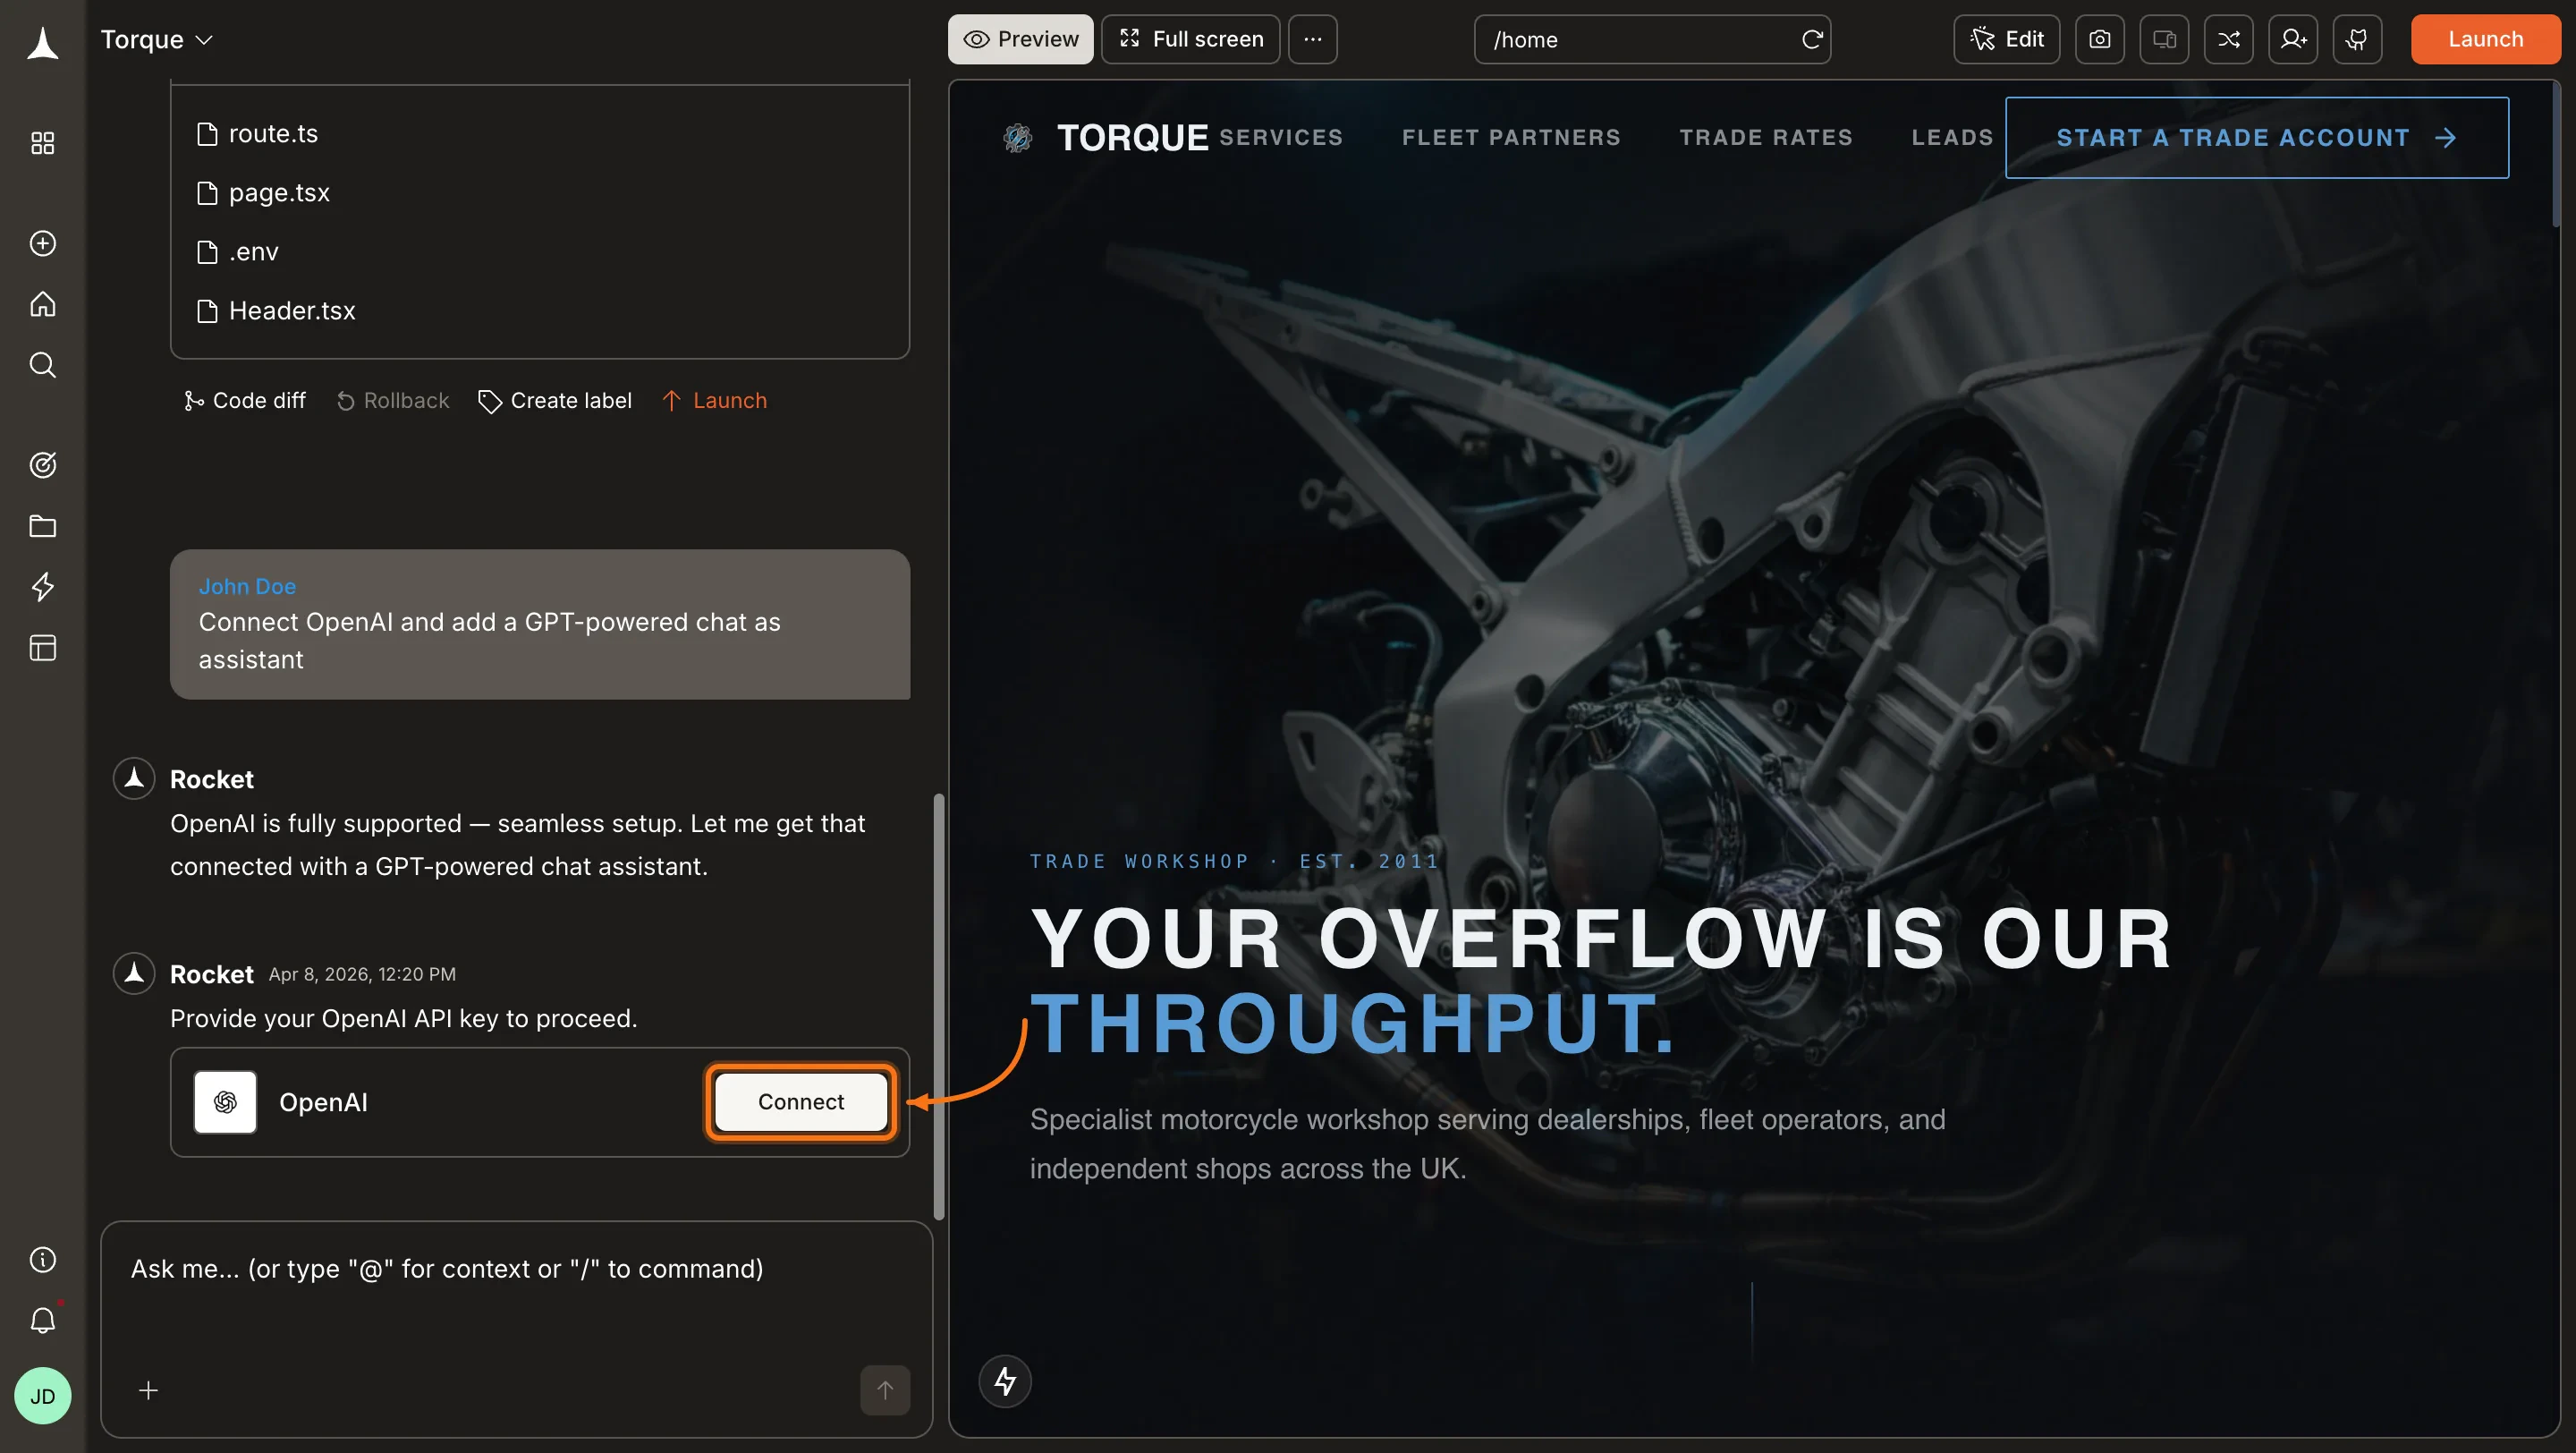
Type a prompt that mentions OpenAI or GPT - for example, `Connect OpenAI and add a GPT-powered chat assistant to my app`. Rocket detects the intent and shows a **Connect** button inline. Click it and the popup opens.
 **Option 2: From the Connectors tab**
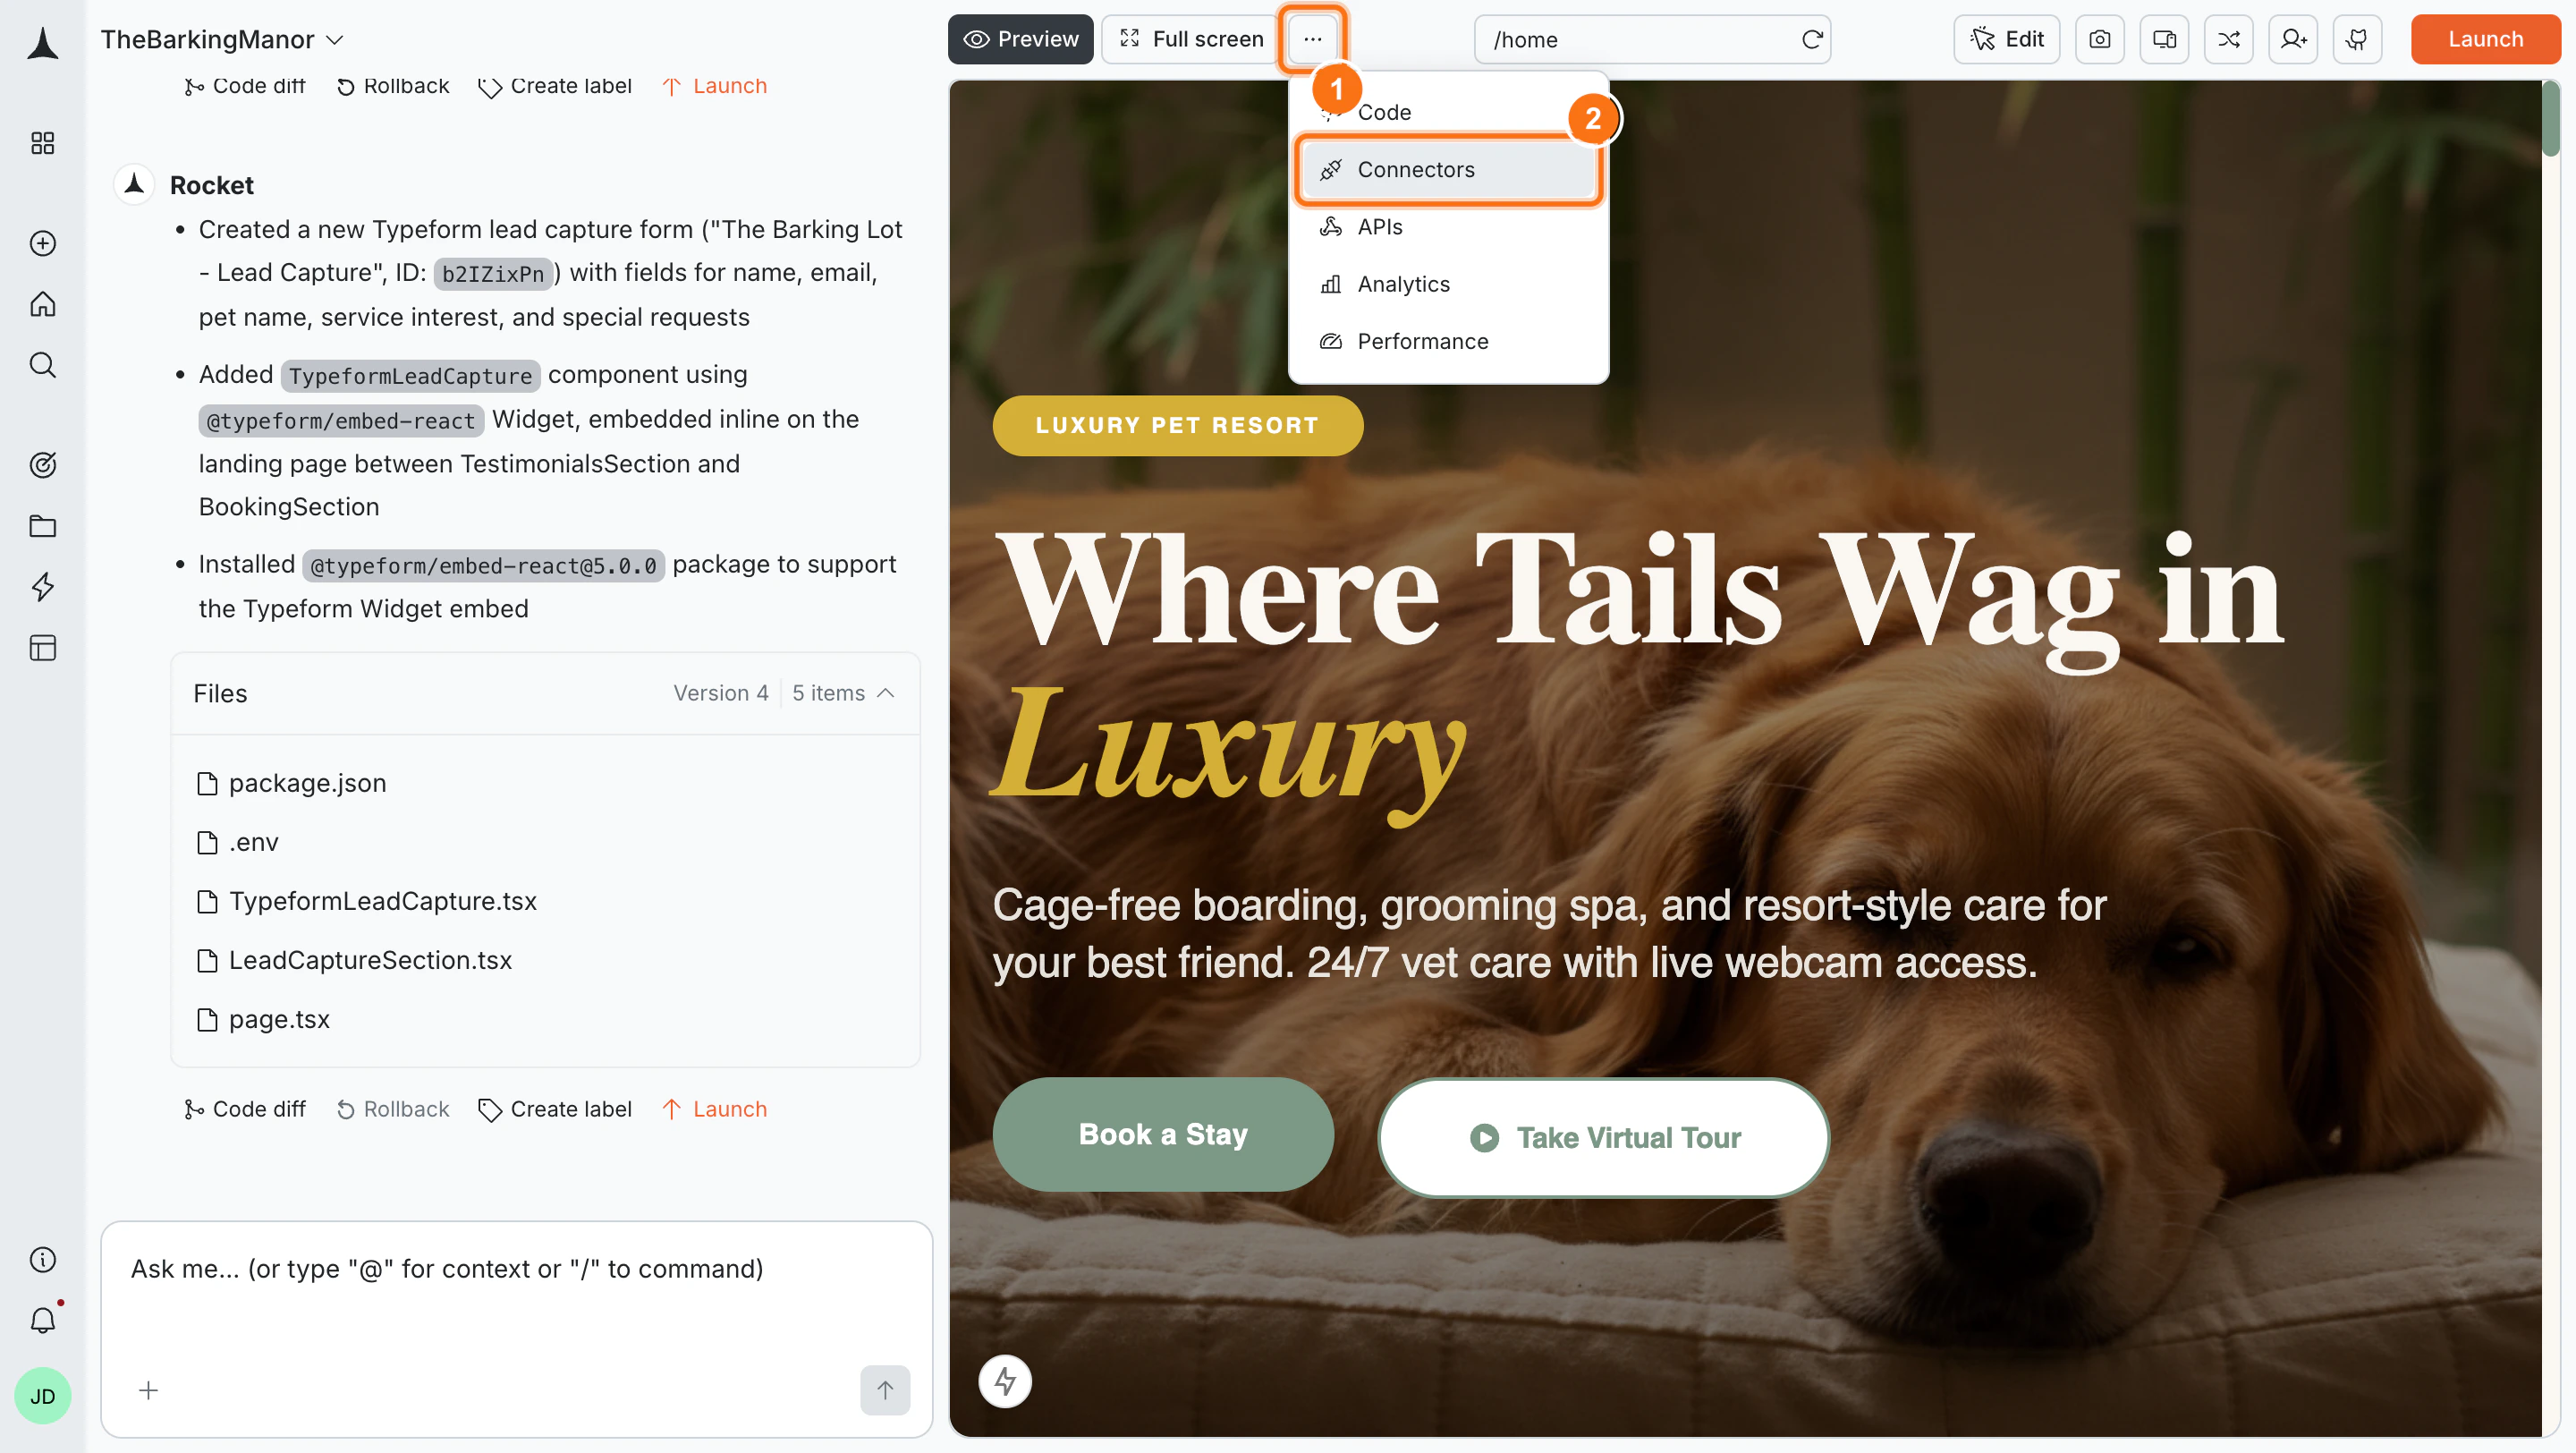
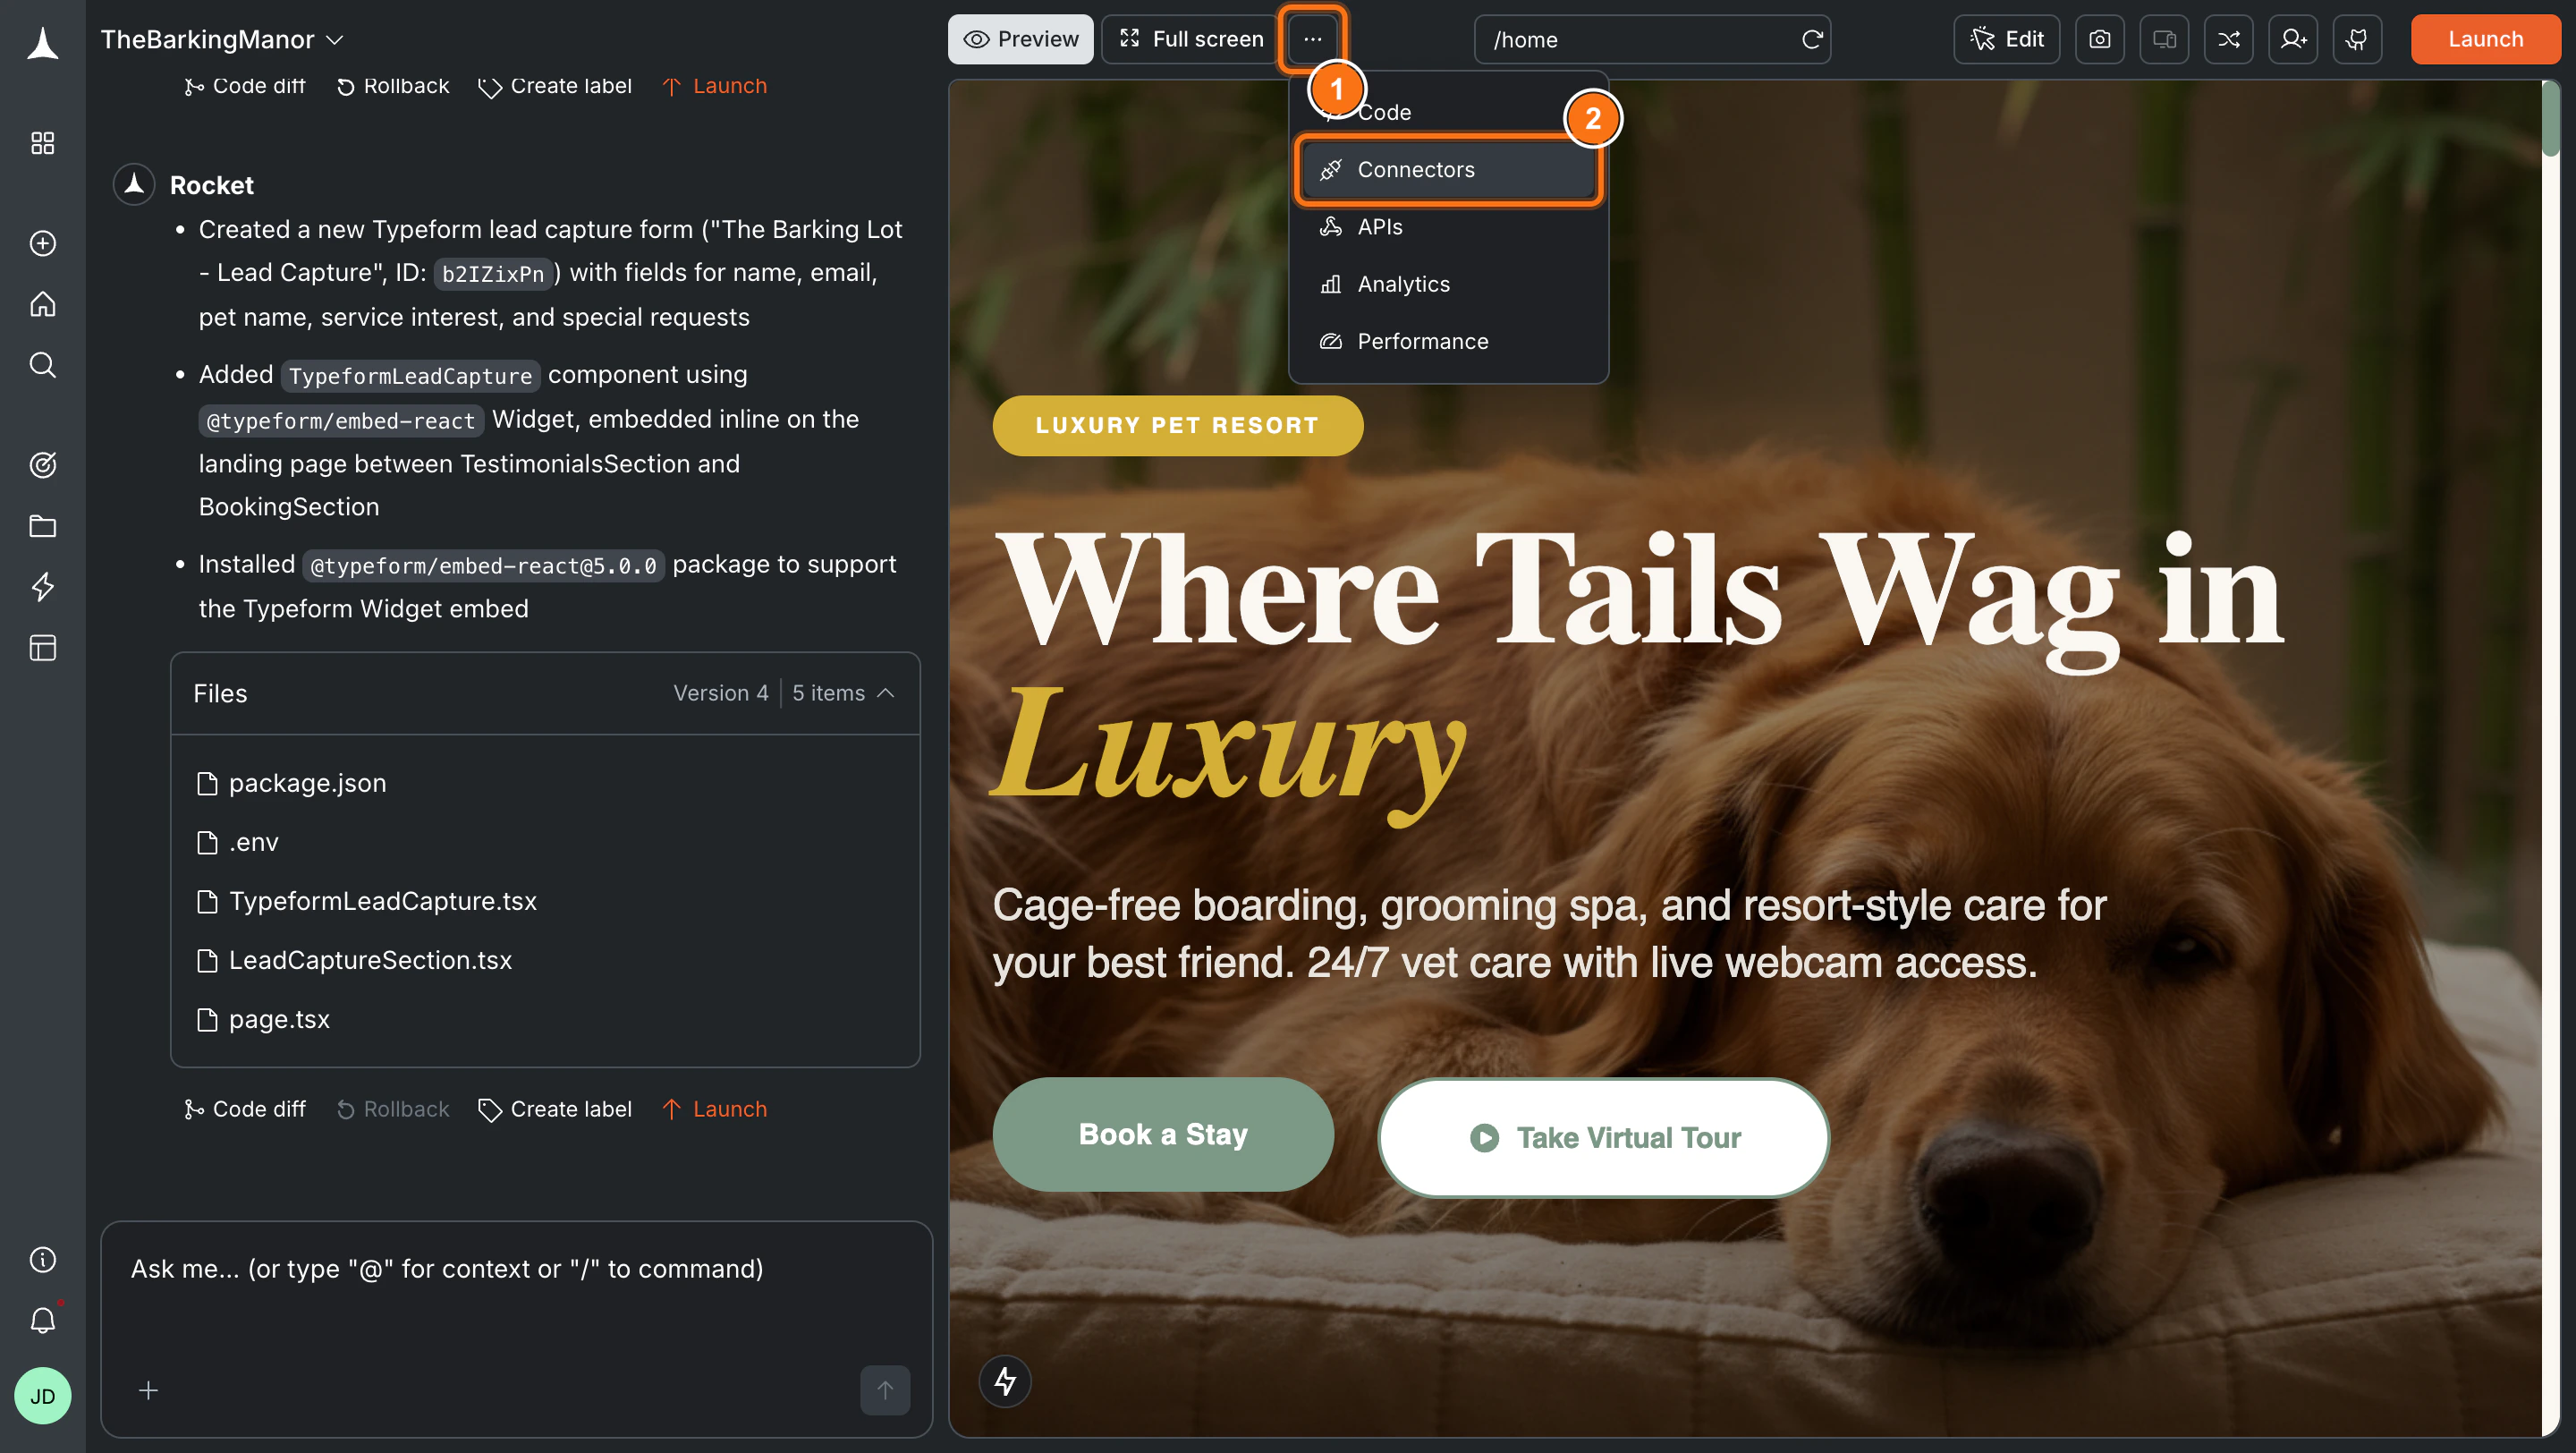
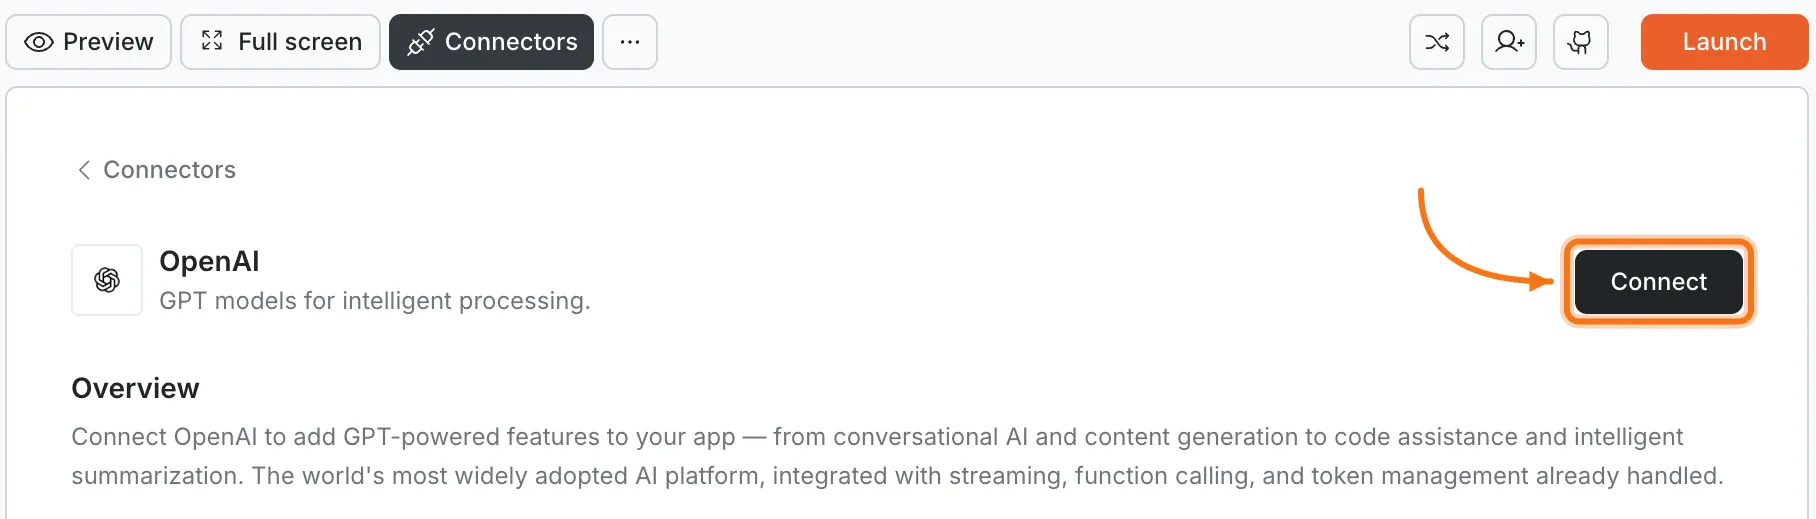
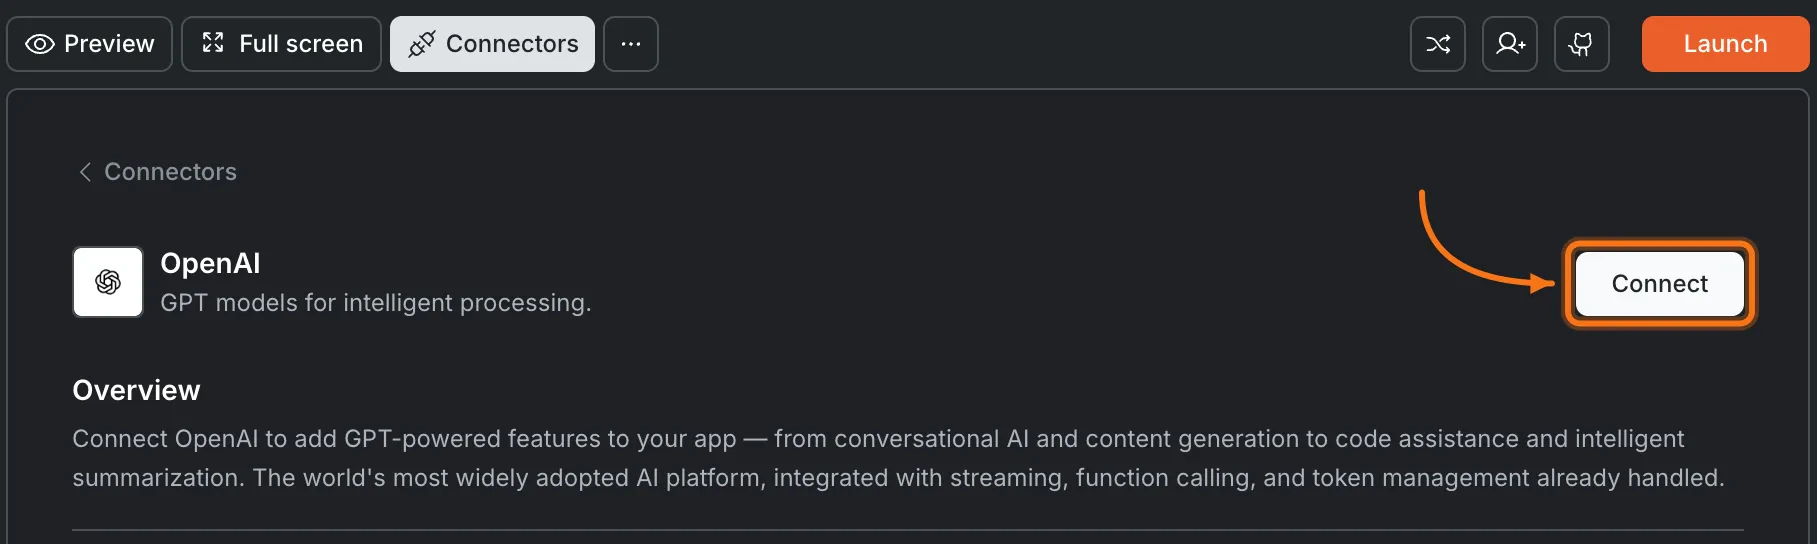
Click the **`...`** button in the preview toolbar, then select **Connectors**.
**Option 2: From the Connectors tab**
Click the **`...`** button in the preview toolbar, then select **Connectors**.
 Click the **OpenAI** card, then click **Connect**.
 **After clicking Connect**
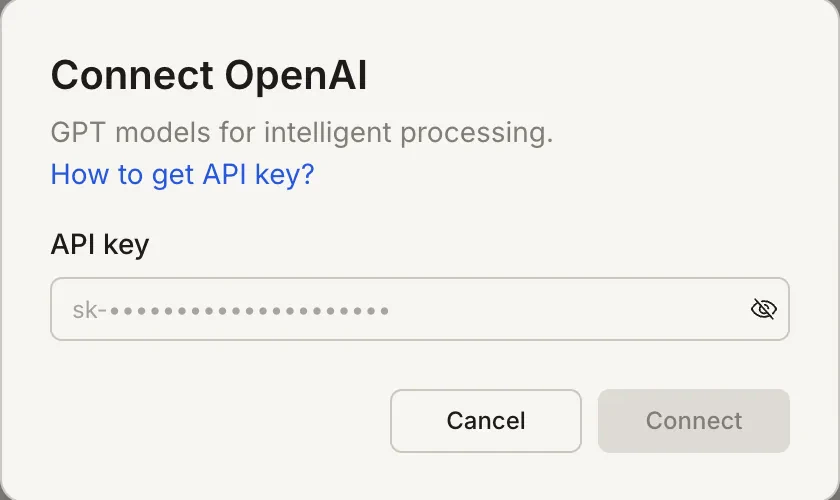
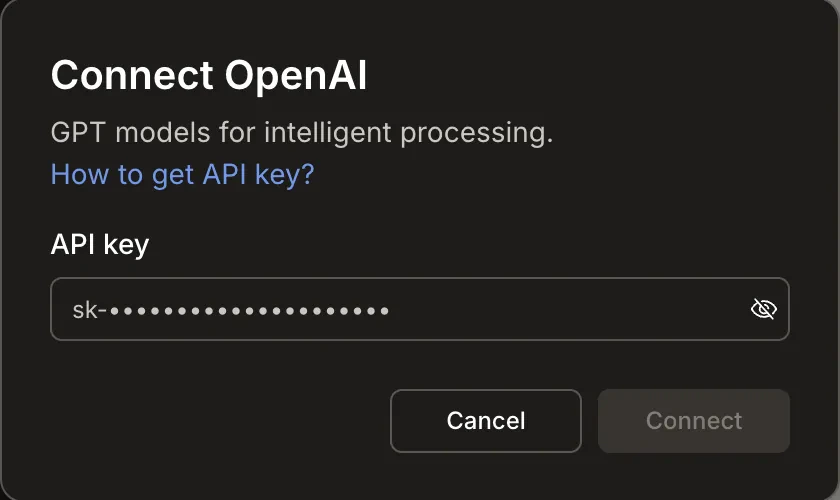
A popup opens. Paste your **API key** and click **Connect**.
**After clicking Connect**
A popup opens. Paste your **API key** and click **Connect**.
 A green dot appears next to OpenAI when the connection is active.
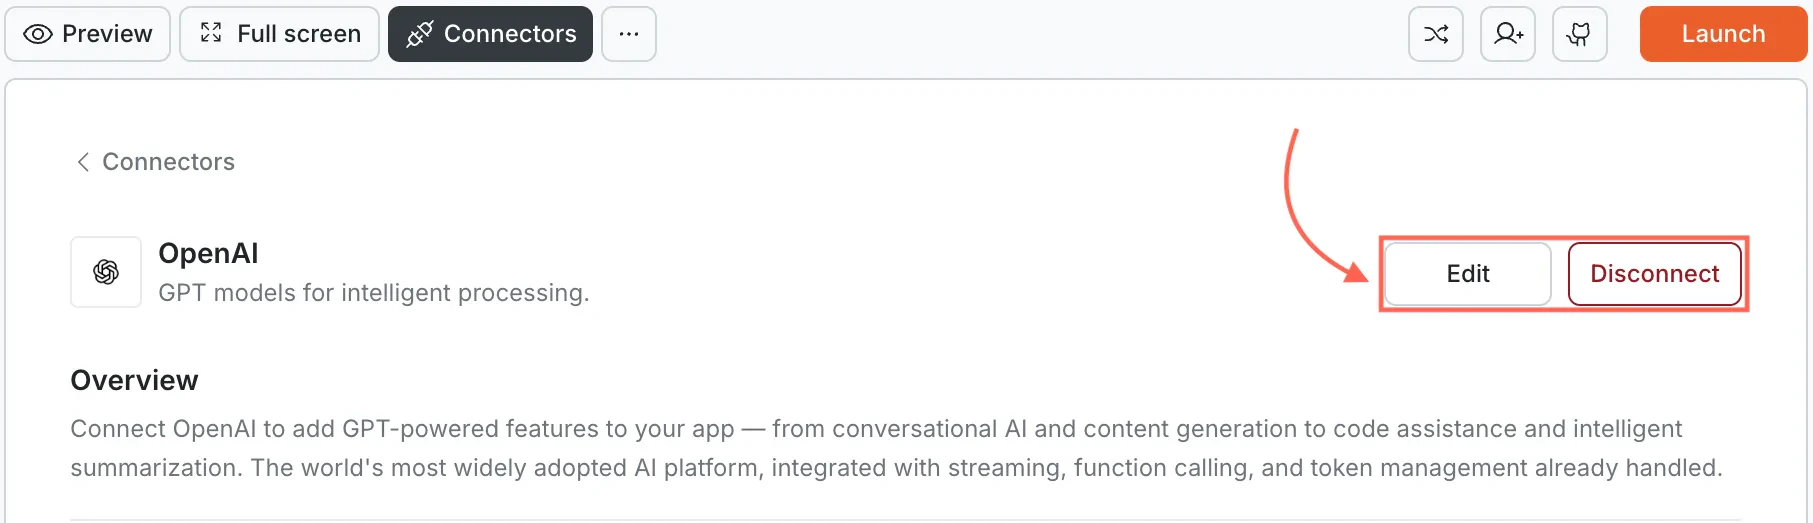
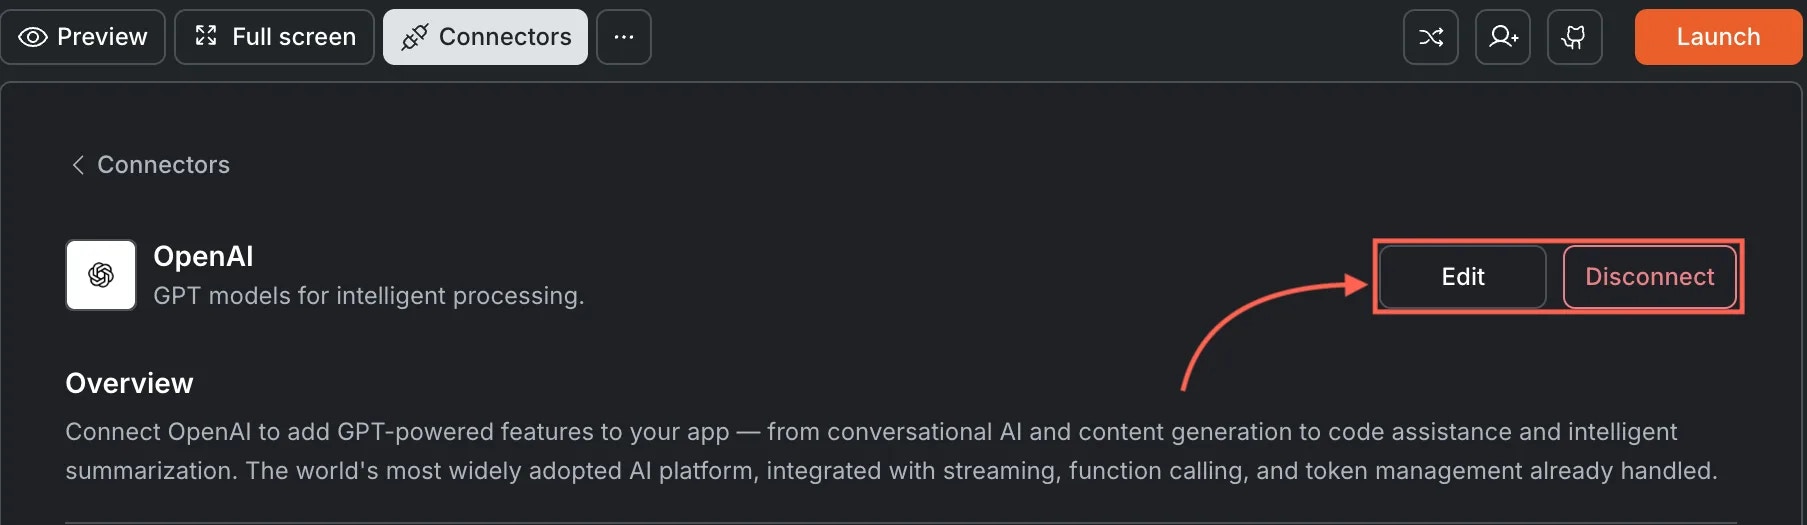
**Update or disconnect**
Go to [**Connectors > OpenAI**](#connect-openai). Click **Edit** to update the key or **Disconnect** to remove the integration.
A green dot appears next to OpenAI when the connection is active.
**Update or disconnect**
Go to [**Connectors > OpenAI**](#connect-openai). Click **Edit** to update the key or **Disconnect** to remove the integration.
 You can connect from two places - both open the same popup.
**Option 1: From chat**
Type a prompt that mentions OpenAI or GPT. Rocket detects the intent, shows a **Connect** button, and the popup opens when you tap it.
**Option 2: From the Connectors tab**
1. Tap the **More** button in the header.
2. Tap **Integrations**.
3. Tap the **OpenAI** card, then tap **Connect**.
**After tapping Connect**
A popup opens. Paste your **API key** and tap **Done**.
A green dot appears next to OpenAI when the connection is active.
**Update or disconnect**
Go back to the **OpenAI** card in Integrations. Tap **Edit** to update the key or **Disconnect** to remove it from this task.
## Example prompts
| What you want | Prompt to use |
| :------------------- | :-------------------------------------------------------------------------------------------------- |
| Chatbot | `Add an AI chatbot to my app that answers user questions using OpenAI GPT.` |
| Blog writer | `Build a blog post generator where users enter a topic and get a full draft from GPT.` |
| Email drafter | `Create an email composer that generates professional emails from bullet points using GPT.` |
| Code explainer | `Add a code explainer tool where users paste code and get a plain-English explanation from OpenAI.` |
| Content moderator | `Use OpenAI to automatically flag inappropriate user-submitted content before it is published.` |
| Quiz generator | `Build a quiz generator that creates multiple-choice questions from any topic using GPT.` |
| Language translator | `Add a translation feature that converts user text between languages using OpenAI.` |
| Sentiment analyzer | `Analyze customer feedback sentiment using OpenAI and display results in a dashboard.` |
| Meeting summarizer | `Summarize meeting notes into key decisions and action items using GPT.` |
| Product descriptions | `Generate product descriptions from basic details like name, category, and features using OpenAI.` |
## Tips
* **API billing is separate.** OpenAI charges based on token usage. Monitor your spending in the [OpenAI usage dashboard](https://platform.openai.com/usage).
* **Rate limits apply.** New accounts have lower rate limits. Check your [rate limit tier](https://platform.openai.com/docs/guides/rate-limits) and request an increase if needed.
* **Token costs vary by model.** Longer prompts and responses cost more. Keep system prompts concise and set reasonable max token limits.
* **OpenAI vs. Anthropic.** GPT models excel at broad general-purpose tasks, function calling, and vision. Claude is better suited for long-context analysis and tasks requiring careful, detailed reasoning.
* **One API key per task.** Each Rocket task connects to one OpenAI API key independently.
## What's next?
Add Claude models for long-context analysis and detailed reasoning alongside GPT.
Connect Google's Gemini models for multimodal AI features.
Add real-time web search and up-to-date answers to your AI features.
Store conversation history, user preferences, and AI-generated content.
You can connect from two places - both open the same popup.
**Option 1: From chat**
Type a prompt that mentions OpenAI or GPT. Rocket detects the intent, shows a **Connect** button, and the popup opens when you tap it.
**Option 2: From the Connectors tab**
1. Tap the **More** button in the header.
2. Tap **Integrations**.
3. Tap the **OpenAI** card, then tap **Connect**.
**After tapping Connect**
A popup opens. Paste your **API key** and tap **Done**.
A green dot appears next to OpenAI when the connection is active.
**Update or disconnect**
Go back to the **OpenAI** card in Integrations. Tap **Edit** to update the key or **Disconnect** to remove it from this task.
## Example prompts
| What you want | Prompt to use |
| :------------------- | :-------------------------------------------------------------------------------------------------- |
| Chatbot | `Add an AI chatbot to my app that answers user questions using OpenAI GPT.` |
| Blog writer | `Build a blog post generator where users enter a topic and get a full draft from GPT.` |
| Email drafter | `Create an email composer that generates professional emails from bullet points using GPT.` |
| Code explainer | `Add a code explainer tool where users paste code and get a plain-English explanation from OpenAI.` |
| Content moderator | `Use OpenAI to automatically flag inappropriate user-submitted content before it is published.` |
| Quiz generator | `Build a quiz generator that creates multiple-choice questions from any topic using GPT.` |
| Language translator | `Add a translation feature that converts user text between languages using OpenAI.` |
| Sentiment analyzer | `Analyze customer feedback sentiment using OpenAI and display results in a dashboard.` |
| Meeting summarizer | `Summarize meeting notes into key decisions and action items using GPT.` |
| Product descriptions | `Generate product descriptions from basic details like name, category, and features using OpenAI.` |
## Tips
* **API billing is separate.** OpenAI charges based on token usage. Monitor your spending in the [OpenAI usage dashboard](https://platform.openai.com/usage).
* **Rate limits apply.** New accounts have lower rate limits. Check your [rate limit tier](https://platform.openai.com/docs/guides/rate-limits) and request an increase if needed.
* **Token costs vary by model.** Longer prompts and responses cost more. Keep system prompts concise and set reasonable max token limits.
* **OpenAI vs. Anthropic.** GPT models excel at broad general-purpose tasks, function calling, and vision. Claude is better suited for long-context analysis and tasks requiring careful, detailed reasoning.
* **One API key per task.** Each Rocket task connects to one OpenAI API key independently.
## What's next?
Add Claude models for long-context analysis and detailed reasoning alongside GPT.
Connect Google's Gemini models for multimodal AI features.
Add real-time web search and up-to-date answers to your AI features.
Store conversation history, user preferences, and AI-generated content.