> ## Documentation Index
> Fetch the complete documentation index at: https://docs.rocket.new/llms.txt
> Use this file to discover all available pages before exploring further.
# Razorpay
> Connect Razorpay to your Rocket.new app and accept payments, process refunds, manage subscriptions, and handle orders with a single prompt.
export const LlmsDirective = () =>
For the complete documentation index, see llms.txt.
For a lightweight markdown version of this page, append .md to the URL.
;
Connect Razorpay via OAuth and describe the payment flow you want in chat. Rocket generates the complete checkout experience: order creation, payment forms, webhook handlers, and subscription management, all grounded in your real Razorpay configuration.
This connector is only available for **Next.js TypeScript** web build tasks.
Razorpay is a **workspace-level** connector. Connect it once from Settings and it is available across all tasks.
## What you can do
Accept single payments for products, services, or digital goods with a Razorpay-powered checkout page.
Monthly or yearly plans with automatic billing, upgrade and downgrade flows, and cancellation handling.
Create and track orders programmatically. Pull order history into dashboards and admin panels.
Trigger full or partial refunds from your app and sync refund status back to your UI.
## Before you connect
Razorpay uses OAuth, so no API key is required. You authorize Rocket through Razorpay's login flow and Rocket gets scoped access to your account.
Rocket can only access the Razorpay account you authorize during the OAuth flow. To switch accounts, disconnect and reconnect with the new account.
Always test with Razorpay's **Test Mode** before switching to Live Mode. Test card: `4111 1111 1111 1111` with any future expiry and CVV.
## Connect Razorpay
You can connect from three places. All do the same thing.
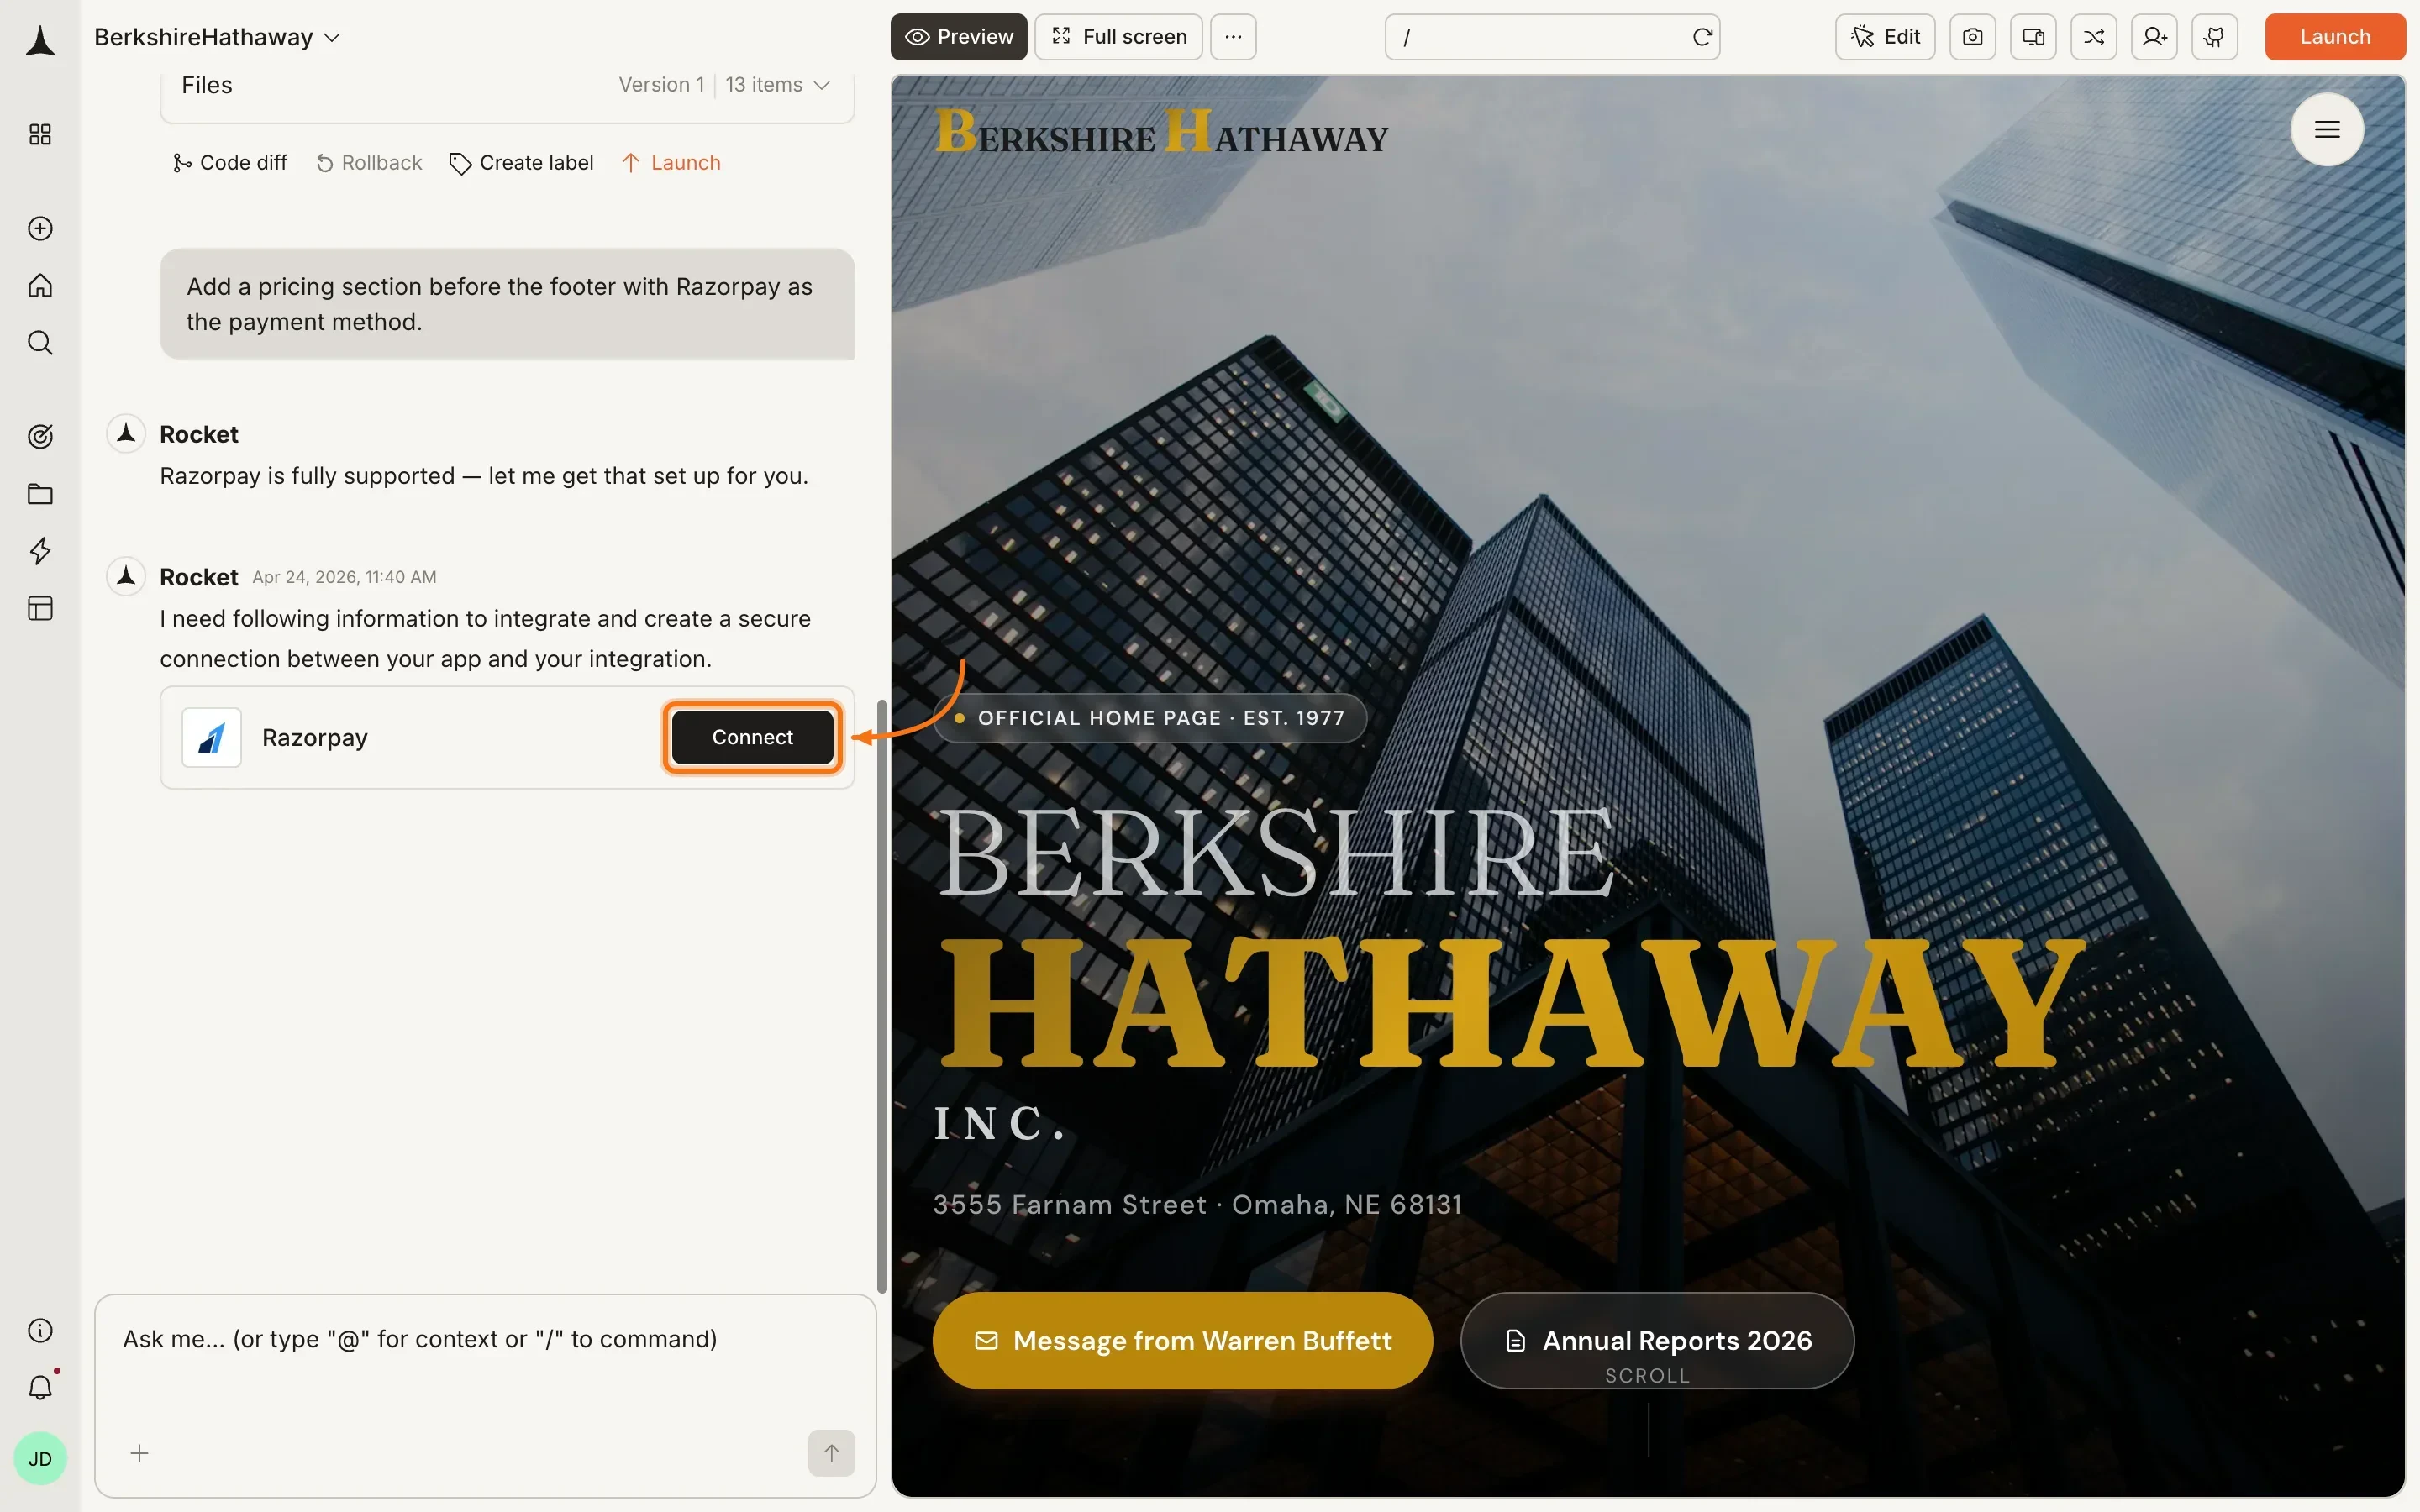
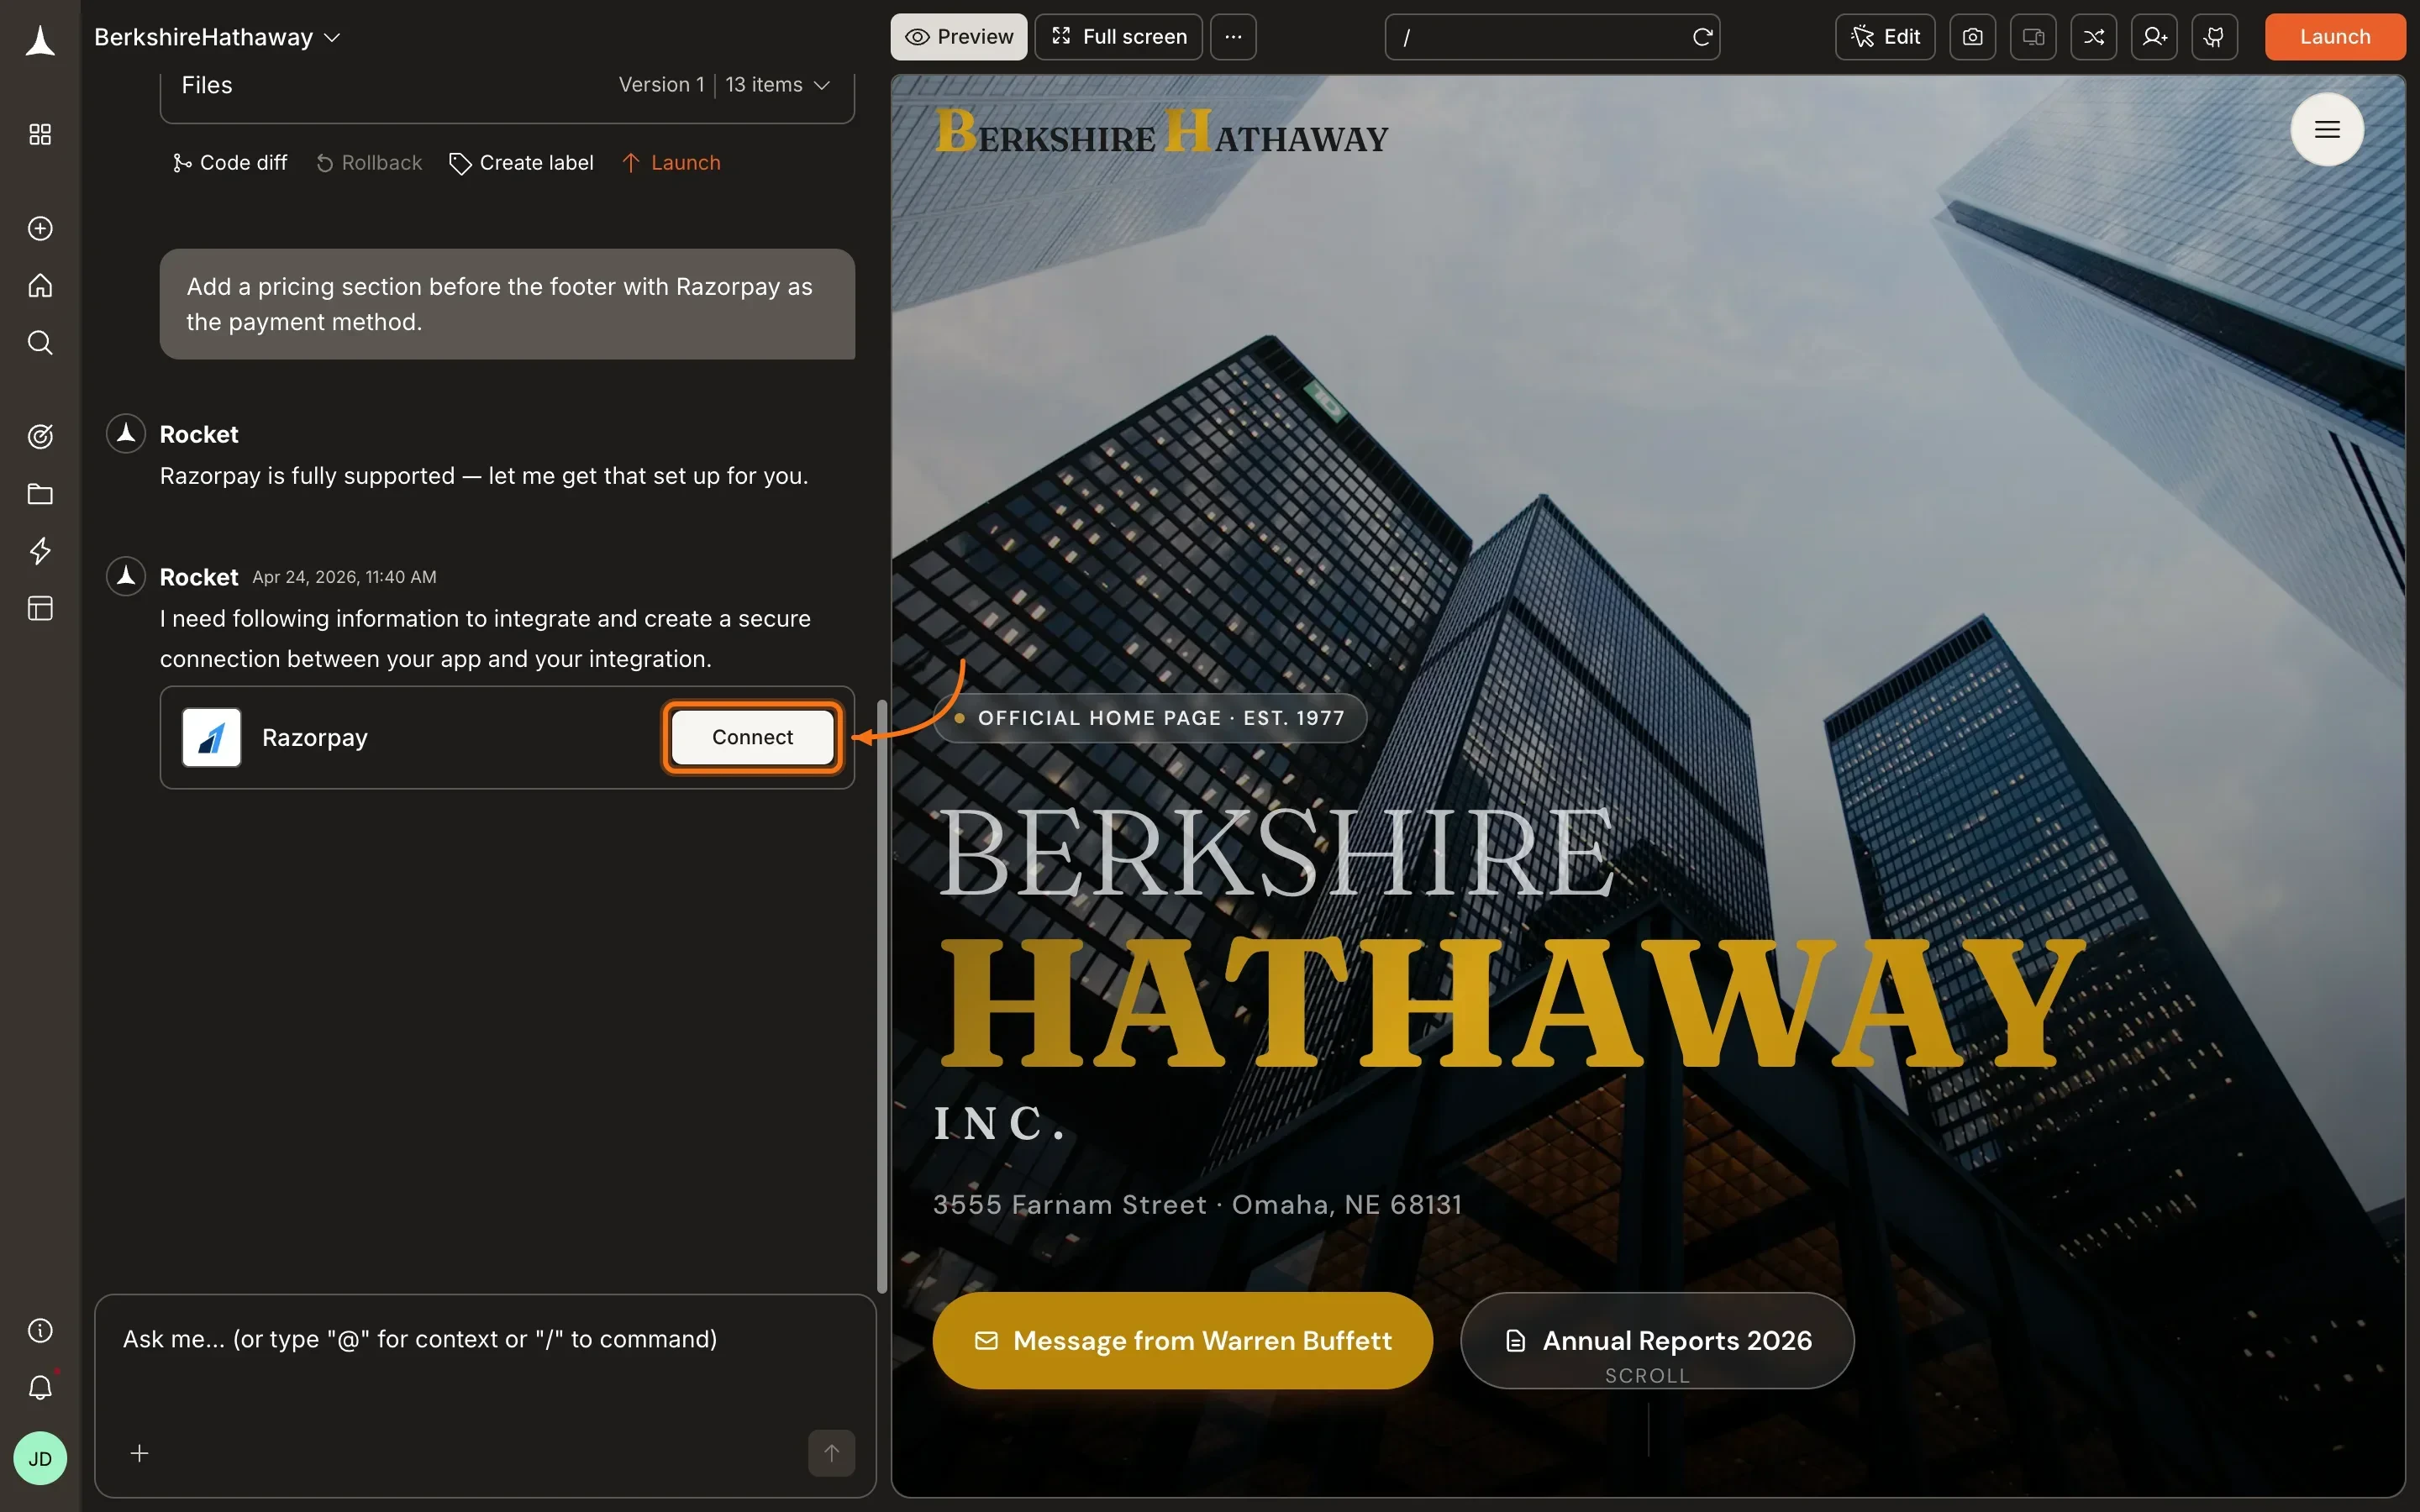
**Option 1: From chat**
Type a prompt that mentions Razorpay - for example, `Connect Razorpay and add a checkout for ₹499`. Rocket detects the intent and shows a **Connect** button inline. Click it and the authorization flow opens.
 **Option 2: From the Connectors tab**
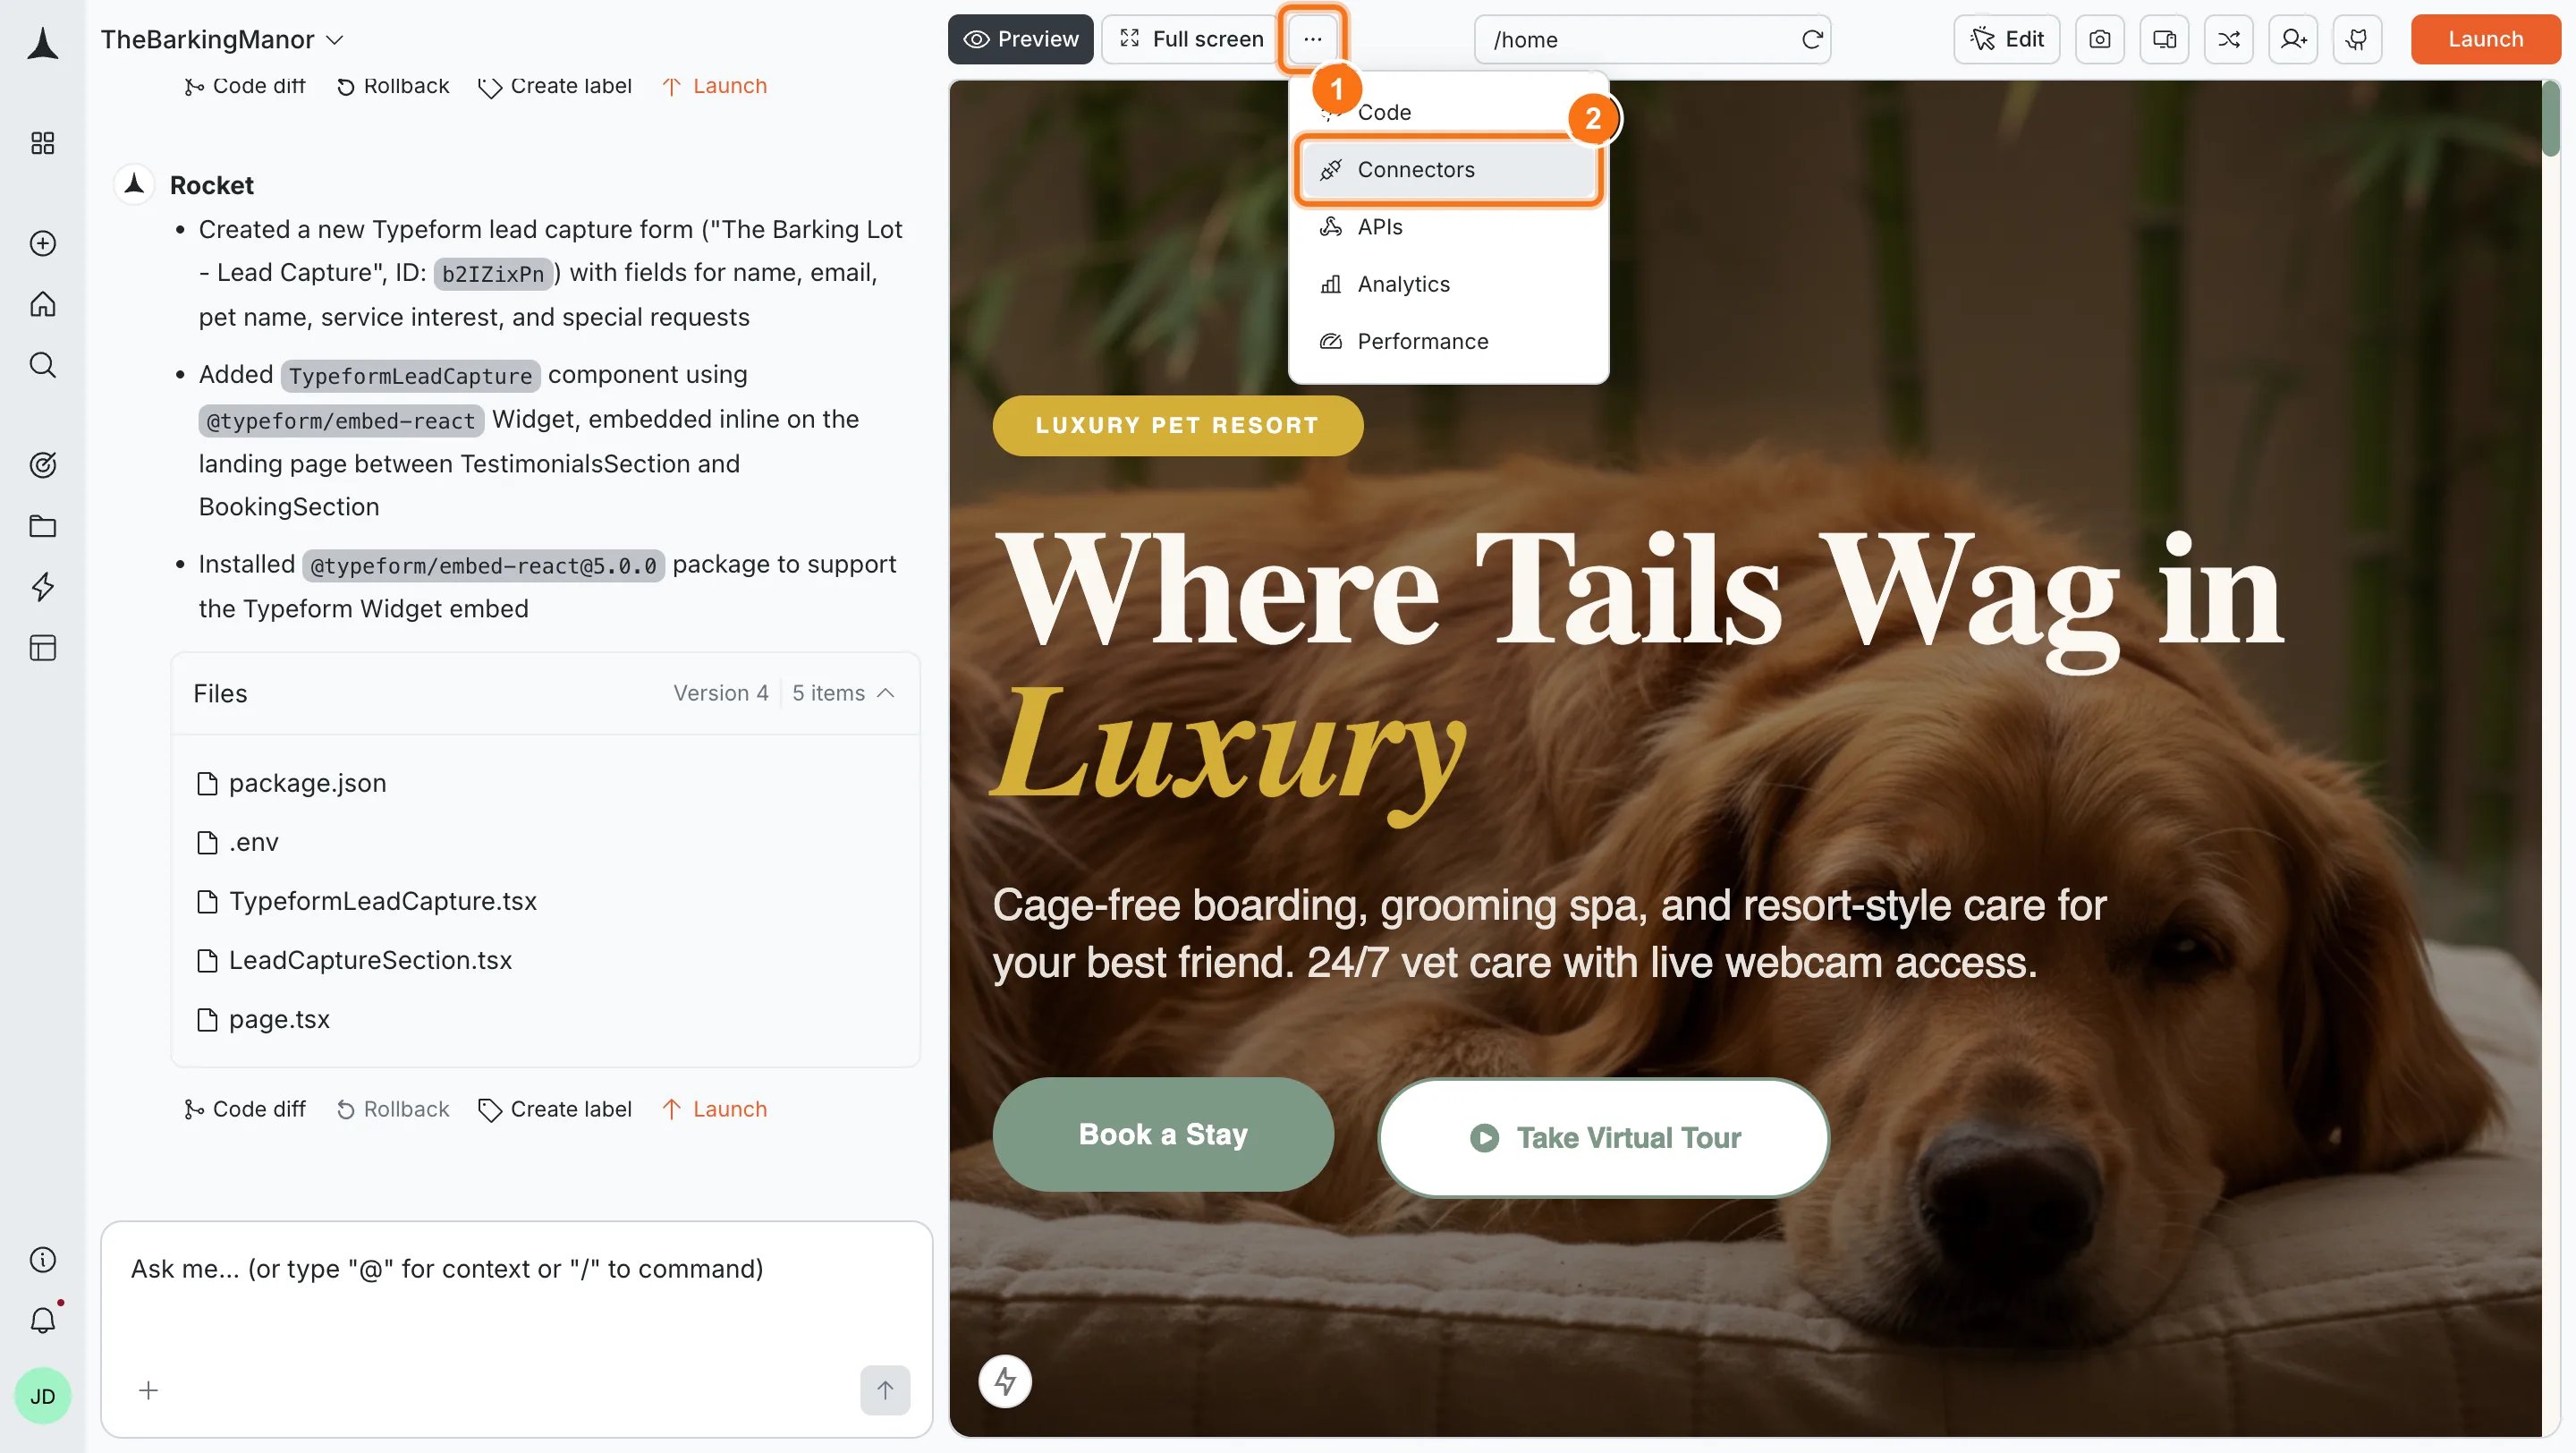
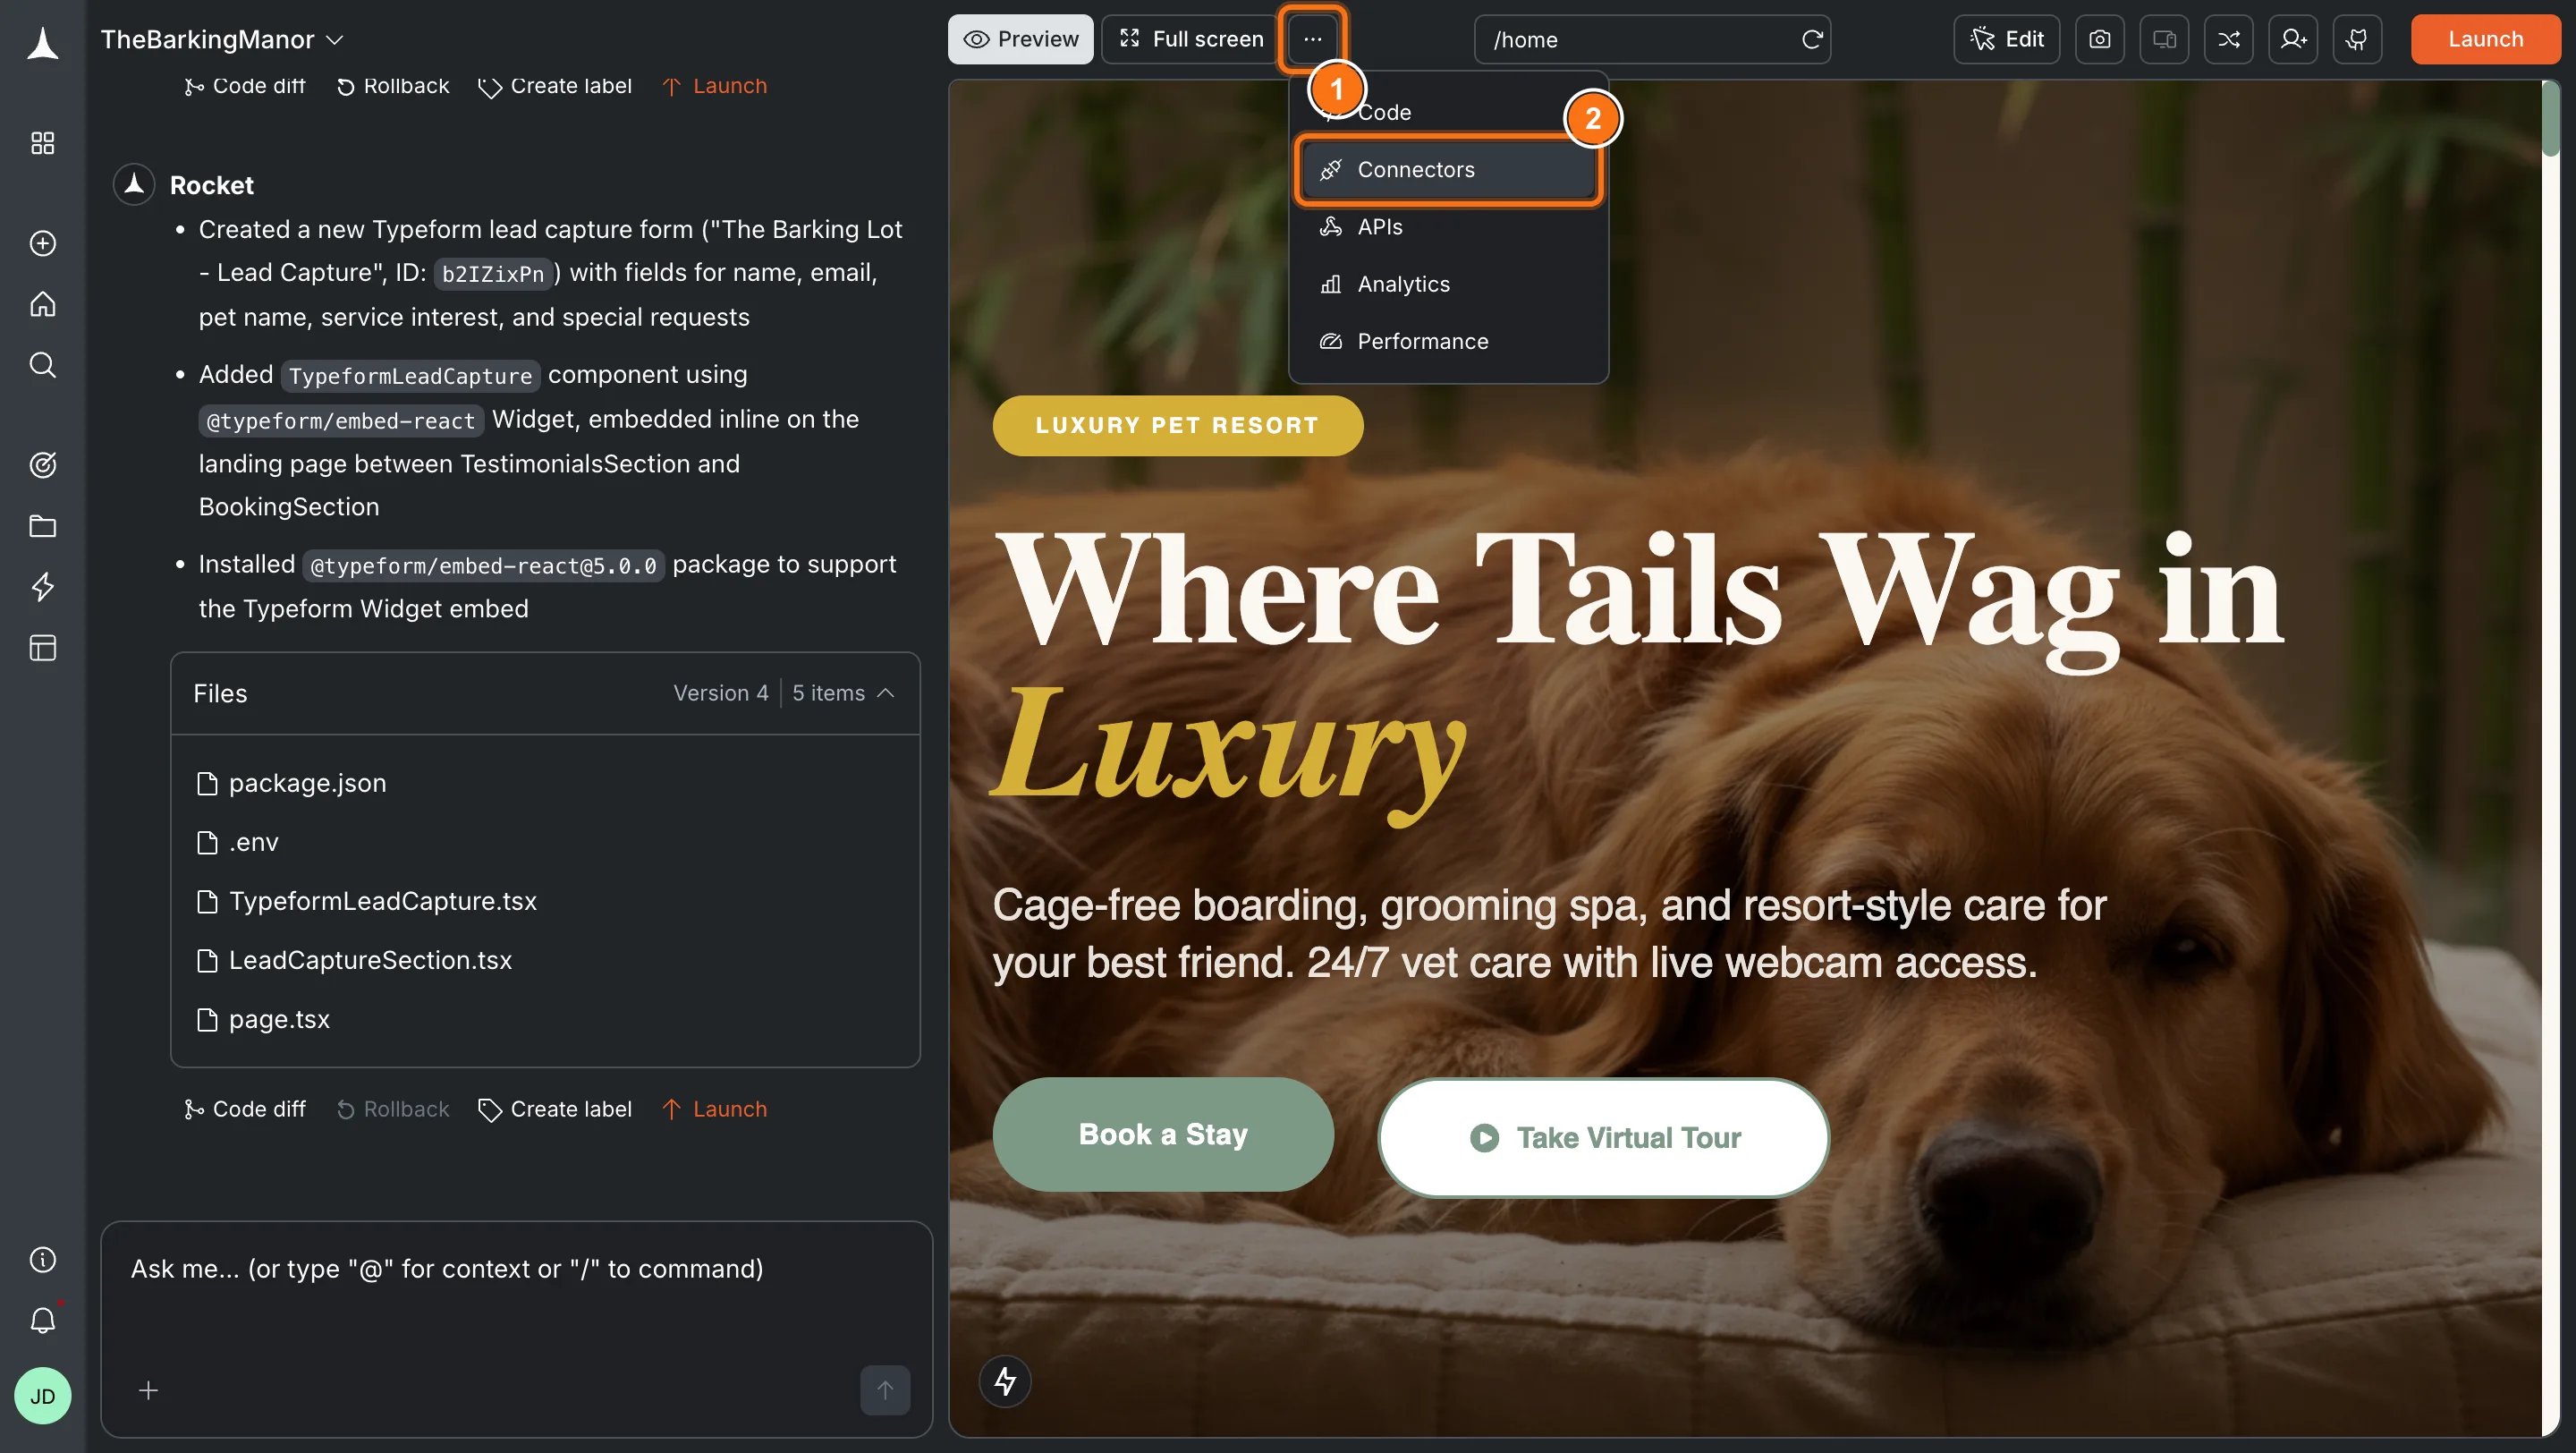
Click the **`...`** button in the preview toolbar, then select **Connectors**.
**Option 2: From the Connectors tab**
Click the **`...`** button in the preview toolbar, then select **Connectors**.
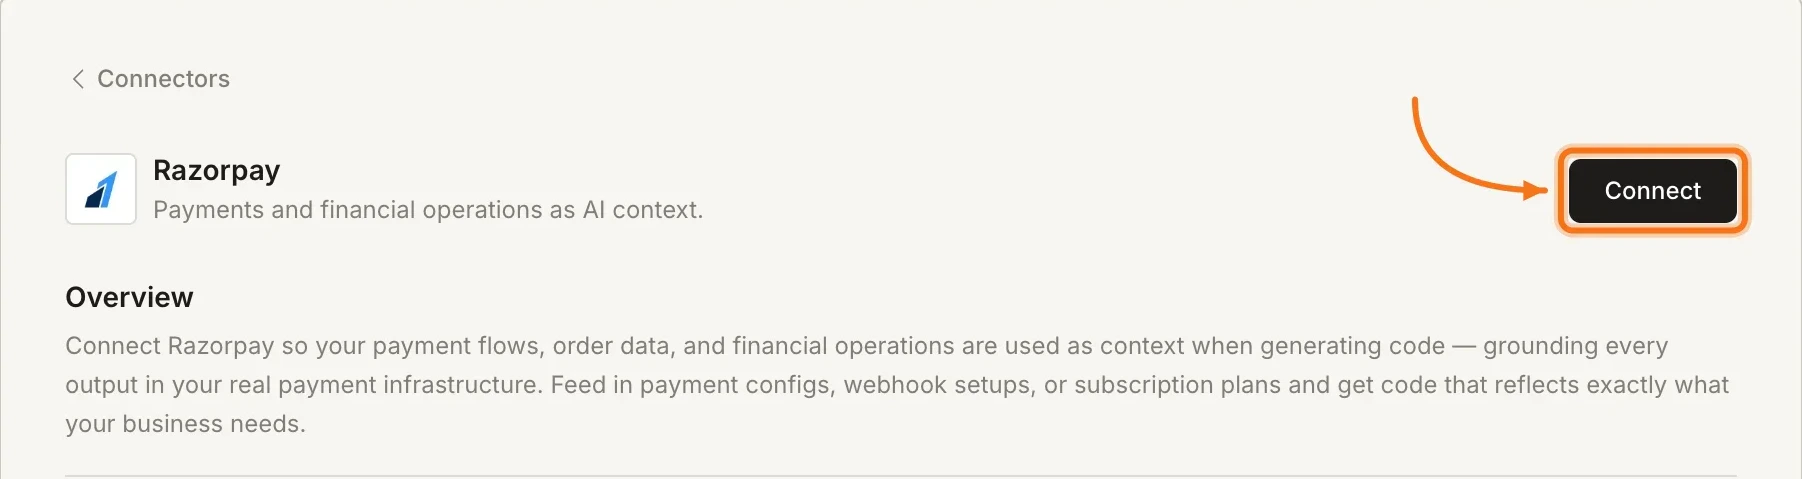
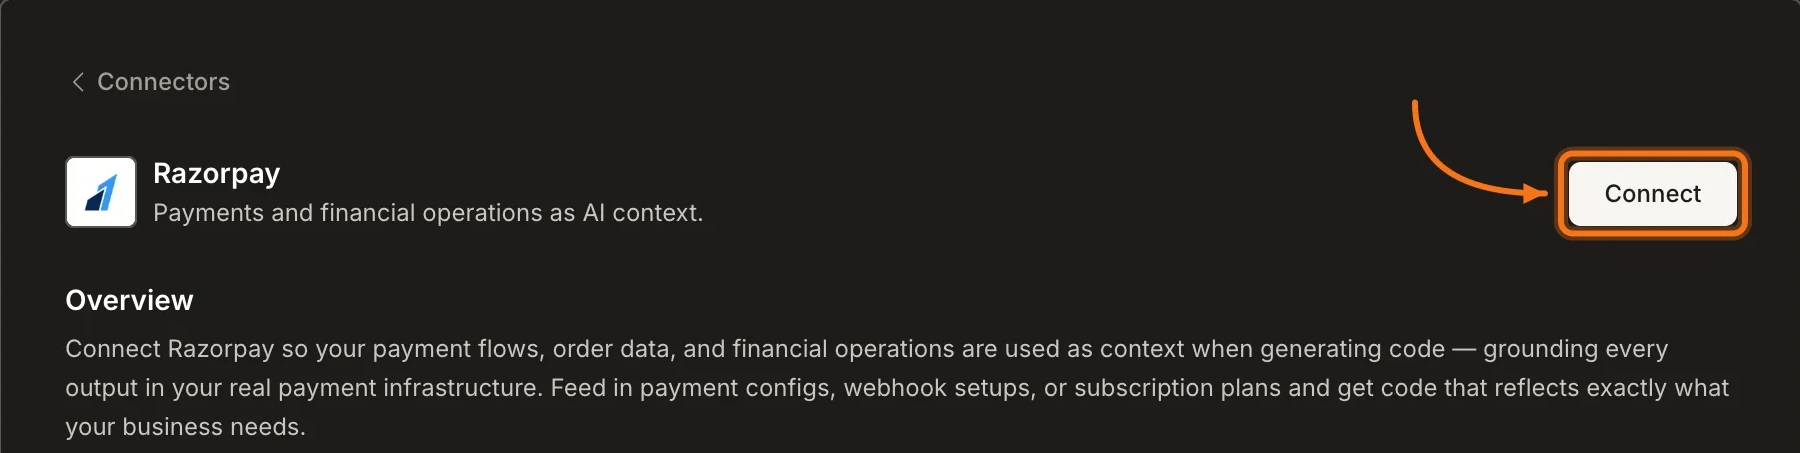
 Click the **Razorpay** card, then click **Connect**.
 **Option 3: From workspace Settings**
Connect once from Settings and it is available across all tasks.
**After clicking Connect**
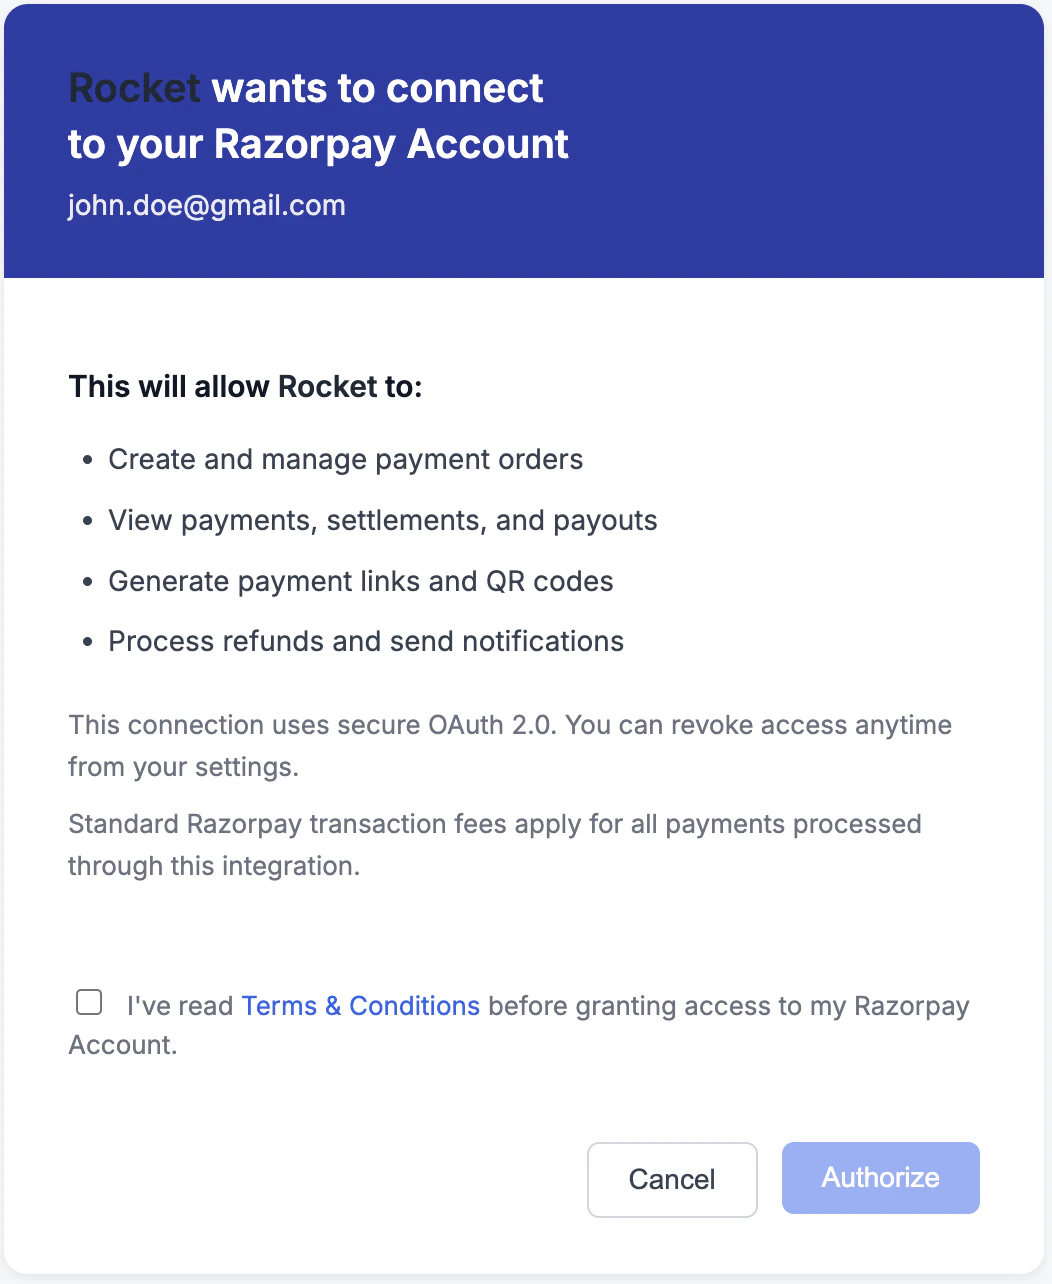
Razorpay's authorization screen opens. Review the permissions Rocket is requesting, check **I've read Terms & Conditions**, then click **Authorize**. A green dot appears next to Razorpay when the connection is active.
**Option 3: From workspace Settings**
Connect once from Settings and it is available across all tasks.
**After clicking Connect**
Razorpay's authorization screen opens. Review the permissions Rocket is requesting, check **I've read Terms & Conditions**, then click **Authorize**. A green dot appears next to Razorpay when the connection is active.
 **Disconnect**
Disconnect or switch accounts from workspace Settings.
You can connect from two places. Both do the same thing.
**Option 1: From chat**
Type a prompt that mentions Razorpay. Rocket detects the intent, shows a **Connect** button, and the authorization flow opens when you tap it.
**Option 2: From the Connectors tab**
1. Tap the **More** button in the header.
2. Tap **Integrations**.
3. Tap the **Razorpay** card, then tap **Connect**.
**After tapping Connect**
Razorpay's authorization screen opens. Review the permissions, check **I've read Terms & Conditions**, then tap **Authorize**. A green dot appears next to Razorpay when the connection is active.
**Disconnect**
Go to **Integrations > Razorpay**. Tap **Disconnect** to remove the integration.
## Example prompts
| Use case | Prompt |
| ---------------------- | ----------------------------------------------------------------------------------------------------------------------- |
| Simple checkout | `Add a Razorpay checkout for my ₹999 product with a success page.` |
| Subscription plans | `Create a pricing page with Free, Pro (₹499/mo), and Enterprise (₹1999/mo) tiers using Razorpay.` |
| Order history | `Add an Orders page that shows the user's past Razorpay payments with status and amounts.` |
| Refund flow | `Add a Refund button on the order detail page that triggers a full Razorpay refund and updates the order status.` |
| Webhook handler | `Set up a Razorpay webhook handler for payment.captured and payment.failed events and update the database accordingly.` |
| International checkout | `Add a Razorpay checkout that supports INR and USD with automatic currency detection.` |
## Tips
* **Always start in Test Mode.** Use Razorpay's test credentials during development. Switch to Live Mode only when you are ready to accept real payments. Test card: `4111 1111 1111 1111`.
* **Webhooks are handled automatically.** Rocket generates the webhook handler code for common events like `payment.captured`, `subscription.charged`, and `refund.processed`.
* **Connect Supabase first.** Rocket links Razorpay customers and orders to authenticated Supabase users. Connect Supabase before adding Razorpay for a complete payment flow.
* **Refunds and disputes live in Razorpay.** Manage financial reconciliation, settlements, and disputes directly from the Razorpay Dashboard.
* **INR is the default currency.** Razorpay supports multi-currency but defaults to INR. Mention your target currency explicitly in your prompt if needed.
## What's next?
Connect Supabase for user accounts and order storage to complete the payment flow.
Send payment confirmation and receipt emails automatically after Razorpay payments.
Need global card payments? Stripe is an alternative for non-India markets.
Full recipe: Supabase + payments + email to build a complete SaaS product.
**Disconnect**
Disconnect or switch accounts from workspace Settings.
You can connect from two places. Both do the same thing.
**Option 1: From chat**
Type a prompt that mentions Razorpay. Rocket detects the intent, shows a **Connect** button, and the authorization flow opens when you tap it.
**Option 2: From the Connectors tab**
1. Tap the **More** button in the header.
2. Tap **Integrations**.
3. Tap the **Razorpay** card, then tap **Connect**.
**After tapping Connect**
Razorpay's authorization screen opens. Review the permissions, check **I've read Terms & Conditions**, then tap **Authorize**. A green dot appears next to Razorpay when the connection is active.
**Disconnect**
Go to **Integrations > Razorpay**. Tap **Disconnect** to remove the integration.
## Example prompts
| Use case | Prompt |
| ---------------------- | ----------------------------------------------------------------------------------------------------------------------- |
| Simple checkout | `Add a Razorpay checkout for my ₹999 product with a success page.` |
| Subscription plans | `Create a pricing page with Free, Pro (₹499/mo), and Enterprise (₹1999/mo) tiers using Razorpay.` |
| Order history | `Add an Orders page that shows the user's past Razorpay payments with status and amounts.` |
| Refund flow | `Add a Refund button on the order detail page that triggers a full Razorpay refund and updates the order status.` |
| Webhook handler | `Set up a Razorpay webhook handler for payment.captured and payment.failed events and update the database accordingly.` |
| International checkout | `Add a Razorpay checkout that supports INR and USD with automatic currency detection.` |
## Tips
* **Always start in Test Mode.** Use Razorpay's test credentials during development. Switch to Live Mode only when you are ready to accept real payments. Test card: `4111 1111 1111 1111`.
* **Webhooks are handled automatically.** Rocket generates the webhook handler code for common events like `payment.captured`, `subscription.charged`, and `refund.processed`.
* **Connect Supabase first.** Rocket links Razorpay customers and orders to authenticated Supabase users. Connect Supabase before adding Razorpay for a complete payment flow.
* **Refunds and disputes live in Razorpay.** Manage financial reconciliation, settlements, and disputes directly from the Razorpay Dashboard.
* **INR is the default currency.** Razorpay supports multi-currency but defaults to INR. Mention your target currency explicitly in your prompt if needed.
## What's next?
Connect Supabase for user accounts and order storage to complete the payment flow.
Send payment confirmation and receipt emails automatically after Razorpay payments.
Need global card payments? Stripe is an alternative for non-India markets.
Full recipe: Supabase + payments + email to build a complete SaaS product.