> ## Documentation Index
> Fetch the complete documentation index at: https://docs.rocket.new/llms.txt
> Use this file to discover all available pages before exploring further.
# Resend
> Connect Resend to your Rocket.new app - send welcome emails, password resets, and order confirmations with a single prompt.
export const LlmsDirective = () =>
For the complete documentation index, see llms.txt.
For a lightweight markdown version of this page, append .md to the URL.
;
Connect Resend and describe the email flow you want in chat. Rocket generates the complete implementation: email templates, send logic, and secure API integration.
## What you can do
Personalized welcome emails triggered the moment a user signs up, with onboarding steps and branding.
Secure, branded password reset emails instead of the default Supabase template.
Receipt emails after a purchase with order details, totals, and receipt number.
Collect emails and add subscribers to a mailing list using Resend Audiences.
Branded invite emails with a unique signup or join link when adding team members.
## Before you connect
You need your **API key** from the Resend Dashboard.
**Create or copy your Resend API key**
Never paste your Resend API key directly into chat. Always use the secure connection popup. If your key has been exposed, rotate it immediately from the Resend dashboard.
Resend works best paired with [Supabase](/build/connectors/supabase/overview) for linking emails to authenticated users. You can also route Supabase Auth emails through Resend's SMTP for full branding control.
## Connect Resend
You can connect from two places - both open the same popup.
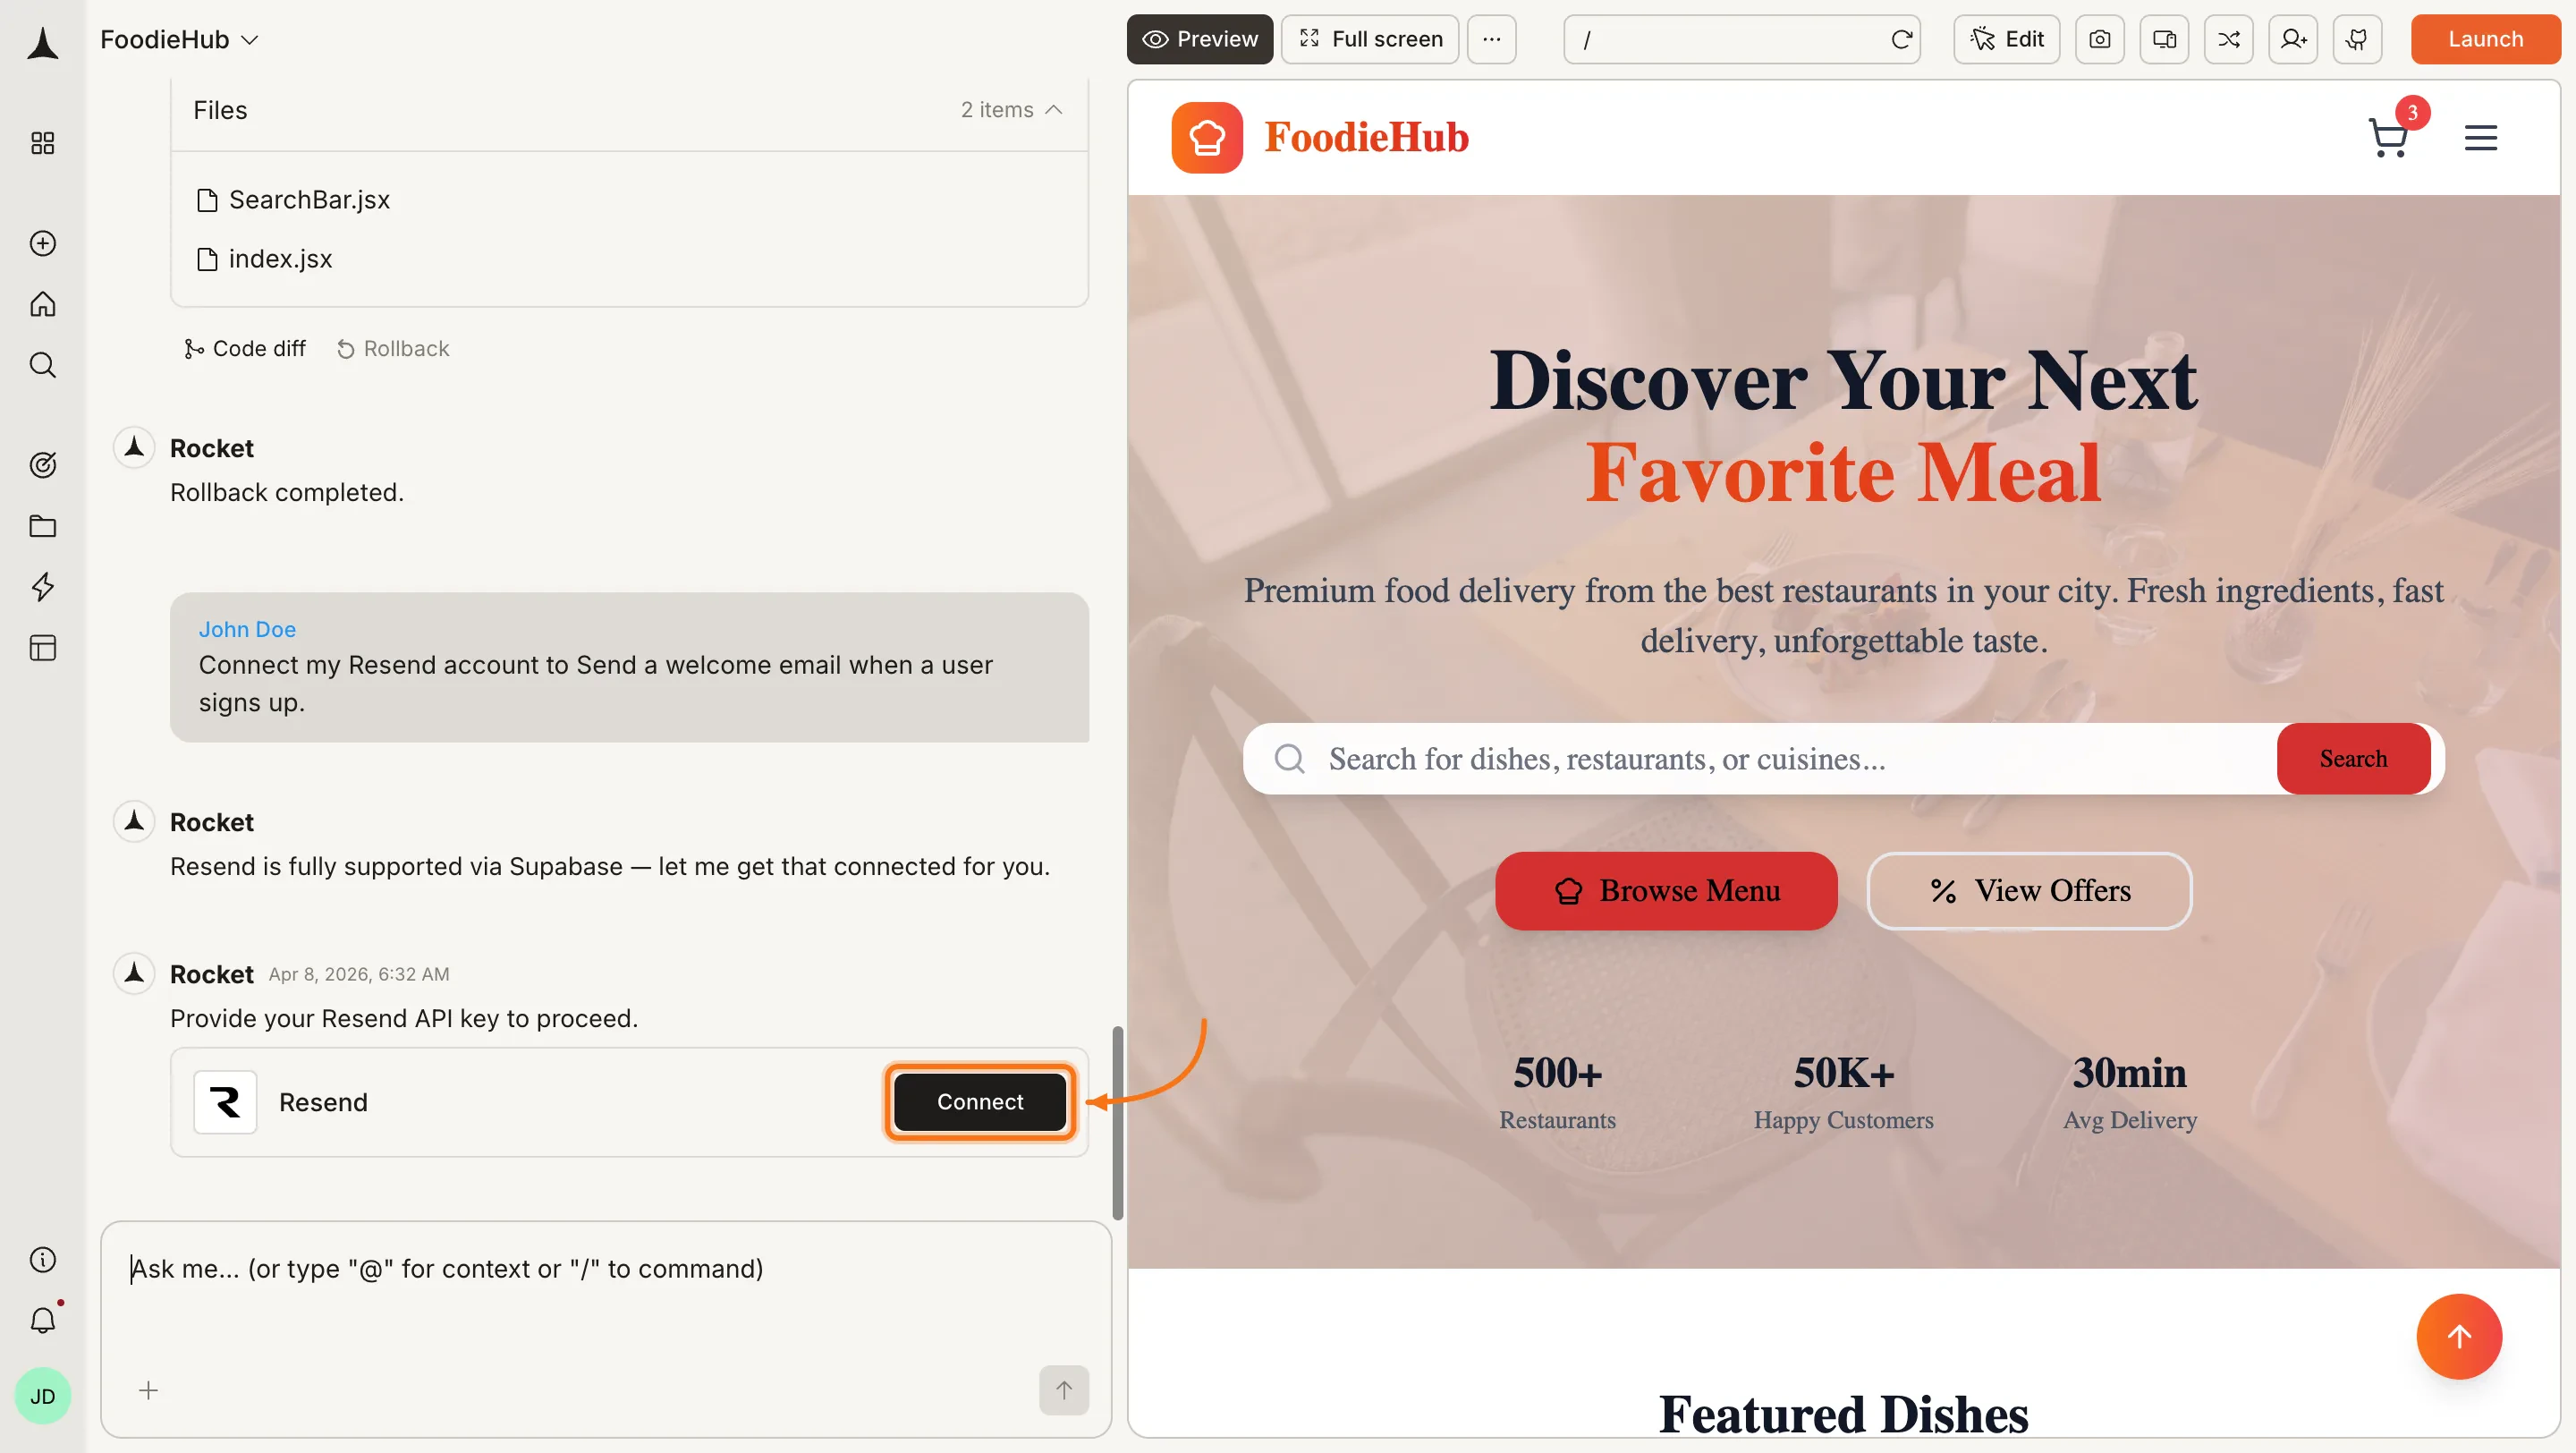
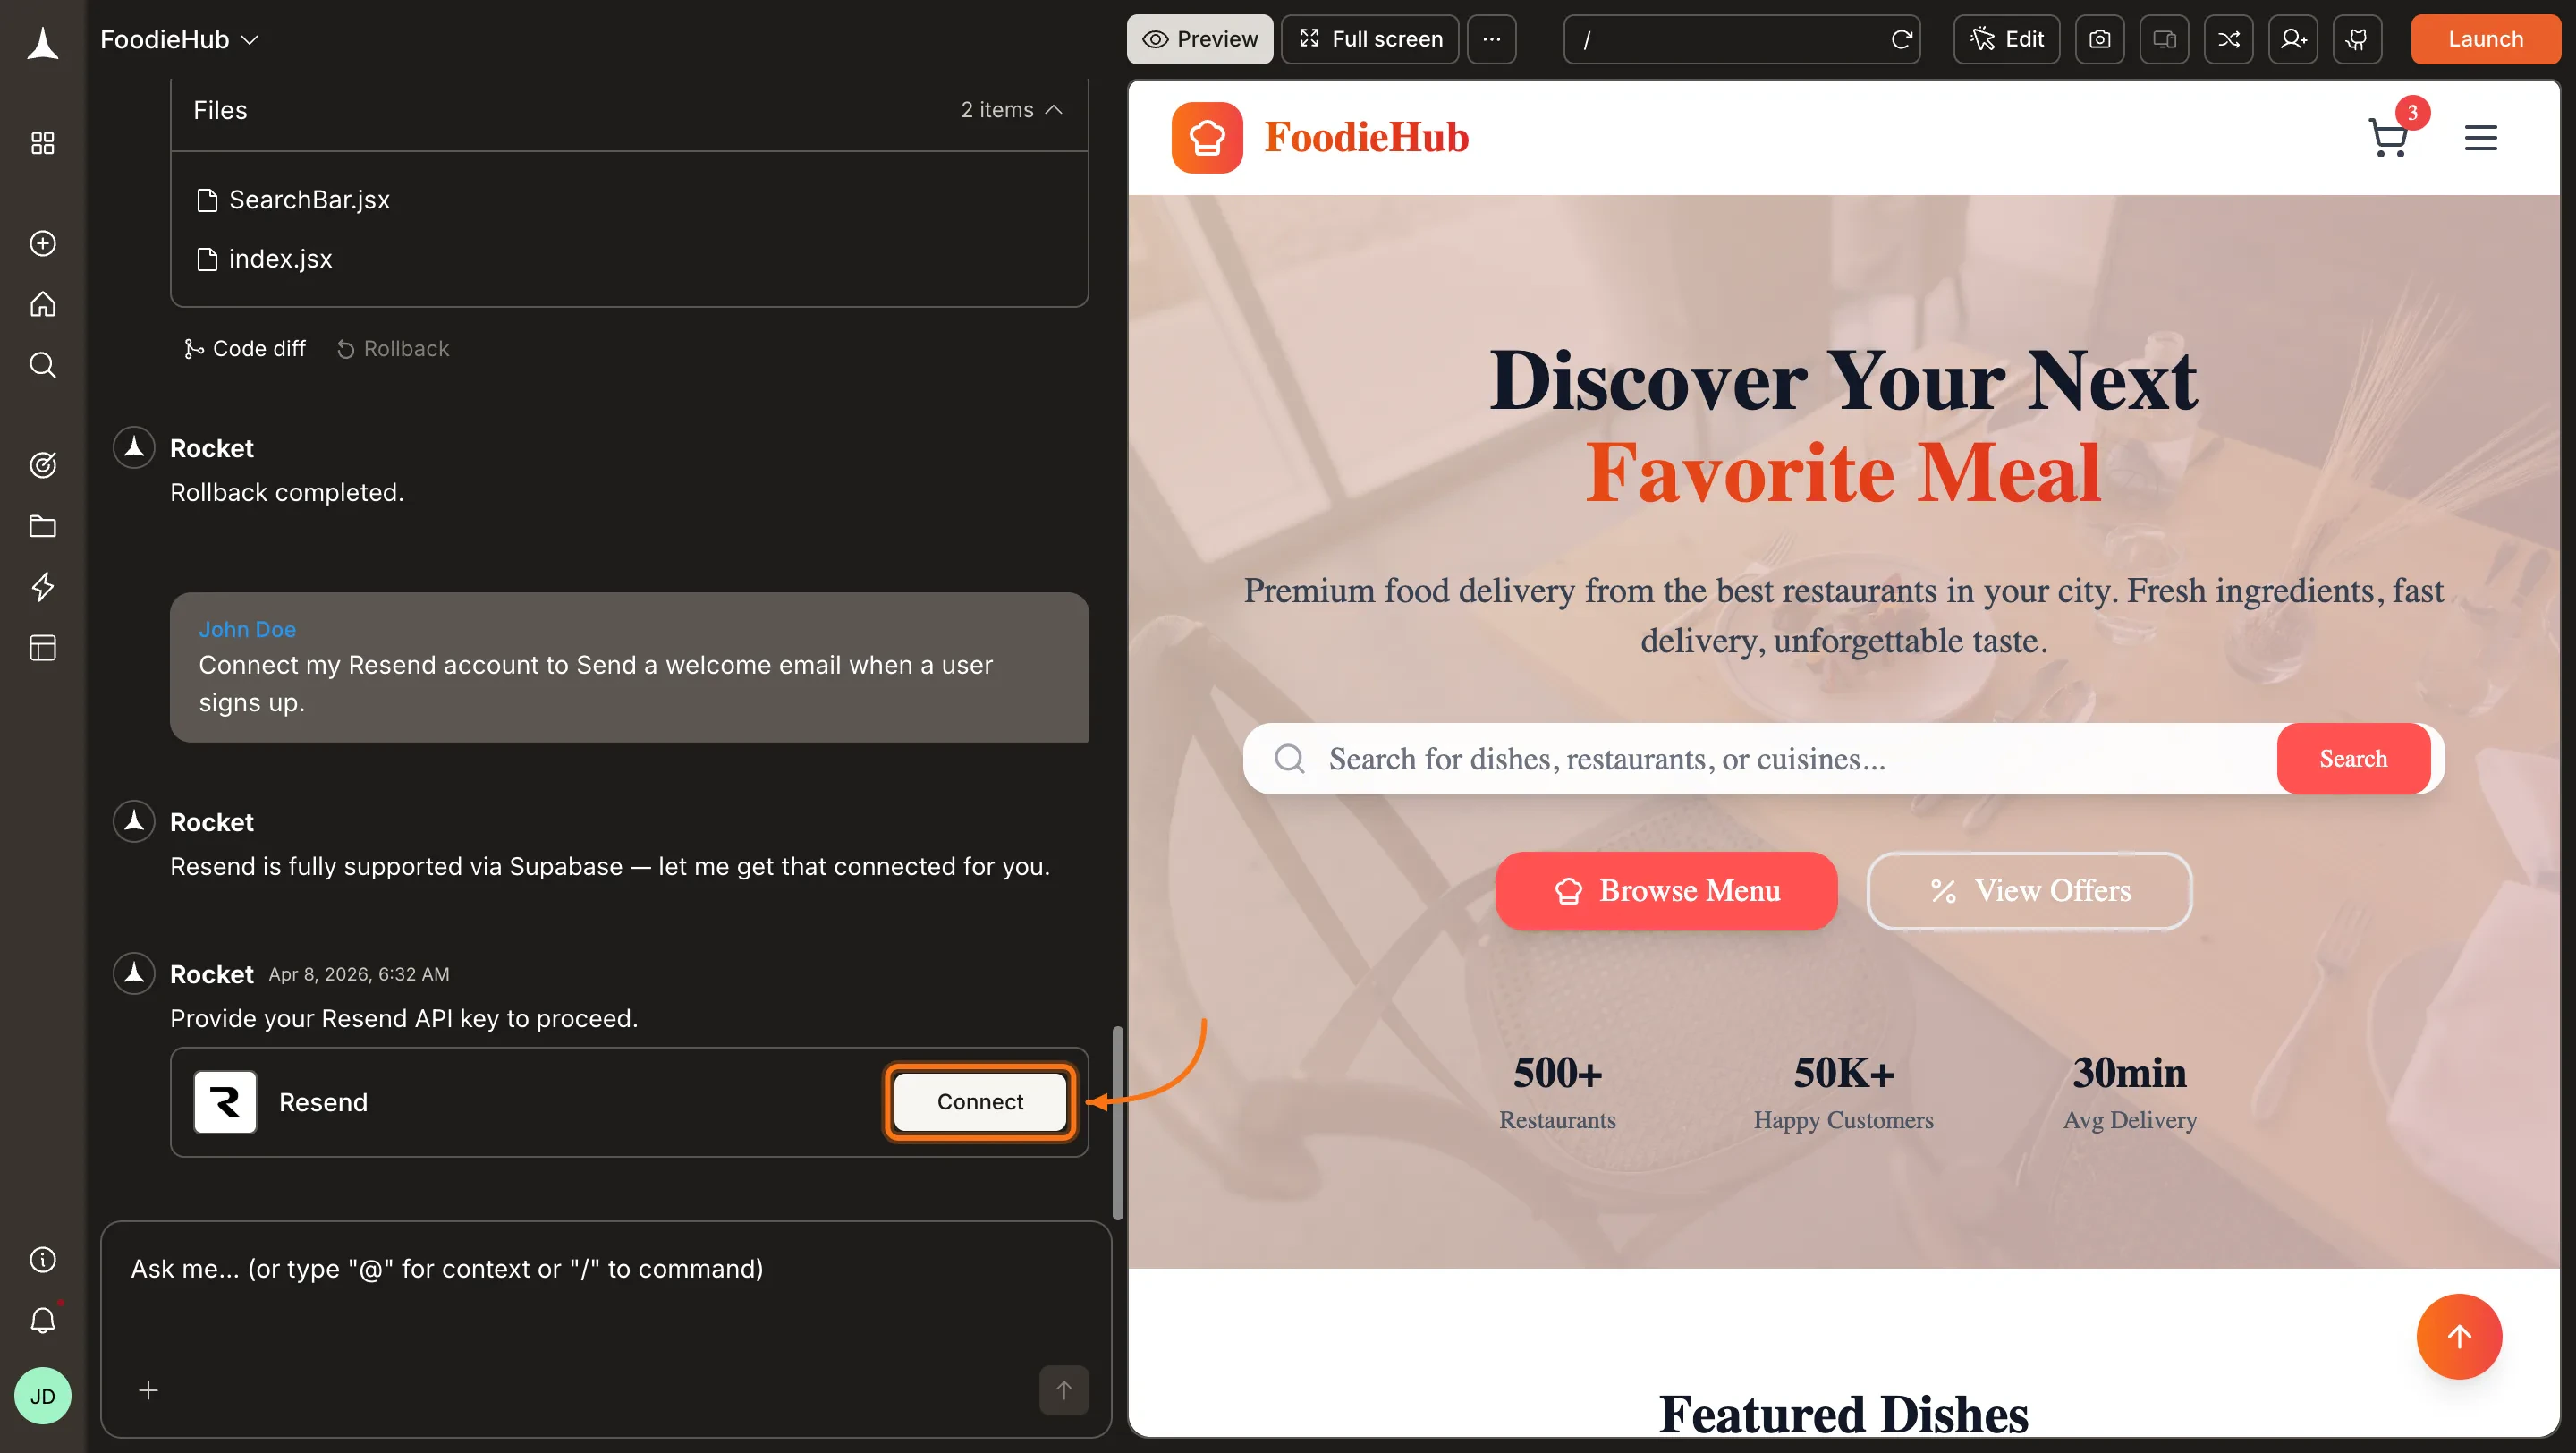
**Option 1: From chat**
Type a prompt that mentions Resend - for example, `Connect Resend and send a welcome email when a user signs up`. Rocket detects the intent and shows a **Connect** button inline. Click it and the popup opens.
 **Option 2: From the Connectors tab**
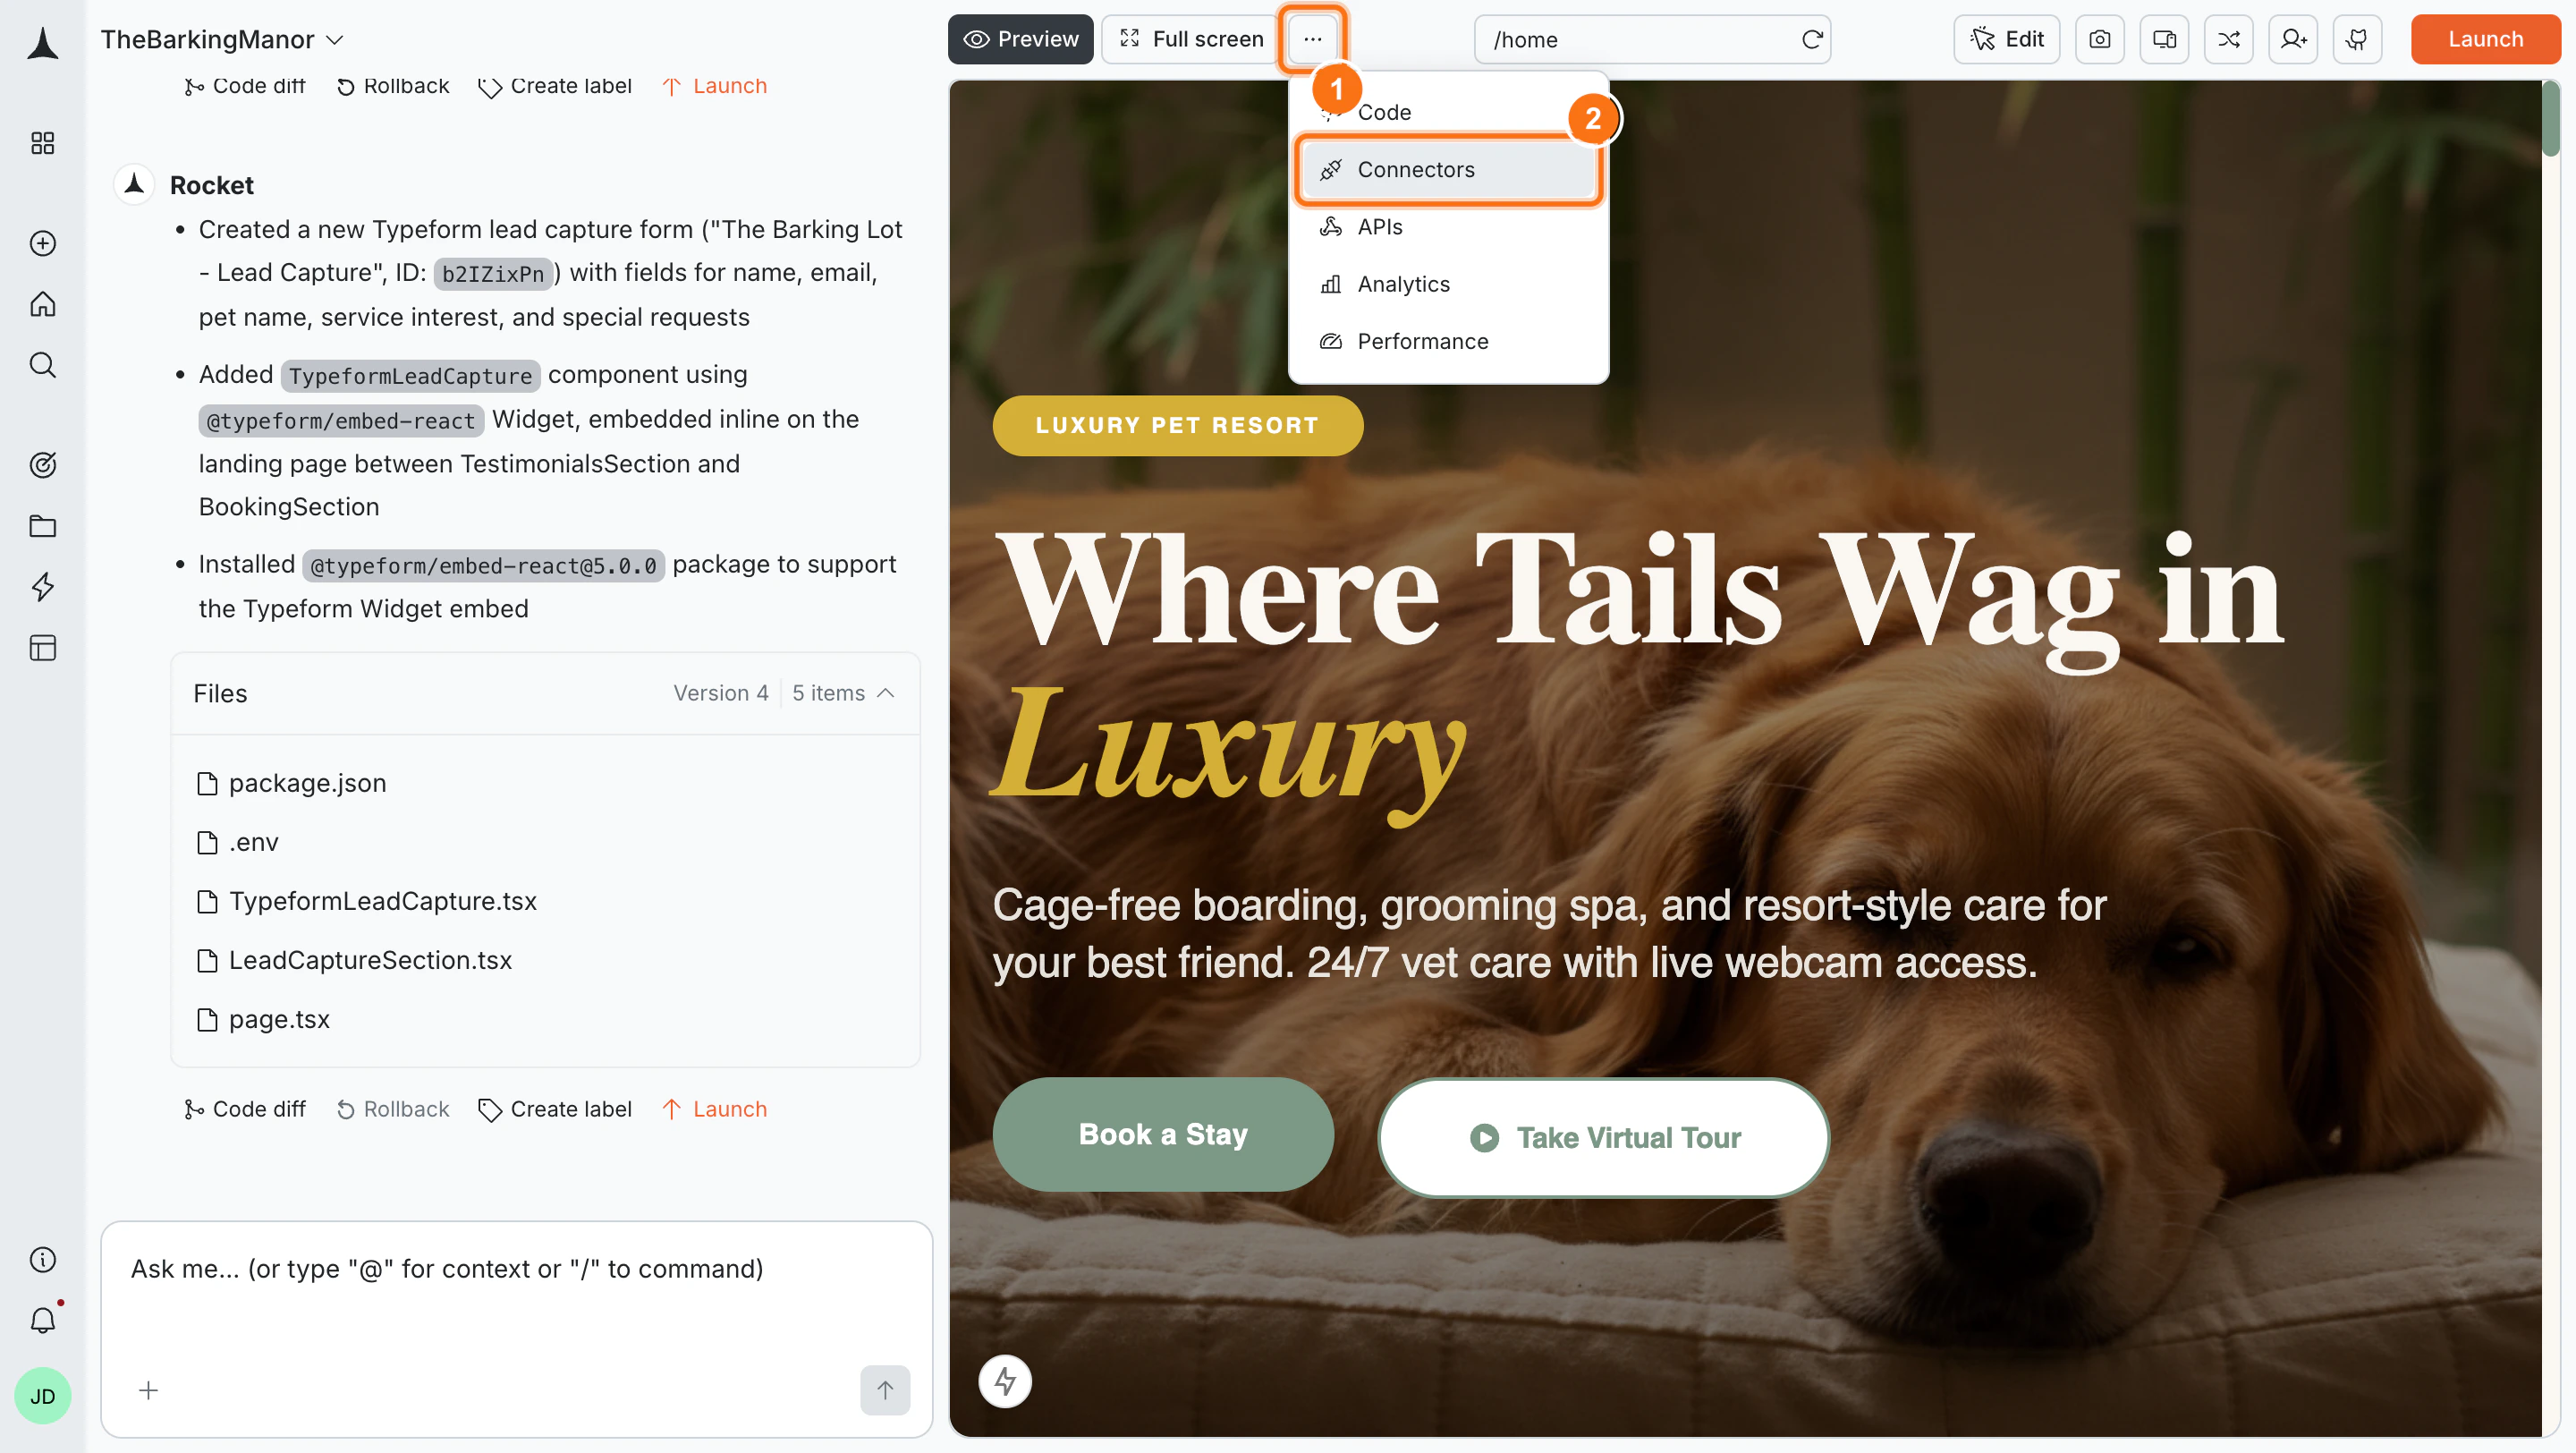
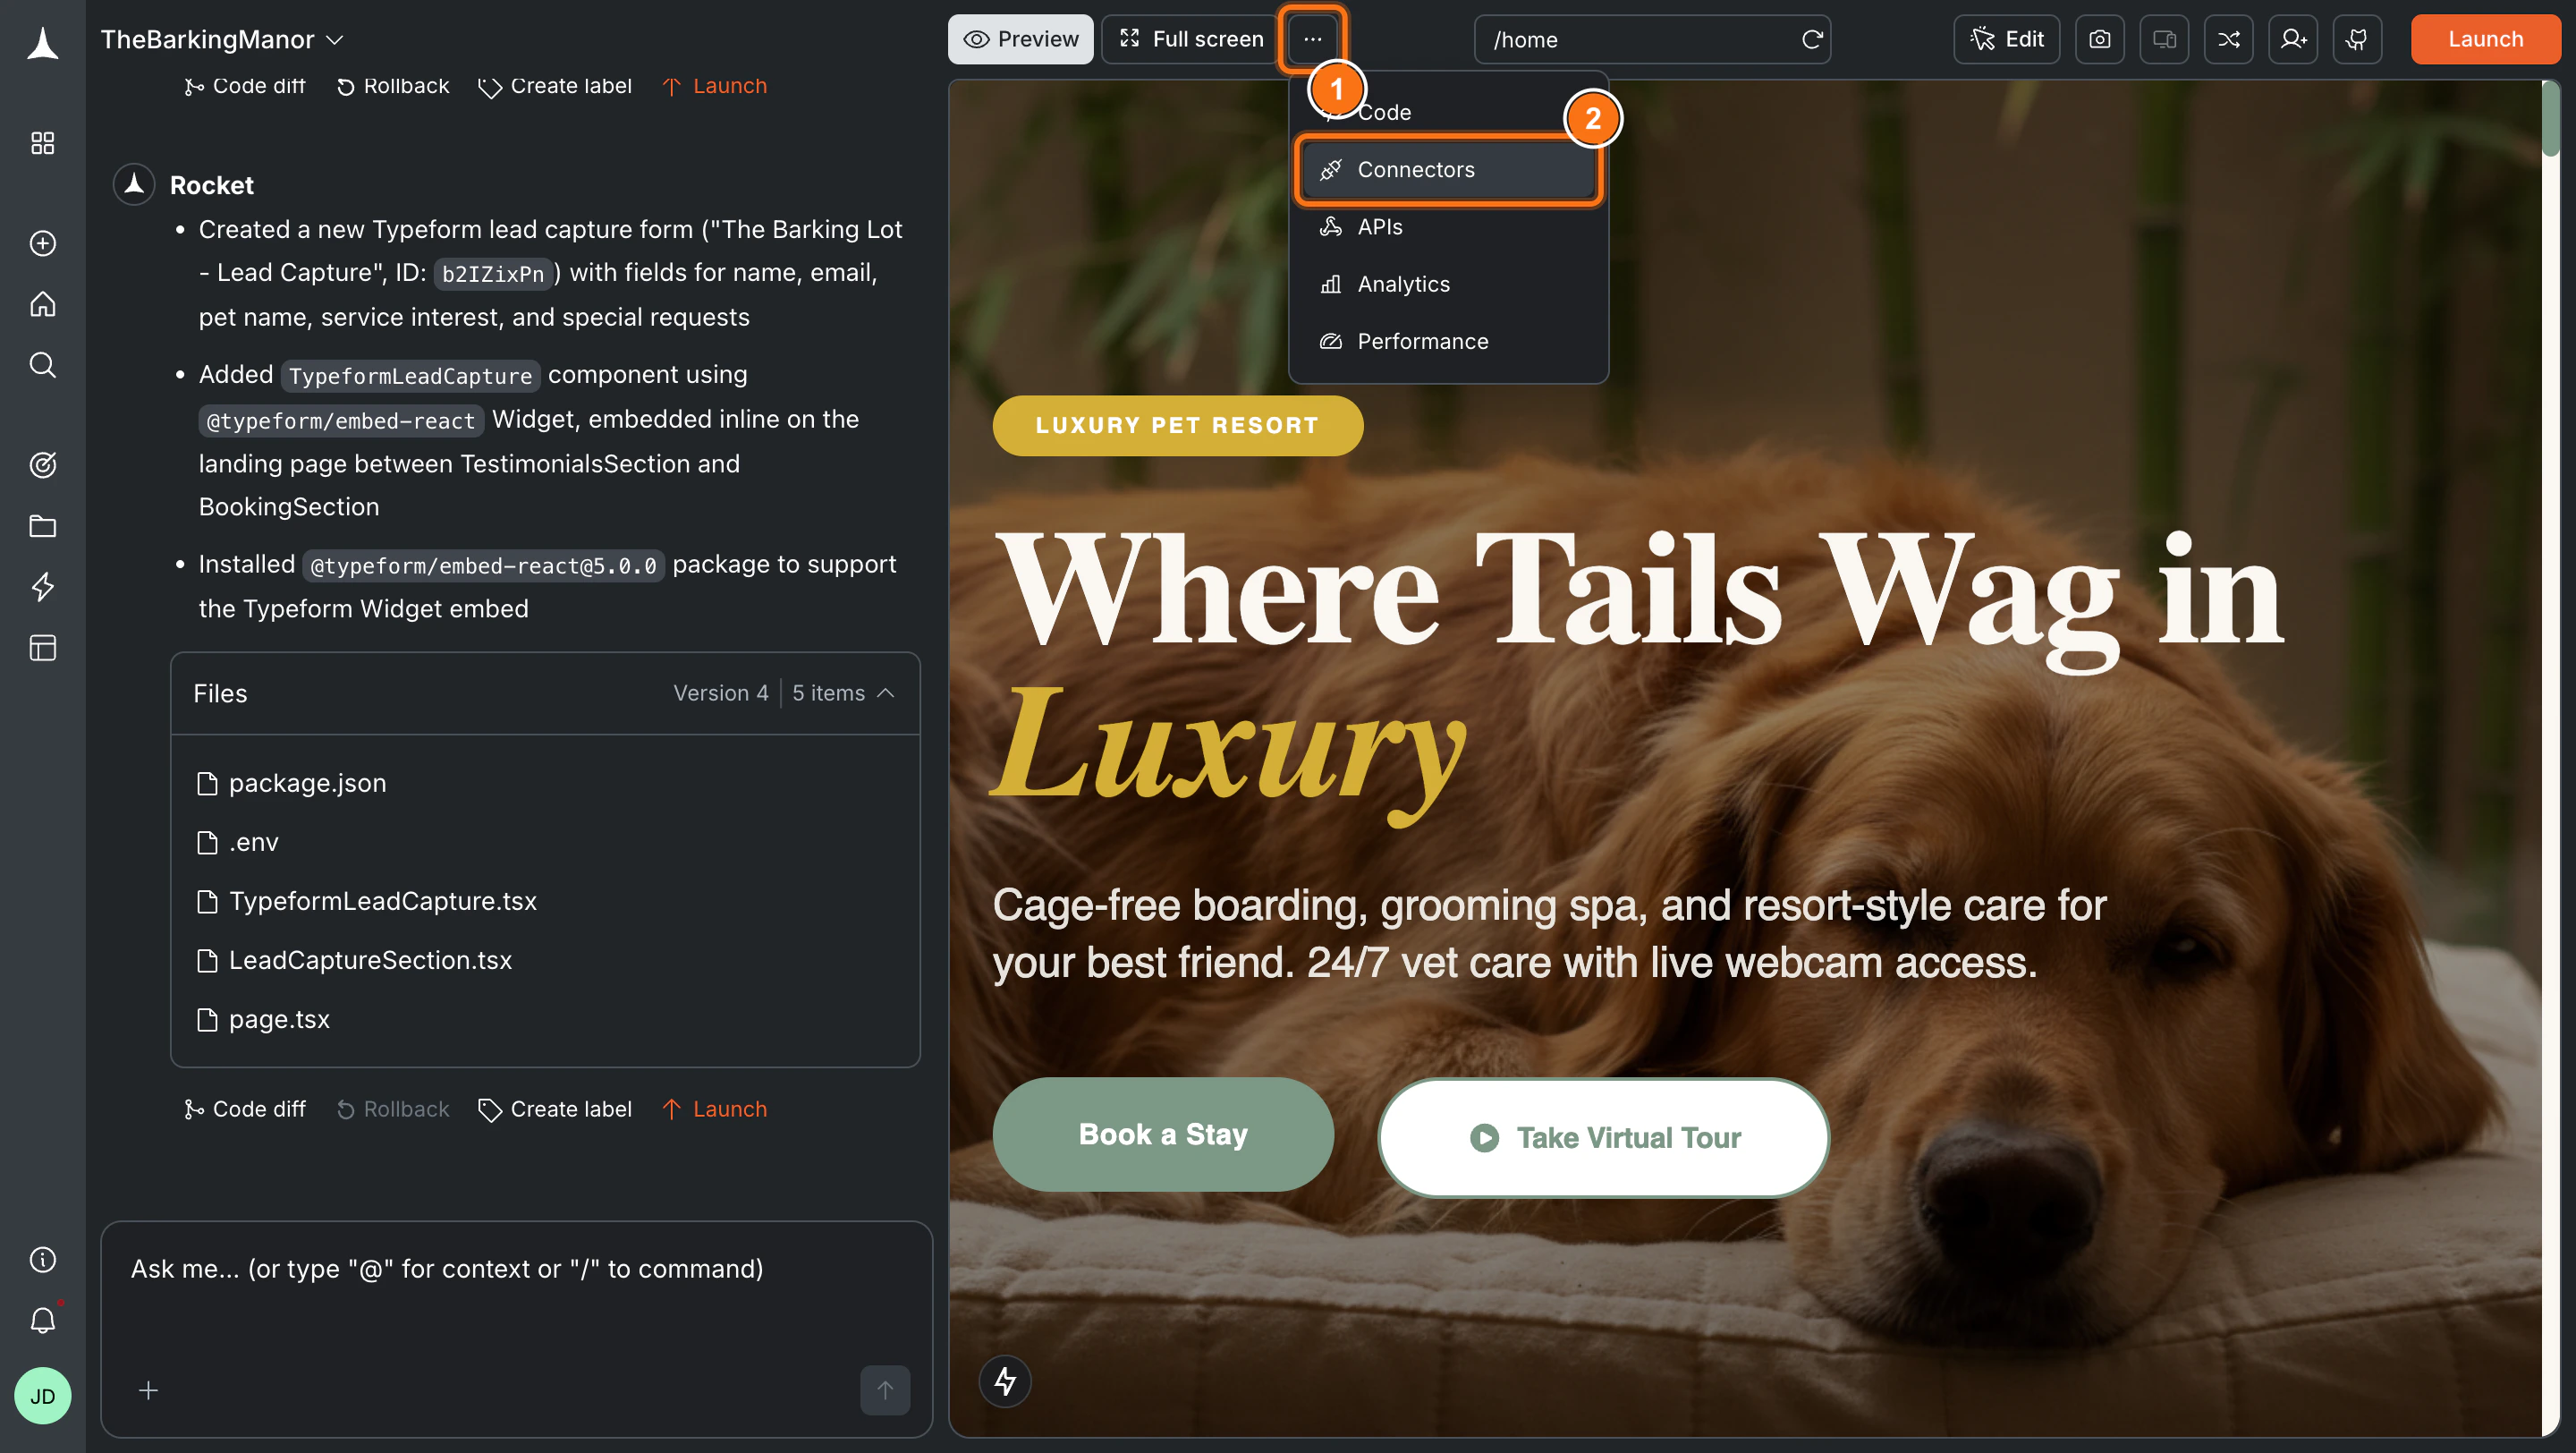
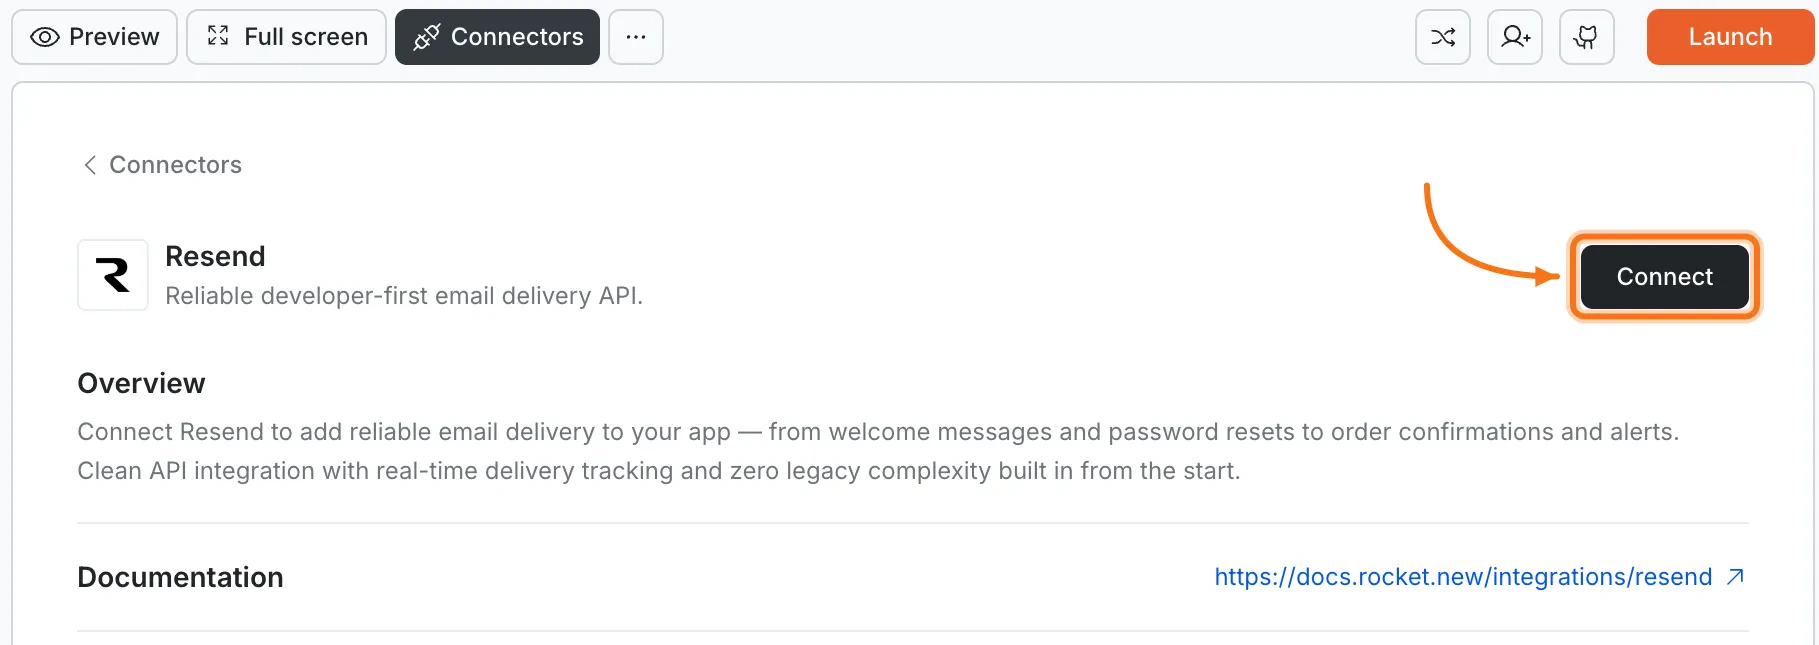
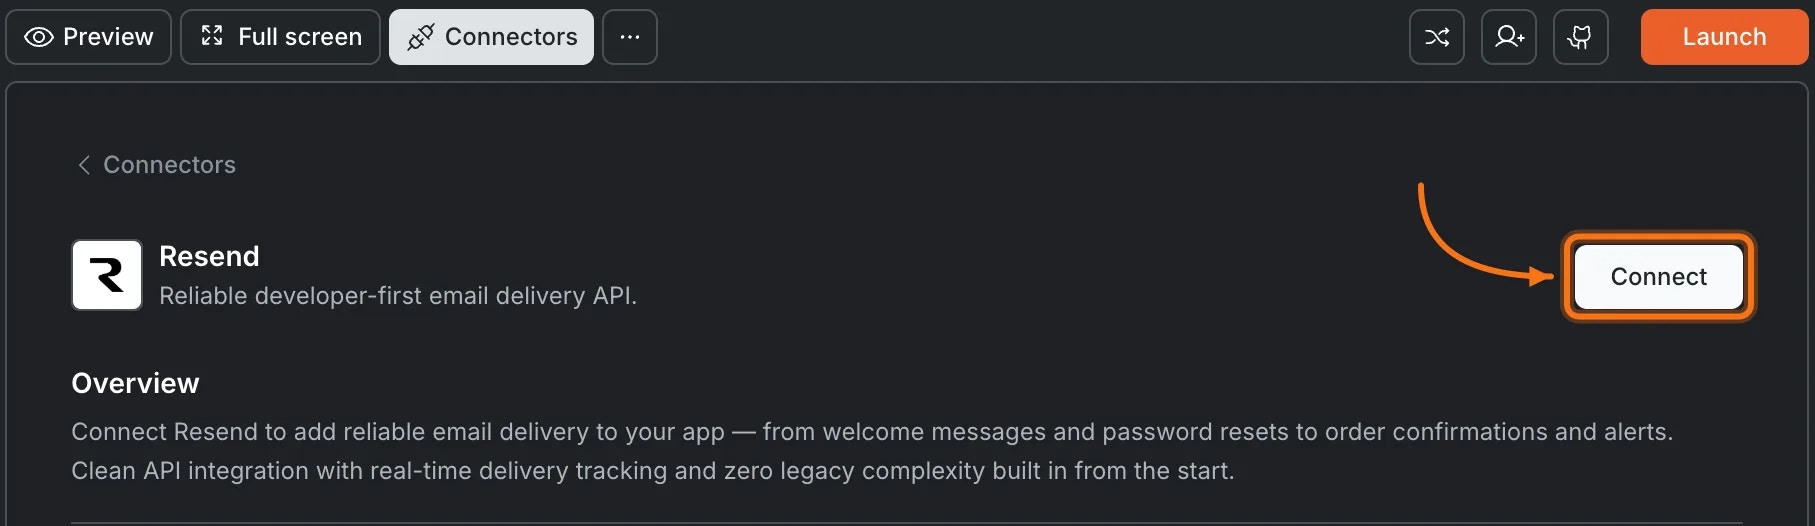
Click the **`...`** button in the preview toolbar, then select **Connectors**.
**Option 2: From the Connectors tab**
Click the **`...`** button in the preview toolbar, then select **Connectors**.
 Click the **Resend** card, then click **Connect**.
 **After clicking Connect**
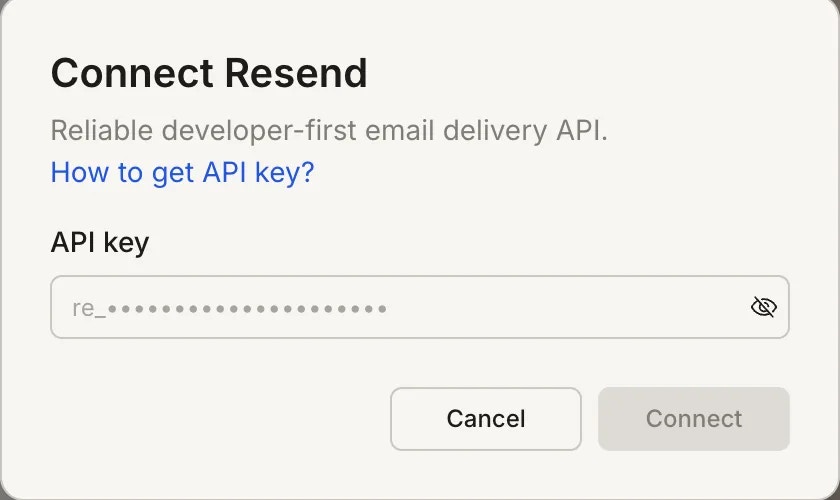
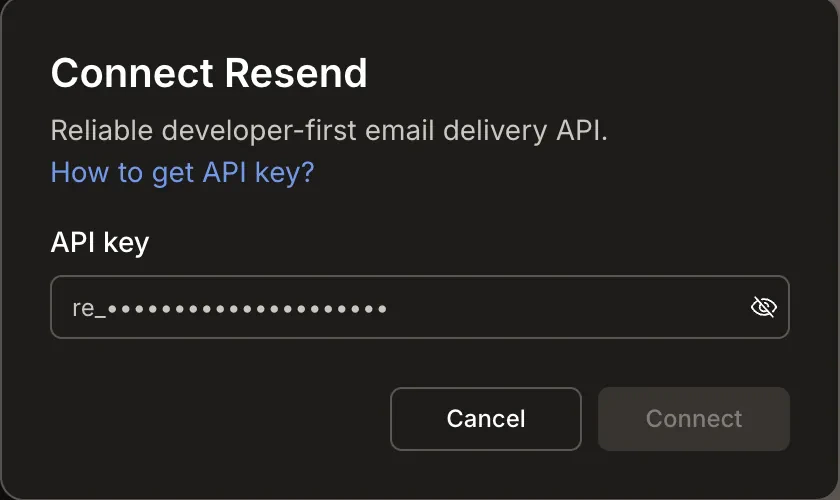
A popup opens. Paste your **API key**, then click **Save**. A green dot appears next to Resend when the connection is active.
**After clicking Connect**
A popup opens. Paste your **API key**, then click **Save**. A green dot appears next to Resend when the connection is active.
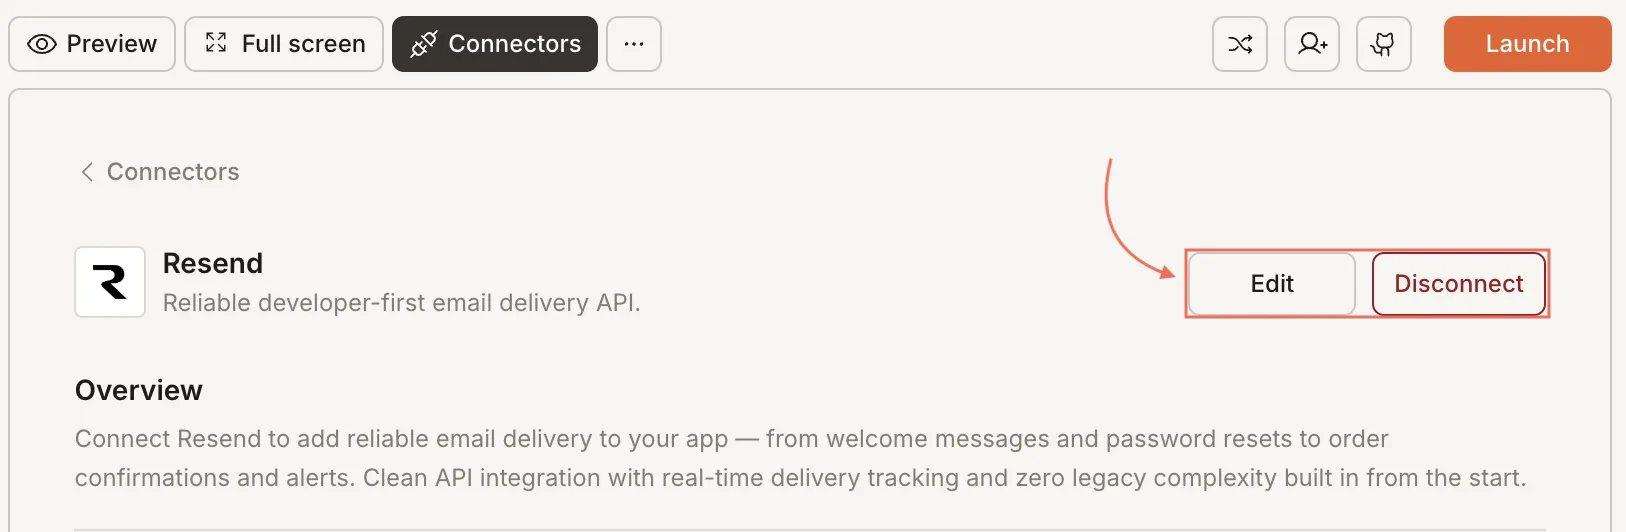
 **Update or disconnect**
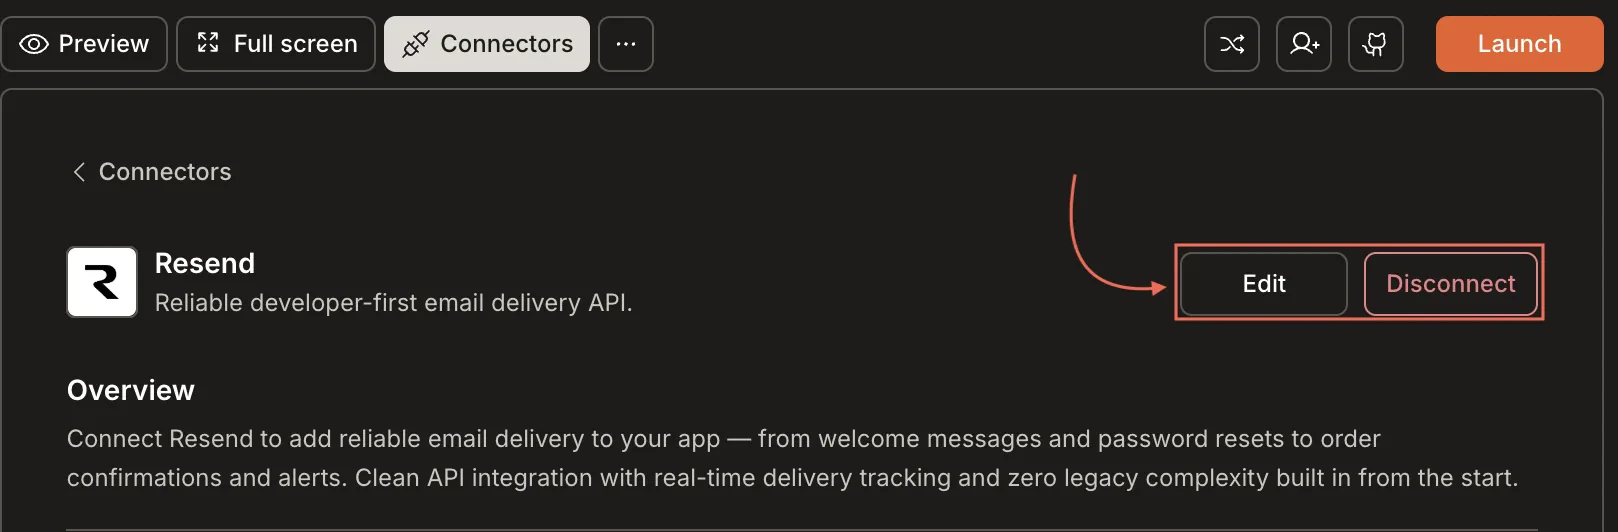
Go to [**Connectors > Resend**](#connect-resend). Update your key or click **Disconnect** to remove the integration.
**Update or disconnect**
Go to [**Connectors > Resend**](#connect-resend). Update your key or click **Disconnect** to remove the integration.
 You can connect from two places - both open the same popup.
**Option 1: From chat**
Type a prompt that mentions Resend. Rocket detects the intent, shows a **Connect** button, and the popup opens when you tap it.
**Option 2: From the Connectors tab**
1. Tap the **More** button in the header.
2. Tap **Integrations**.
3. Tap the **Resend** card, then tap **Connect**.
**After tapping Connect**
A popup opens. Paste your **API key**, then tap **Done**. A green dot appears next to Resend when the connection is active.
**Update or disconnect**
Go to **Integrations > Resend**. Update your key or tap **Disconnect** to remove the integration.
## Example prompts
| Use case | Prompt |
| ------------------ | ------------------------------------------------------------------------------------------------------------ |
| Welcome email | `Send a welcome email through Resend when a new user signs up with Supabase.` |
| Password reset | `Route Supabase password reset emails through Resend with custom branding.` |
| Order confirmation | `After a Stripe payment, send a receipt email through Resend with the order total.` |
| Newsletter signup | `Add a newsletter form that saves emails to Supabase and adds them to my Resend Audience.` |
| Team invite | `Send an invitation email through Resend with a unique join link when I invite a team member.` |
| Email verification | `Send a verification email through Resend with a 6-digit code when a user registers.` |
| Weekly digest | `Send a weekly digest email every Monday with the user's activity summary from Supabase.` |
| Abandoned cart | `If a user adds items to cart but does not check out within 24 hours, send a reminder email through Resend.` |
| Feedback request | `Send a feedback request email through Resend 3 days after a user completes onboarding.` |
| Custom HTML email | `Create a styled HTML email template in Resend with our logo, brand colors, and a CTA button.` |
## Tips
* **Supabase is recommended.** Rocket links Resend emails to Supabase user accounts for the best experience. Most auth email flows (welcome, password reset) work best with Supabase connected.
* **SMTP routing for auth emails.** Route Supabase Auth emails through Resend for custom branding. See the [Resend + Supabase SMTP guide](https://resend.com/docs/send-with-supabase-smtp).
* **Resend Audiences for marketing.** Resend supports newsletters and marketing emails through Audiences and Broadcasts, with built-in analytics and unsubscribe handling.
* **API key security.** Your key is encrypted at rest and never exposed in your project code. Always use the secure integration flow to connect.
* **One Resend account per project.** Each Rocket project connects to one Resend API key. Use different projects for different Resend accounts.
* **Free plan sender limits.** Free Resend accounts can only send from the default account email. To use a custom domain, upgrade your Resend plan, verify the domain, and update the `from` field in your Supabase Edge Function.
Once your domain is verified in Resend, update the `from` field in the Edge Function that handles sending.
1. Go to the [Supabase Dashboard](https://supabase.com/dashboard) and open your project.
2. Click **Edge Functions** in the left sidebar.
3. Open the function that handles email sending (for example, `send-welcome-email`).
4. Click the **Code** tab.
5. Find the `resend.emails.send` call and update the `from` field:
```typescript theme={null}
await resend.emails.send({
from: "noreply@yourdomain.com", // your verified domain address
to: recipientEmail,
subject: "...",
html: "...",
});
```
6. Click **Deploy** (or **Redeploy**) to apply the change.
7. Trigger the function to confirm the email arrives from the new address. Use the **Logs** tab if anything fails.
If you route Supabase Auth emails (password reset, magic link) through Resend SMTP, the sender address for those is set separately under **Project Settings → Authentication → SMTP Settings** in the Supabase Dashboard, not in an Edge Function.
## What's next?
Send order confirmation and receipt emails after Stripe payments with Resend.
Recommended for linking emails to authenticated users and routing auth emails through Resend.
An alternative email integration if you prefer SendGrid's platform.
Full recipe: Supabase + Stripe + Resend + Netlify to build a complete SaaS product.
You can connect from two places - both open the same popup.
**Option 1: From chat**
Type a prompt that mentions Resend. Rocket detects the intent, shows a **Connect** button, and the popup opens when you tap it.
**Option 2: From the Connectors tab**
1. Tap the **More** button in the header.
2. Tap **Integrations**.
3. Tap the **Resend** card, then tap **Connect**.
**After tapping Connect**
A popup opens. Paste your **API key**, then tap **Done**. A green dot appears next to Resend when the connection is active.
**Update or disconnect**
Go to **Integrations > Resend**. Update your key or tap **Disconnect** to remove the integration.
## Example prompts
| Use case | Prompt |
| ------------------ | ------------------------------------------------------------------------------------------------------------ |
| Welcome email | `Send a welcome email through Resend when a new user signs up with Supabase.` |
| Password reset | `Route Supabase password reset emails through Resend with custom branding.` |
| Order confirmation | `After a Stripe payment, send a receipt email through Resend with the order total.` |
| Newsletter signup | `Add a newsletter form that saves emails to Supabase and adds them to my Resend Audience.` |
| Team invite | `Send an invitation email through Resend with a unique join link when I invite a team member.` |
| Email verification | `Send a verification email through Resend with a 6-digit code when a user registers.` |
| Weekly digest | `Send a weekly digest email every Monday with the user's activity summary from Supabase.` |
| Abandoned cart | `If a user adds items to cart but does not check out within 24 hours, send a reminder email through Resend.` |
| Feedback request | `Send a feedback request email through Resend 3 days after a user completes onboarding.` |
| Custom HTML email | `Create a styled HTML email template in Resend with our logo, brand colors, and a CTA button.` |
## Tips
* **Supabase is recommended.** Rocket links Resend emails to Supabase user accounts for the best experience. Most auth email flows (welcome, password reset) work best with Supabase connected.
* **SMTP routing for auth emails.** Route Supabase Auth emails through Resend for custom branding. See the [Resend + Supabase SMTP guide](https://resend.com/docs/send-with-supabase-smtp).
* **Resend Audiences for marketing.** Resend supports newsletters and marketing emails through Audiences and Broadcasts, with built-in analytics and unsubscribe handling.
* **API key security.** Your key is encrypted at rest and never exposed in your project code. Always use the secure integration flow to connect.
* **One Resend account per project.** Each Rocket project connects to one Resend API key. Use different projects for different Resend accounts.
* **Free plan sender limits.** Free Resend accounts can only send from the default account email. To use a custom domain, upgrade your Resend plan, verify the domain, and update the `from` field in your Supabase Edge Function.
Once your domain is verified in Resend, update the `from` field in the Edge Function that handles sending.
1. Go to the [Supabase Dashboard](https://supabase.com/dashboard) and open your project.
2. Click **Edge Functions** in the left sidebar.
3. Open the function that handles email sending (for example, `send-welcome-email`).
4. Click the **Code** tab.
5. Find the `resend.emails.send` call and update the `from` field:
```typescript theme={null}
await resend.emails.send({
from: "noreply@yourdomain.com", // your verified domain address
to: recipientEmail,
subject: "...",
html: "...",
});
```
6. Click **Deploy** (or **Redeploy**) to apply the change.
7. Trigger the function to confirm the email arrives from the new address. Use the **Logs** tab if anything fails.
If you route Supabase Auth emails (password reset, magic link) through Resend SMTP, the sender address for those is set separately under **Project Settings → Authentication → SMTP Settings** in the Supabase Dashboard, not in an Edge Function.
## What's next?
Send order confirmation and receipt emails after Stripe payments with Resend.
Recommended for linking emails to authenticated users and routing auth emails through Resend.
An alternative email integration if you prefer SendGrid's platform.
Full recipe: Supabase + Stripe + Resend + Netlify to build a complete SaaS product.