> ## Documentation Index
> Fetch the complete documentation index at: https://docs.rocket.new/llms.txt
> Use this file to discover all available pages before exploring further.
# SendGrid
> Connect SendGrid to your Rocket.new app - send transactional emails, run campaigns, and manage subscribers.
export const LlmsDirective = () =>
For the complete documentation index, see llms.txt.
For a lightweight markdown version of this page, append .md to the URL.
;
Connect SendGrid and describe the email flow you want in chat. Rocket generates the complete sending logic: templates, API calls, event tracking, and delivery management.
SendGrid excels at high-volume sending and marketing campaigns. For simpler developer-focused transactional email, [Resend](/build/connectors/resend) may be a lighter option.
## What you can do
Password resets, order confirmations, invoices, and account verification emails triggered by user actions.
Promotional emails, product announcements, and seasonal campaigns to segmented audiences.
Reusable templates with personalized fields like names, order numbers, and custom data.
Track open rates, click rates, bounces, and delivery status for every email you send.
Collect subscriber emails and send regular newsletters with rich content.
## Before you connect
You need your **API key** from the SendGrid Dashboard.
**Create or copy your SendGrid API key**
Never paste your SendGrid API key directly into chat. Always use the secure connection popup. If your key has been exposed, revoke it from SendGrid Settings and create a new one.
SendGrid requires domain authentication or single-sender verification before you can send emails. Complete this in **SendGrid Settings > Sender Authentication** before connecting.
## Connect SendGrid
You can connect from two places - both open the same popup.
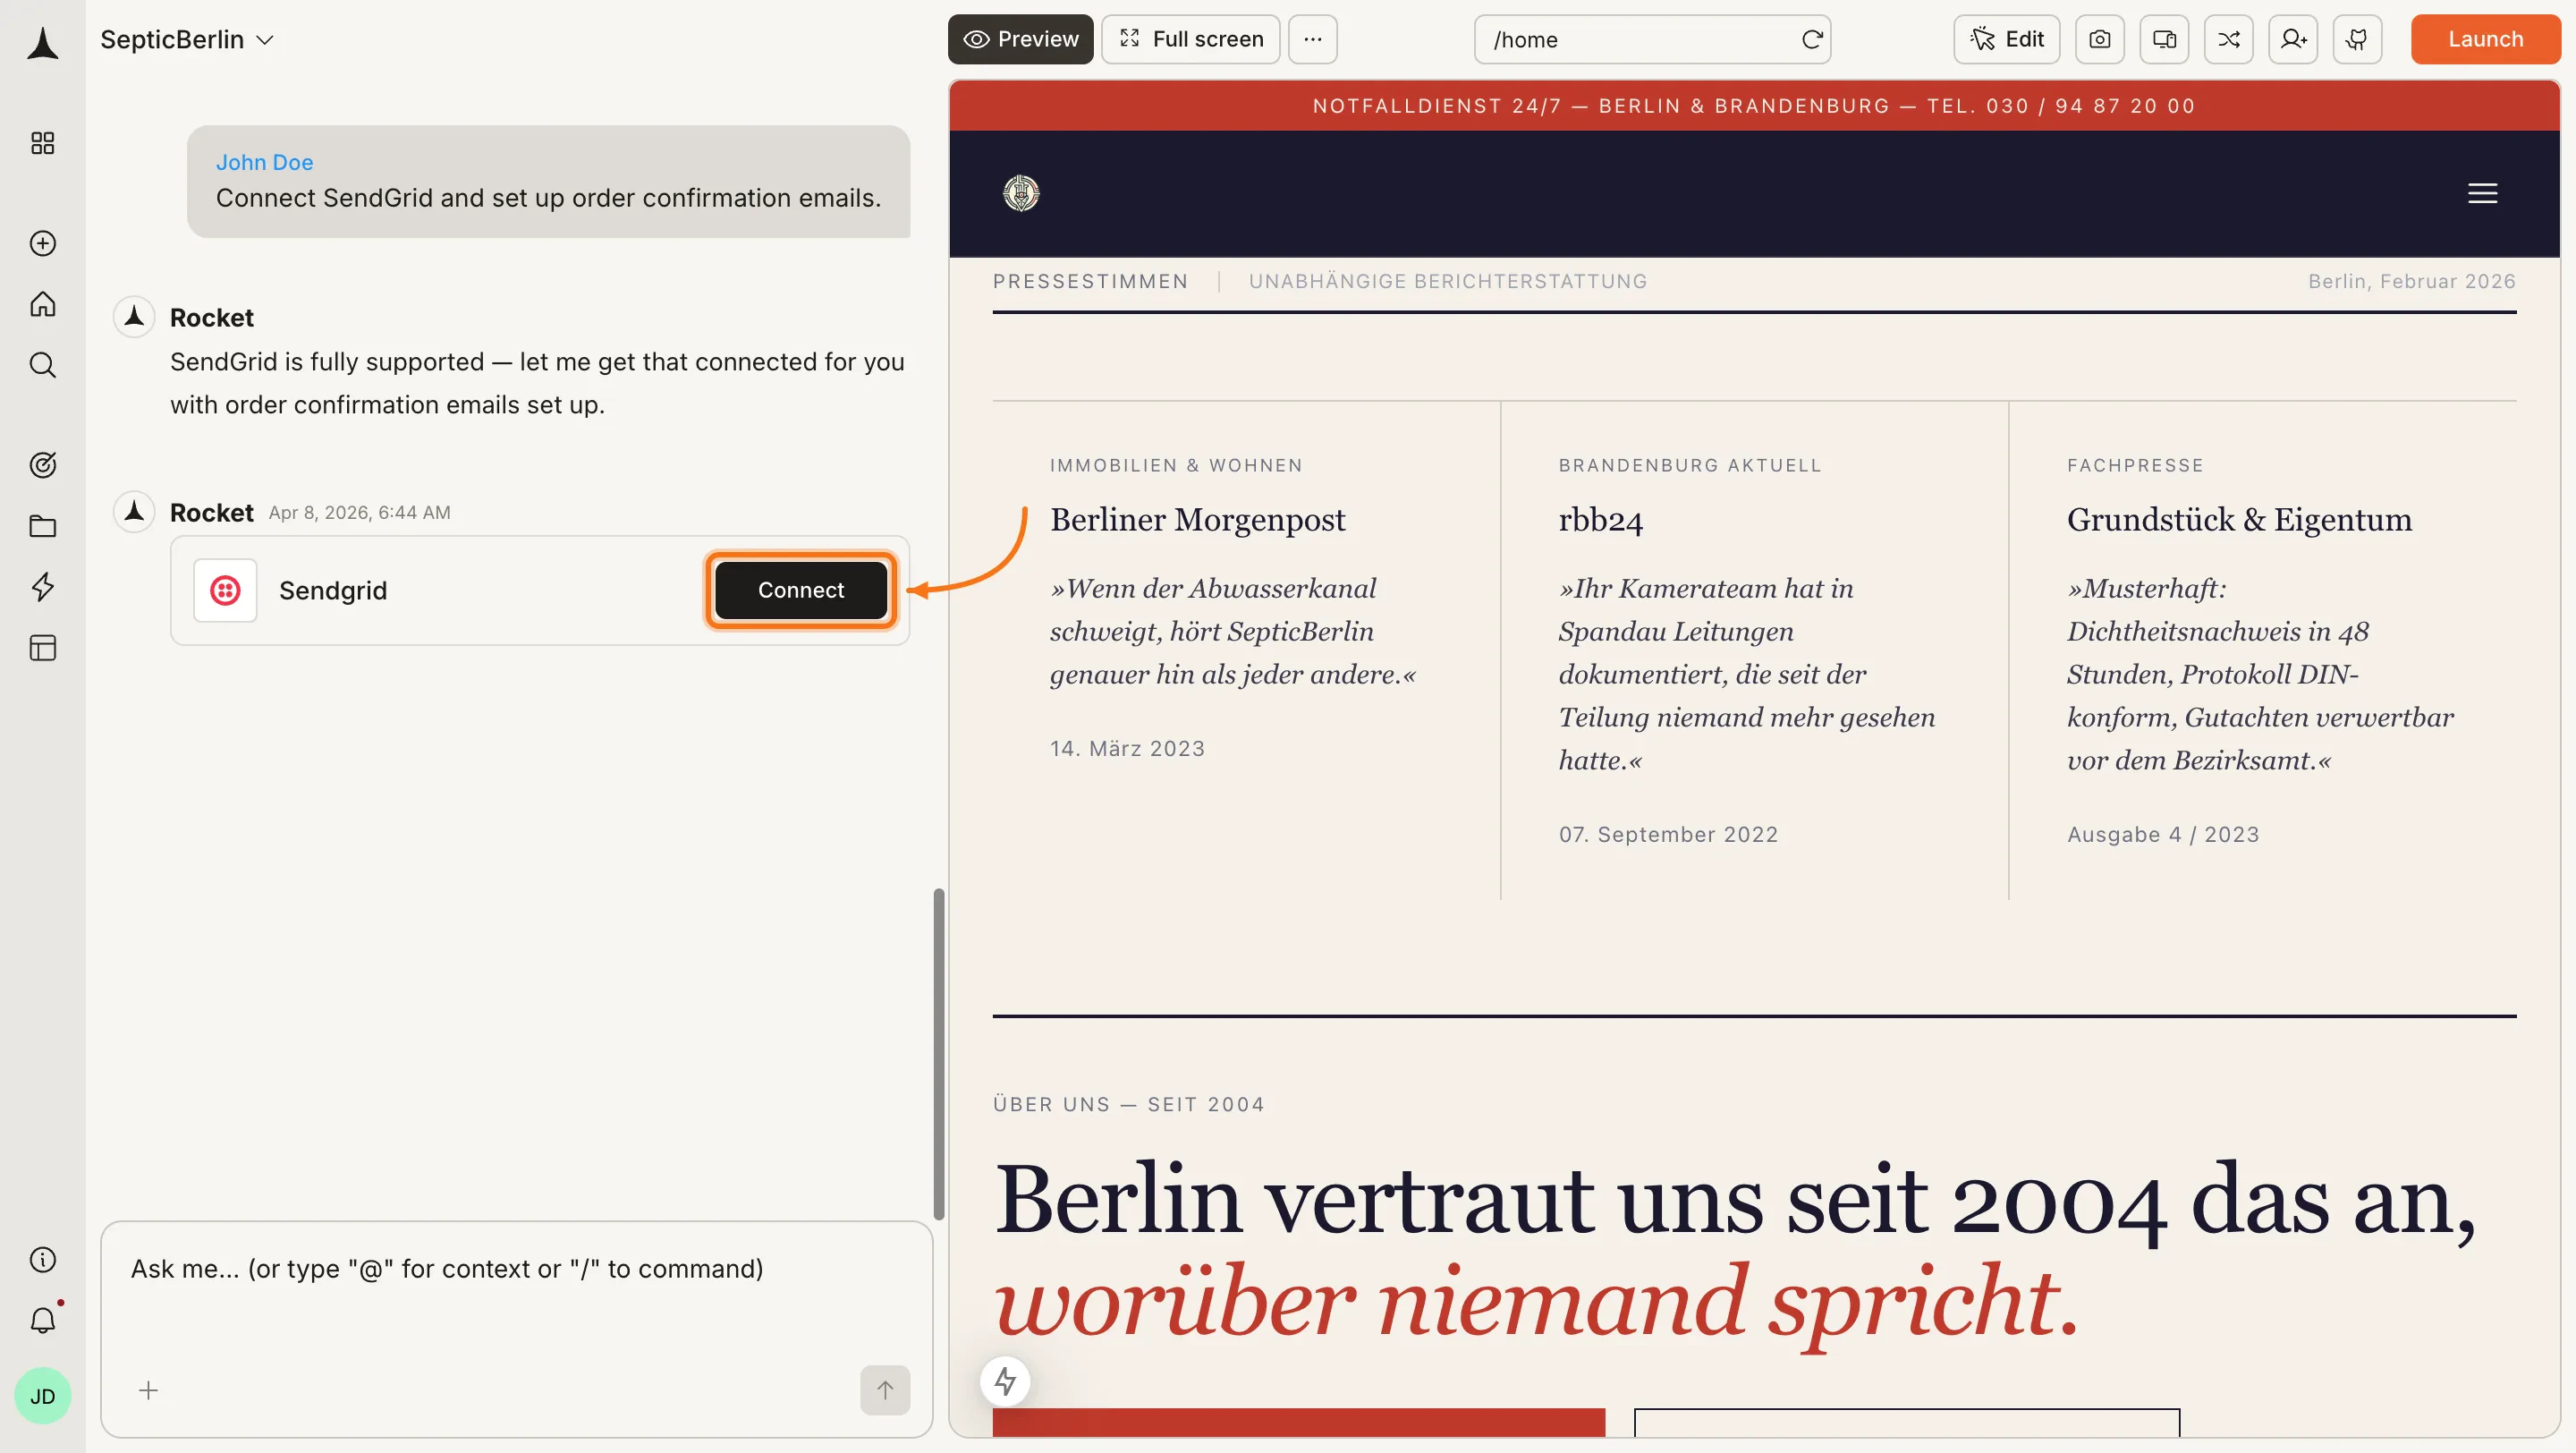
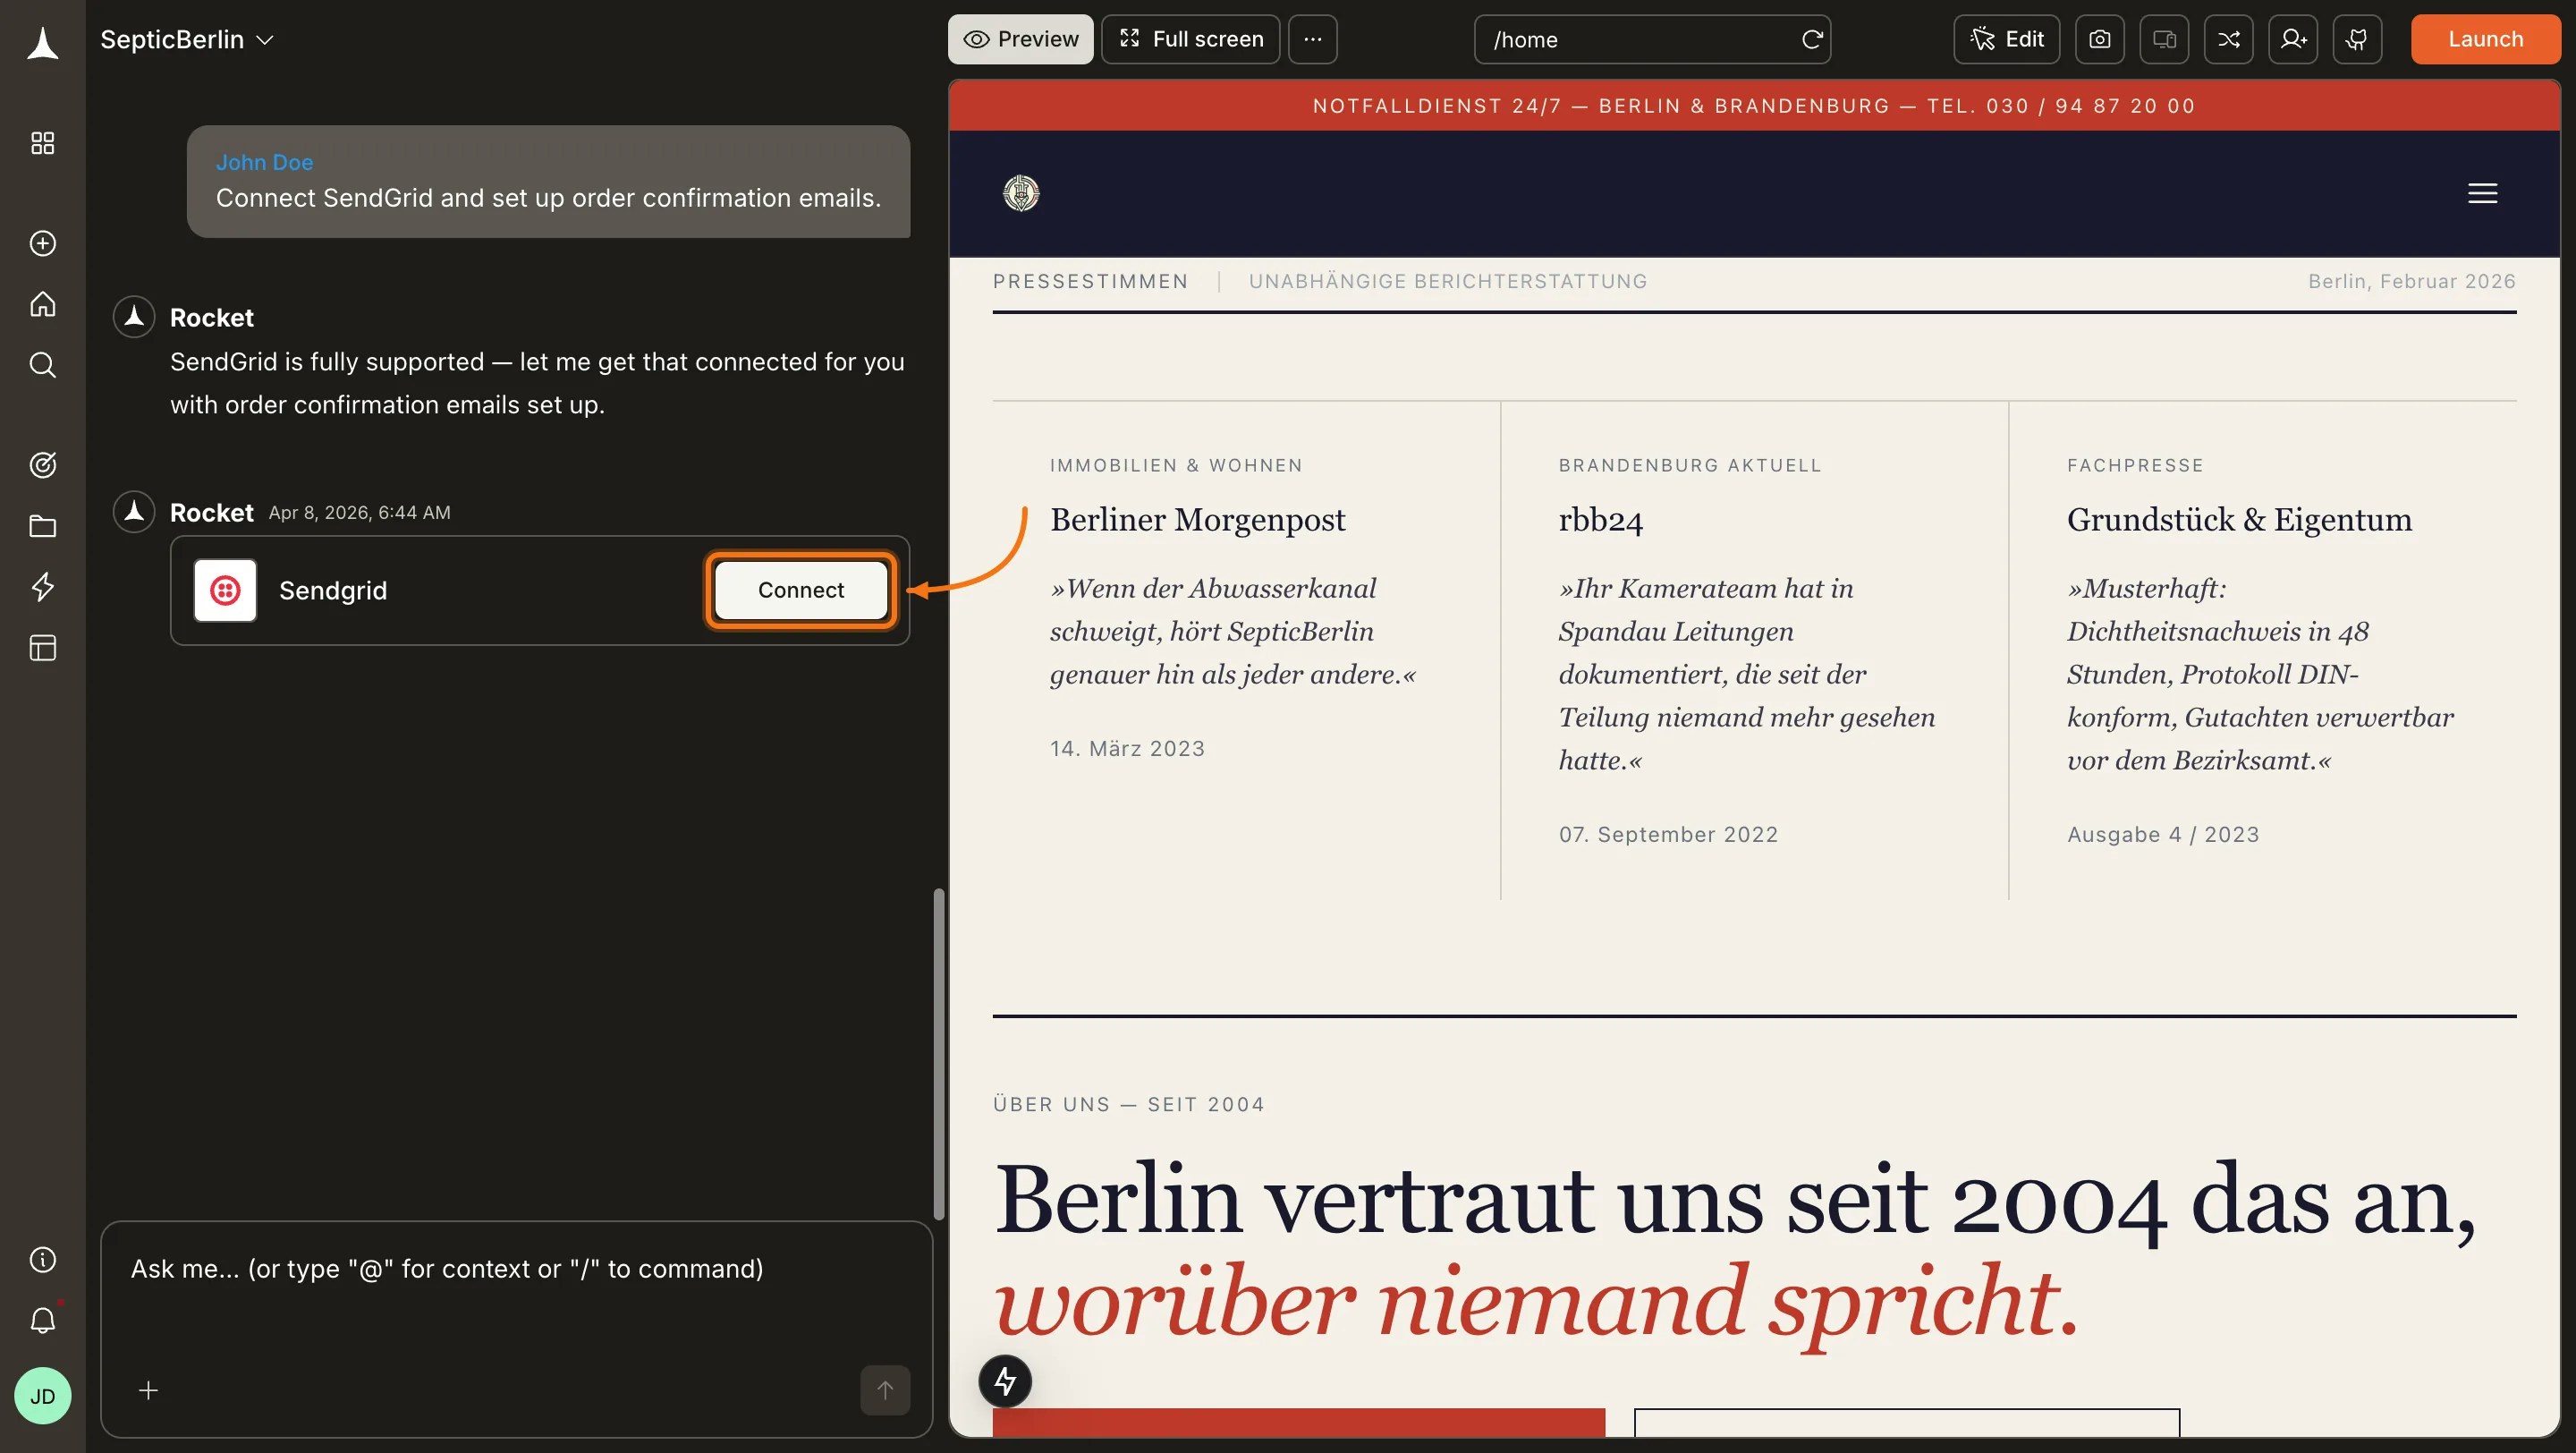
**Option 1: From chat**
Type a prompt that mentions SendGrid - for example, `Connect SendGrid and send an order confirmation email when a user completes checkout`. Rocket detects the intent and shows a **Connect** button inline. Click it and the popup opens.
 **Option 2: From the Connectors tab**
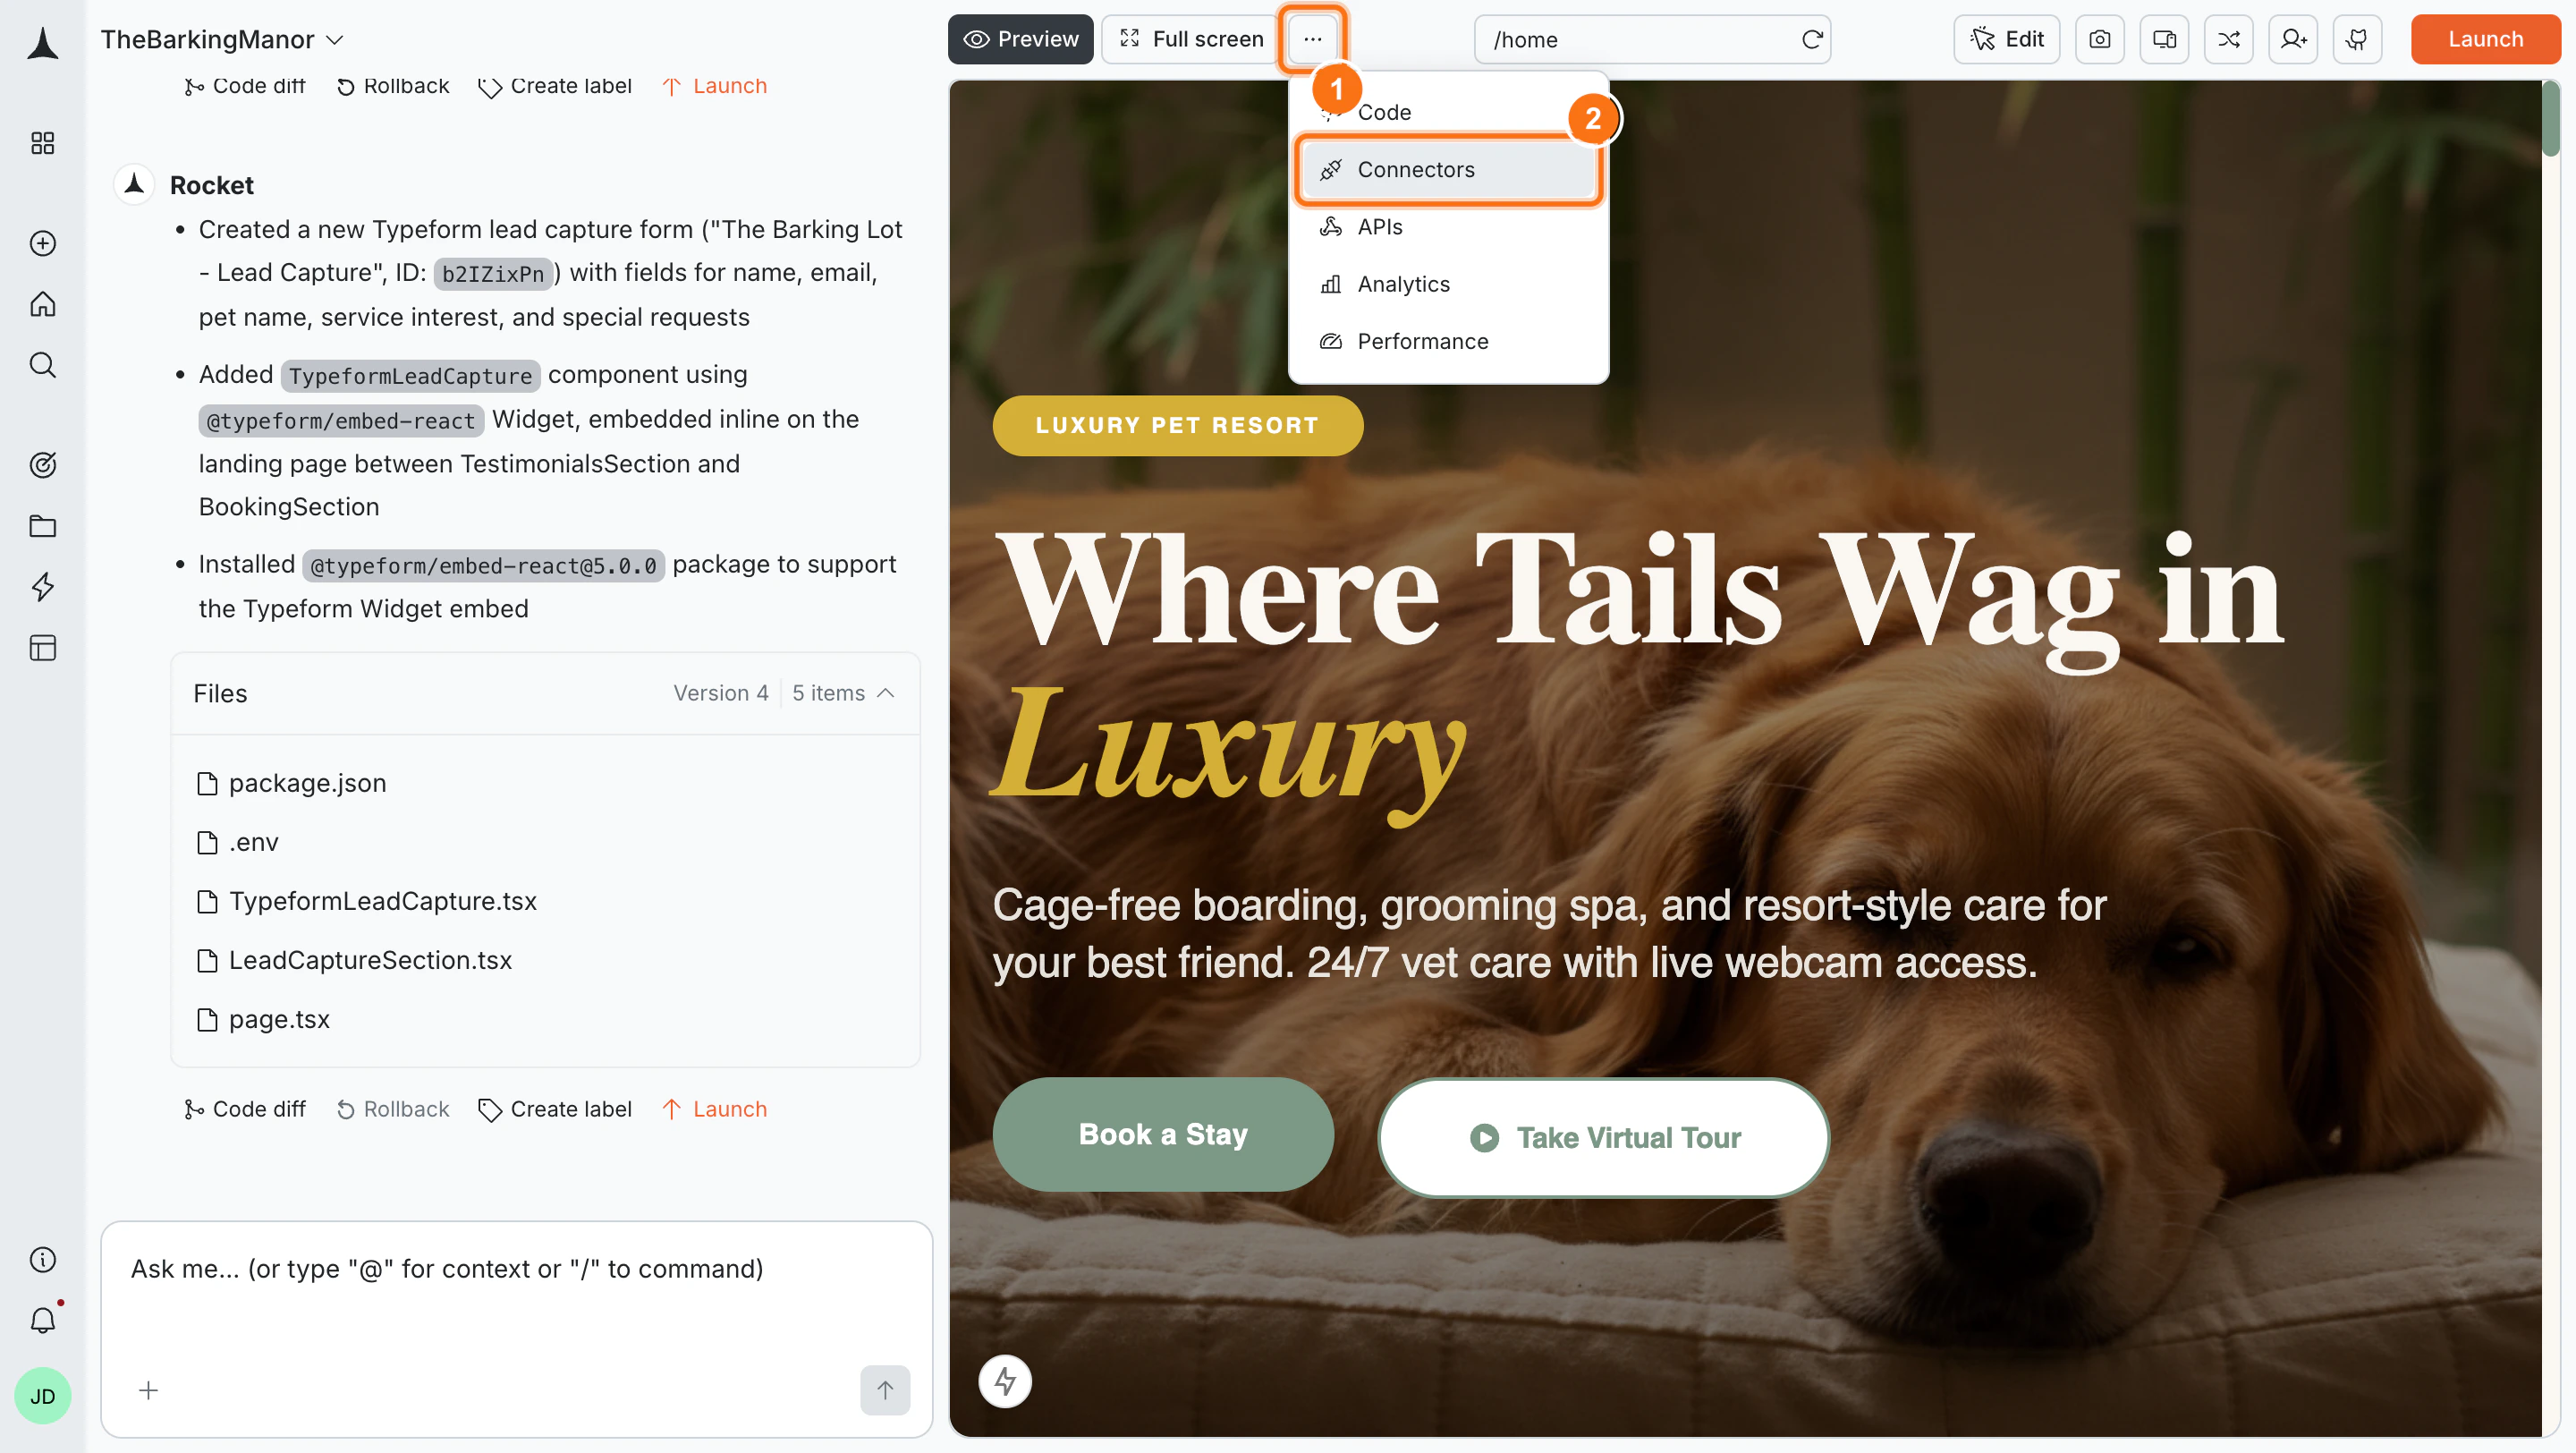
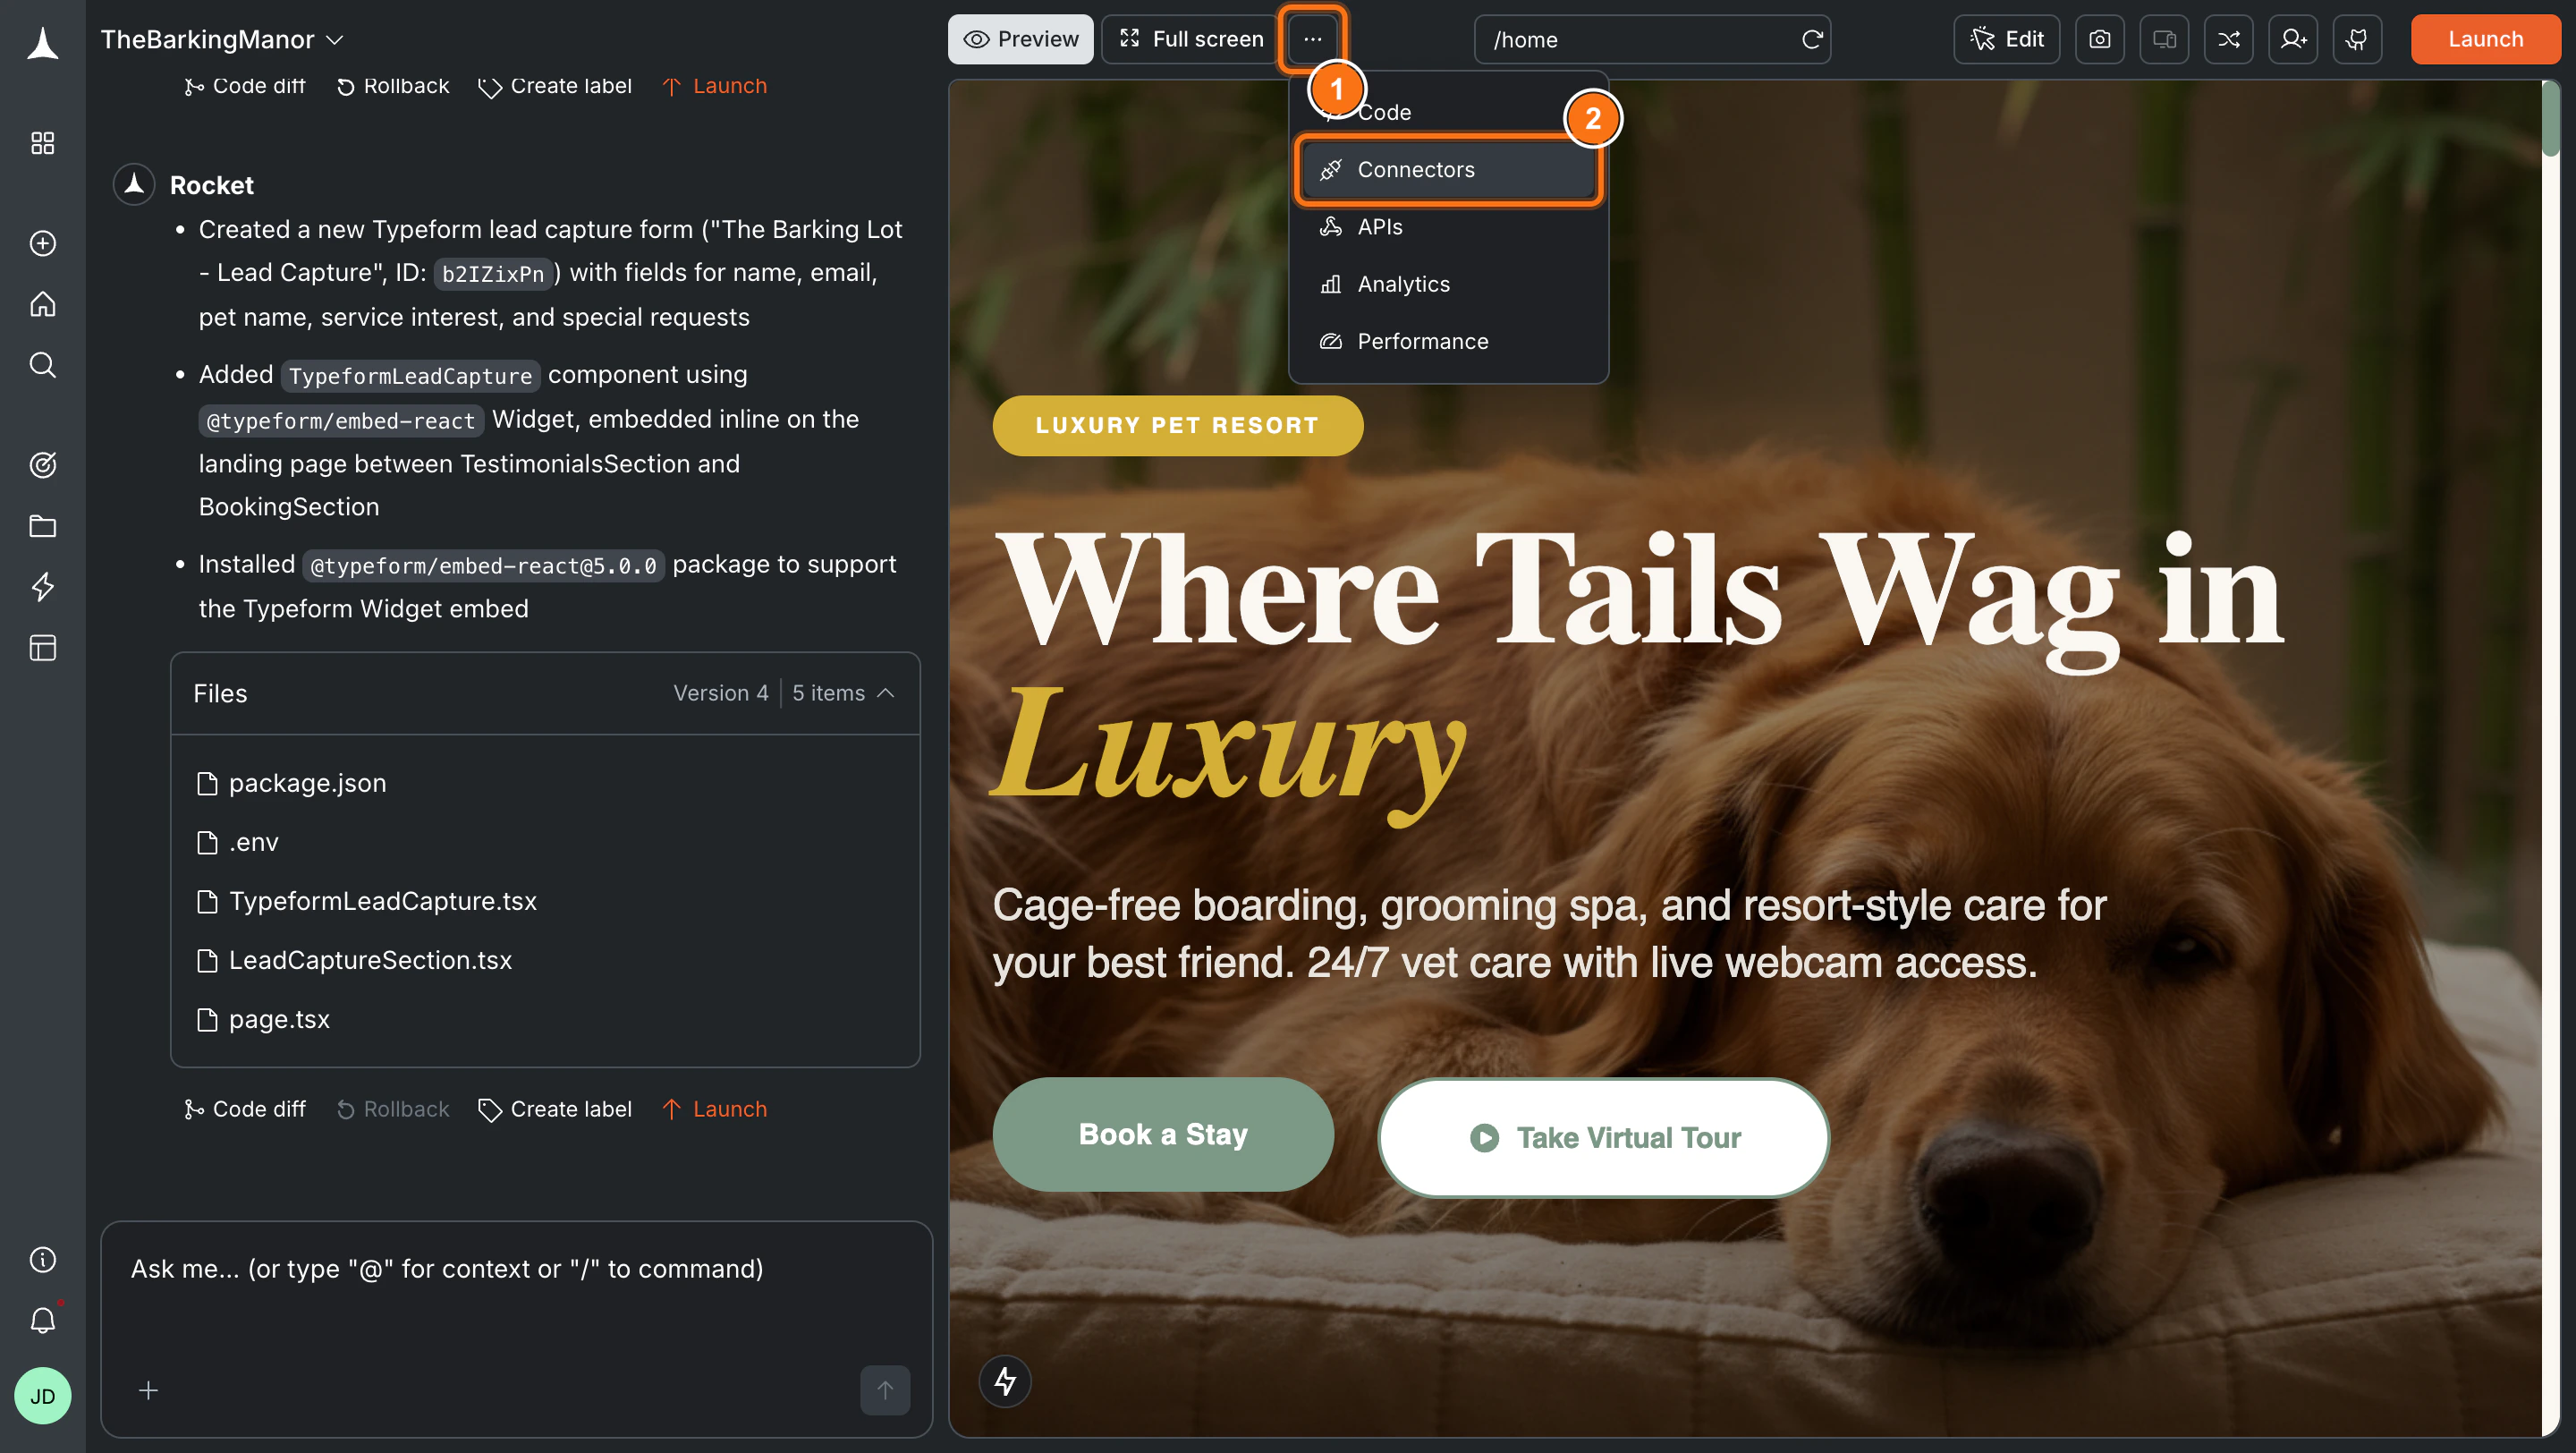
Click the **`...`** button in the preview toolbar, then select **Connectors**.
**Option 2: From the Connectors tab**
Click the **`...`** button in the preview toolbar, then select **Connectors**.
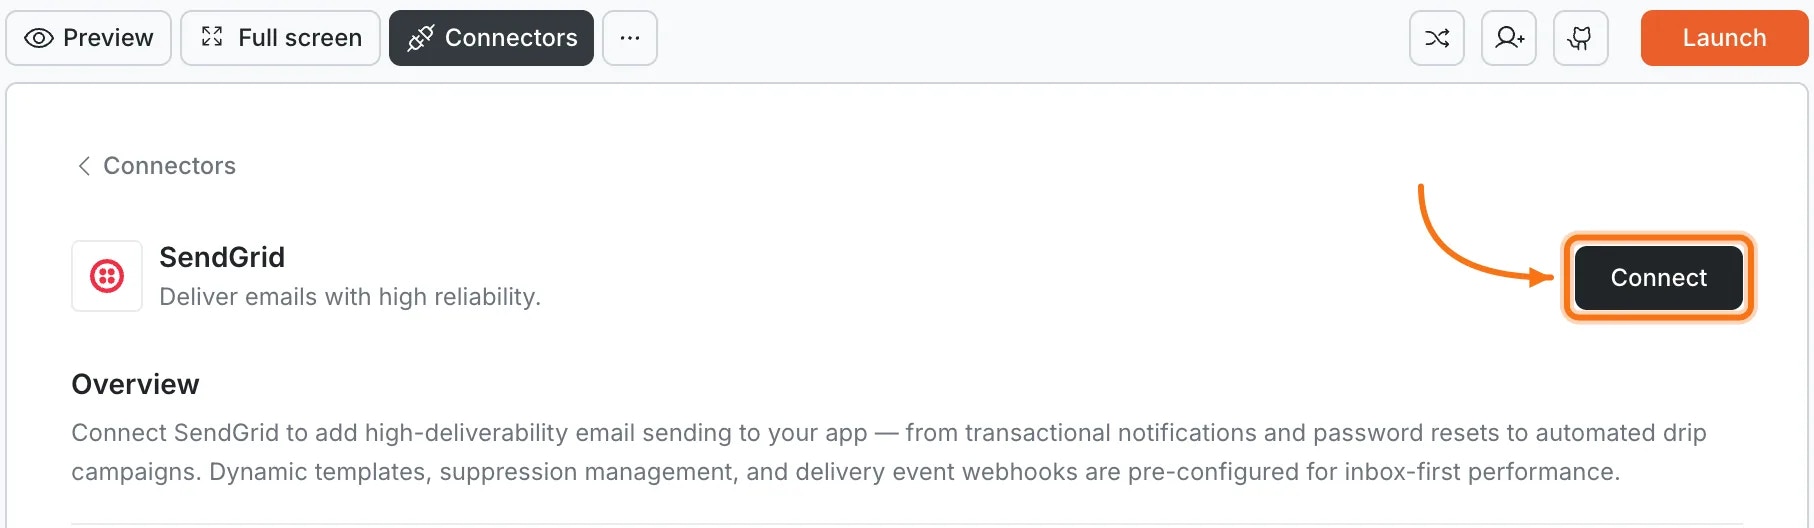
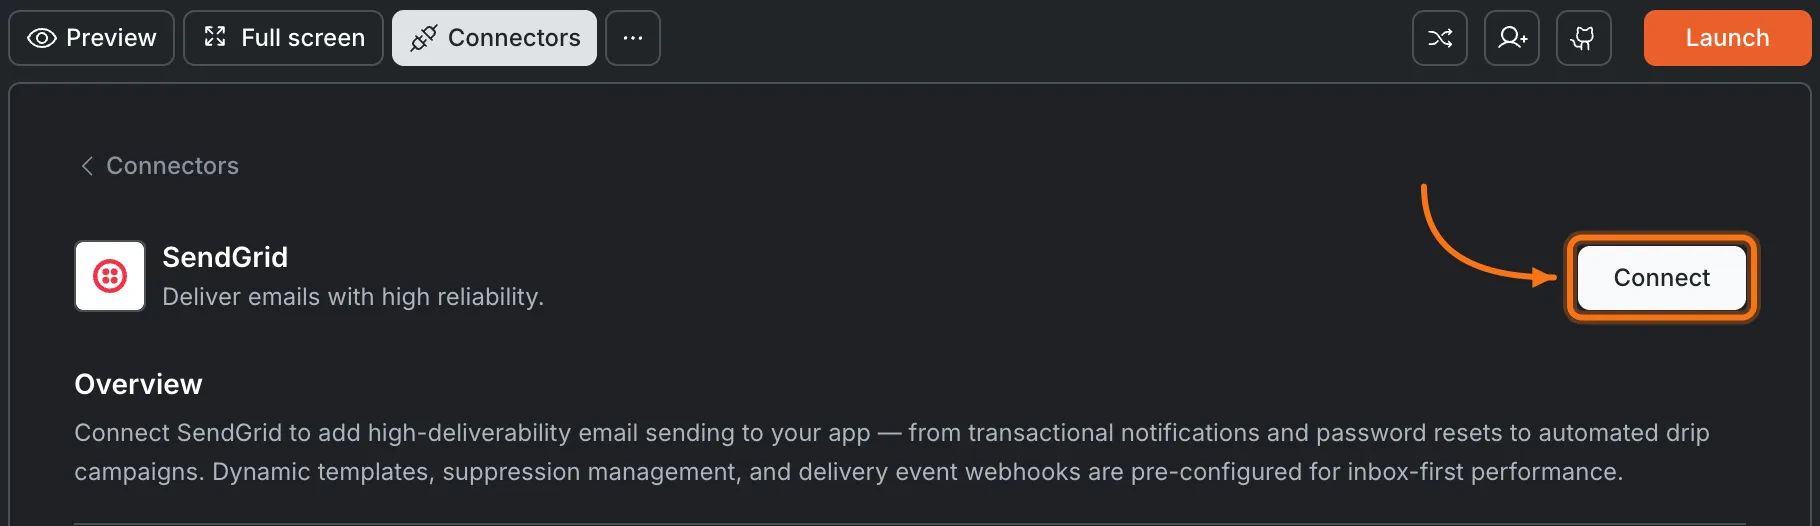
 Click the **SendGrid** card, then click **Connect**.
 **After clicking Connect**
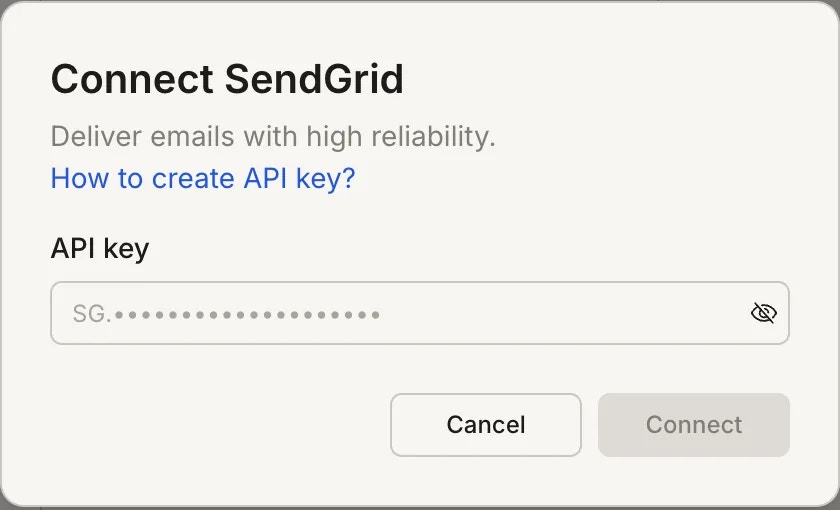
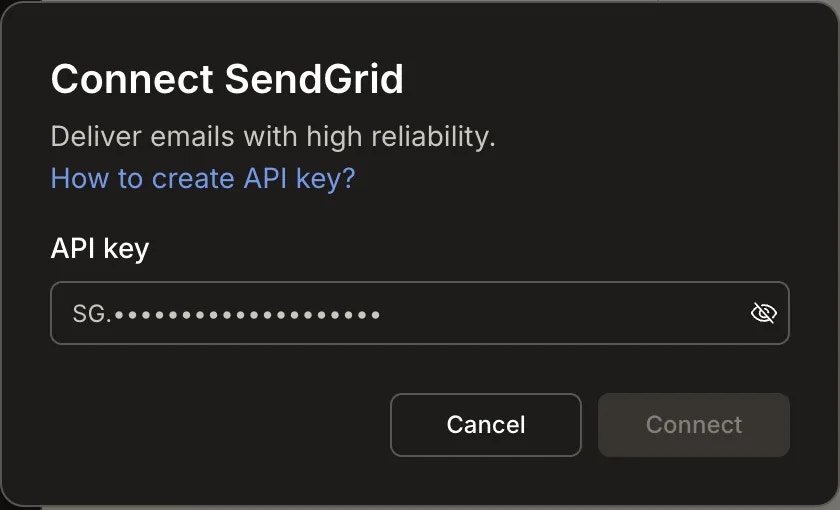
A popup opens. Paste your **API key**, then click **Save**. A green dot appears next to SendGrid when the connection is active.
**After clicking Connect**
A popup opens. Paste your **API key**, then click **Save**. A green dot appears next to SendGrid when the connection is active.
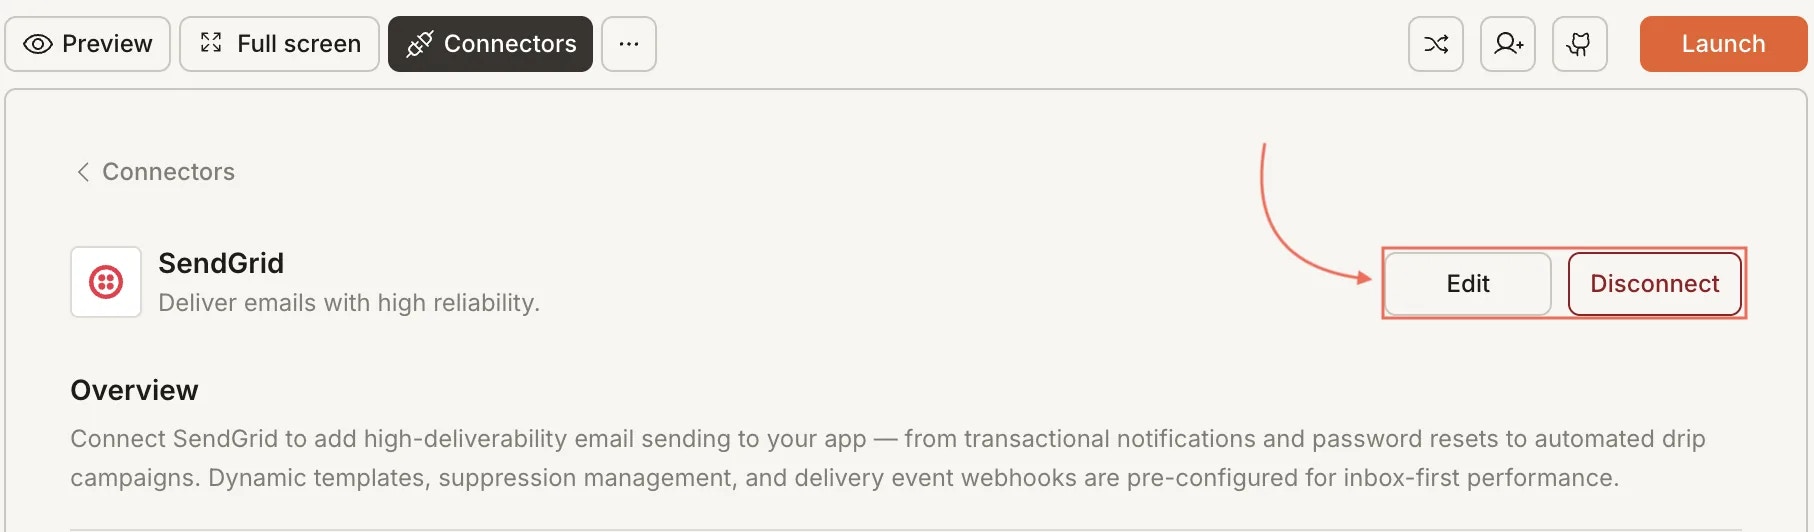
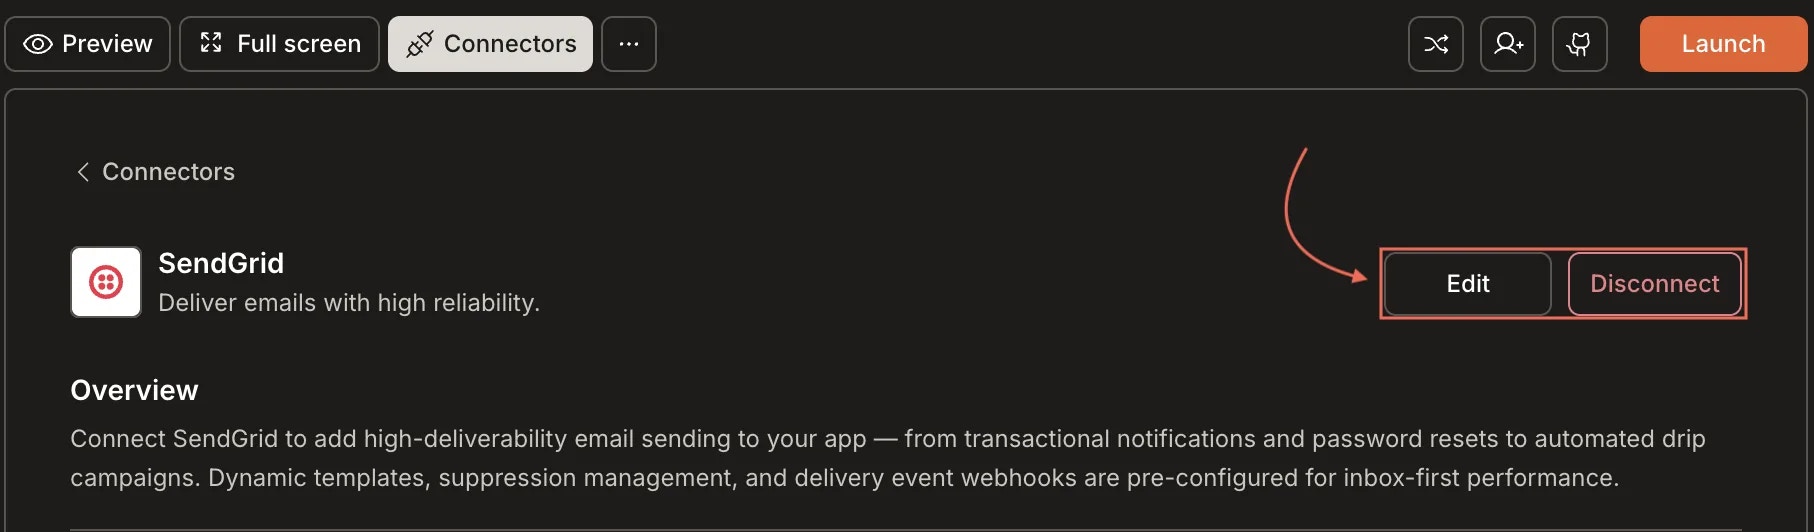
 **Update or disconnect**
Go to [**Connectors > SendGrid**](#connect-sendgrid). Update your key or click **Disconnect** to remove the integration.
**Update or disconnect**
Go to [**Connectors > SendGrid**](#connect-sendgrid). Update your key or click **Disconnect** to remove the integration.
 You can connect from two places - both open the same popup.
**Option 1: From chat**
Type a prompt that mentions SendGrid. Rocket detects the intent, shows a **Connect** button, and the popup opens when you tap it.
**Option 2: From the Connectors tab**
1. Tap the **More** button in the header.
2. Tap **Integrations**.
3. Tap the **SendGrid** card, then tap **Connect**.
**After tapping Connect**
A popup opens. Paste your **API key**, then tap **Done**. A green dot appears next to SendGrid when the connection is active.
**Update or disconnect**
Go to **Integrations > SendGrid**. Update your key or tap **Disconnect** to remove the integration.
## Example prompts
| Use case | Prompt |
| --------------------- | ------------------------------------------------------------------------------------------------------------------ |
| Order confirmation | `Send an order confirmation email through SendGrid when a user completes checkout. Include order total and items.` |
| Password reset | `Add a forgot-password flow that sends a reset link via SendGrid with a 15-minute expiration.` |
| Welcome email | `Send a welcome email through SendGrid when a new user signs up, with a getting-started guide.` |
| Marketing campaign | `Build an admin page where I can compose and send a marketing email to a SendGrid contact list.` |
| Weekly digest | `Send a weekly digest email every Monday with the user's activity summary from the past week.` |
| Abandoned cart | `Send an abandoned cart reminder email 2 hours after a user leaves items in their cart.` |
| Invoice email | `Generate a PDF invoice and email it through SendGrid after each successful Stripe payment.` |
| Re-engagement | `Send a re-engagement email to users who have not logged in for 30 days.` |
| Event invitation | `Send an event invitation email with RSVP buttons that update the user's response in Supabase.` |
| Shipping notification | `Send a shipping notification email with tracking number and estimated delivery date.` |
## Tips
* **Verify your sender identity first.** SendGrid requires domain authentication or single-sender verification before you can send emails. Complete this in SendGrid Settings before connecting.
* **No permanent free tier.** SendGrid's free plan allows 100 emails per day. Upgrade for higher volume. Check [SendGrid pricing](https://sendgrid.com/en-us/pricing) for current plans.
* **Manage contacts in SendGrid.** You can add subscribers through Rocket, but deleting contacts and managing suppression lists must be done in the SendGrid dashboard.
* **One SendGrid account per project.** Each Rocket project connects to one SendGrid API key. Use different projects for different SendGrid accounts.
## What's next?
Store user data and trigger emails based on database events and user actions.
Send payment confirmations and invoice emails after Stripe transactions.
Compare with Resend for simpler transactional email needs.
Track email campaign performance alongside your website analytics.
You can connect from two places - both open the same popup.
**Option 1: From chat**
Type a prompt that mentions SendGrid. Rocket detects the intent, shows a **Connect** button, and the popup opens when you tap it.
**Option 2: From the Connectors tab**
1. Tap the **More** button in the header.
2. Tap **Integrations**.
3. Tap the **SendGrid** card, then tap **Connect**.
**After tapping Connect**
A popup opens. Paste your **API key**, then tap **Done**. A green dot appears next to SendGrid when the connection is active.
**Update or disconnect**
Go to **Integrations > SendGrid**. Update your key or tap **Disconnect** to remove the integration.
## Example prompts
| Use case | Prompt |
| --------------------- | ------------------------------------------------------------------------------------------------------------------ |
| Order confirmation | `Send an order confirmation email through SendGrid when a user completes checkout. Include order total and items.` |
| Password reset | `Add a forgot-password flow that sends a reset link via SendGrid with a 15-minute expiration.` |
| Welcome email | `Send a welcome email through SendGrid when a new user signs up, with a getting-started guide.` |
| Marketing campaign | `Build an admin page where I can compose and send a marketing email to a SendGrid contact list.` |
| Weekly digest | `Send a weekly digest email every Monday with the user's activity summary from the past week.` |
| Abandoned cart | `Send an abandoned cart reminder email 2 hours after a user leaves items in their cart.` |
| Invoice email | `Generate a PDF invoice and email it through SendGrid after each successful Stripe payment.` |
| Re-engagement | `Send a re-engagement email to users who have not logged in for 30 days.` |
| Event invitation | `Send an event invitation email with RSVP buttons that update the user's response in Supabase.` |
| Shipping notification | `Send a shipping notification email with tracking number and estimated delivery date.` |
## Tips
* **Verify your sender identity first.** SendGrid requires domain authentication or single-sender verification before you can send emails. Complete this in SendGrid Settings before connecting.
* **No permanent free tier.** SendGrid's free plan allows 100 emails per day. Upgrade for higher volume. Check [SendGrid pricing](https://sendgrid.com/en-us/pricing) for current plans.
* **Manage contacts in SendGrid.** You can add subscribers through Rocket, but deleting contacts and managing suppression lists must be done in the SendGrid dashboard.
* **One SendGrid account per project.** Each Rocket project connects to one SendGrid API key. Use different projects for different SendGrid accounts.
## What's next?
Store user data and trigger emails based on database events and user actions.
Send payment confirmations and invoice emails after Stripe transactions.
Compare with Resend for simpler transactional email needs.
Track email campaign performance alongside your website analytics.