> ## Documentation Index
> Fetch the complete documentation index at: https://docs.rocket.new/llms.txt
> Use this file to discover all available pages before exploring further.
# Webflow
> Connect Webflow to your Rocket.new app and pull CMS collections, sync content, and build programmatic publishing workflows with a single prompt.
export const LlmsDirective = () =>
For the complete documentation index, see llms.txt.
For a lightweight markdown version of this page, append .md to the URL.
;
Connect Webflow via OAuth and describe what you want to build in chat. Rocket reads your CMS collections, pages, and site structure as live context, bridging your visual design and your app's data layer seamlessly.
This connector is only available for **Next.js TypeScript** web build tasks.
Webflow is a **workspace-level** connector. Connect it once from Settings and it is available across all tasks.
## What you can do
A blog collection becomes a blog page. A product catalog becomes a storefront. A team roster becomes a people directory.
Push new CMS items and content updates programmatically. Automate publishing workflows without touching the Webflow editor.
Read your Webflow site's pages, assets, and components to generate code that matches what already exists visually.
Keep your Next.js app in sync with Webflow CMS in real time. No manual exports or copy-paste.
## Before you connect
Webflow uses OAuth, so no API key is required. The connection flow has two steps: check the redirect URL and authorize Rocket access to your Webflow account, then select the specific sites or workspaces to grant access to.
Rocket can only access the Webflow site you select during the connection flow. To switch sites, disconnect and reconnect with the new site selected.
## Connect Webflow
You can connect from three places. All do the same thing.
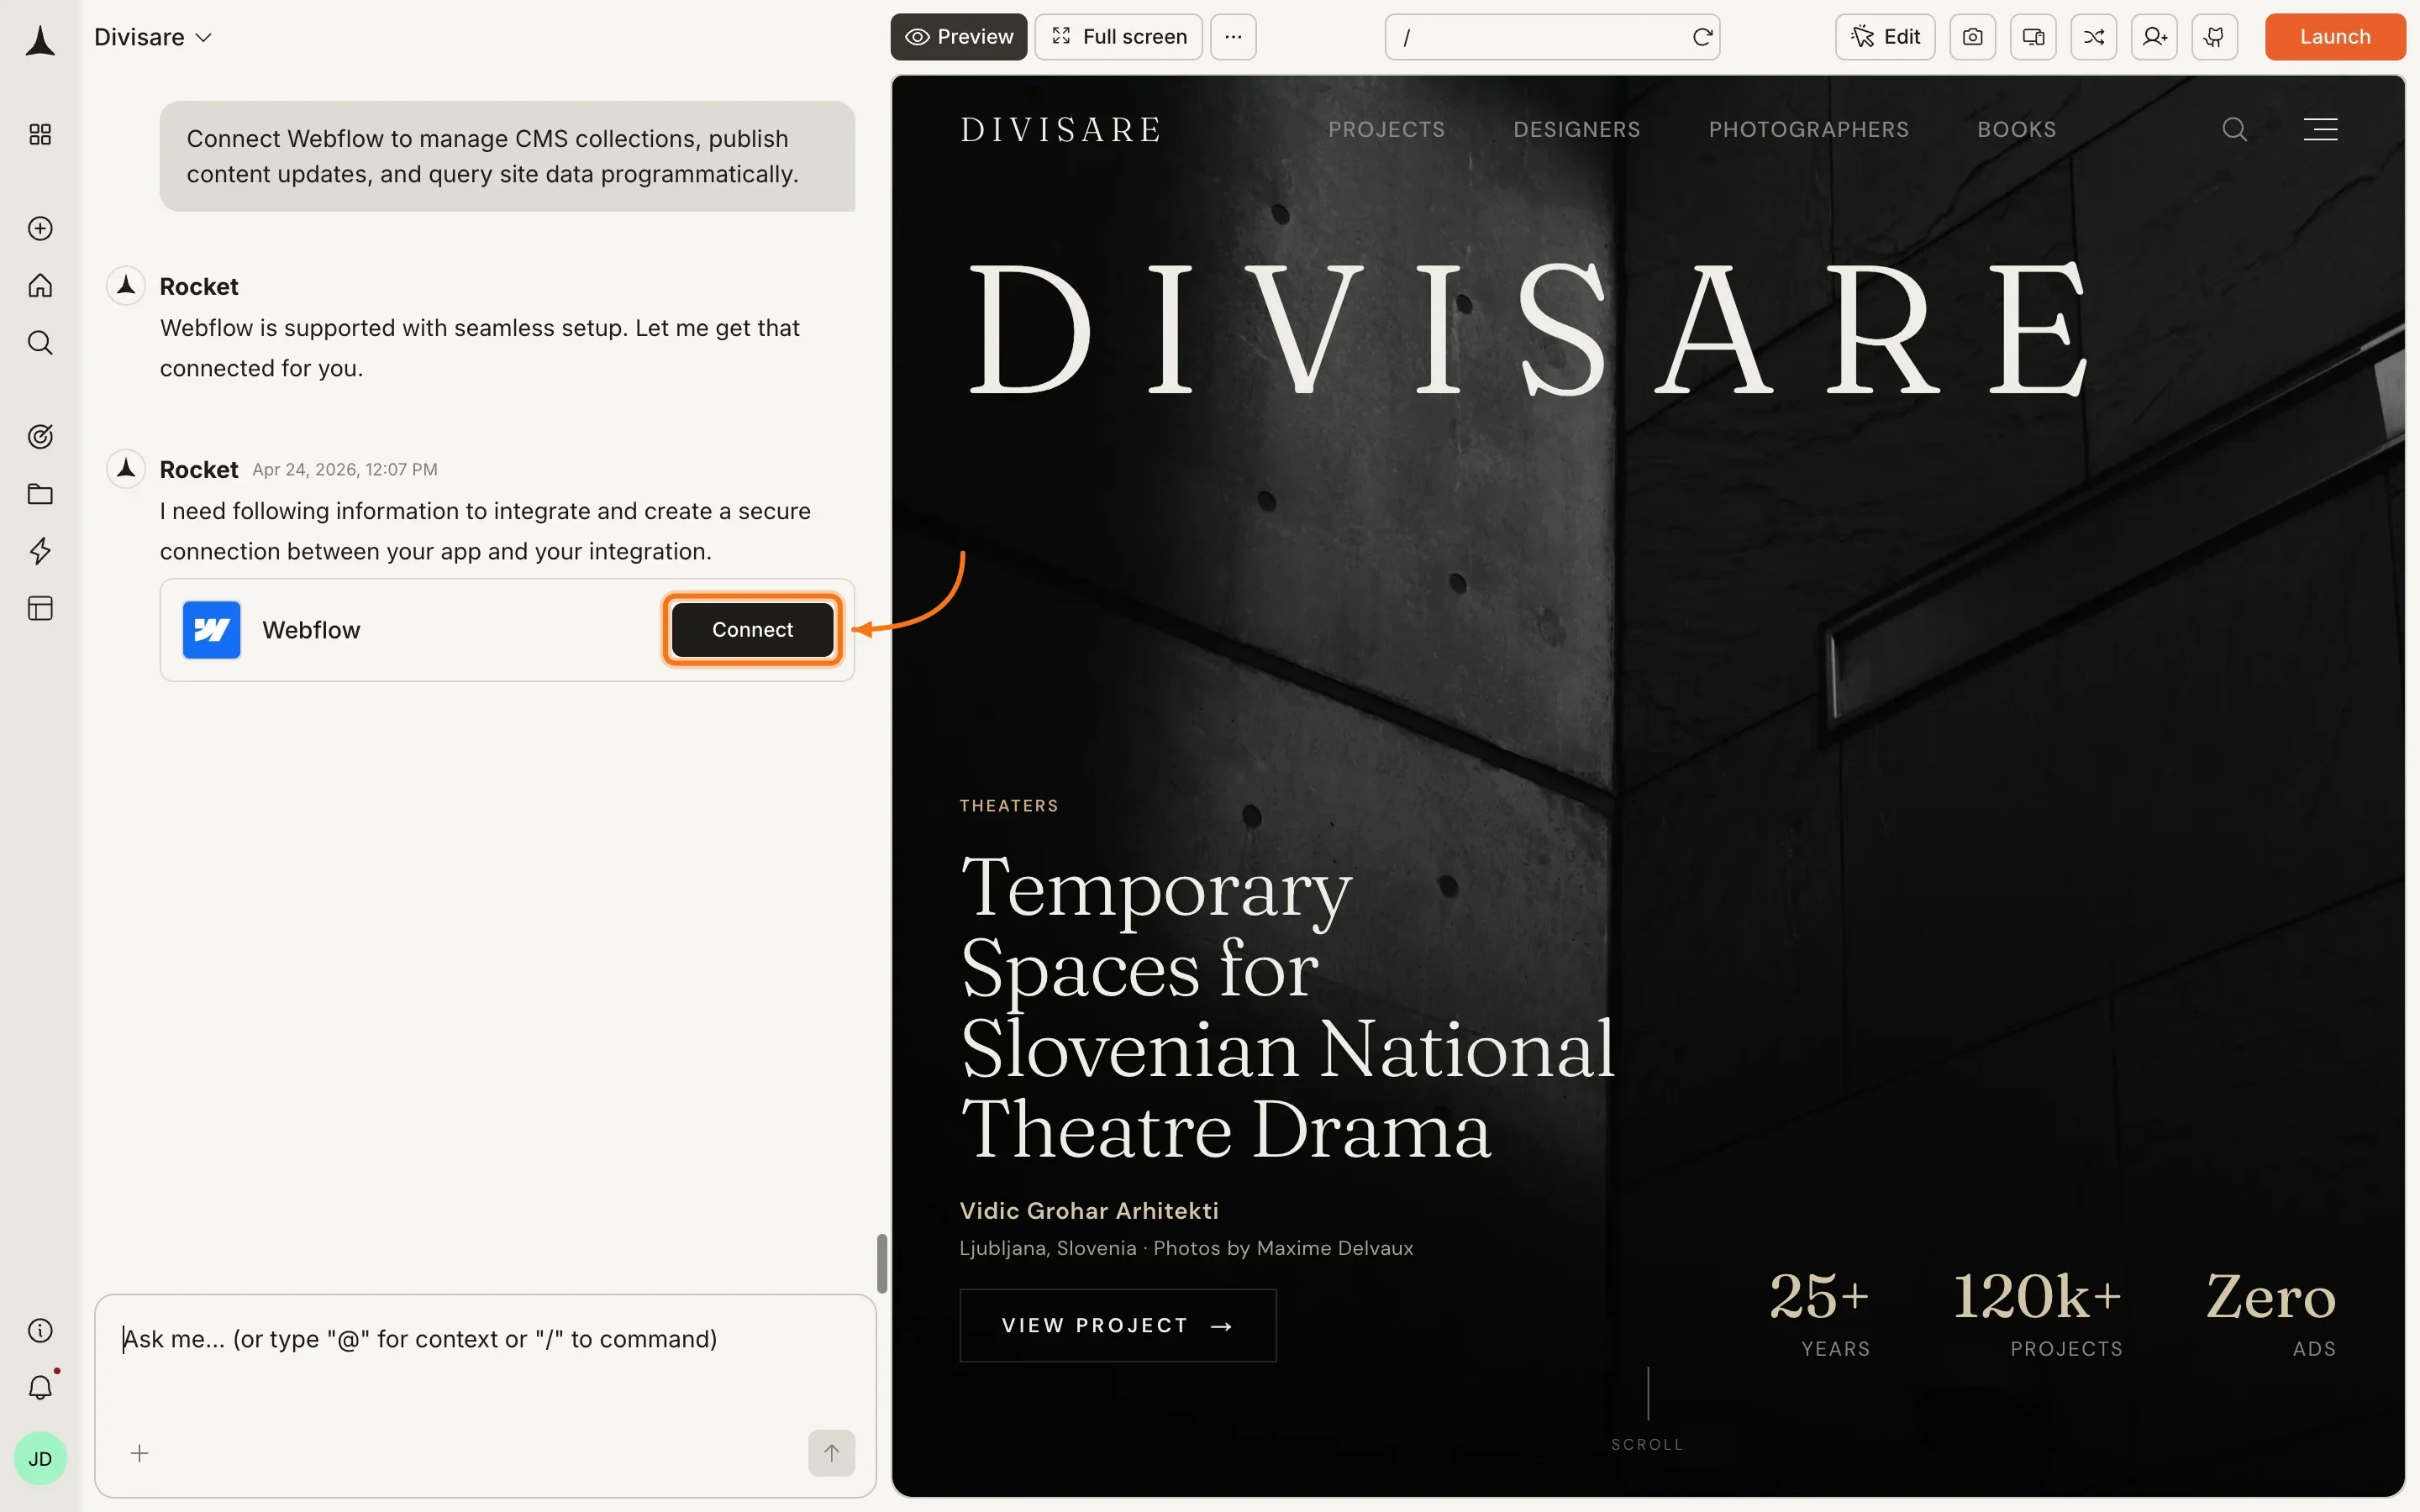
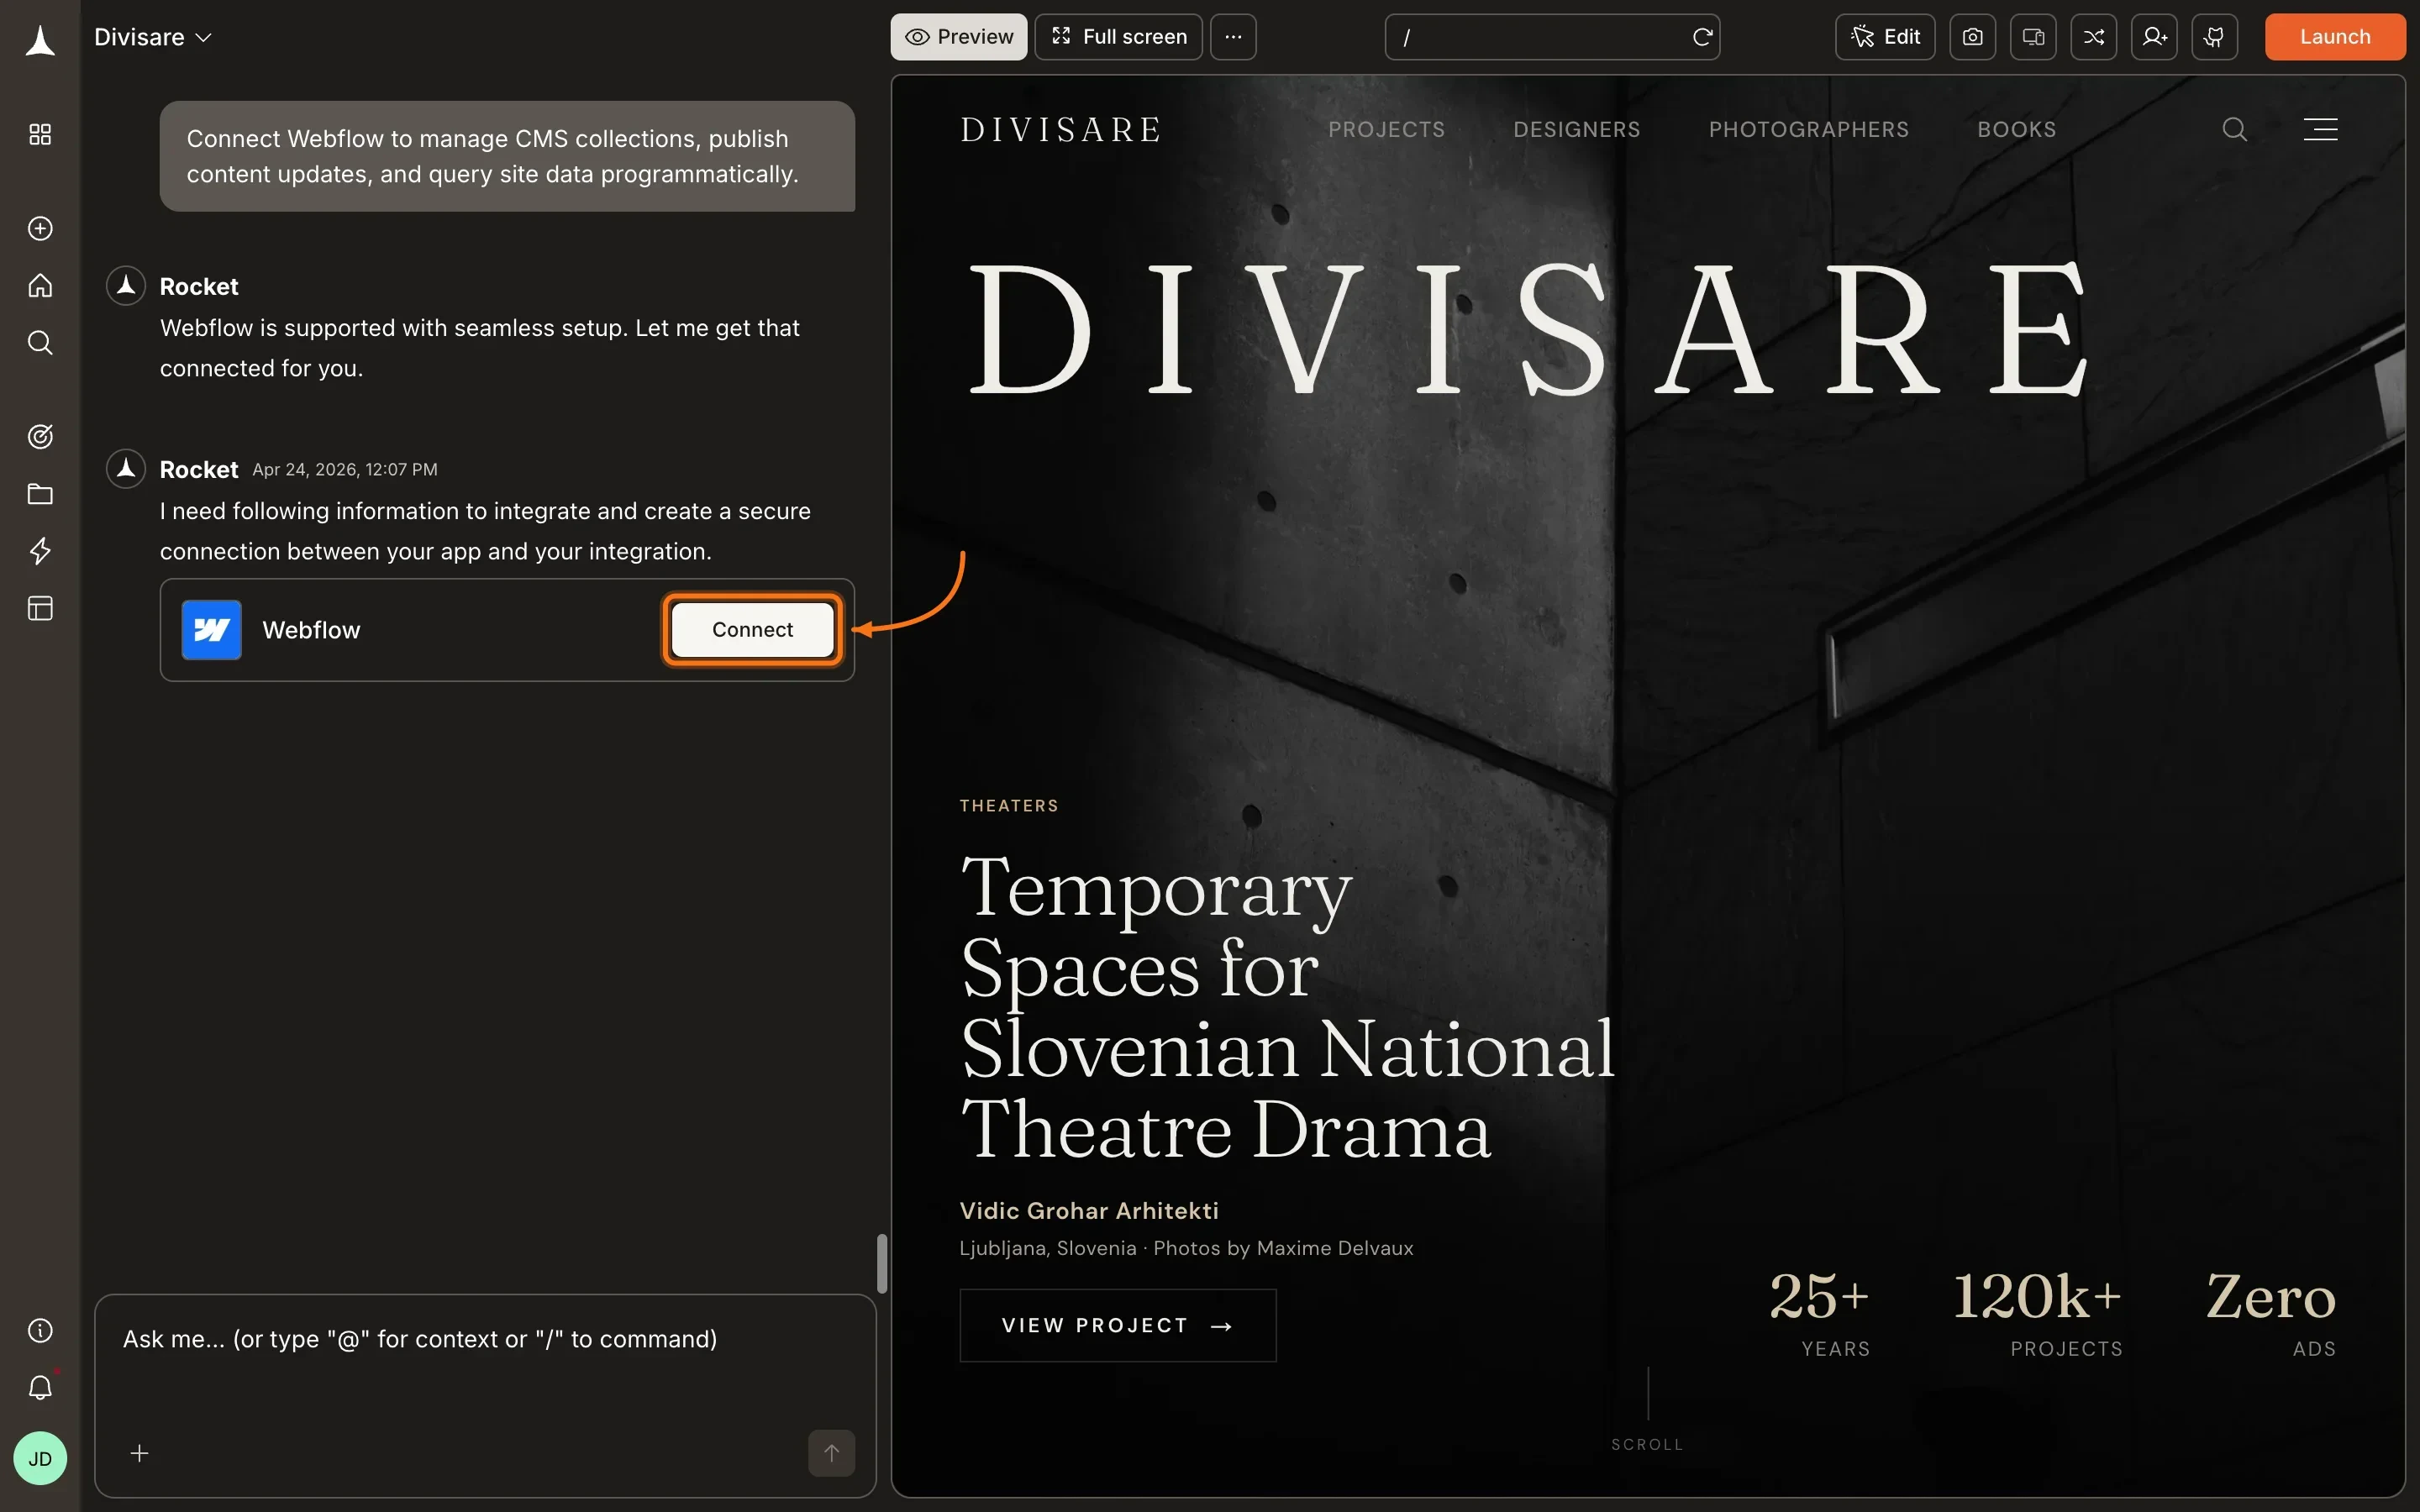
**Option 1: From chat**
Type a prompt that mentions Webflow - for example, `Connect my Webflow site and list the Blog CMS collection`. Rocket detects the intent and shows a **Connect** button inline. Click it to open the authorization flow.
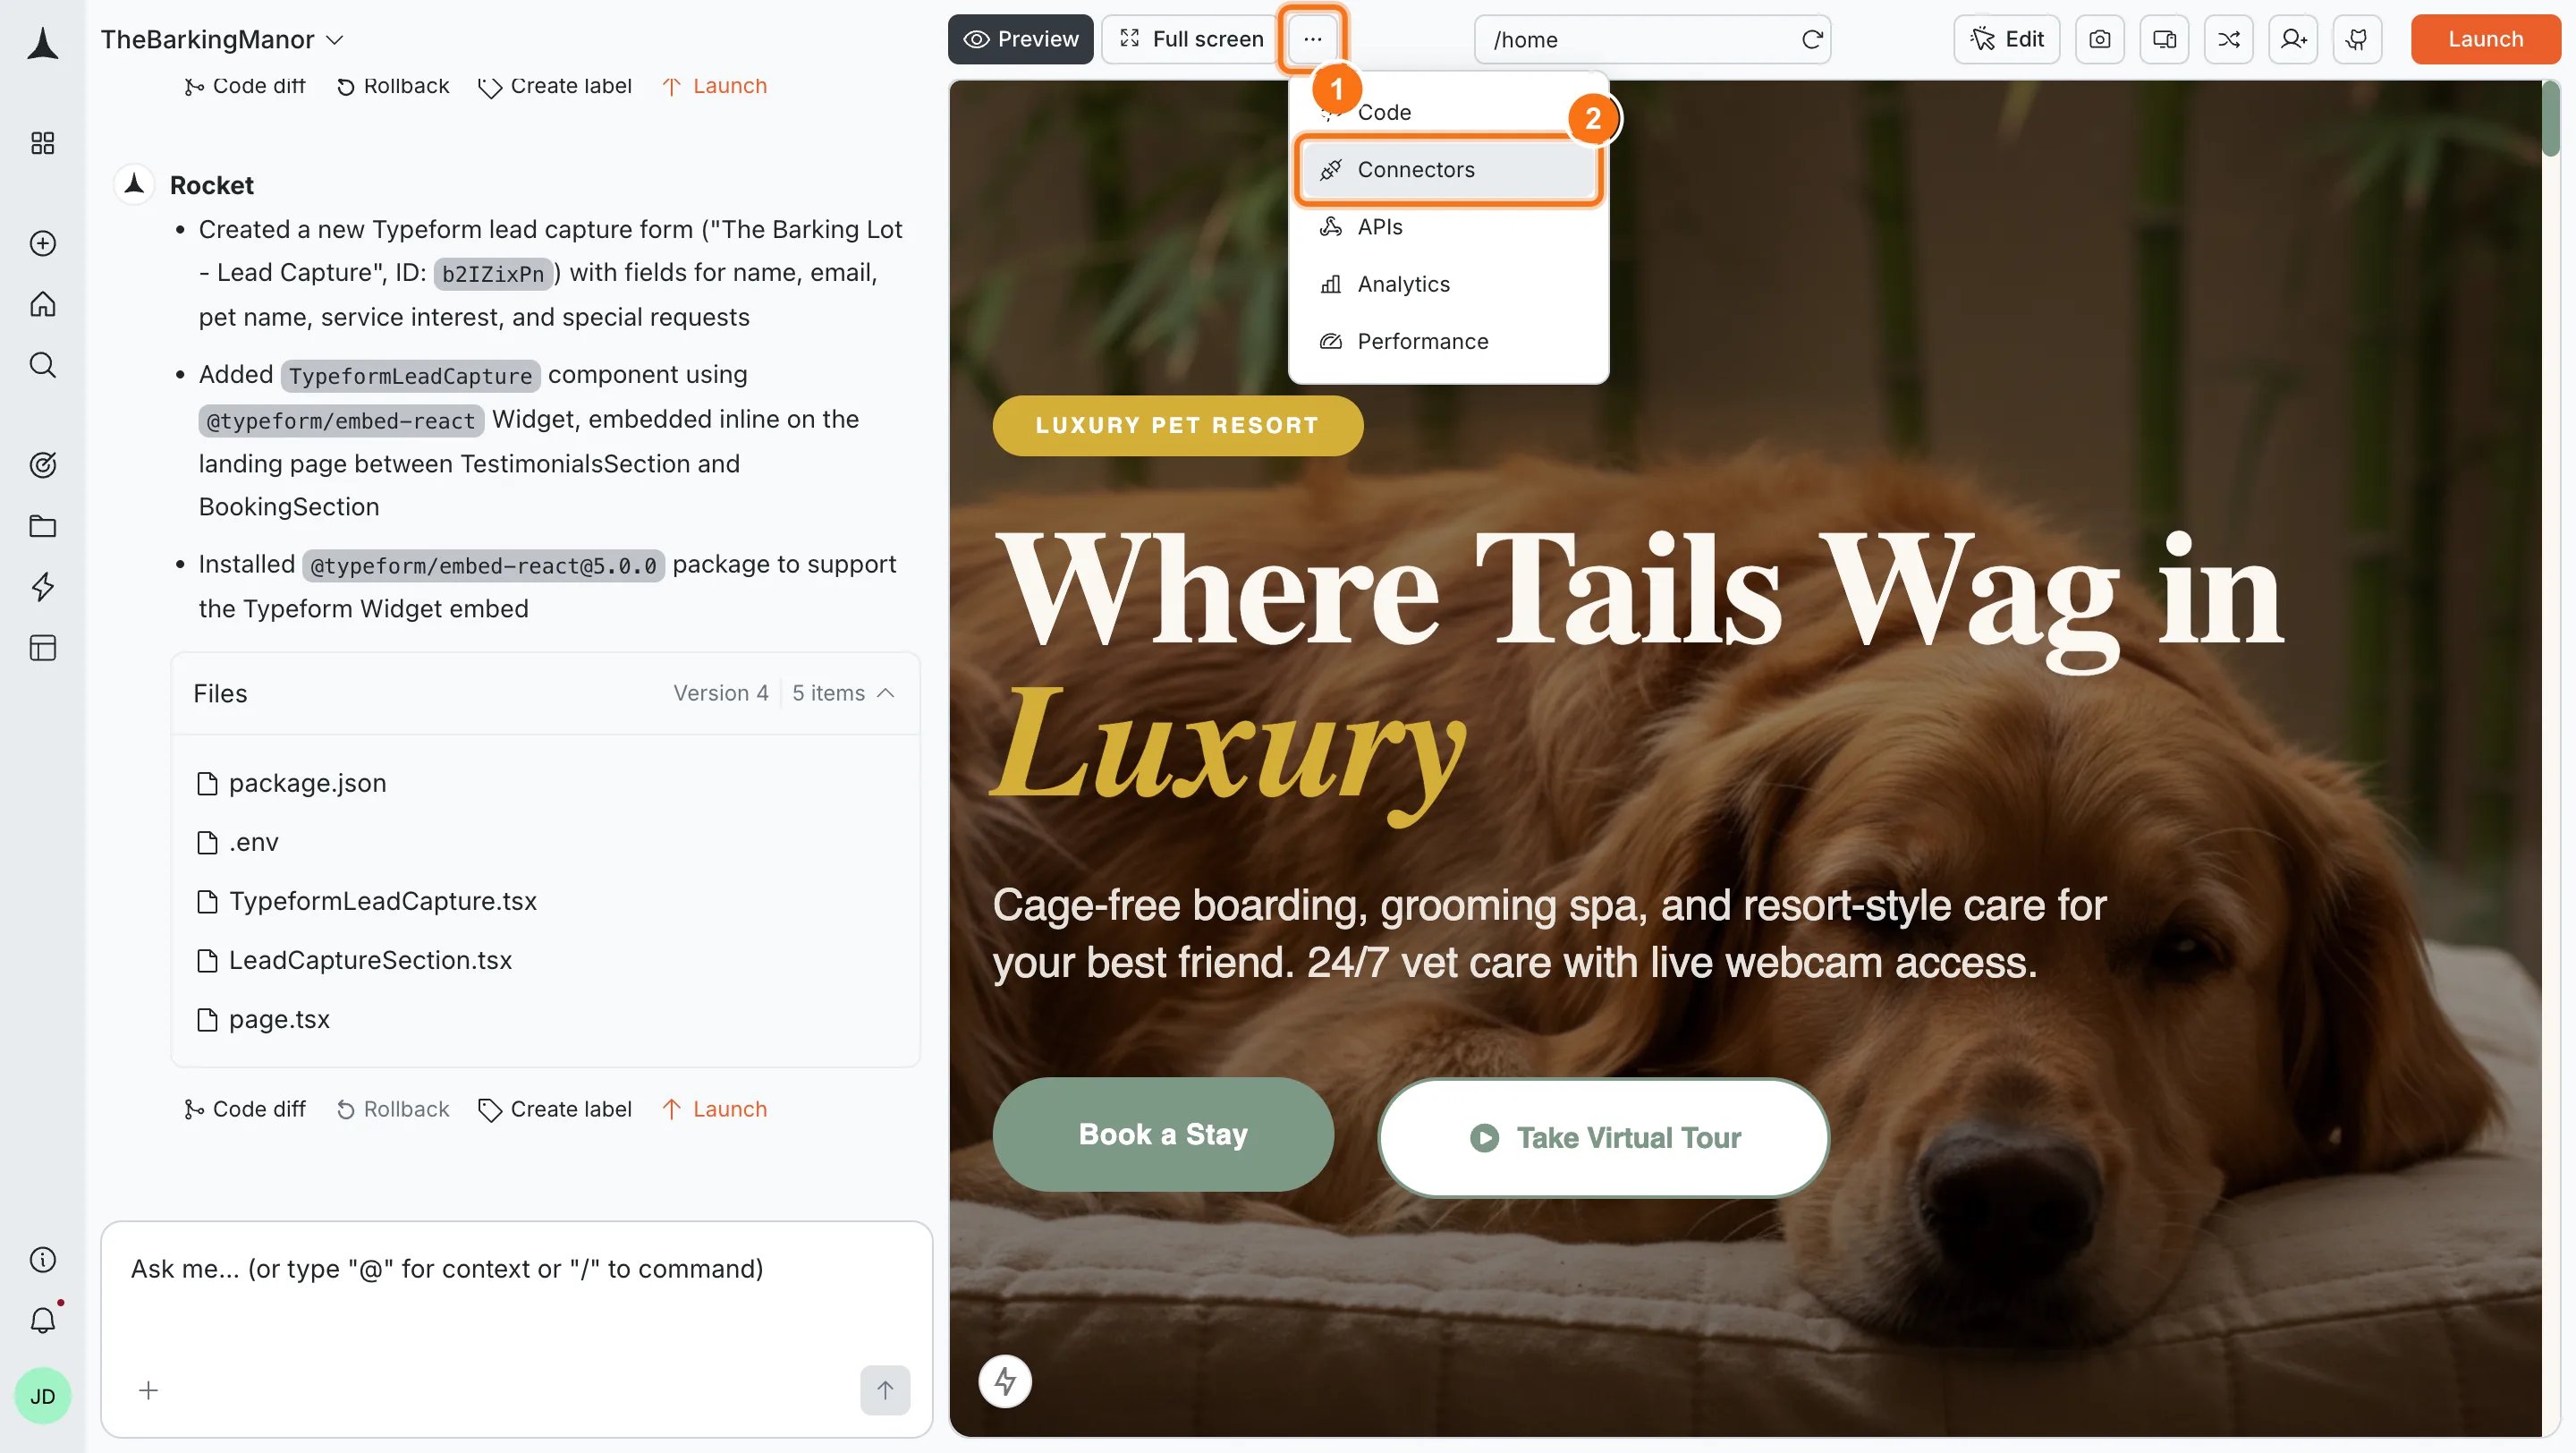
 **Option 2: From the Connectors tab**
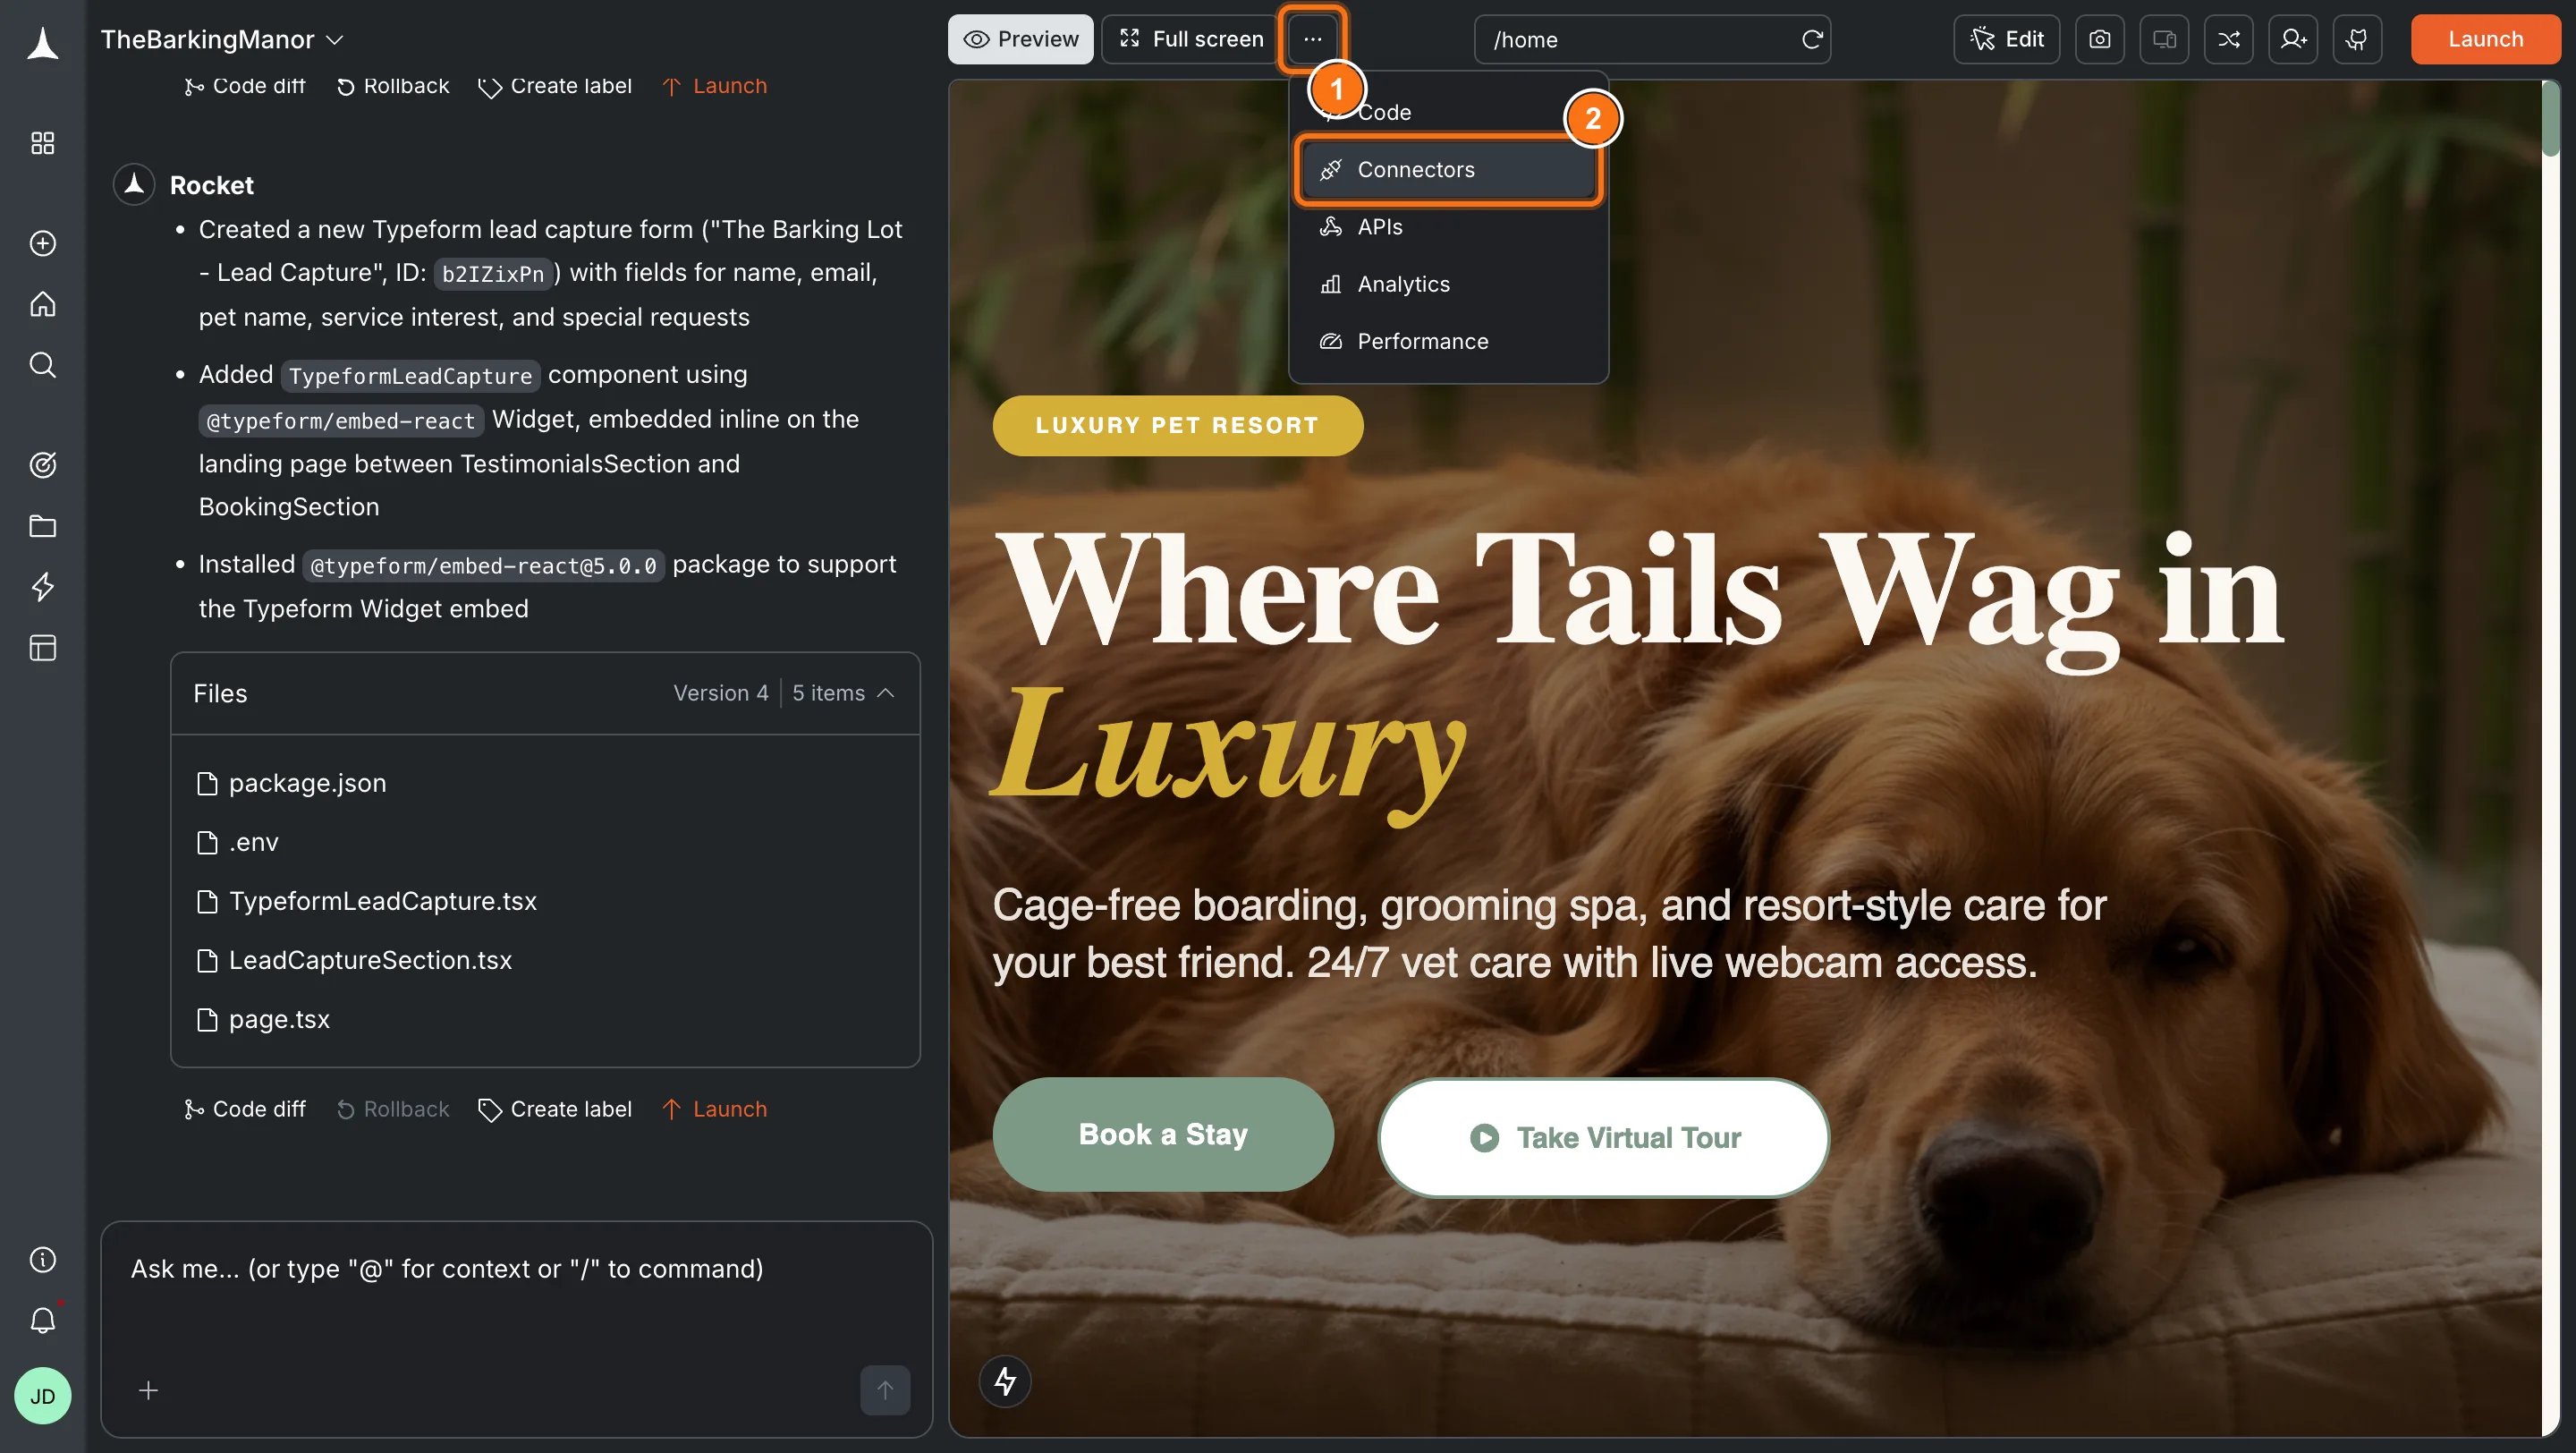
Click the **`...`** button in the preview toolbar, then select **Connectors**.
**Option 2: From the Connectors tab**
Click the **`...`** button in the preview toolbar, then select **Connectors**.
 Click the **Webflow** card, then click **Connect with Webflow**.
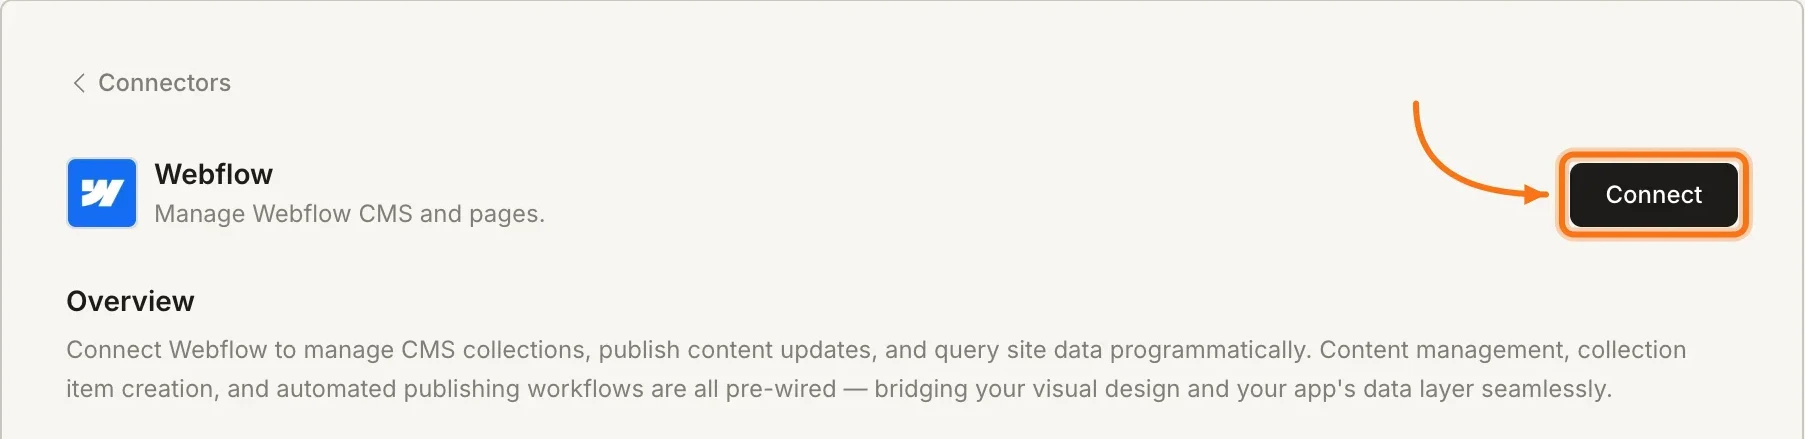
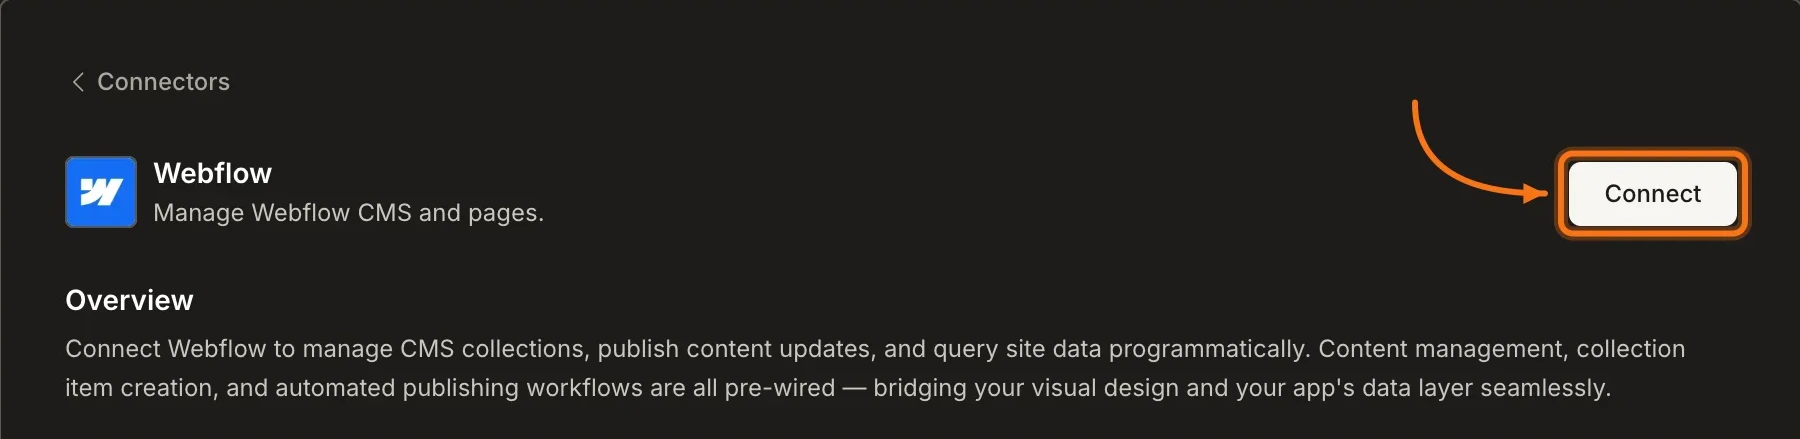 **Option 3: From workspace Settings**
Connect once from Settings and it is available across all tasks.
**Step 1: Authorize Rocket**
Webflow MCP's authorization screen opens. Review what Rocket is requesting access to, check **I recognize and trust this URL**, then click **Continue**.
**Option 3: From workspace Settings**
Connect once from Settings and it is available across all tasks.
**Step 1: Authorize Rocket**
Webflow MCP's authorization screen opens. Review what Rocket is requesting access to, check **I recognize and trust this URL**, then click **Continue**.
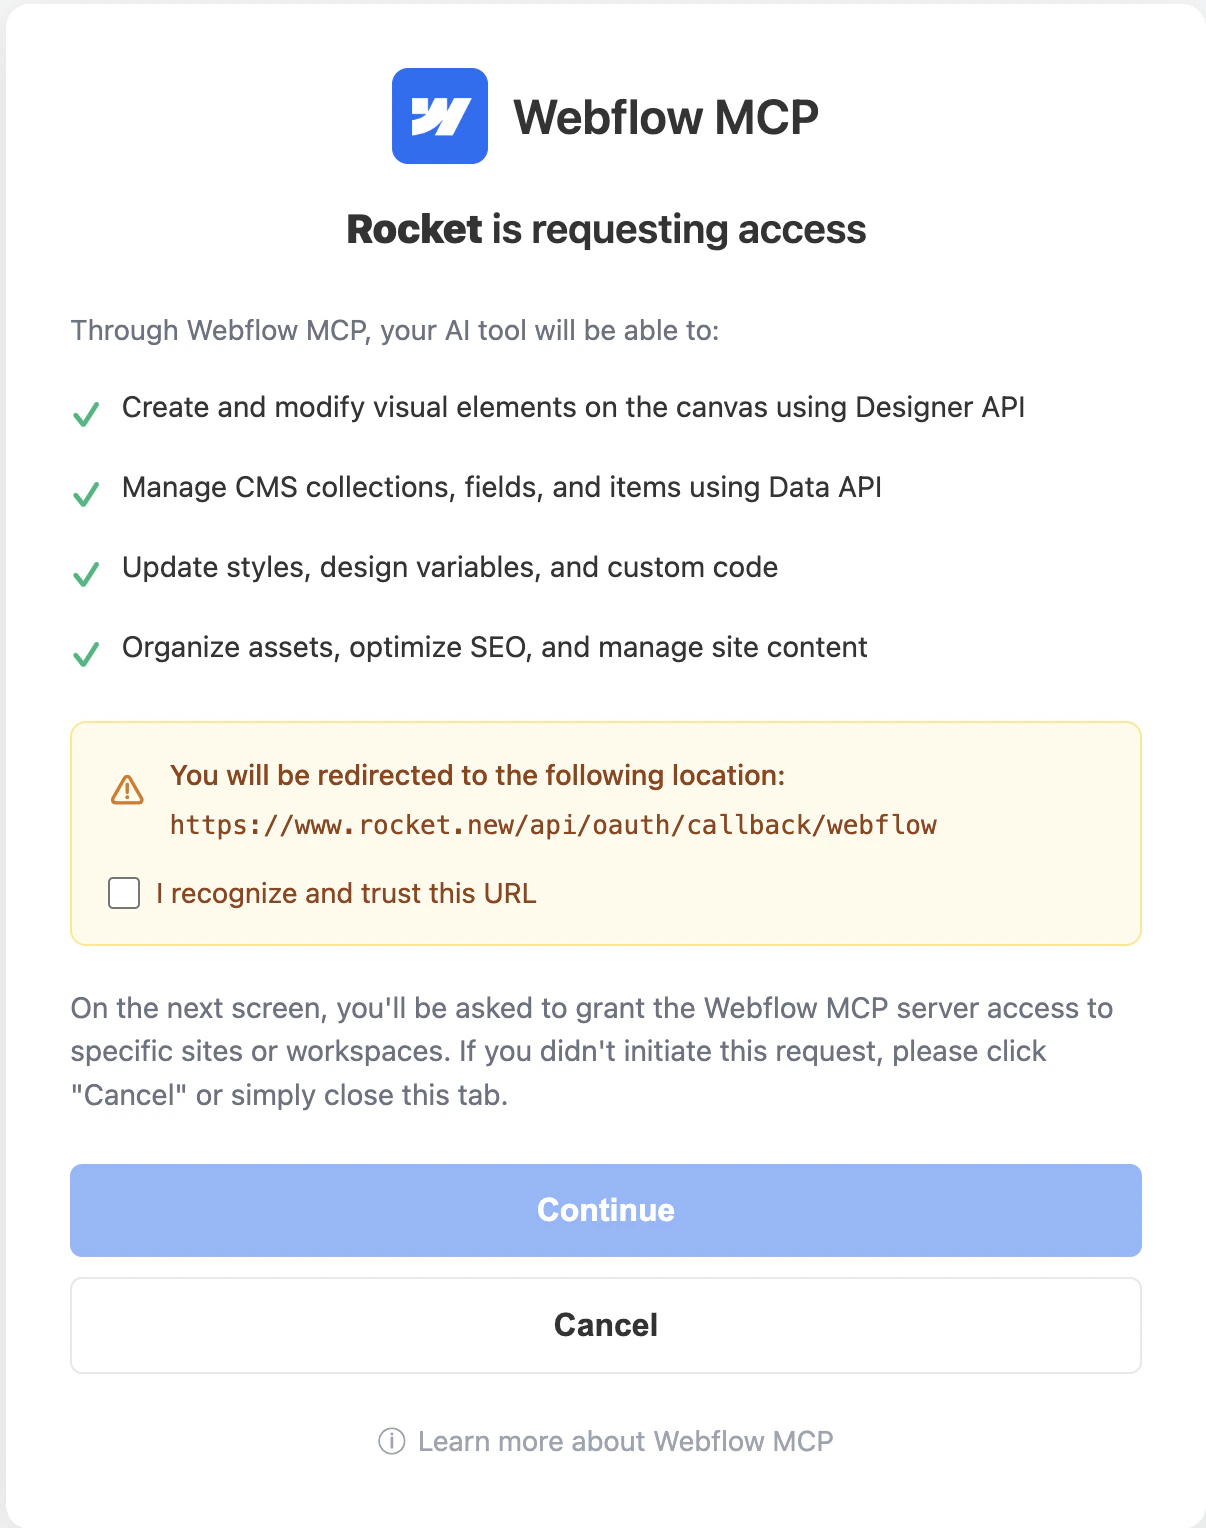 **Step 2: Select sites to authorize**
On the next screen, select the Webflow sites or workspaces you want Rocket to access, then click **Authorize App**.
**Step 2: Select sites to authorize**
On the next screen, select the Webflow sites or workspaces you want Rocket to access, then click **Authorize App**.
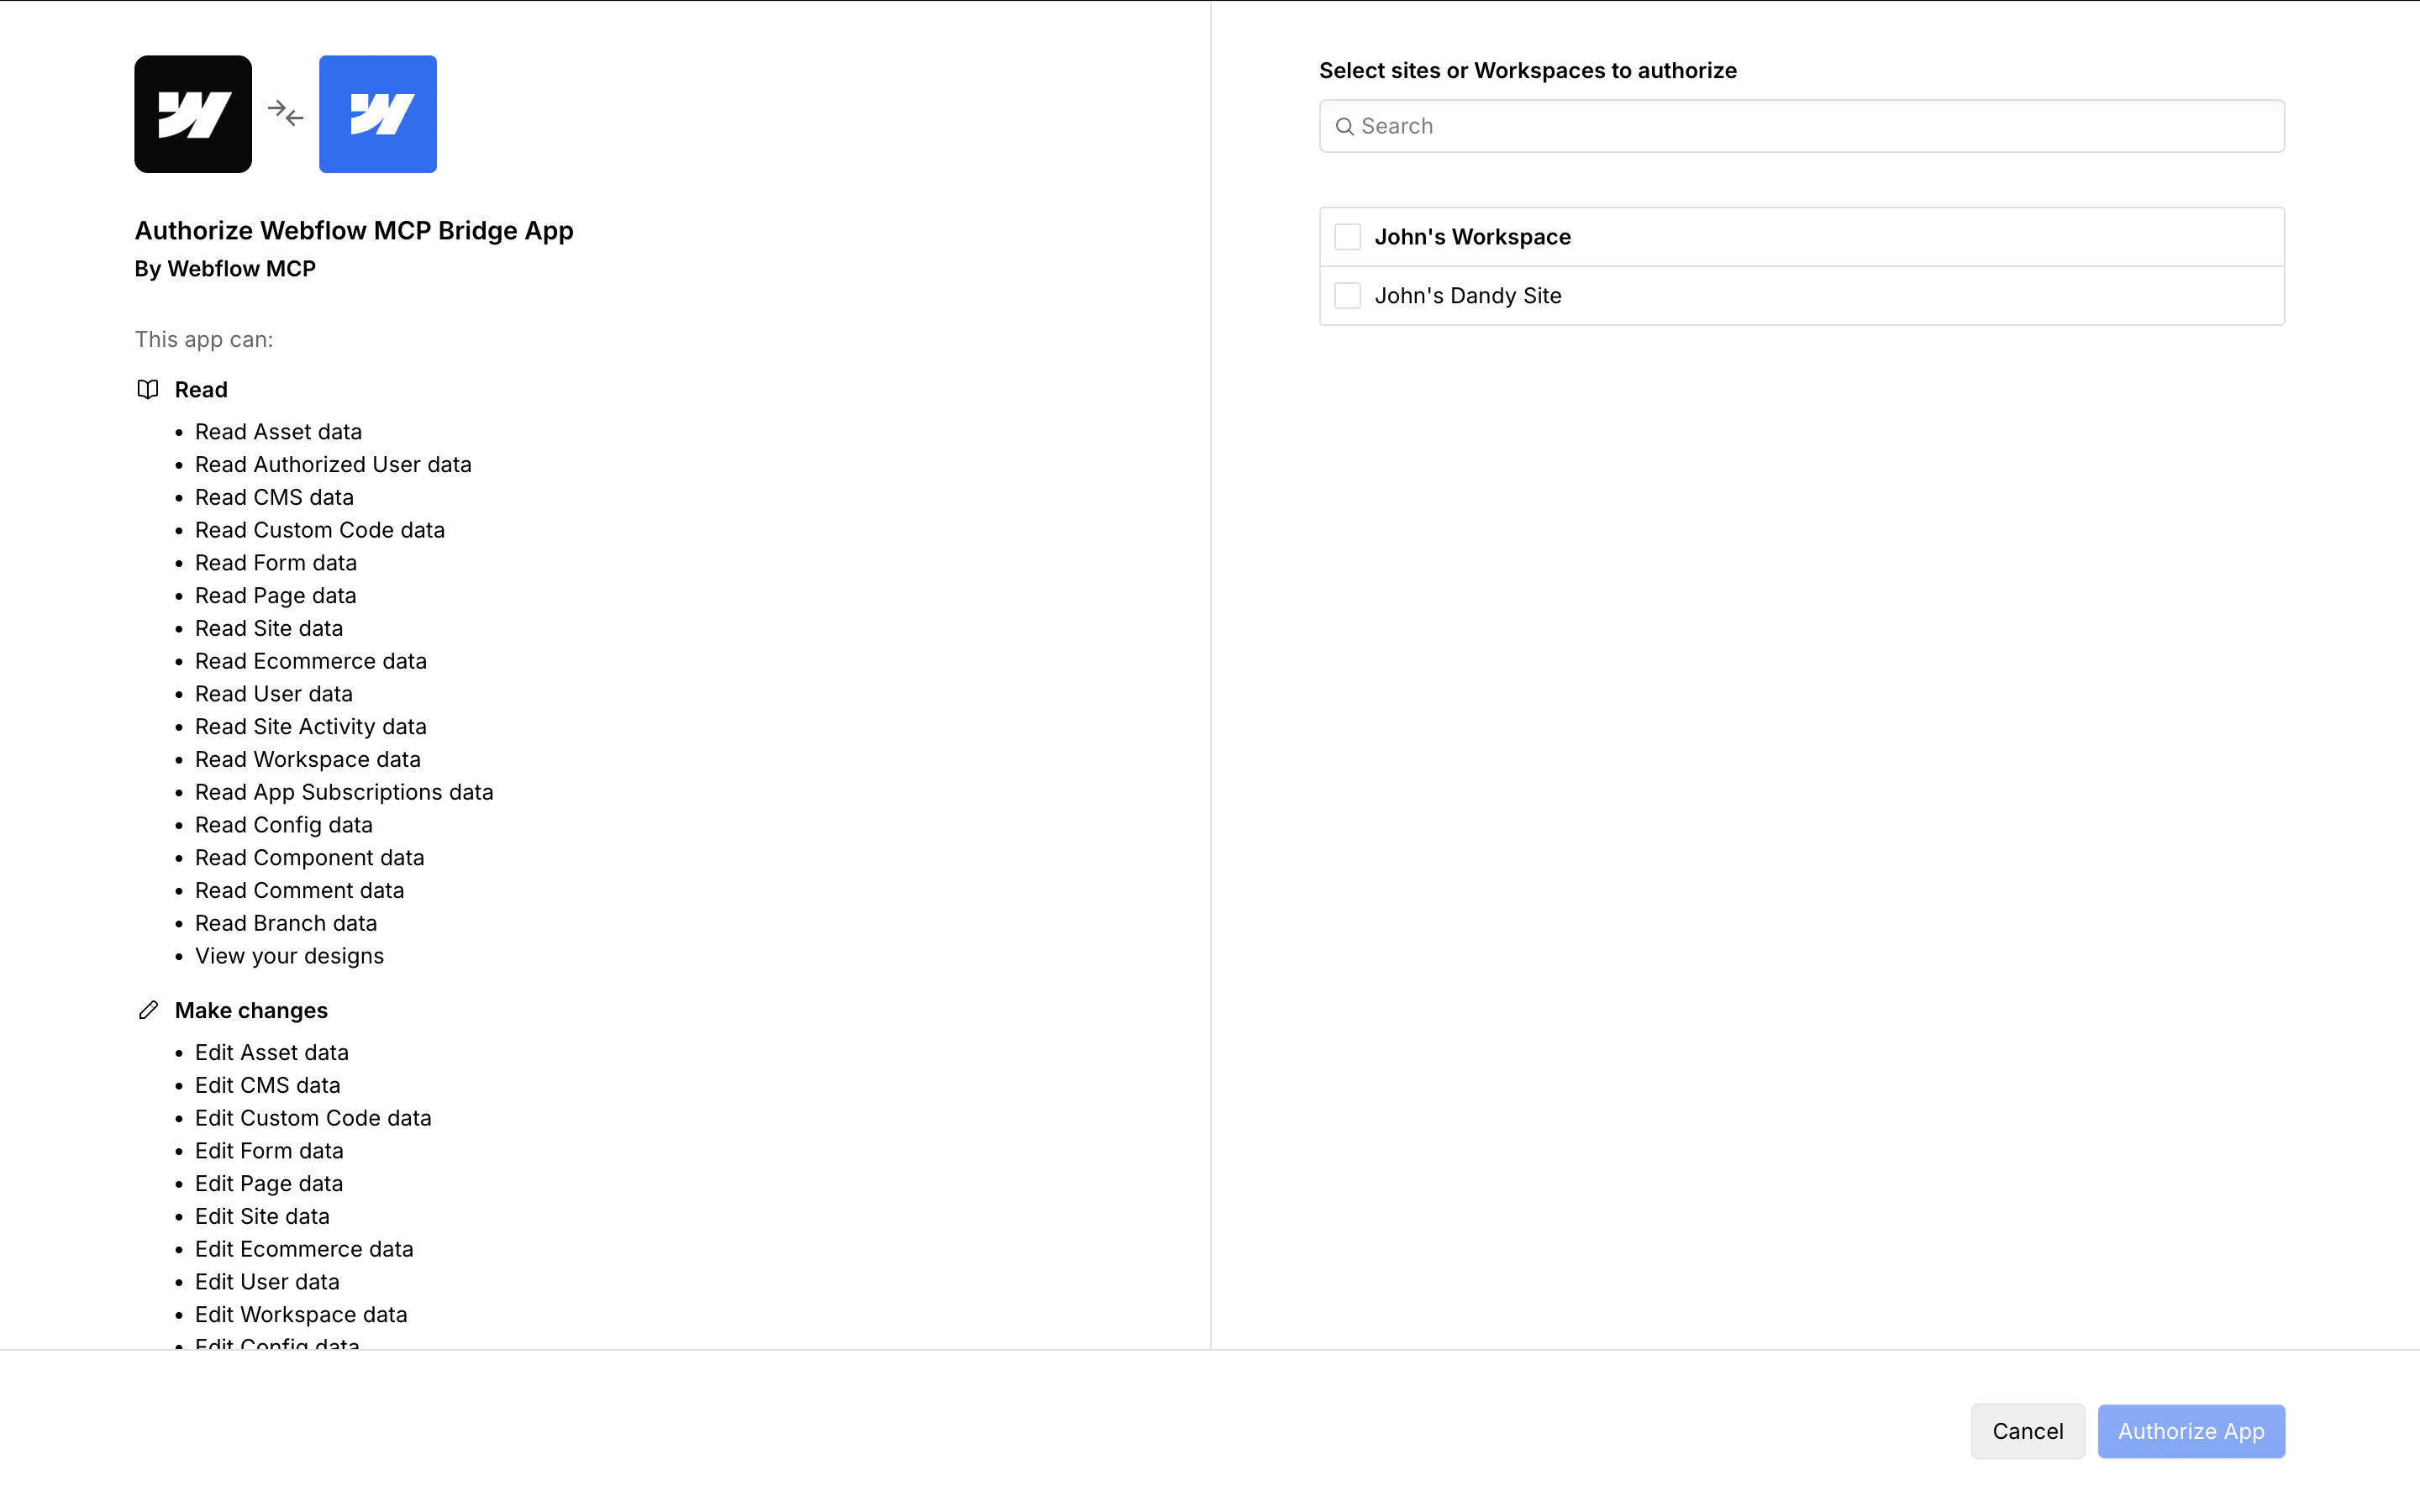 A green dot appears next to Webflow when the connection is active.
**Disconnect**
Disconnect or switch sites from workspace Settings.
You can connect from two places. Both do the same thing.
**Option 1: From chat**
Type a prompt that mentions Webflow. Rocket shows a **Connect** button inline. Tap it to open the authorization flow.
**Option 2: From the Connectors tab**
1. Tap the **More** button in the header.
2. Tap **Integrations**.
3. Tap the **Webflow** card, then tap **Connect with Webflow**.
**Step 1: Authorize Rocket**
Webflow MCP's authorization screen opens. Review the permissions, check **I recognize and trust this URL**, then tap **Continue**.
**Step 2: Select sites to authorize**
Select the Webflow sites or workspaces you want Rocket to access, then tap **Authorize App**.
A green dot appears next to Webflow when the connection is active.
## Example prompts
| Use case | Prompt |
| :---------------- | :---------------------------------------------------------------------------------------------------------------- |
| Blog from CMS | `Pull the Blog CMS collection from my Webflow site and build a blog page with listing and detail views.` |
| Product catalog | `Use the Products CMS collection from Webflow and build a product grid with filtering and a product detail page.` |
| Team page | `Fetch the Team Members collection from Webflow and render a responsive team directory with photos and bios.` |
| Publish CMS item | `Add a form that creates a new CMS item in the Webflow Blog collection and publishes it immediately.` |
| Sync collections | `List all CMS collections from my Webflow site and show me the fields available in each one.` |
| Content dashboard | `Build an admin dashboard that lets me view, create, and update CMS items across all my Webflow collections.` |
## Tips
* **Select the right site during setup.** If your Webflow workspace has multiple sites, make sure you pick the one that contains the collections you want to use.
* **To switch sites, reconnect.** You can only connect one Webflow site at a time per workspace. Disconnect and reconnect to switch to a different site.
* **Webflow tools are powered by MCP.** Rocket connects to Webflow via a live MCP integration. It reads your real site structure and CMS data at generation time, not static exports.
* **Publishing requires the right Webflow plan.** Webflow's CMS API publishing capabilities depend on your Webflow subscription. Make sure your plan supports CMS API access.
* **Pair with Supabase for user-specific data.** Webflow CMS is great for editorial content. Use Supabase alongside it for user accounts, preferences, and transactional data.
## What's next?
Add user auth and a database alongside your Webflow CMS content.
Need a headless CMS you fully control? Strapi is a self-hosted alternative.
Use Airtable as a lightweight CMS alongside or instead of Webflow collections.
Deploy your Webflow-powered Next.js app to Netlify with one click.
A green dot appears next to Webflow when the connection is active.
**Disconnect**
Disconnect or switch sites from workspace Settings.
You can connect from two places. Both do the same thing.
**Option 1: From chat**
Type a prompt that mentions Webflow. Rocket shows a **Connect** button inline. Tap it to open the authorization flow.
**Option 2: From the Connectors tab**
1. Tap the **More** button in the header.
2. Tap **Integrations**.
3. Tap the **Webflow** card, then tap **Connect with Webflow**.
**Step 1: Authorize Rocket**
Webflow MCP's authorization screen opens. Review the permissions, check **I recognize and trust this URL**, then tap **Continue**.
**Step 2: Select sites to authorize**
Select the Webflow sites or workspaces you want Rocket to access, then tap **Authorize App**.
A green dot appears next to Webflow when the connection is active.
## Example prompts
| Use case | Prompt |
| :---------------- | :---------------------------------------------------------------------------------------------------------------- |
| Blog from CMS | `Pull the Blog CMS collection from my Webflow site and build a blog page with listing and detail views.` |
| Product catalog | `Use the Products CMS collection from Webflow and build a product grid with filtering and a product detail page.` |
| Team page | `Fetch the Team Members collection from Webflow and render a responsive team directory with photos and bios.` |
| Publish CMS item | `Add a form that creates a new CMS item in the Webflow Blog collection and publishes it immediately.` |
| Sync collections | `List all CMS collections from my Webflow site and show me the fields available in each one.` |
| Content dashboard | `Build an admin dashboard that lets me view, create, and update CMS items across all my Webflow collections.` |
## Tips
* **Select the right site during setup.** If your Webflow workspace has multiple sites, make sure you pick the one that contains the collections you want to use.
* **To switch sites, reconnect.** You can only connect one Webflow site at a time per workspace. Disconnect and reconnect to switch to a different site.
* **Webflow tools are powered by MCP.** Rocket connects to Webflow via a live MCP integration. It reads your real site structure and CMS data at generation time, not static exports.
* **Publishing requires the right Webflow plan.** Webflow's CMS API publishing capabilities depend on your Webflow subscription. Make sure your plan supports CMS API access.
* **Pair with Supabase for user-specific data.** Webflow CMS is great for editorial content. Use Supabase alongside it for user accounts, preferences, and transactional data.
## What's next?
Add user auth and a database alongside your Webflow CMS content.
Need a headless CMS you fully control? Strapi is a self-hosted alternative.
Use Airtable as a lightweight CMS alongside or instead of Webflow collections.
Deploy your Webflow-powered Next.js app to Netlify with one click.