> ## Documentation Index
> Fetch the complete documentation index at: https://docs.rocket.new/llms.txt
> Use this file to discover all available pages before exploring further.
# File uploads
> Upload files once to a Rocket.new project and every task gets access instantly.
export const LlmsDirective = () =>
For the complete documentation index, see llms.txt.
For a lightweight markdown version of this page, append .md to the URL.
;
Upload your reference files to a project once and they become persistent context for every task inside it. Company overview, financial model, brand guidelines, research data. Whatever your work depends on, it is available from the first message in every task.
**Project files vs task files:** Files uploaded directly inside a task are scoped to that conversation only. Files uploaded at the project level are persistent and available to every task in the project automatically, without being re-uploaded or re-explained.
## What to upload
Upload anything that provides lasting context for your work on this initiative. The best project files are things you'd otherwise paste or re-explain in every task.
| File type | Examples |
| :-------------- | :------------------------------------------------------------- |
| Company context | Company deck, one-pager, mission/strategy doc |
| Financial data | P\&L, financial model, cap table (`.xlsx`, `.csv`) |
| Research | Market reports, competitor teardowns, user interviews (`.pdf`) |
| Brand assets | Brand guidelines, logo usage, design system |
| Product specs | PRD, feature specs, user stories (`.pdf`, `.md`) |
| Reference data | Pricing data, industry benchmarks, customer data exports |
You don't need to upload everything upfront. Start with the files you'd reach for most often, and add more as the project evolves.
## Upload files to a project
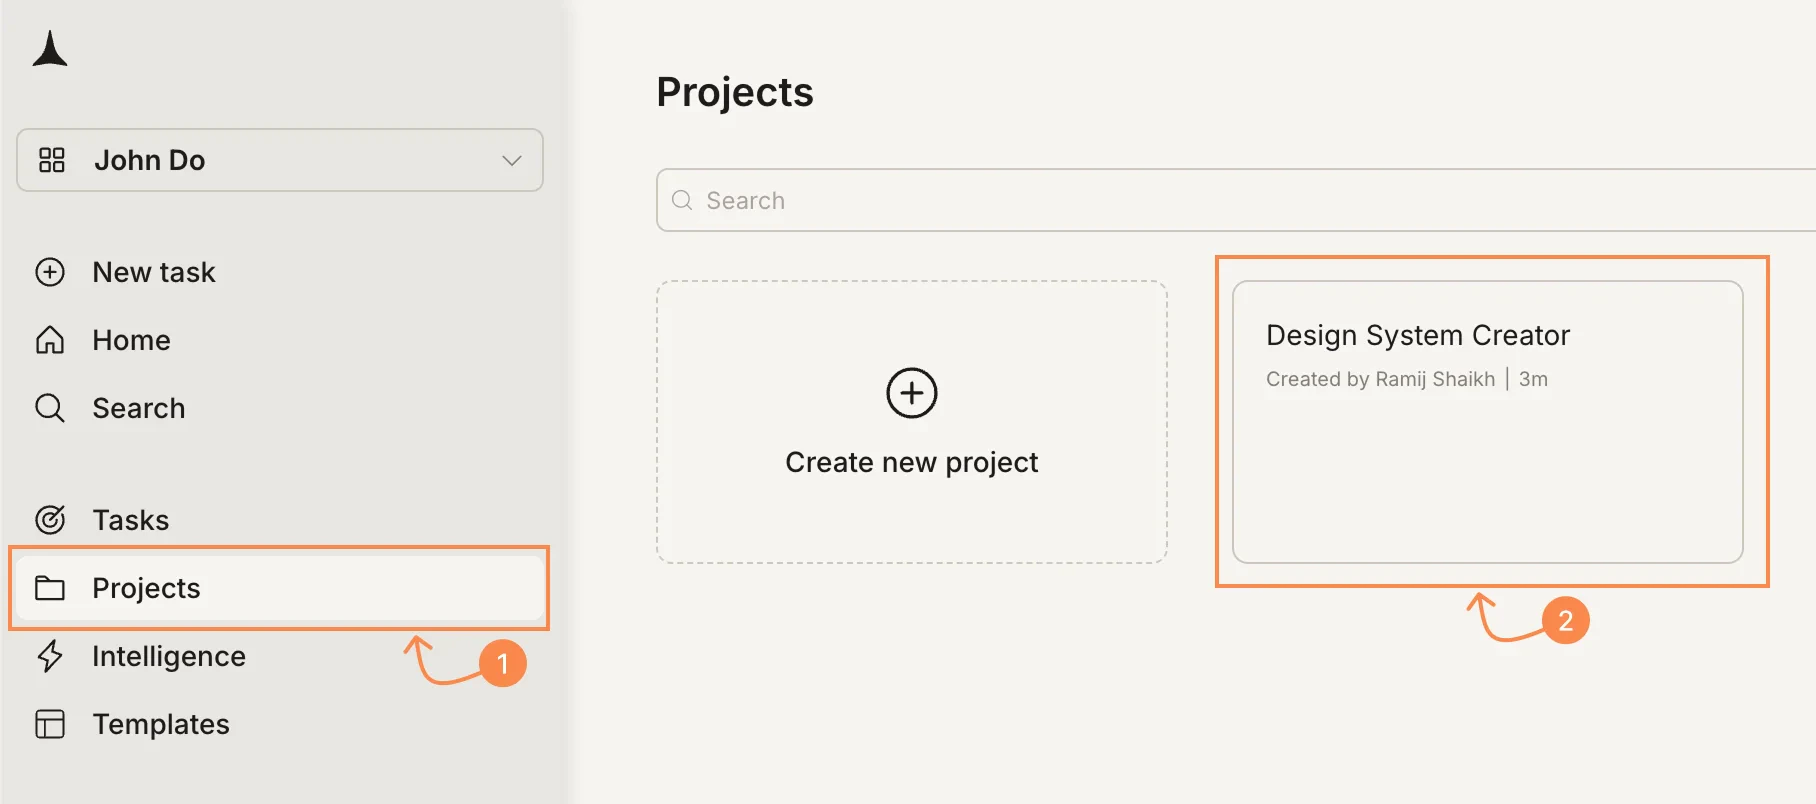
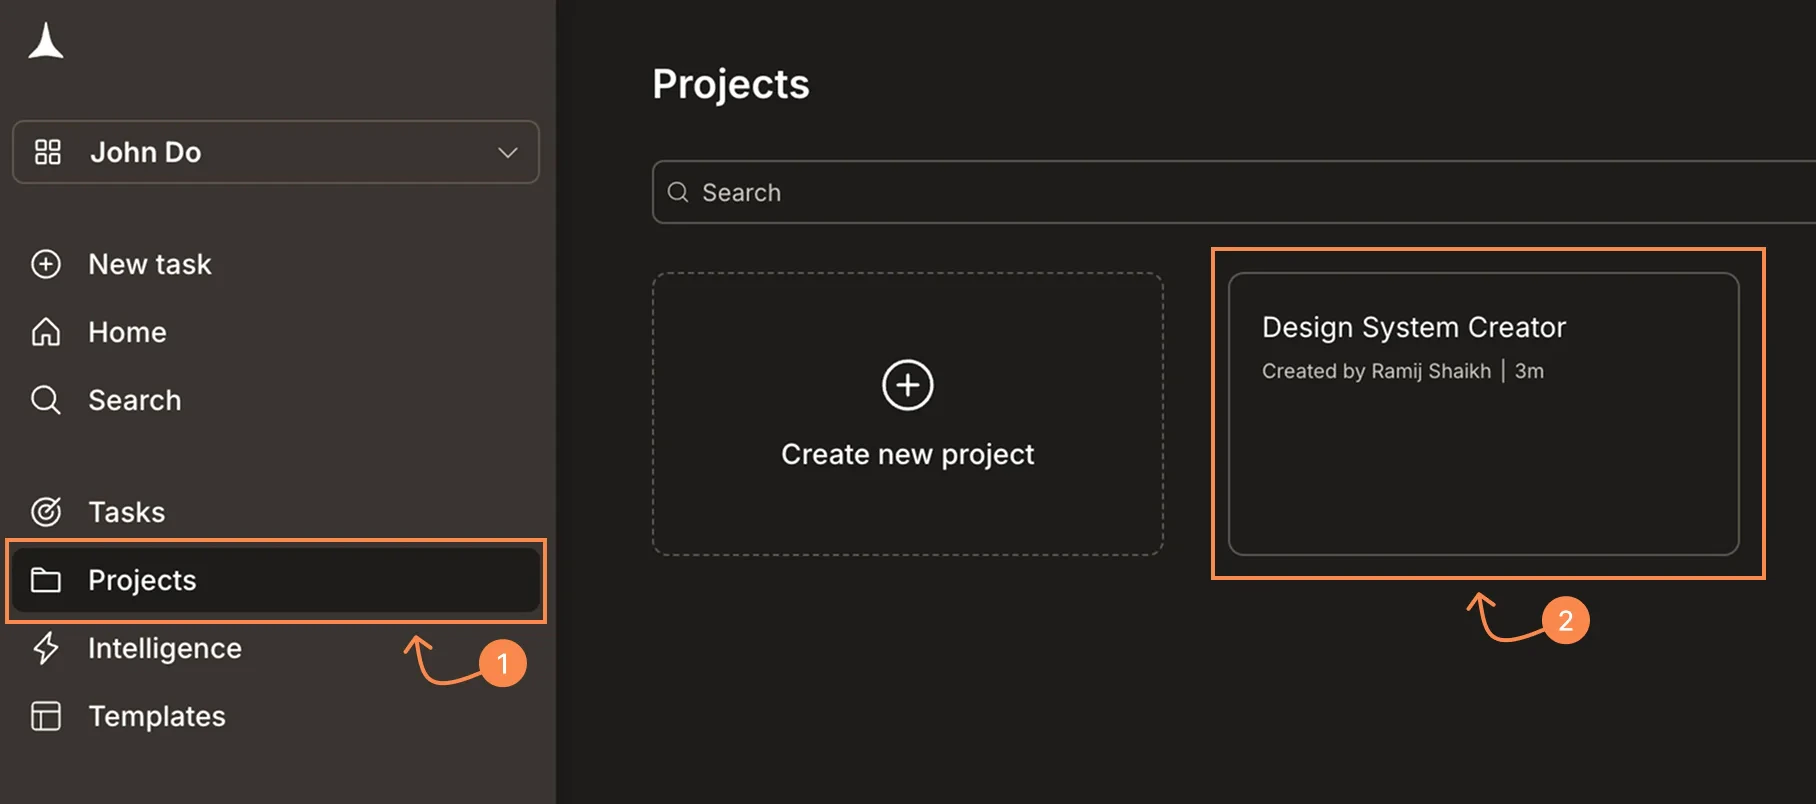
Click **Projects** in the sidebar, then click your project.
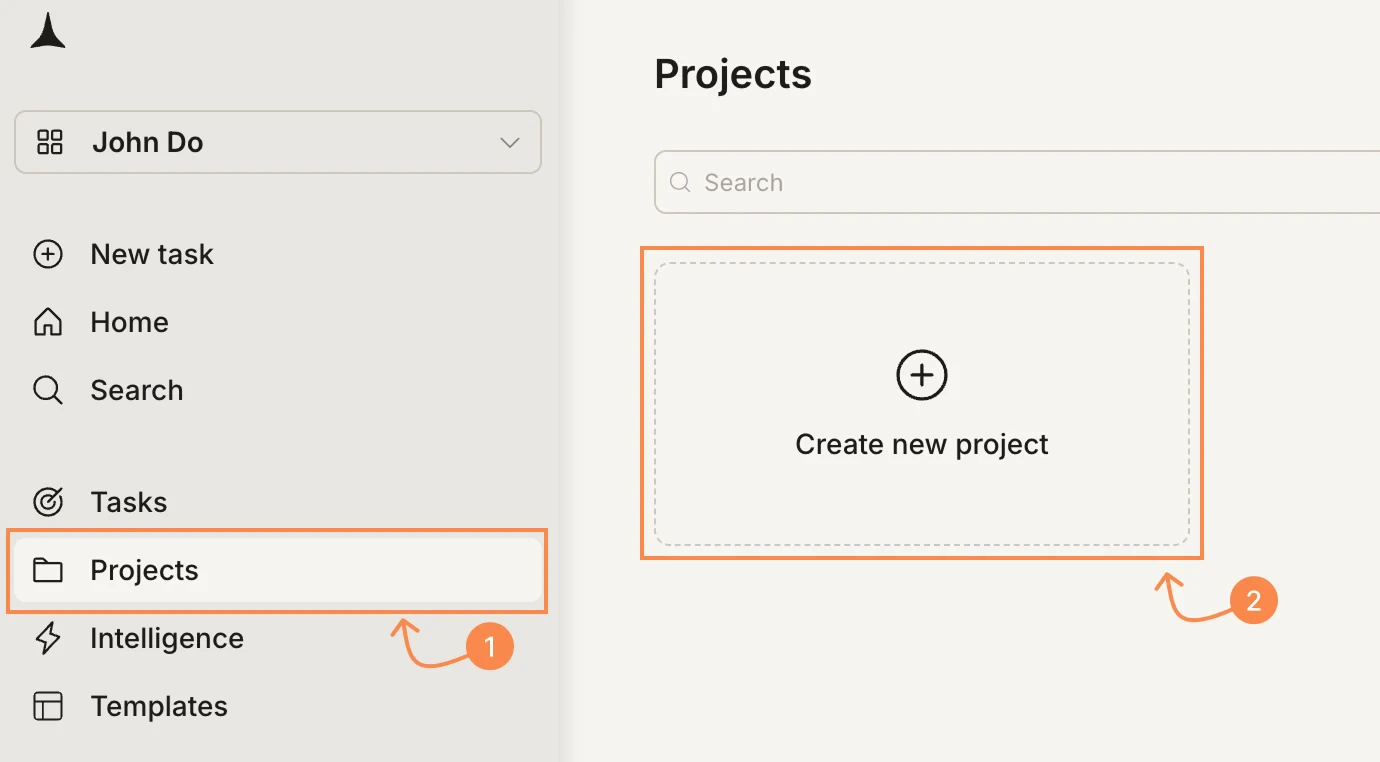
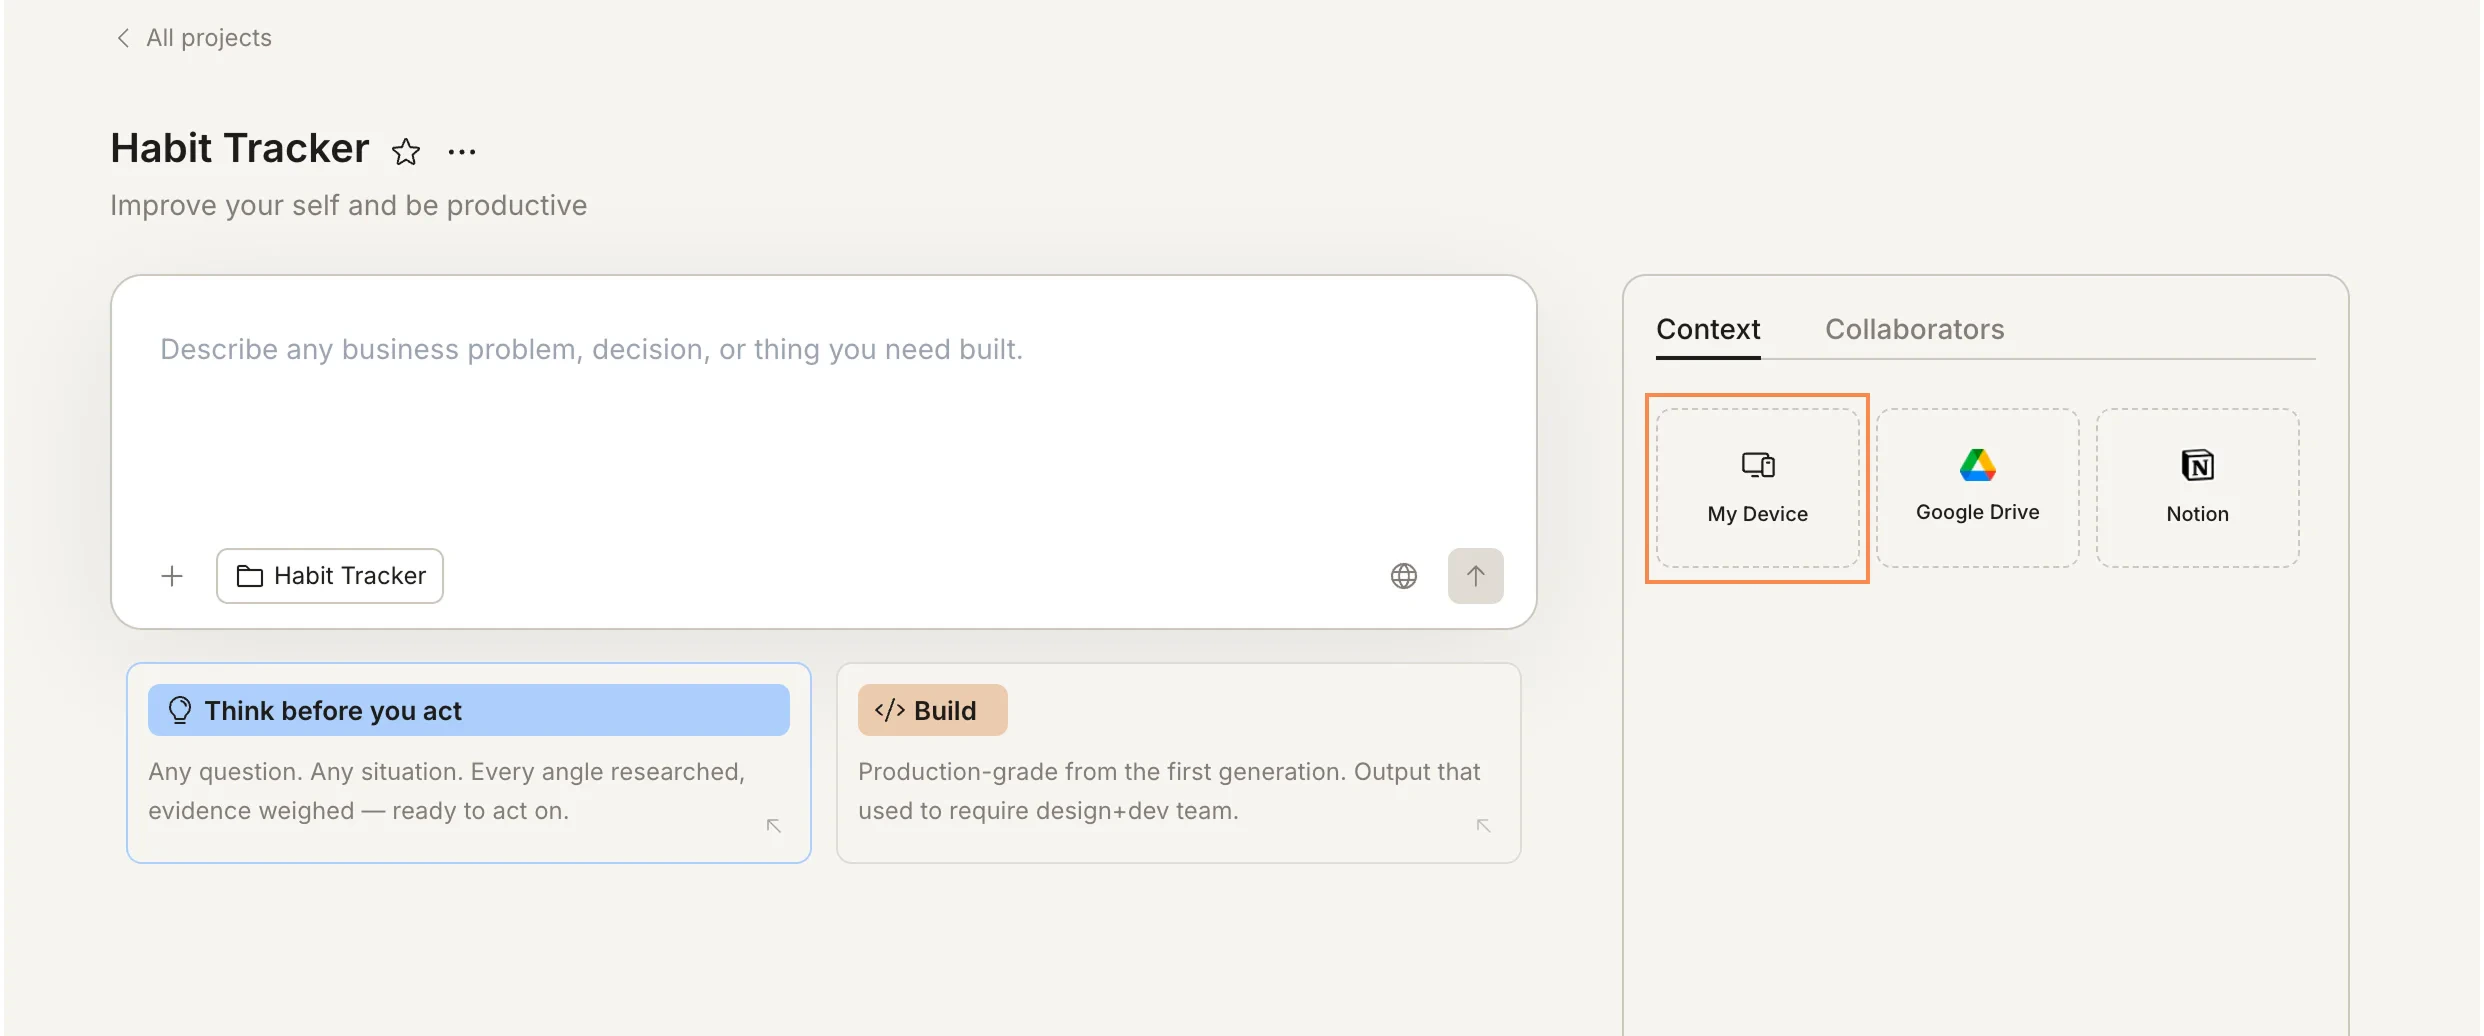
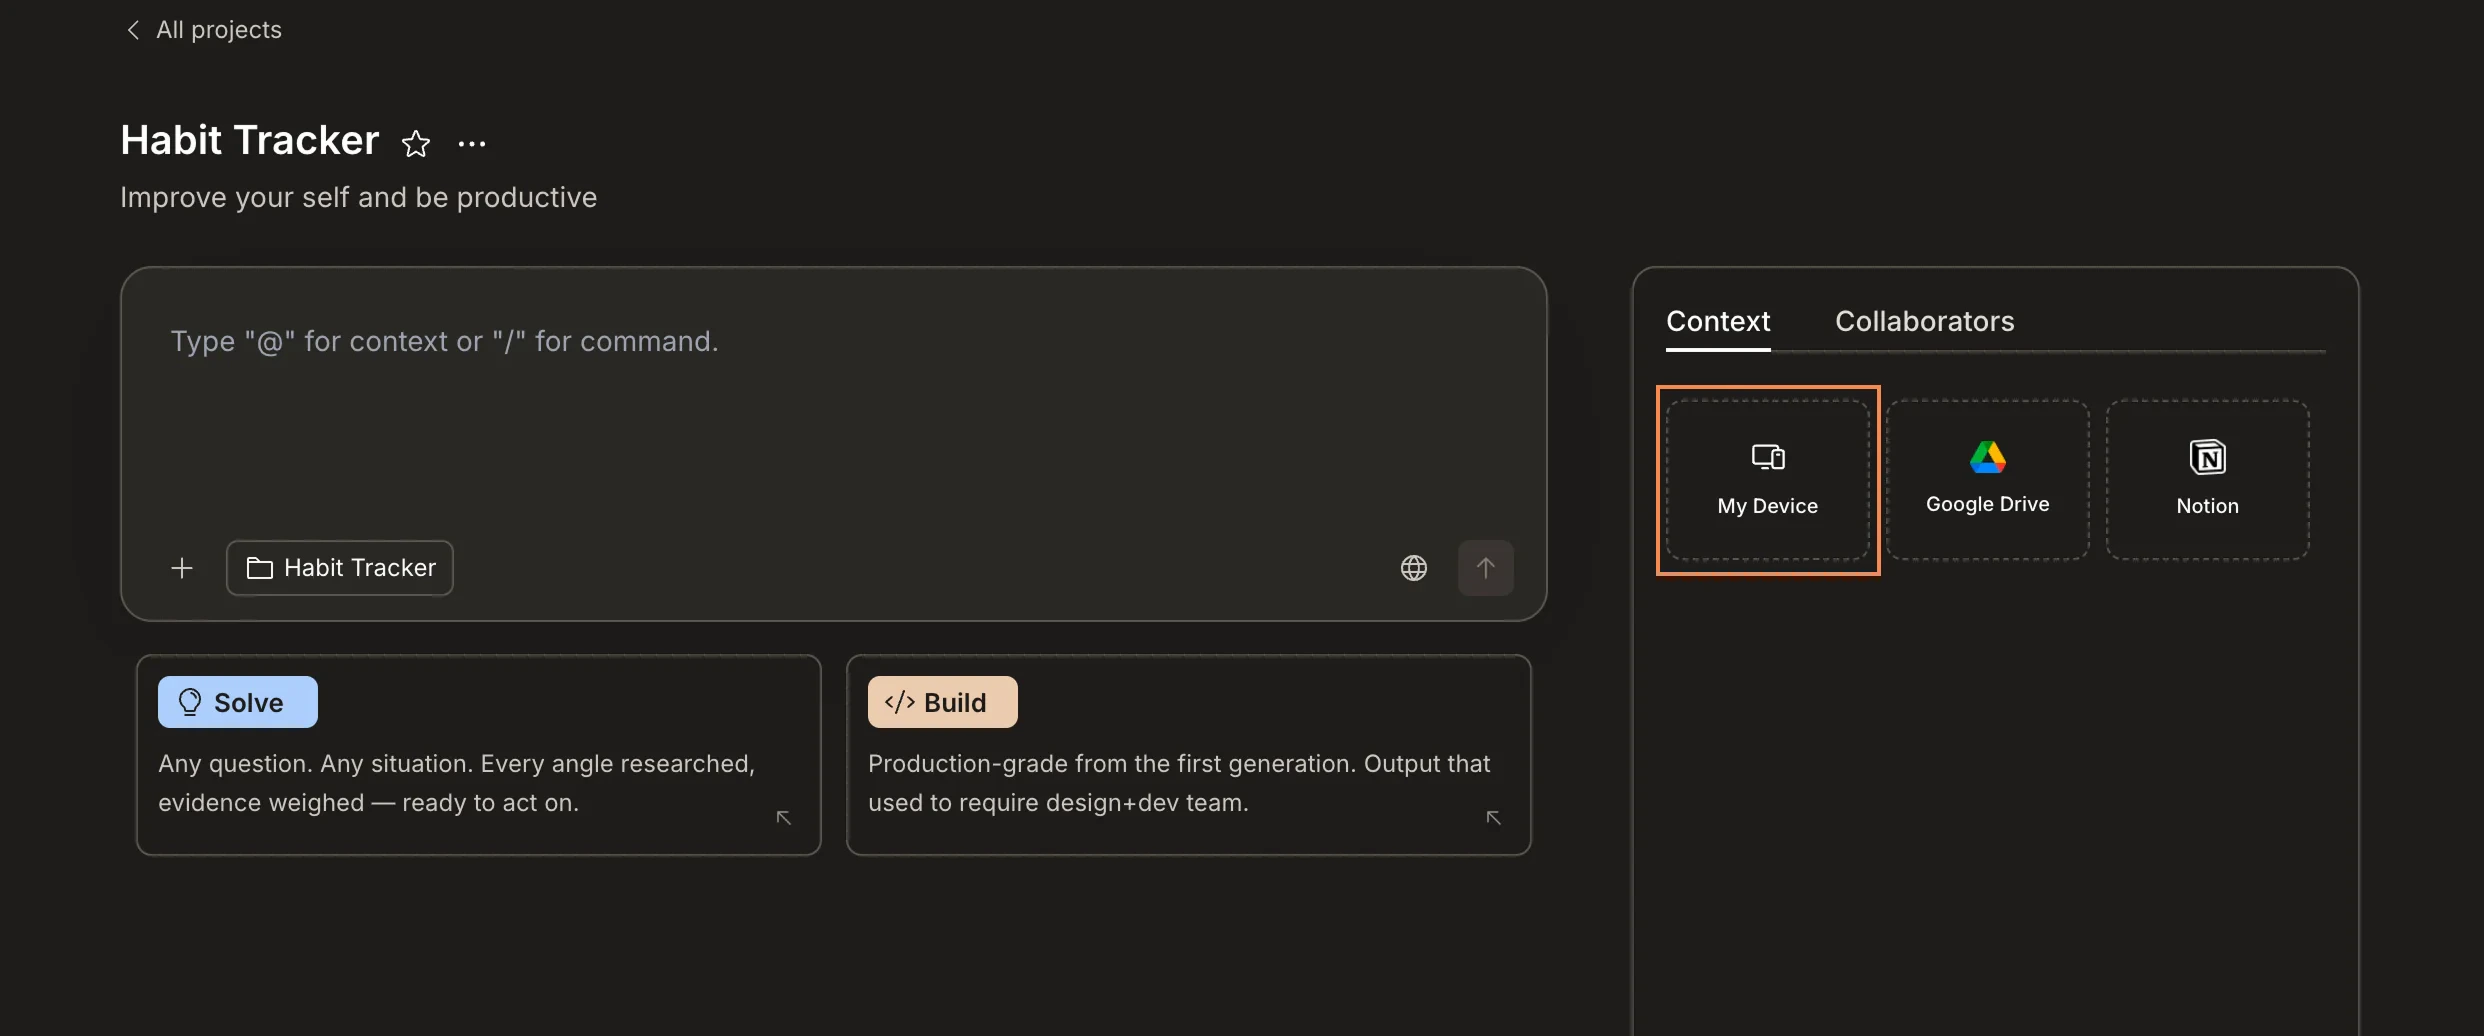
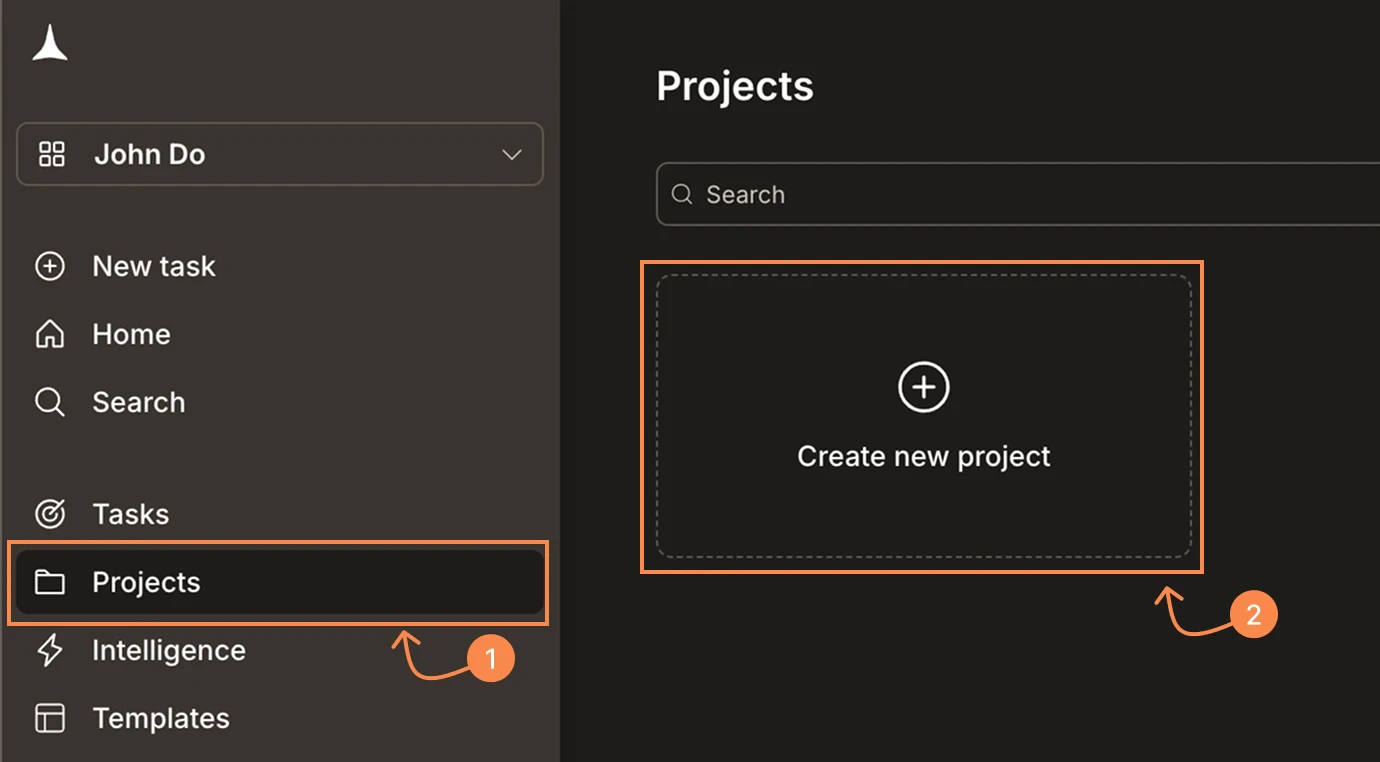 Inside your project, click the **Context** tab on the right panel. You'll see connectors for My Device, Google Drive, and Notion.
 Click **My Device** to open a file picker. Select the files you want to upload. You can select multiple at once.
 Uploaded files appear in the **Files** section of the Context tab. They are immediately available to every task in the project.
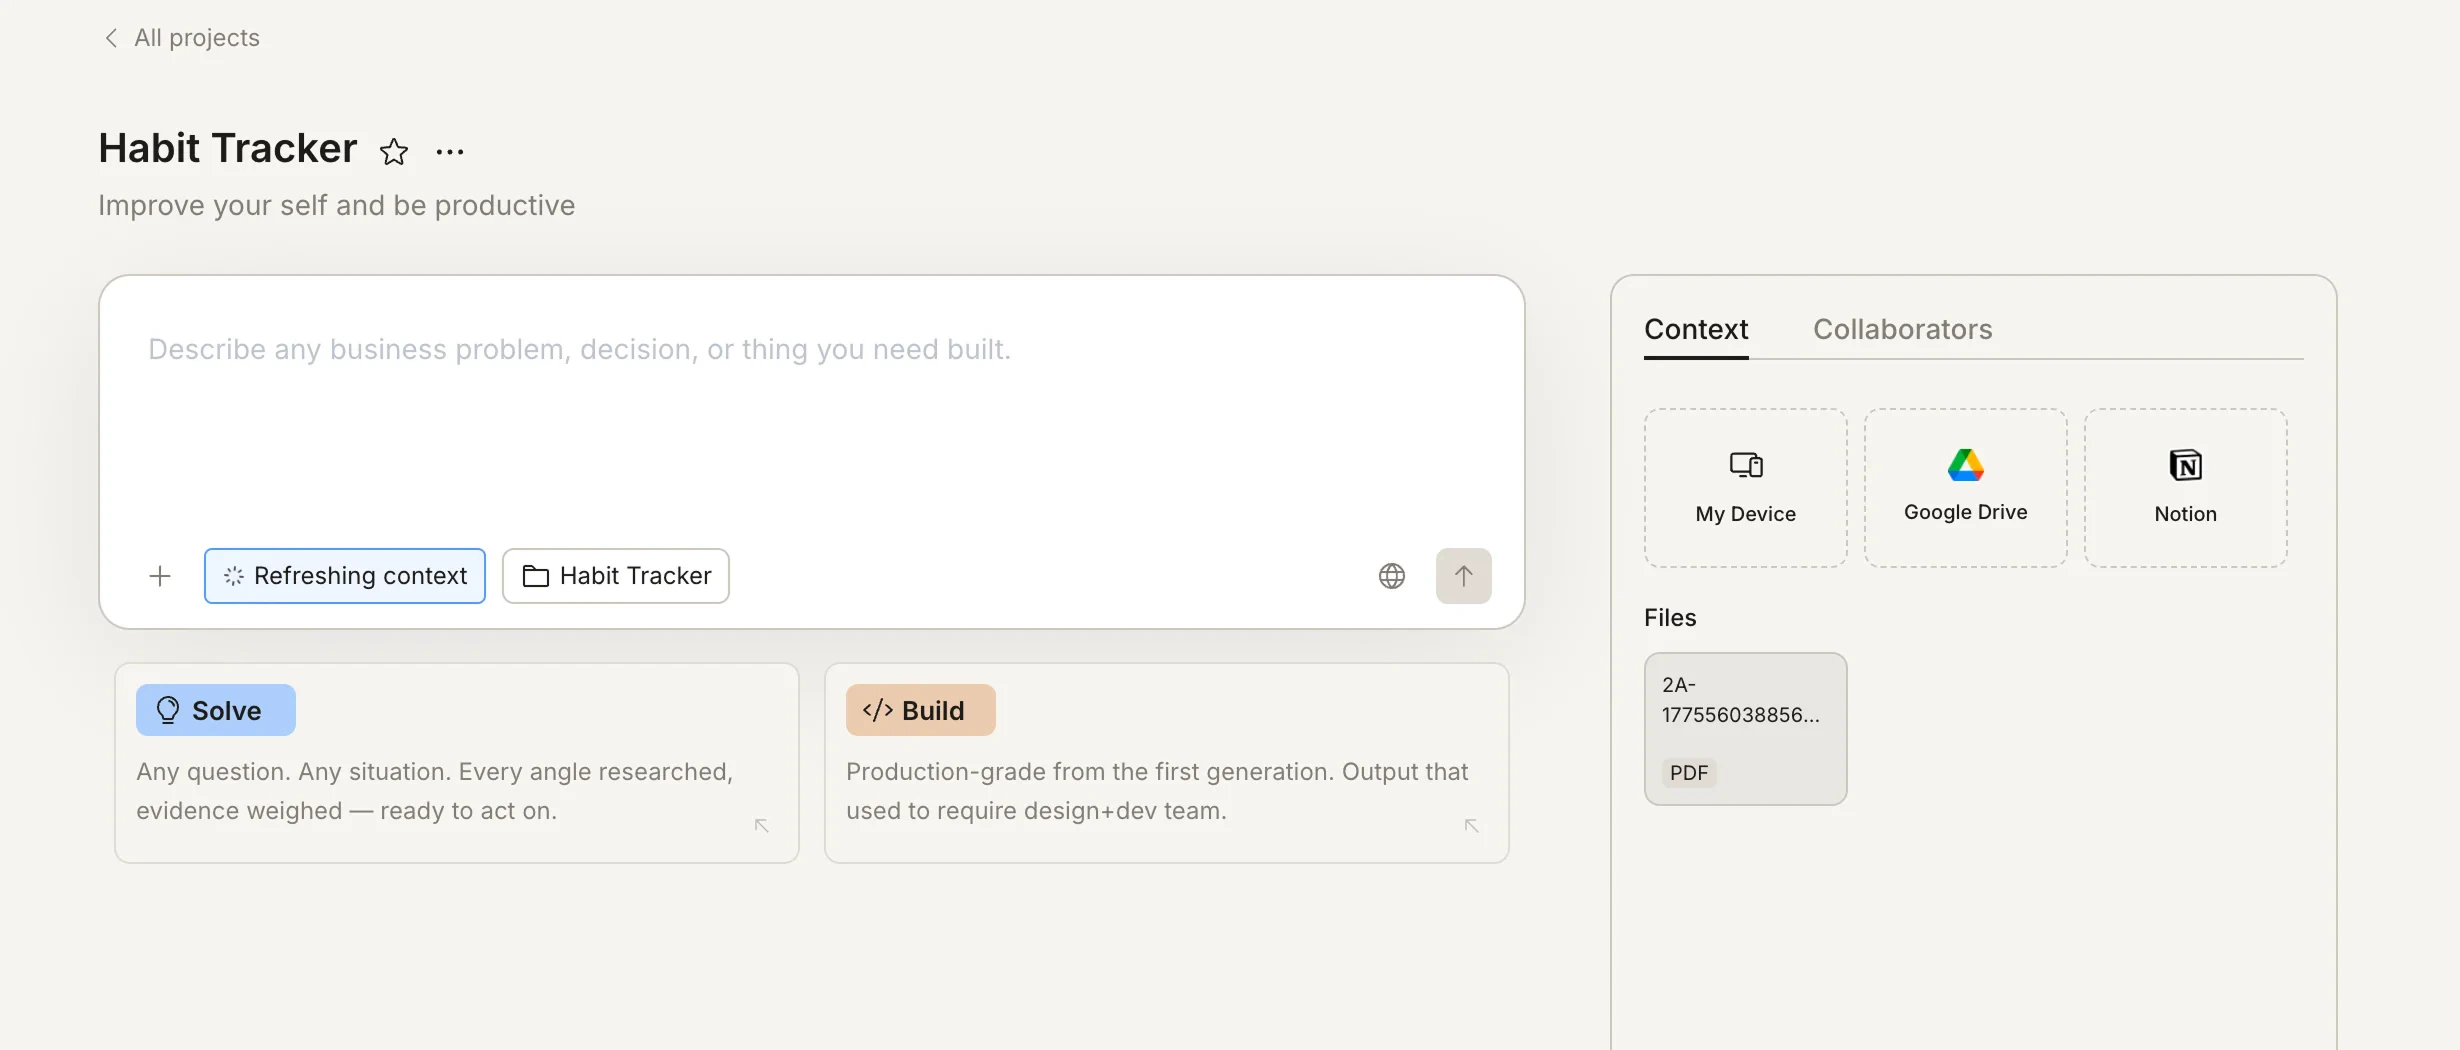
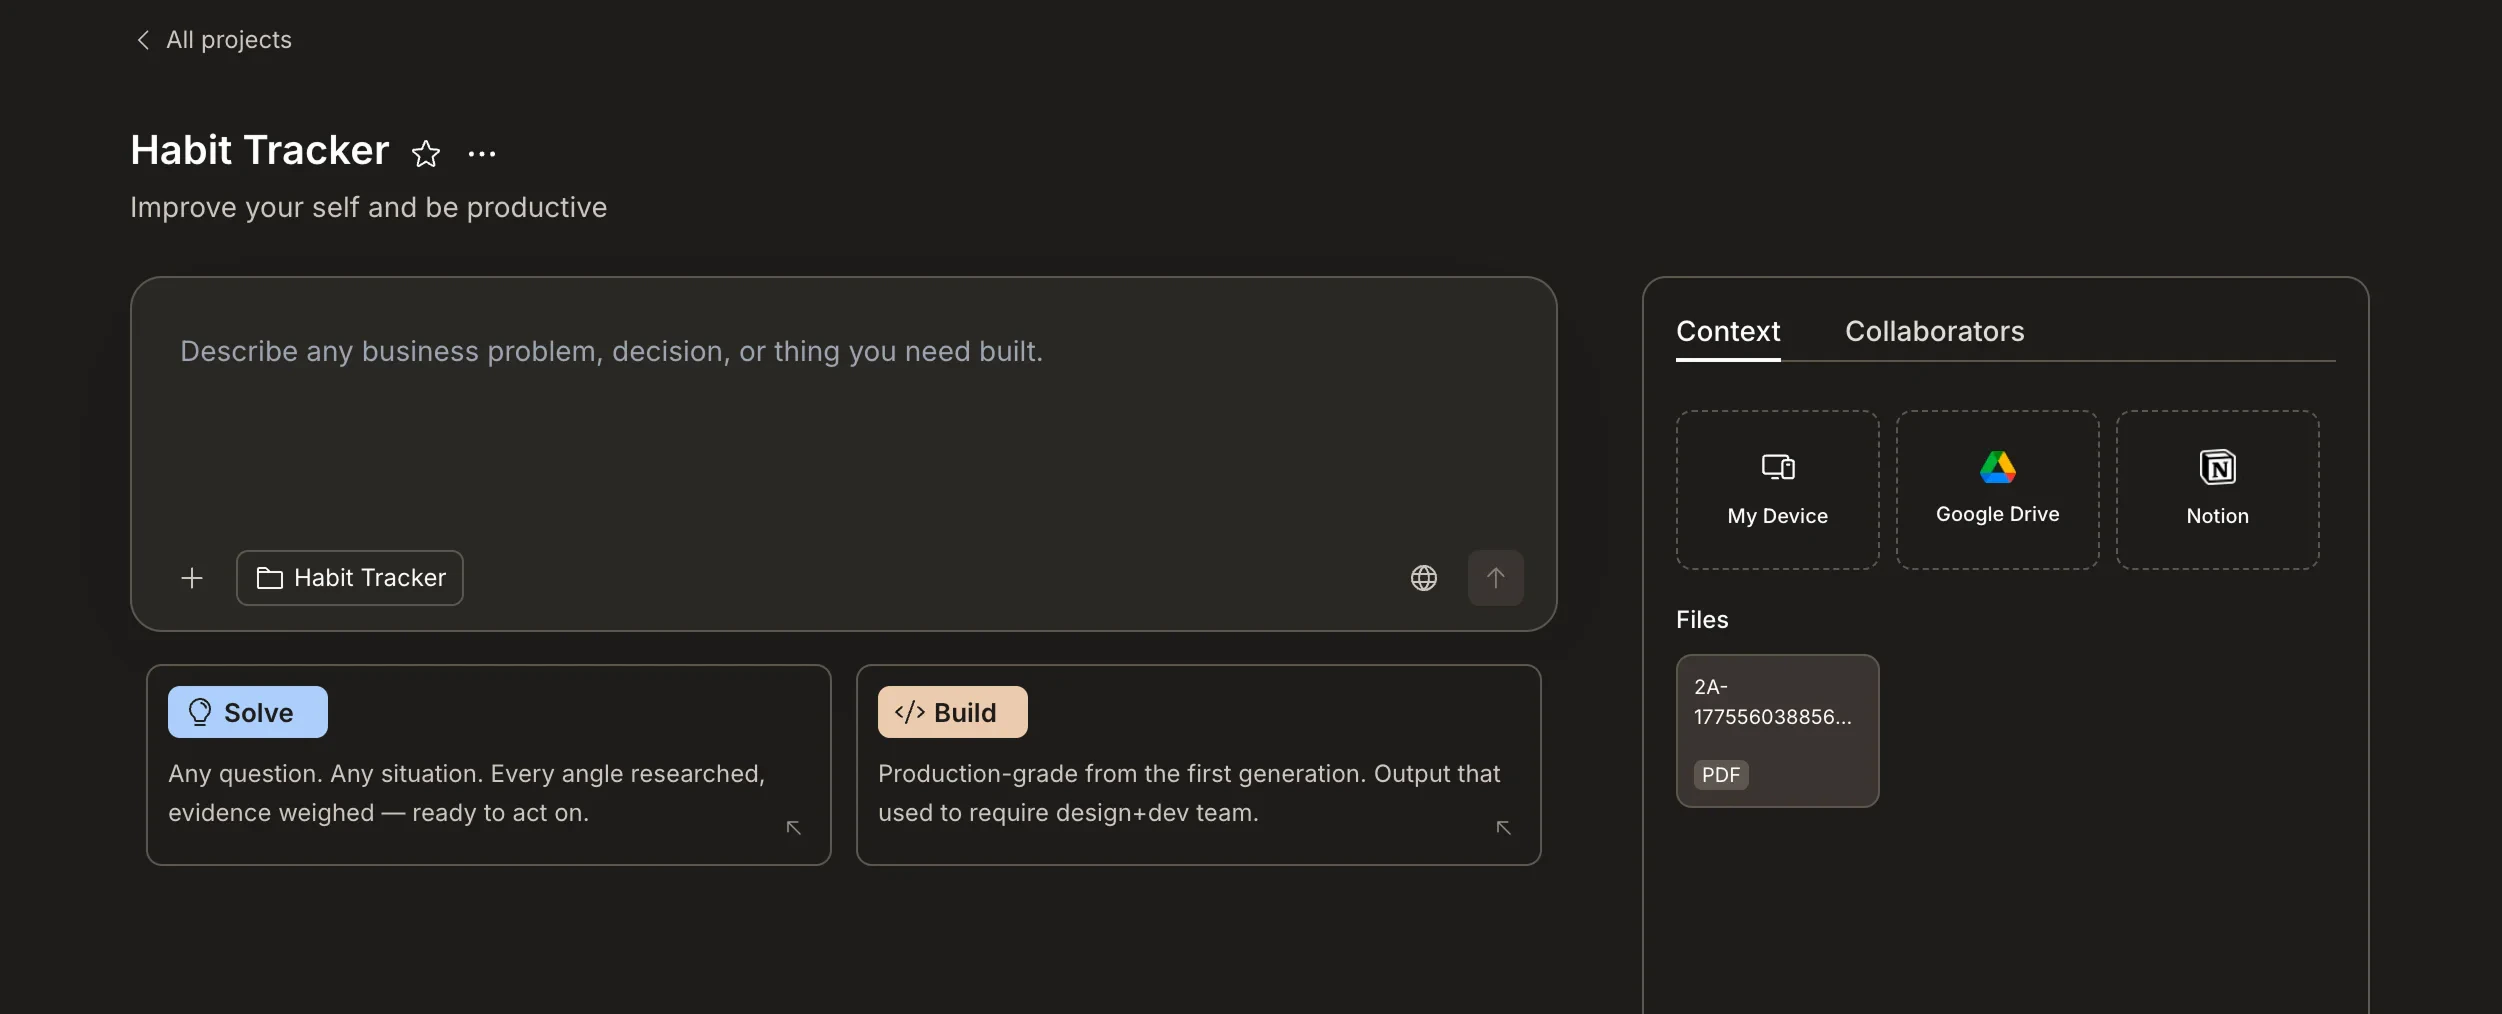 **Success check:** Uploaded files appear in the Files section of the Context tab and can be referenced from any task in the project.
## Supported file types
Rocket natively understands five file formats. Each format is parsed for its structure, relationships, and meaning, not treated as a plain text dump.
| File type | What Rocket understands |
| :----------------------------------- | :-------------------------------------------------------------------------------------------- |
| **Markdown** (`.md`) | Headings, sections, code blocks, tables, and links |
| **PDF** (`.pdf`) | Full text extraction, document structure, headings, tables, images, and page layout |
| **Excel** (`.xlsx`) | Multi-sheet workbooks, formulas, cross-sheet dependencies, charts, merged cells, and comments |
| **CSV** (`.csv`) | Column structure, data types, and row relationships |
| **Images** (`.jpg`, `.jpeg`, `.png`) | Visual content, embedded text, diagrams, and UI layouts |
Google Drive files (Google Docs, Google Sheets) and Notion pages can be connected as live sources via [connected services](/getting-started/project/context/connected-services).
## File limits
Projects support up to **5 context sources** at a time. This limit counts across all source types: uploaded files, Google Drive links, and Notion pages combined. If you need to add a new source, remove an existing one first.
## How tasks use shared files
Every task in the project can draw on the shared files automatically. You do not need to re-upload or re-reference them. For the most precise results, mention the file by name in your prompt: "Using the brand guidelines PDF, build a landing page that matches our visual identity."
## Organize files
As your project grows, keeping files organized helps both you and Rocket find what's needed.
Name files clearly: `brand-guidelines-v2.pdf` is better than `document.pdf`. Descriptive names help Rocket match files to task context and make it easier for collaborators to find what they need.
If a file has been superseded, remove the old version to avoid confusion. Rocket may reference outdated files if they're still present in the project.
Add foundational files such as brand guides, product specs, and research data when you first create the project. This ensures every task from the start has access to the right context.
Upload files that are relevant to the project's scope. A project about "Q3 Product Launch" only needs the product brief and brand assets, not the full employee handbook.
## Delete shared files
To remove a file from a project:
Open the **Context** tab in the project's right panel.
Hover over the file you want to remove.
Click the **X** button that appears on the file.
Deleting a shared file removes it from the project permanently. Tasks that previously referenced the file won't lose their existing outputs, but future tasks won't have access to that file's content.
## What's next?
Link Notion and Google Drive for live external context.
See how files and task outputs create shared context across your project.
Start a new project and upload your first files.
Use uploaded files as a starting point for a Build task.
**Success check:** Uploaded files appear in the Files section of the Context tab and can be referenced from any task in the project.
## Supported file types
Rocket natively understands five file formats. Each format is parsed for its structure, relationships, and meaning, not treated as a plain text dump.
| File type | What Rocket understands |
| :----------------------------------- | :-------------------------------------------------------------------------------------------- |
| **Markdown** (`.md`) | Headings, sections, code blocks, tables, and links |
| **PDF** (`.pdf`) | Full text extraction, document structure, headings, tables, images, and page layout |
| **Excel** (`.xlsx`) | Multi-sheet workbooks, formulas, cross-sheet dependencies, charts, merged cells, and comments |
| **CSV** (`.csv`) | Column structure, data types, and row relationships |
| **Images** (`.jpg`, `.jpeg`, `.png`) | Visual content, embedded text, diagrams, and UI layouts |
Google Drive files (Google Docs, Google Sheets) and Notion pages can be connected as live sources via [connected services](/getting-started/project/context/connected-services).
## File limits
Projects support up to **5 context sources** at a time. This limit counts across all source types: uploaded files, Google Drive links, and Notion pages combined. If you need to add a new source, remove an existing one first.
## How tasks use shared files
Every task in the project can draw on the shared files automatically. You do not need to re-upload or re-reference them. For the most precise results, mention the file by name in your prompt: "Using the brand guidelines PDF, build a landing page that matches our visual identity."
## Organize files
As your project grows, keeping files organized helps both you and Rocket find what's needed.
Name files clearly: `brand-guidelines-v2.pdf` is better than `document.pdf`. Descriptive names help Rocket match files to task context and make it easier for collaborators to find what they need.
If a file has been superseded, remove the old version to avoid confusion. Rocket may reference outdated files if they're still present in the project.
Add foundational files such as brand guides, product specs, and research data when you first create the project. This ensures every task from the start has access to the right context.
Upload files that are relevant to the project's scope. A project about "Q3 Product Launch" only needs the product brief and brand assets, not the full employee handbook.
## Delete shared files
To remove a file from a project:
Open the **Context** tab in the project's right panel.
Hover over the file you want to remove.
Click the **X** button that appears on the file.
Deleting a shared file removes it from the project permanently. Tasks that previously referenced the file won't lose their existing outputs, but future tasks won't have access to that file's content.
## What's next?
Link Notion and Google Drive for live external context.
See how files and task outputs create shared context across your project.
Start a new project and upload your first files.
Use uploaded files as a starting point for a Build task.