Why use project settings?Manage everything about your project in one place. Rename projects as they evolve, connect integrations like Stripe or Google Analytics, view creation dates, and safely remove projects you no longer need. All your project management happens here, so you don’t have to navigate multiple menus.
- Web Browser
- Mobile App
Before you begin
You’ll need:
- A logged in Rocket account.
- An existing project open in Rocket.
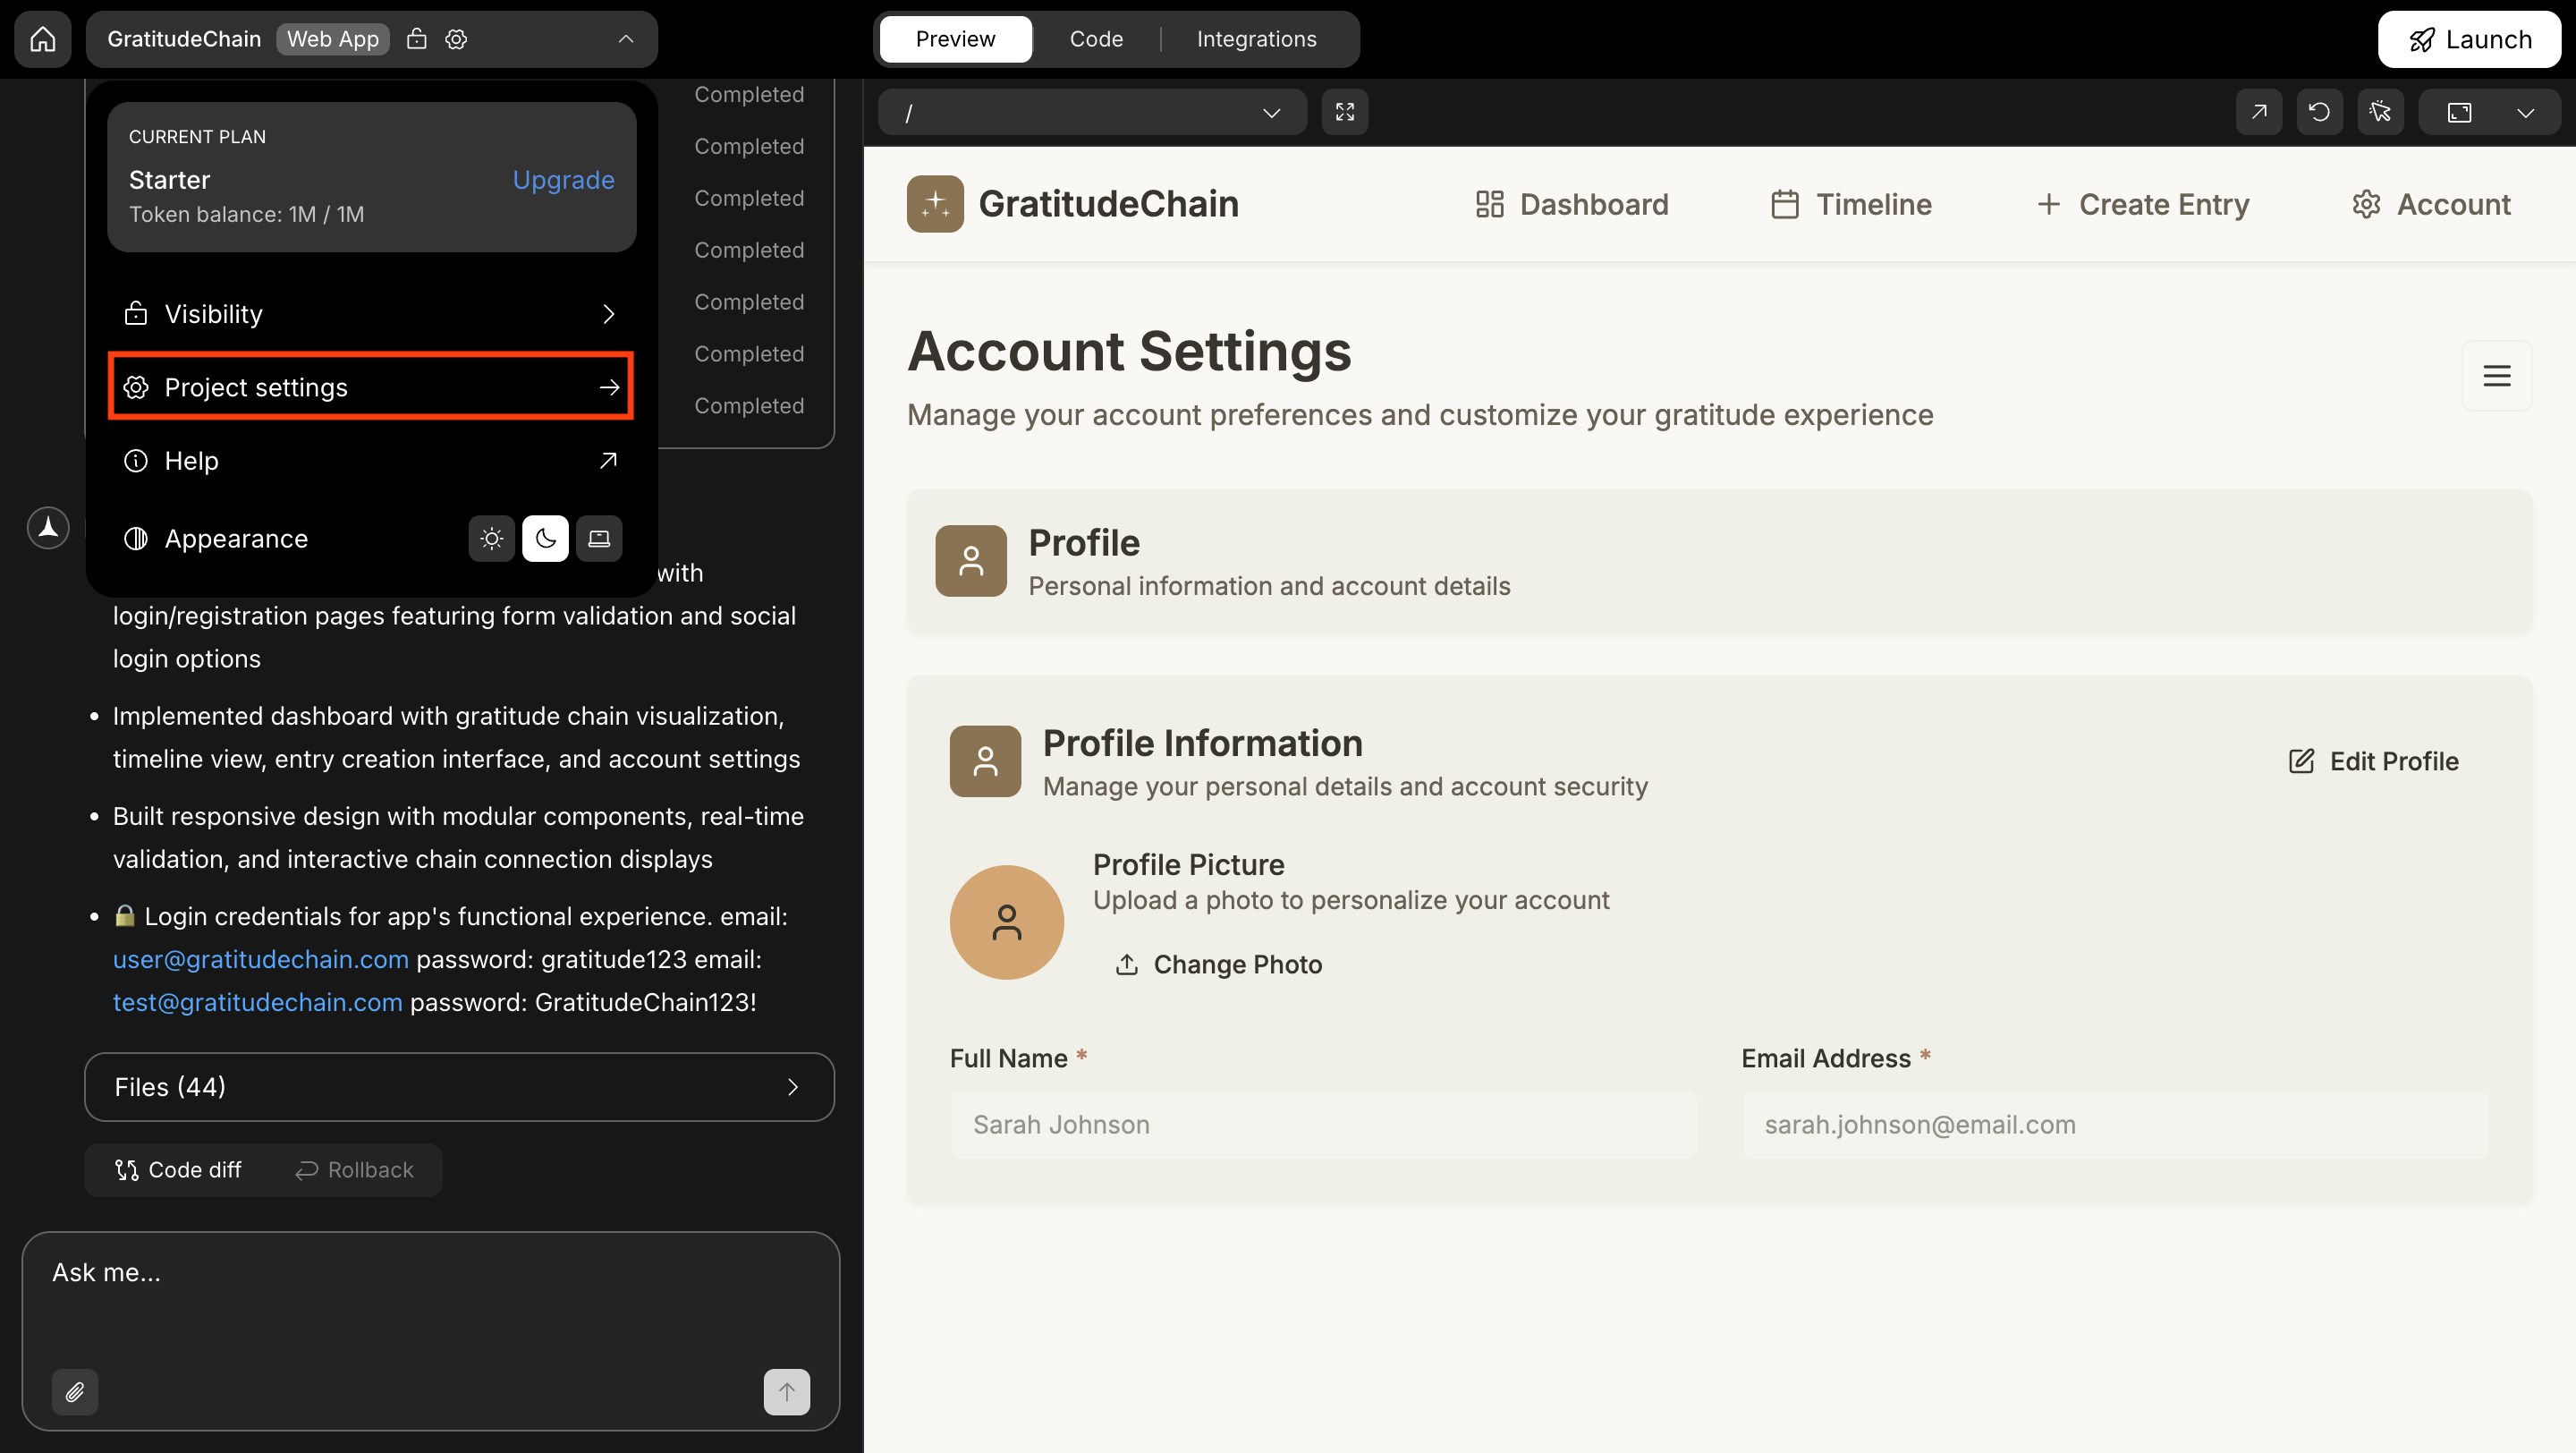
Open your project settings
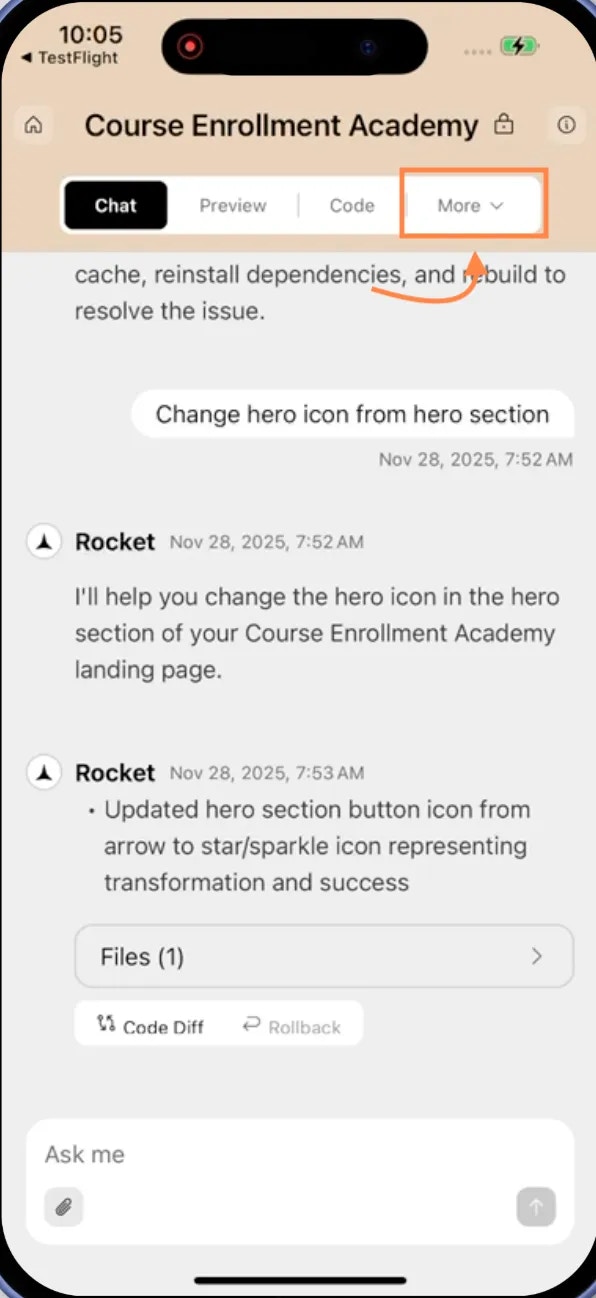
Click the Settings icon in the top navigation bar to open the project settings panel.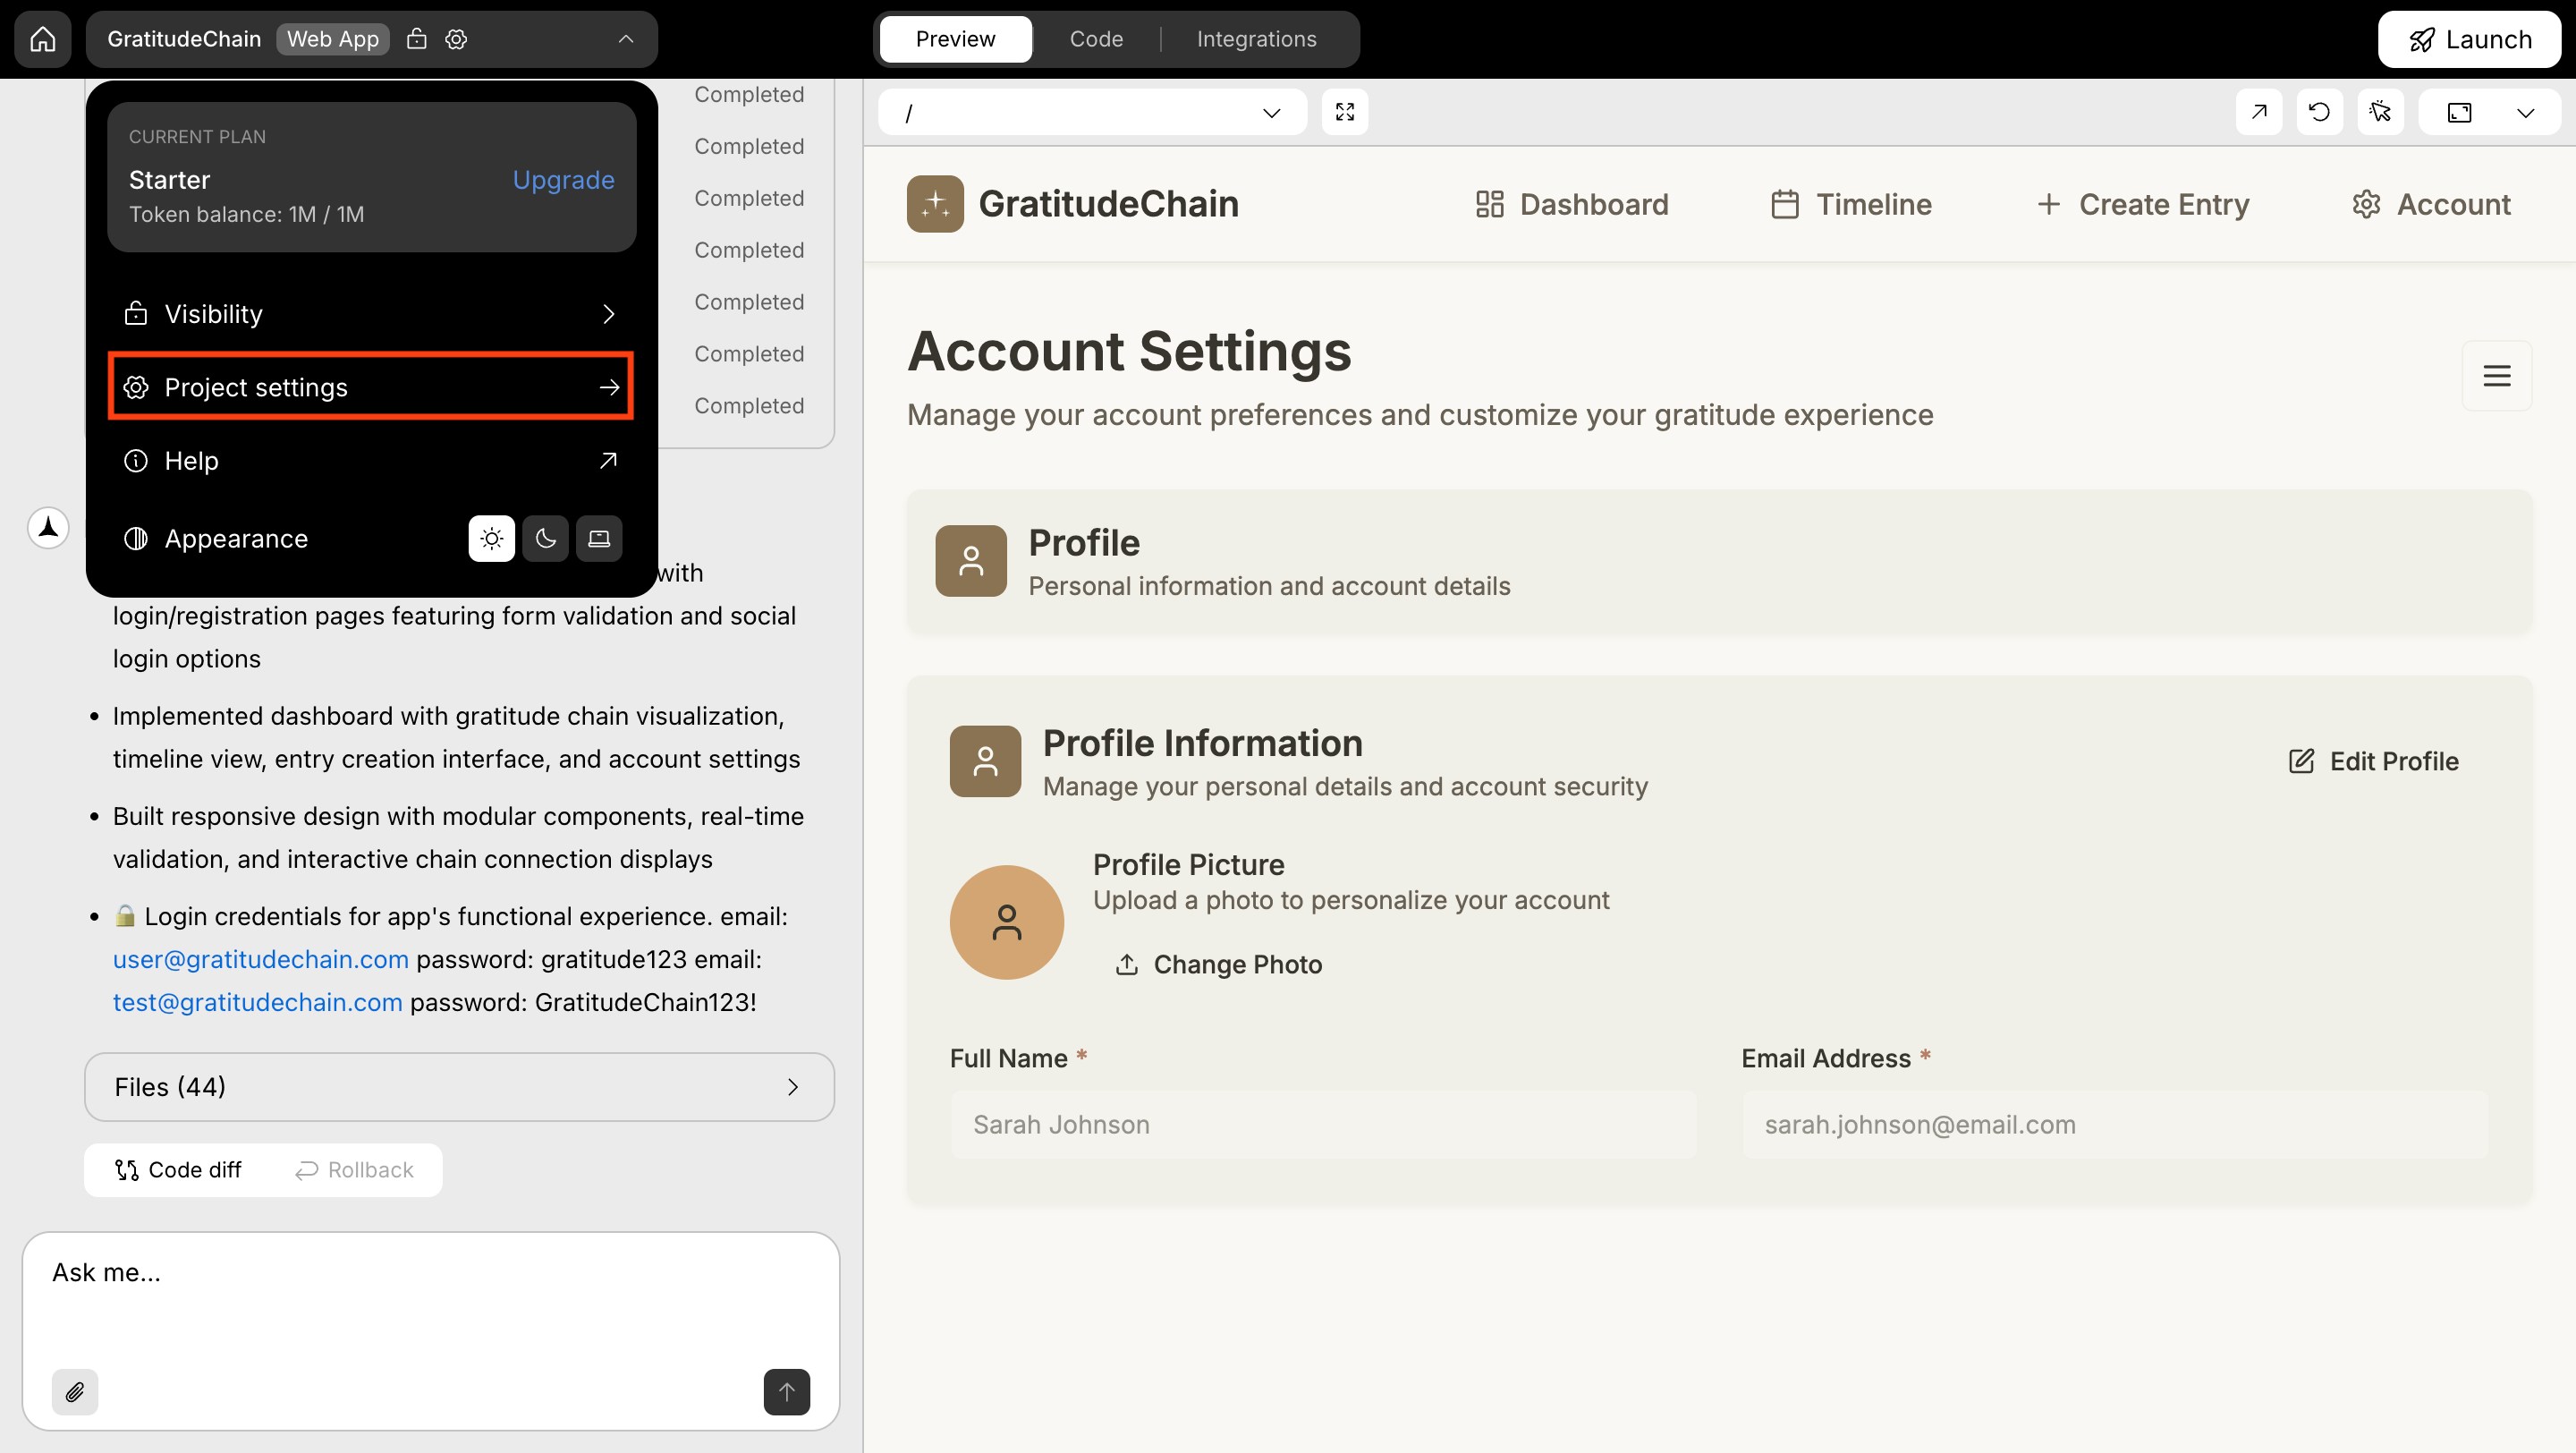
View project settings
View project settings
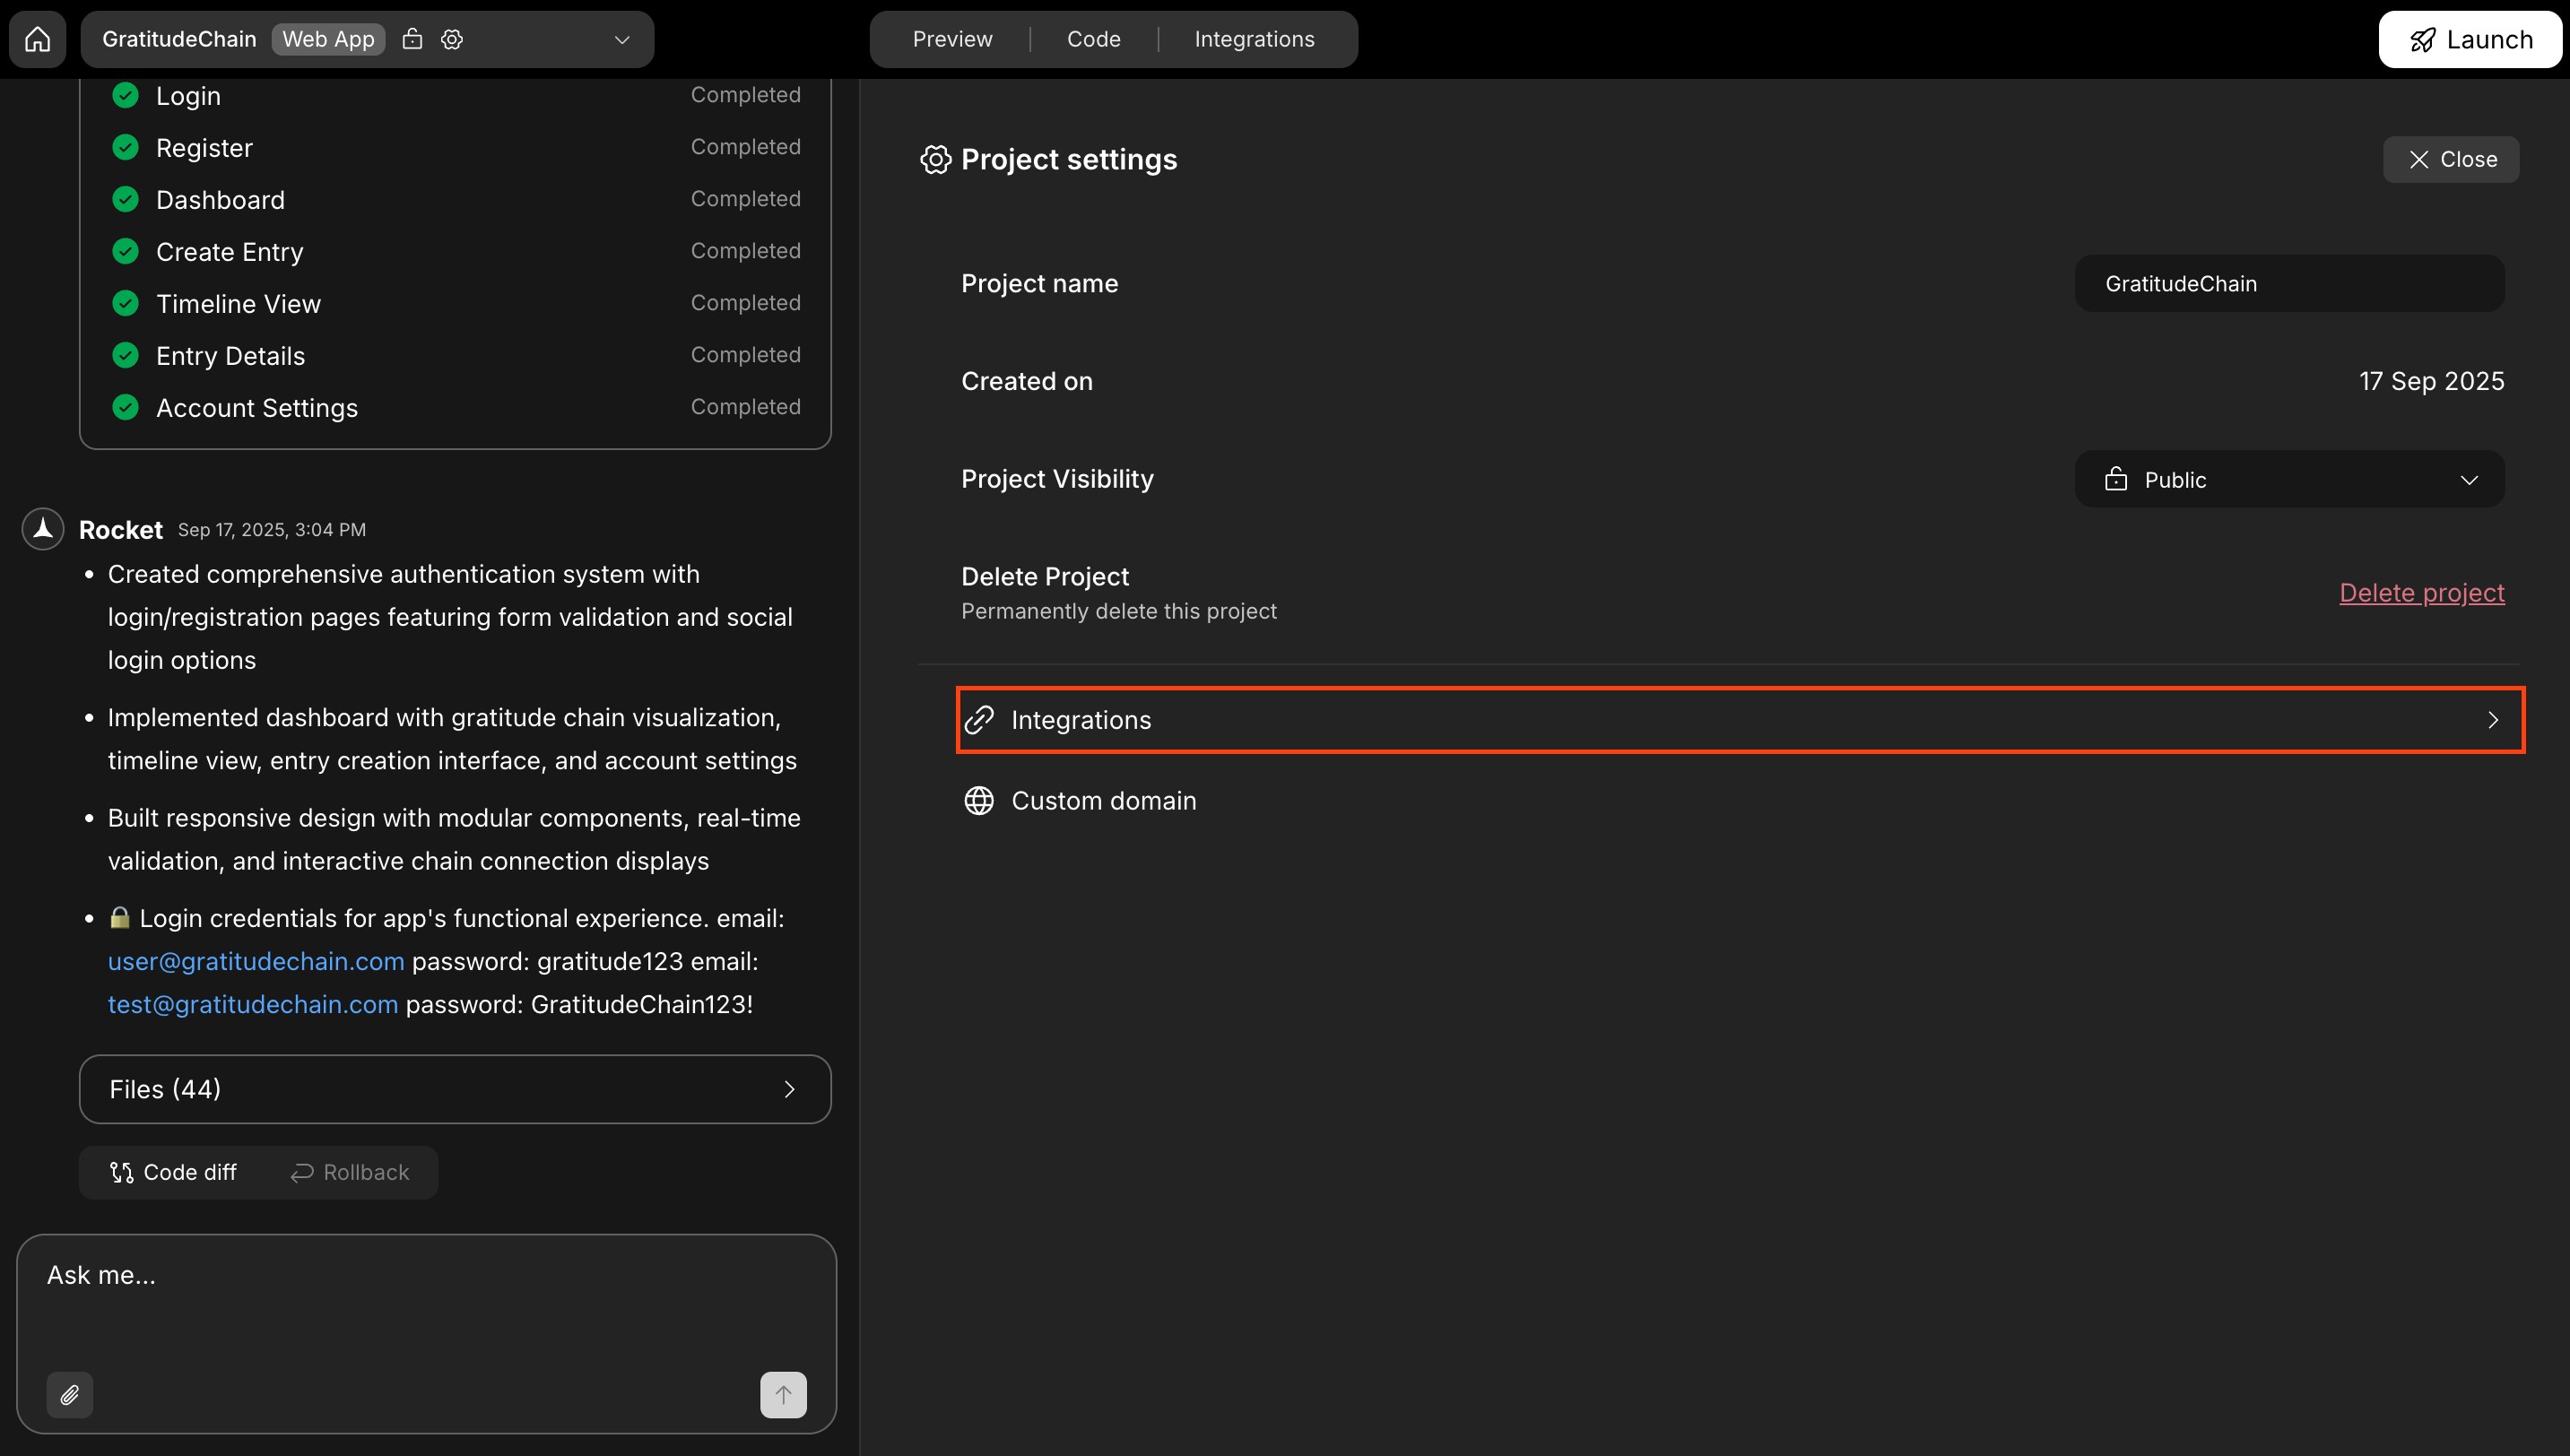
Use the project settings panel to confirm key information for your app: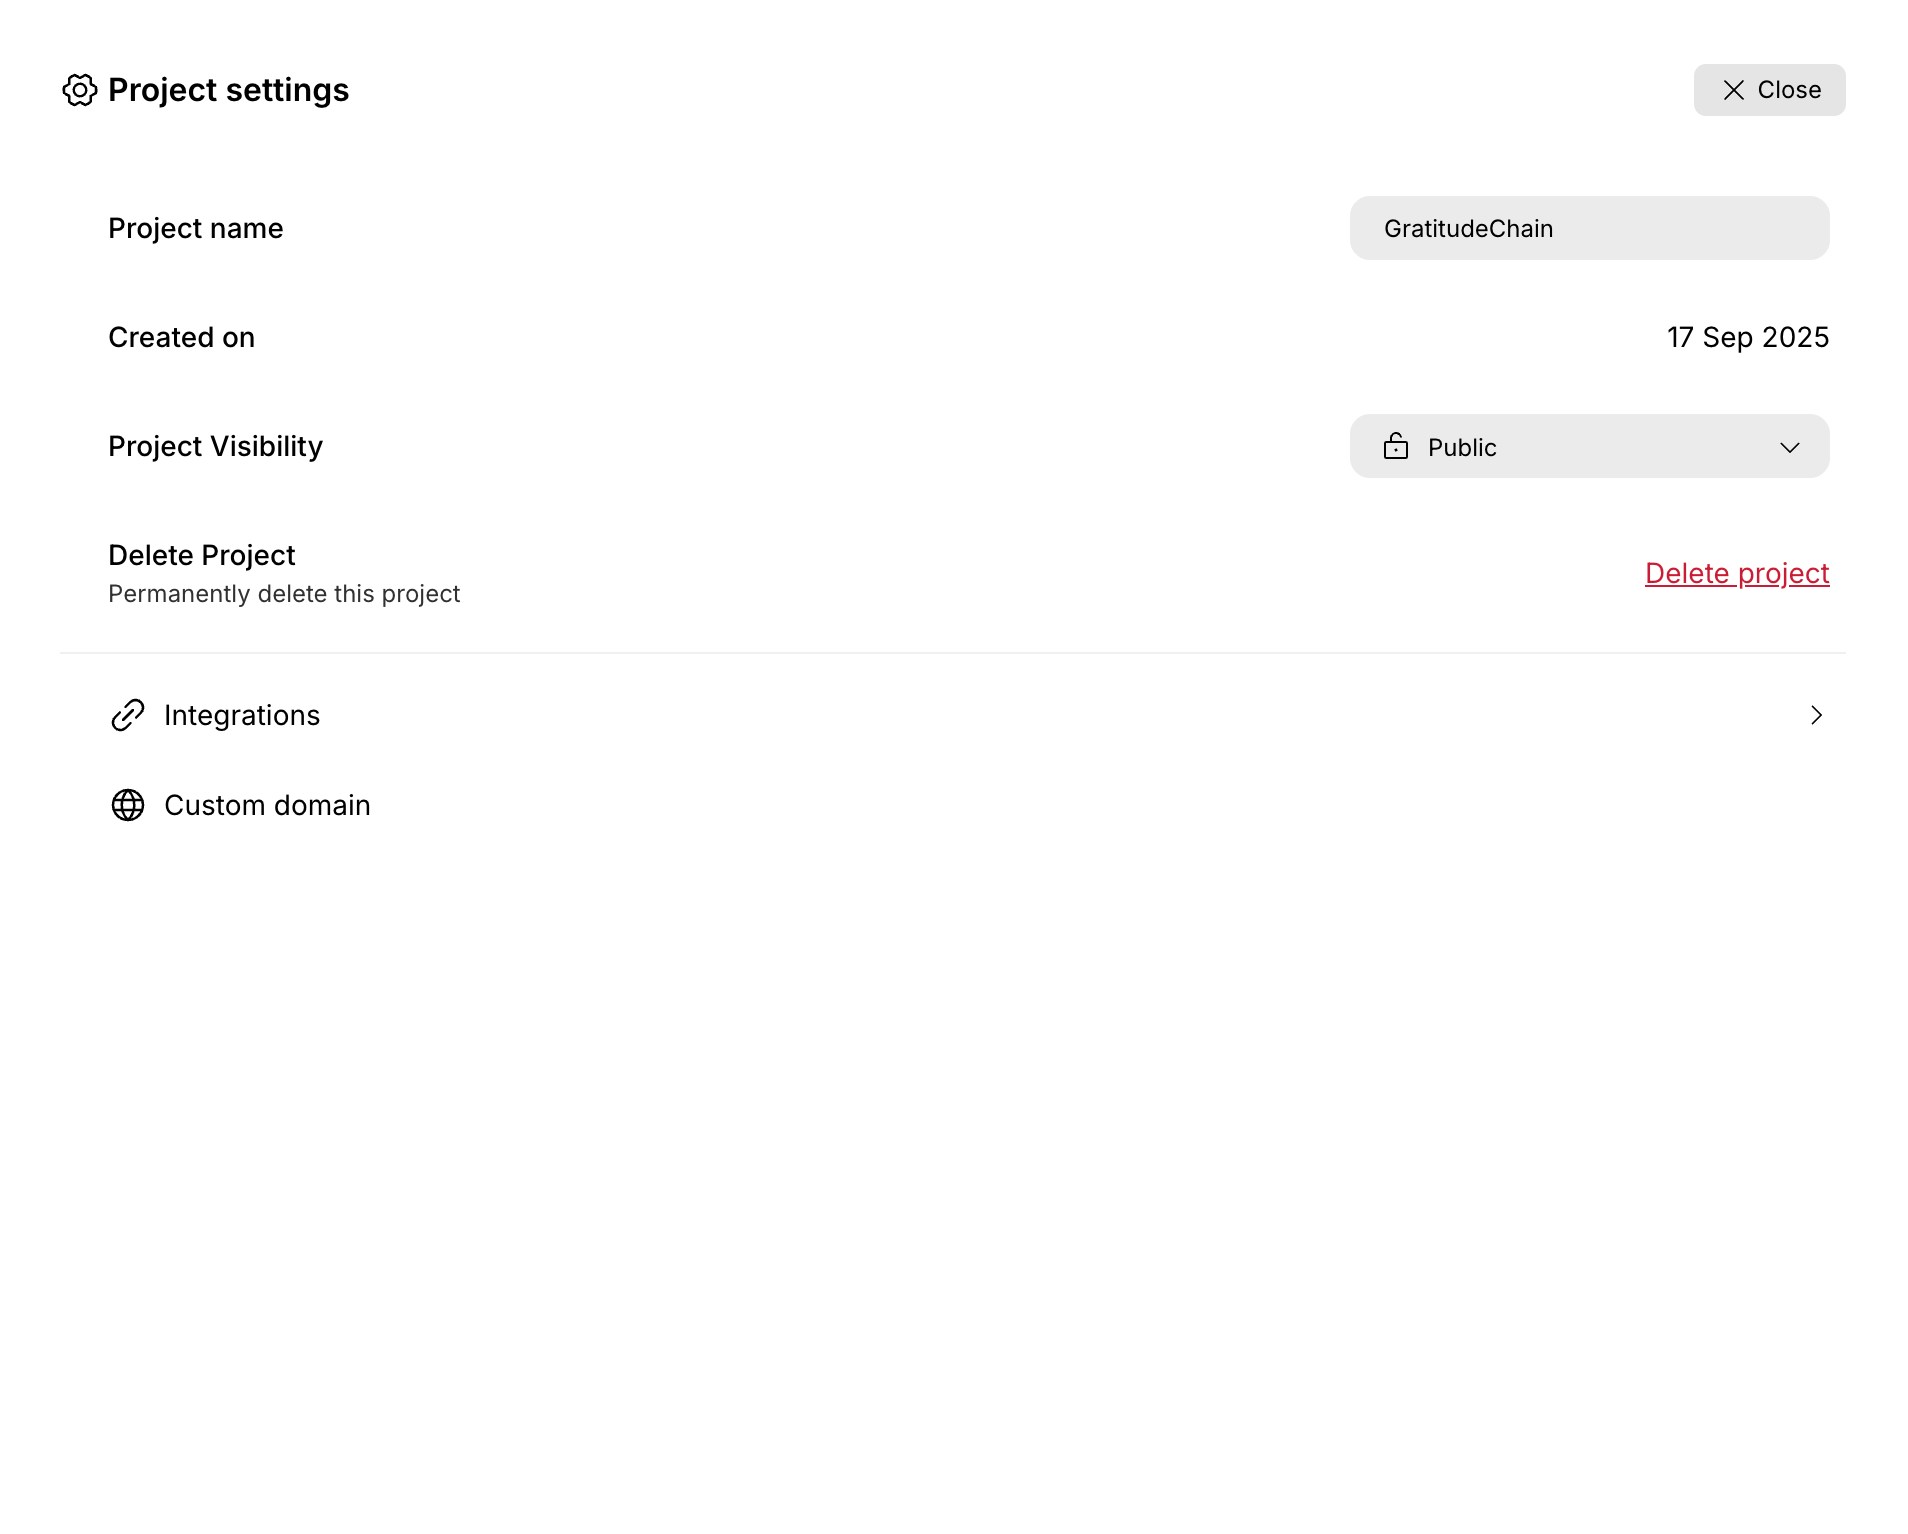

- Project name (e.g, GratitudeChain).
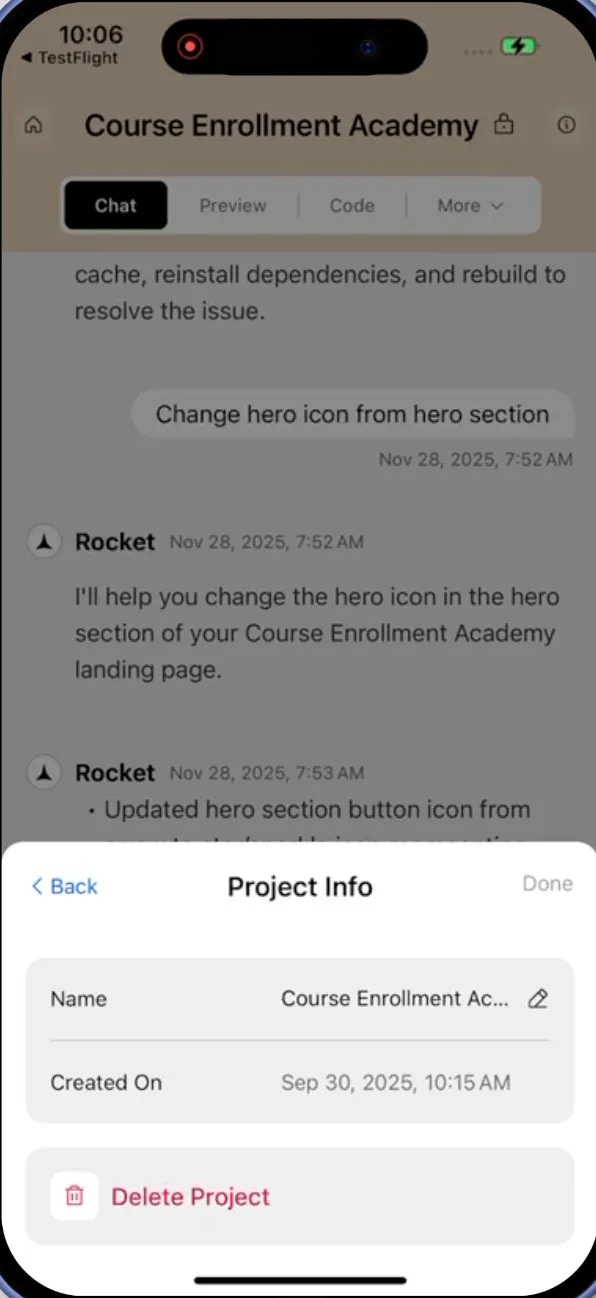
- Created on date.
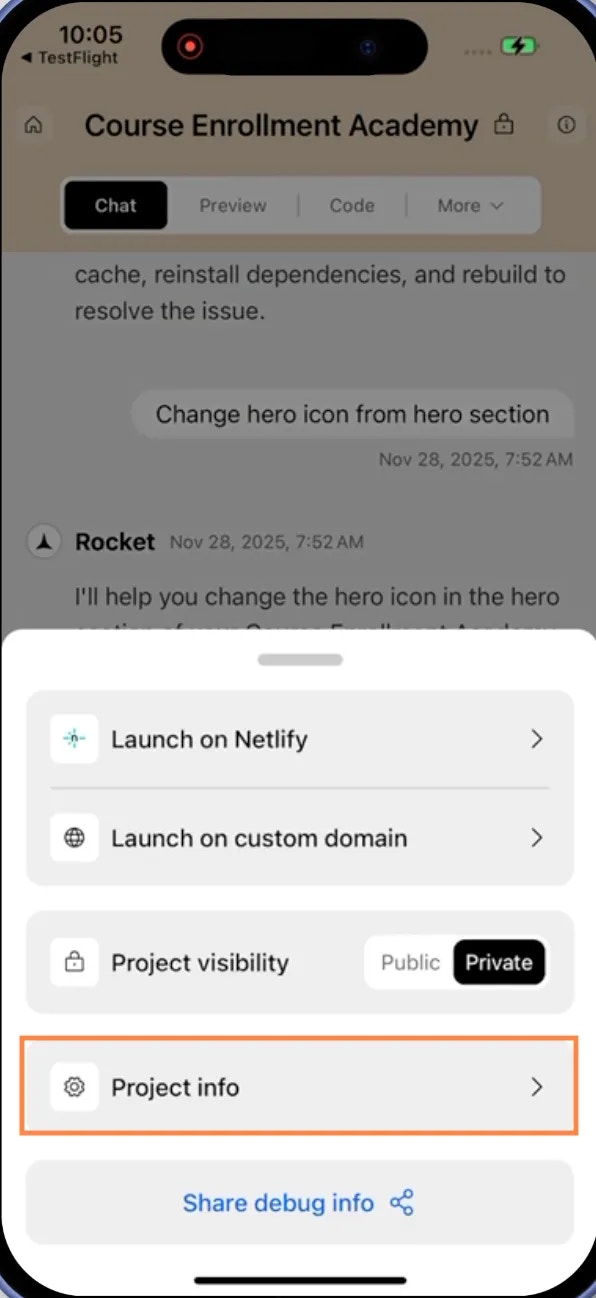
- Project visibility (e.g, Private).
- Delete project action.
- Integrations tab.
Success check: The panel shows the project name, created date, visibility, delete action, and the Integrations tab.
Rename your project
Rename your project
- Click the Project name field in the project settings panel.
- Type a new name (for example, change Gratitude Chain to Gratitude).
- Press Enter or click outside the field to save the new name.
Success check: A confirmation message appears: “Project name updated successfully,” and the new name appears in the Rocket header.
Delete the project
Delete the project
- In the project settings panel, click Delete project.
- When the confirmation dialog appears, review the project name.
- Select Yes, delete to permanently remove the project.
Success check: A message appears: “Application deleted successfully,” and the project no longer appears in your projects list.
Connect to integrations
Connect to integrations
You can connect your project to services like analytics, AI, and payments.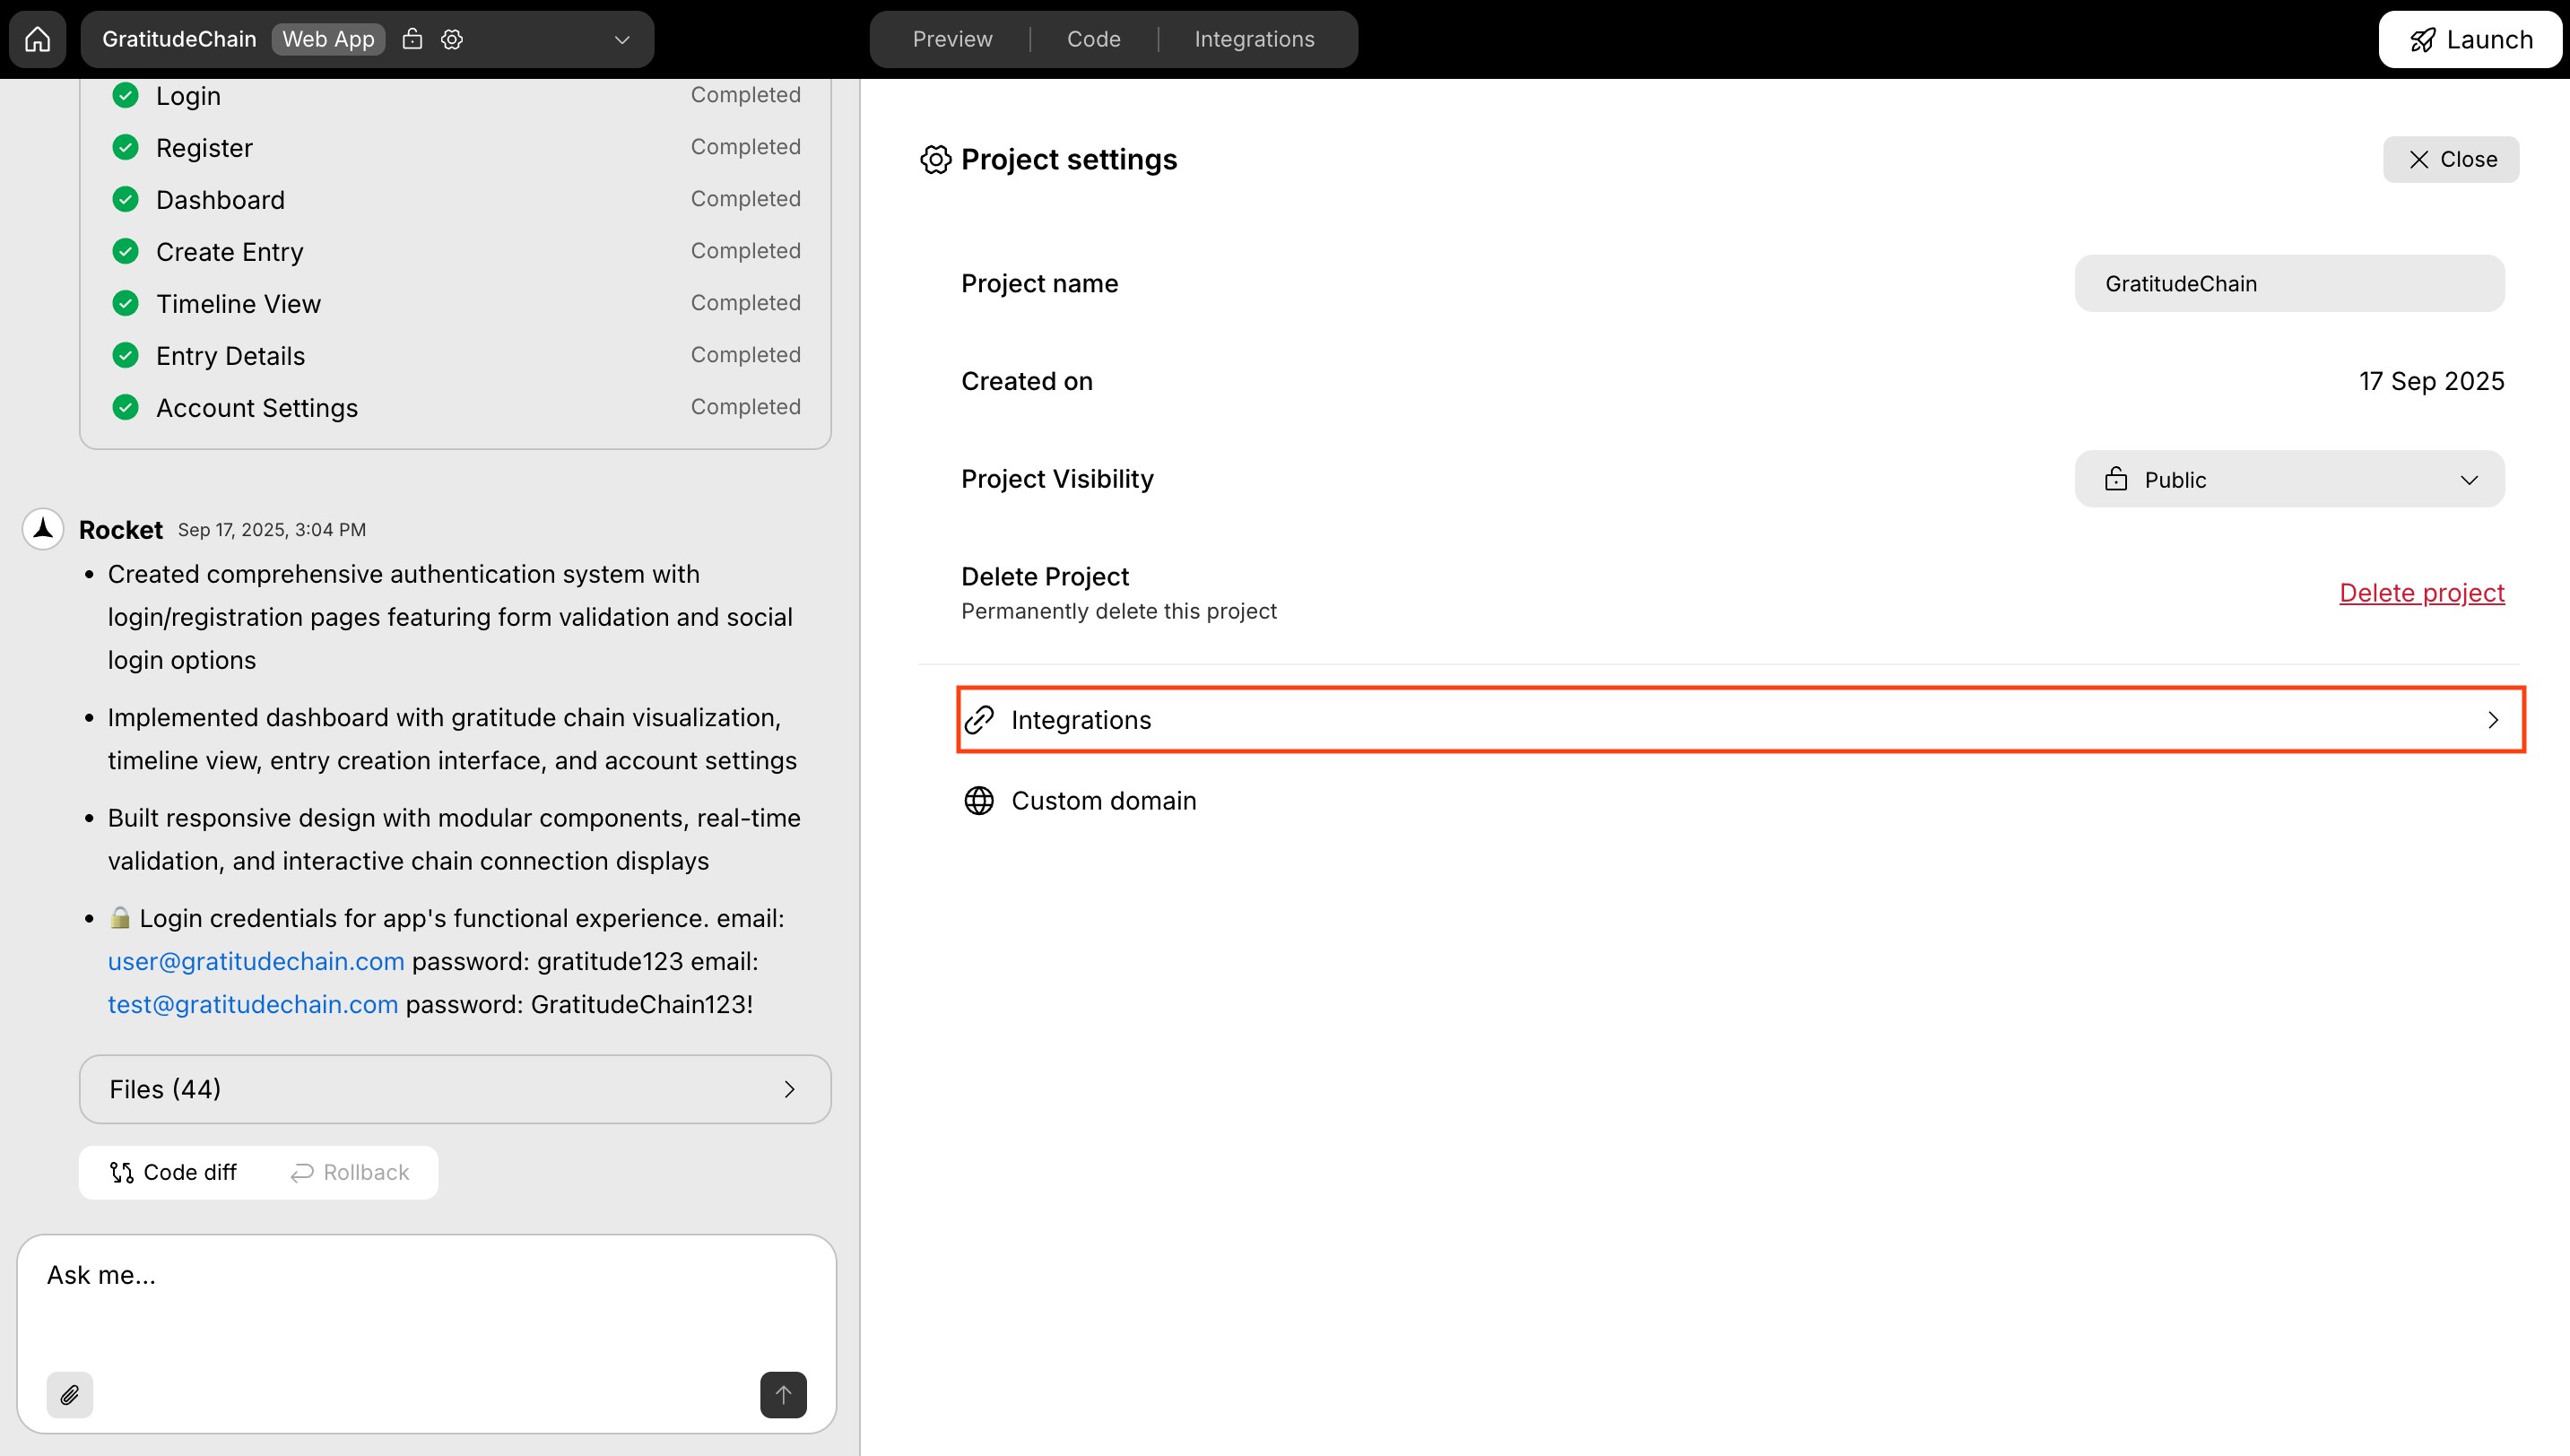
- In the project settings panel, click the Integrations tab.
- Browse the list of supported tools.
- Select a service (for example, Google Analytics, Stripe, or OpenAI) to start its setup flow.
Success check: The Integrations tab opens and you can select a third-party tool to connect to your project.
Want to go deeper?
Read more on how to integrate services.
Read more on how to integrate services.
You did it!
You can now use the Project Settings panel to review details, rename projects, remove projects you no longer need, and manage integrations in one place.