API imports are only available on the web browser. They are not supported in the Rocket mobile app.
What you can connect
Payment processors
Stripe, PayPal, or any payment API with checkout flows, subscriptions, and invoicing.
Databases and backends
Supabase, Firebase, your own REST API, or any backend that exposes endpoints.
Third-party services
Weather APIs, maps, social media, shipping, SMS, email, and any service with a REST API.
Your own APIs
Internal microservices, staging environments, or any custom backend you have built.
Before you start
You need one of the following:- A Postman API key and workspace
- A working cURL command
- A Postman collection export file (
postman.json) - A Swagger or OpenAPI spec (JSON or YAML)
base_url or accessToken.
Learn how to manage secret keys as environment variables.
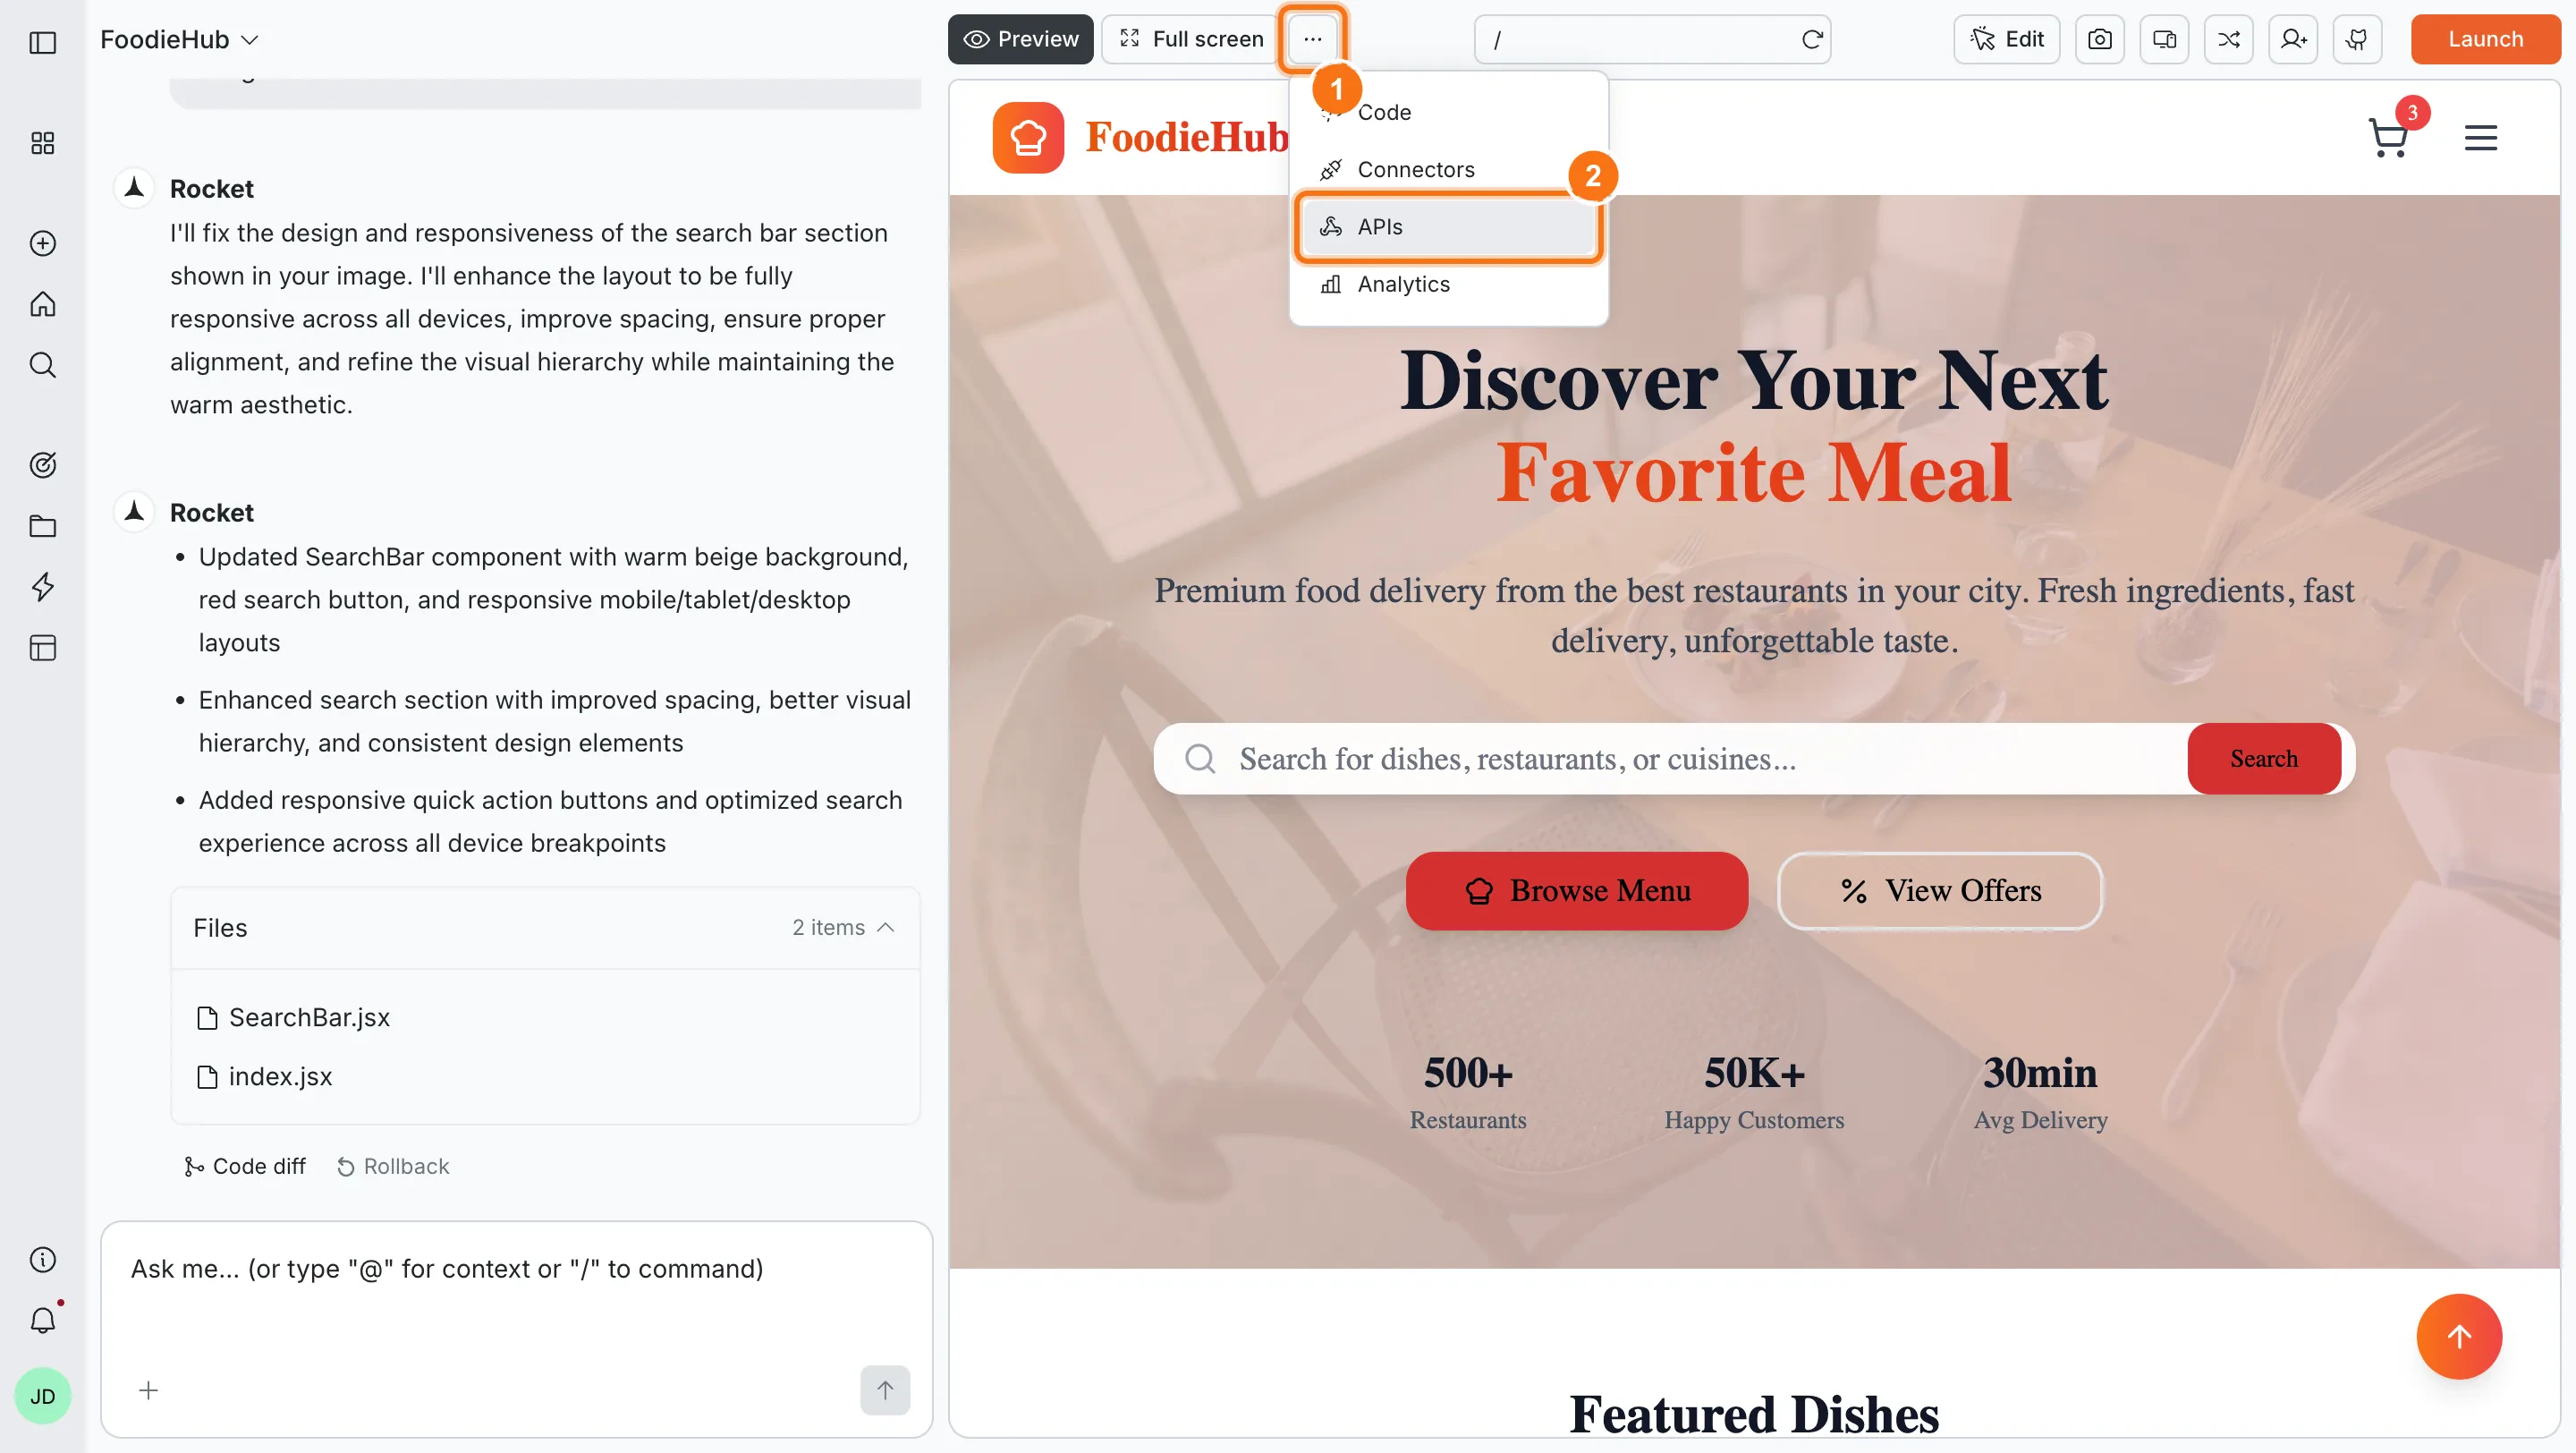
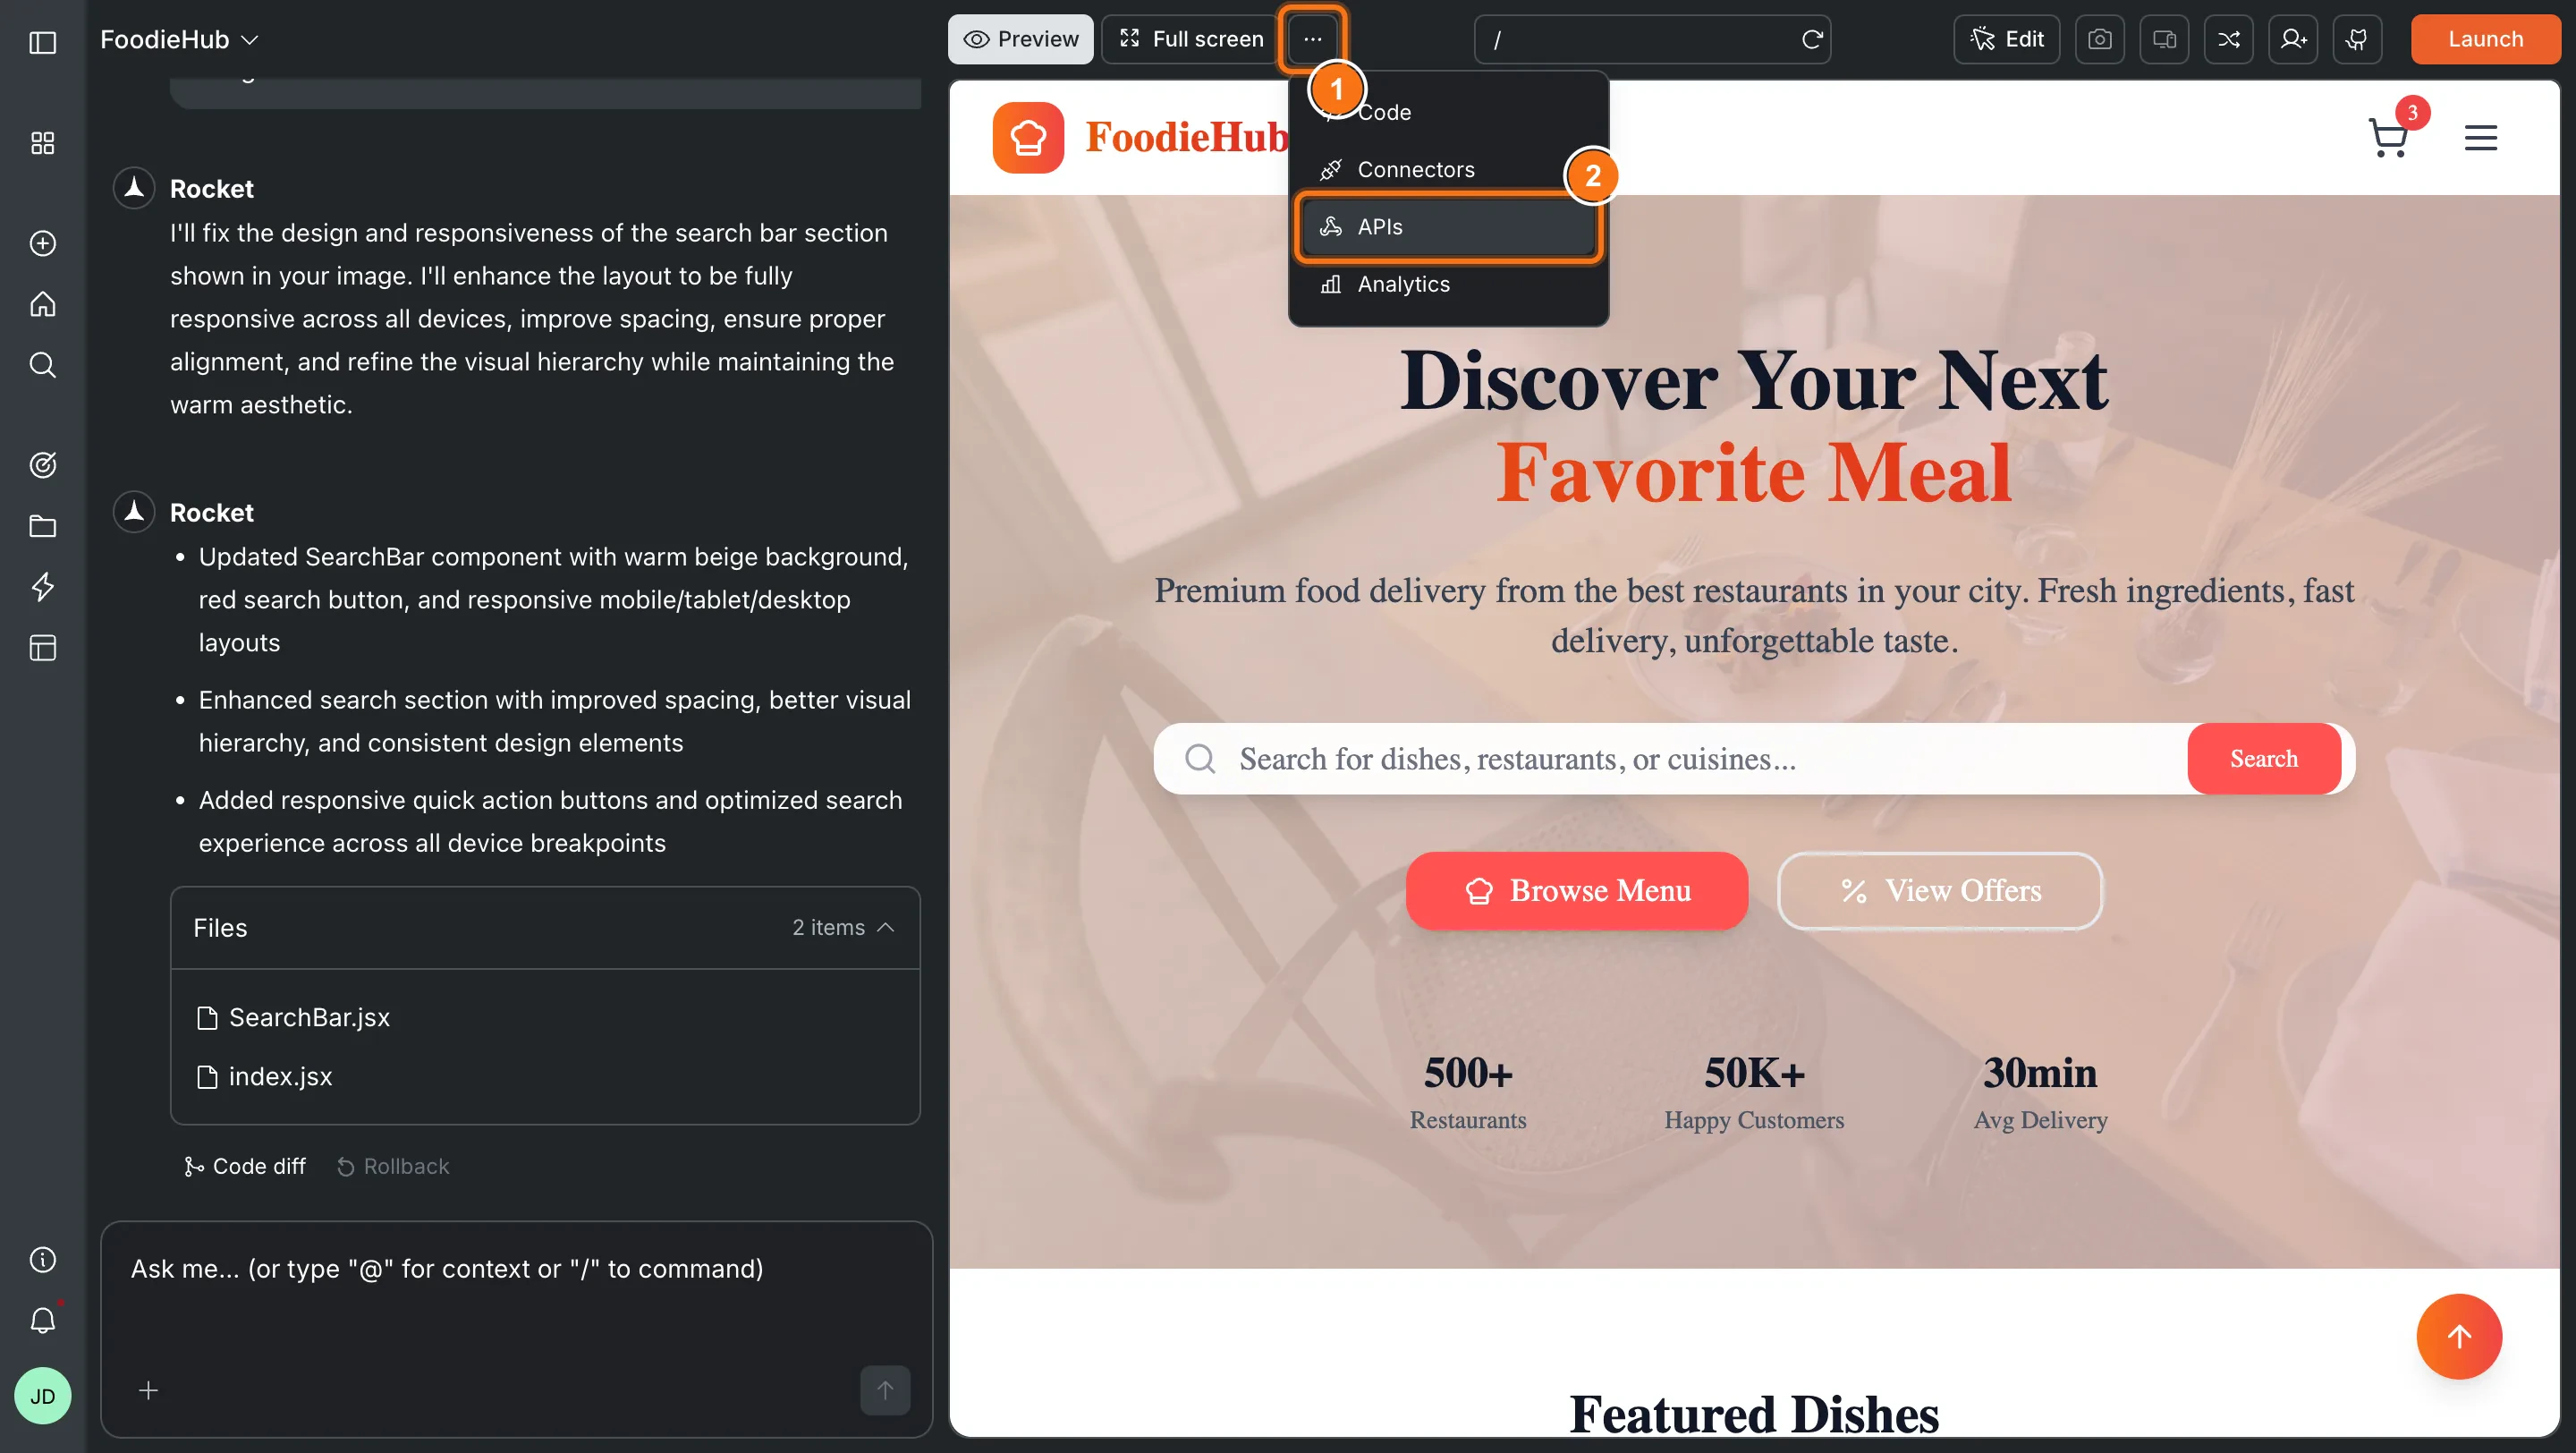
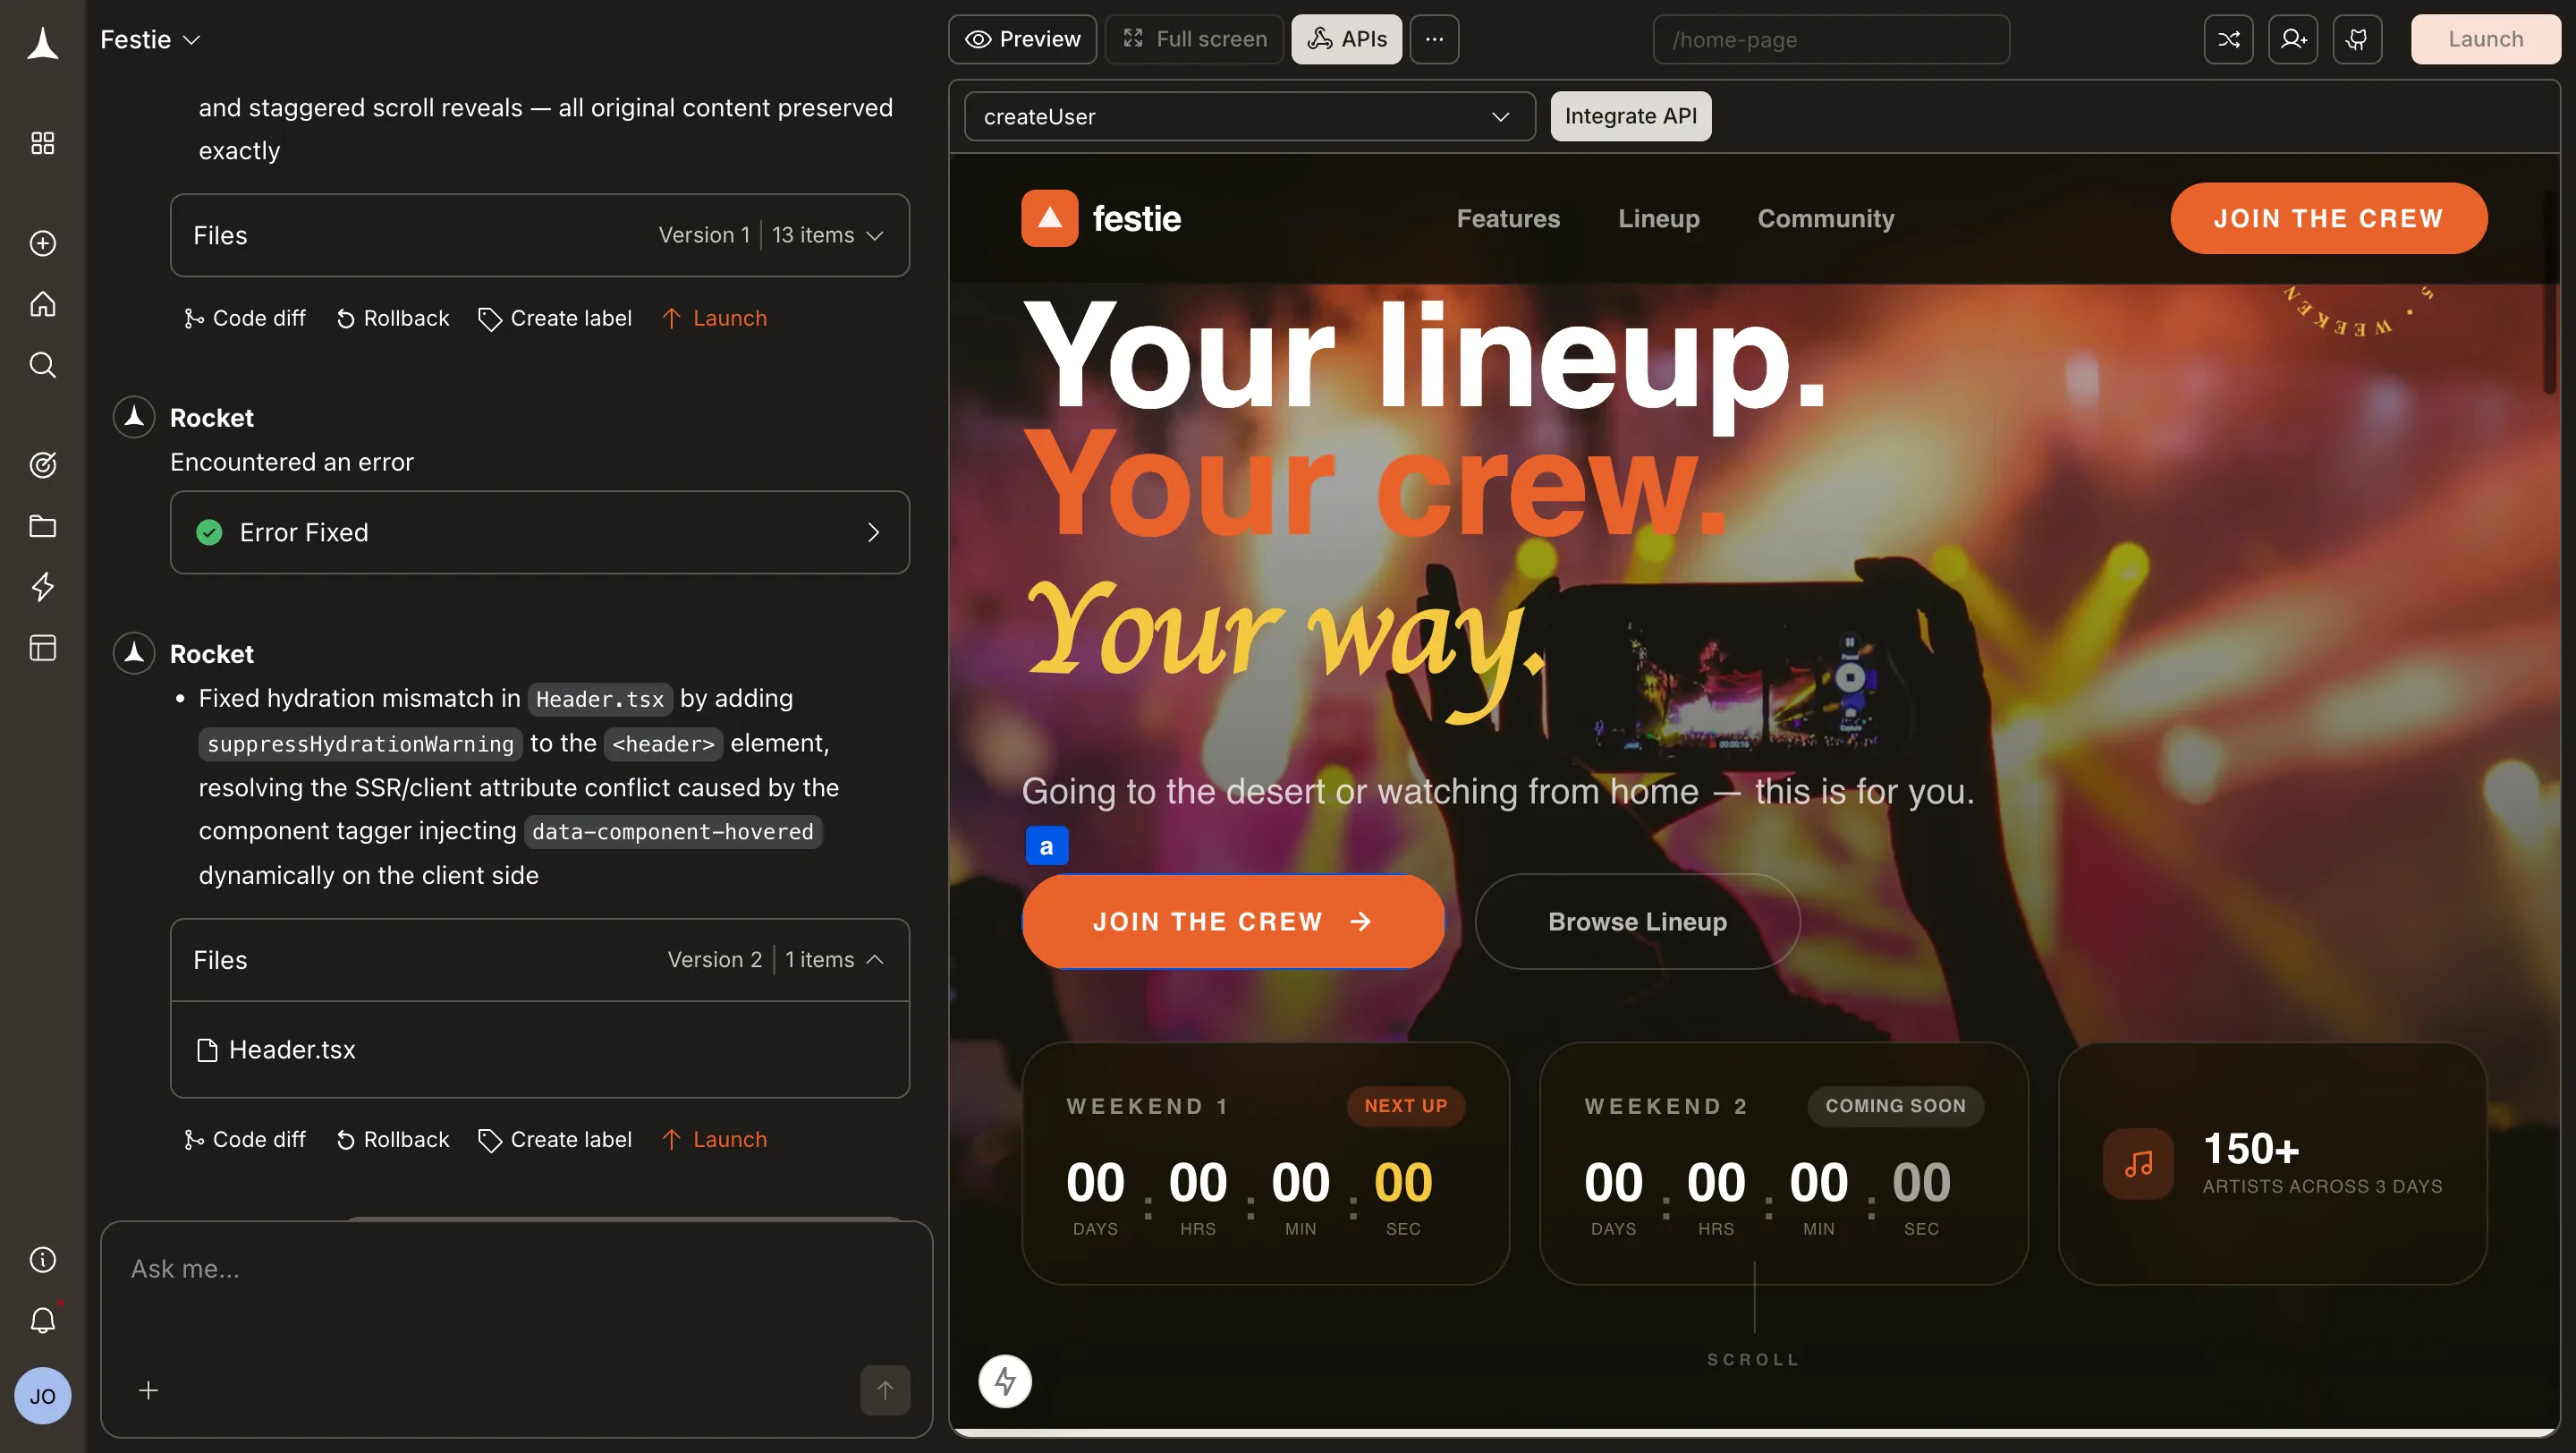
Open the APIs panel
Click the... button in the preview toolbar and select APIs.
Import APIs
In the APIs panel, open the Select an API dropdown and click Add APIs to open the import dialog. Pick one of four import methods.Postman key (workspace import)
Postman key (workspace import)
Use this when your APIs already live in a Postman workspace.Get your Postman API key:Import into Rocket: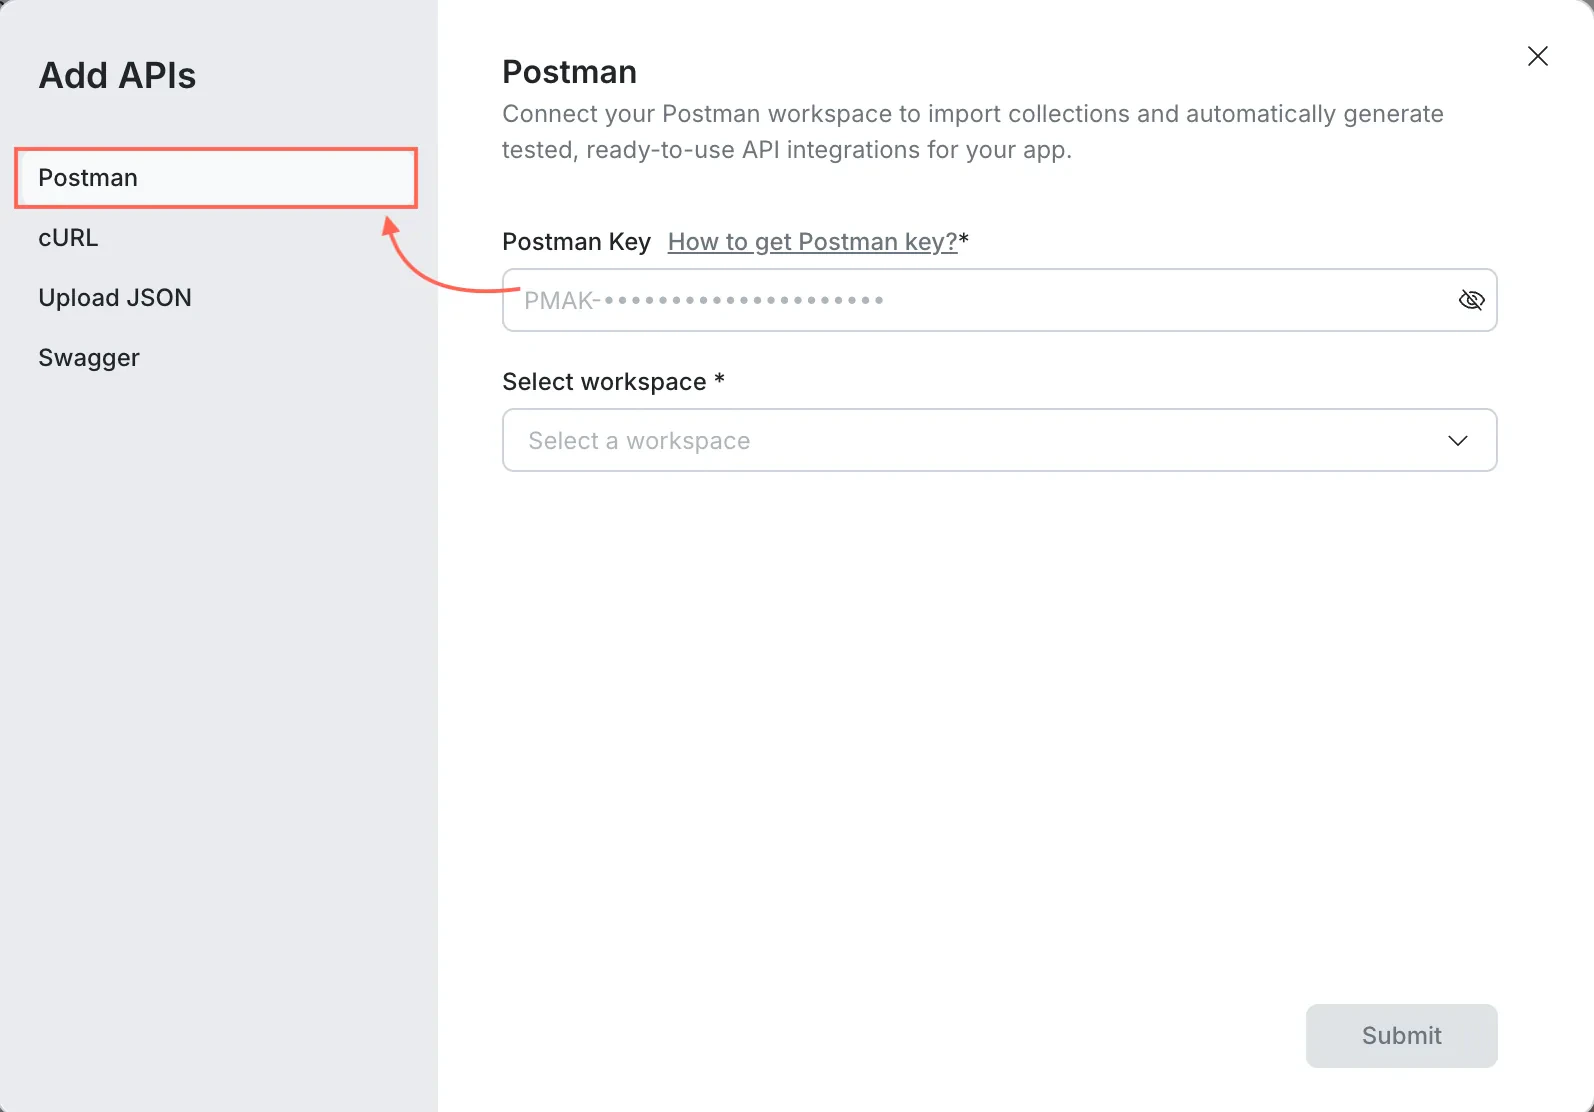
Visit Postman’s documentation to learn how to generate your API key.
- Click your avatar in the Postman header, then click Settings.
- Go to API keys and click Generate API Key.
- Enter a name and copy the key.
Your Postman API key provides access to any Postman data you have permissions for. Keep it private and rotate it if you believe it has been exposed.
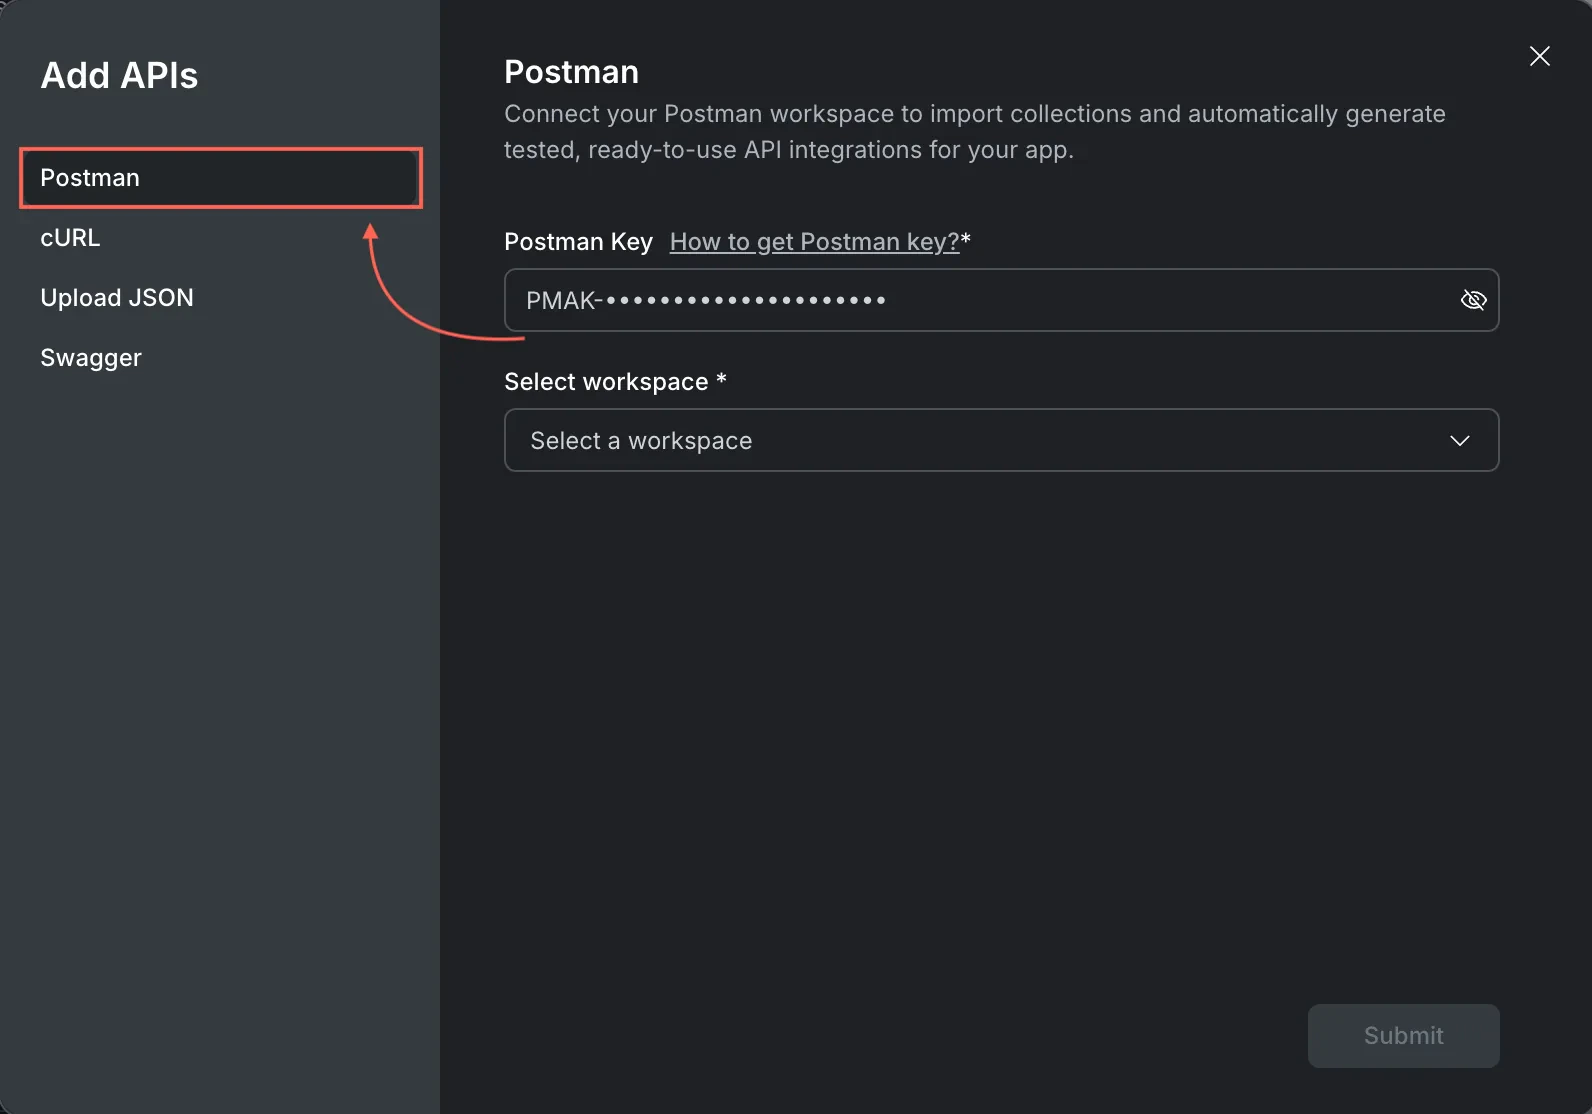
- In Add APIs, select the Postman tab.
- Paste your Postman Key.
- Select the workspace.
- Click Submit, then select the collections or folders you want to add.
- Click Add APIs.
cURL (single request import)
cURL (single request import)
Use this when you have a working request you can paste.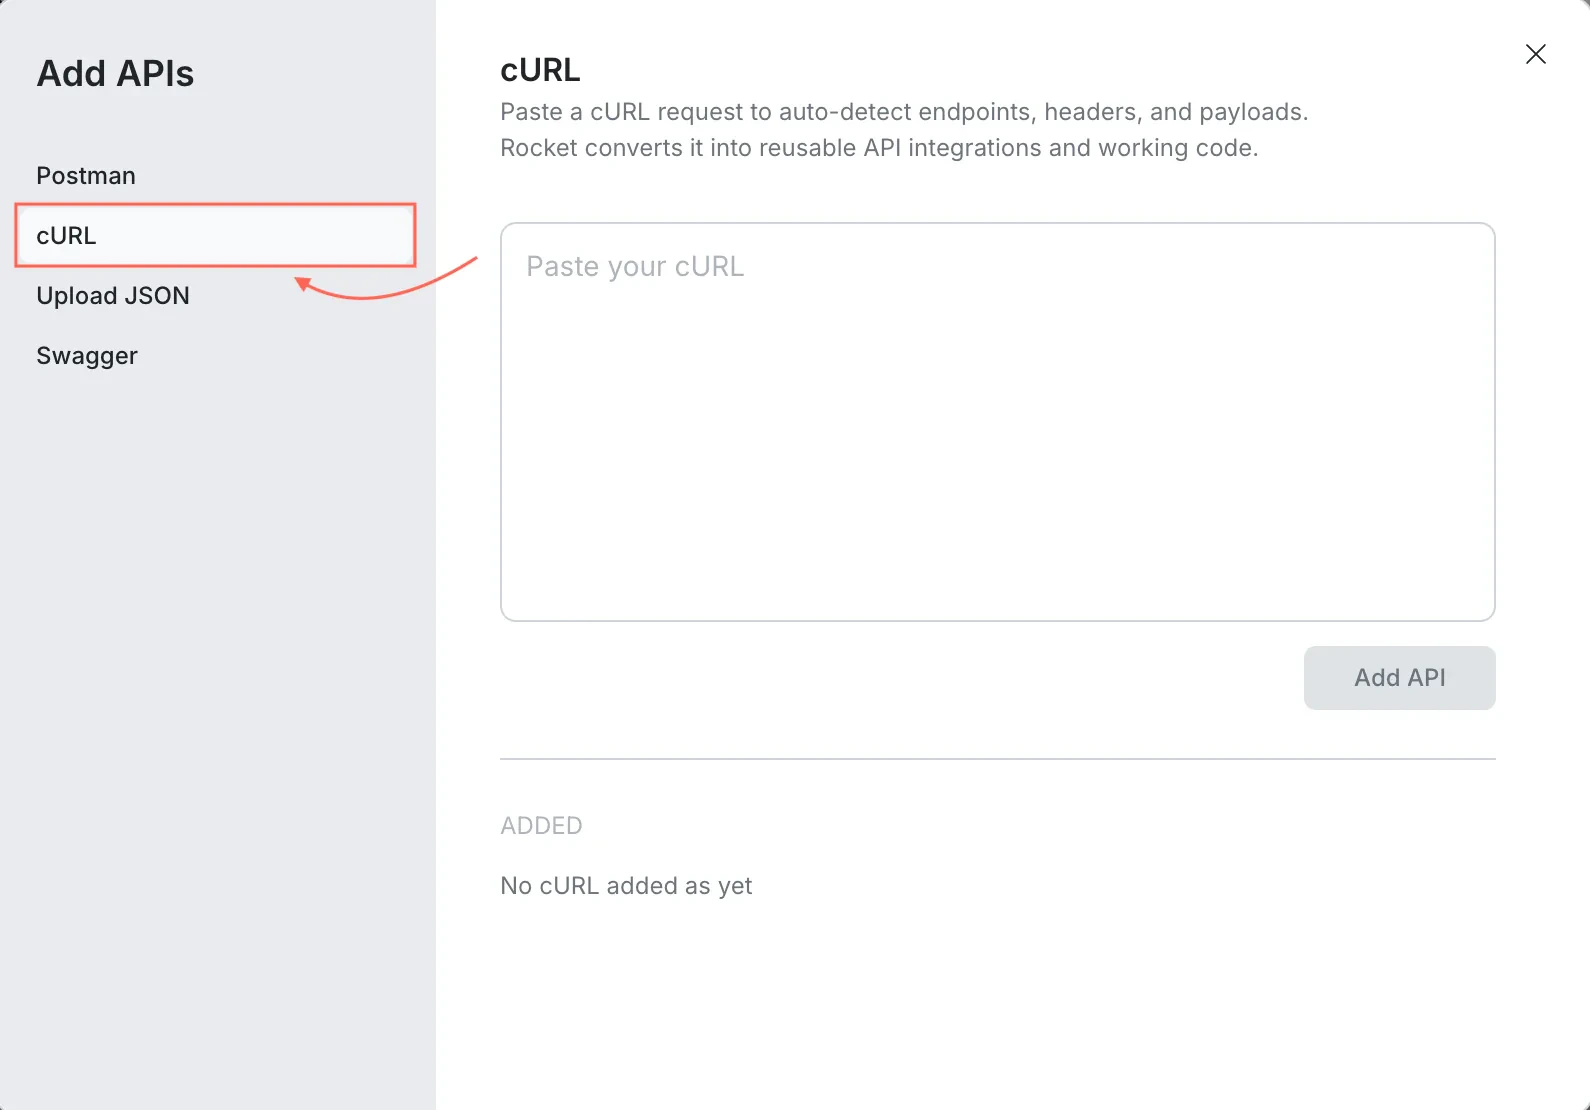
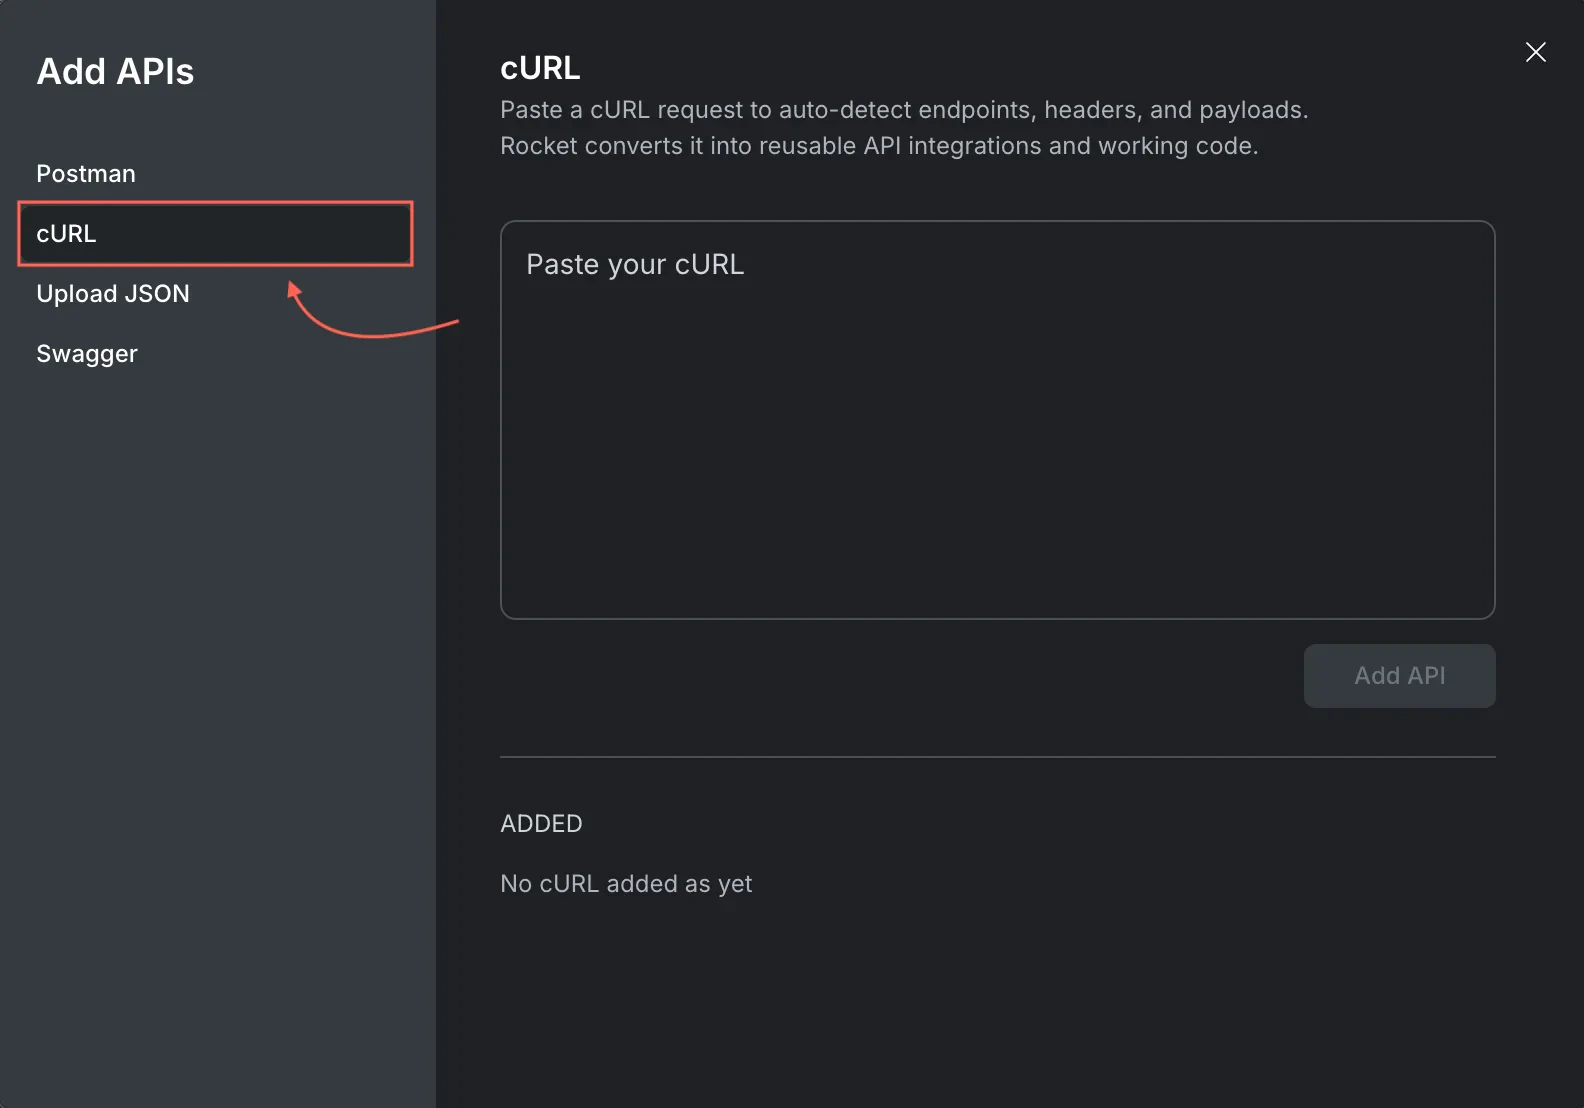
- In Add APIs, select the cURL tab.
- Paste the full cURL command.
- Click Add API.
Upload JSON (Postman export file)
Upload JSON (Postman export file)
Use this when you have a Postman export file.
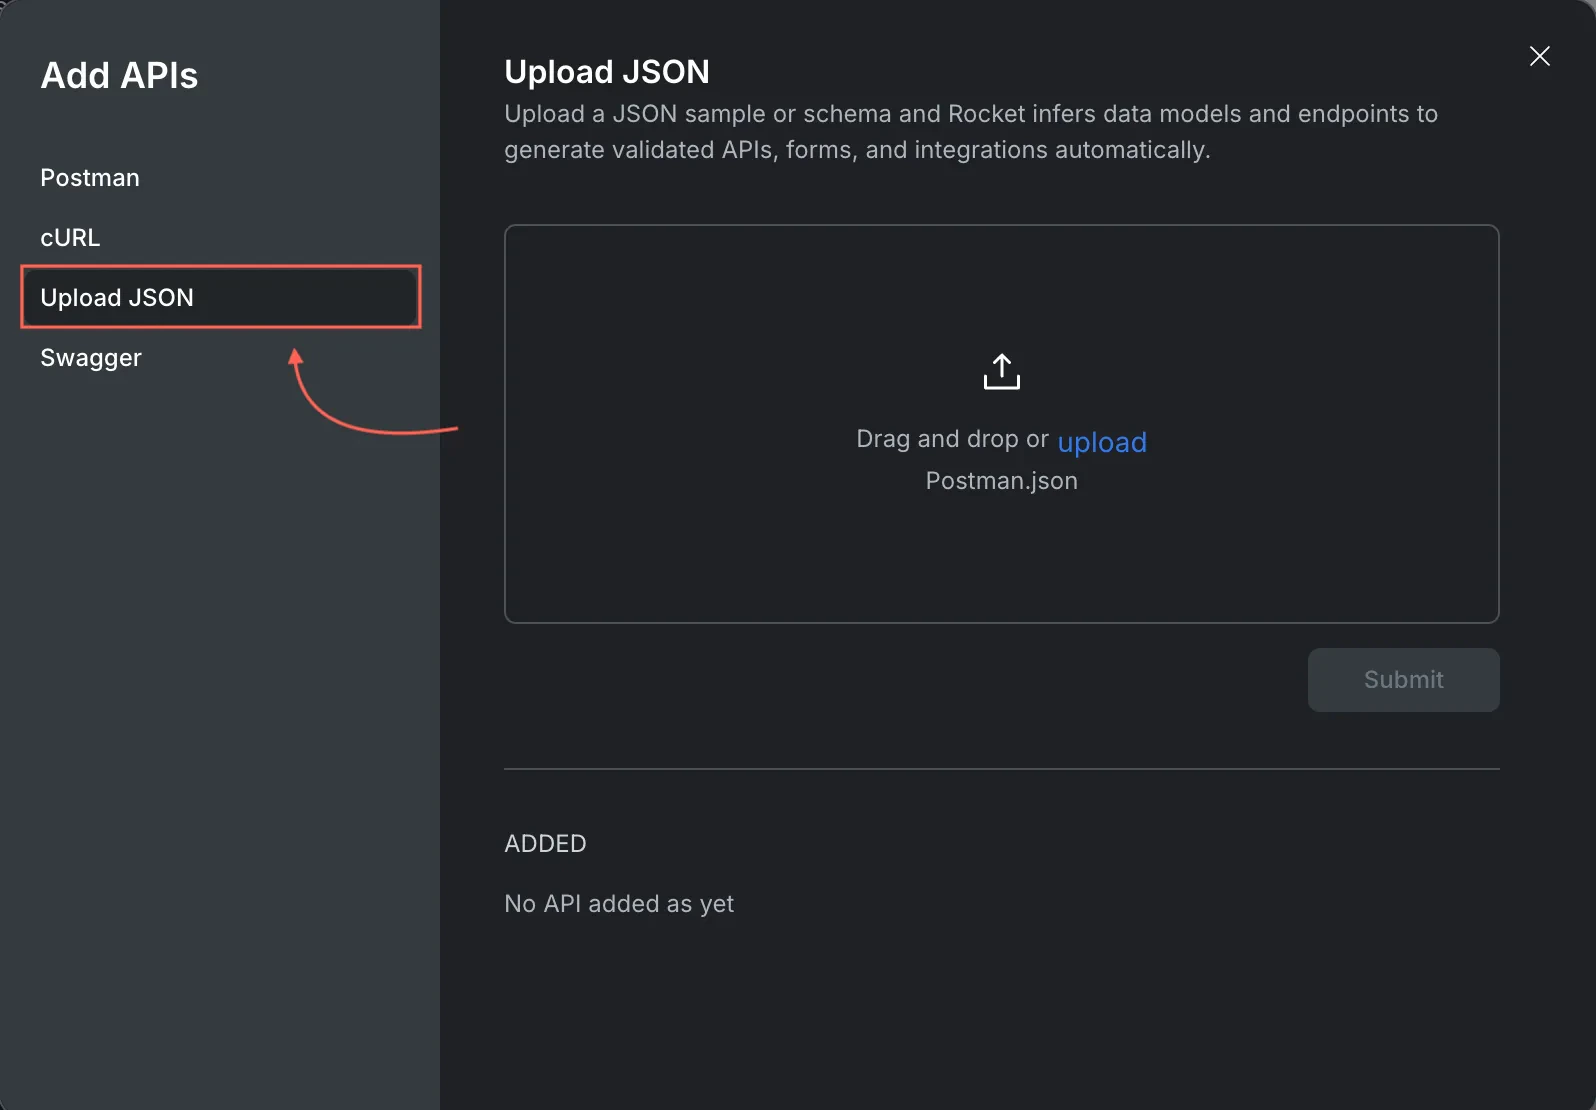
- In Add APIs, select Upload JSON.
- Drag and drop or upload your
postman.json. - Click Submit.
Swagger (OpenAPI import)
Swagger (OpenAPI import)
Use this when your backend provides an OpenAPI spec.
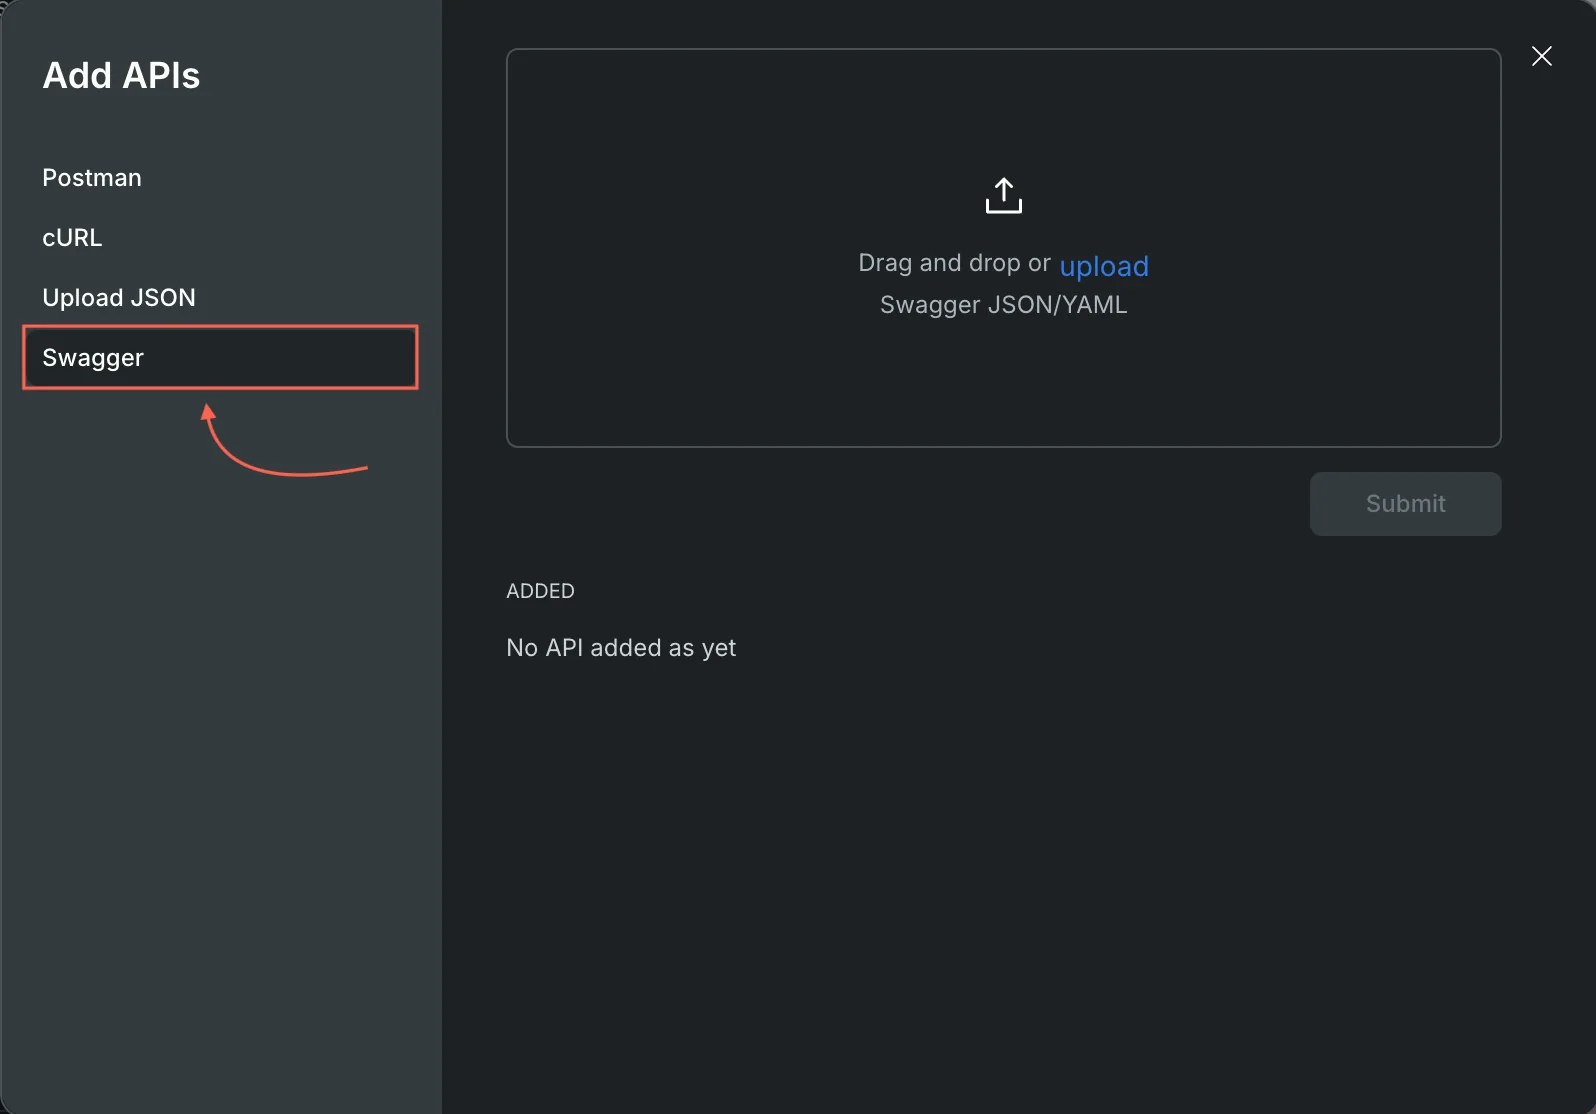
- In Add APIs, select Swagger.
- Drag and drop or upload your Swagger JSON or YAML file.
- Click Submit.
Integrate an API into a UI element
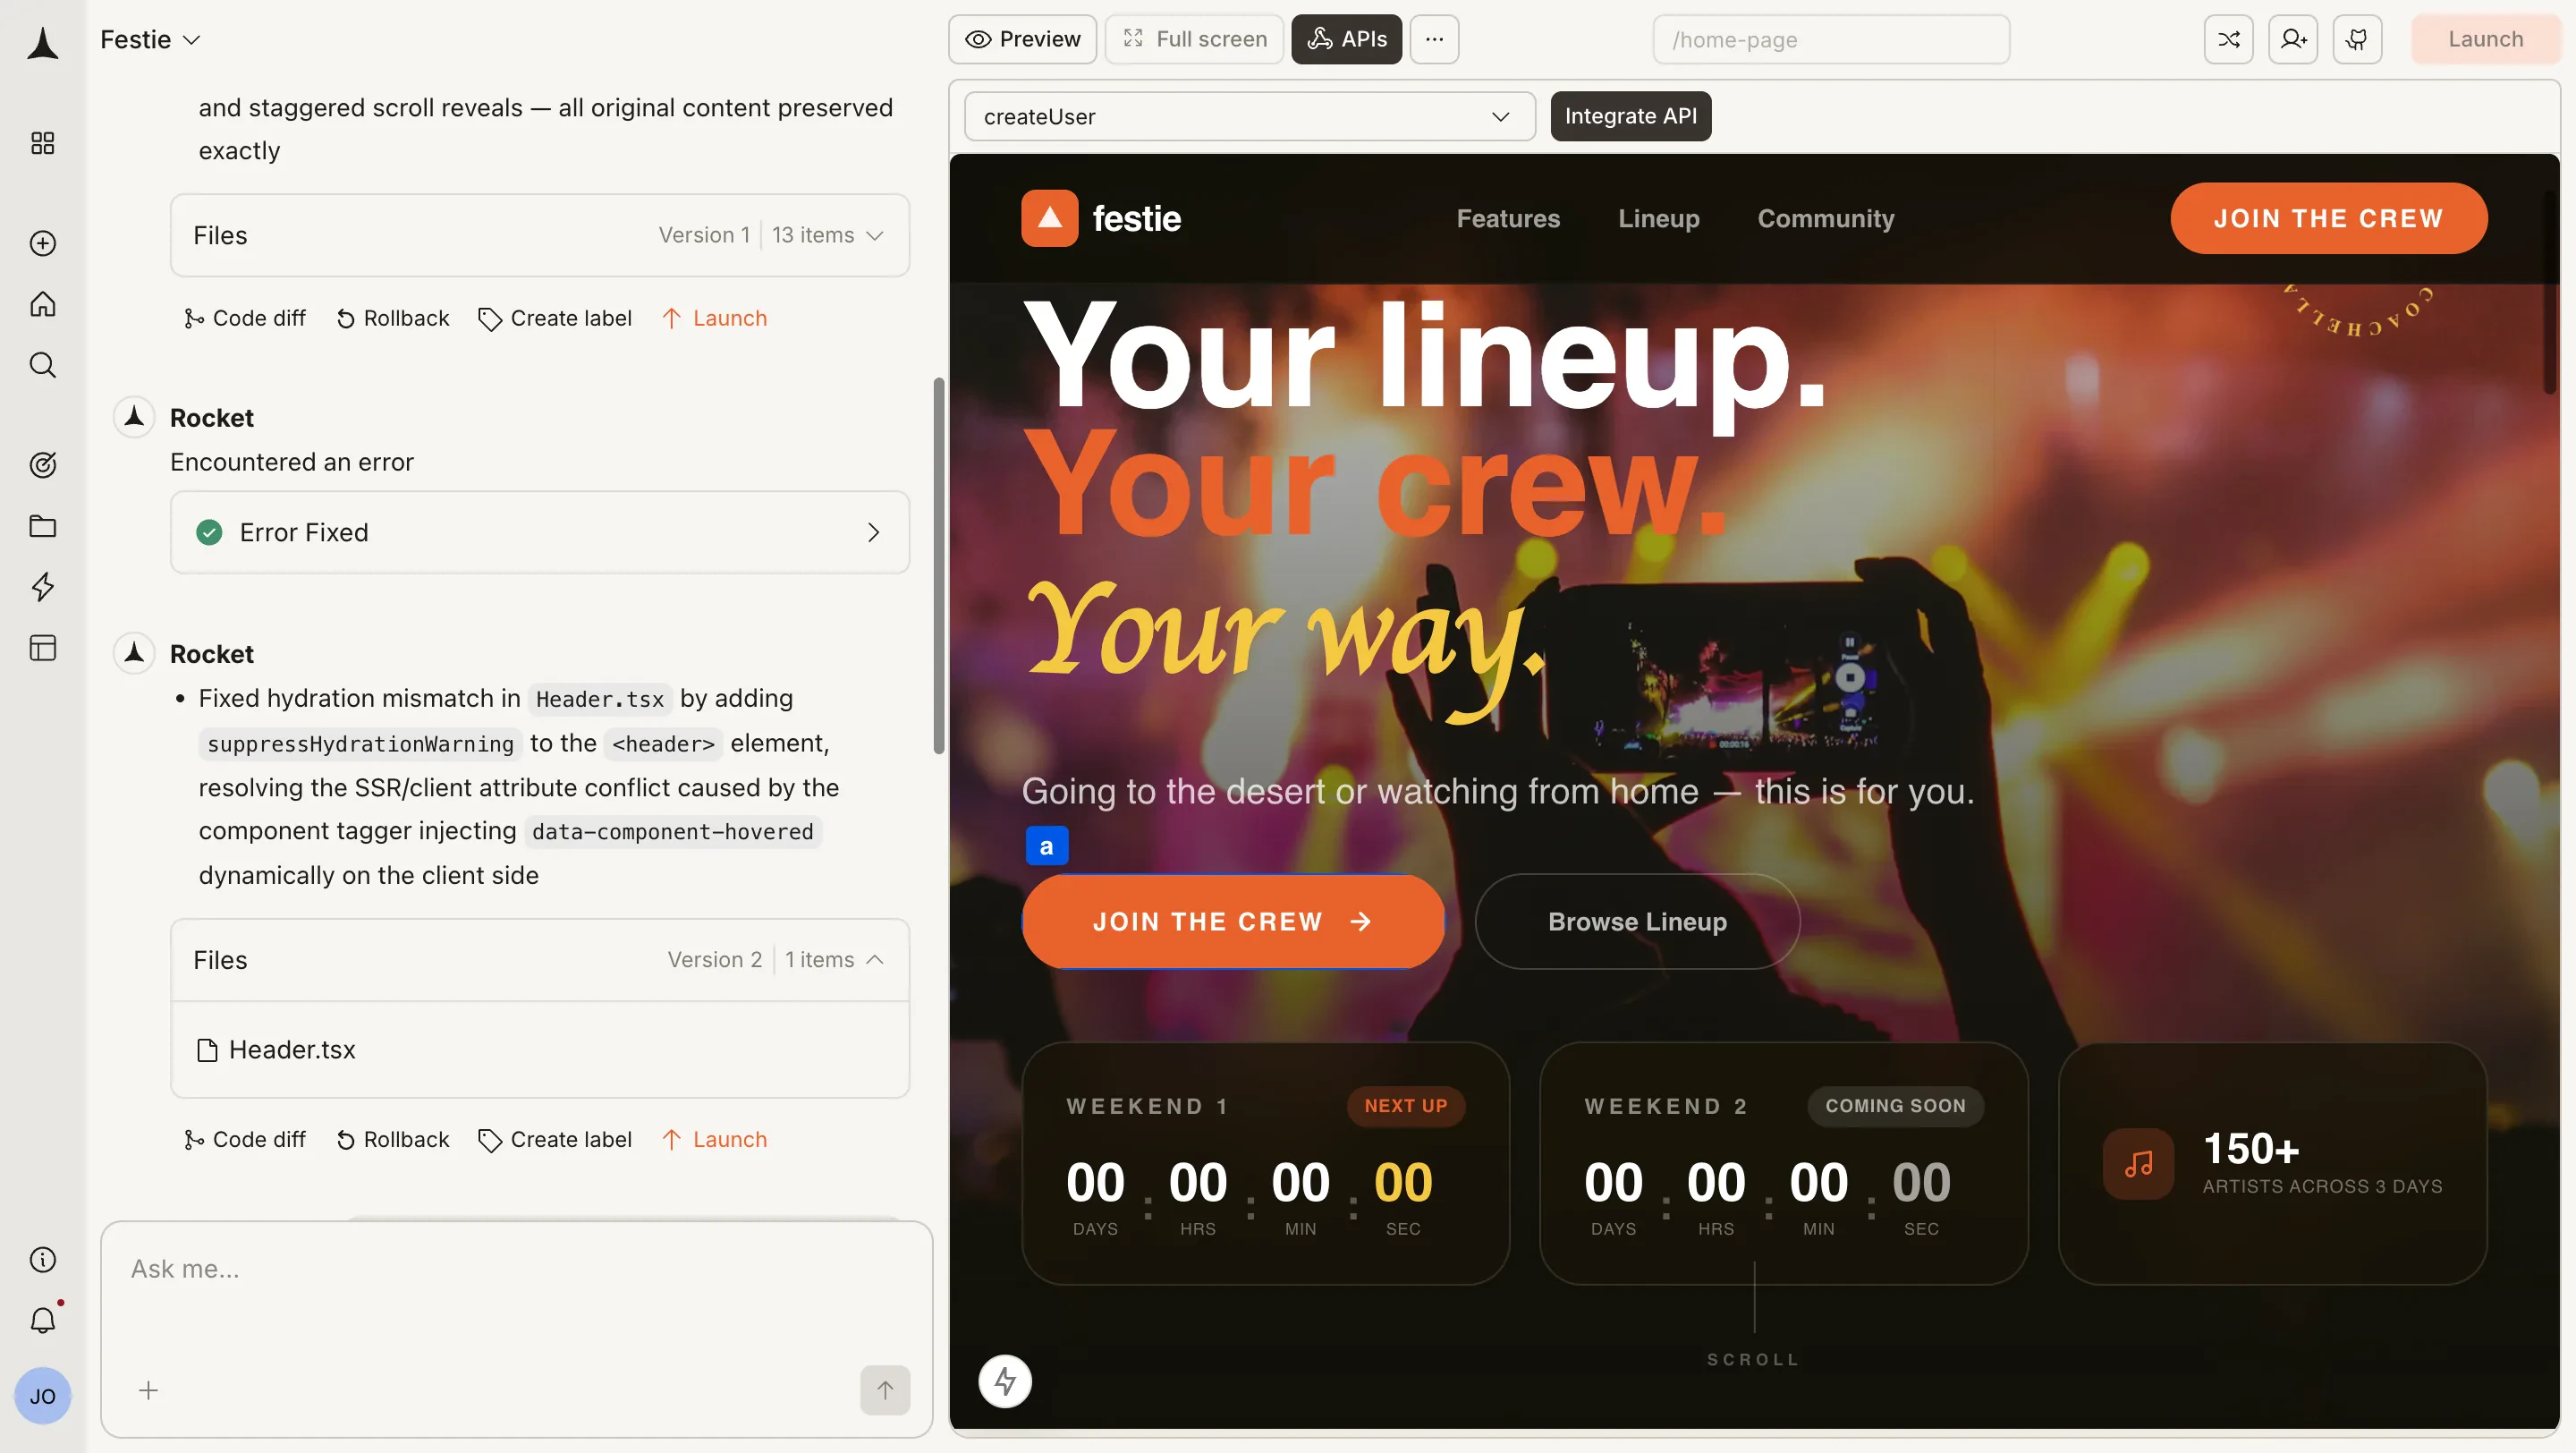
This connects an endpoint to a screen element so Rocket generates code tied to a real component.Select a route and API
In the APIs panel, choose the route (the screen or page path, for example/dashboard or /settings) where the API should run, and select the API from the Select an API dropdown. Then click Integrate API.


Click a UI element
After clicking Integrate API, element selection activates. A tag bar appears at the top of the preview showing the available elements. Click the UI element where you want to attach the API.
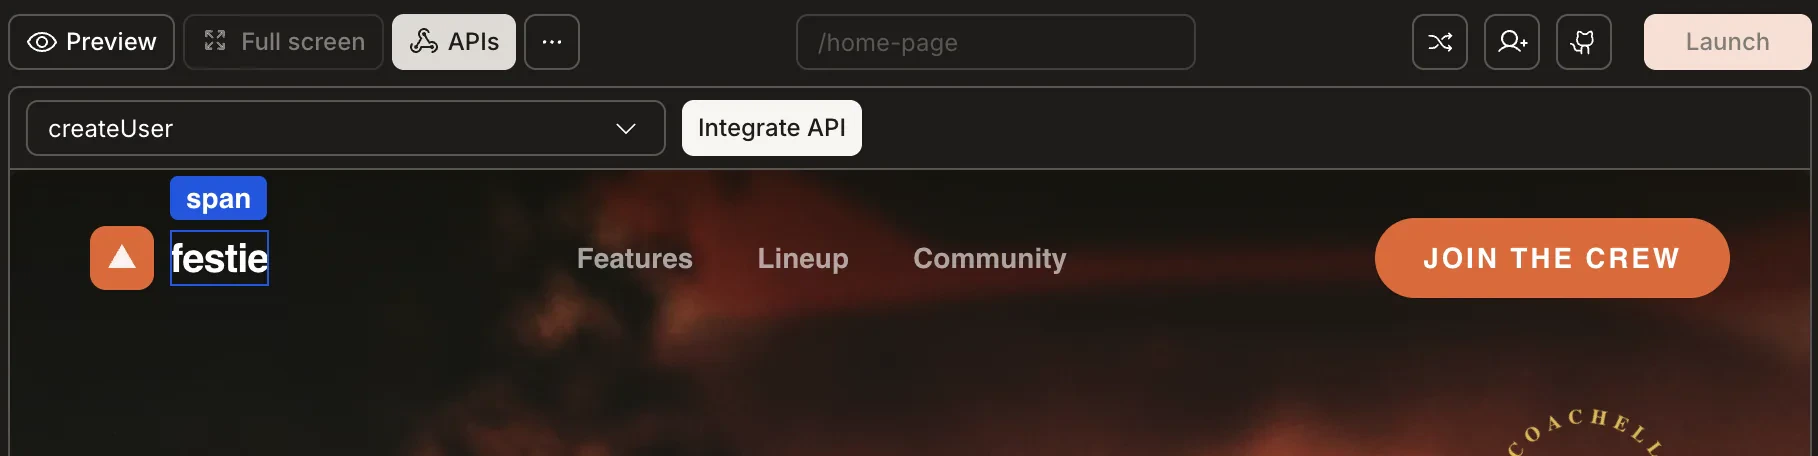
Attach to a stable container element that is always present on the screen. Avoid conditional elements that may not exist on initial render.
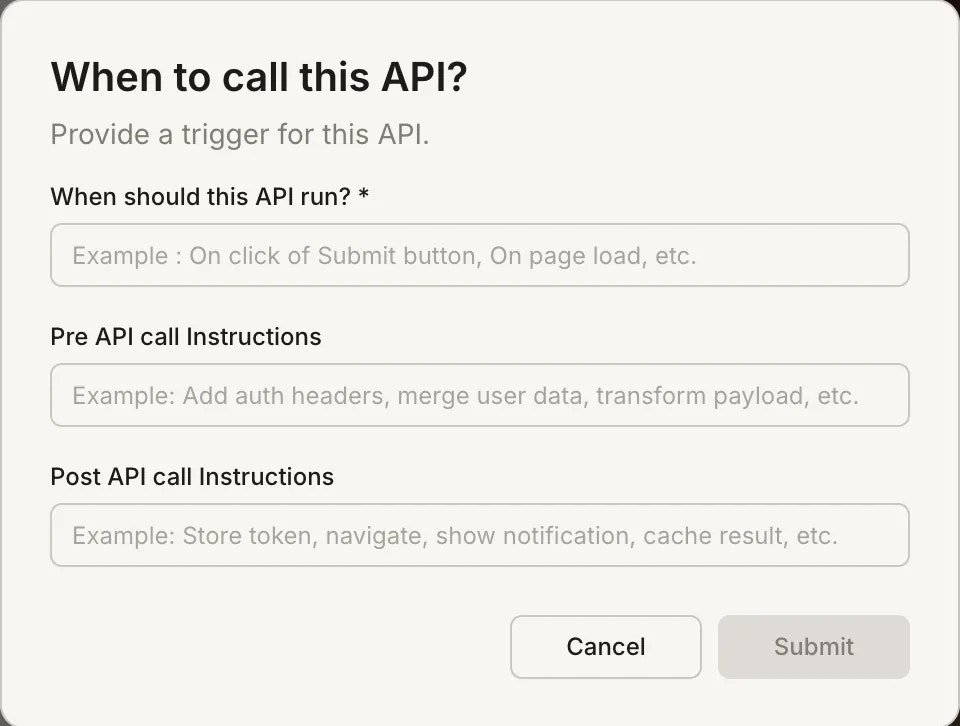
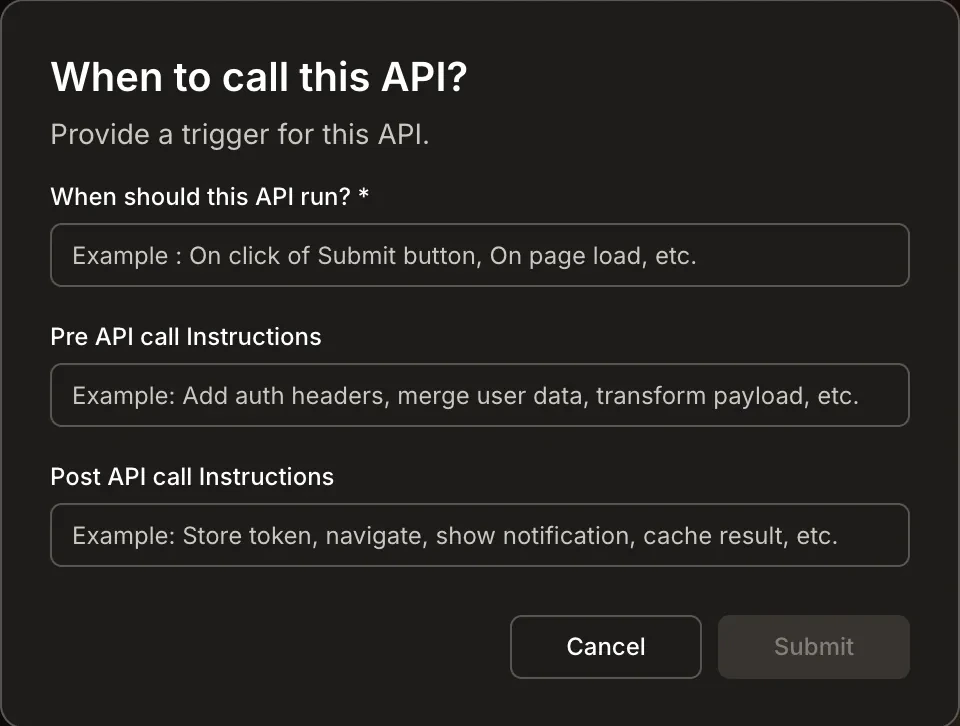
Configure the trigger
After selecting the element, the When to call this API? dialog opens. Fill in:- When should this API run (the trigger, e.g. “On page load”, “On click of Submit button”)
- Pre API call Instructions (validation, auth checks, token refresh)
- Post API call Instructions (store response, handle errors, navigate on failure)
- Validate required variables exist (base URLs, IDs, query params)
- Check auth state (token exists, not expired)
- Refresh token here if possible
- Store response data into a named state variable your UI can bind to
- Cache successful responses to improve performance
- Handle error states with clear user feedback
- Navigate when needed (e.g. redirect to login on 401)
Clear pre and post-call instructions help Rocket generate robust error handling code.
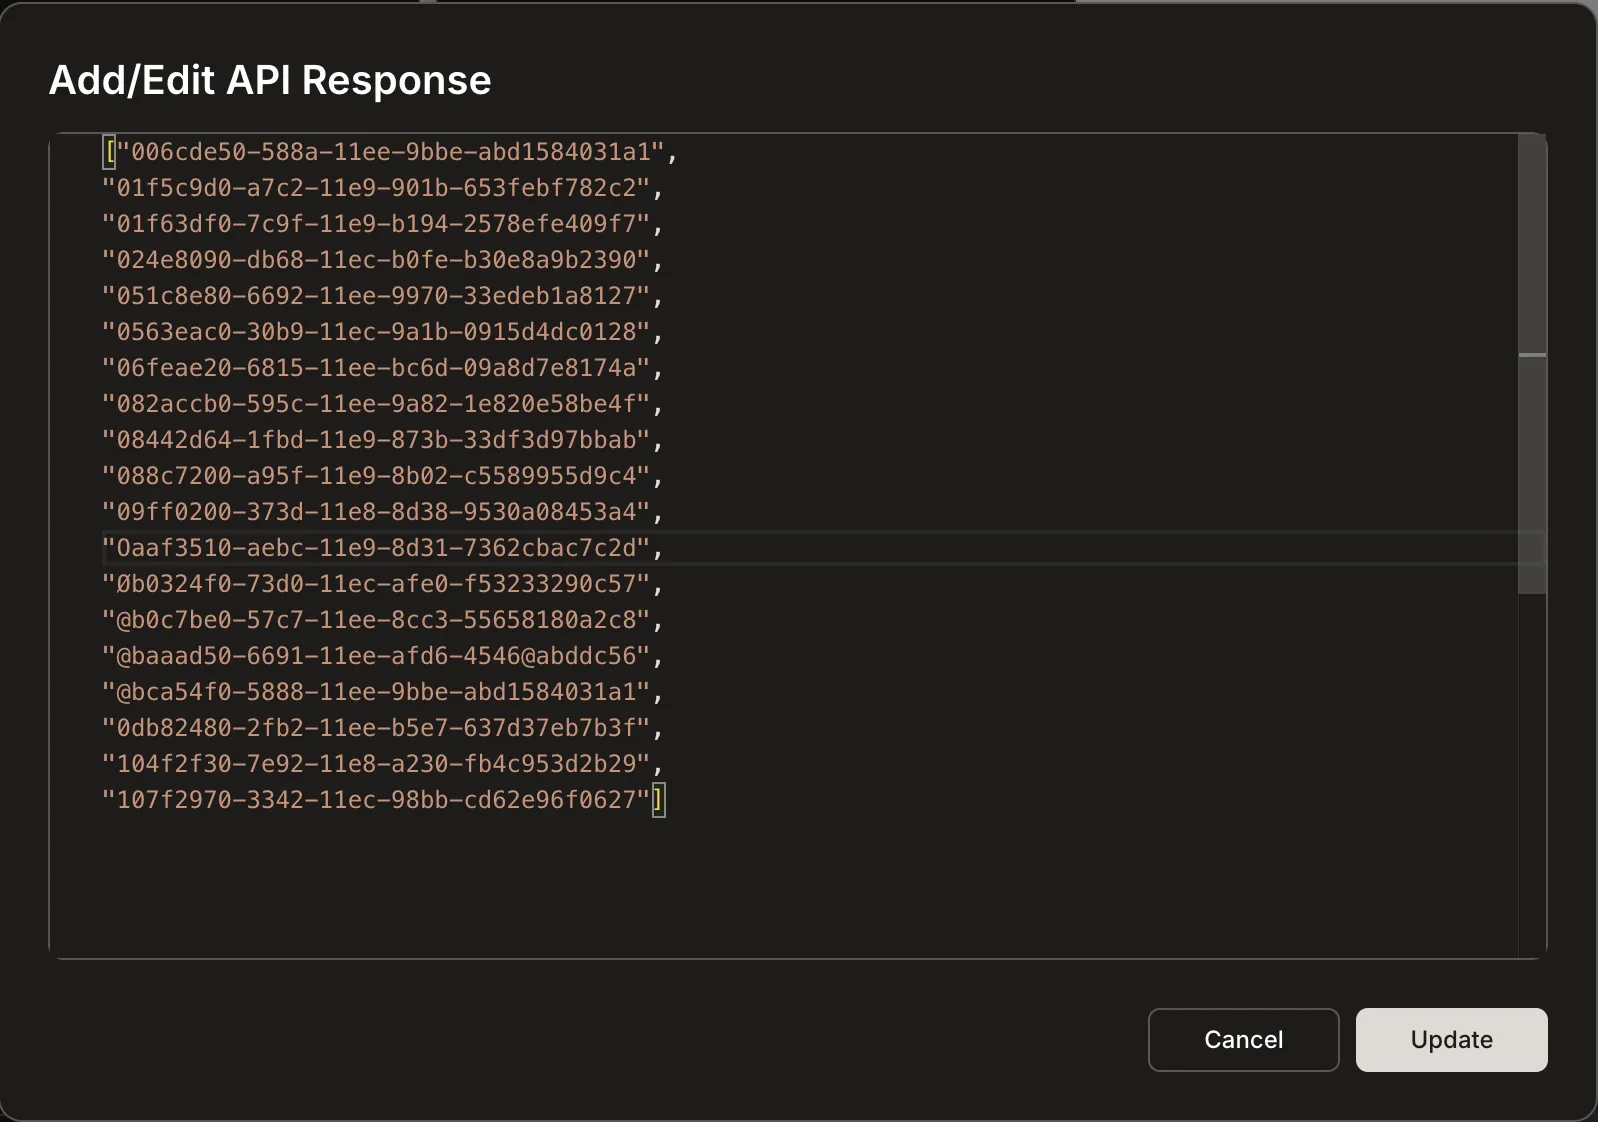
Edit an API response
To update a mock or expected response for an API, open the Add/Edit API Response dialog for that endpoint and paste the updated JSON, then click Update.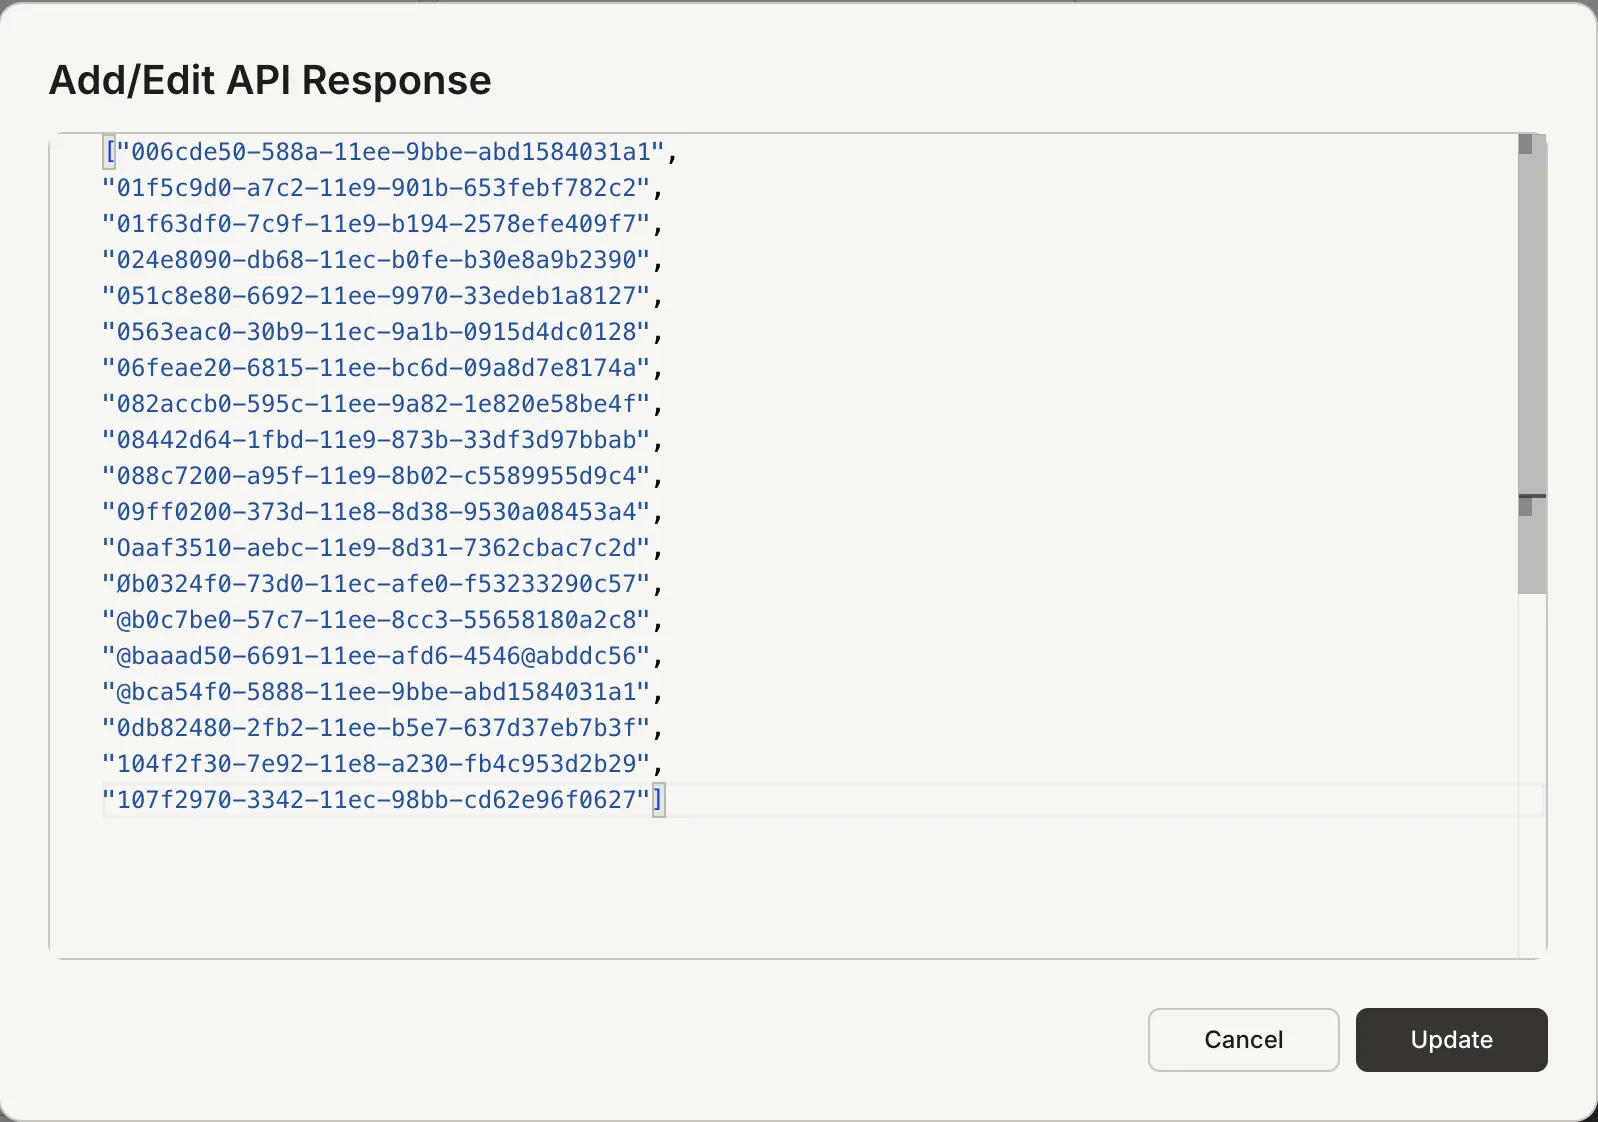
Troubleshooting
The API picker is empty
The API picker is empty
Import did not complete, or you imported into a different project. Reopen Add APIs and verify your source: check that your Postman API key is valid, that your Postman workspace contains collections, and that you are importing into the correct project.
Integration asks for attributes you did not expect
Integration asks for attributes you did not expect
The imported definition includes placeholders. Map them to known state variables or environment variables. Set any placeholder like
accessToken to reference your stored token value and confirm the request uses the correct auth scheme (e.g. Authorization: Bearer <token>).Calls run but the UI does not update
Calls run but the UI does not update
Response data is likely not stored to the variable your UI is bound to. Update the Post API call instructions to store the response, then bind your UI list or widget to that variable.
You get 401 Unauthorized
You get 401 Unauthorized
What’s next?
Chat interface
Build and iterate on your app through natural conversation.
Inject custom code
Add scripts, embeds, and UI components from external sources.
Integrations
Some services have dedicated integrations that are simpler than raw API imports.
Code tab
Browse and edit your project’s source files directly.