Manage your project in one place. You need an existing Rocket project to access settings.Rename projects, connect integrations, view creation dates, and safely remove projects you no longer need.
- Web Browser
- Mobile App
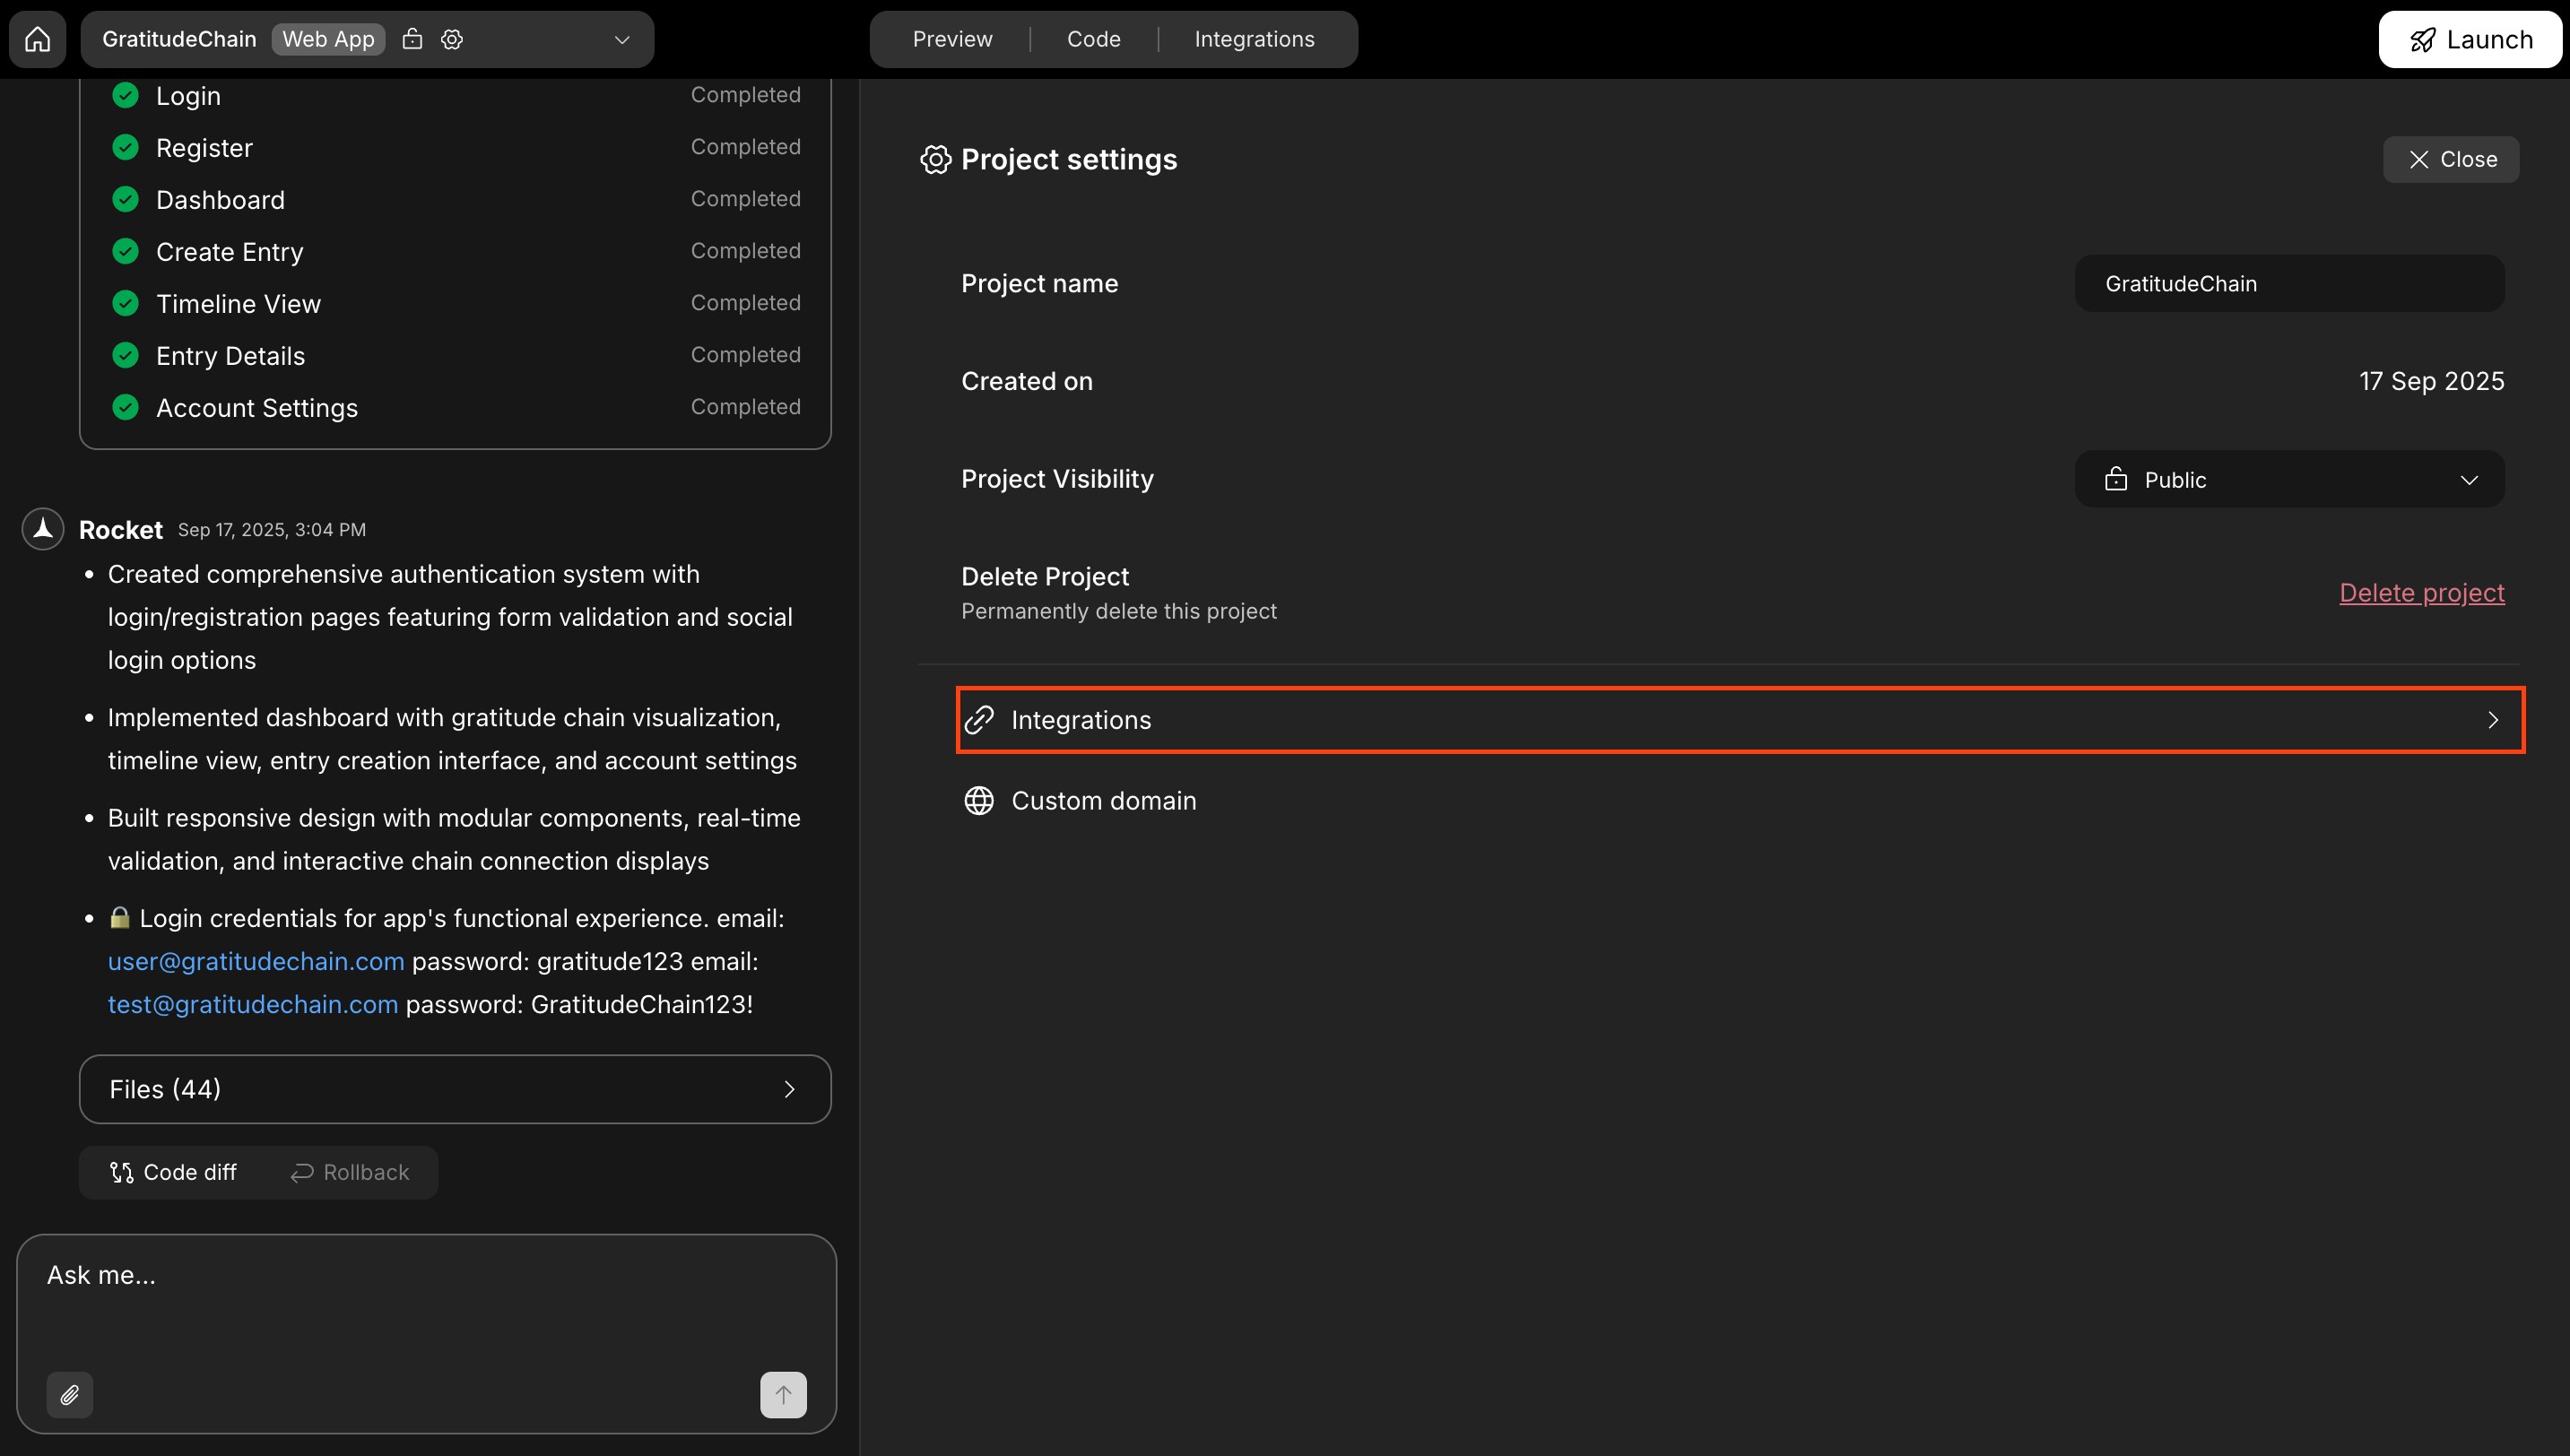
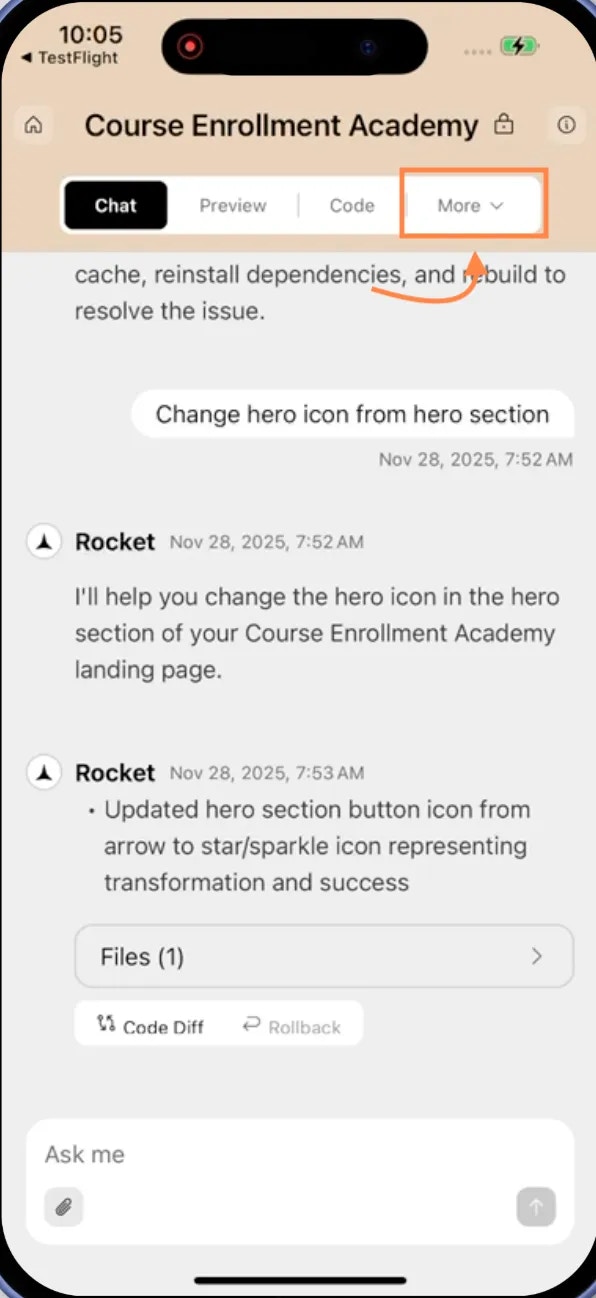
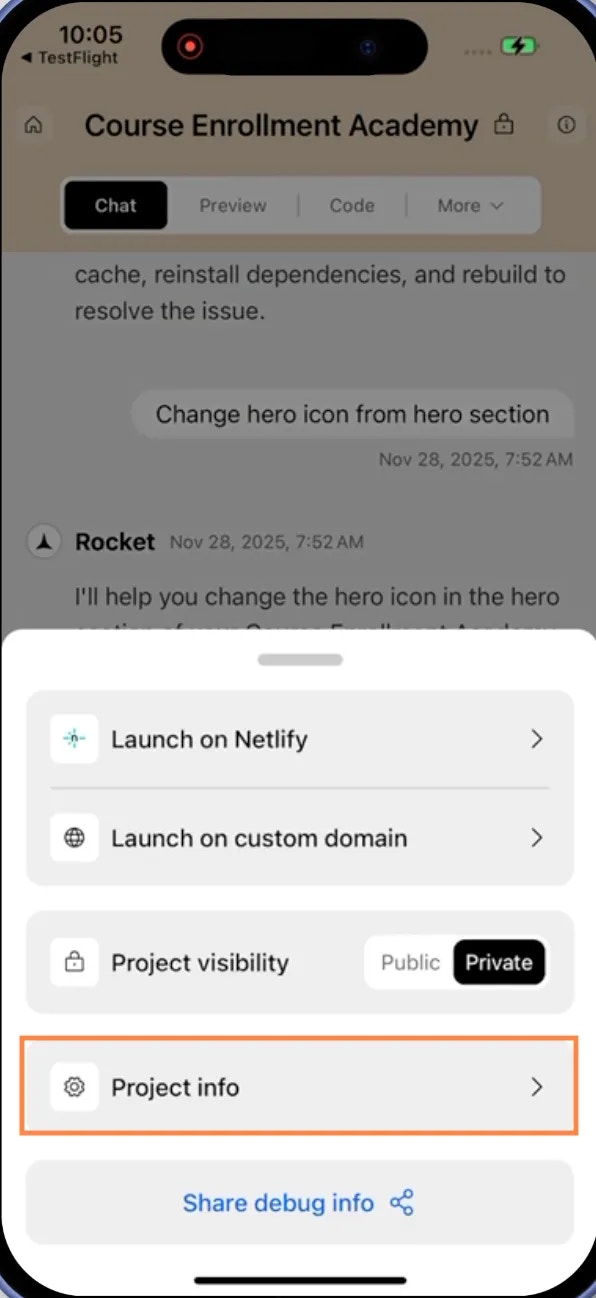
Open project settings
Click the Settings icon in the top navigation bar to open the project settings panel.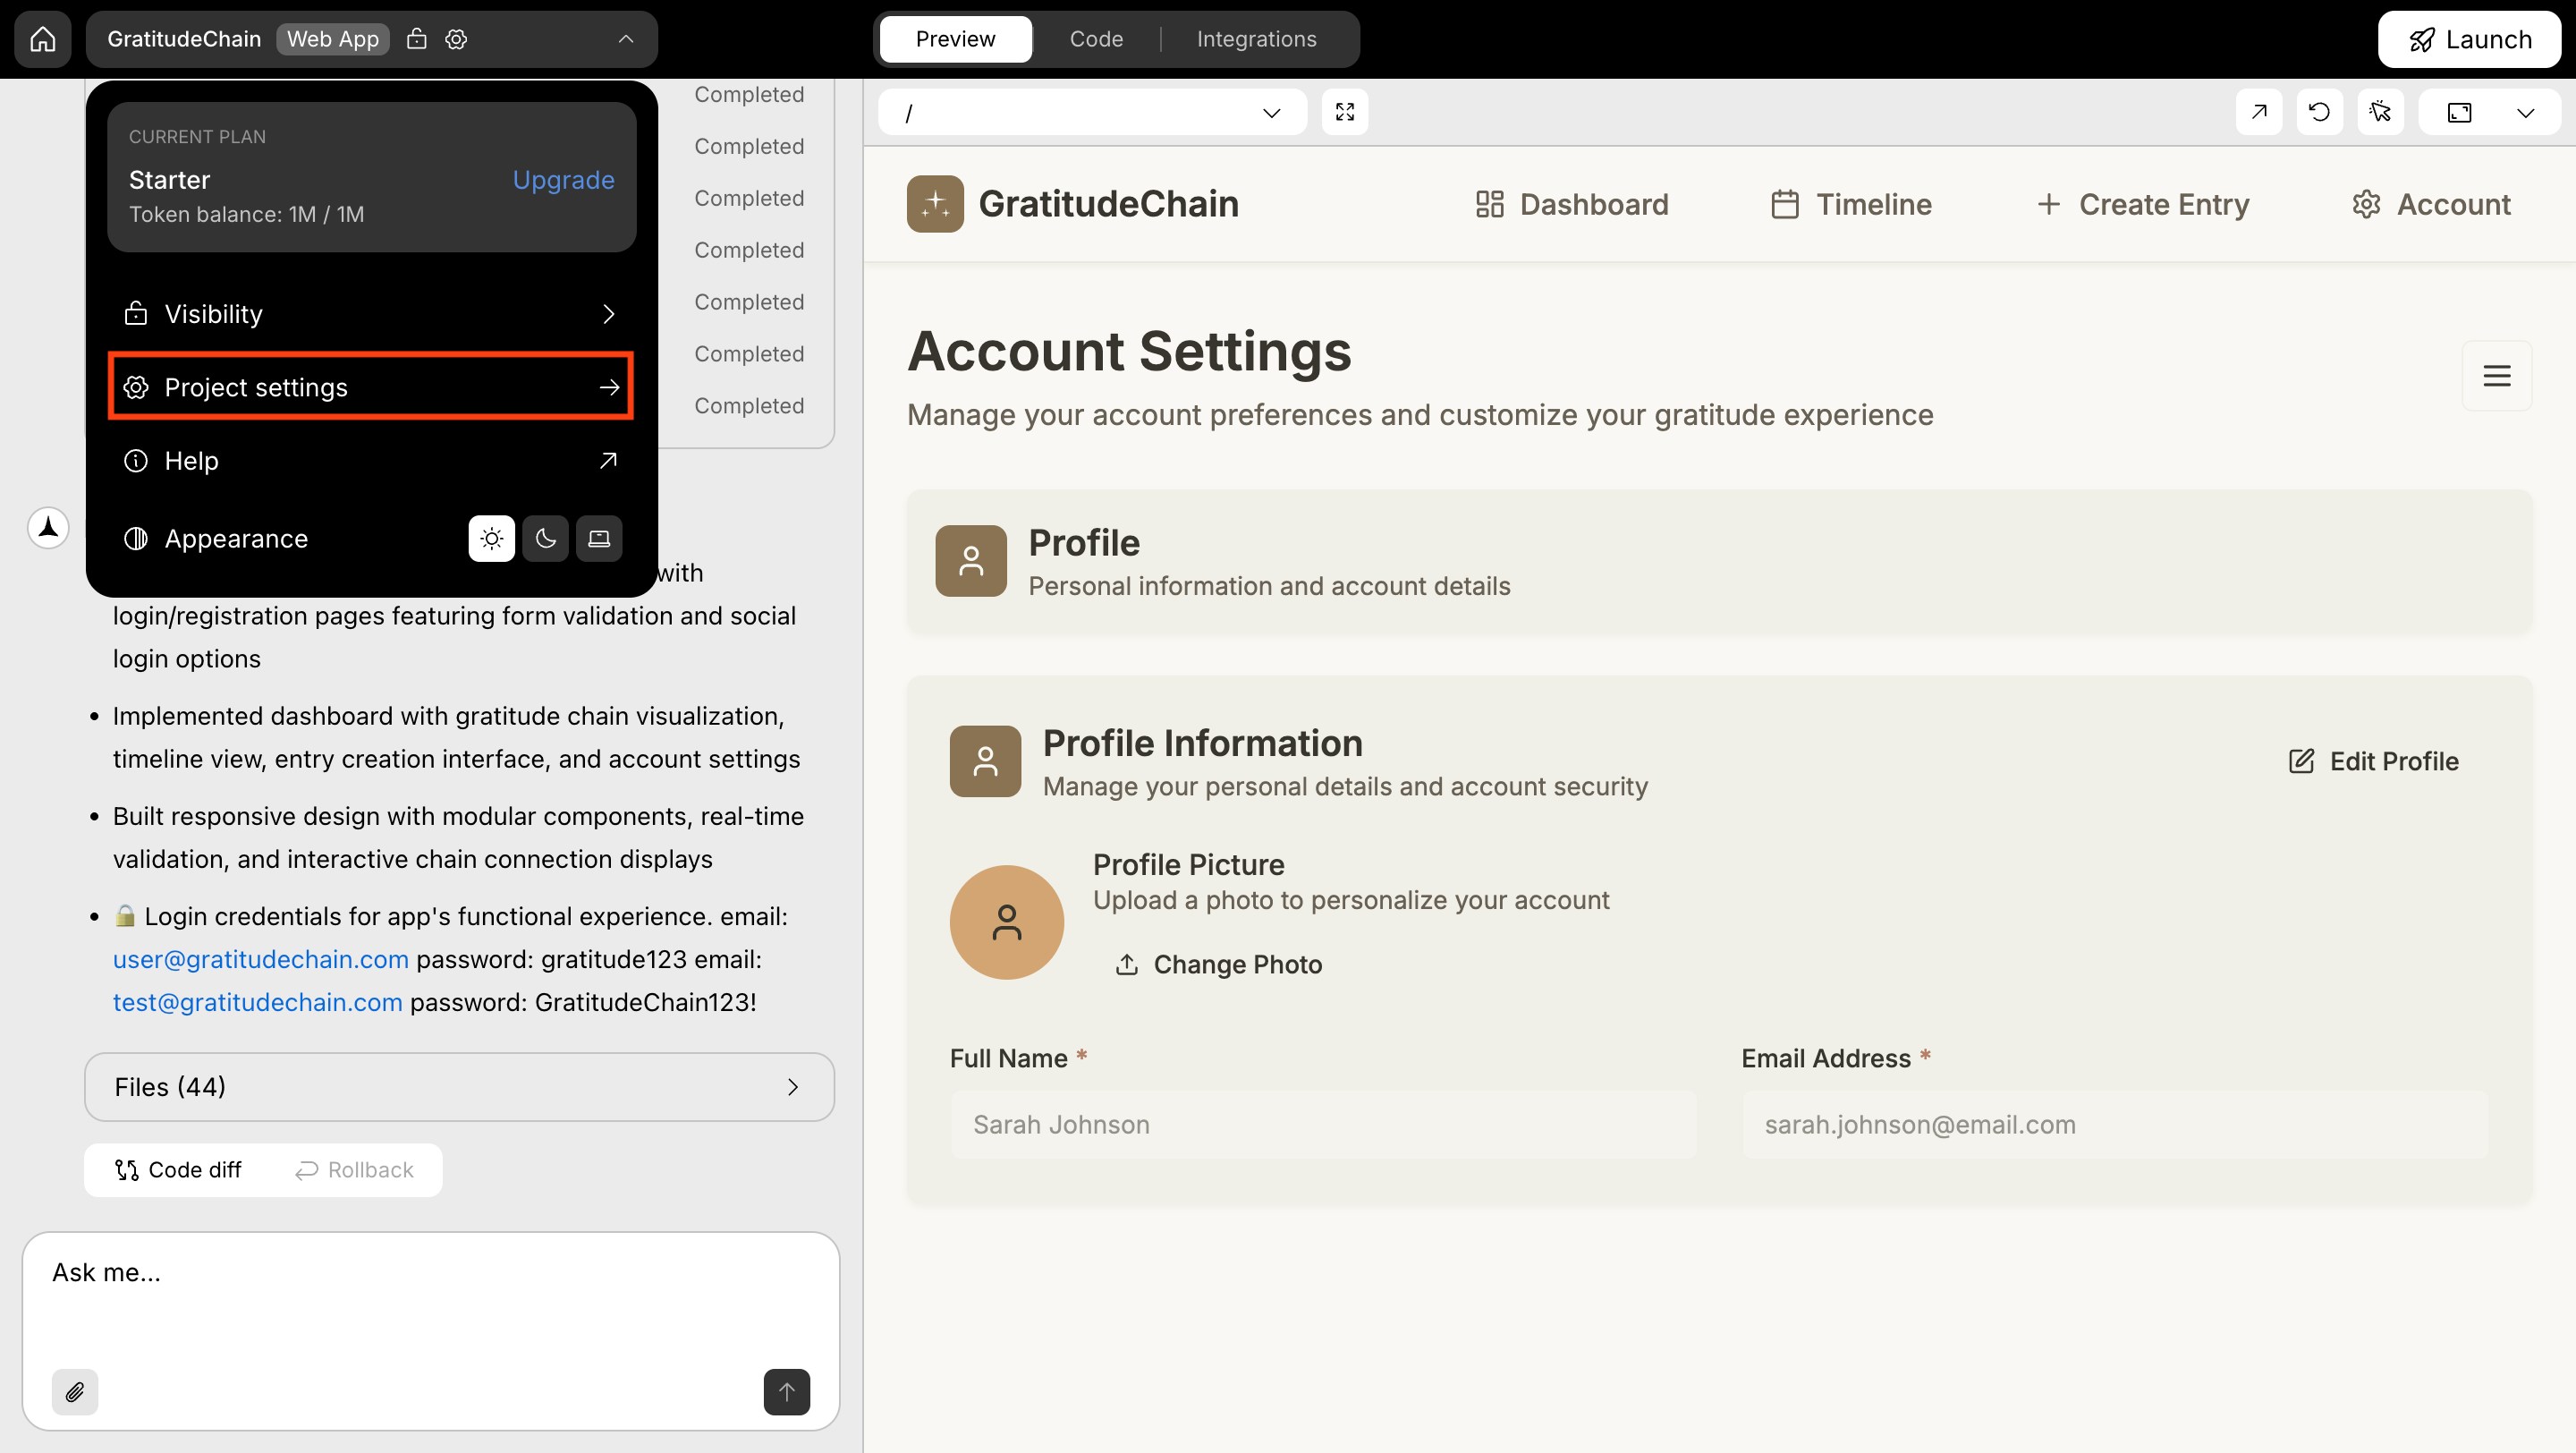
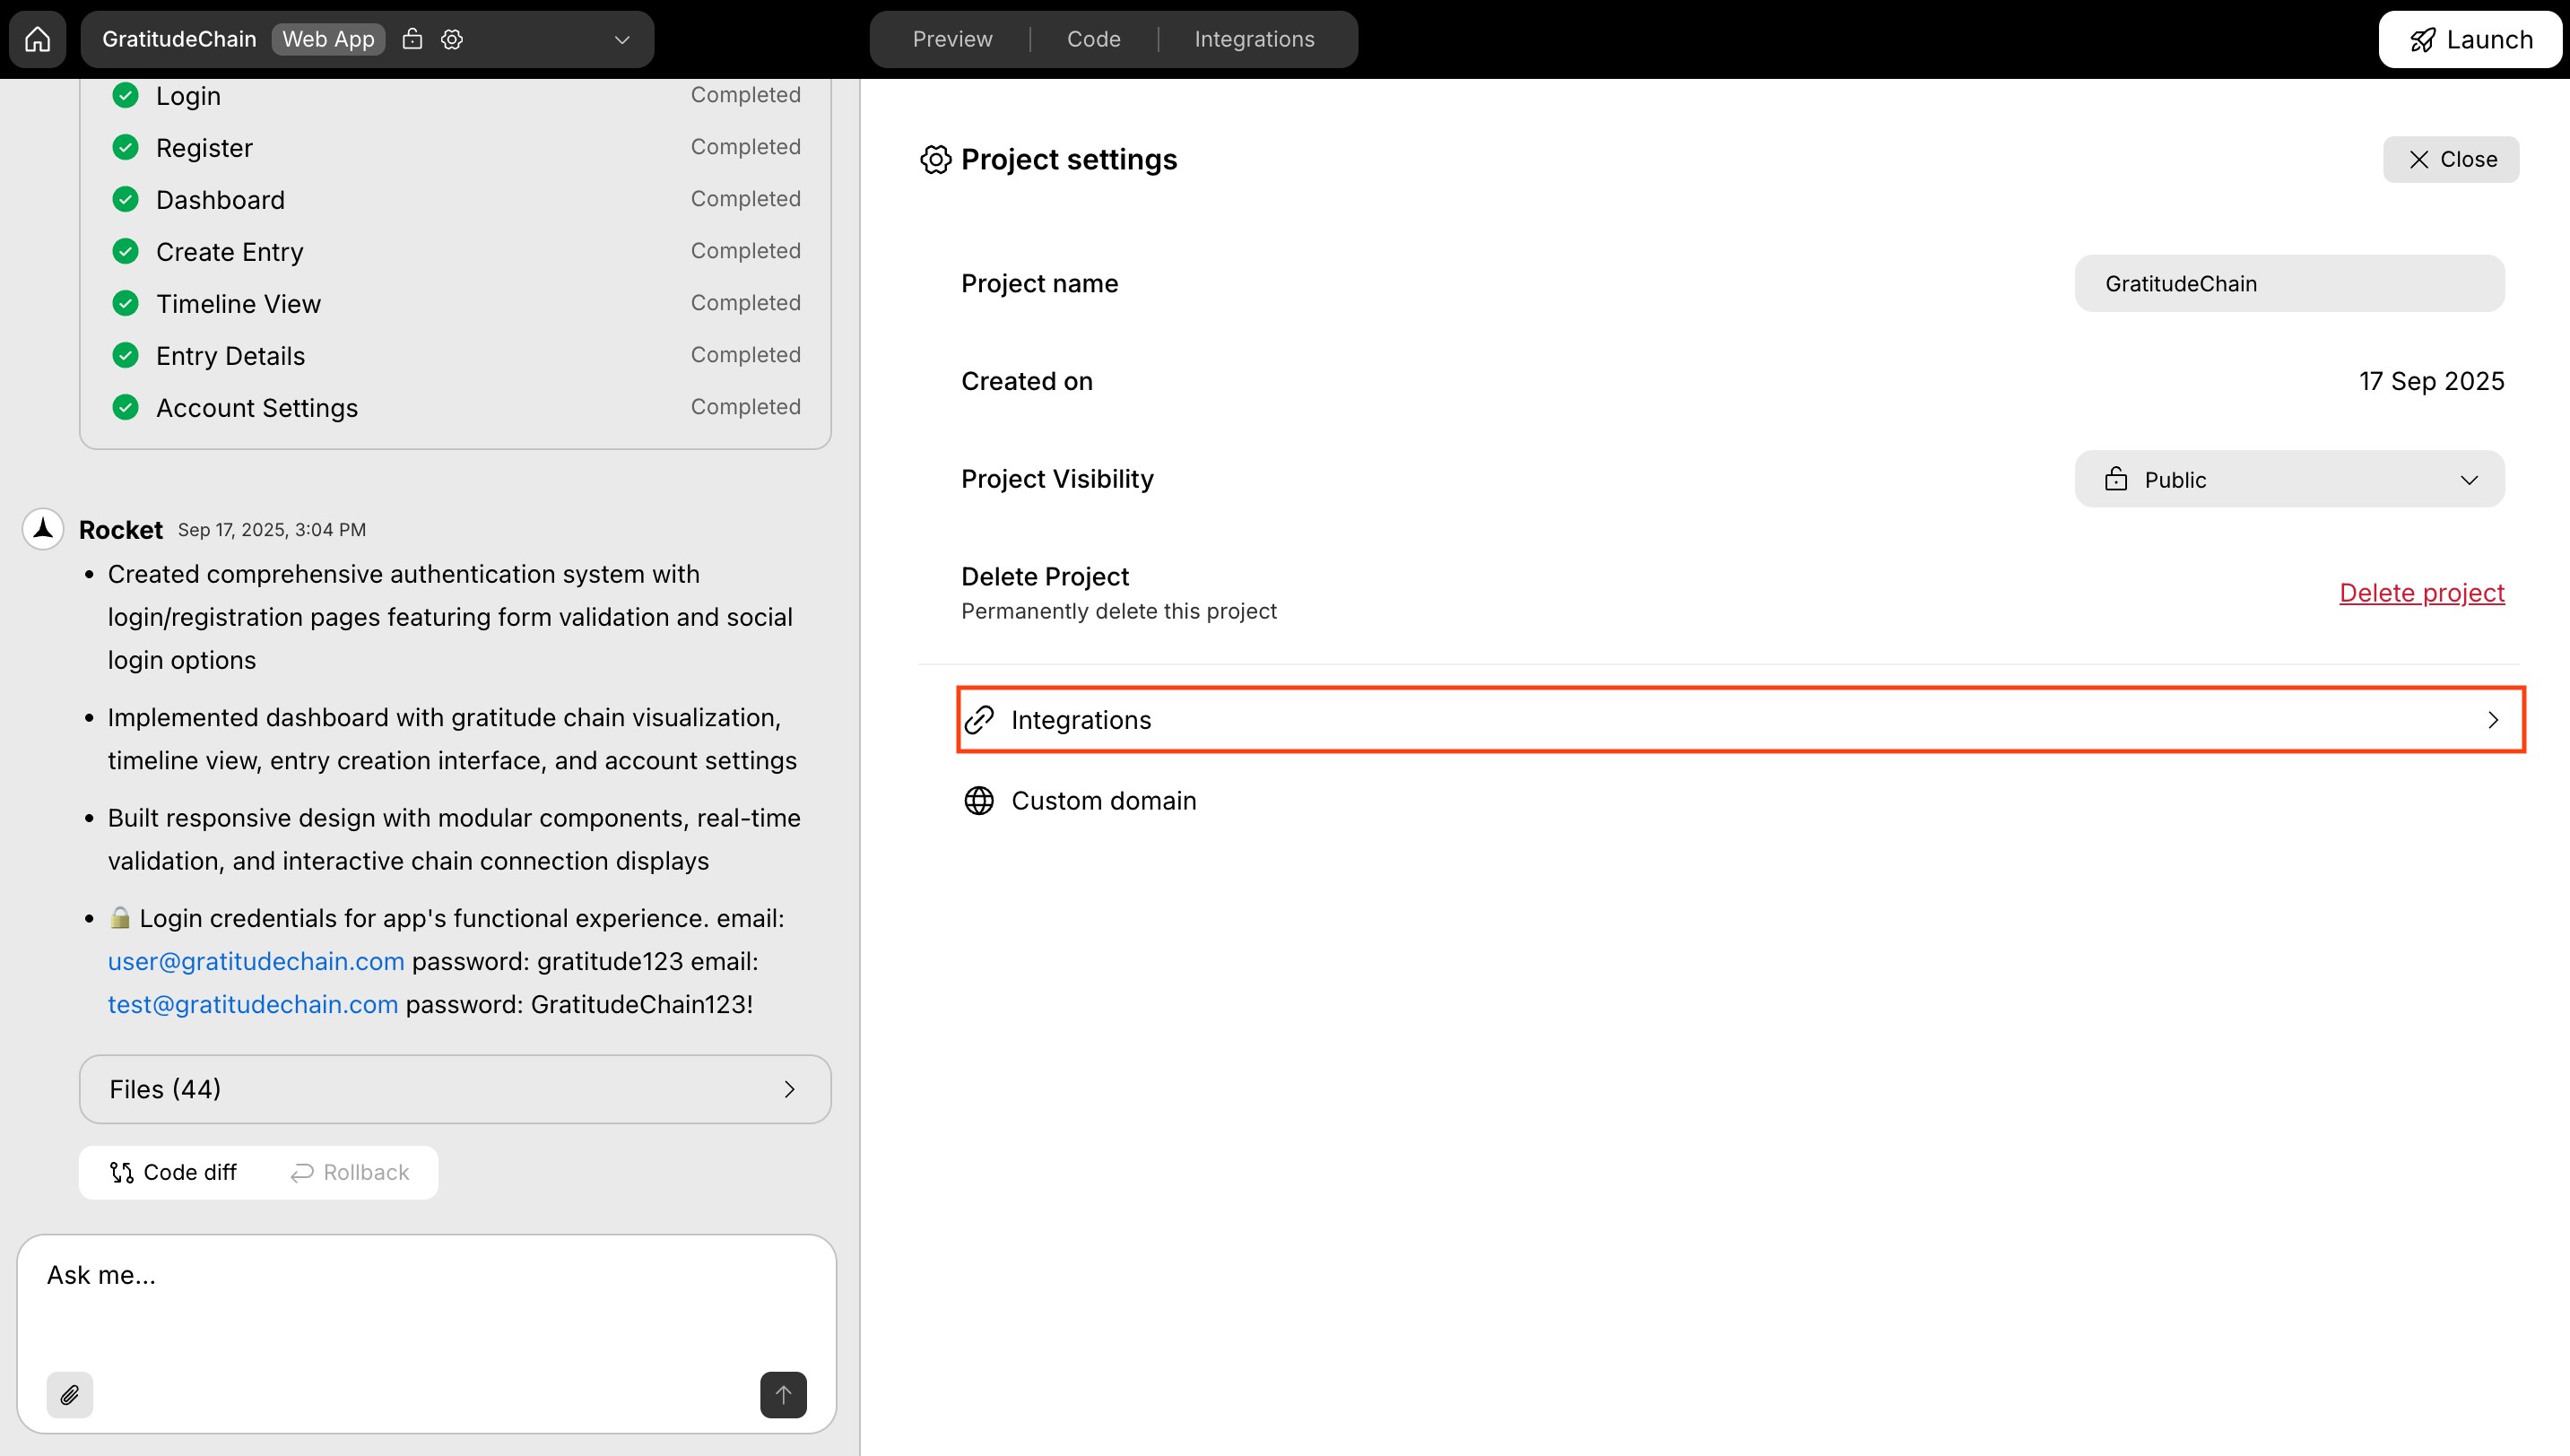
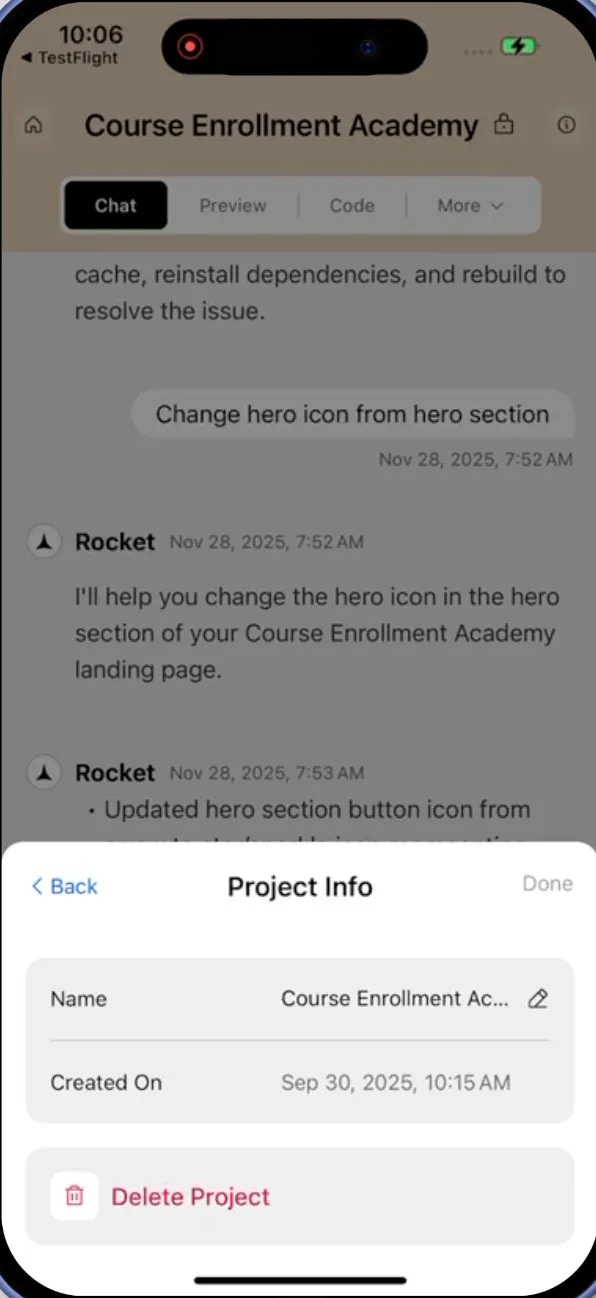
View project settings
The settings panel shows key information about your project:- Project name (e.g., GratitudeChain)
- Created on date
- Project visibility (Public or Private)
- Delete project action
- Integrations tab
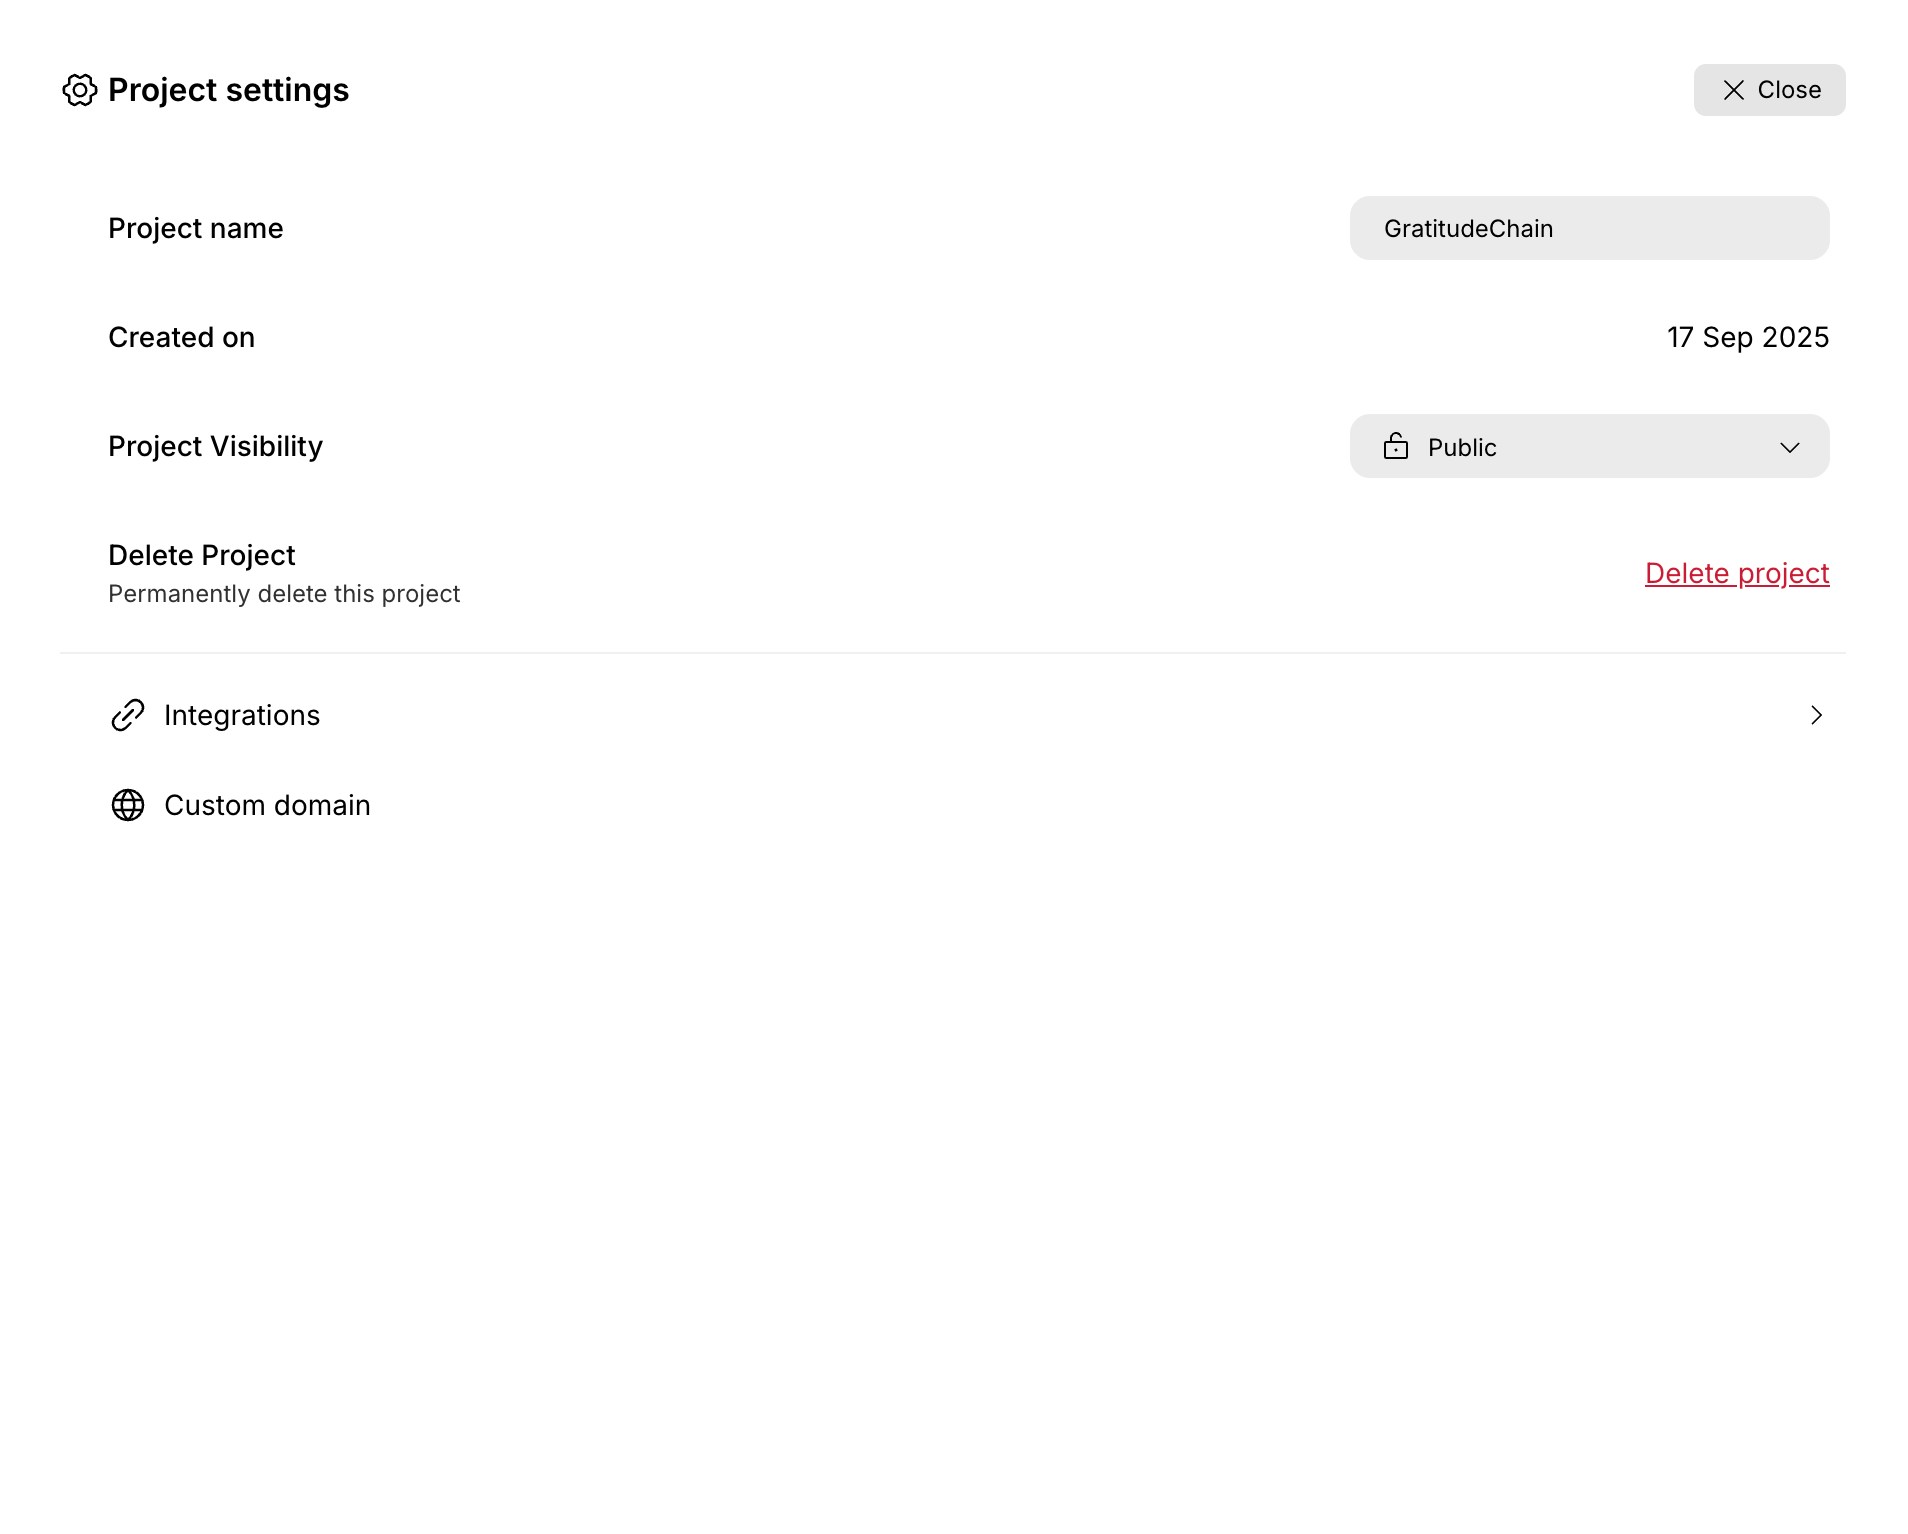

Rename your project
- Click the Project name field in the settings panel.
- Type a new name.
- Press Enter or click outside the field to save.
Delete a project
- In the settings panel, click Delete project.
- Review the project name in the confirmation dialog.
- Select Yes, delete to permanently remove the project.
Connect integrations
- In the settings panel, click the Integrations tab.
- Browse the list of supported services.
- Select a service (for example, Google Analytics, Stripe, or OpenAI) to start its setup flow.
Learn more about connecting third-party services to your project.
What’s next?
Project visibility
Control who can see your project.
Integrations
Connect third-party services to your project.
Chat interface
Build and iterate on your app through conversation.
Deploy to web
Publish your project to a live URL.