What you can build
SaaS product
Subscription-based apps with dashboards, user accounts, and billing.
E-commerce store
Product catalogs, shopping carts, and checkout flows.
AI-powered app
Chat interfaces, content generators, and smart search tools.
Dashboard or internal tool
Data dashboards, admin panels, and CRM systems.
Landing page or website
Marketing sites, portfolios, blogs, and landing pages.
Mobile app
Native mobile apps for iOS and Android with Flutter.
How it works
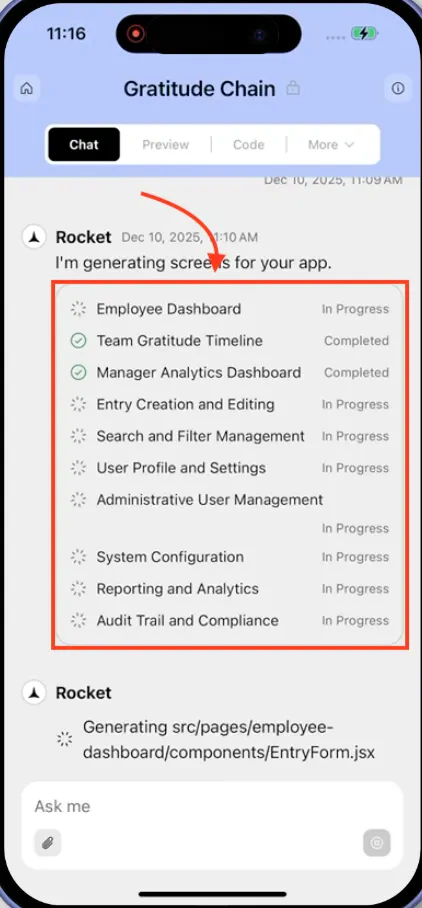
When you submit a prompt, Rocket scores it for clarity before starting work.- Clear prompt. Rocket starts building immediately.
- Vague prompt. Rocket asks a short set of targeted questions first, then starts once it has enough to go on.
Detailed walkthrough
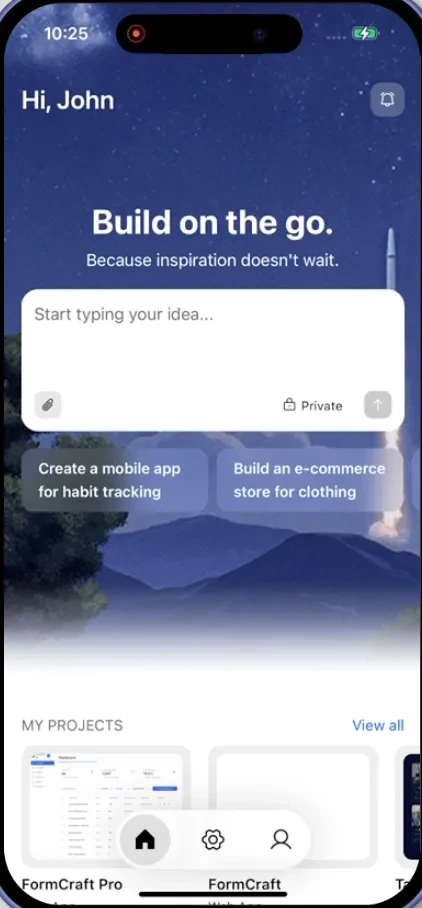
- Web Browser
- Mobile App
Before you begin
You will need:
- A rocket.new account, signed in.
Go to Rocket
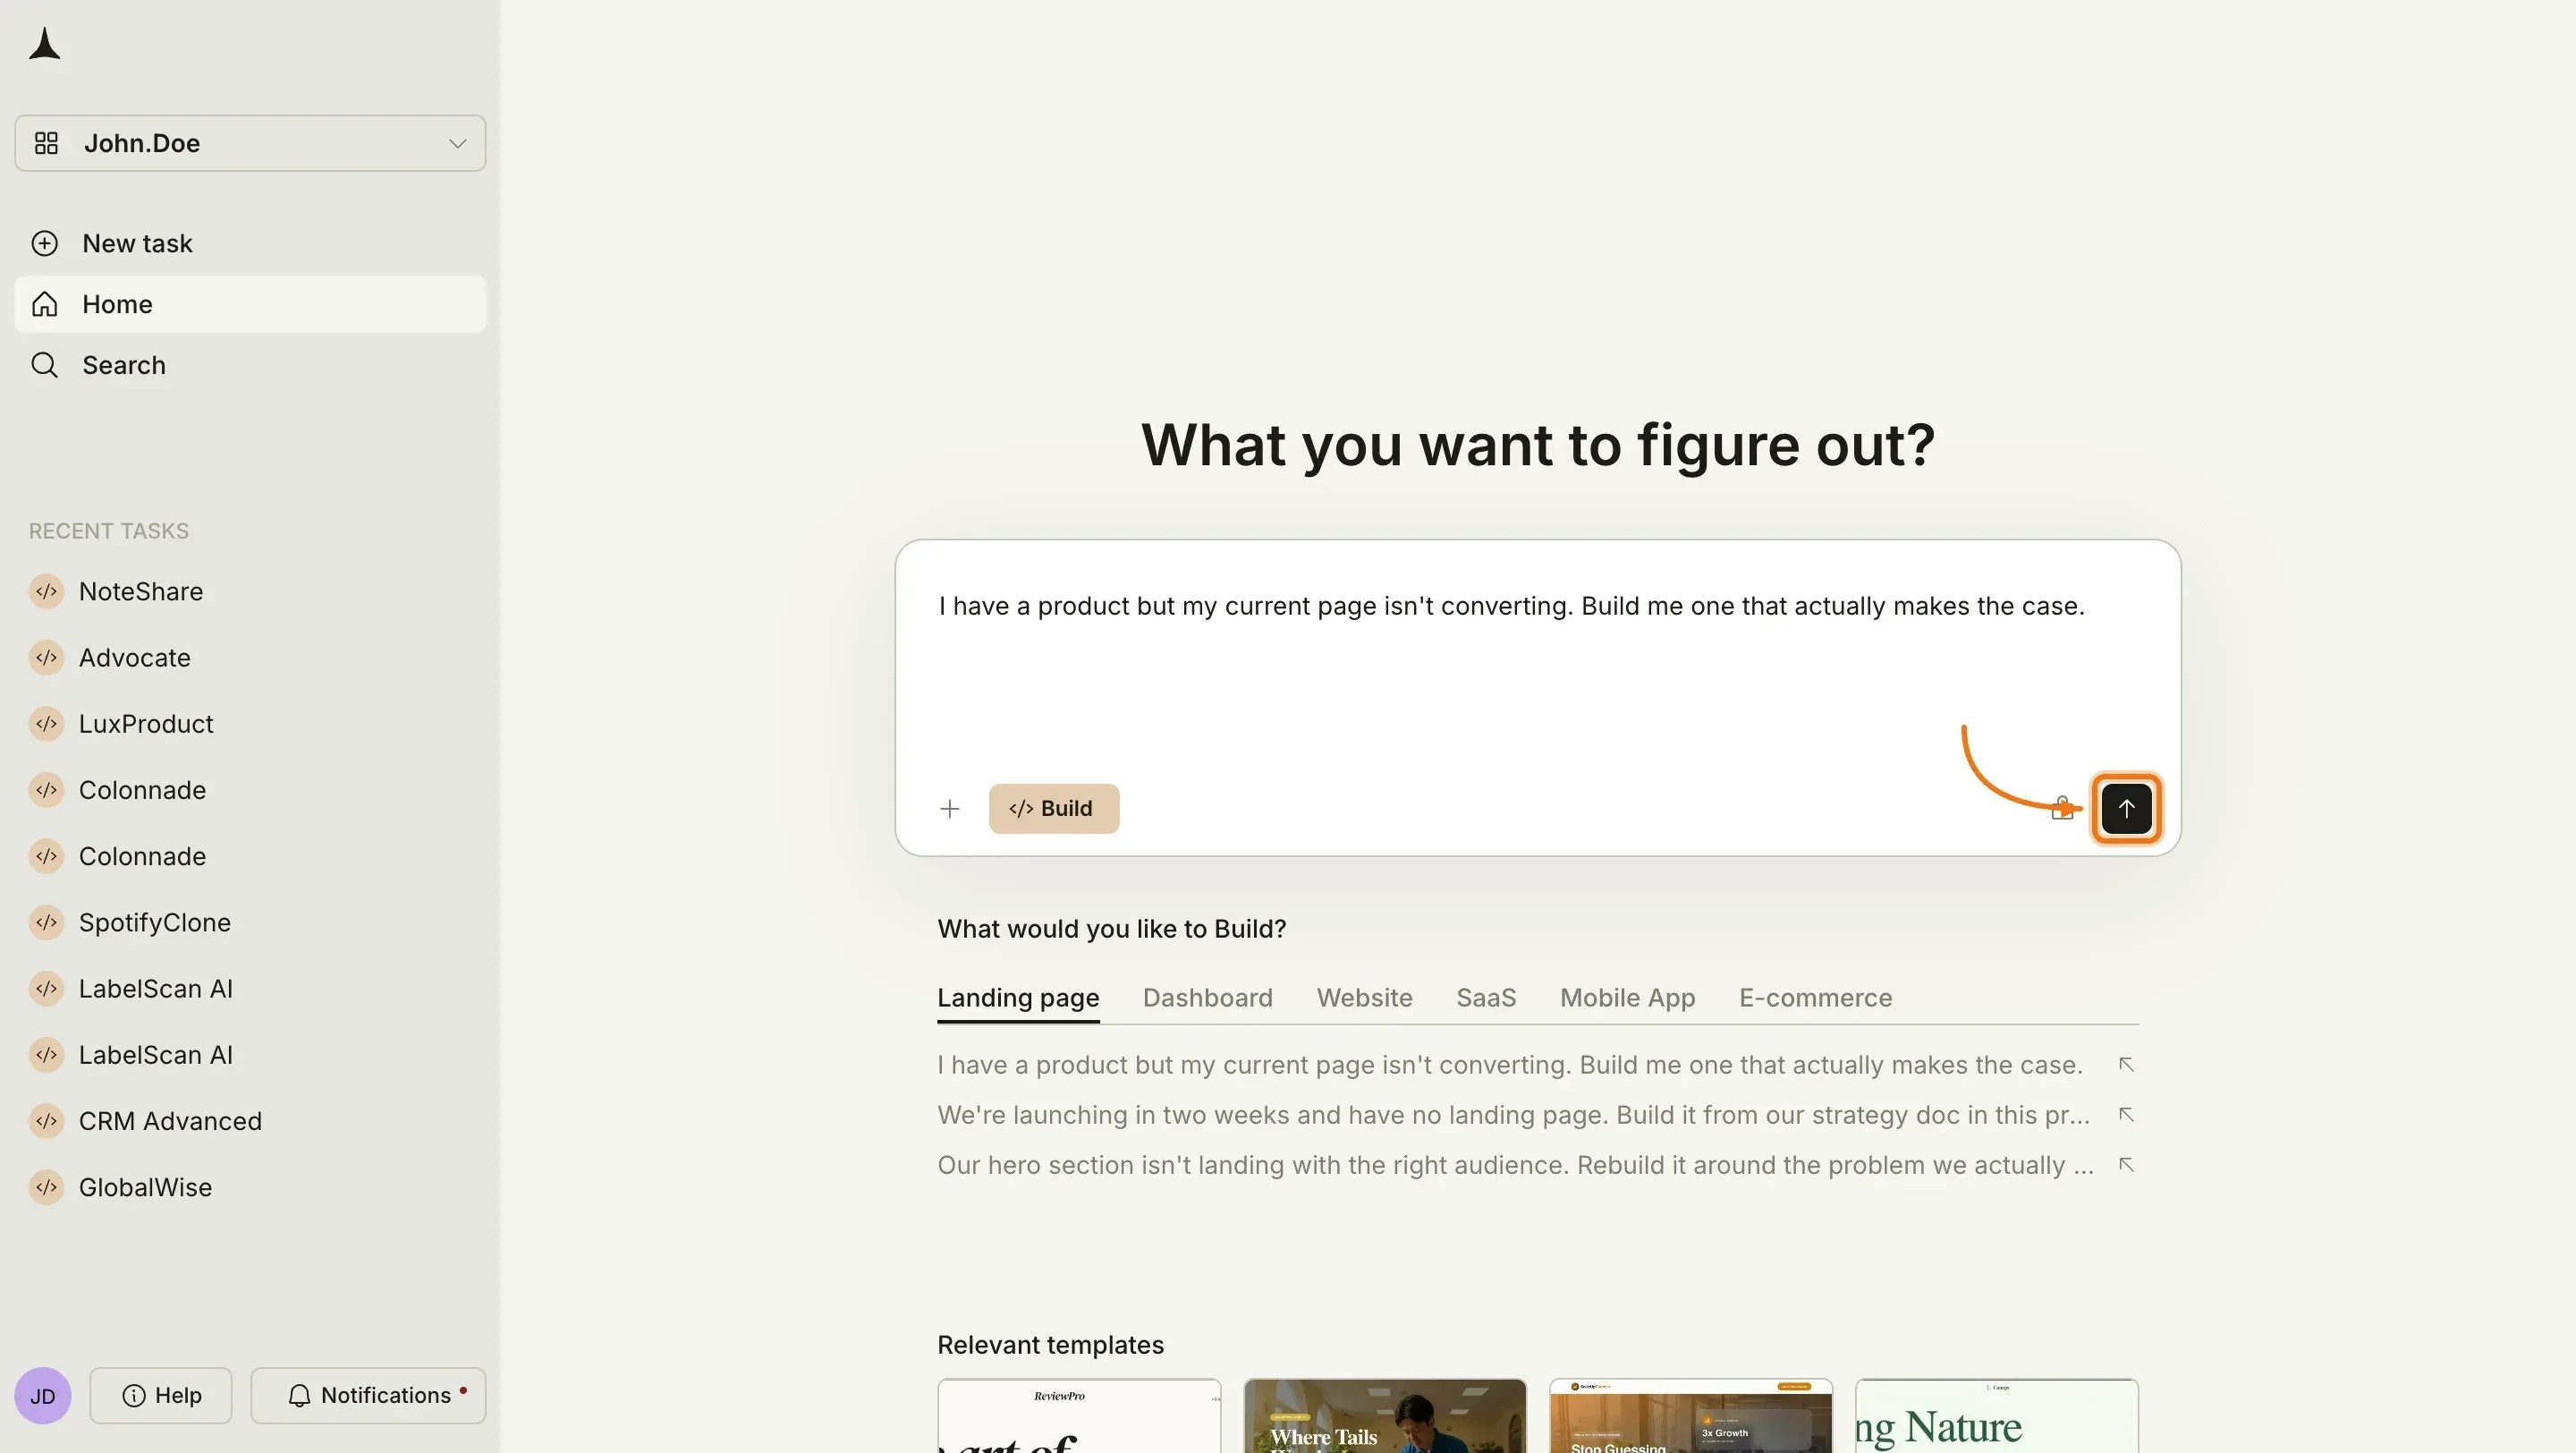
Visit rocket.new and sign in. On the homepage, click Build to start a new Build task.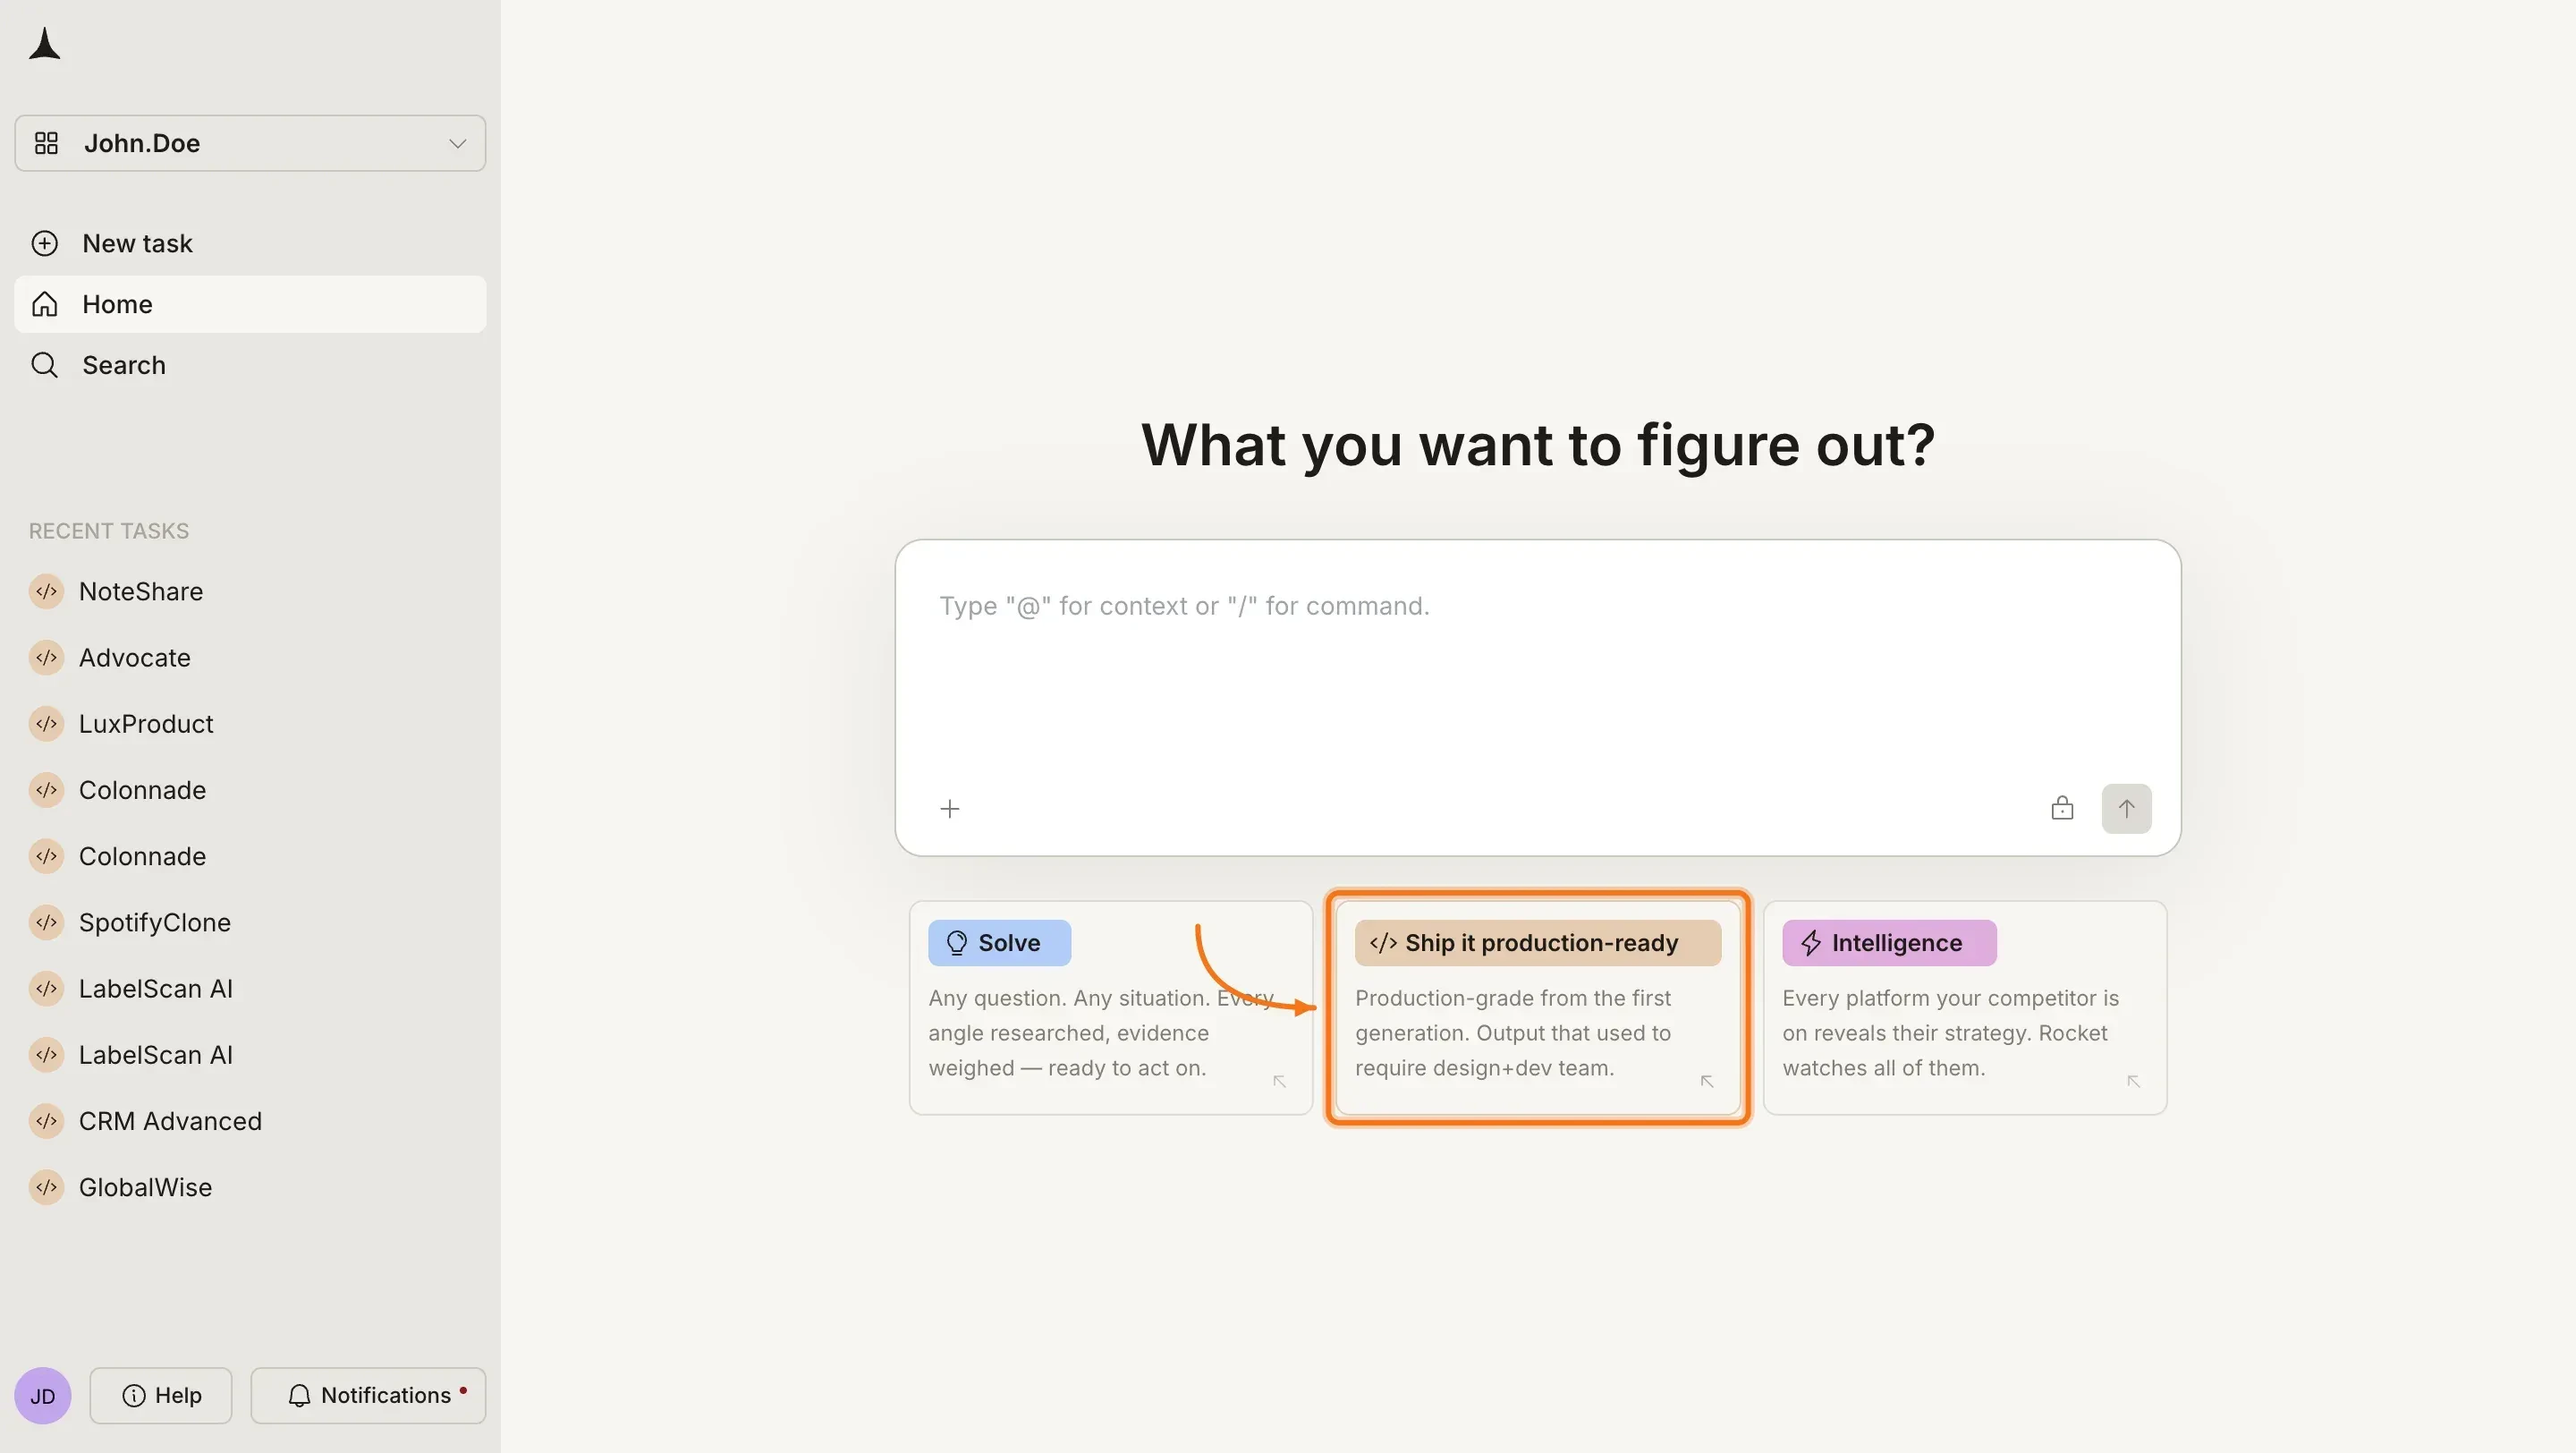
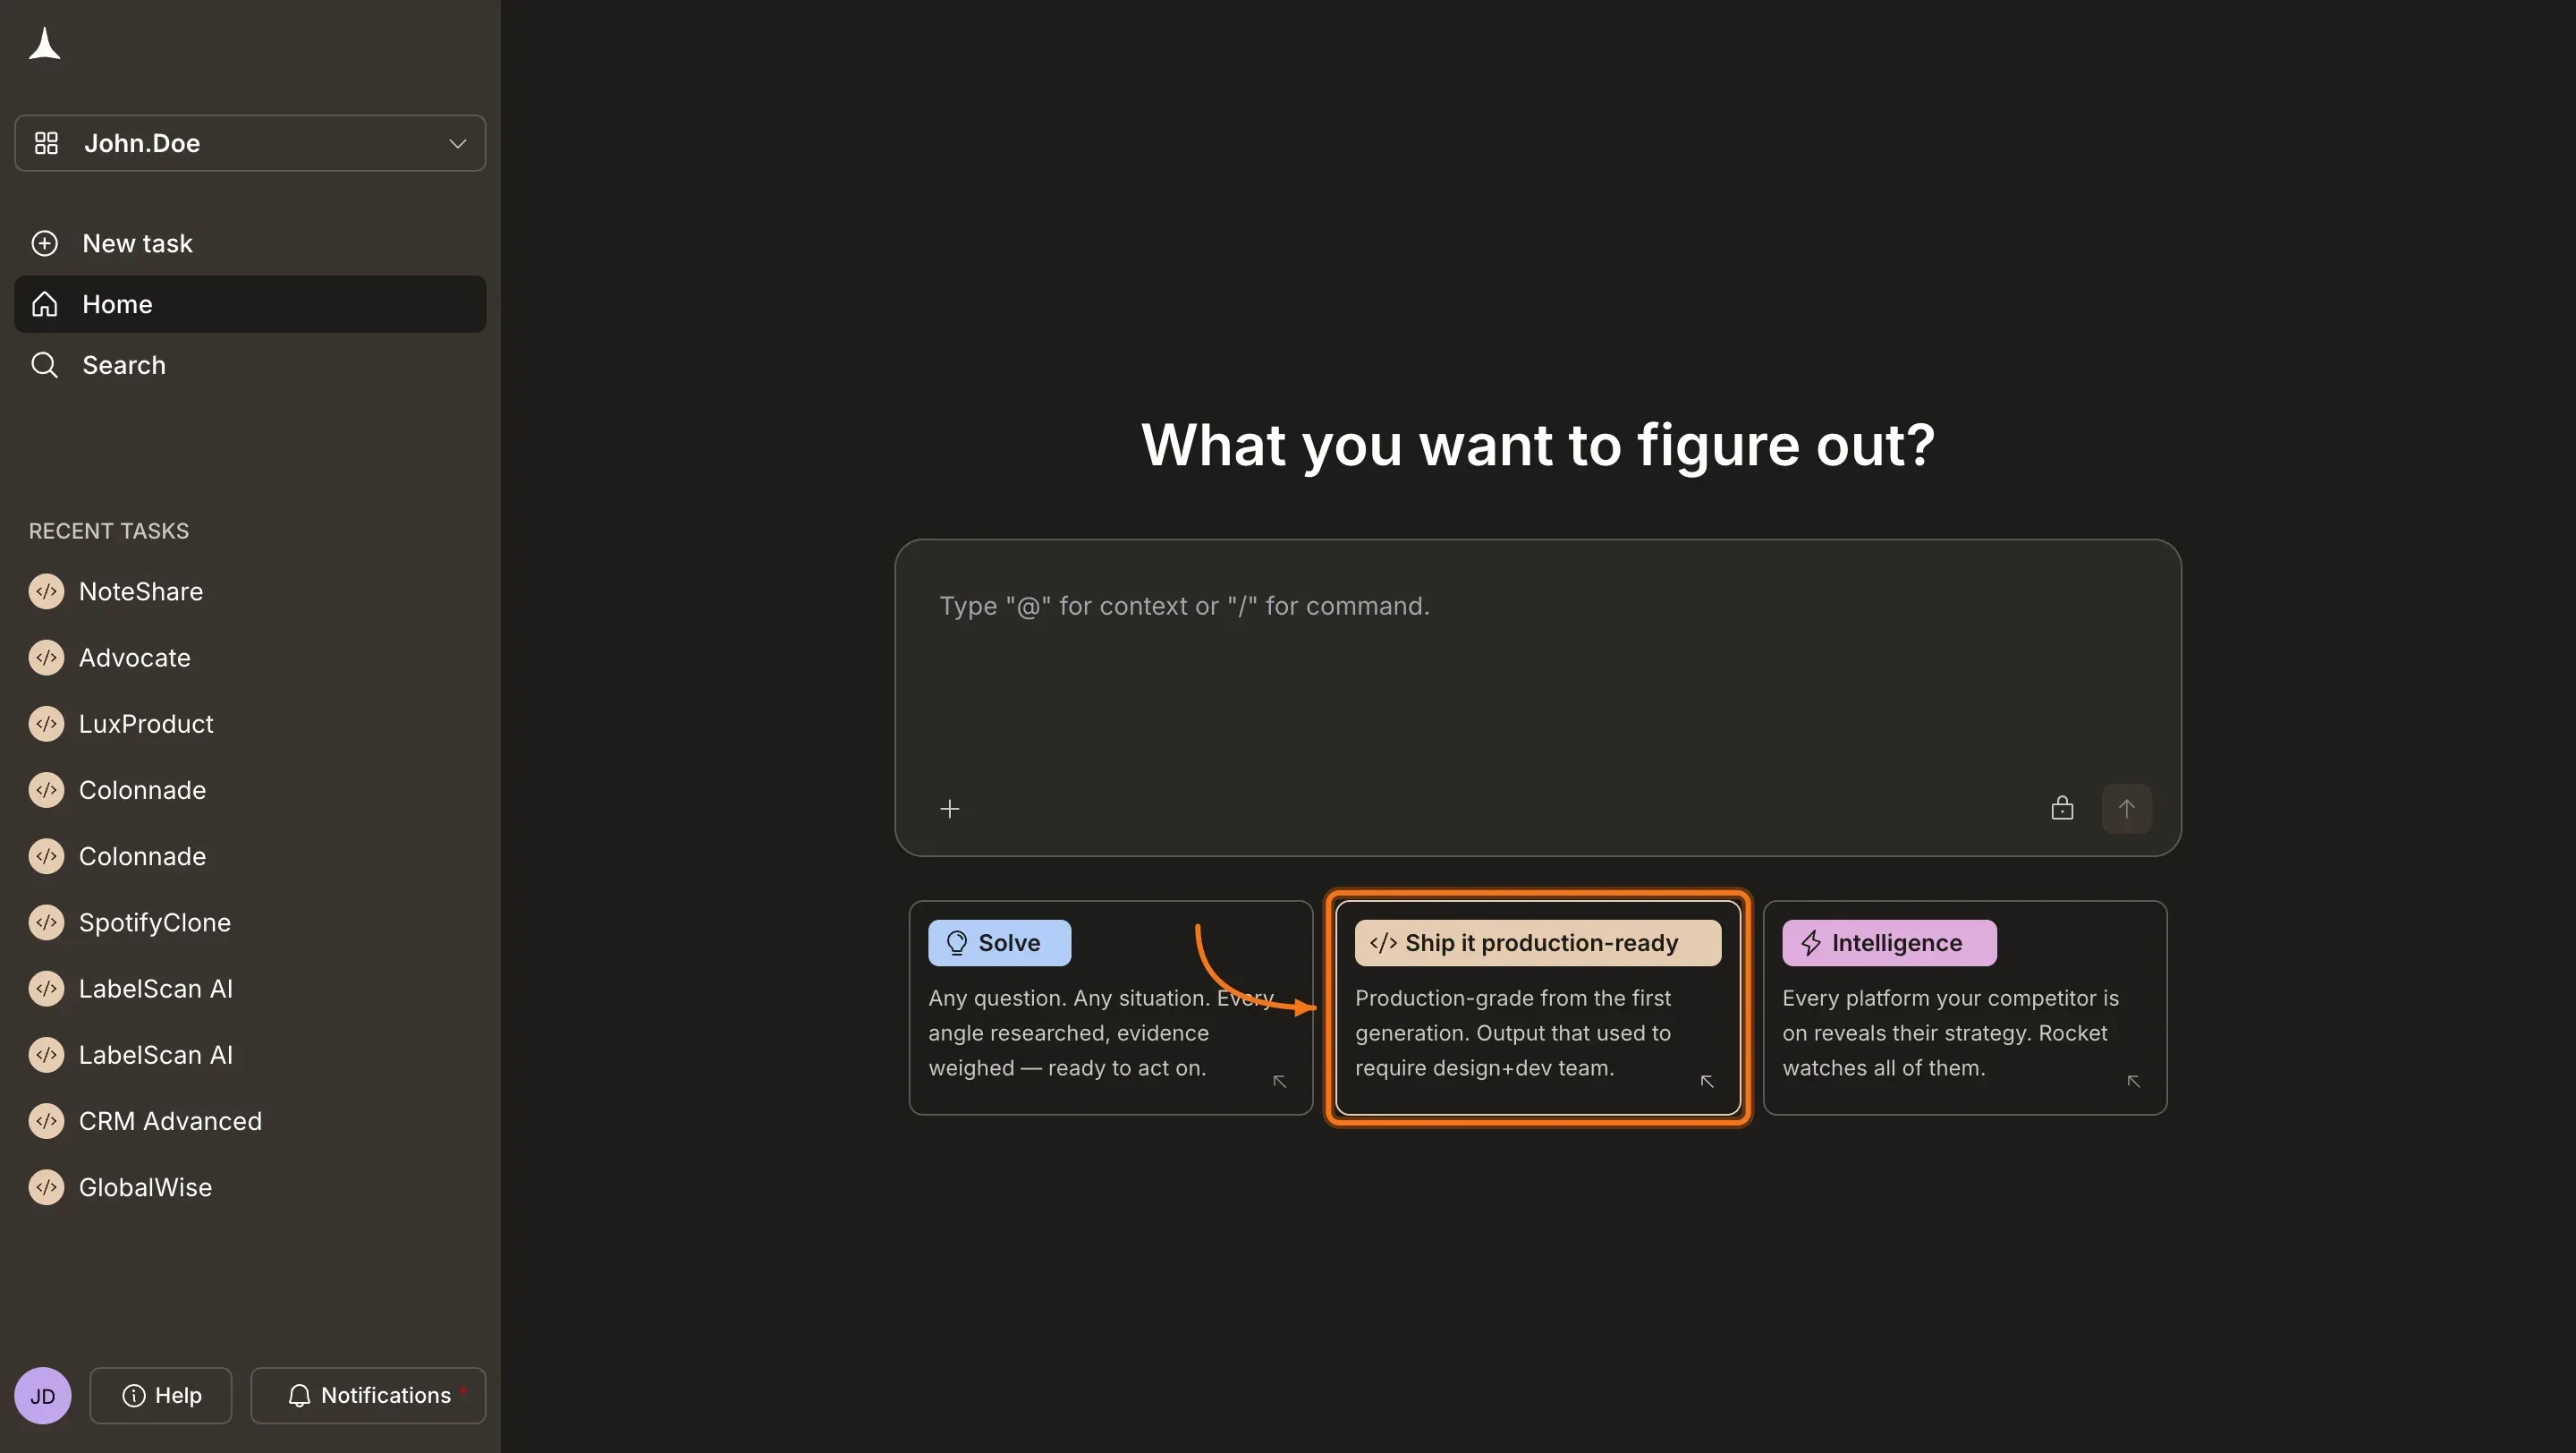
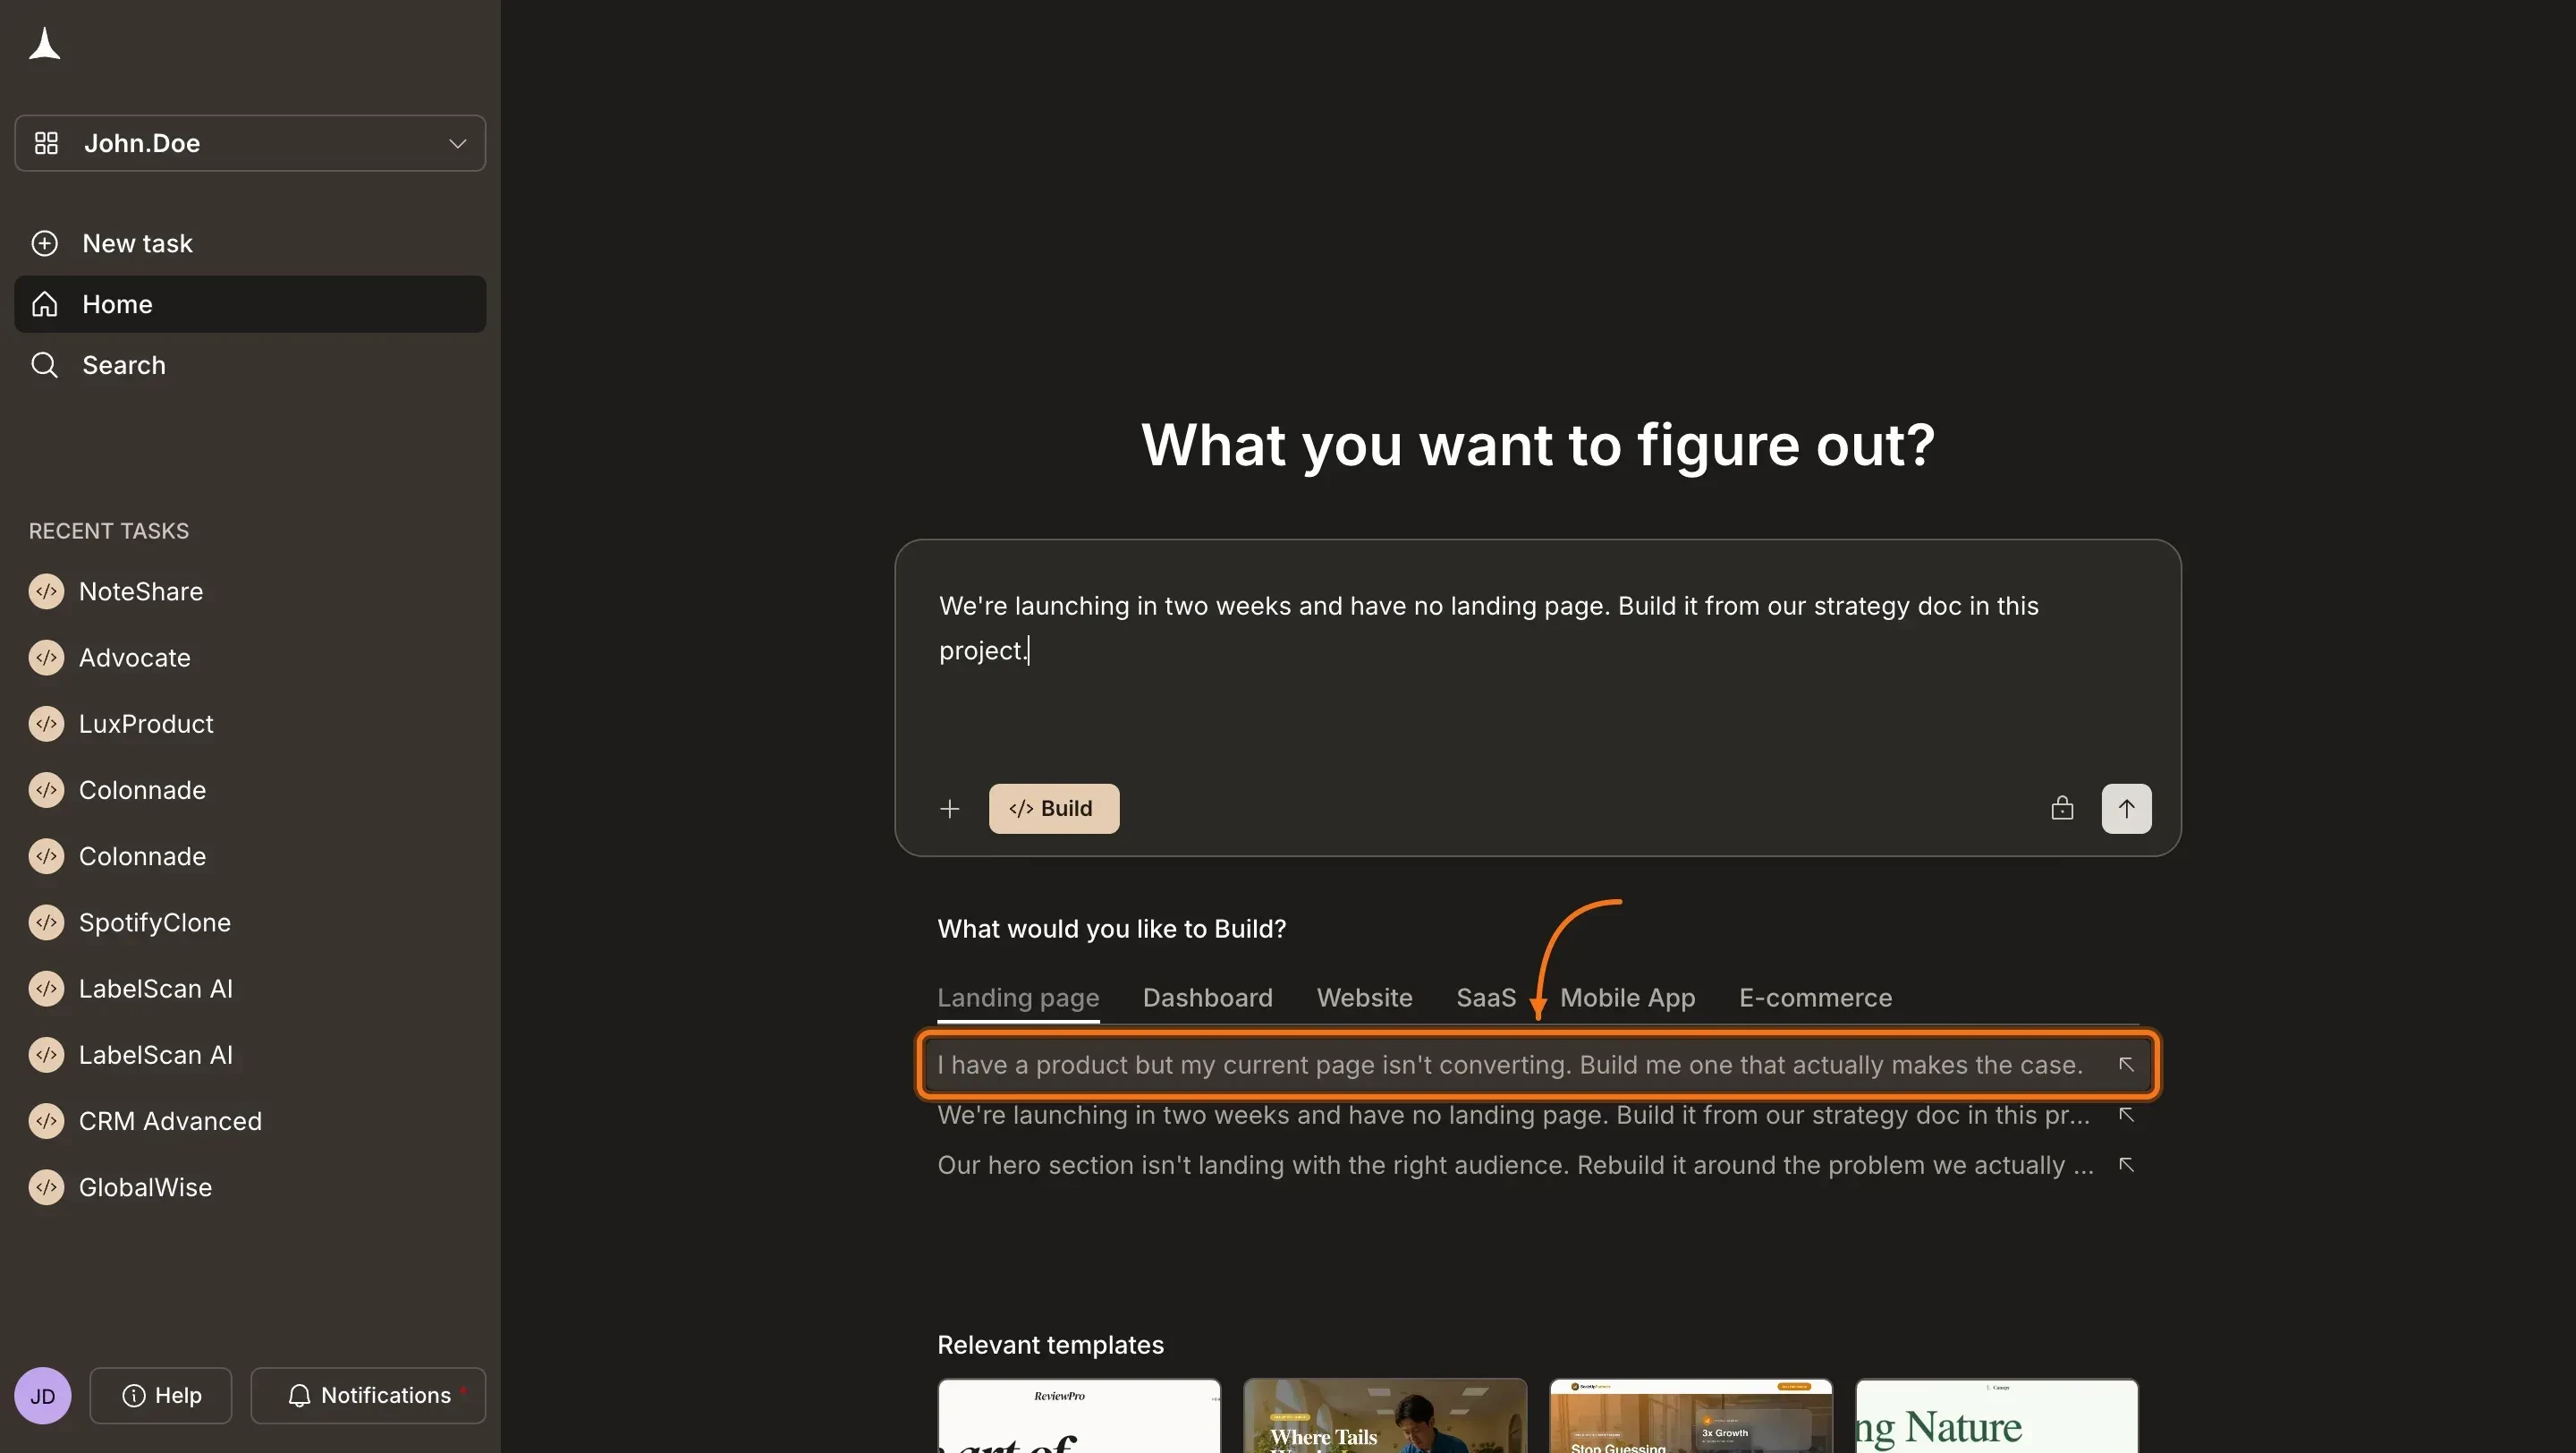
Type your idea
After clicking Build, Rocket shows category tabs below the input: Landing page, Dashboard, Website, SaaS, Mobile App, and E-commerce. Click a tab to see example prompts, then click one to auto-fill it into the input. Or type your own idea directly.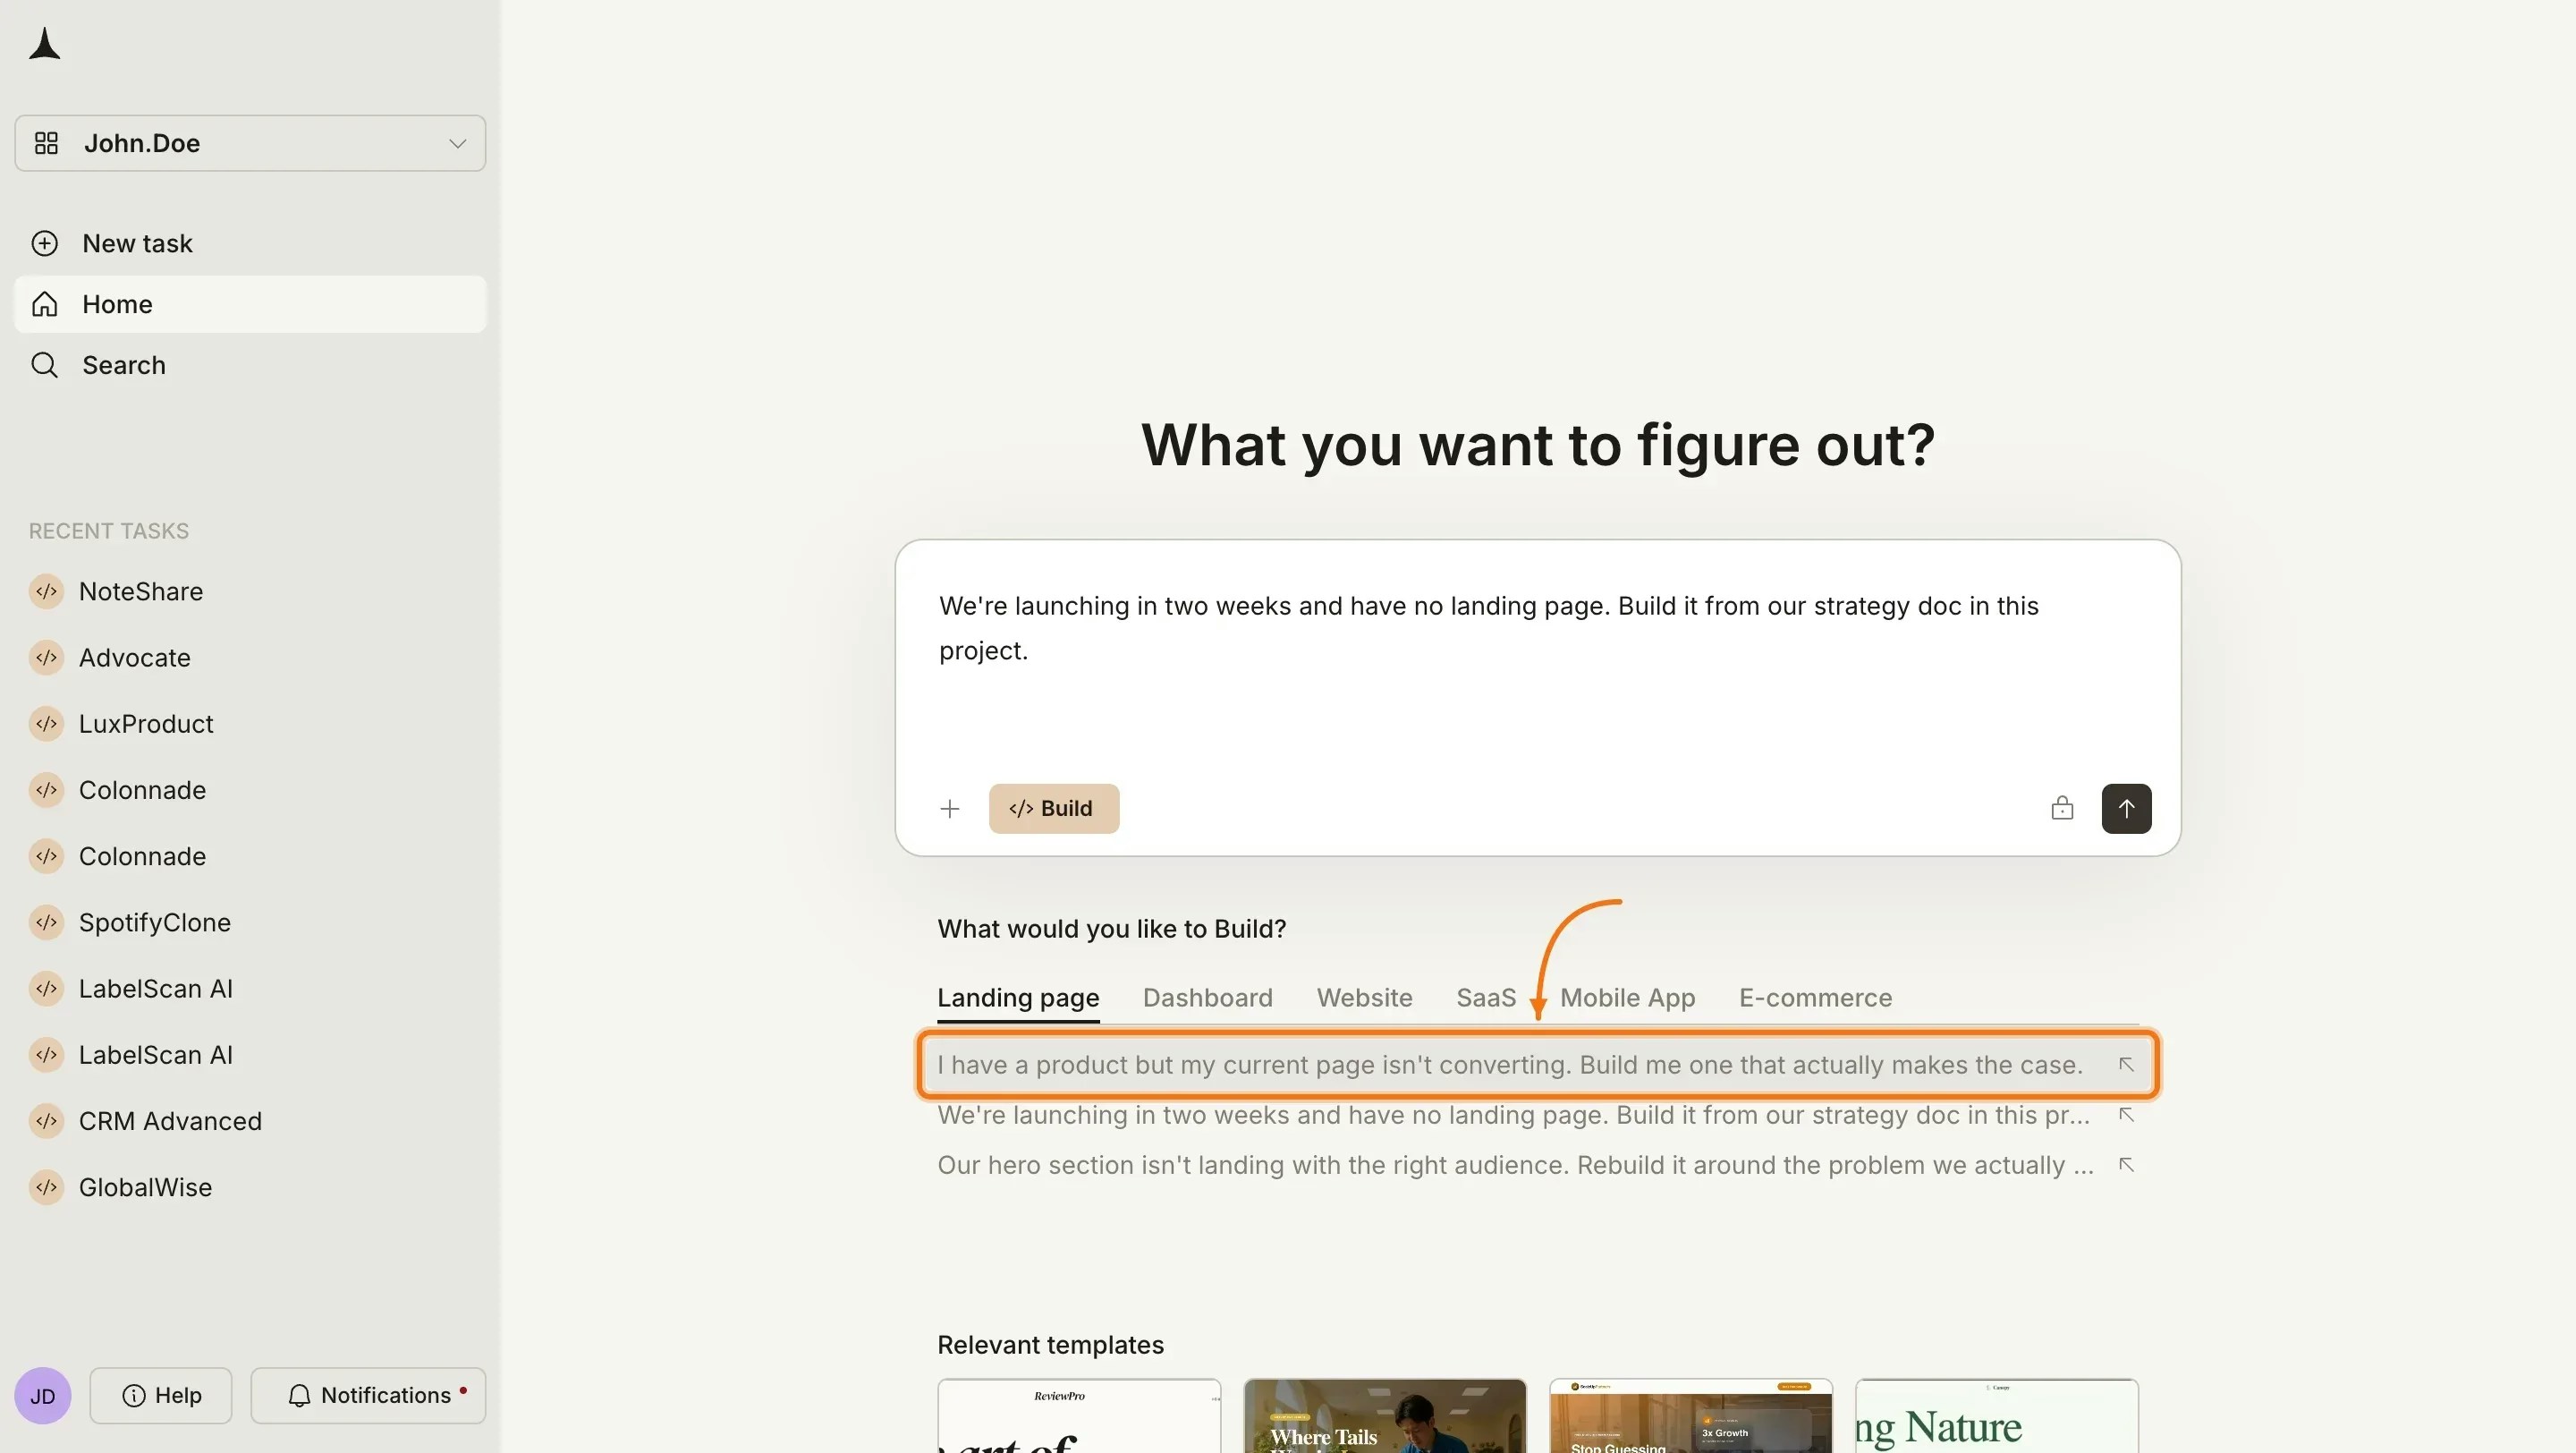
Answer prompt intelligence (if prompted)
If your prompt is specific enough, Rocket skips this step and starts building right away.If it is too vague, prompt intelligence asks a short set of targeted questions about platform, audience, and must-have features. Answer them and Rocket starts immediately.
Prompt intelligence
How Rocket decides when to ask questions and what to do with your answers.

Prompt cookbook
Copy and paste these prompts to get started fast:| What you are building | Prompt |
|---|---|
| Personal portfolio | Build a portfolio site with a hero section, project gallery with filters, an about page, and a contact form. |
| Habit tracker | Create a habit tracker web app where users add daily habits, check them off, and see a weekly streak calendar. |
| Restaurant ordering | Build a restaurant menu web app with categories, item details, a cart, and a checkout flow with delivery address input. |
| Social feed | Create a social media feed web app with posts, likes, comments, user profiles, and a follow system. |
| Booking system | Build a salon booking web app with service selection, time slot picker, confirmation page, and booking history. |
| Quiz app | Create a trivia quiz mobile app with multiple categories, timed questions, a score tracker, and a leaderboard. |
| Blog platform | Build a blog web app with an article editor, categories, tags, featured images, and a reading list. |
| CRM dashboard | Create a CRM web app with a contact list, deal pipeline, activity log, and email integration. |
Tips for better results
- Specify the platform. Say “web app” or “mobile app” so Rocket does not need to ask.
- Mention the purpose. “Build a booking system for a hair salon” gives Rocket more context than “build a booking app.”
- Include key features. List the 3-5 most important features upfront. Rocket can add more later.
- State your preferences. If you want dark mode, specific colors, or a particular layout style, say so in your first message.
- Start lean, then iterate. Describe a focused core and add features through chat after the initial build. This produces cleaner results than asking for everything at once.
What’s next?
Iterate with chat
Refine your app using natural language. Change colors, add features, and fix bugs through conversation.
Visual edit
Click any element to change text, colors, layout, and spacing directly.
Connectors
Add payments, databases, AI, email, and more with a single prompt.
Launch your app
Publish to the web with one click and connect a custom domain.