Give Rocket something to work with.Have a screenshot of an app you like? A product catalog in a spreadsheet? A blog post in Markdown? Upload it and Rocket analyzes the content, then generates an app that uses it. Pair it with a description for even better results. One attachment at a time.
Supported attachments
- Images
- Files
| Image type | How Rocket uses it | Best for |
|---|---|---|
| UI screenshots | Analyzes layout, colors, and component patterns | Building something that looks like an app you saw |
| Design references | Matches the visual style and design language | Building from Dribbble, Behance, or Pinterest inspiration |
| Mockups | Follows the full visual design closely | Turning static designs into working code |
.png, .jpg, .jpegMax file size: 5 MB per attachment. One attachment at a time.
What you can build
Recreate an app you like
Recreate an app you like
Screenshot an app and tell Rocket to build something similar with your own content and branding.Try this prompt:
Match a design from Dribbble or Behance
Match a design from Dribbble or Behance
Found a design you love? Upload it and Rocket analyzes the UI and builds a matching app.Try this prompt:
Turn a mockup into a working app
Turn a mockup into a working app
Upload a static mockup and Rocket generates a fully functional app that matches the design.Try this prompt:
Build from a spreadsheet or CSV
Build from a spreadsheet or CSV
Upload a product catalog, pricing list, or dataset and Rocket builds pages from the real data.Try this prompt:
Build from a PDF or document
Build from a PDF or document
Upload a brief, spec, or report and Rocket extracts the content to build from.Try this prompt:
Build from a Markdown file
Build from a Markdown file
Upload a blog post, documentation page, or content outline and Rocket turns it into a styled page.Try this prompt:
Detailed walkthrough
- Web Browser
- Mobile App
Before you begin
You will need:
- You are signed in to Rocket.
- An image (
.png,.jpg,.jpeg) or file (.pdf,.xlsx,.csv,.md) under 5 MB.
Attach a file
Click at the lower left of the input box to upload a file. You can also drag and drop or paste an image into the chat box.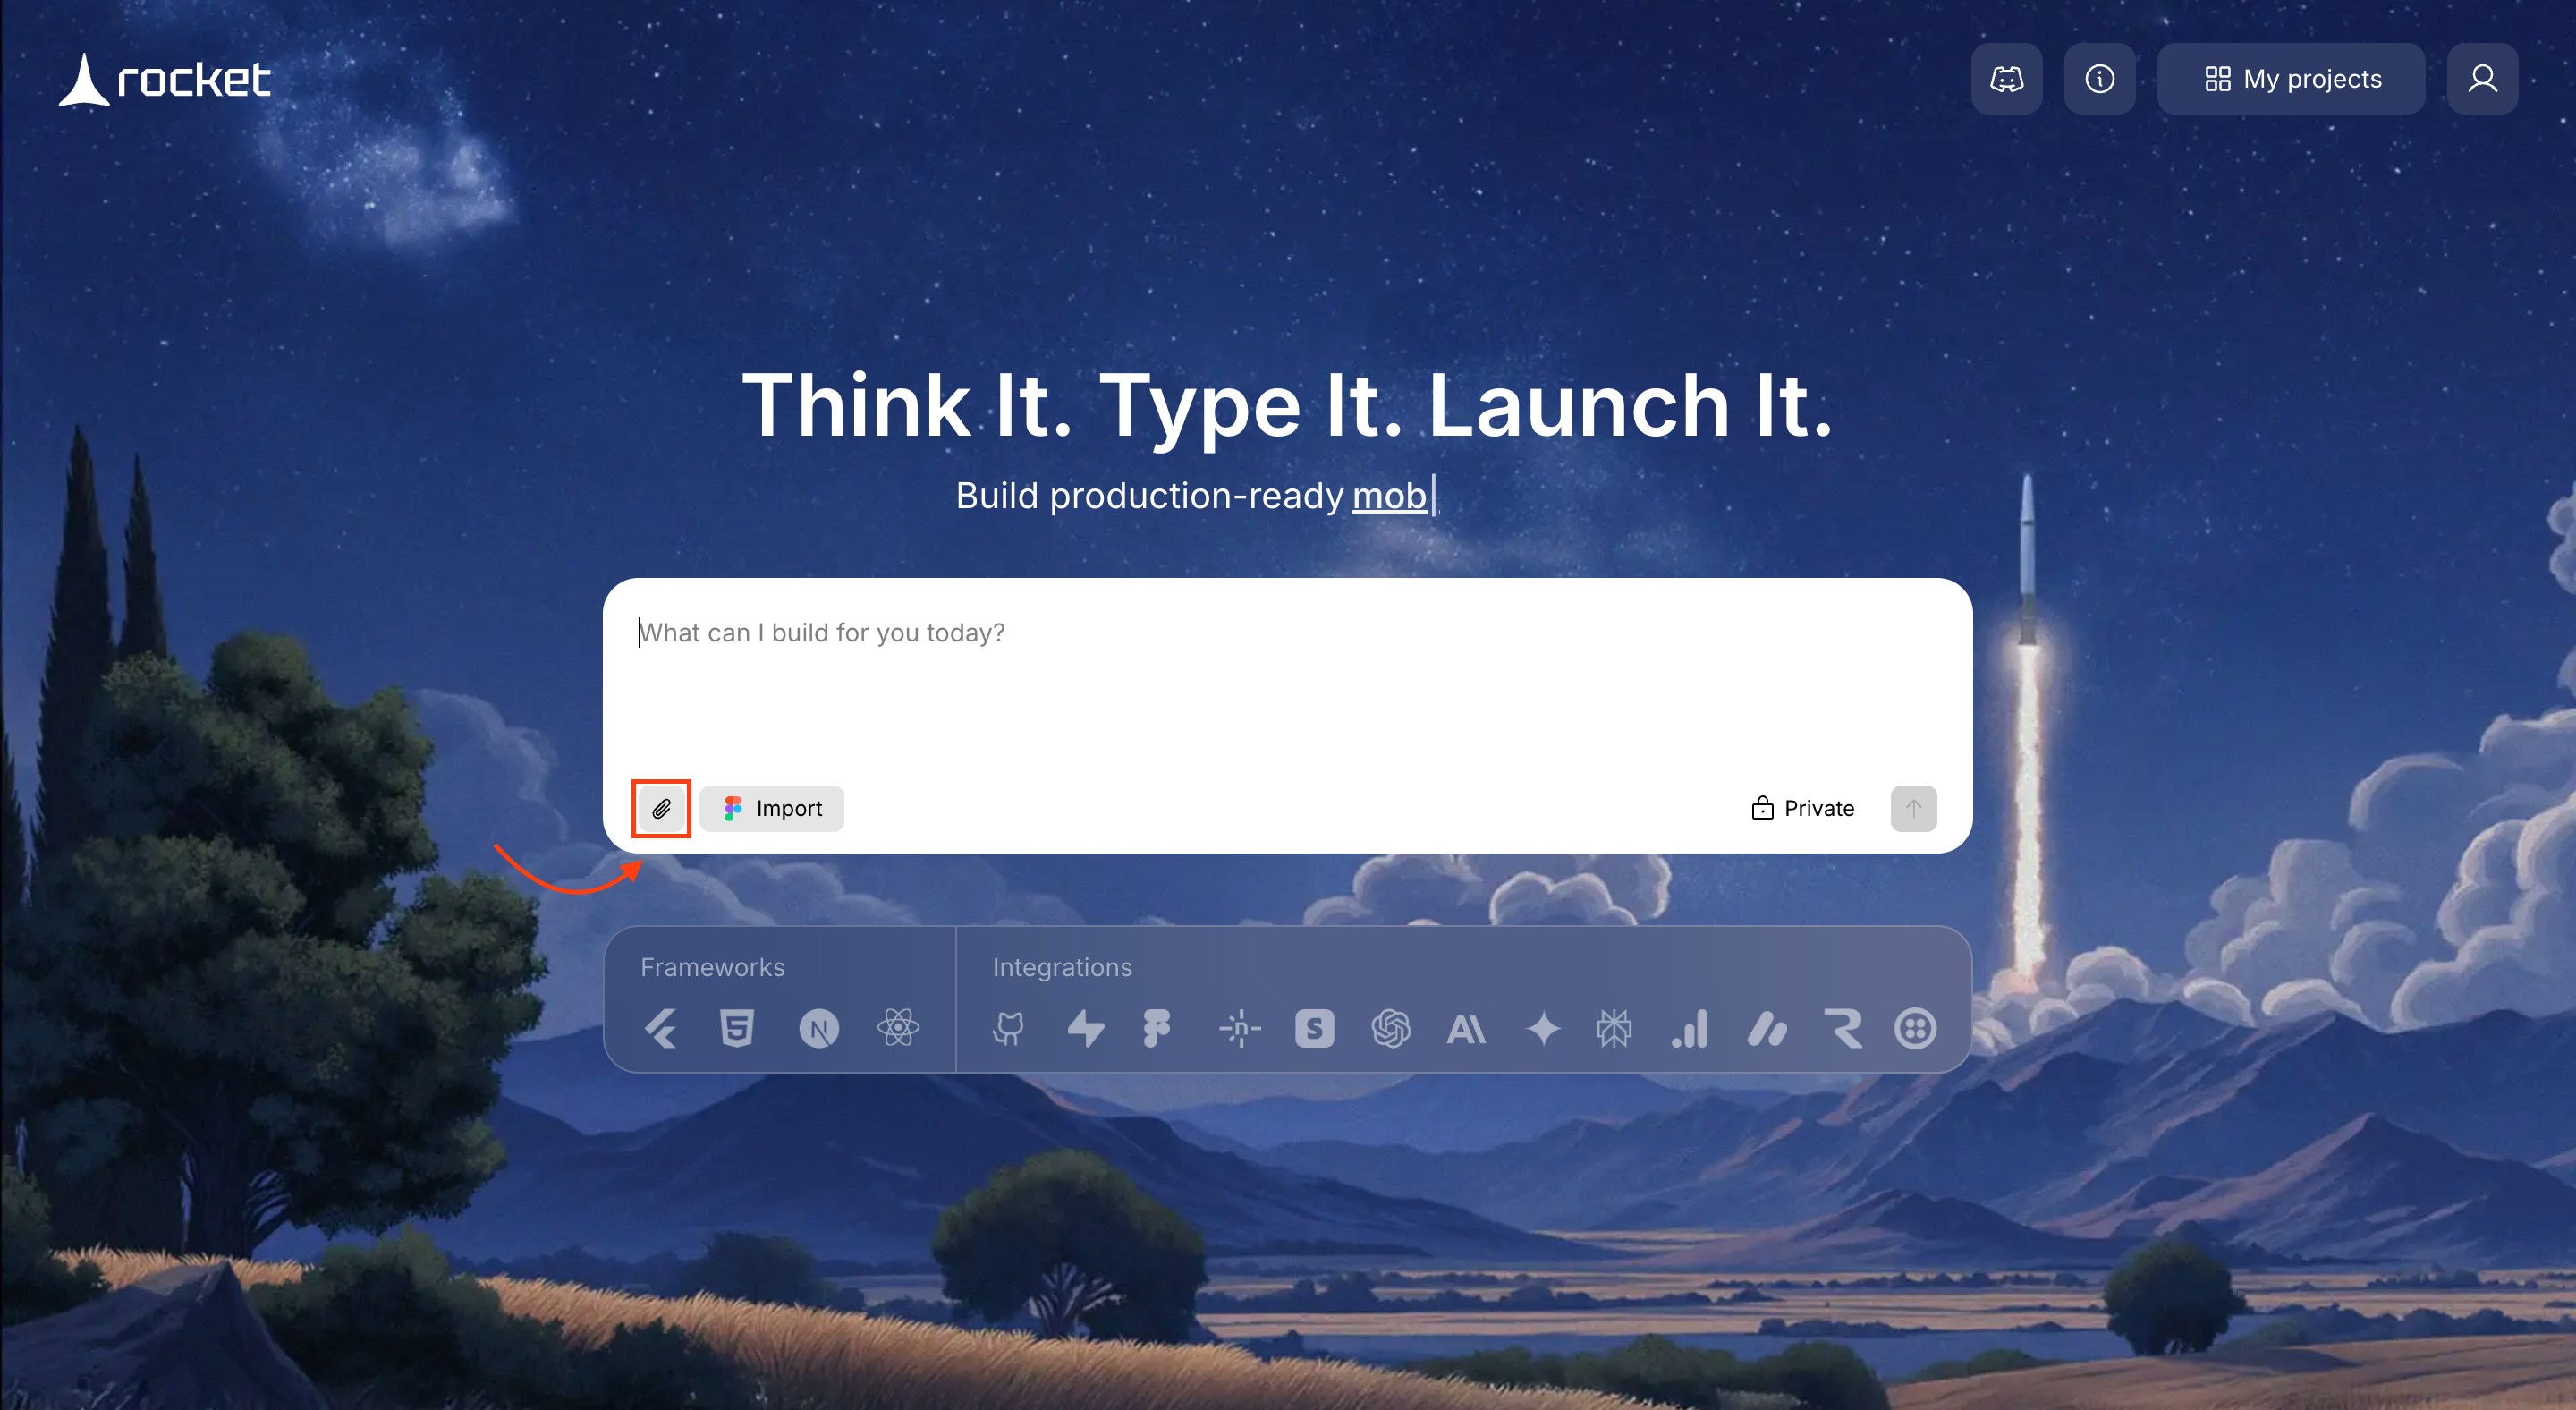
Add instructions
Describe what you want built alongside the attachment:
- “Build an app that looks like this screenshot”
- “Create a product page using the data in this spreadsheet”
- “Turn this Markdown file into a blog post with a clean layout”
- “Use this PDF to build a landing page with the product features”
Generate the app
Press Enter. Rocket analyzes the attachment and builds from your file and prompt.From here, continue just like starting from an idea - you will choose a framework, select screens, and watch the build progress.
Framework and screen selection
See the full walkthrough for framework selection, screens, and build progress.

Prompt cookbook
Pair these prompts with your uploaded attachment:| Goal | Prompt |
|---|---|
| Exact recreation | Build an app that looks exactly like this image. Match the layout, colors, and components. |
| Style match, new content | Use this design style but build a [your app type] with my own content and features. |
| Mockup to app | Turn this mockup into a fully functional web app with working navigation and interactive elements. |
| Data-driven page | Build a product listing page from this spreadsheet with name, price, and description for each item. |
| Content page | Turn this Markdown file into a styled blog post with a header, reading time, and share buttons. |
| PDF to landing page | Build a landing page using the features and pricing from this PDF document. |
| Different branding | Use this design layout but replace all content and branding for my company called "Flowboard." |
| Multiple screens | This image shows 3 screens of my app. Build all of them with navigation between each screen. |
Tips for better results
- Clear images produce better results. High-contrast screenshots and crisp mockups outperform blurry or low-resolution images.
- One attachment at a time. Upload a single file per prompt. You can upload another in your next message.
- Add context in your prompt. The attachment shows Rocket what to work with - your prompt tells it what to build and who it is for.
- Real content beats placeholders. Upload your actual spreadsheet, document, or screenshot instead of describing the data in text.
- Crop out noise from images. Remove browser chrome, desktop wallpaper, or unrelated UI elements before uploading.
What’s next?
Iterate with chat
Refine your app using natural language. Change colors, add features, fix bugs.
Visual edit
Click any element to change it directly - text, colors, layout, spacing.
Connect integrations
Add payments, databases, AI, email, and more with a single prompt.
Deploy your app
Publish to the web with one click and connect a custom domain.