Steps
- Web Browser
- Mobile App
Edit your details and save
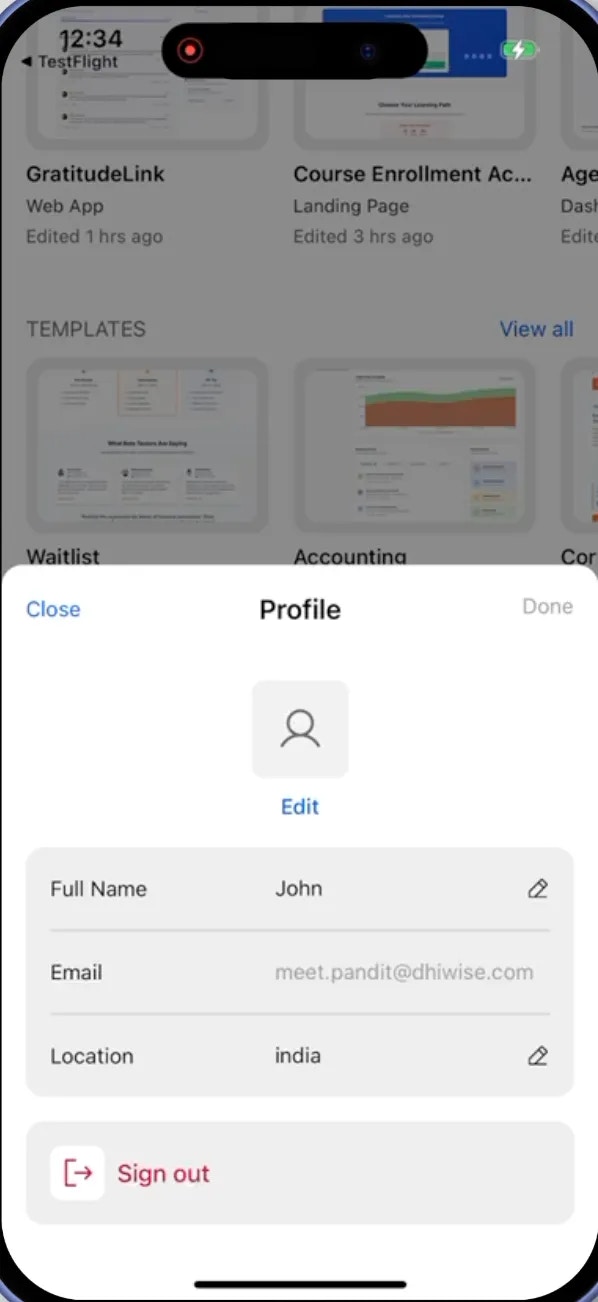
Update any of the following fields (1):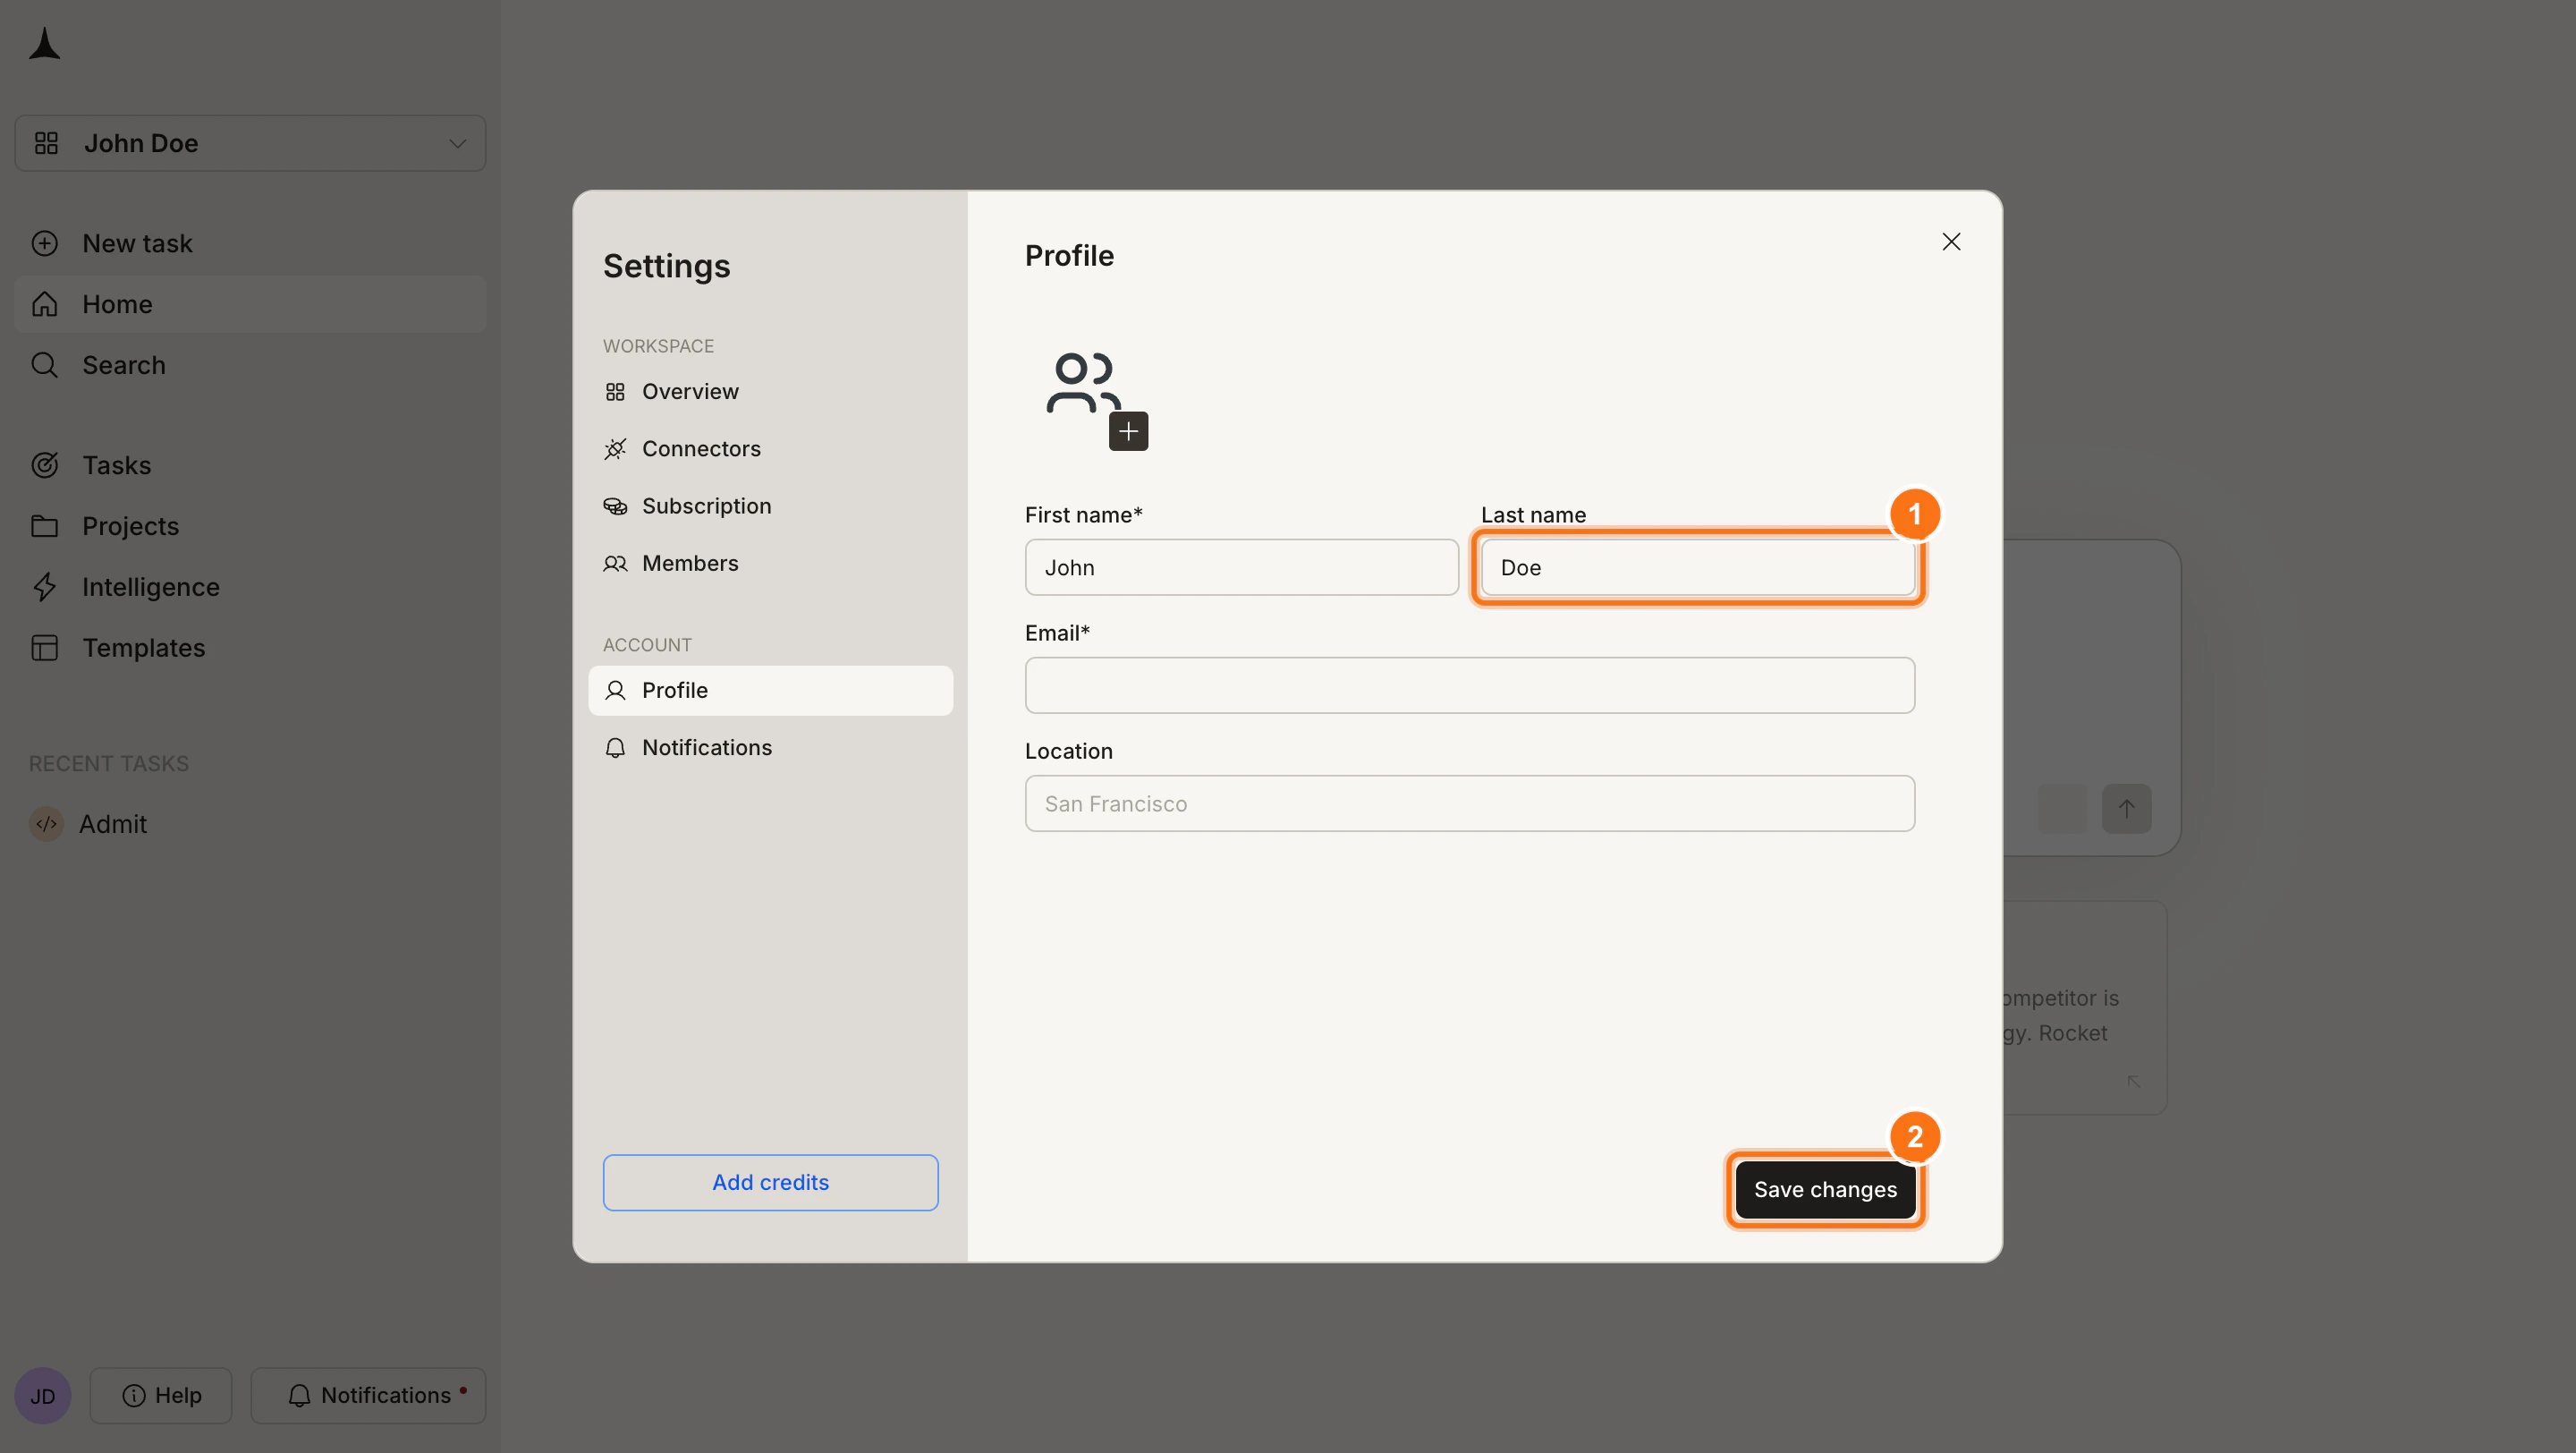
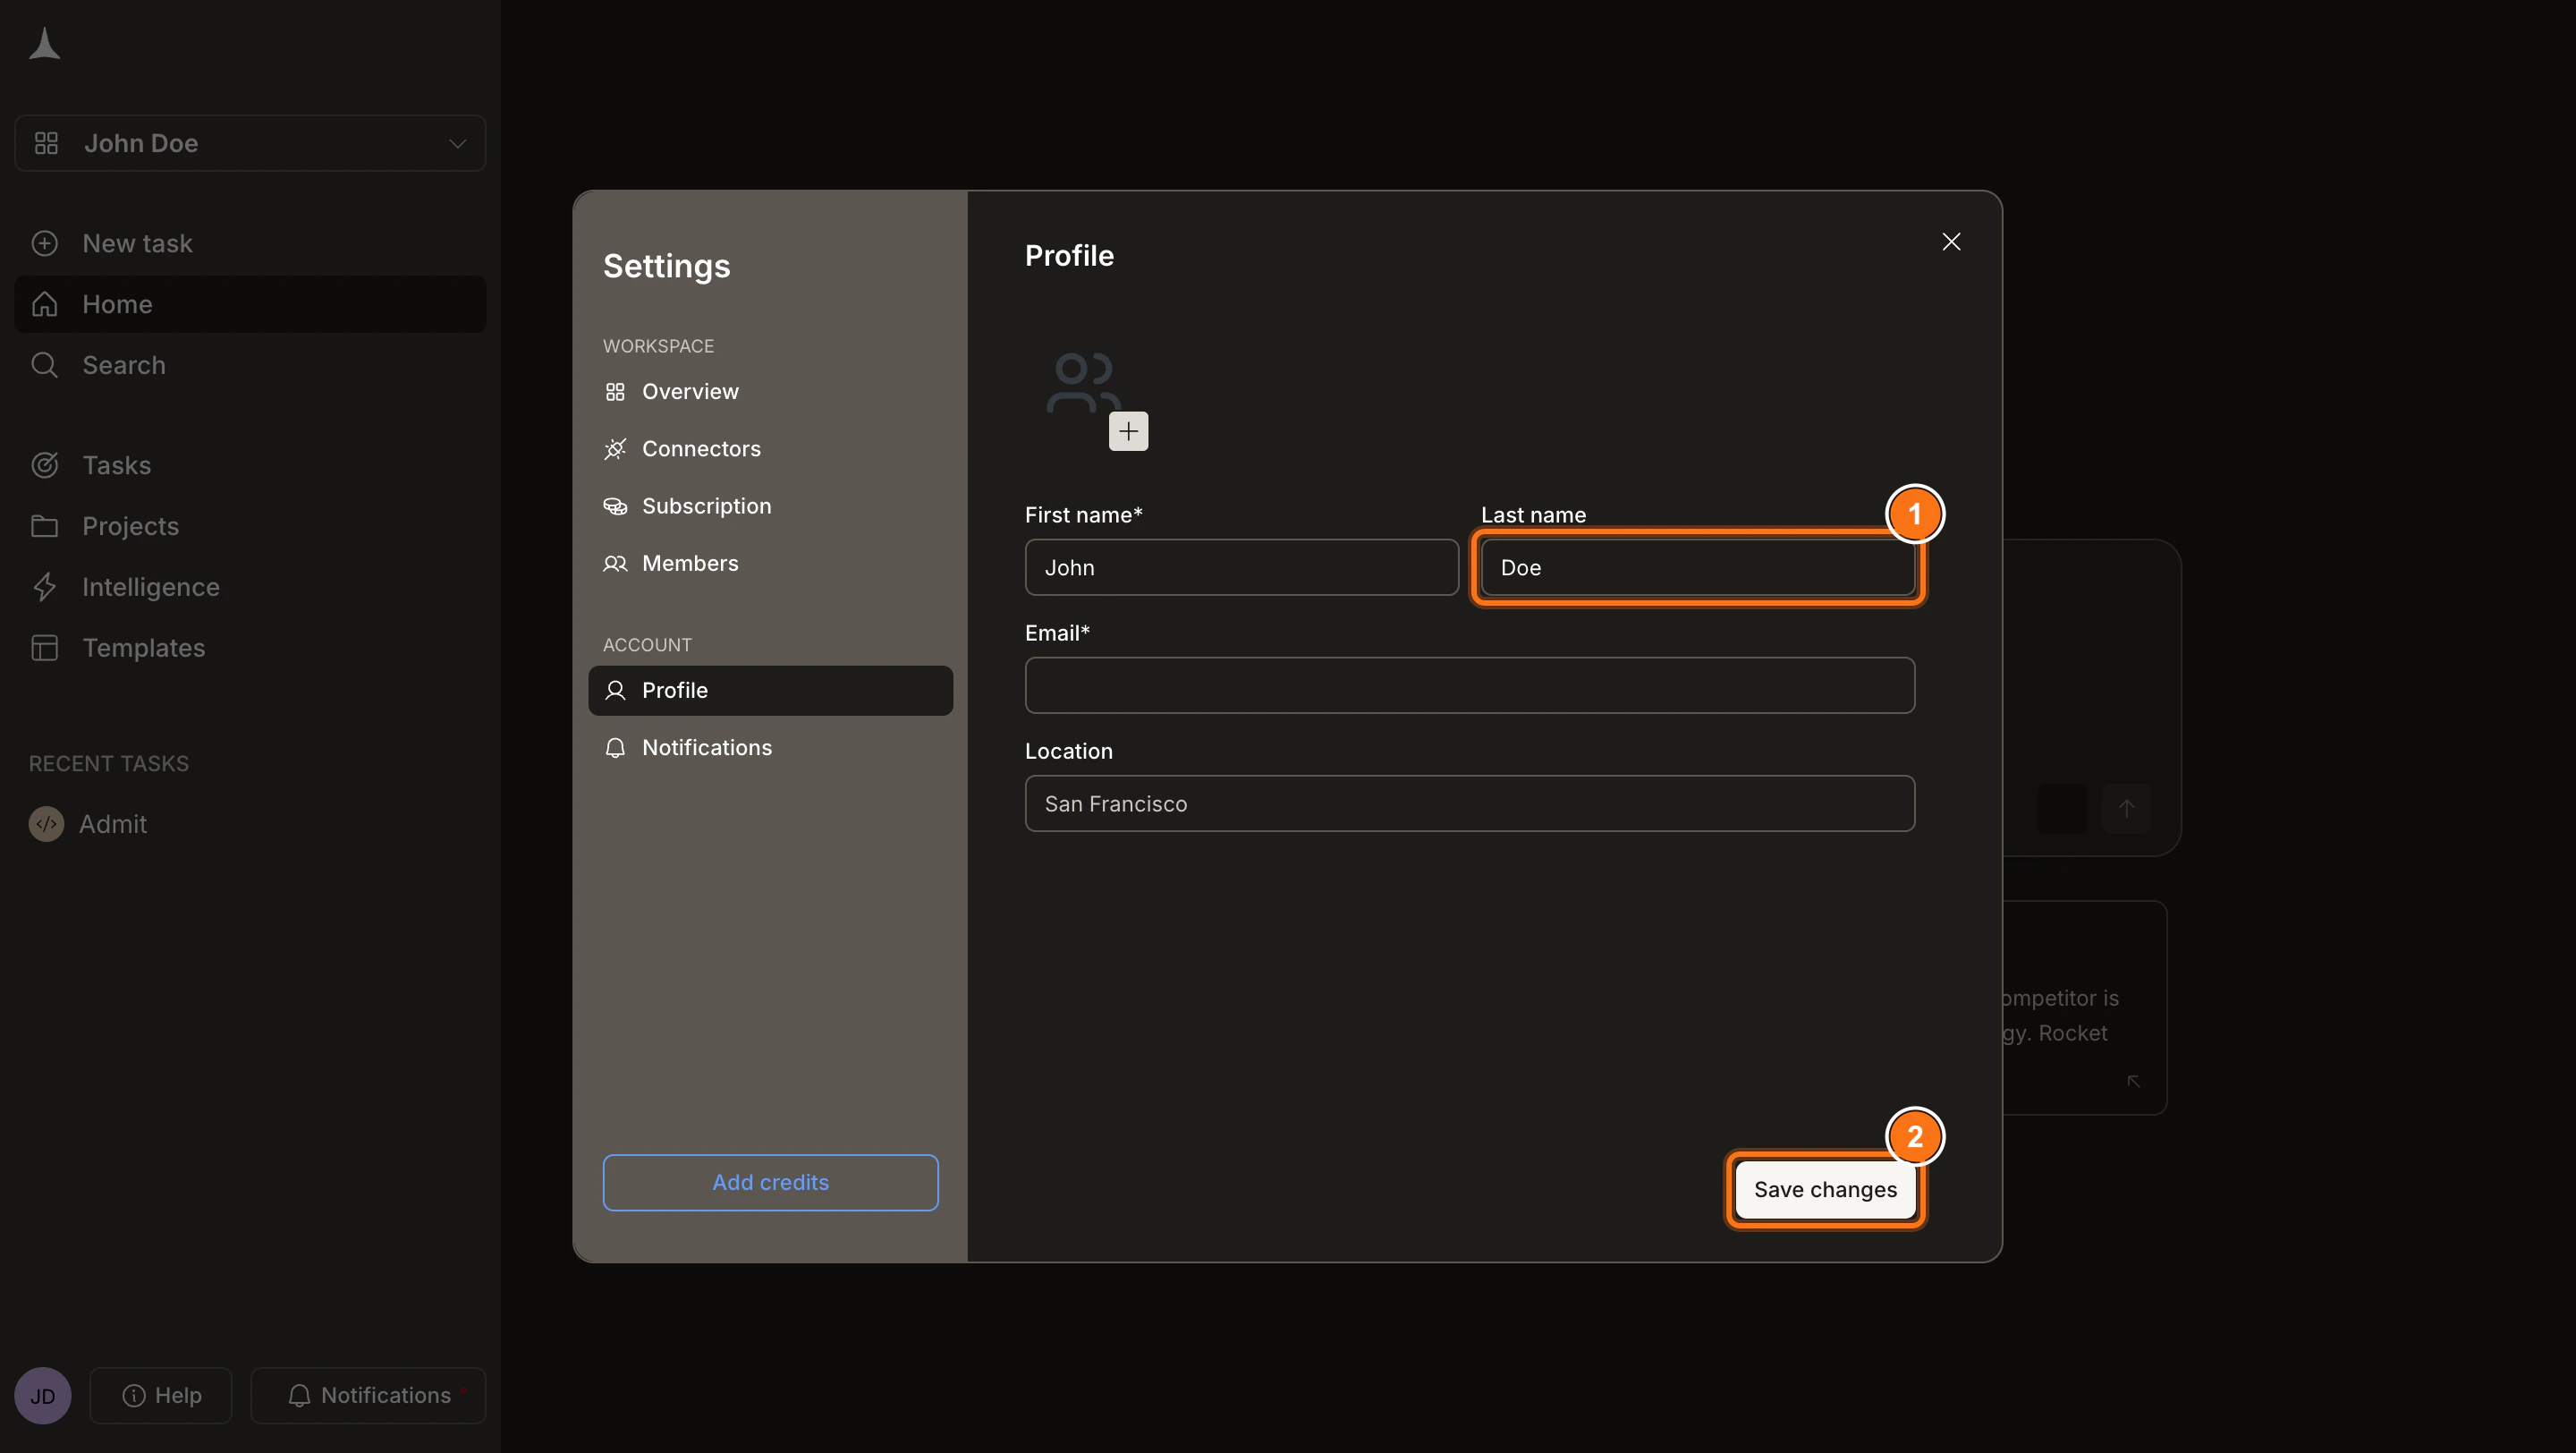
- Avatar: Click the image area and upload a photo or picture file.
- First name: Enter your first name as it appears across Rocket.
- Last name: Enter your last name.
- Location: Add your city or time zone.

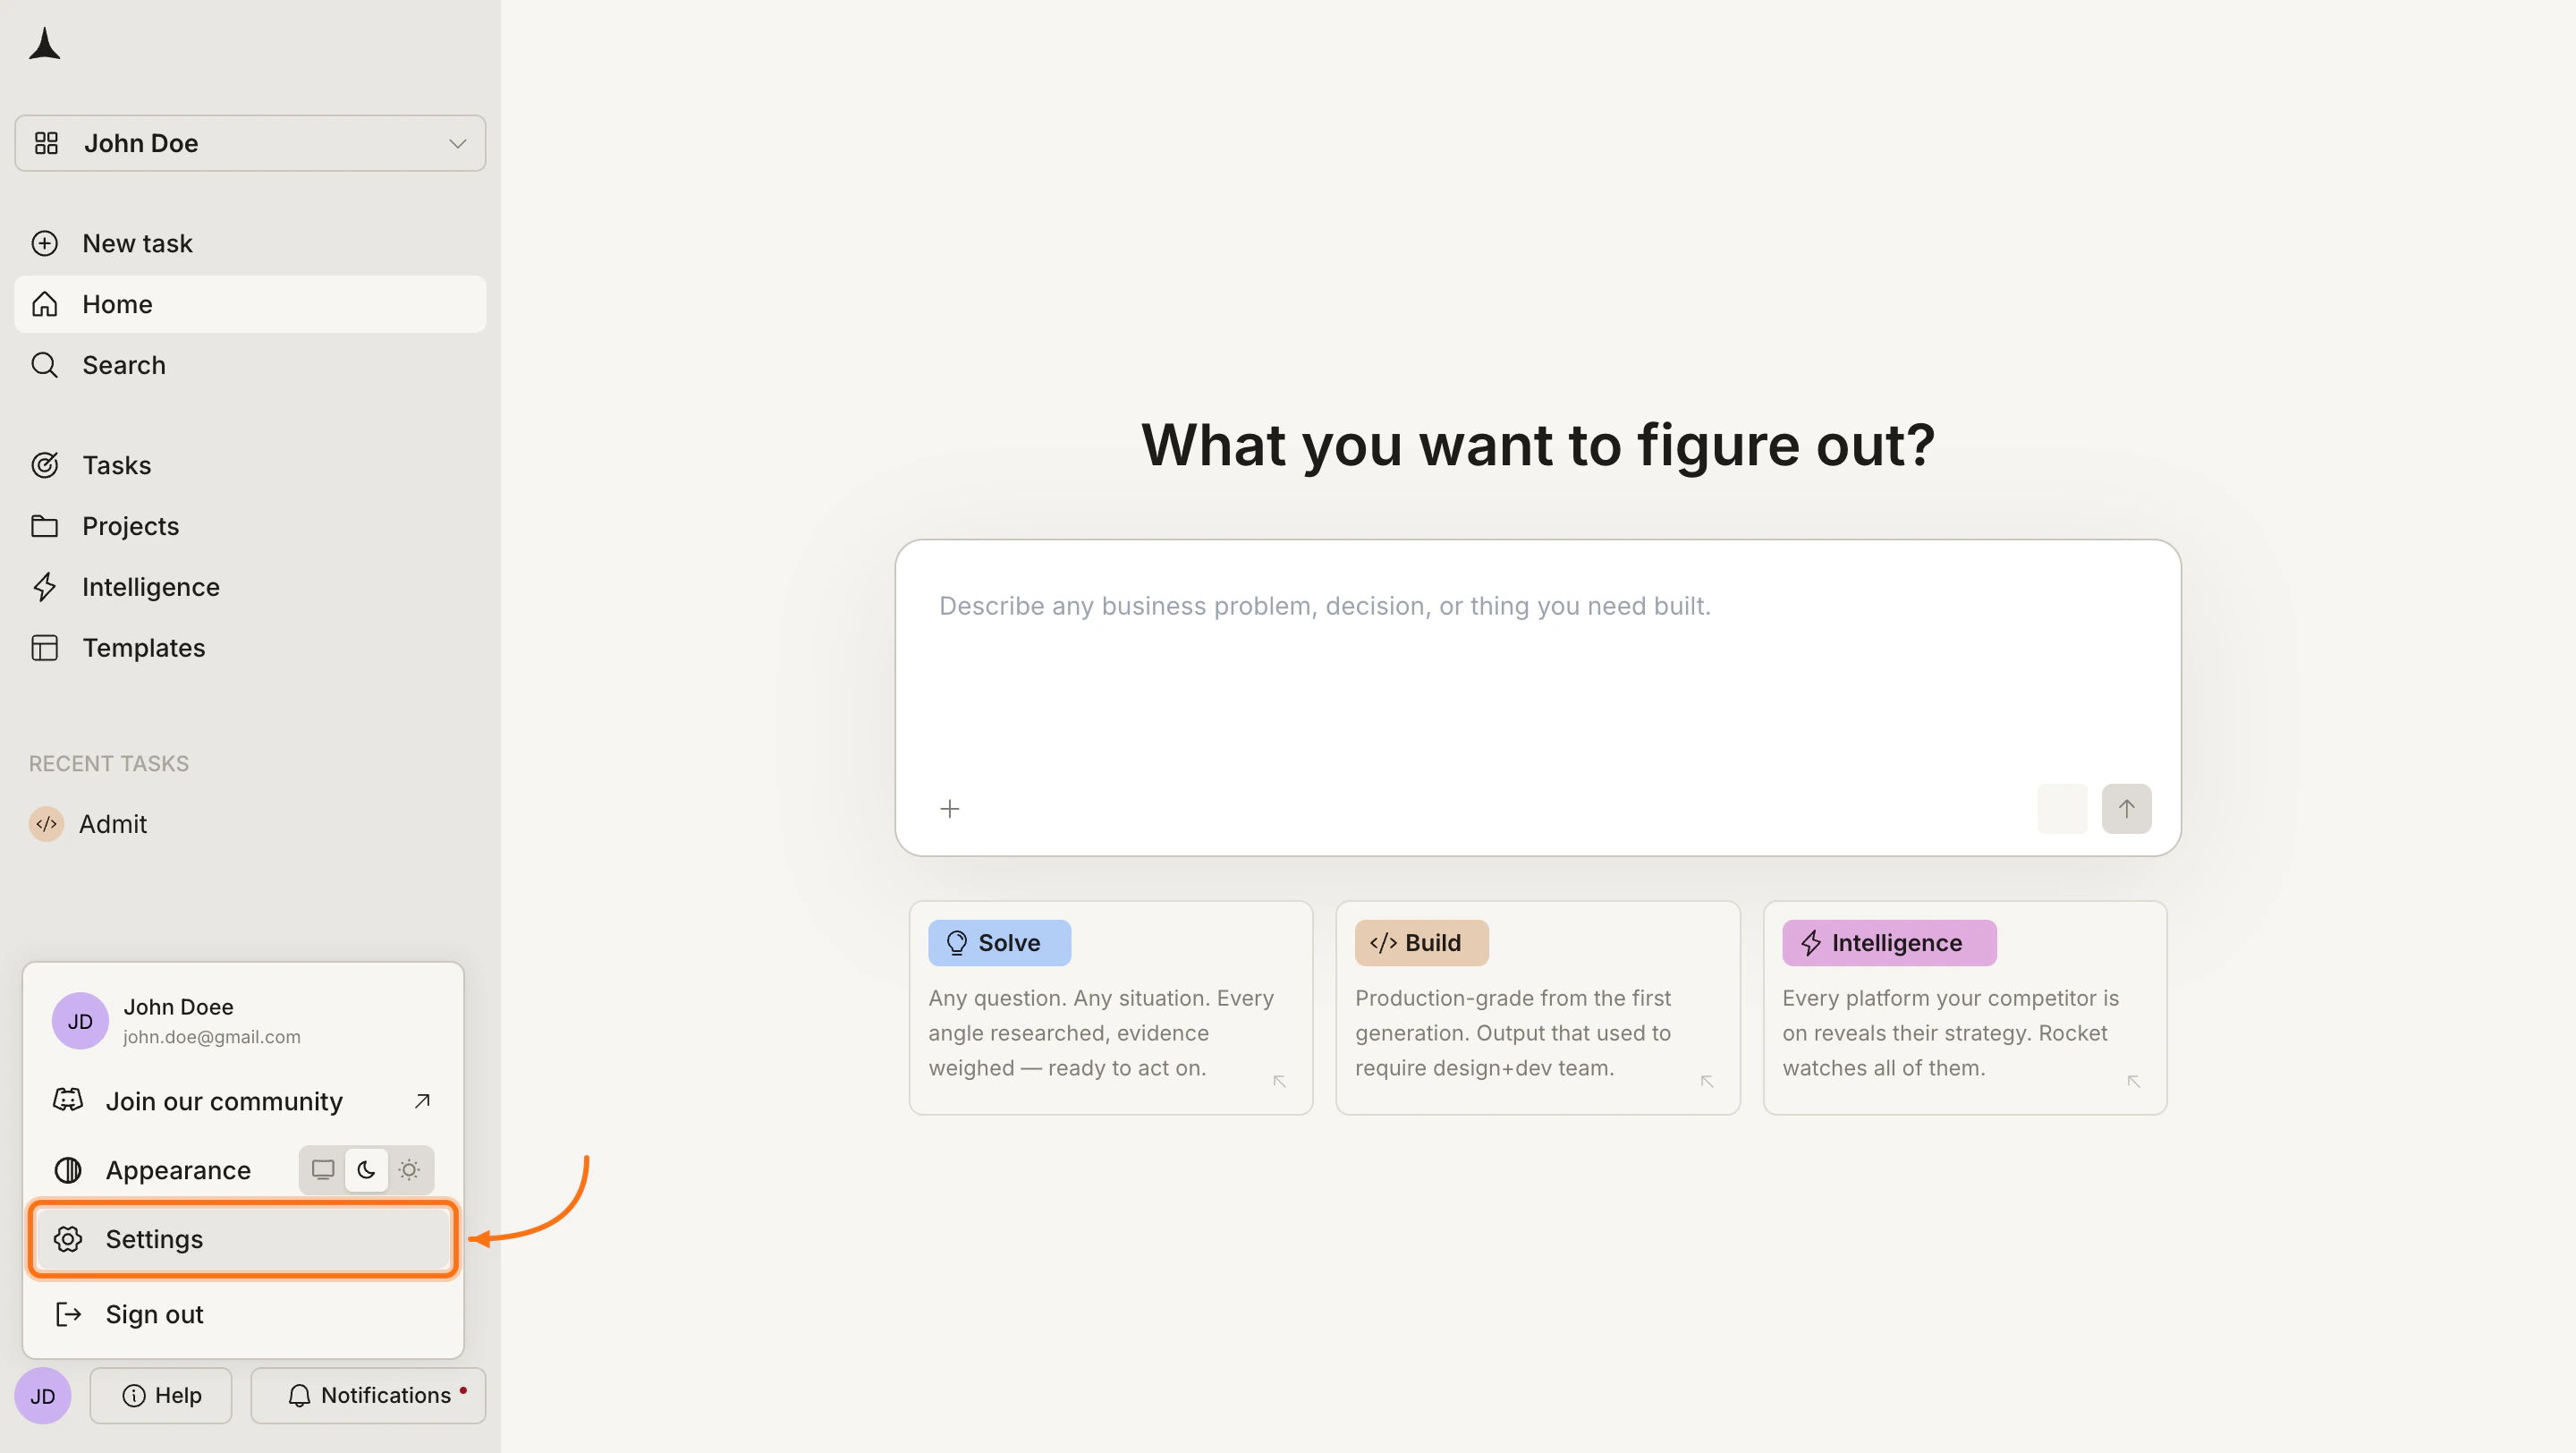
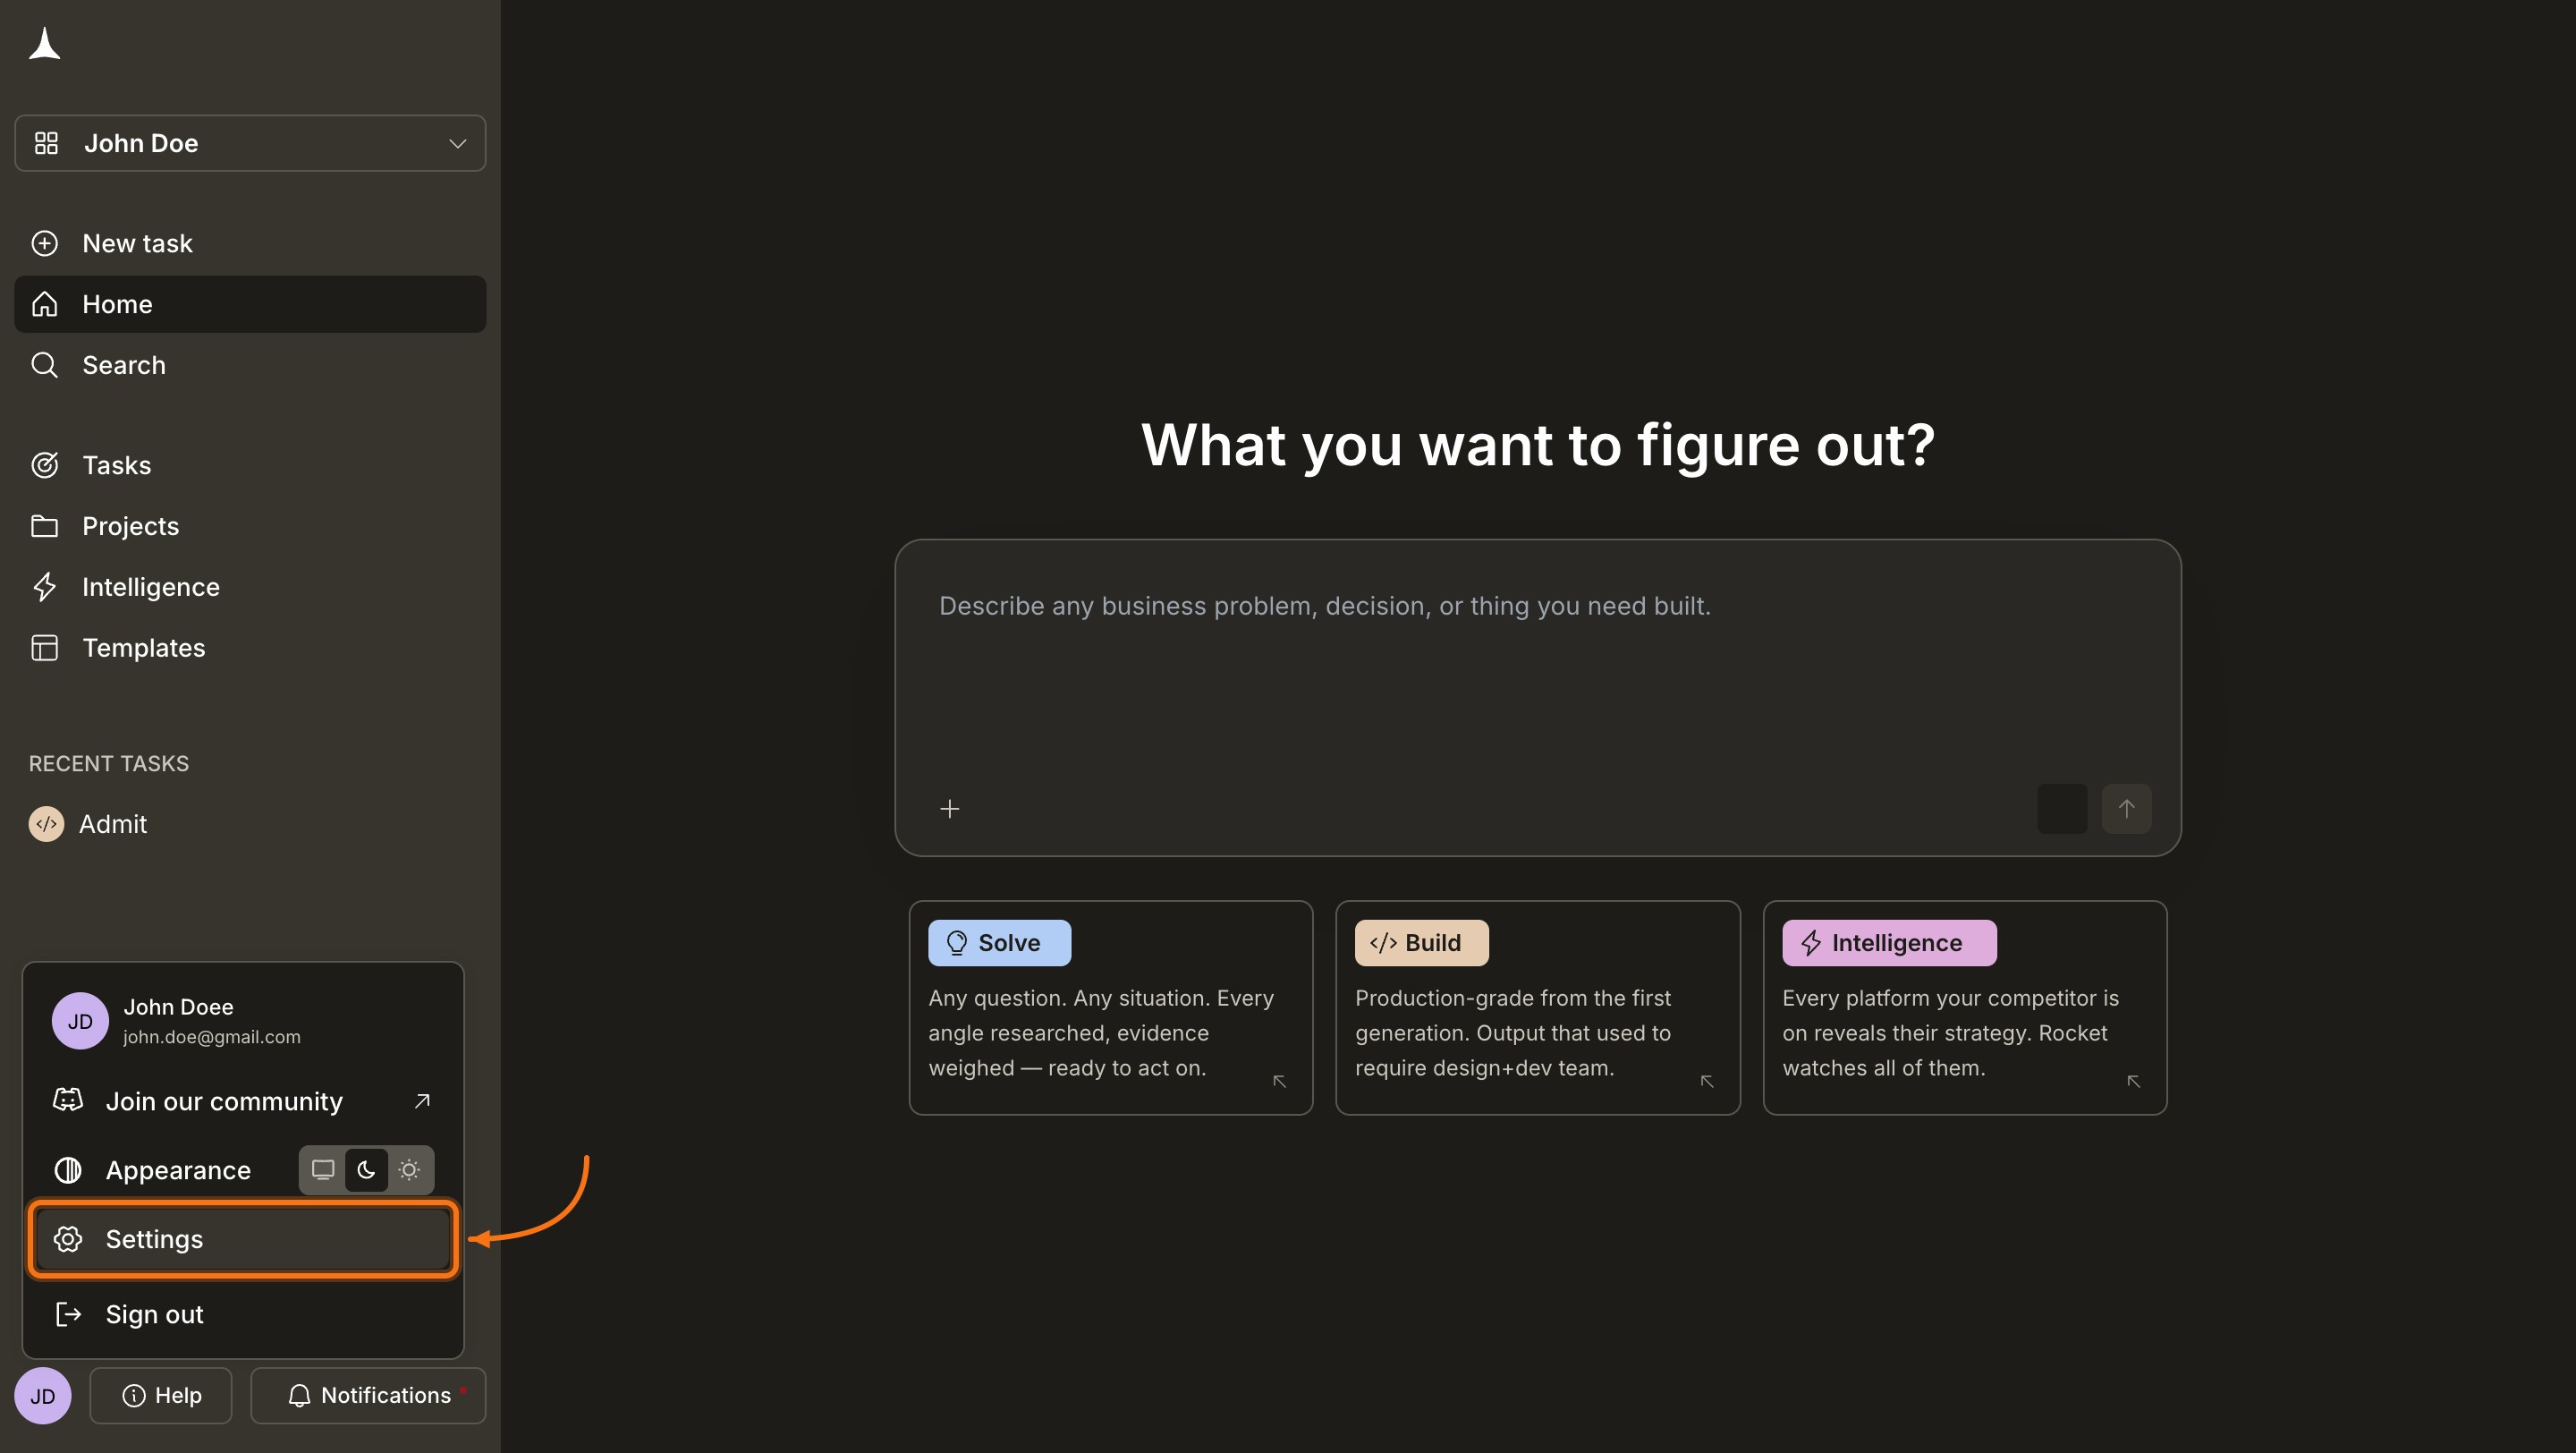
What’s next?
Notifications
Open the notification panel to review collaboration requests, product updates, and task completion alerts.
Appearance
Switch between light mode, dark mode, or system-synced theme.