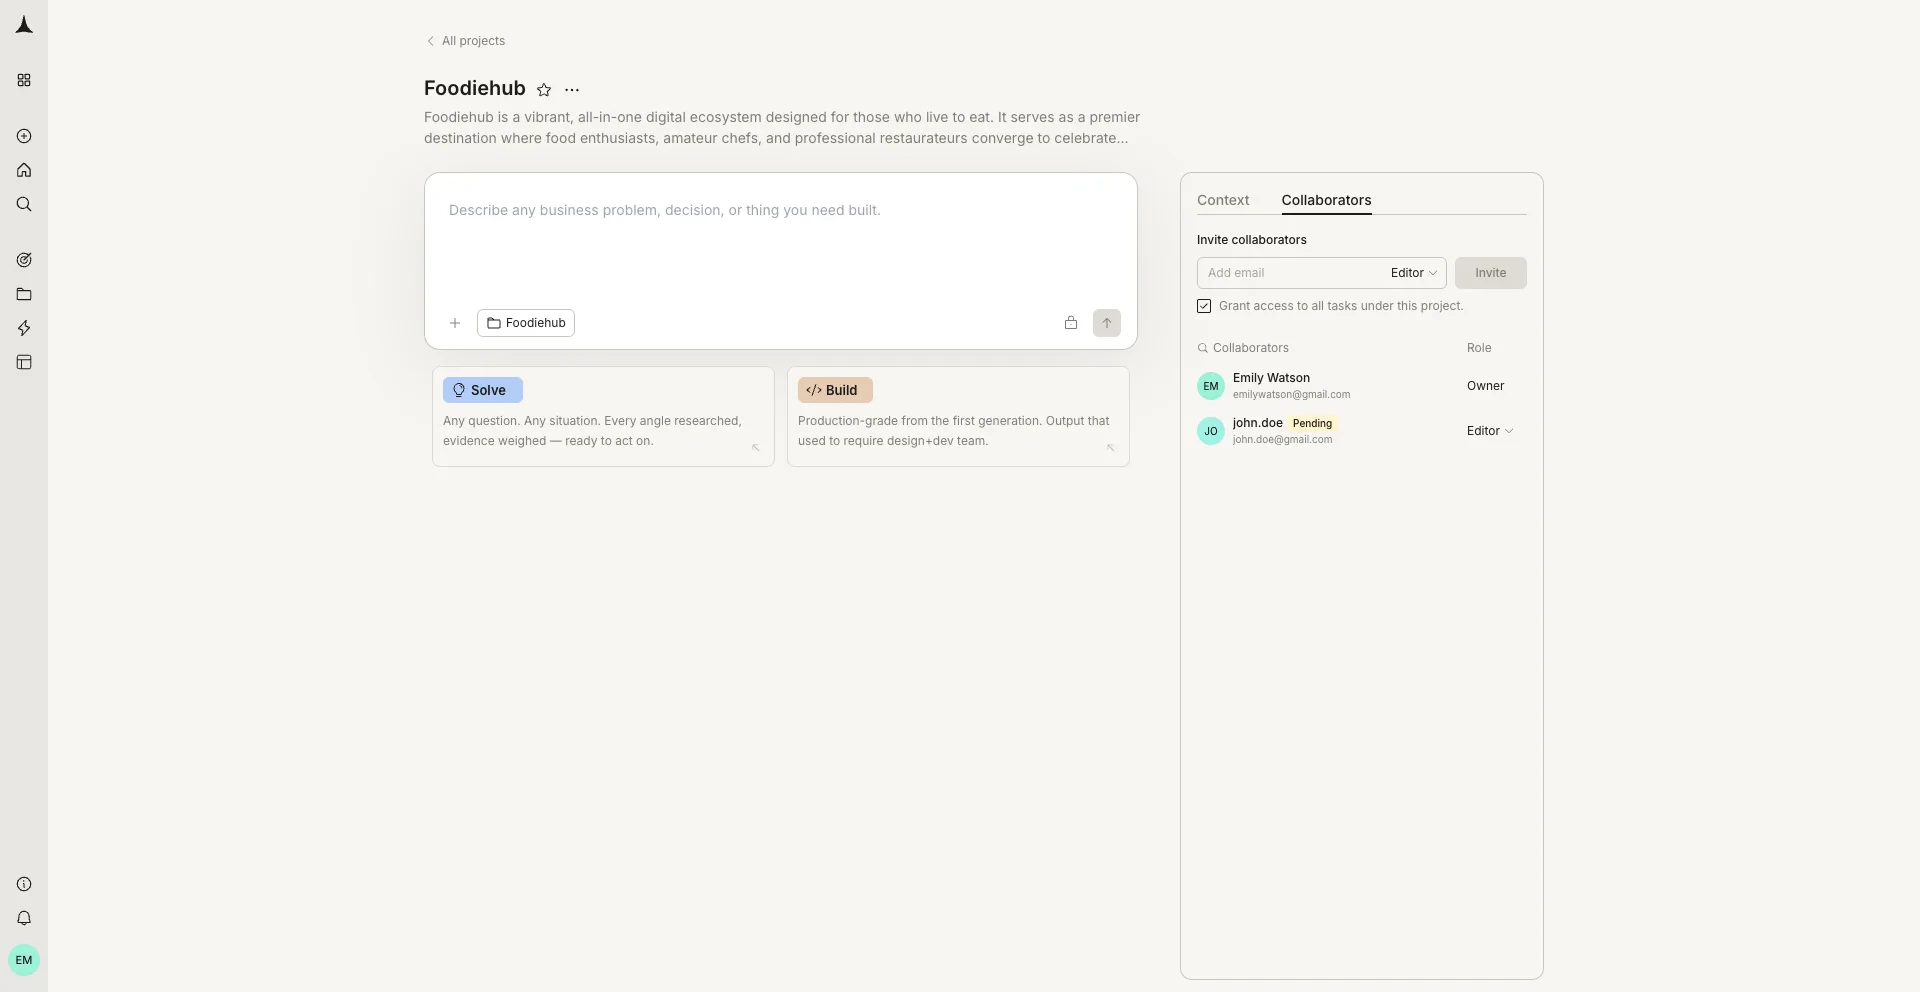
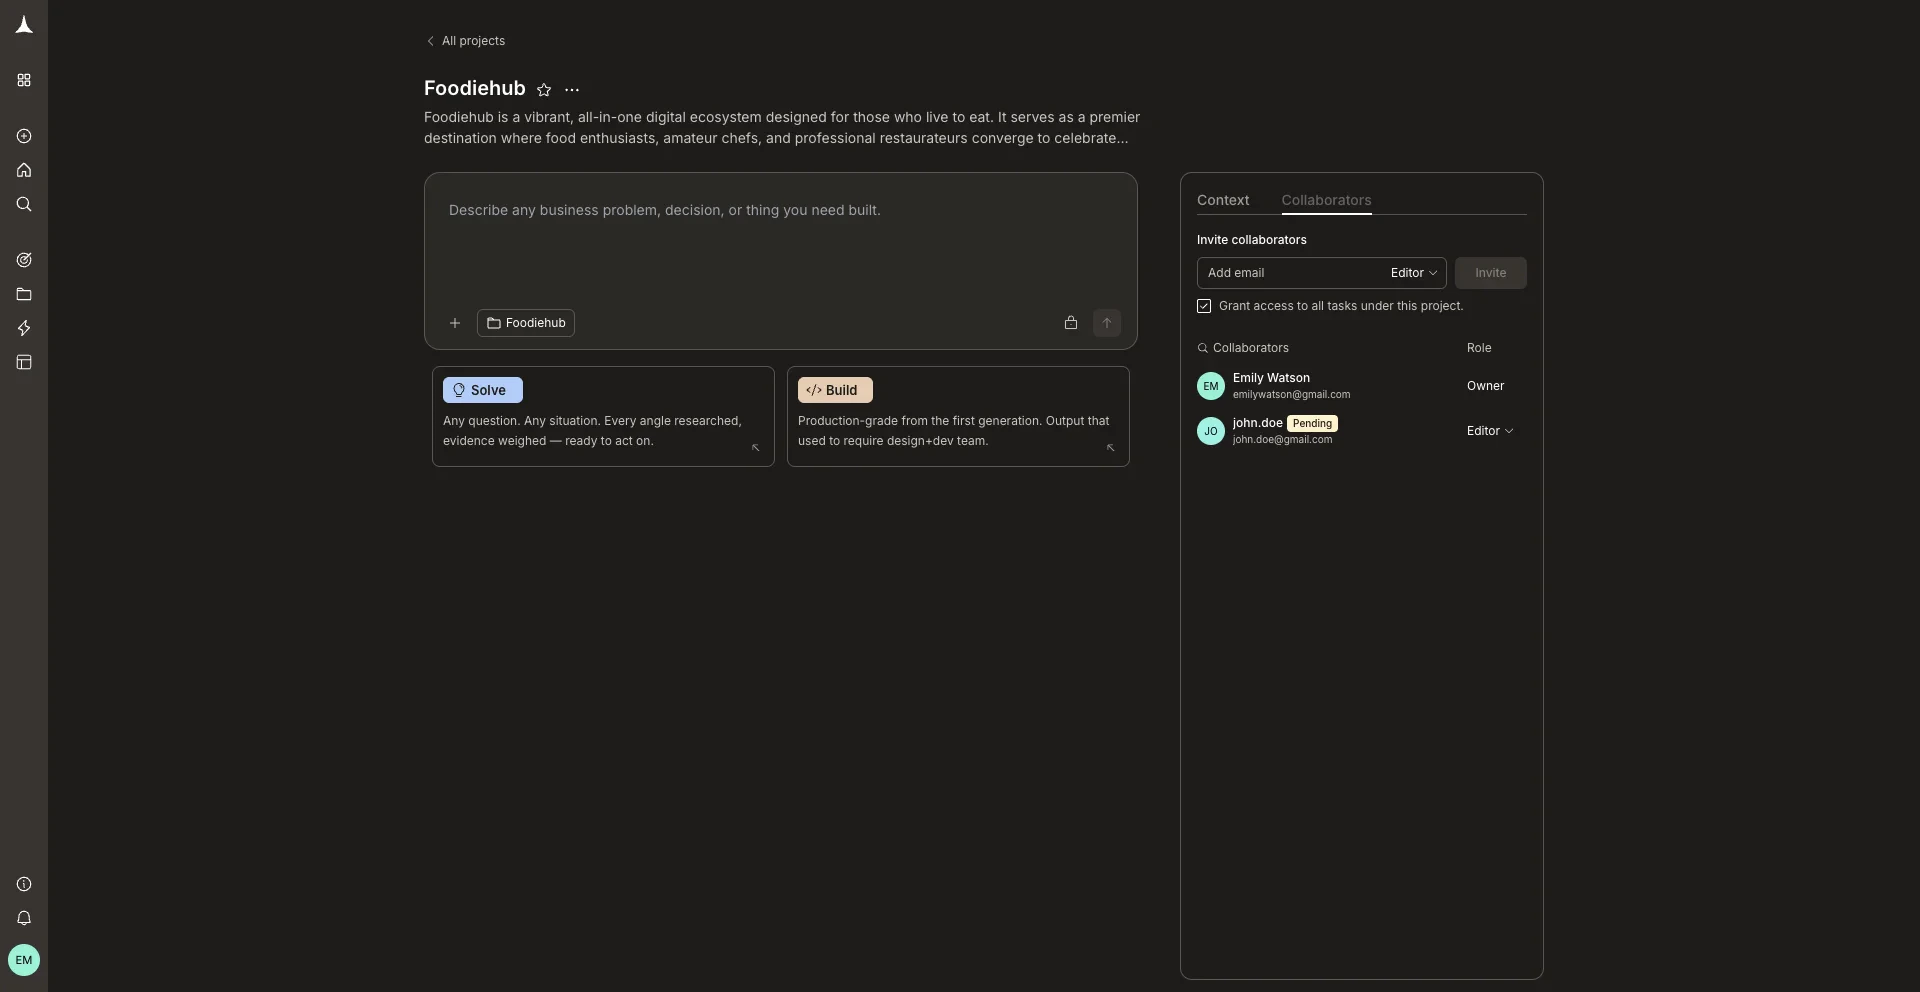
Inviting a collaborator grants access to all existing tasks in the project. Tasks created after the invitation are not automatically shared. Share them individually at the task level if needed.
Steps

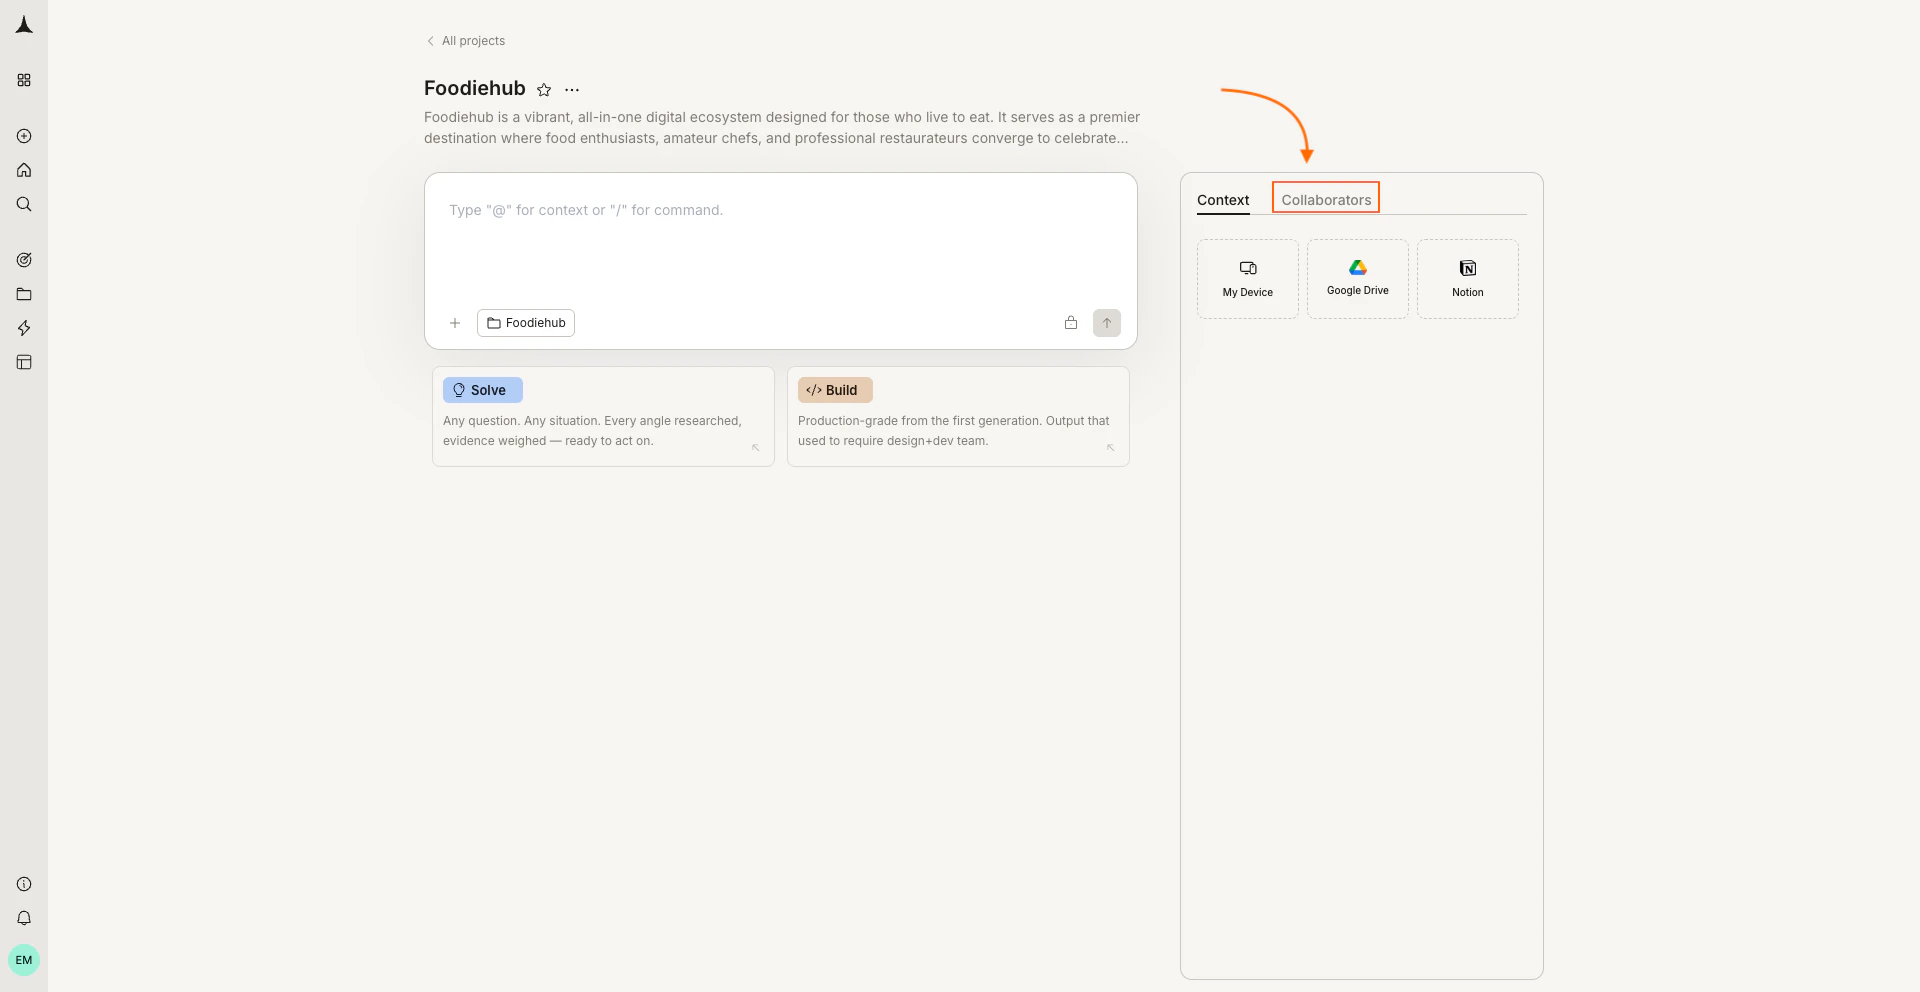
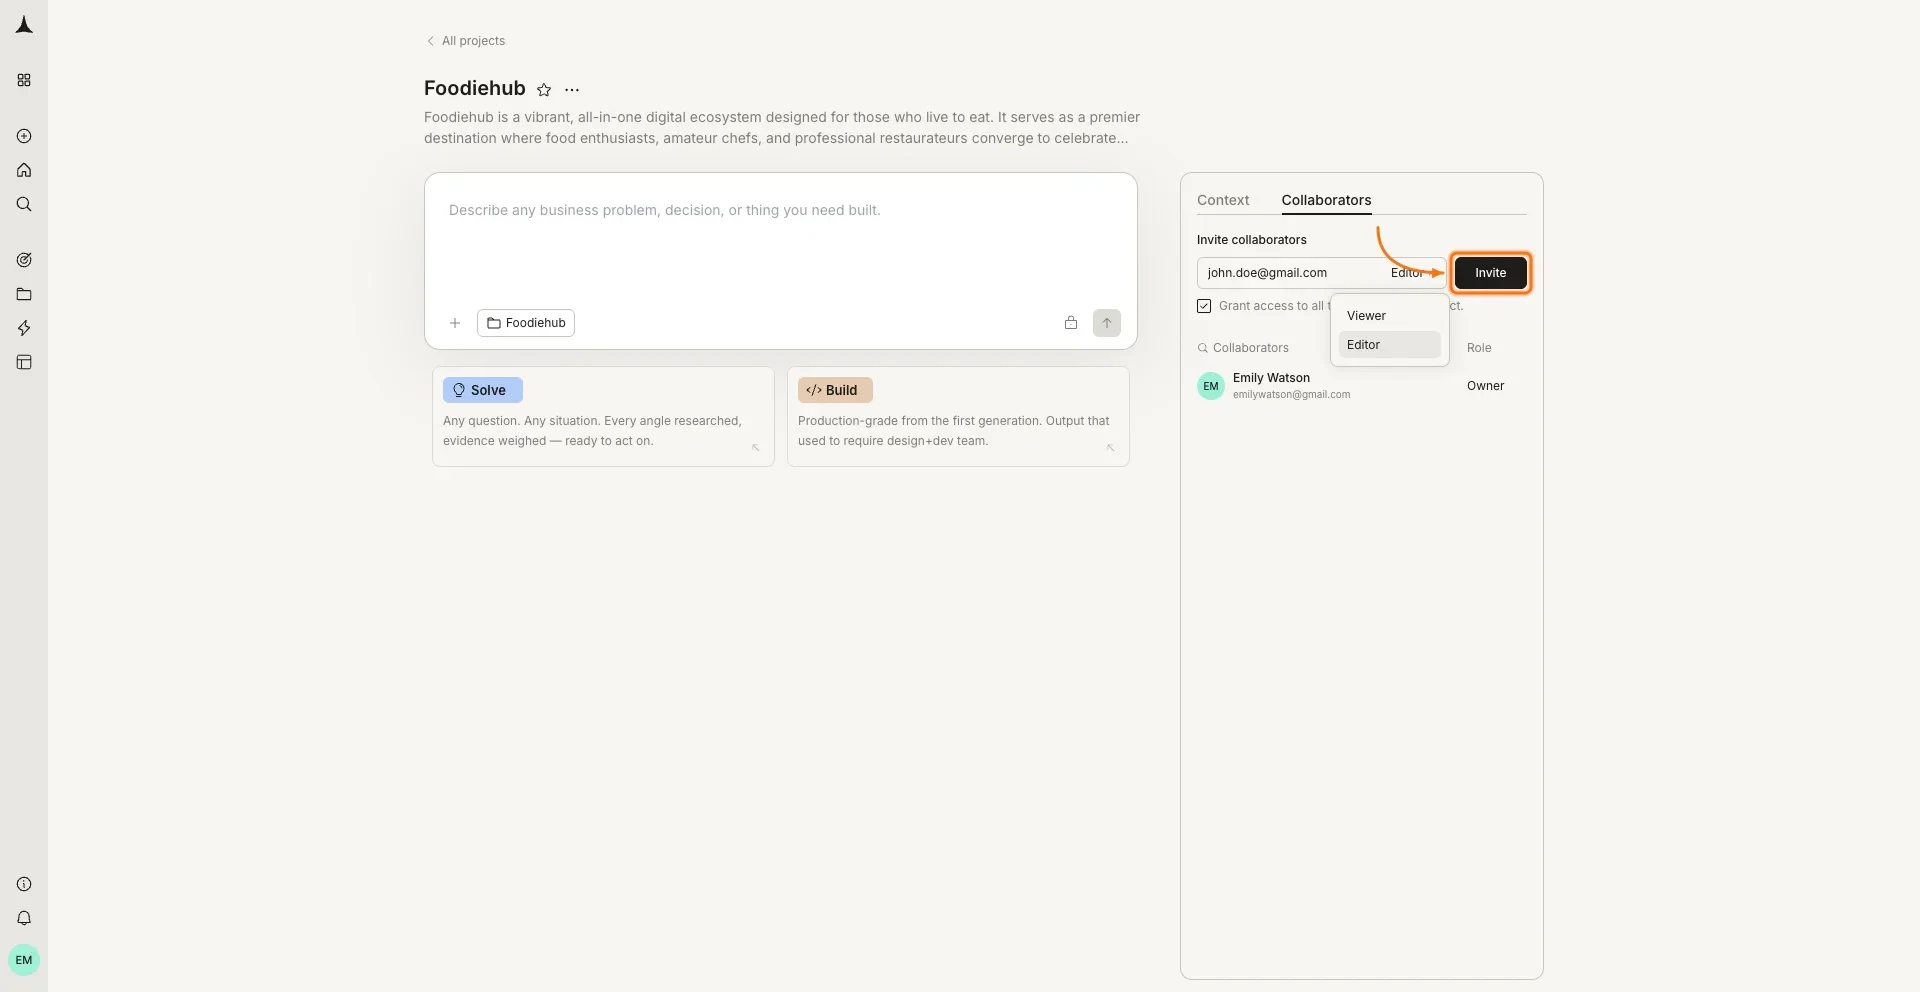
Enter an email and choose a role
Type the collaborator’s email address and select a role (Editor or Viewer) from the dropdown.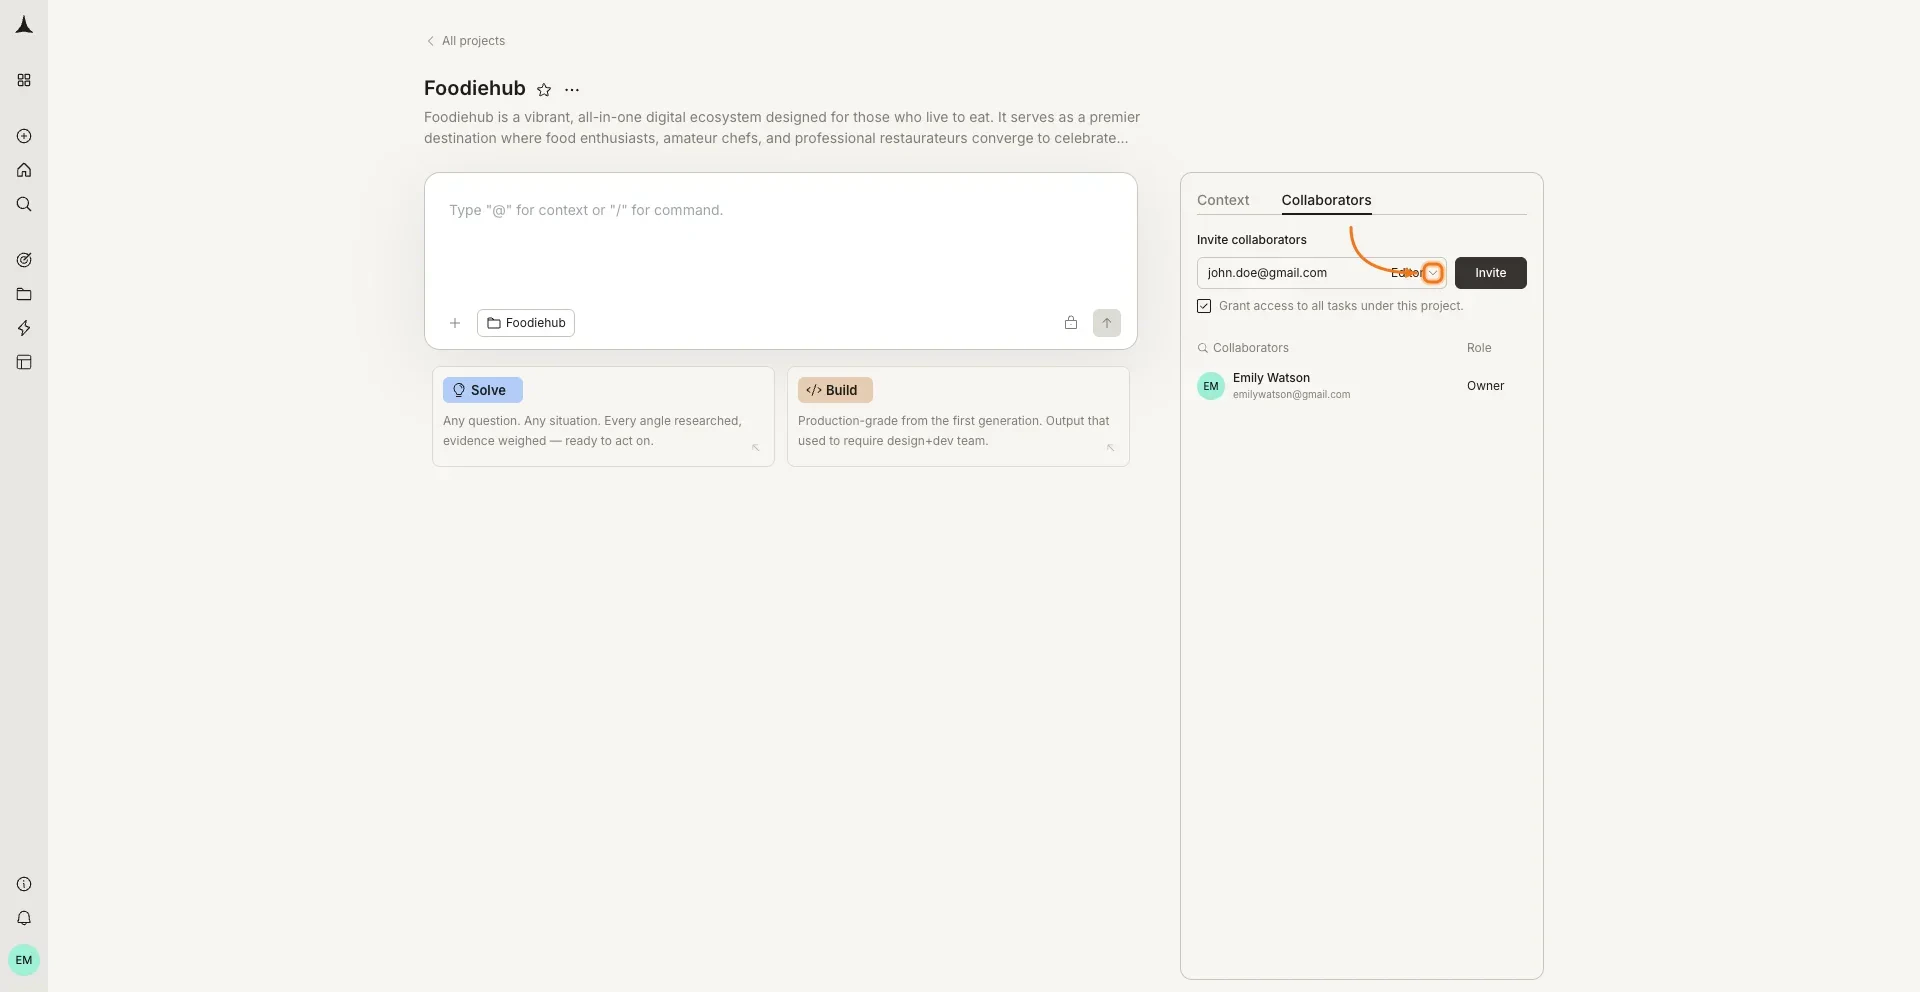
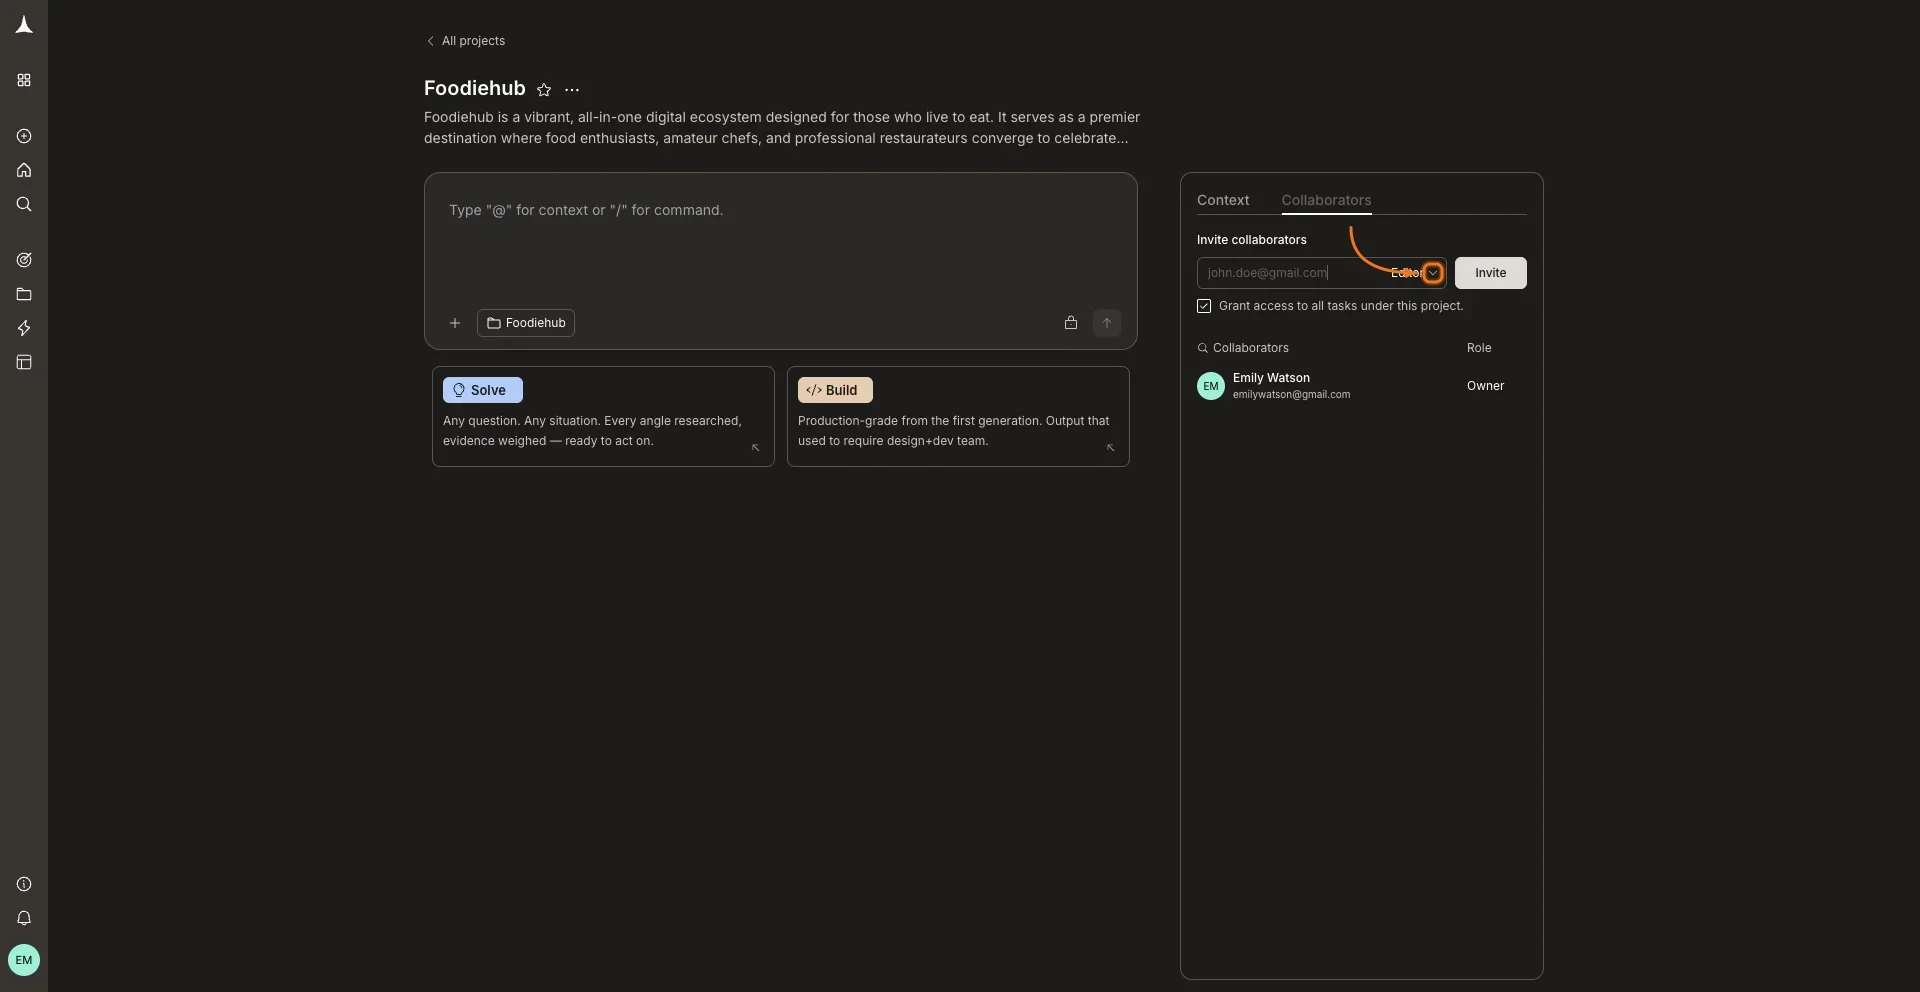
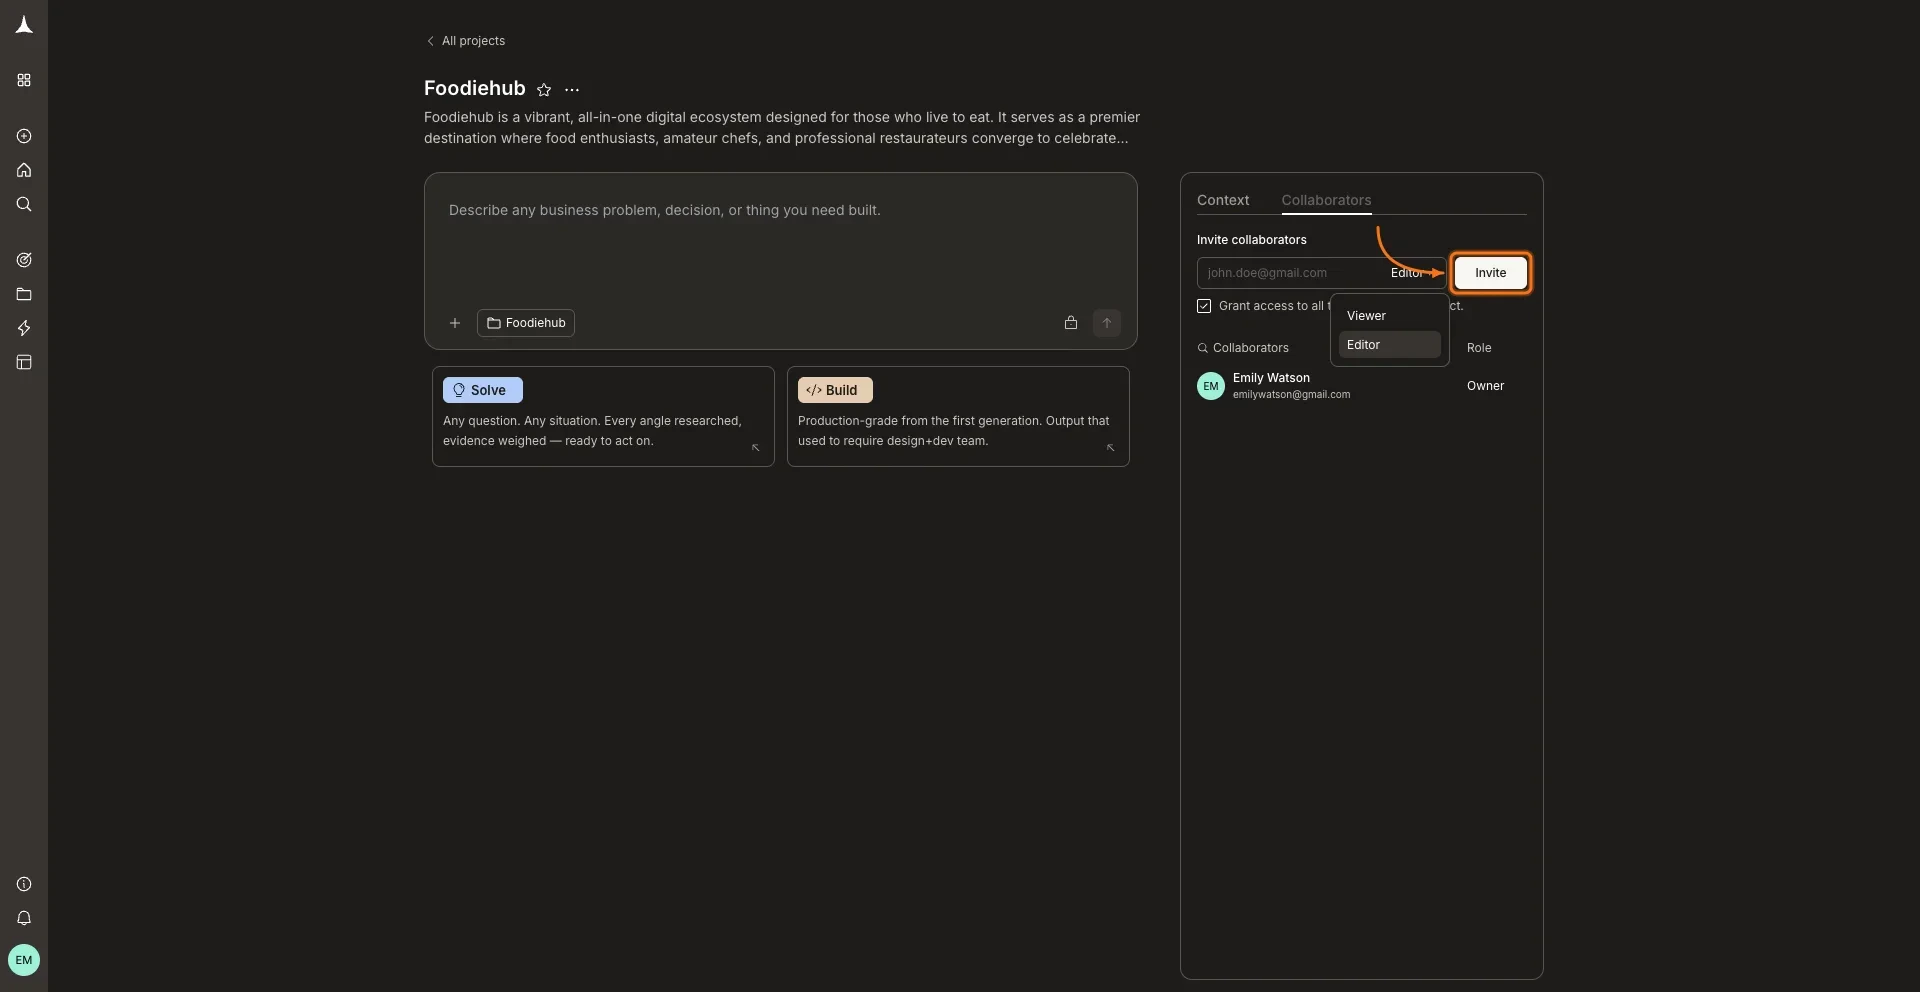
Grant access to existing tasks (optional)
Before clicking Invite, decide whether to share existing tasks:
- Ticked: the collaborator can see all tasks that already exist in this project.
- Unticked: the collaborator joins the project but starts with an empty view. You can share tasks with them individually at the task level.
Roles and permissions
Rocket uses two roles at the project level.| Permission | Editor | Viewer |
|---|---|---|
| View tasks and outputs | Yes | Yes |
| Create new tasks | Yes | No |
| Edit tasks (chat, iterate) | Yes | No |
| Upload and manage files | Yes | No |
| Connect and disconnect services | Yes | No |
| Invite collaborators | Yes | No |
Editor
Editor
Day-to-day collaborator. Editors can create tasks, iterate on existing work, upload files, connect services, and invite other collaborators.
Viewer
Viewer
Read-only access. Viewers can see all tasks and outputs but cannot create or edit anything. Ideal for stakeholders who need visibility without editing access.
Roles apply at each level independently. A workspace Editor can be given Viewer-only access on a specific project.
What’s next?
Task collaboration
Share individual tasks and control visibility settings.
Workspace collaboration
Manage workspace-level roles and permissions.
Context flow
How tasks share context within a project.
Projects overview
Create and manage your projects.