A Rocket.new workspace is the top-level container that holds your projects, teammates, connected integrations, credits, and billing plan.
A workspace is the top-level container in Rocket. It represents your organization, or a distinct team within it, and holds all projects, members, billing, and connectors in one place.When you create a Rocket account, a default workspace is automatically created using your first and last name. This default workspace comes with the Free plan and its one-time 20 credits.
A workspace is the organizational shell. Projects live inside workspaces and contain the actual work (tasks, files, services). Think of a workspace as the company, and projects as the initiatives within it.
Go to Settings → Members to view, invite, or manage workspace members. You can assign roles (Editor or Viewer) when inviting, or change them later. The Owner role is not assignable. You are the owner of any workspace you create.
See the full roles and permissions breakdown.
Removing a member revokes their access to the workspace and all projects within it. Their contributions (tasks and files) remain in the workspace.
You can belong to more than one workspace. This is useful when you work with multiple organizations, or when your company separates teams into distinct workspaces for billing or access control.
When to use one workspace
When to use multiple workspaces
Your entire team works on related projects
You want unified billing and a single member directory
Cross-project visibility is important
You are a small to mid-size team
You work with distinct organizations (e.g., your company + a client)
Teams need completely separate billing
You need hard boundaries between groups of projects
You are a large organization with independent departments
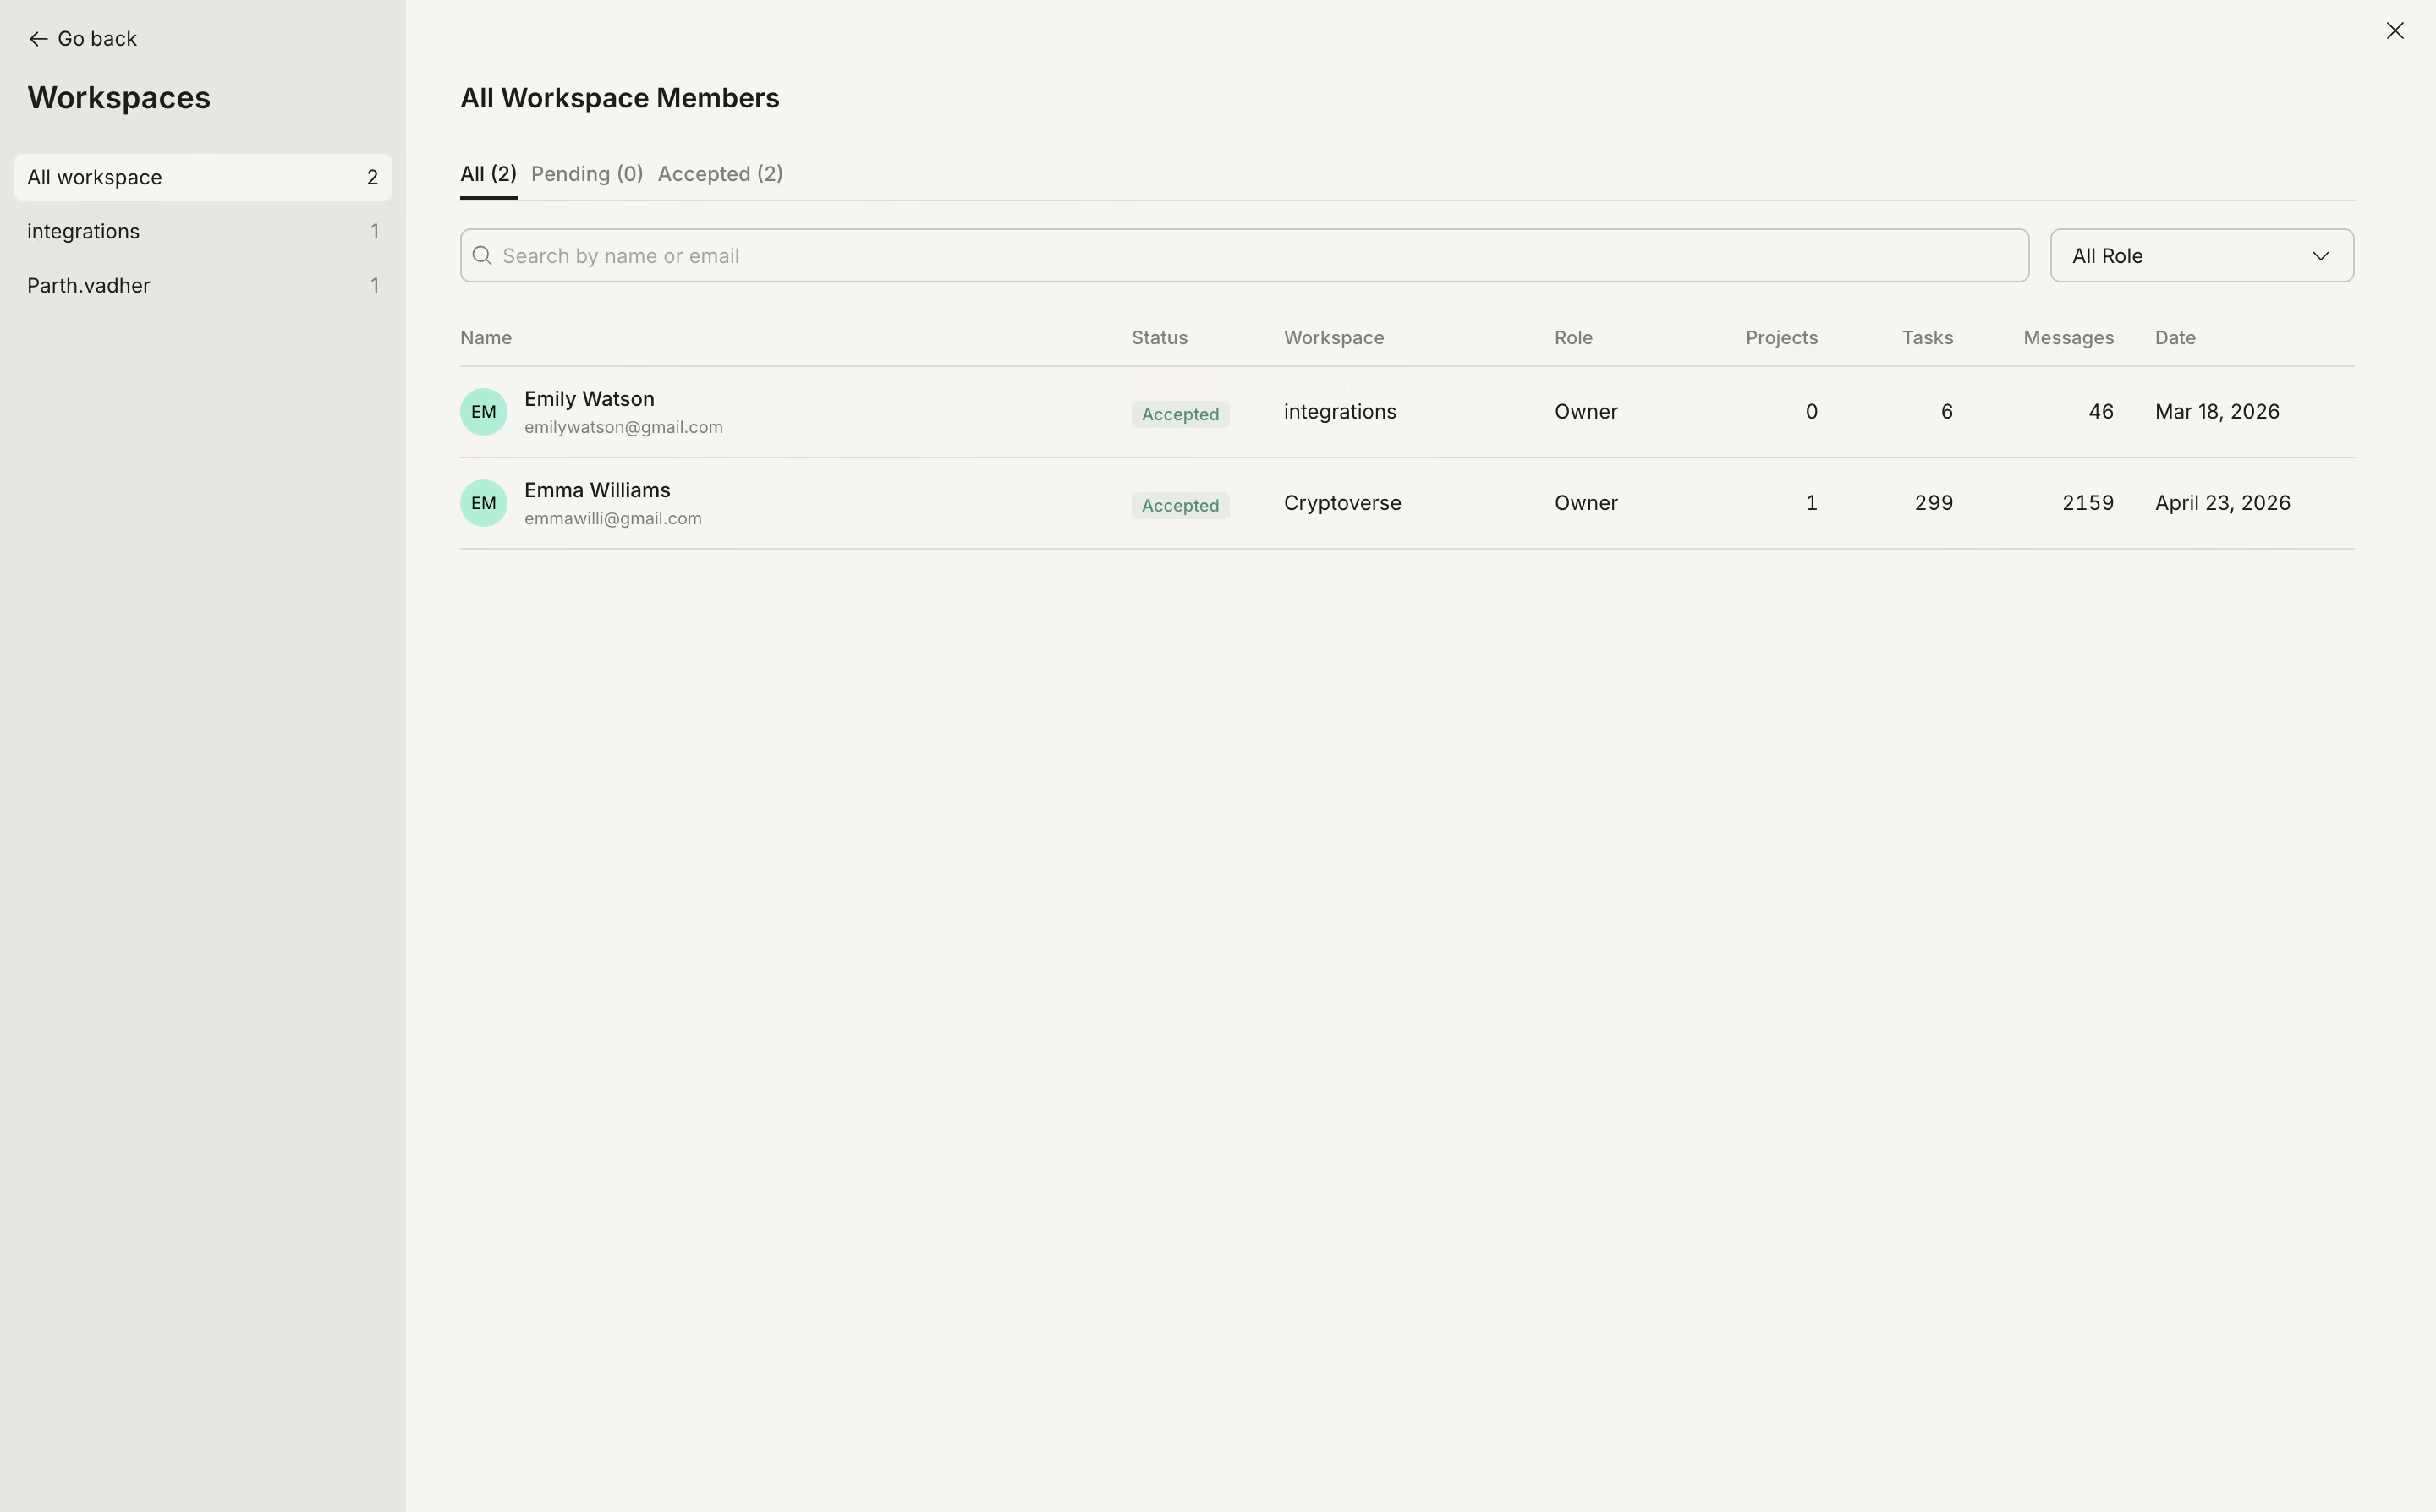
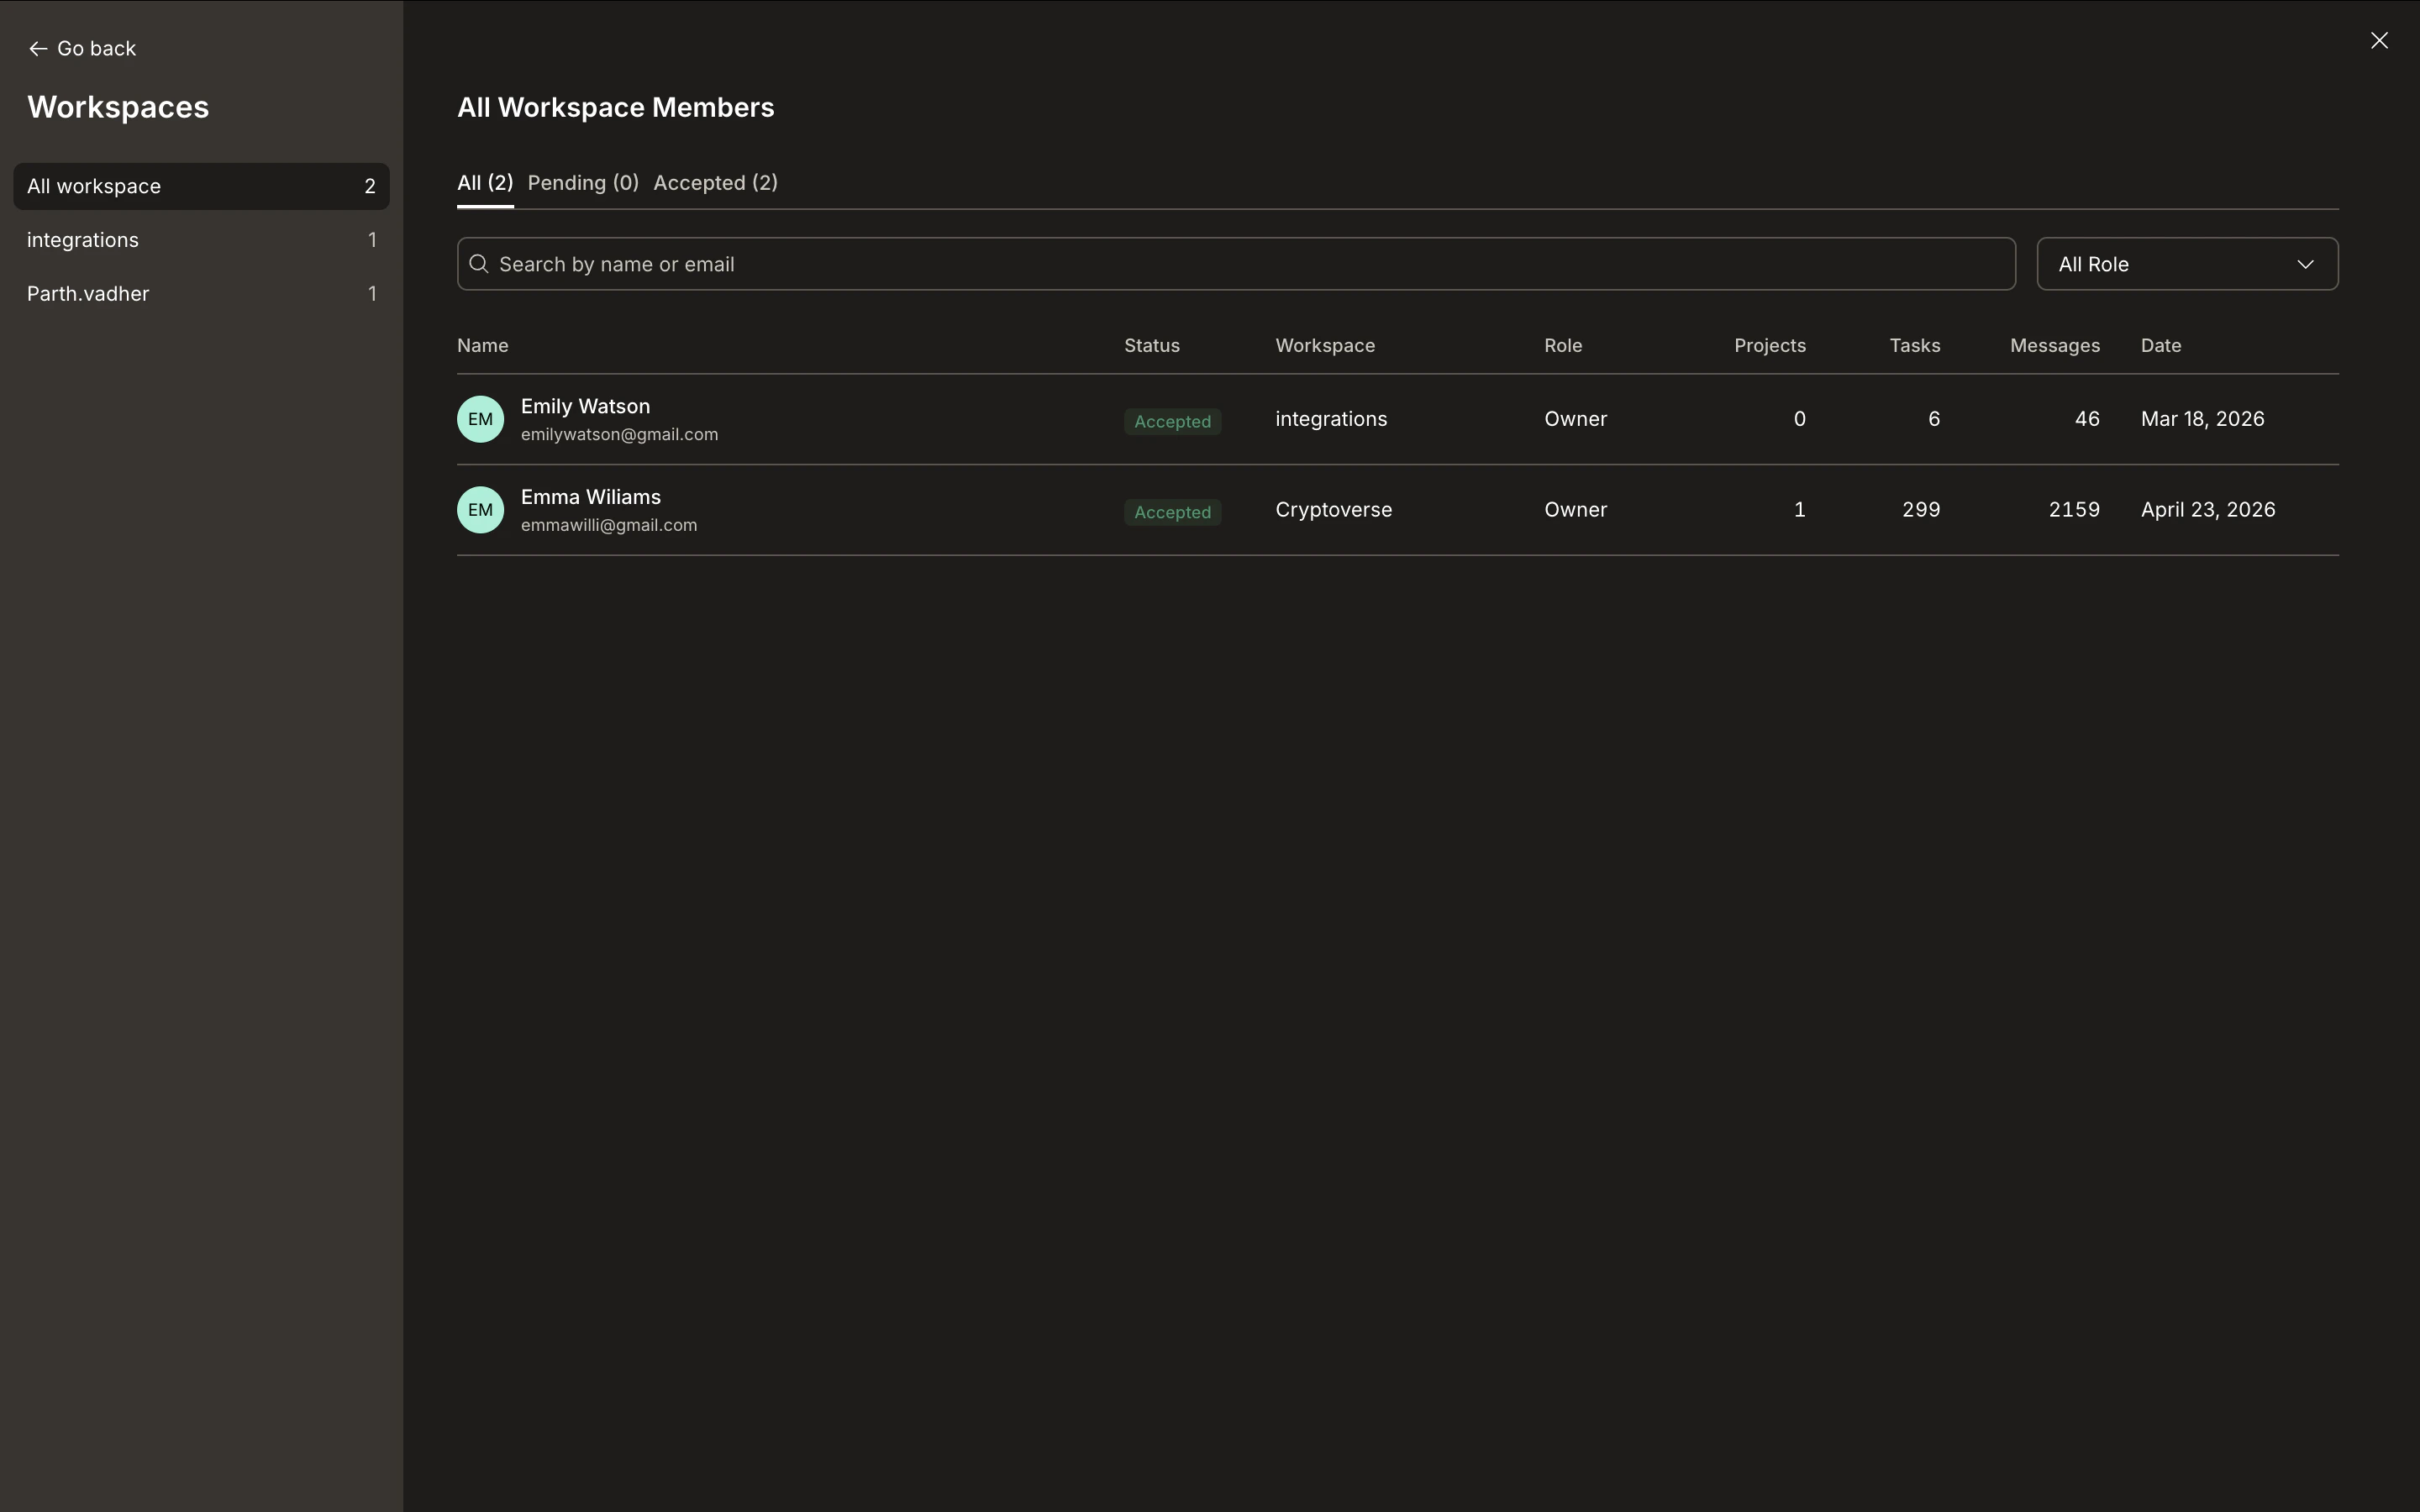
The All workspaces view lists every workspace you own in one place, with visibility into members and their roles, tasks, projects, and messages. Use it to monitor activity across workspaces and manage collaboration without switching contexts.
1
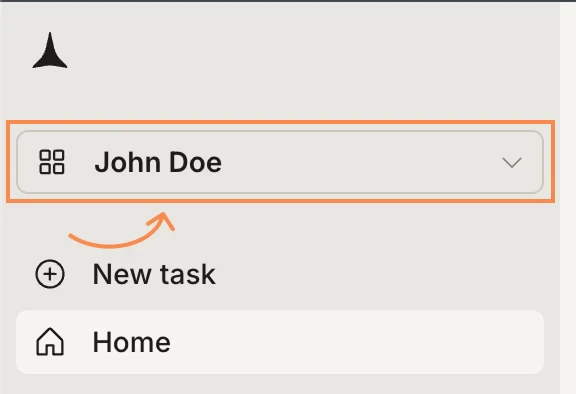
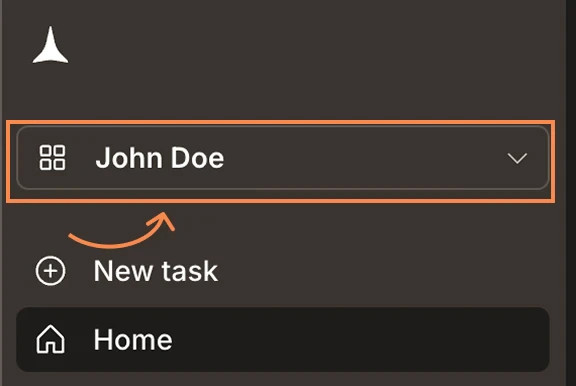
Click your workspace name
Click your workspace name in the top left of the sidebar to open the workspace menu.
Click your workspace name to open the menu
2
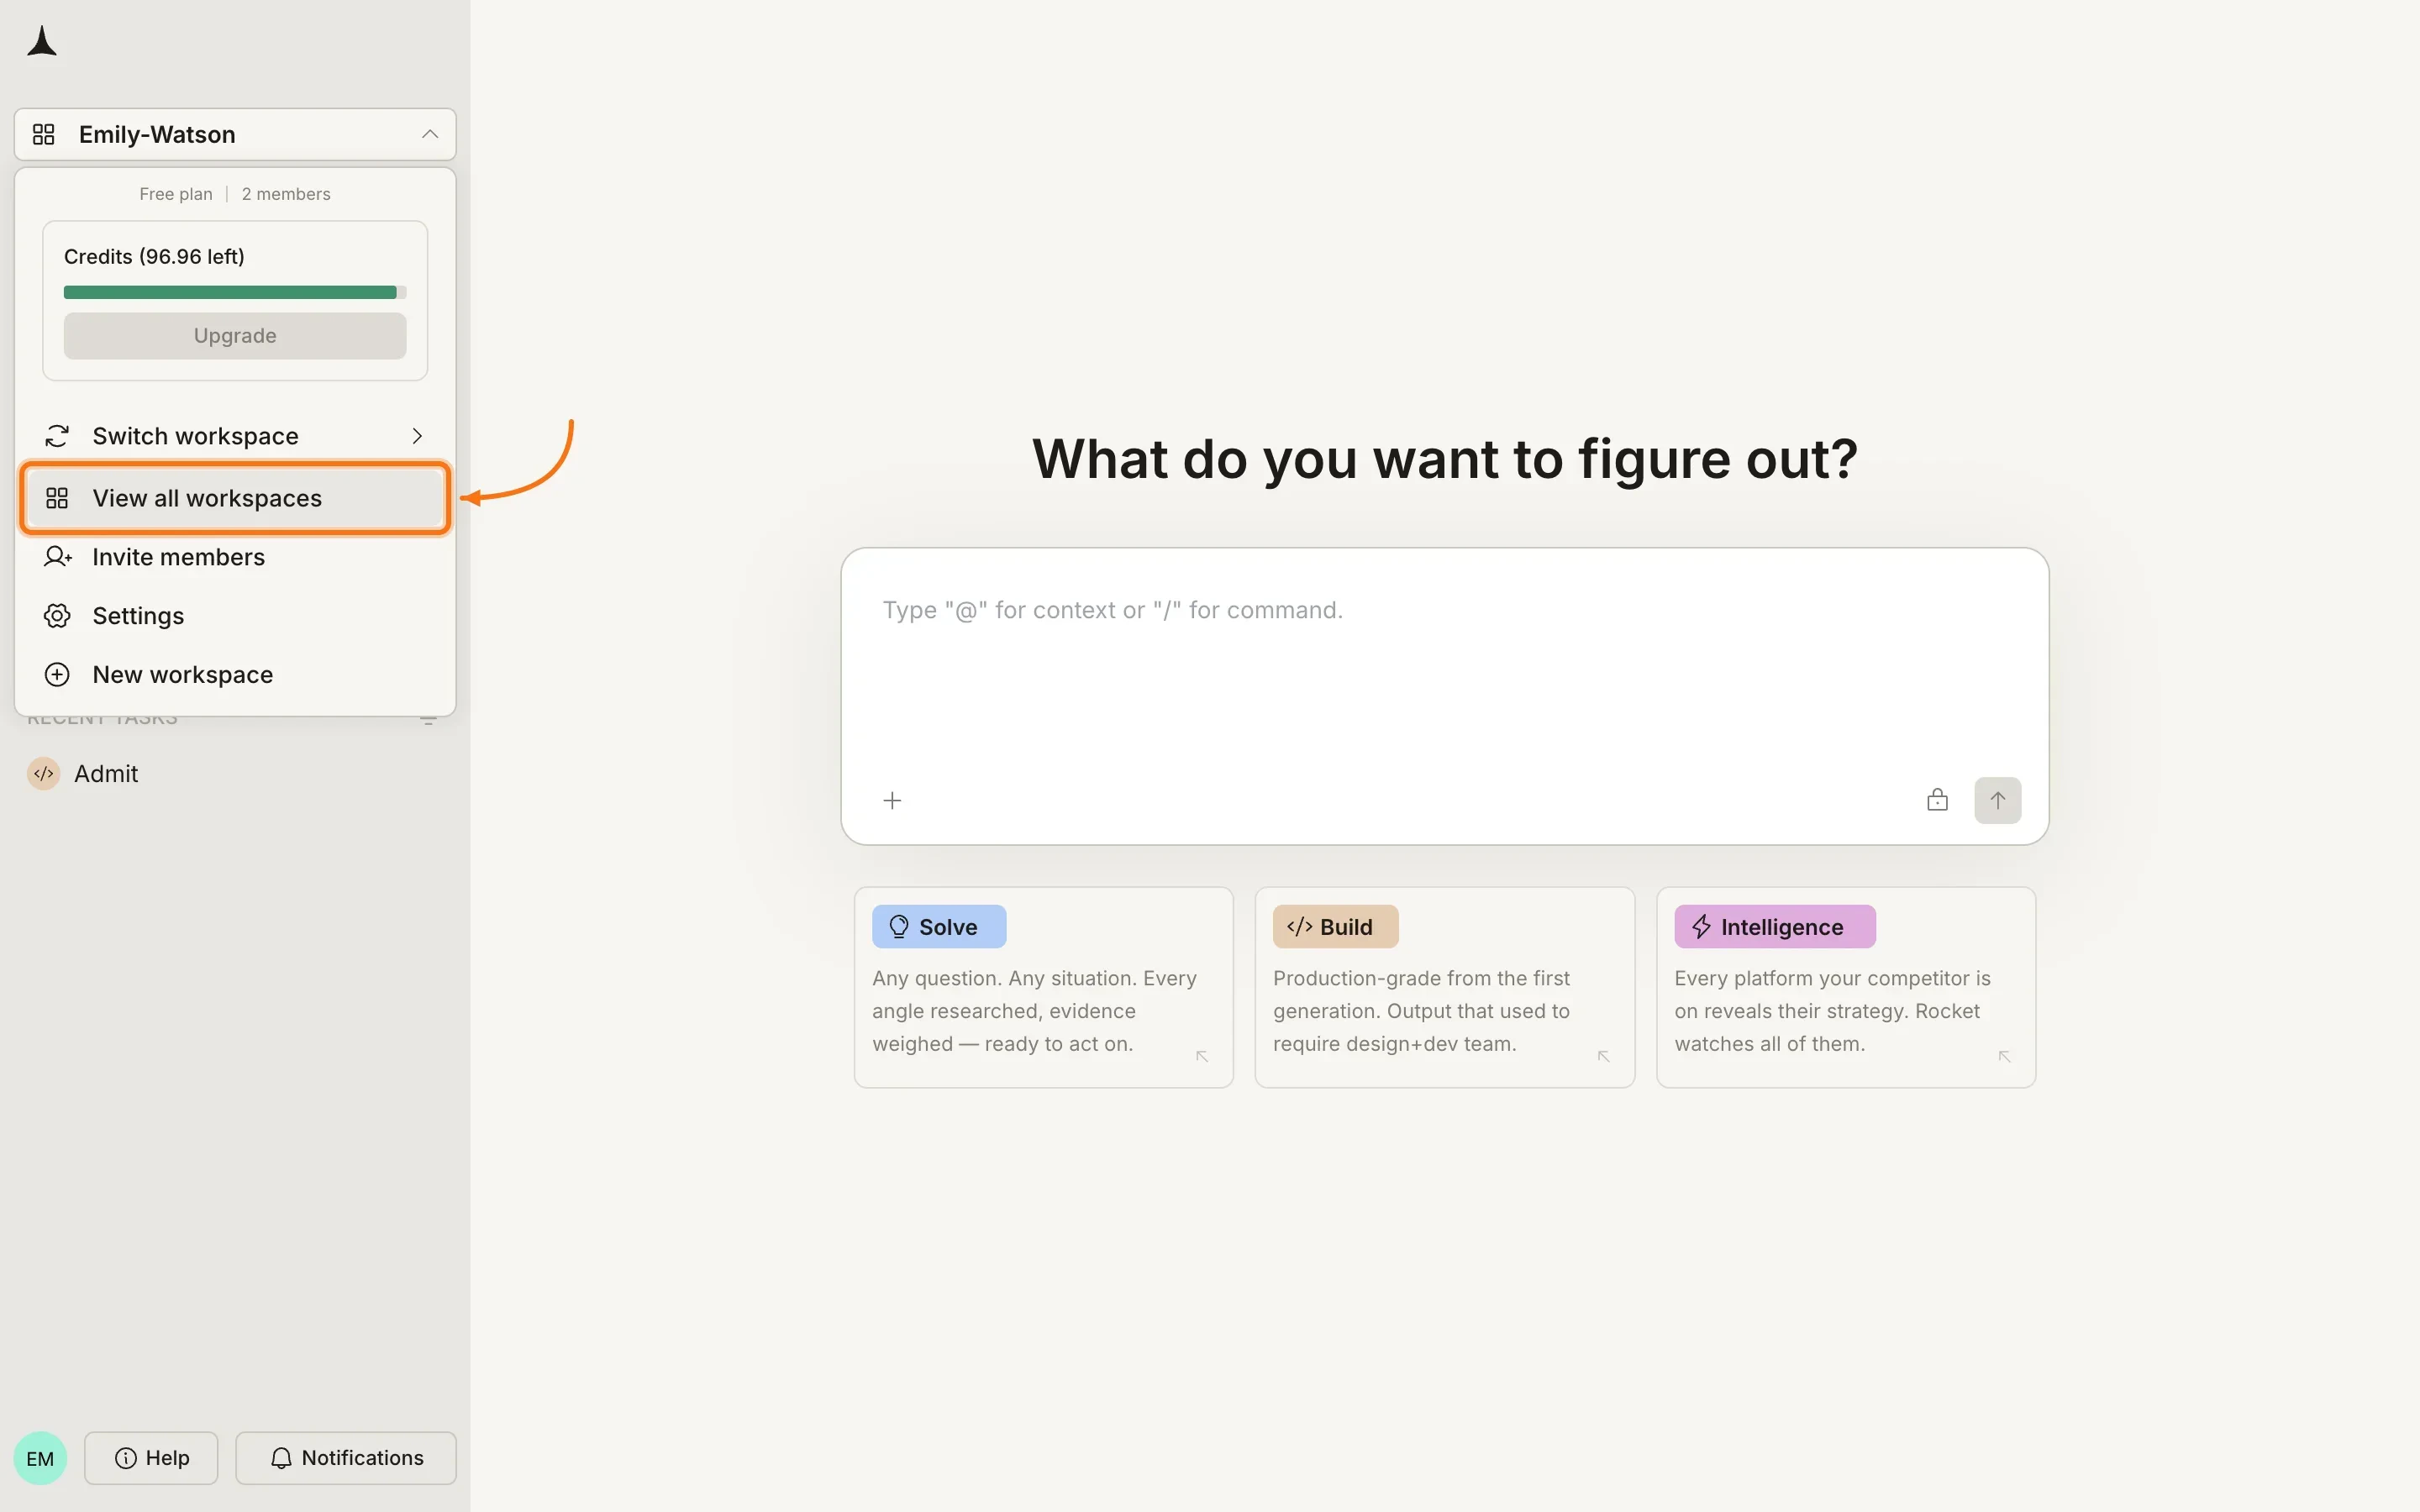
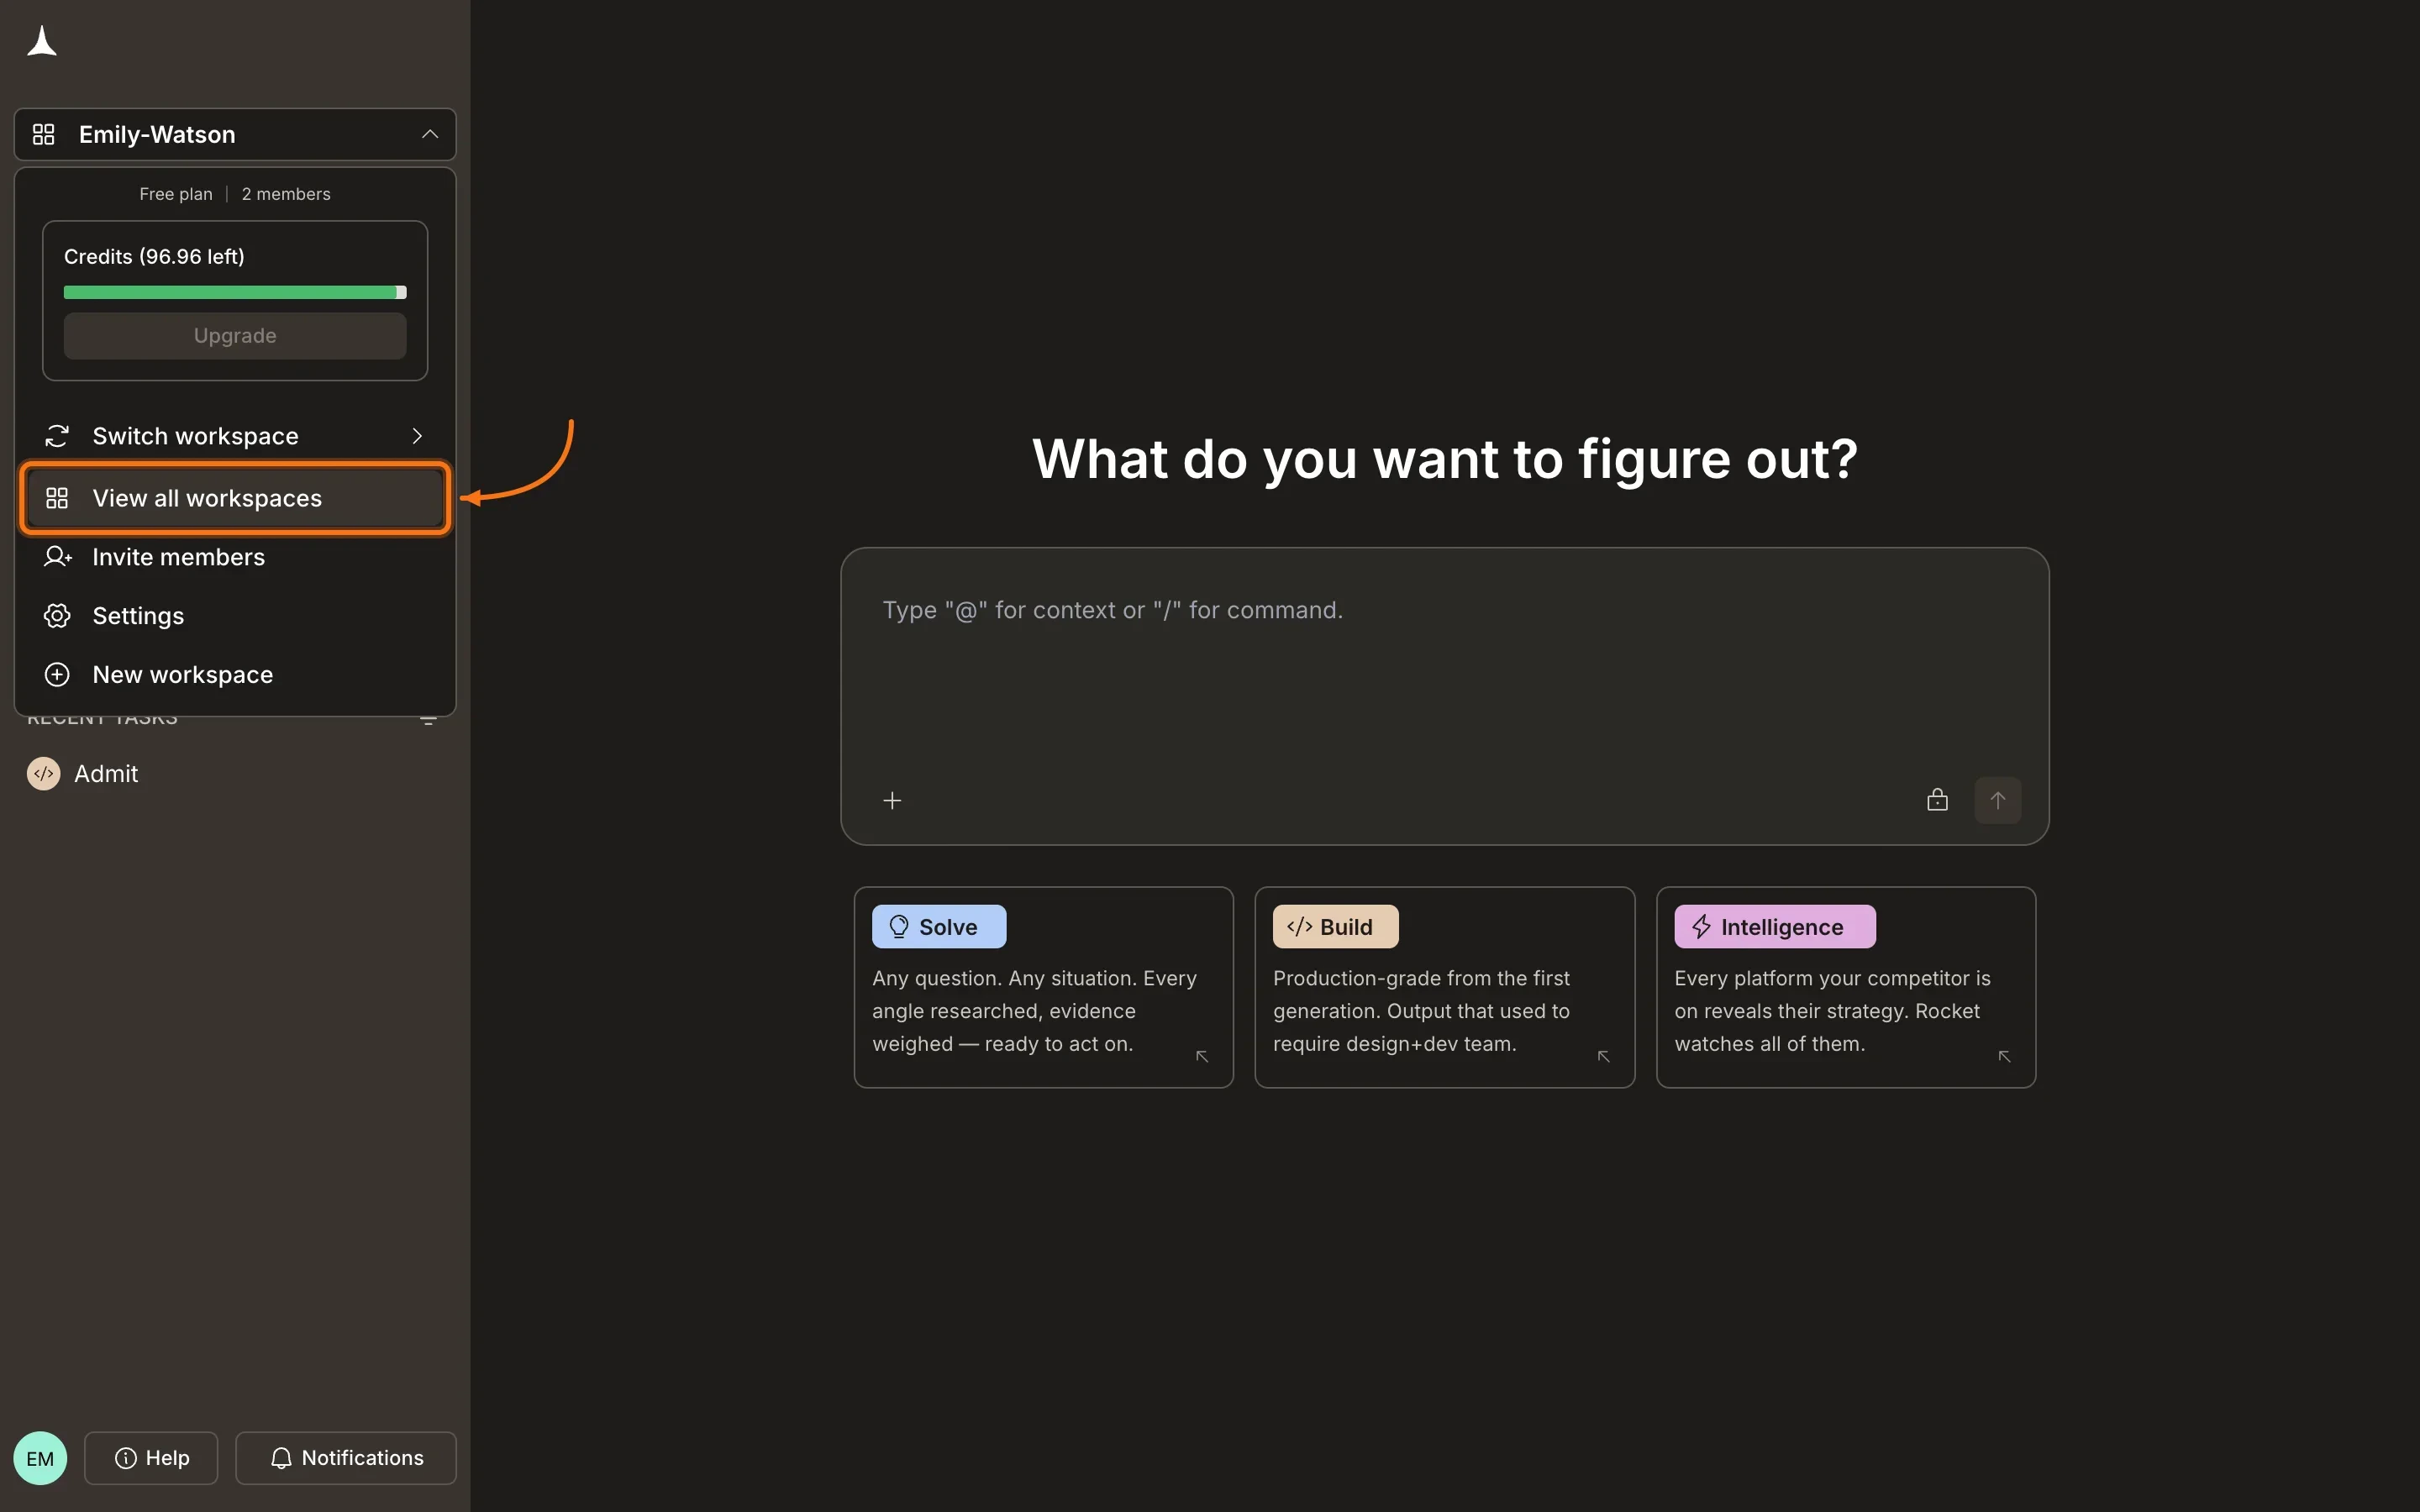
Select View all workspaces
From the workspace menu, click View all workspaces.
Workspace menu with View all workspaces highlighted
3
Browse your workspaces
The All workspaces page opens with a row per workspace you own. Each row shows the workspace name alongside its members and roles, tasks, projects, and messages so you can see activity at a glance.
All workspaces listing view
Only workspaces you own are listed in this view. To switch into a workspace where you are a member but not the owner, use Switch workspace in the menu. See Manage workspaces.
Click your workspace name in the sidebar, then select Settings. Here is what you can manage:
Setting
Description
Overview
Edit the workspace name and description. Control whether Editors can invite members at the workspace level, and whether project and task owners can invite anyone or only existing workspace members.
Connectors
Connect and manage external services at the workspace level. See Connectors.
Subscription
View plan details, credit usage, and manage payment methods. See Subscription.