Create a project
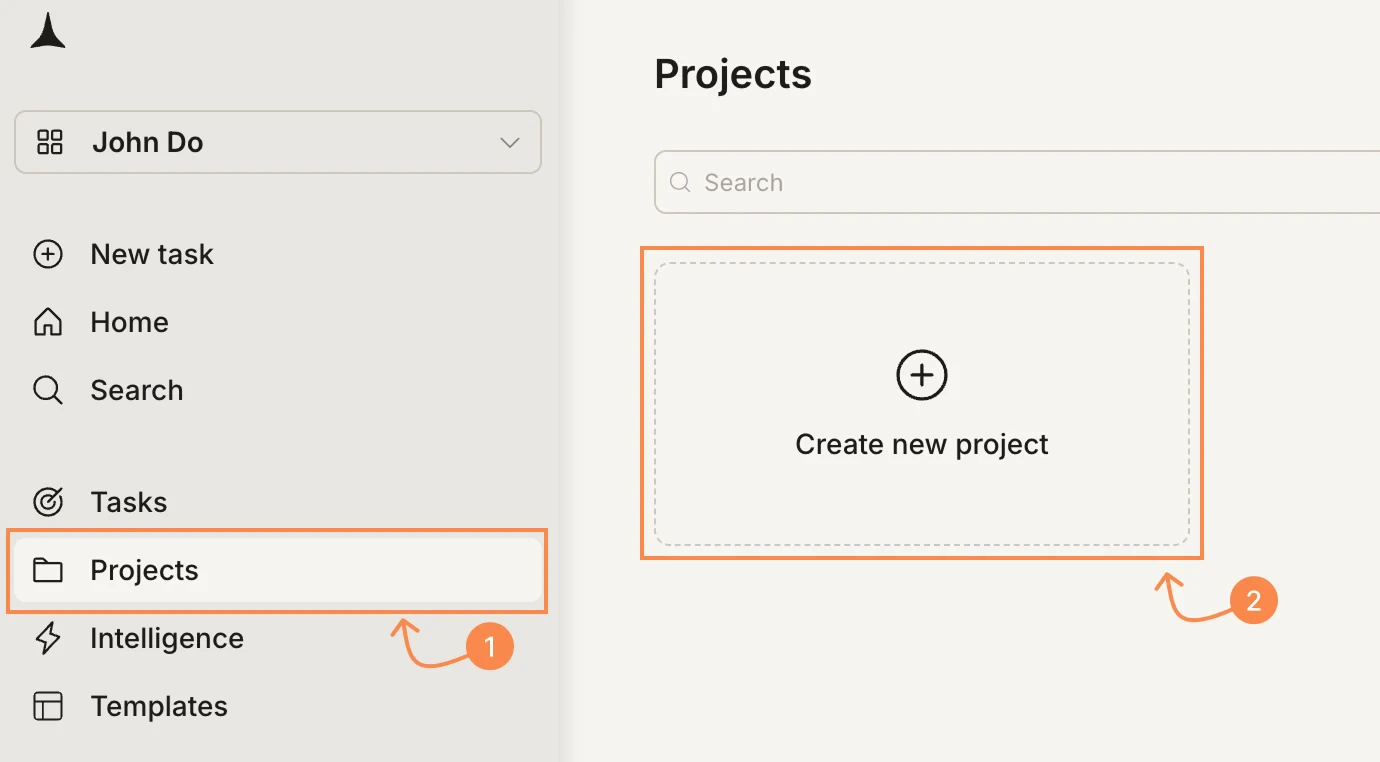
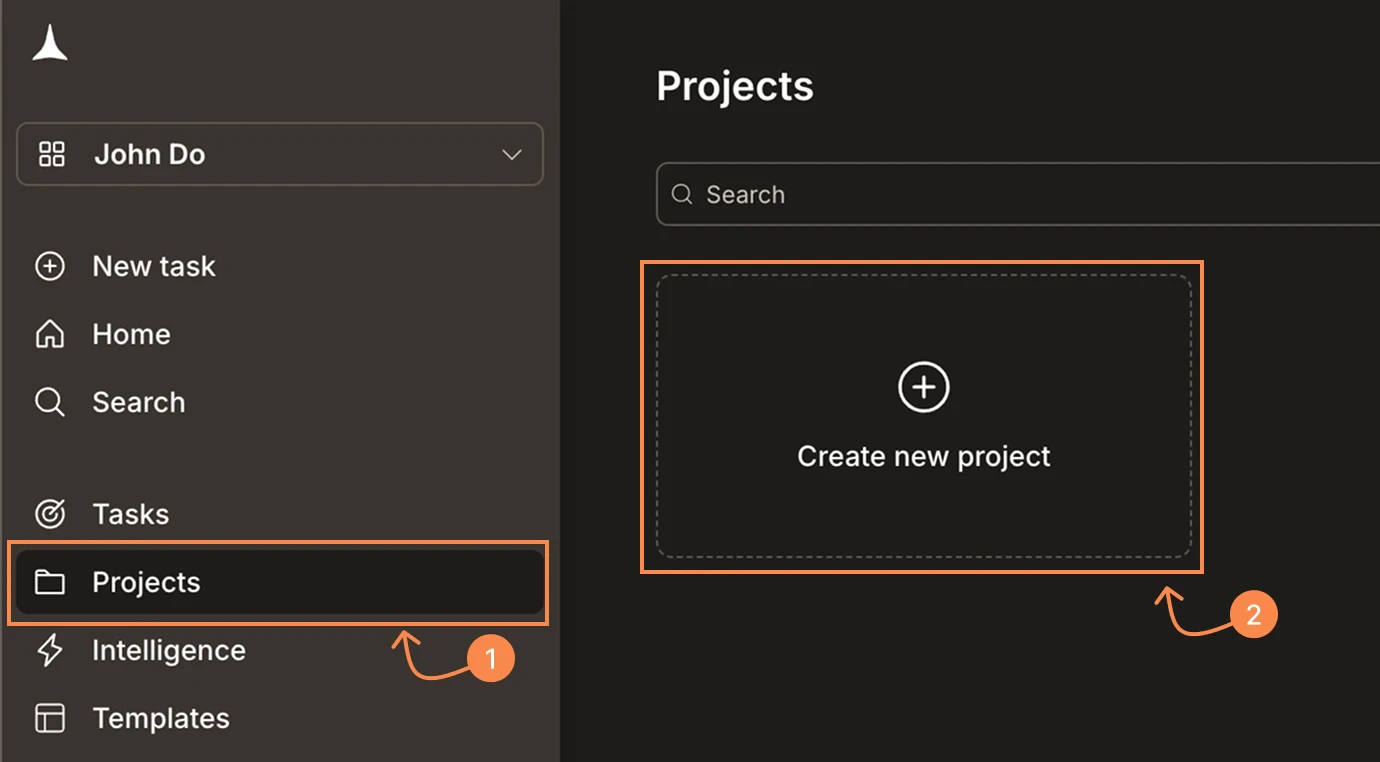
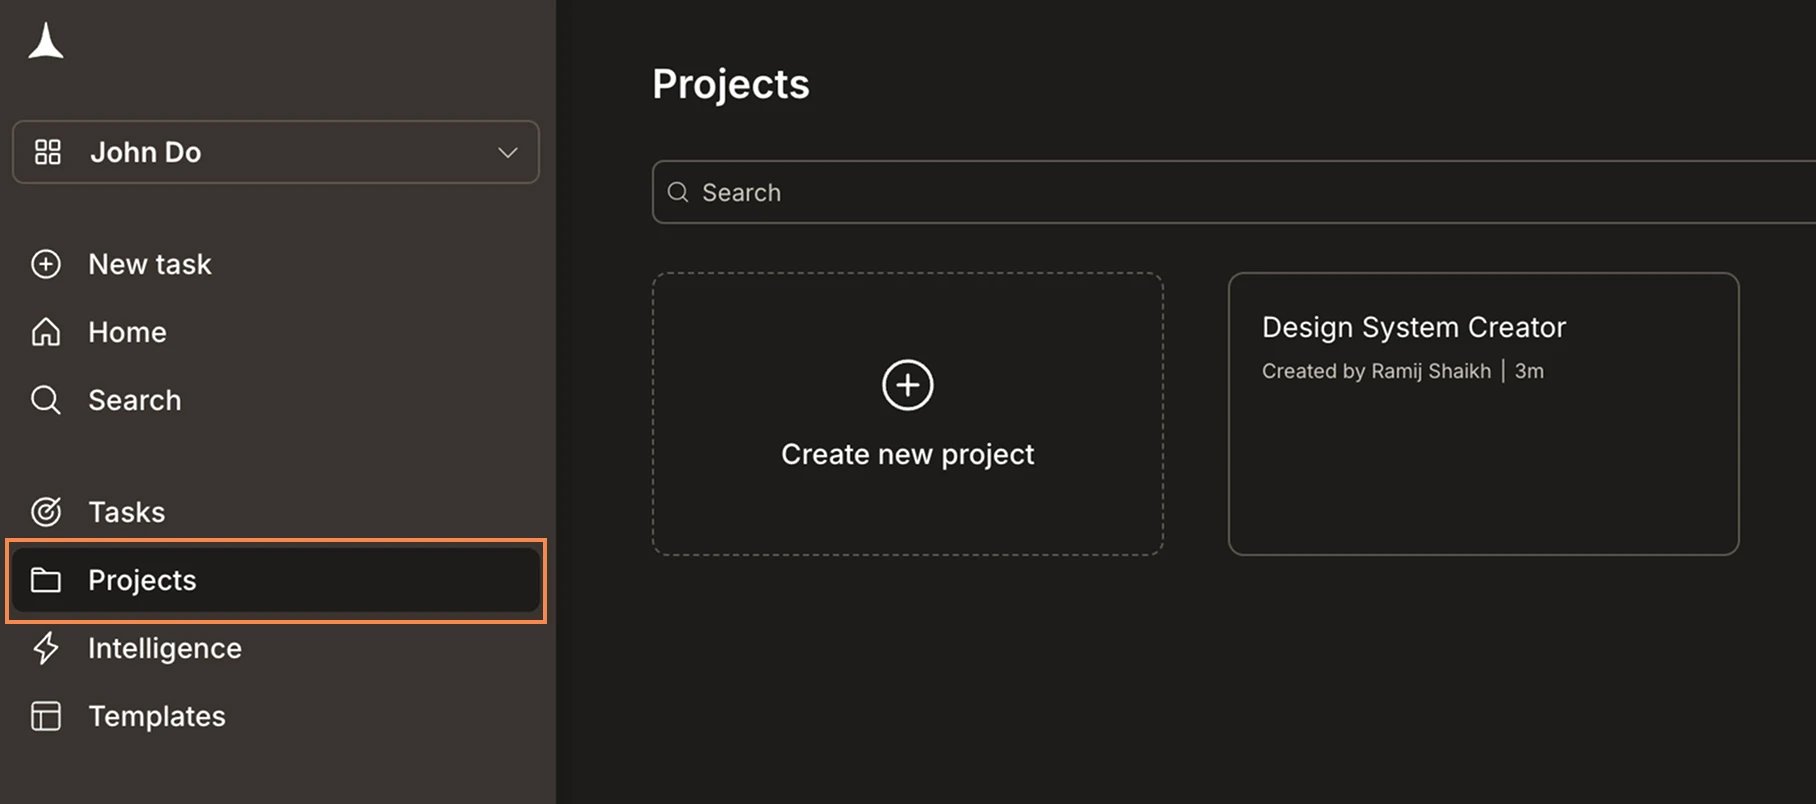
Click Create new project
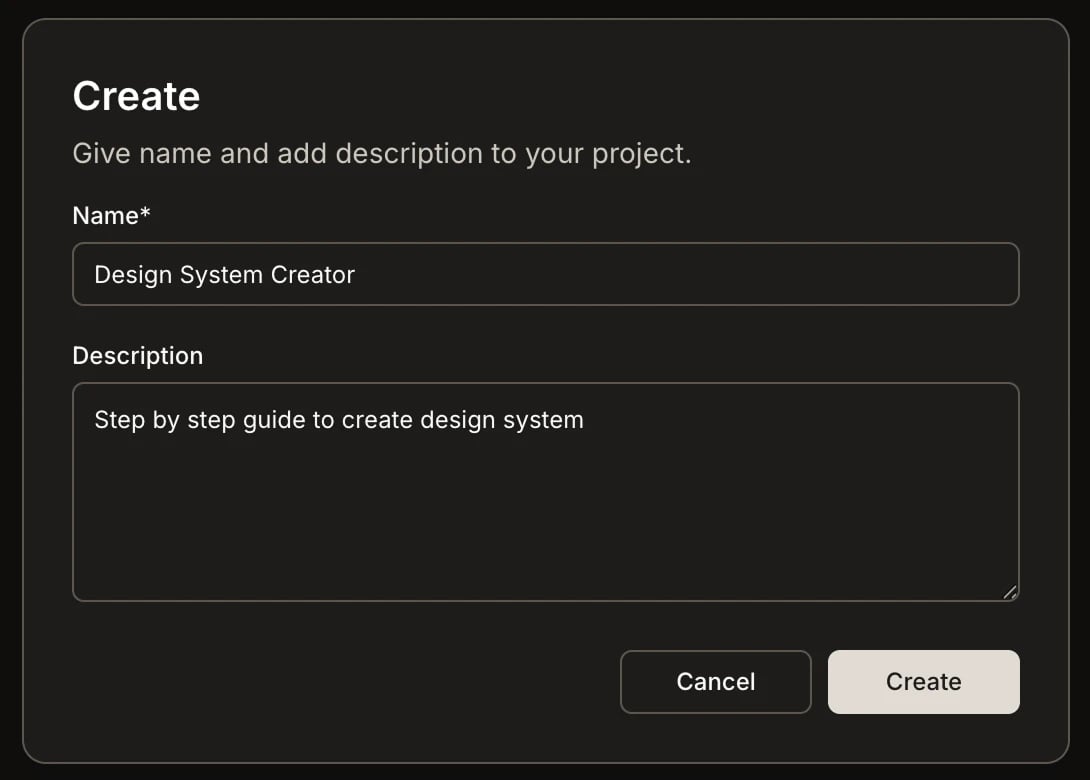
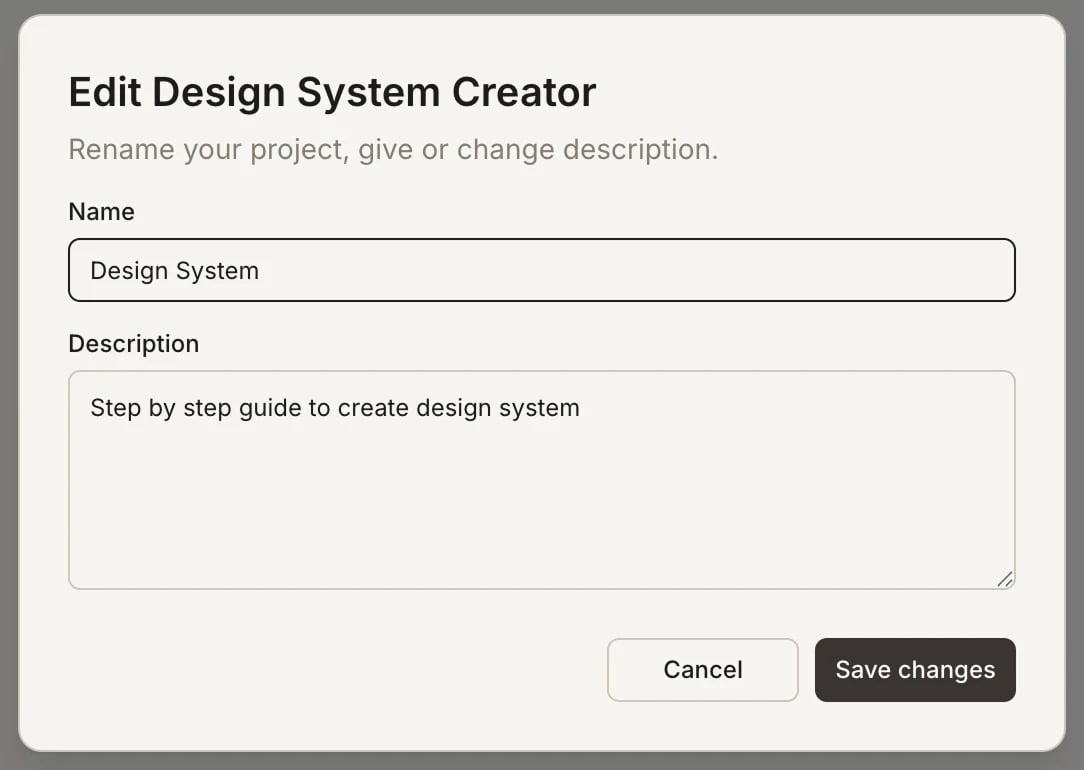
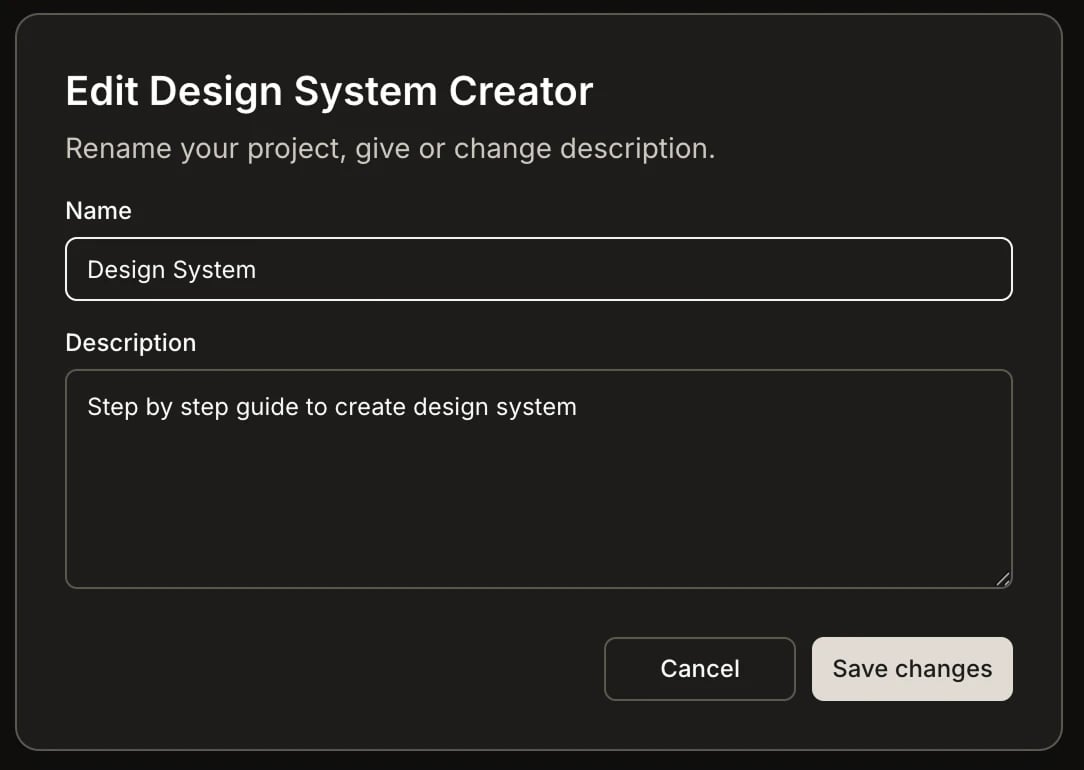
Click the Create new project card. A dialog opens with a name and description field.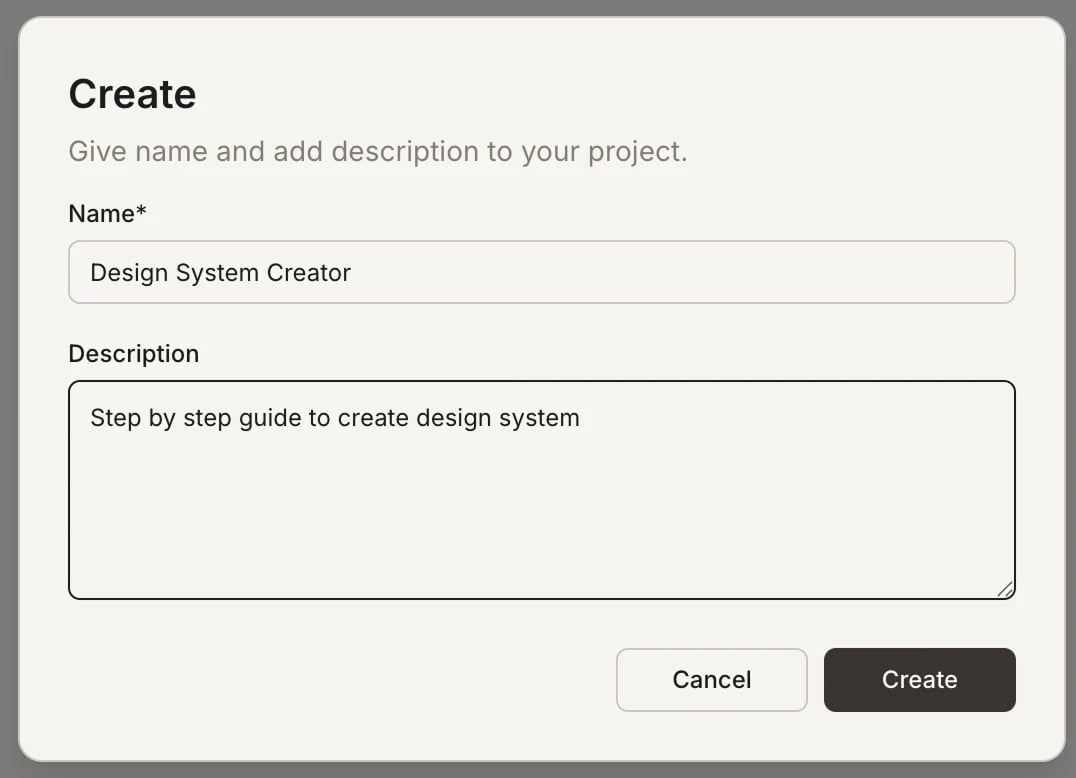
Edit a project
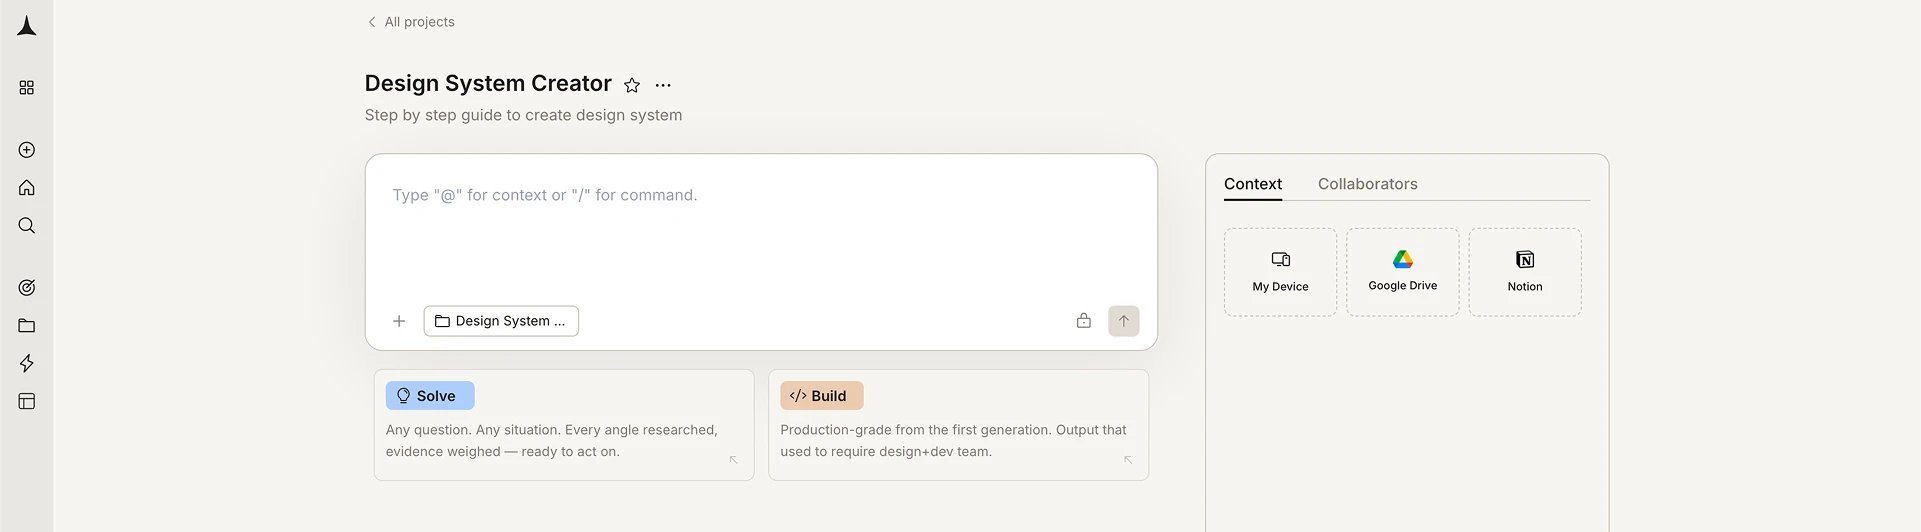
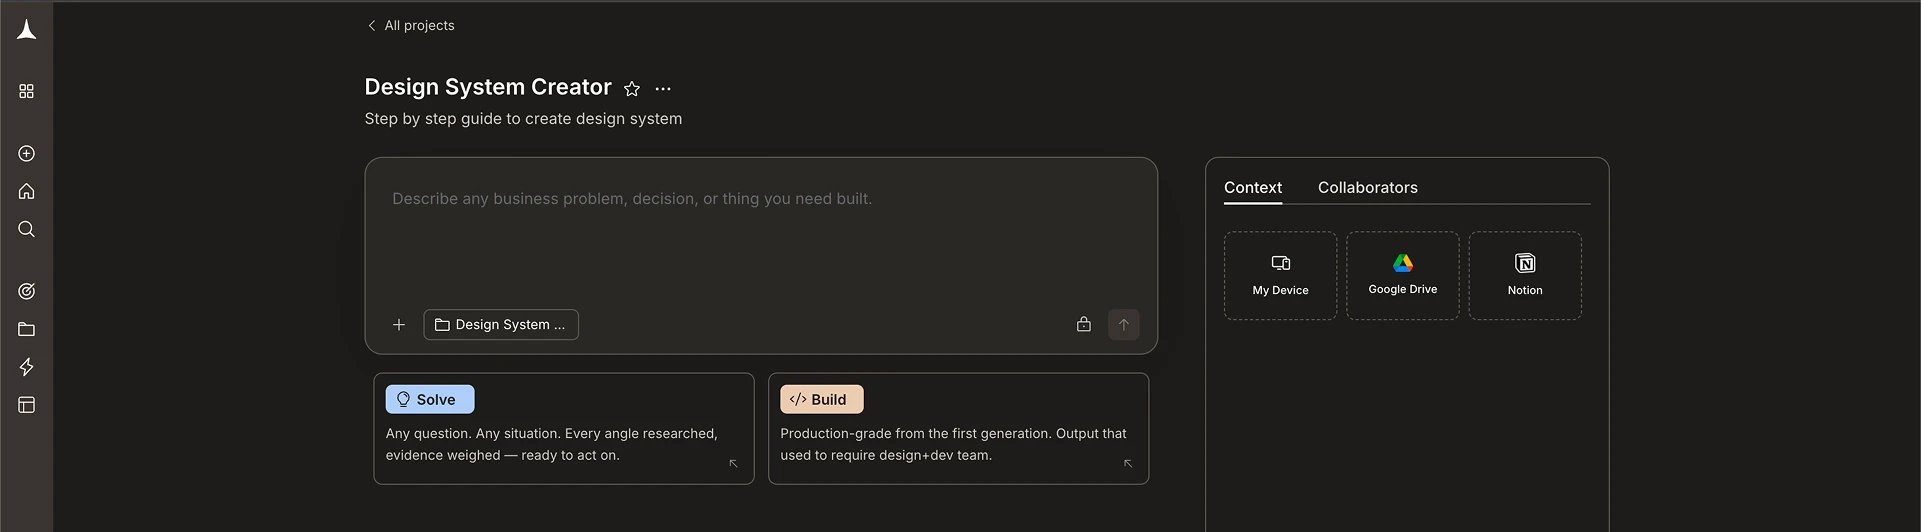
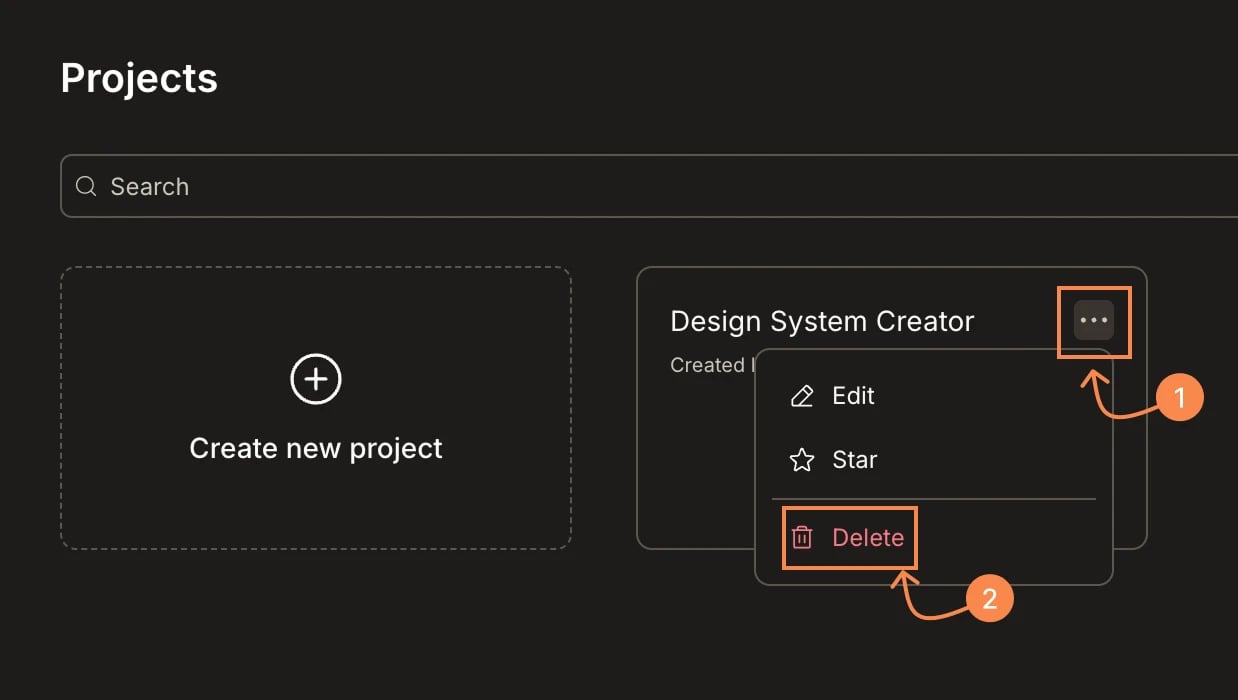
Open the project menu
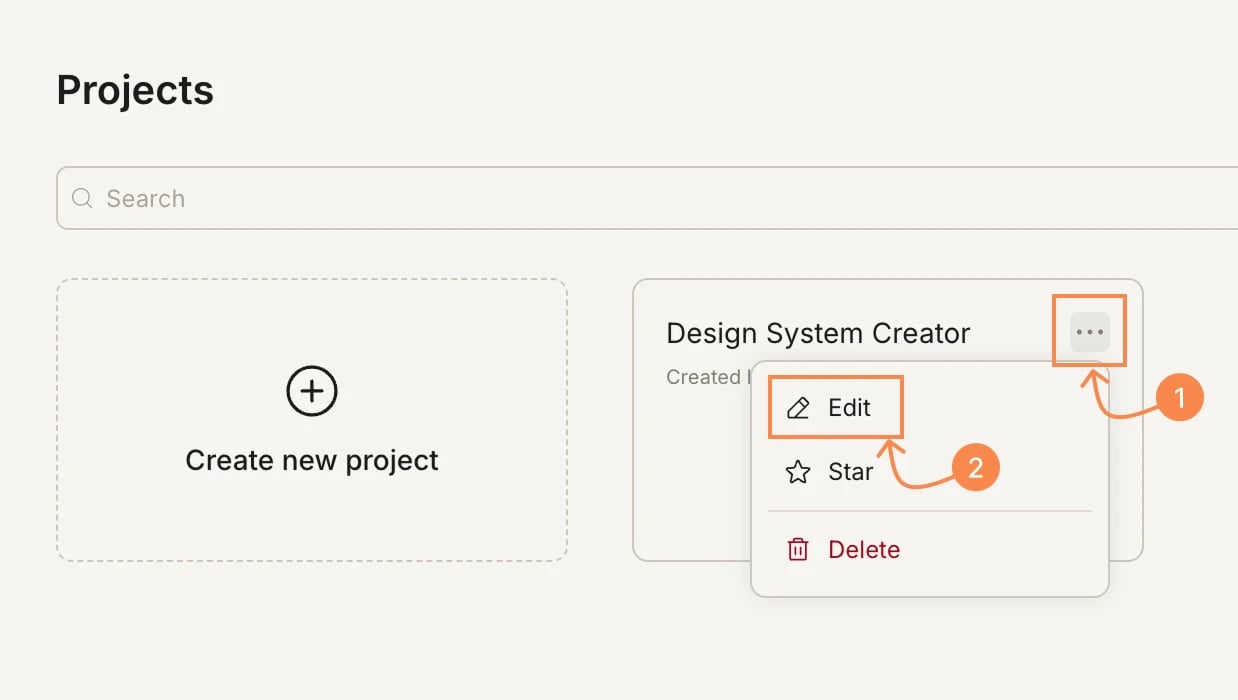
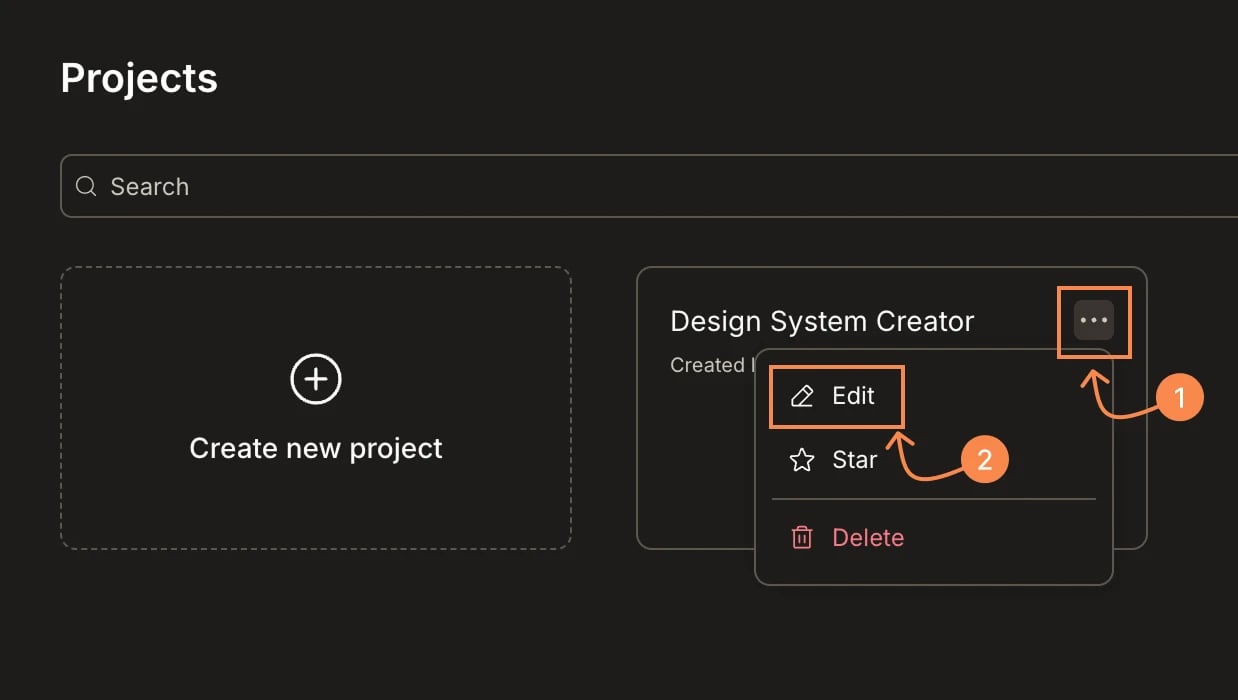
On the Projects page, hover over a project card and click the … menu, then select Edit.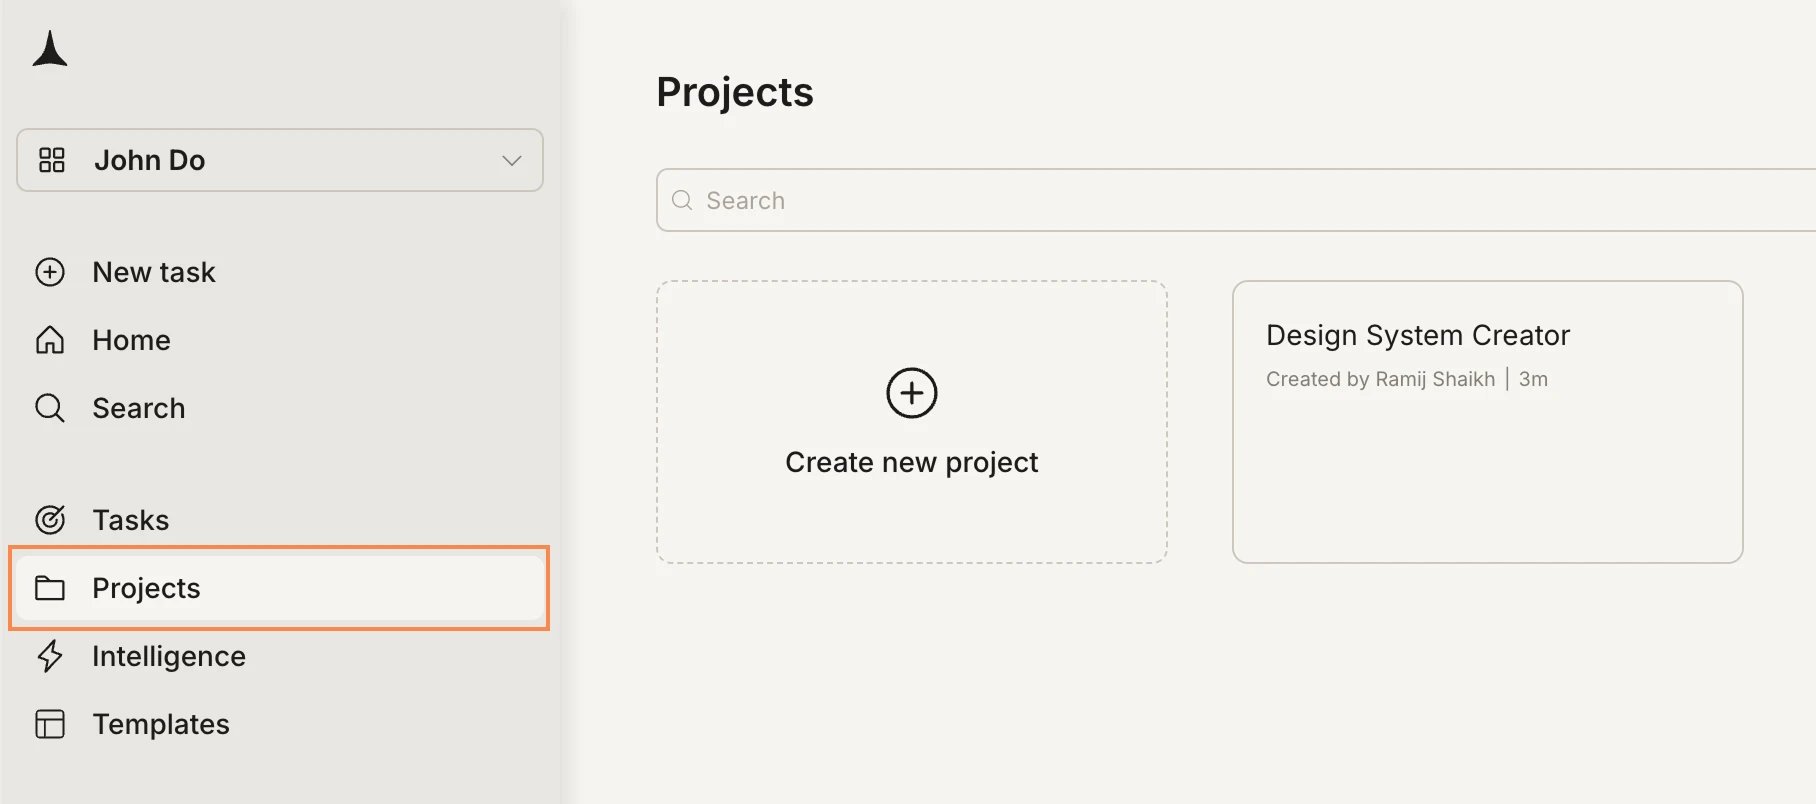
Star a project
Star a project to pin it to the top of your list for quick access.
To unstar, open the same menu and select Star again. You can also filter your project list to show only starred projects using the filter at the top of the Projects page.
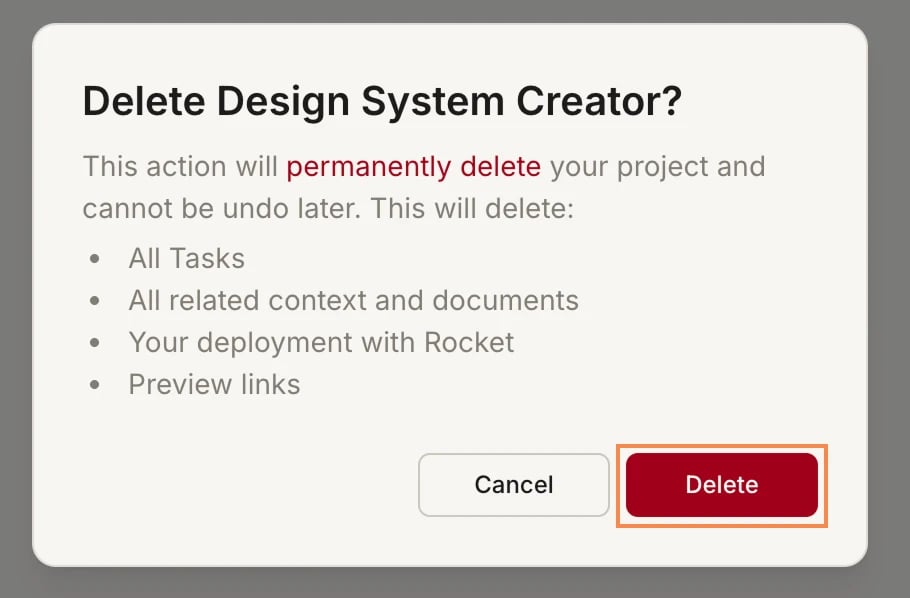
Delete a project
Open the project menu and click Delete
On the Projects page, click the … menu on the project card and select Delete.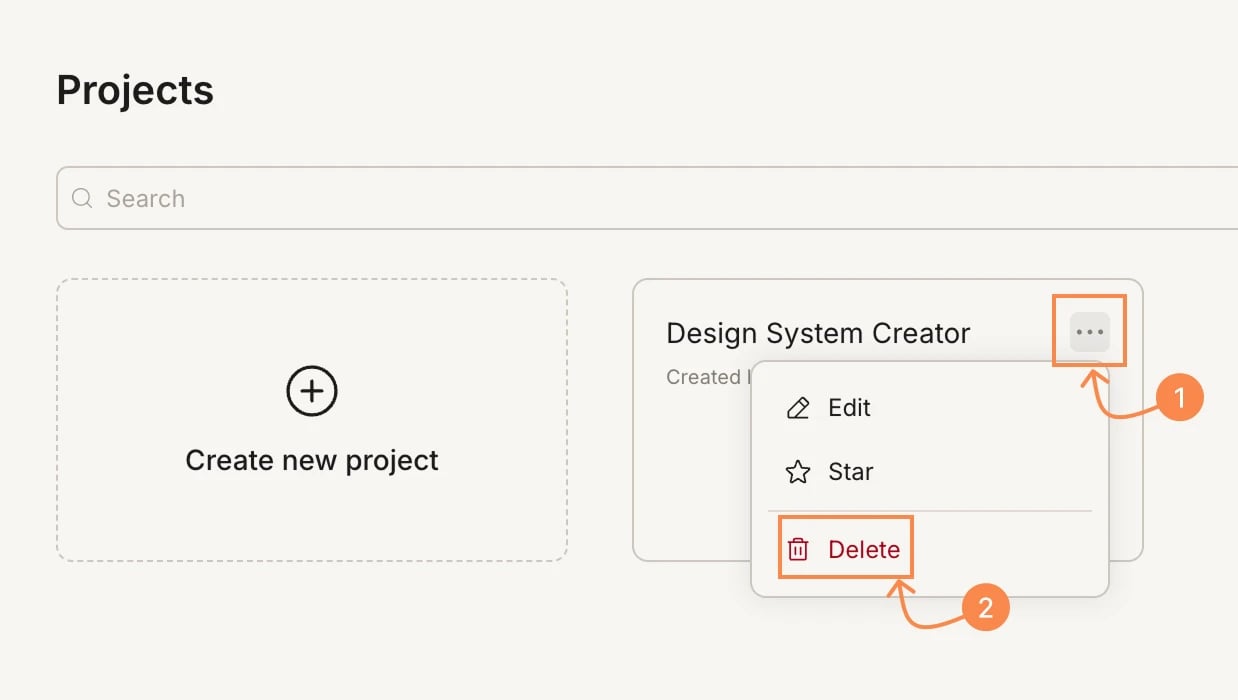

What’s next?
Project overview
Learn how projects organize your Solve and Build tasks.
Context
Upload files and connect services for shared context.