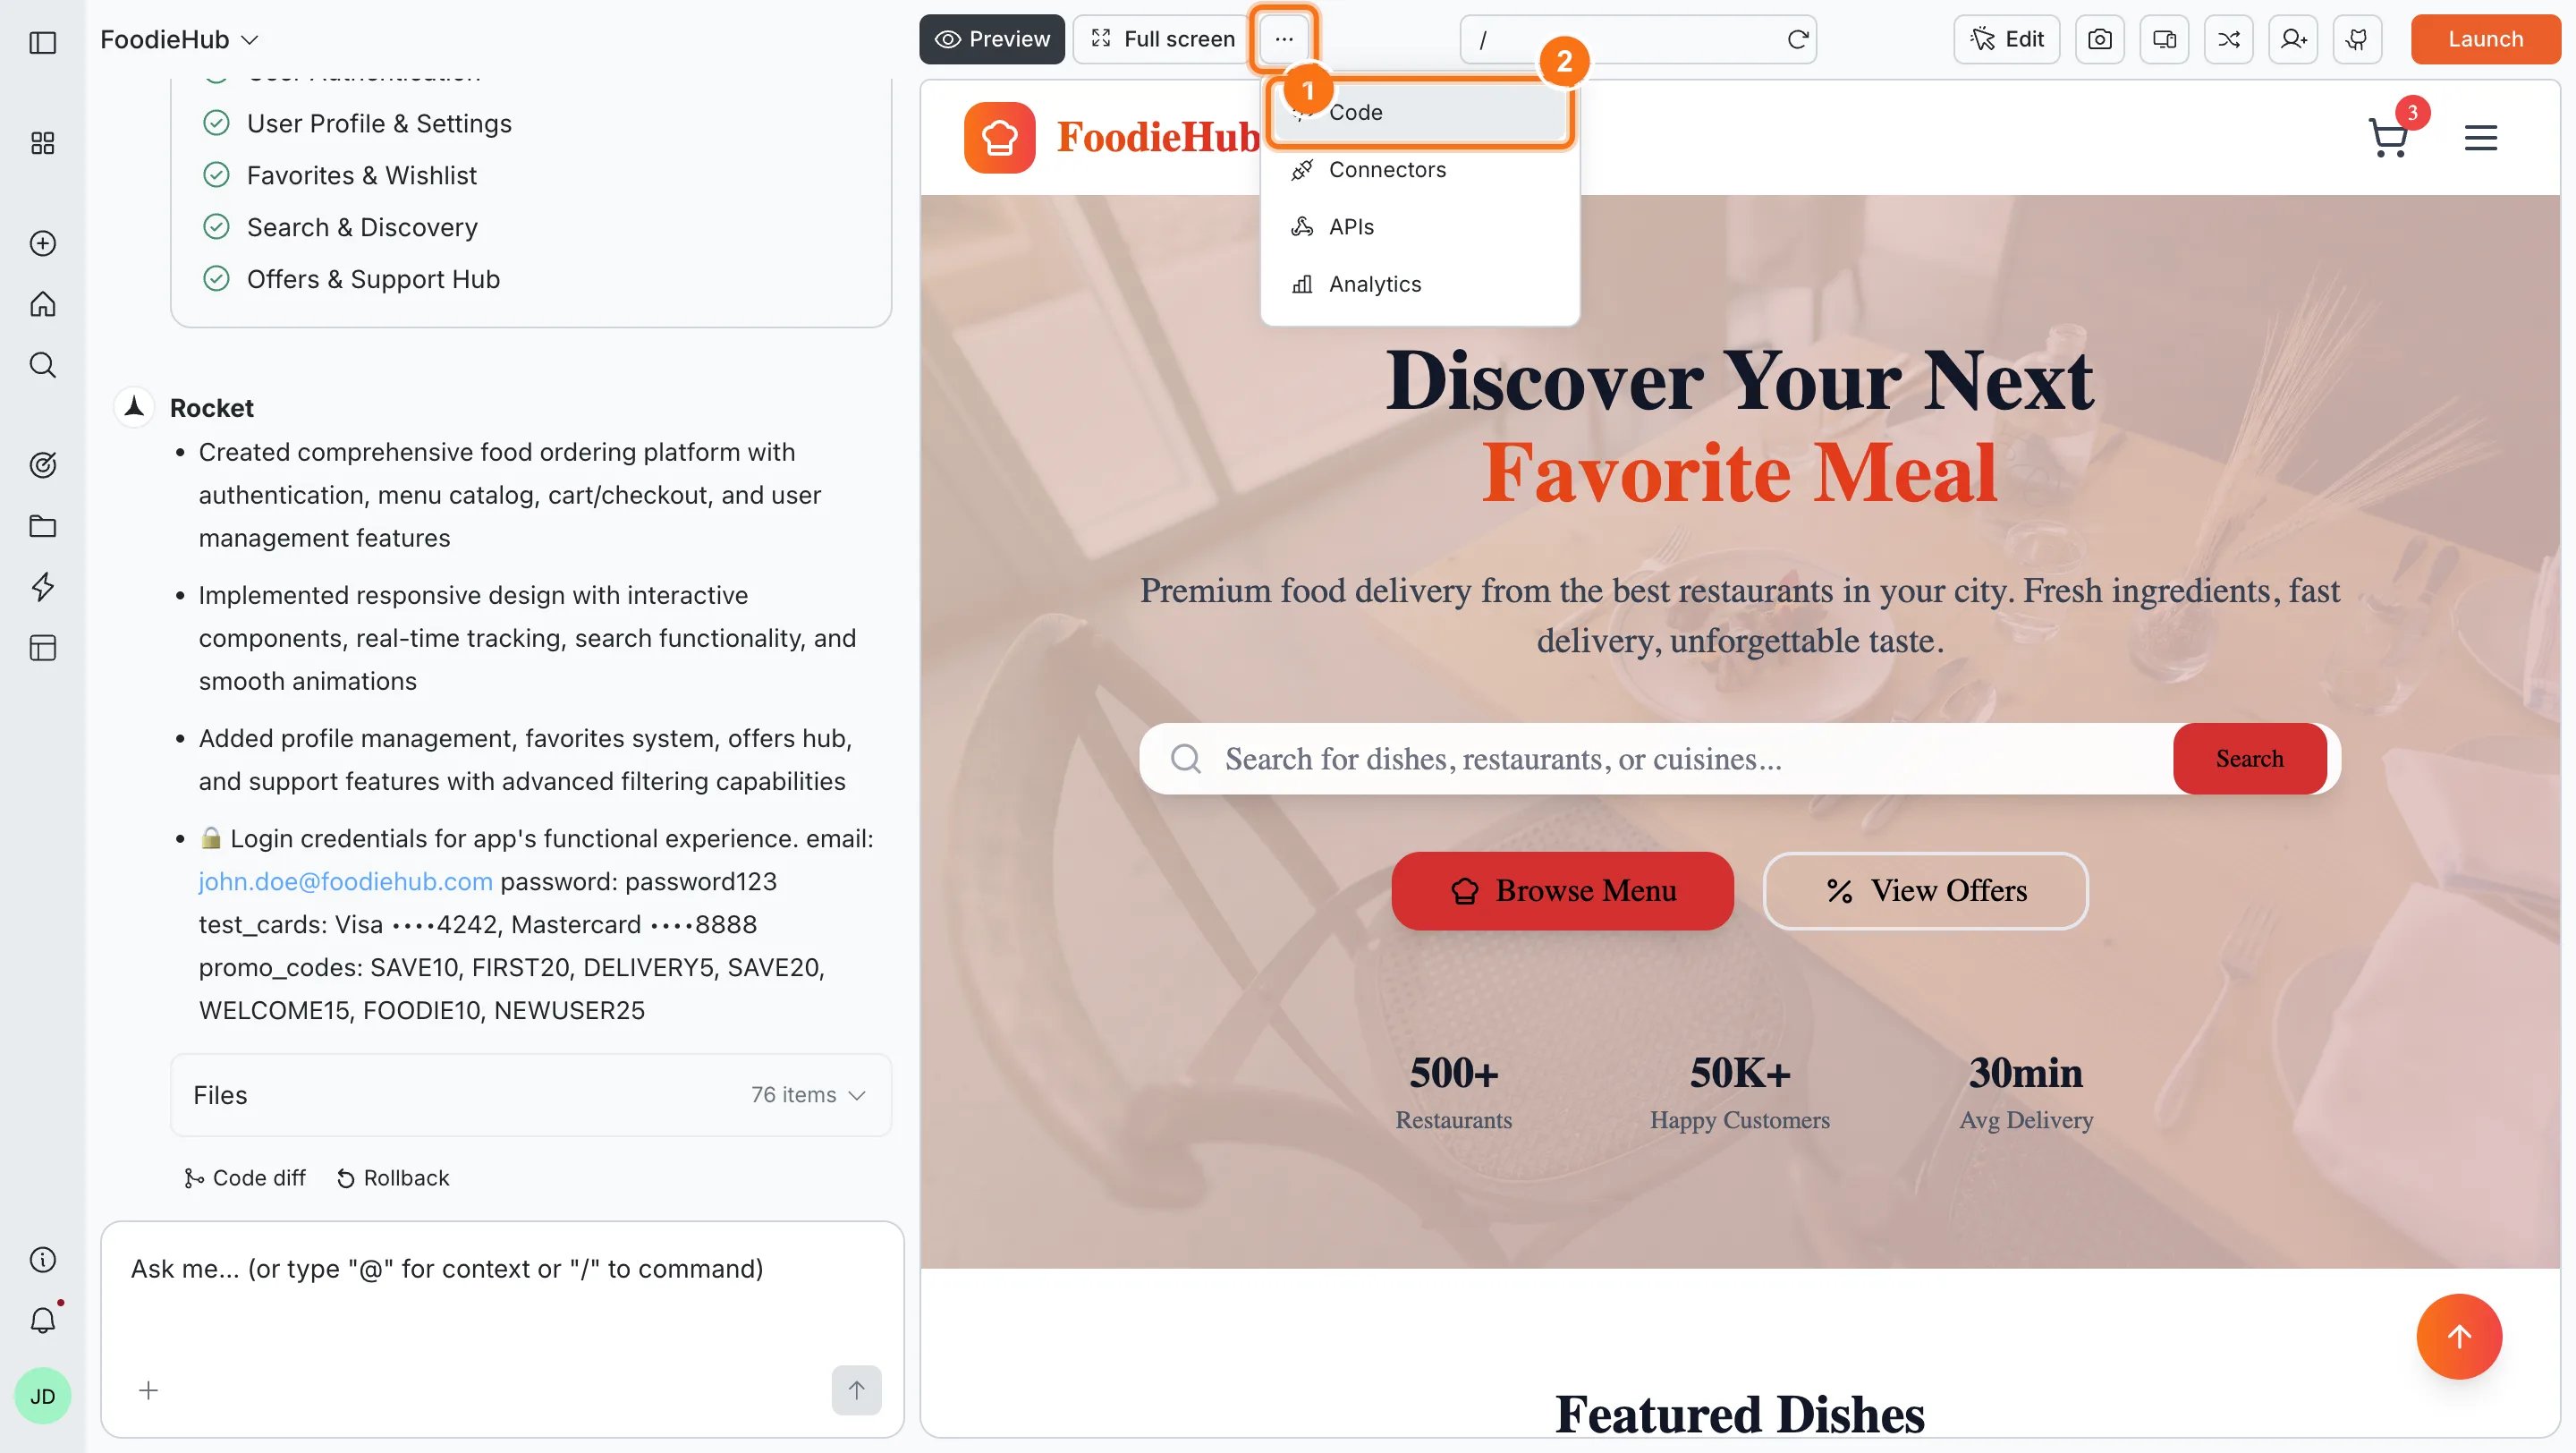
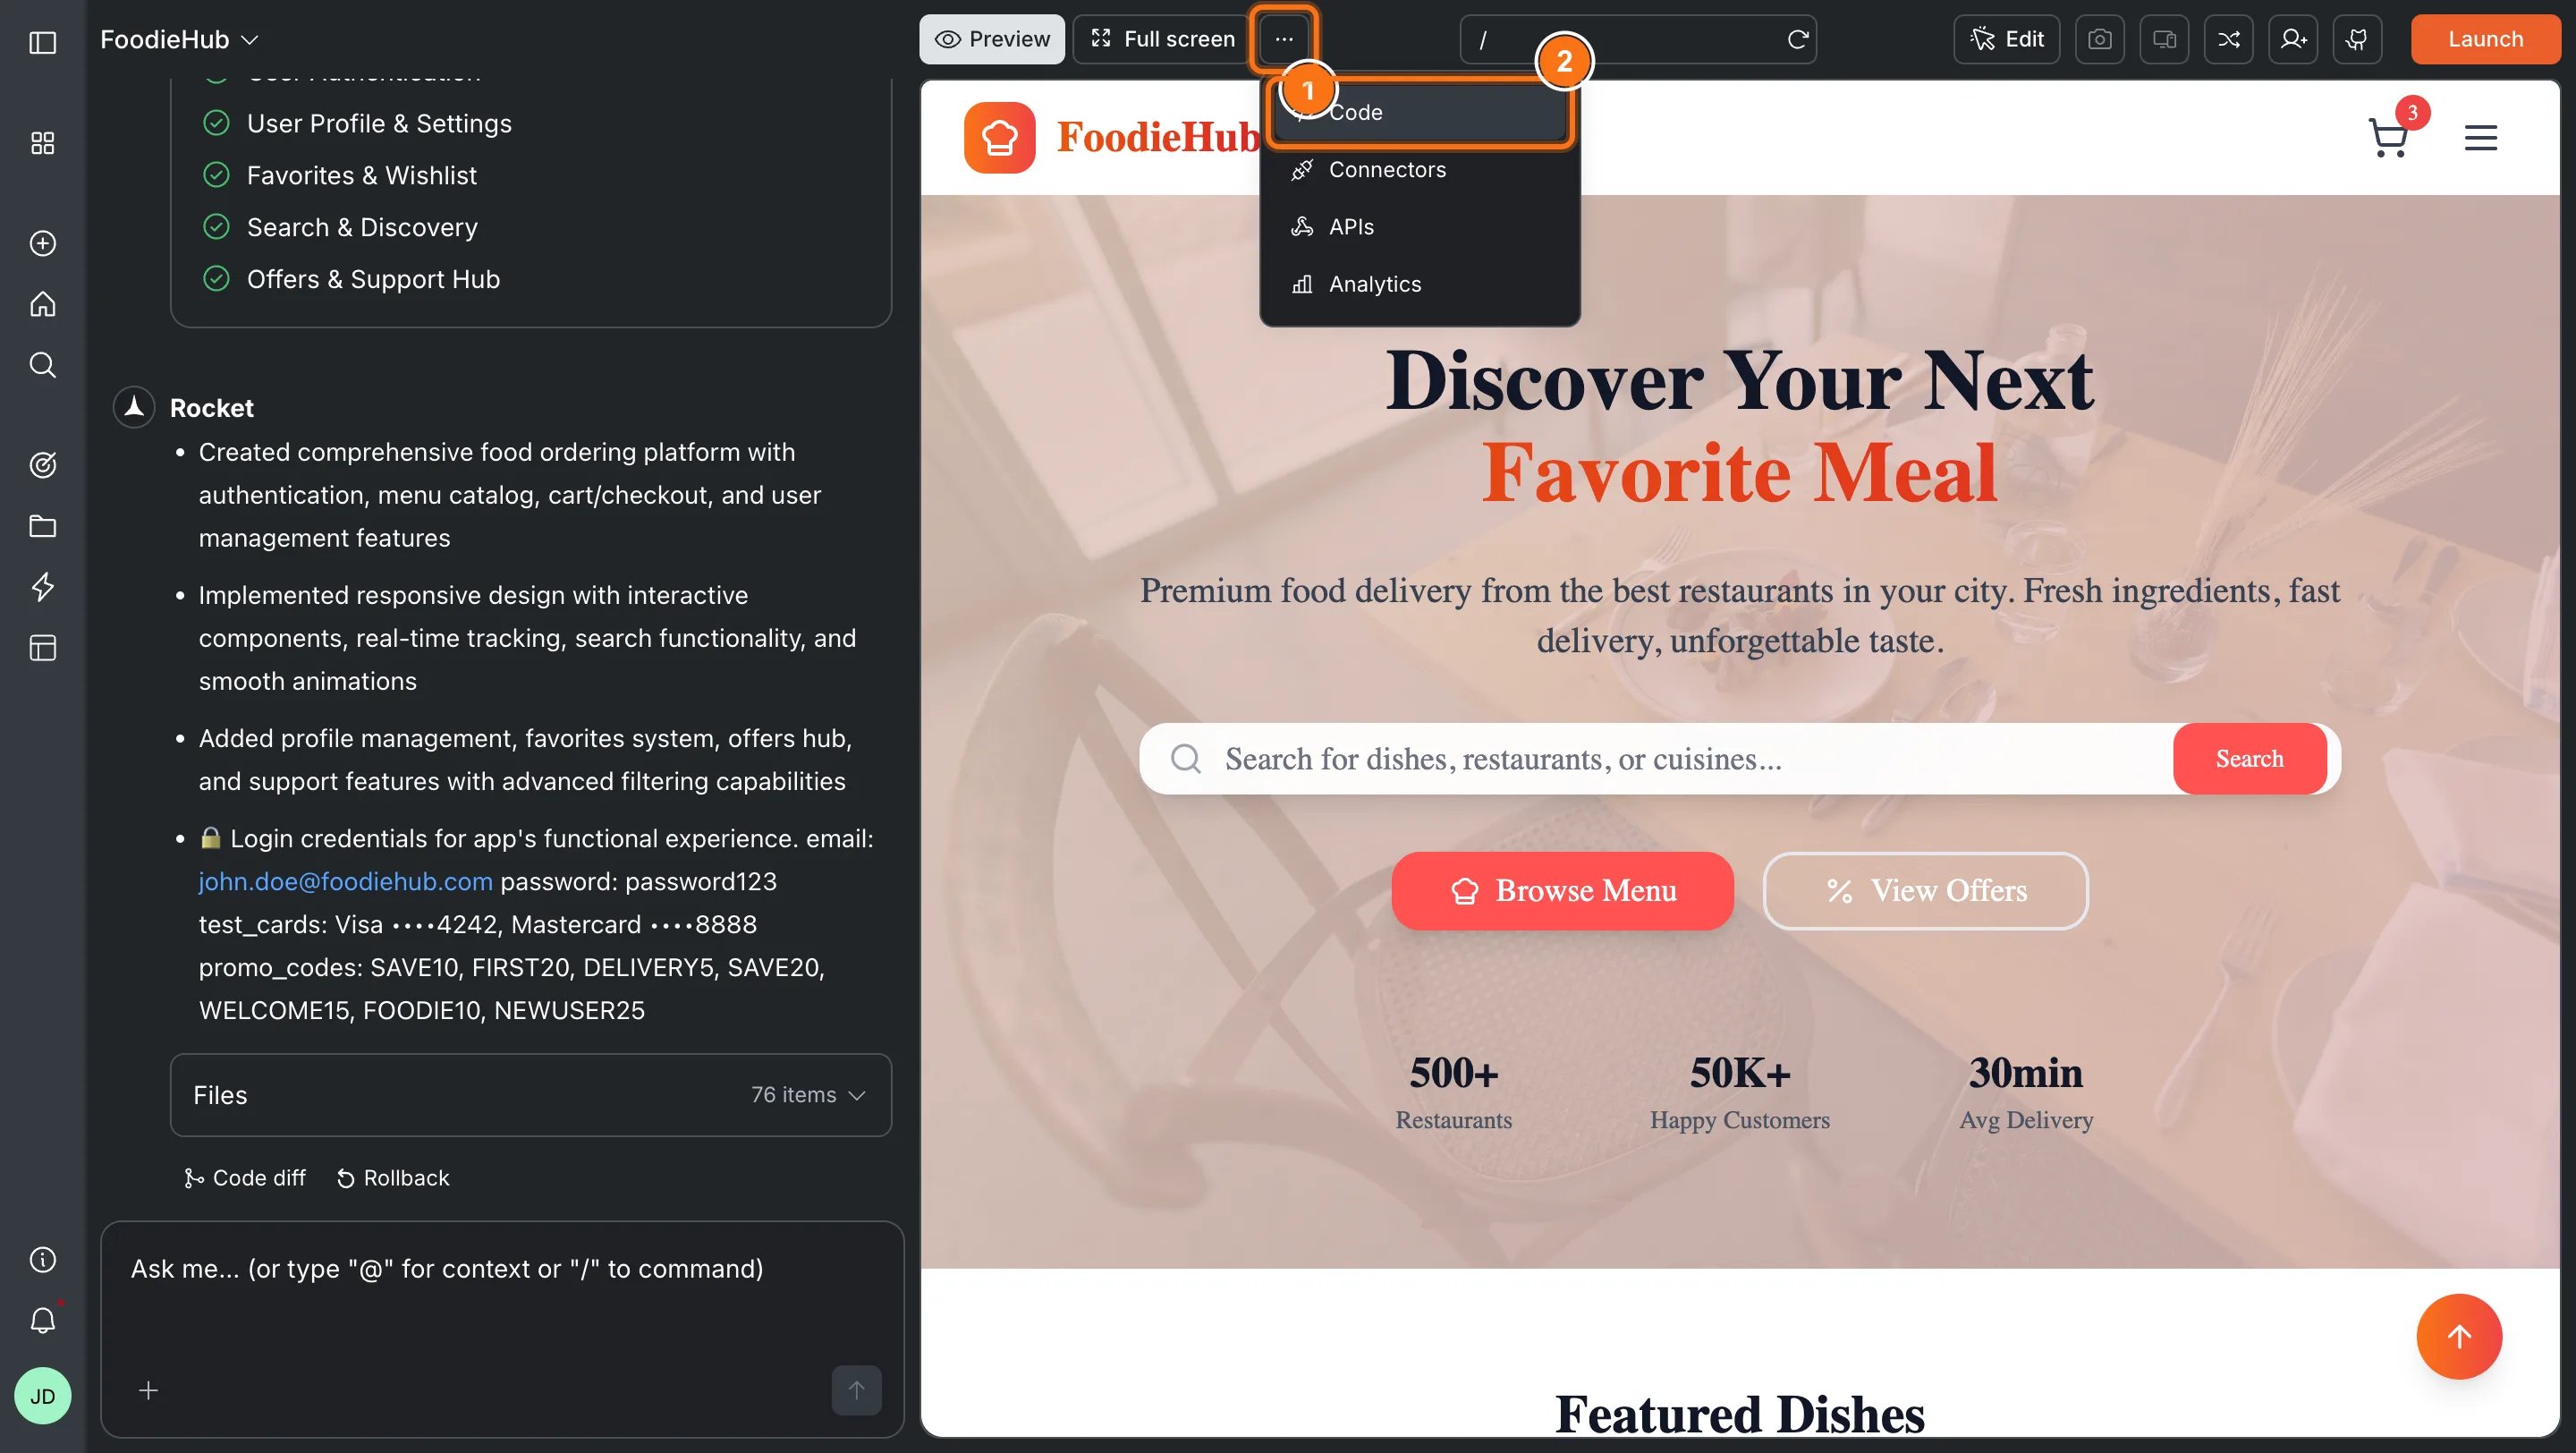
When to use code view
How to open
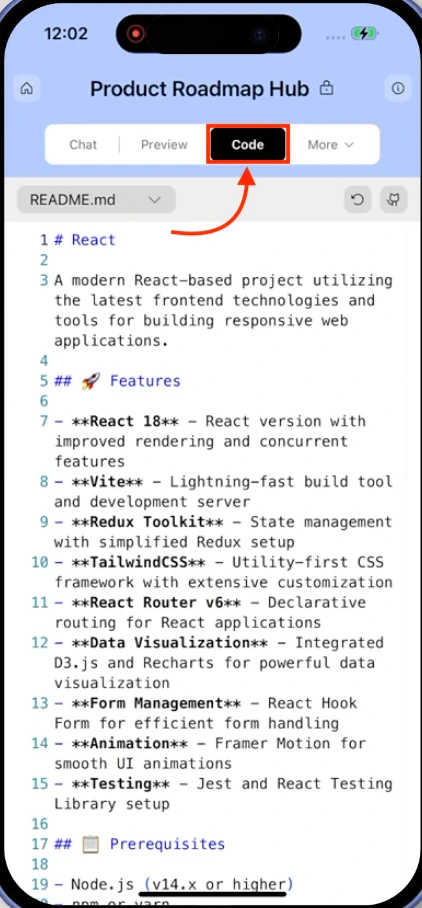
Click the</> Code button in the top toolbar - the same bar as Preview and Full screen. This switches the main panel to code view.
- Web Browser
- Mobile App
Code view overview
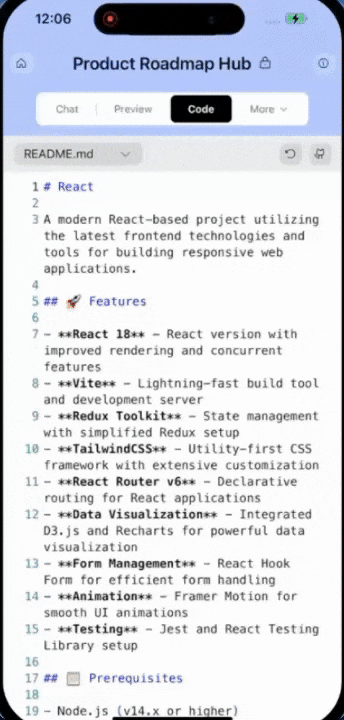
Browse your files
The Explorer panel on the left shows your full project file tree. Click any file to open it in the editor.- Use the Search files… bar at the top of the Explorer to find files by name - results filter as you type
- Collapse the Explorer using the collapse icon in the top-right corner of the panel
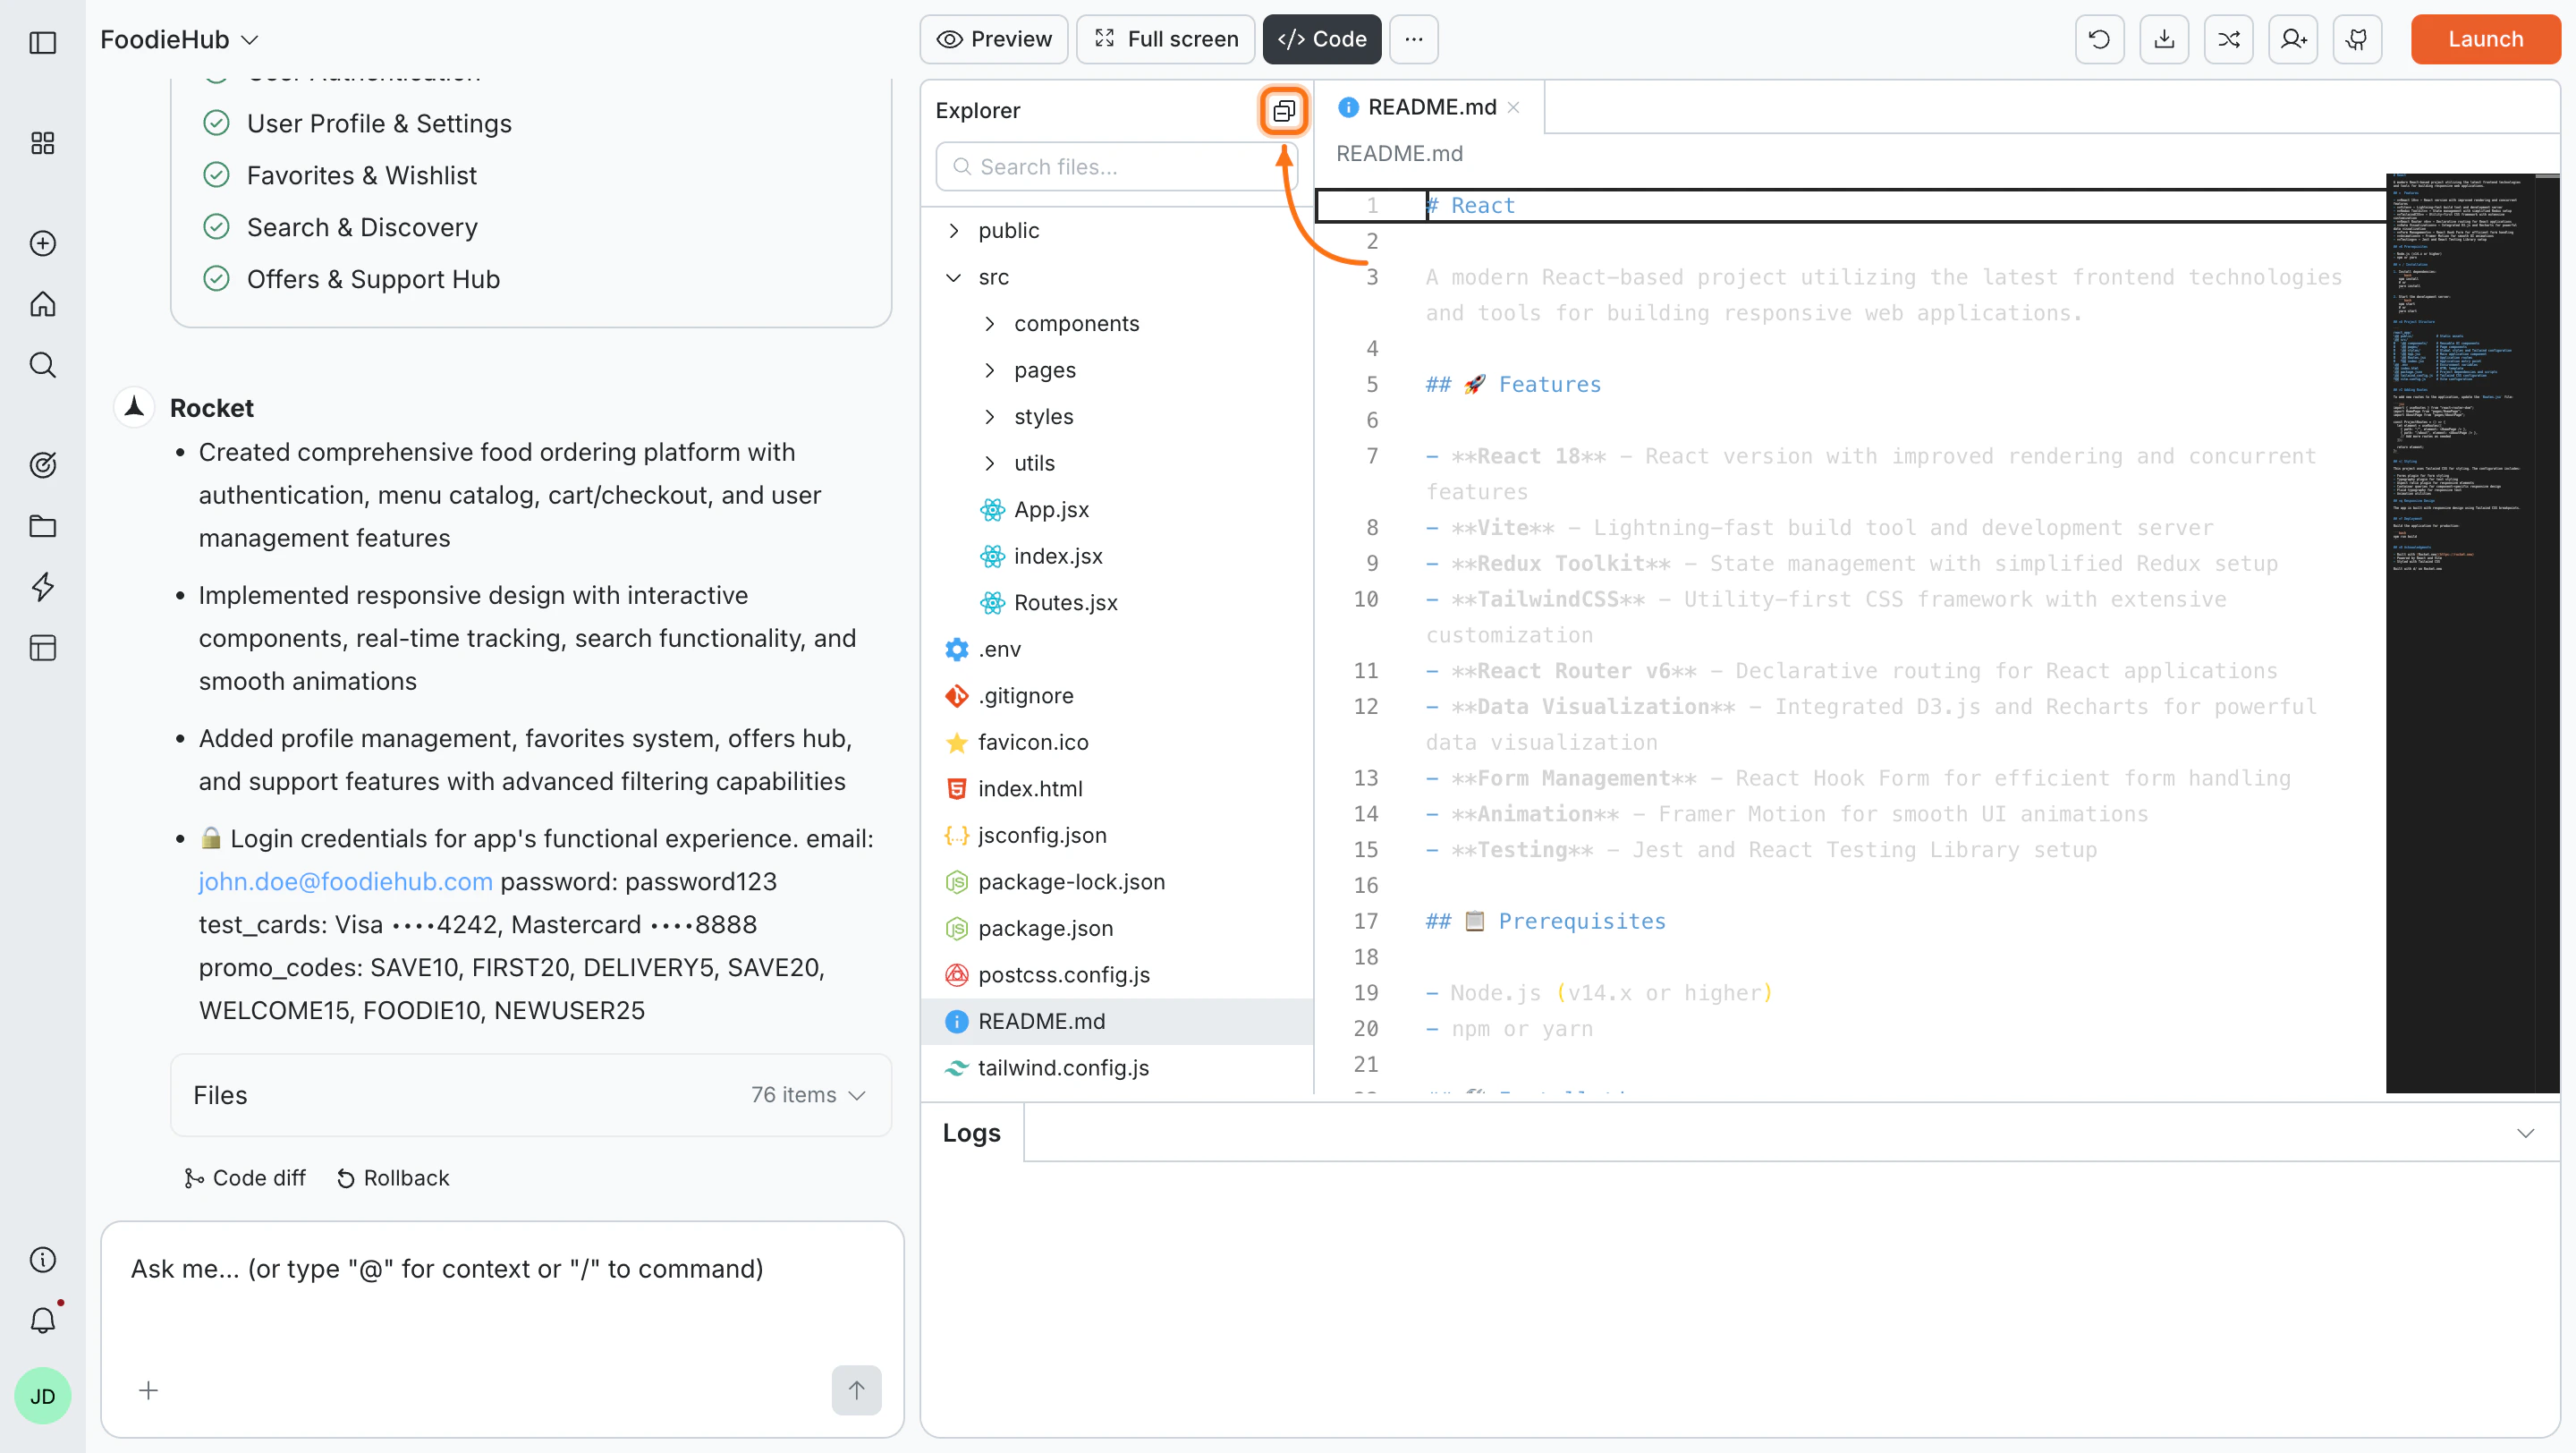
File explorer panel
Edit and save a file
Click a file to open it in the editor. Make your changes, then use the save bar at the bottom:- Click Save to apply changes
- Click Discard to undo them
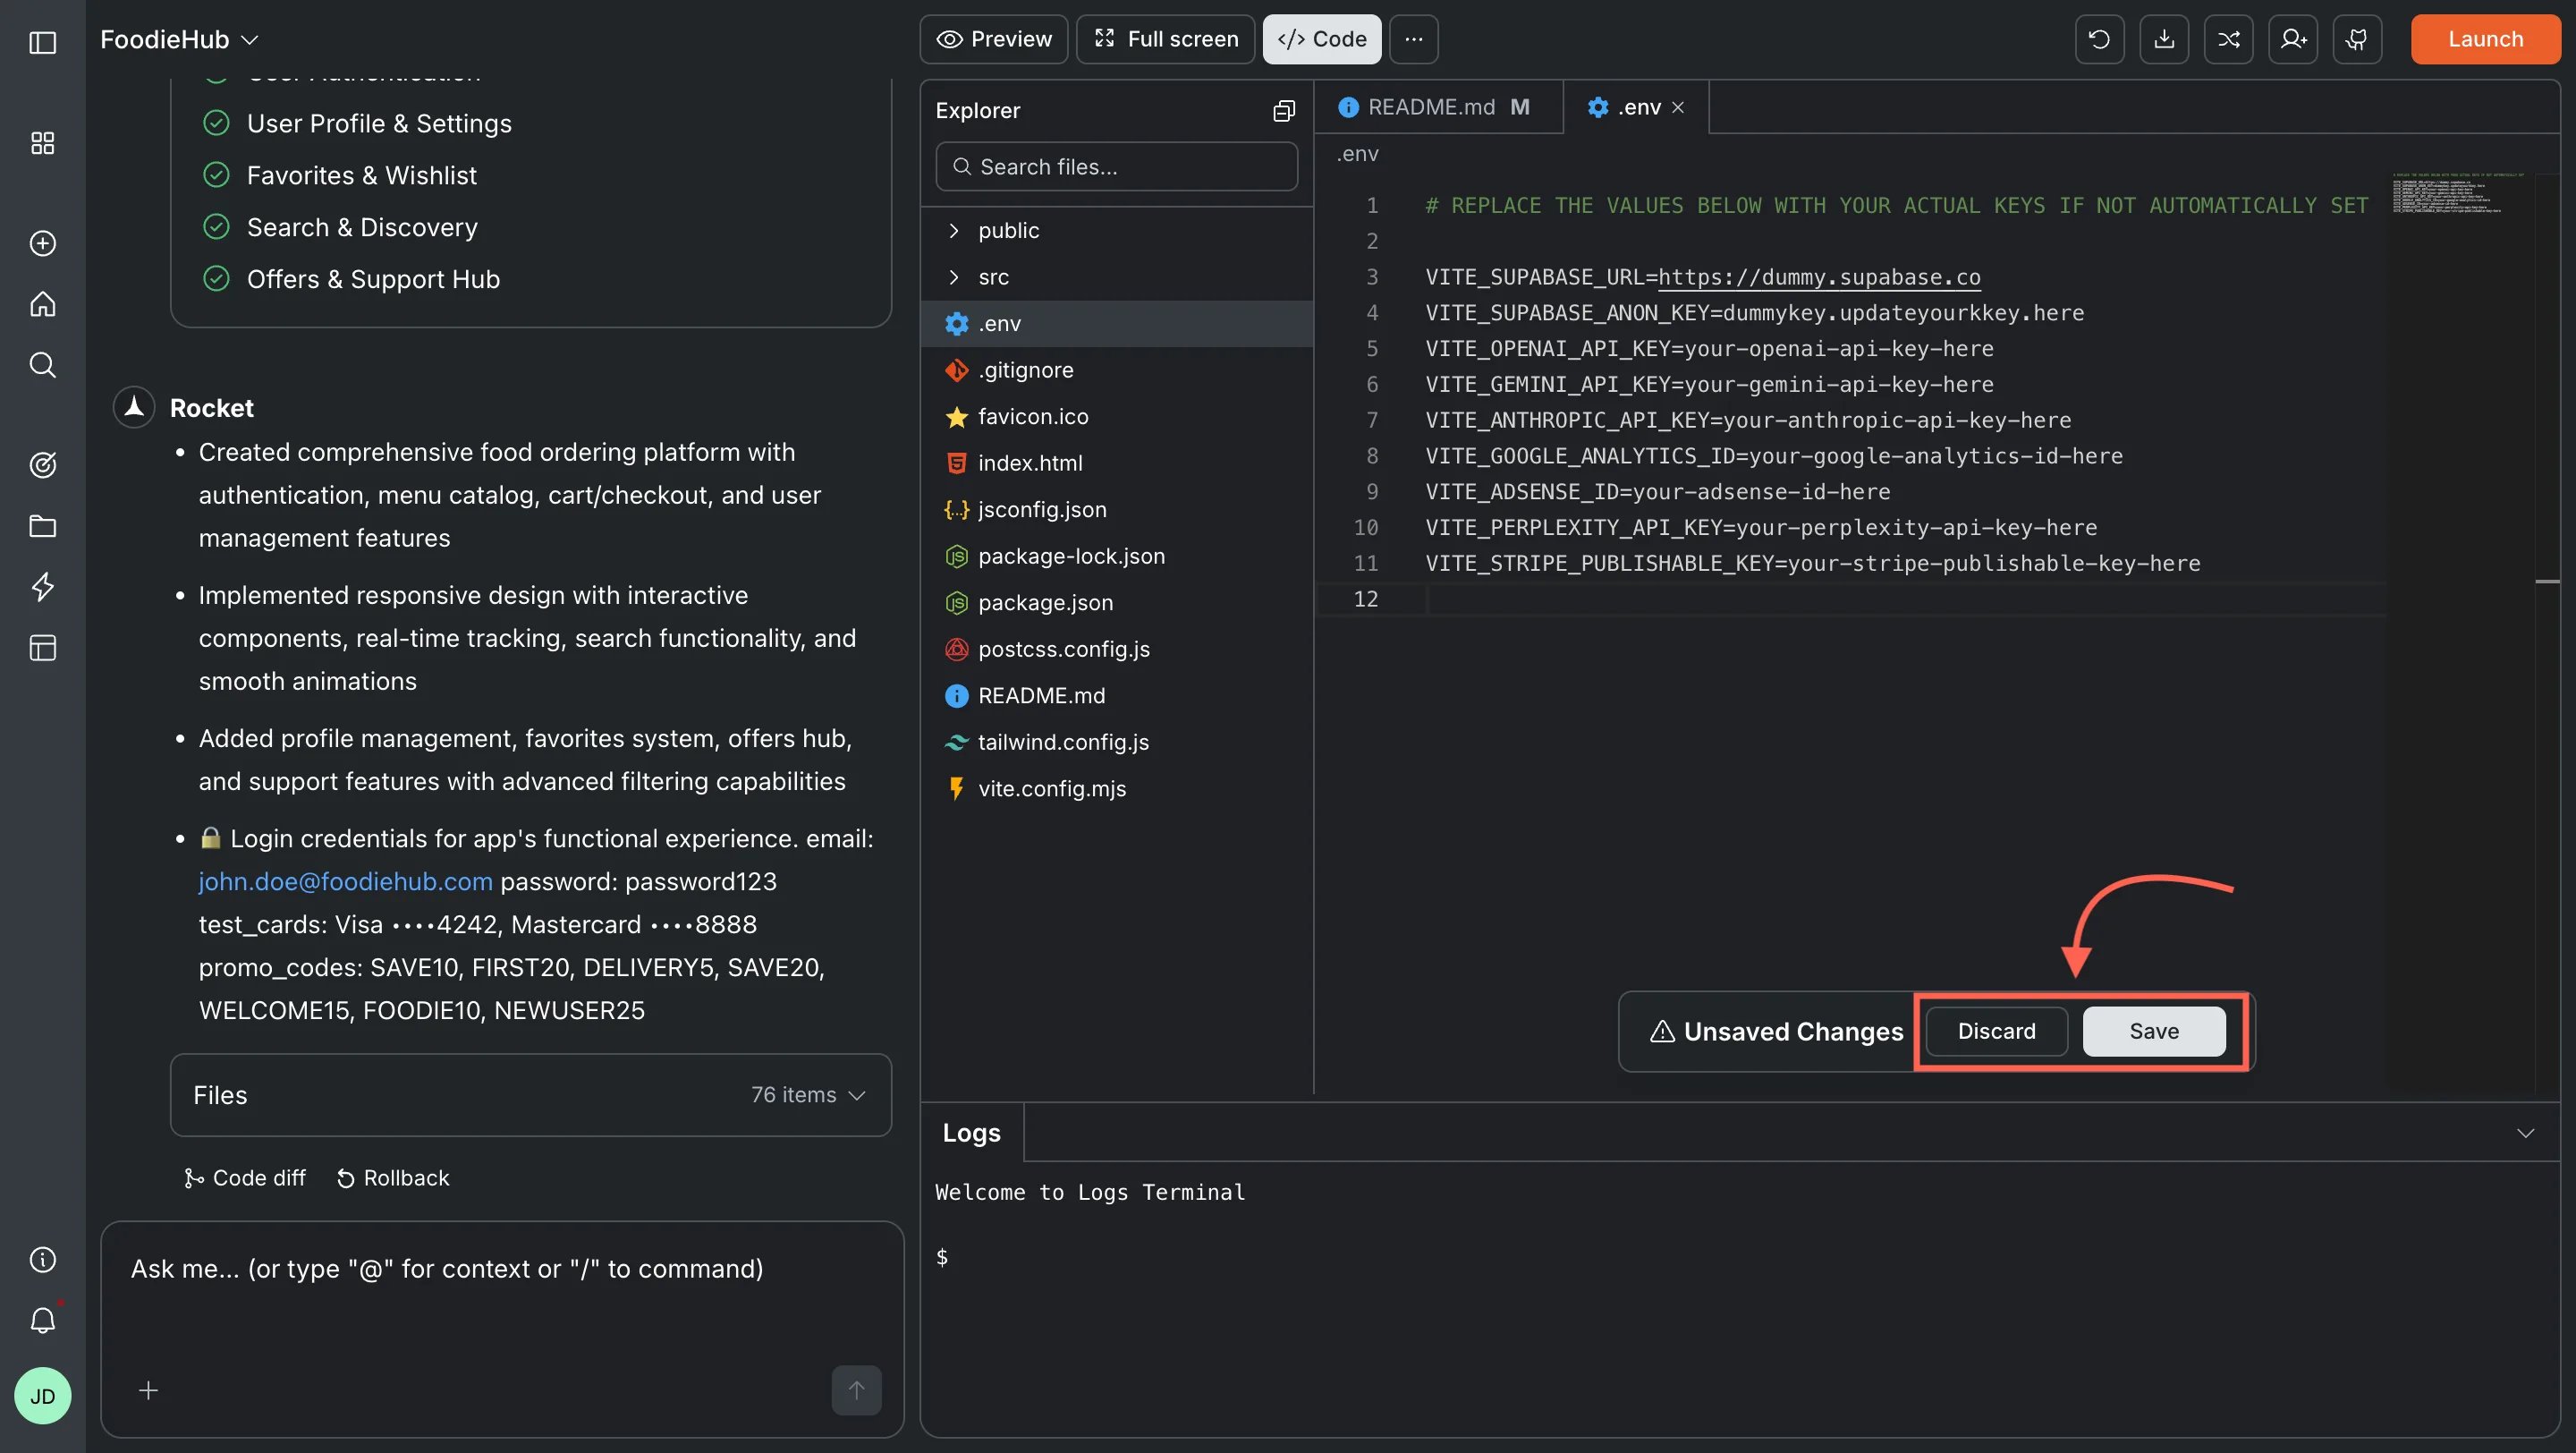
Editor with save and discard options
Editing configuration files like
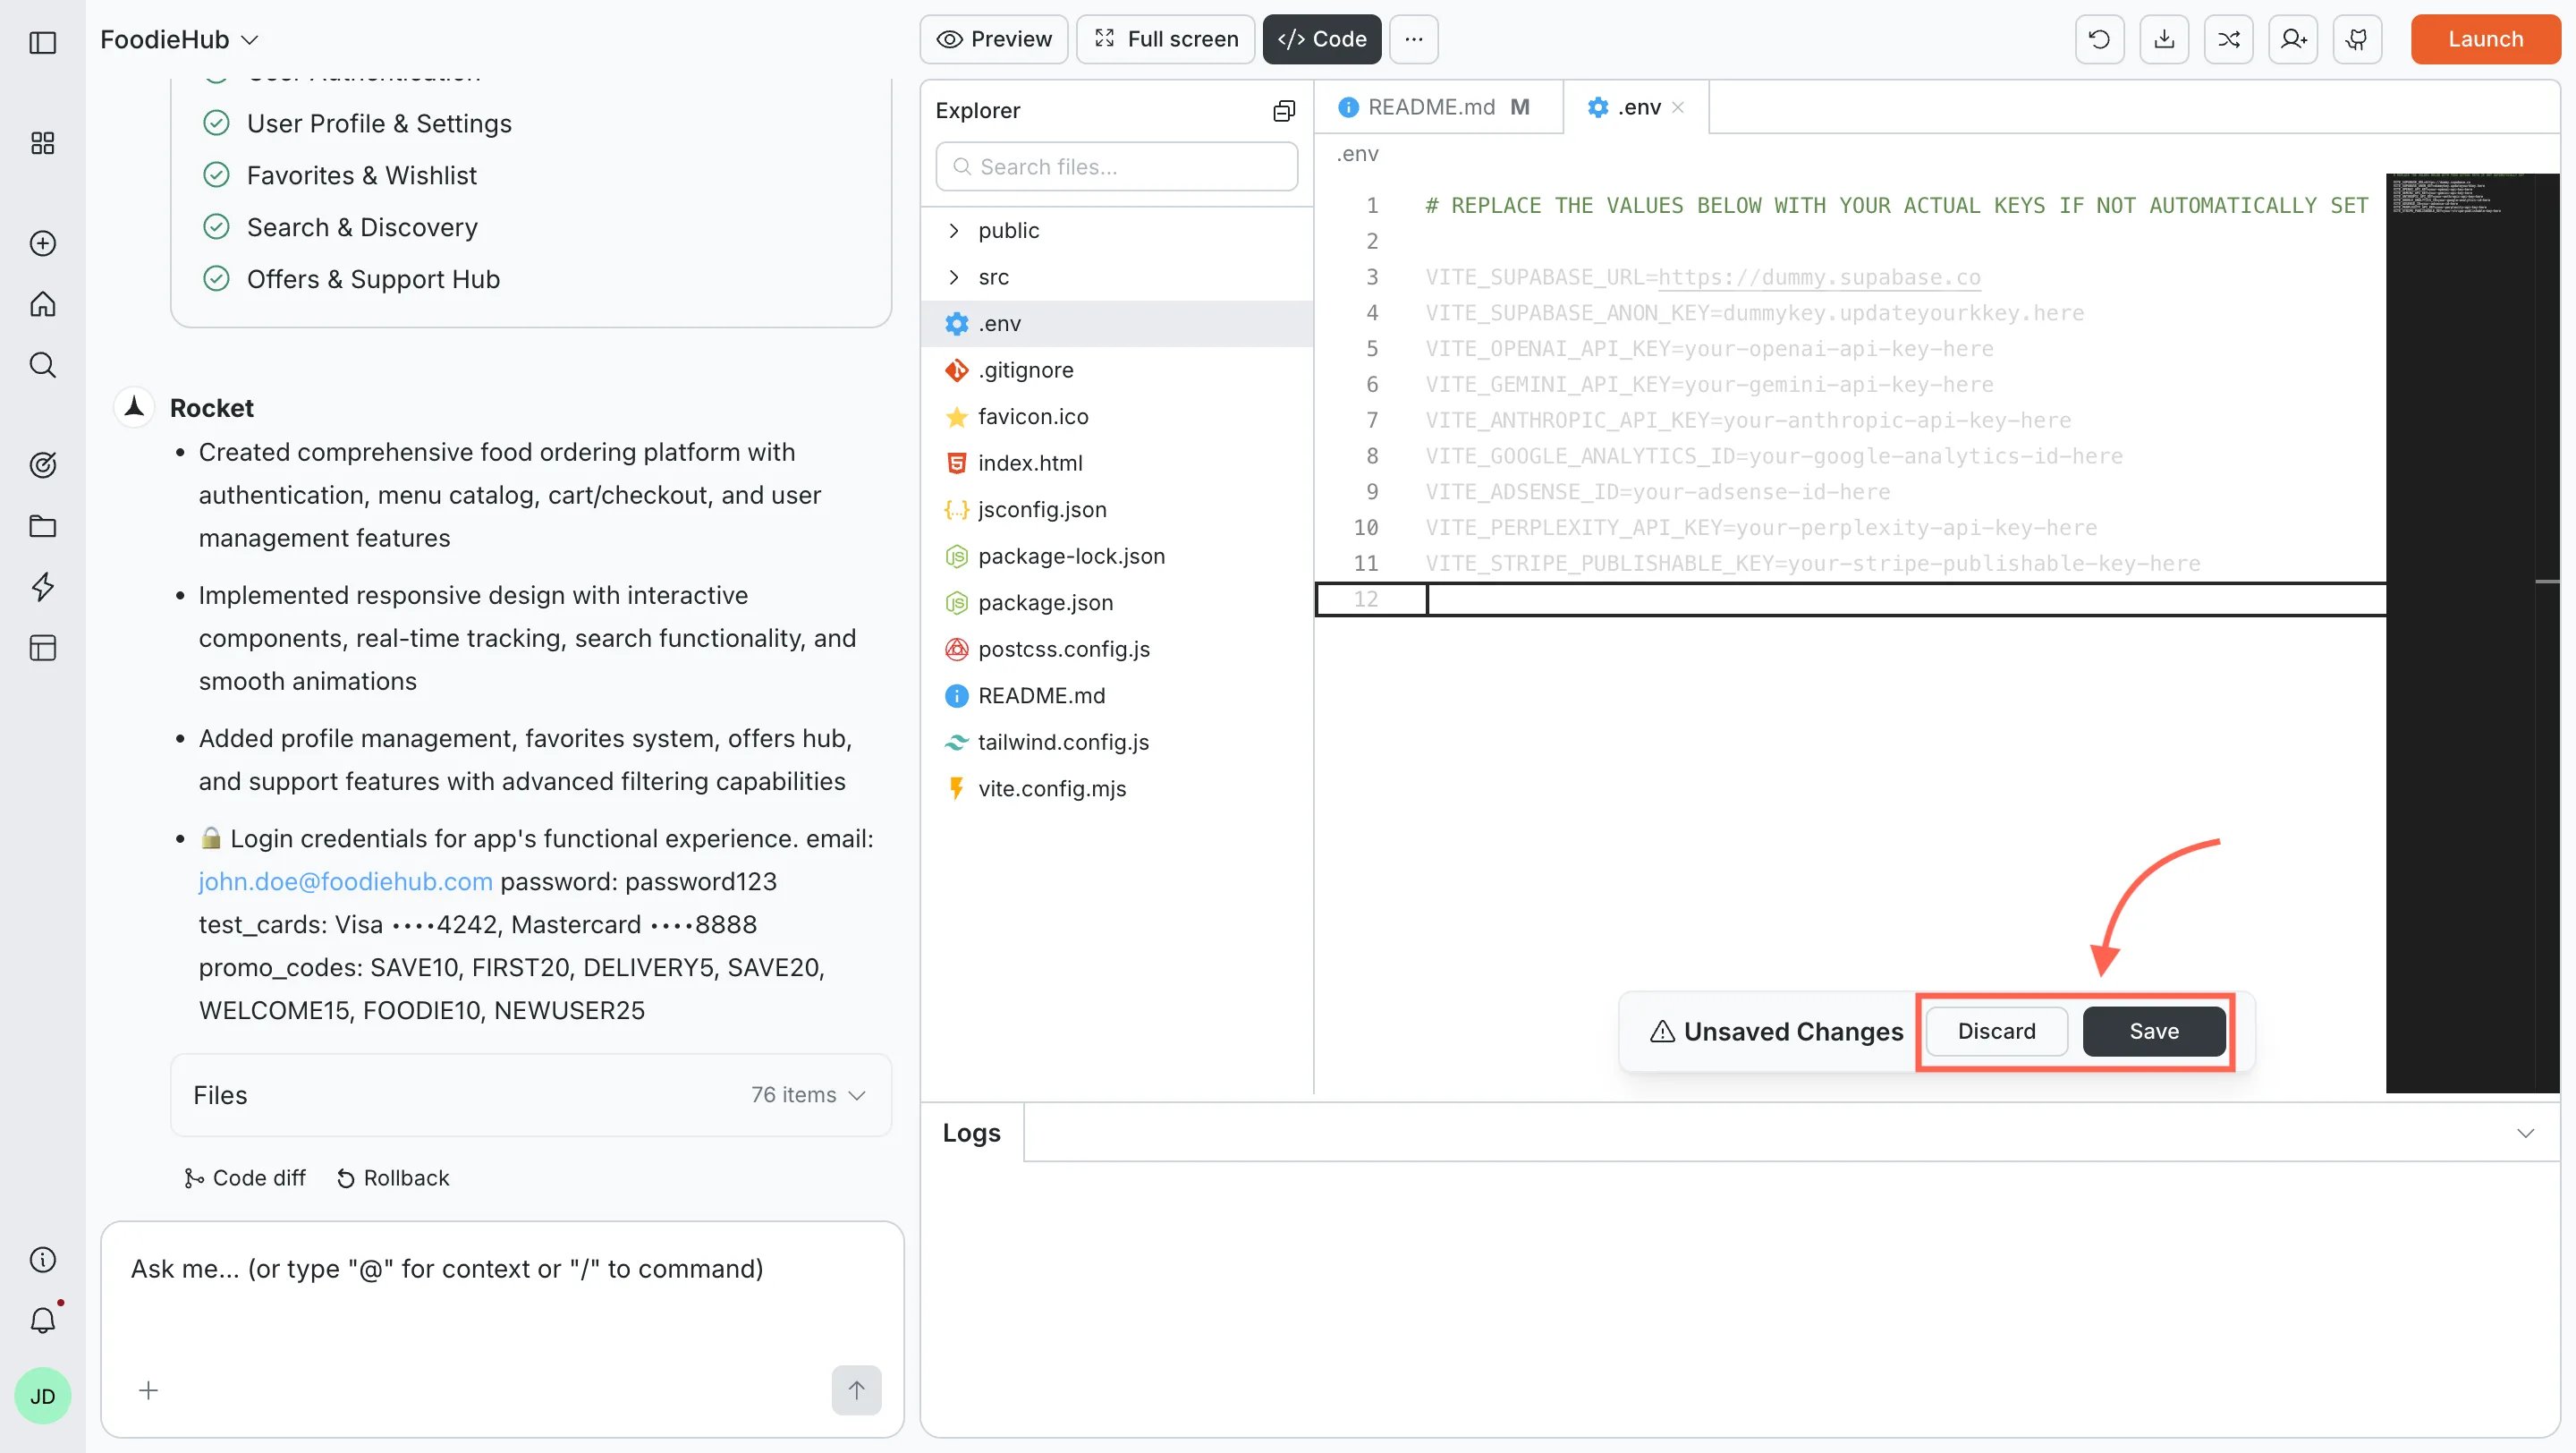
tailwind.config.js or package.json can affect how your app compiles or behaves. If something breaks after a config edit, you can roll back to a previous version.Environment variables
Your environment files store sensitive values like API keys:- Web apps use
.env - Mobile apps use
env.json
Manage environment variables
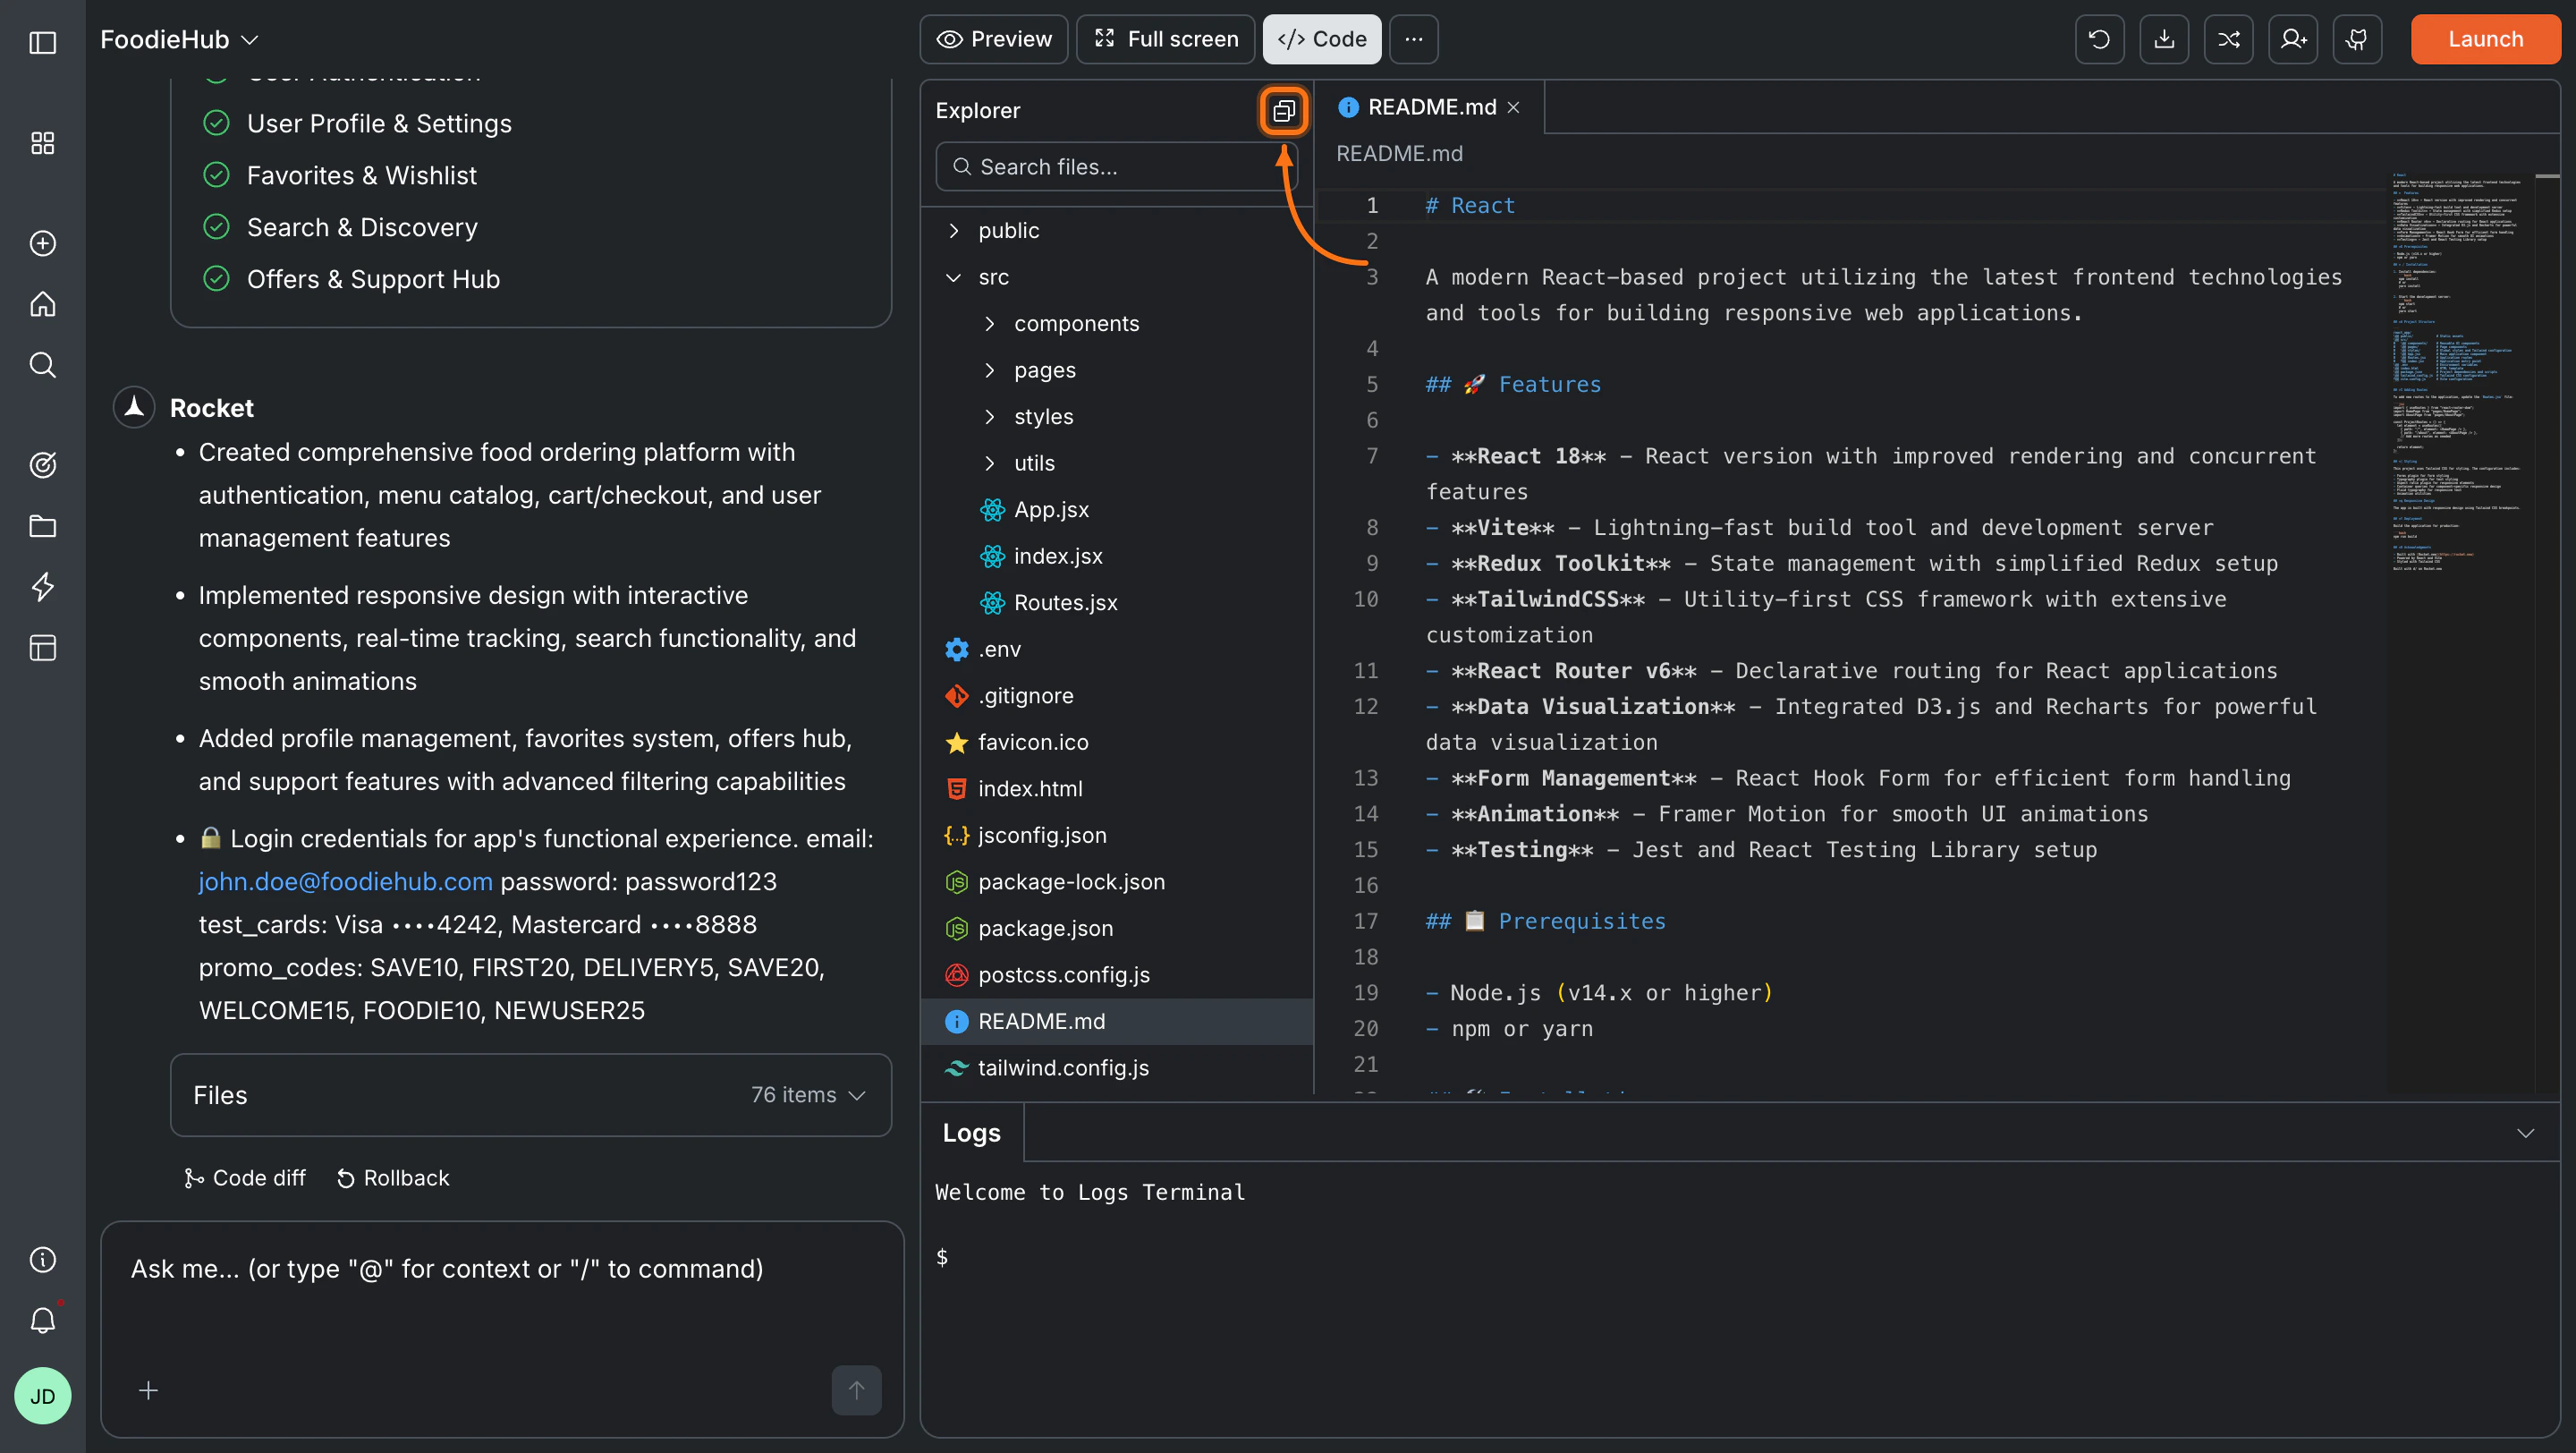
Build logs
The Logs panel at the bottom of the screen shows live output as you edit and save. It has a collapse arrow on the right to hide it when you need more editor space. Logs update automatically - no commands needed.Use the logs to:- Monitor builds in real time
- Catch and diagnose errors
- Confirm that a save was applied successfully


Live build logs
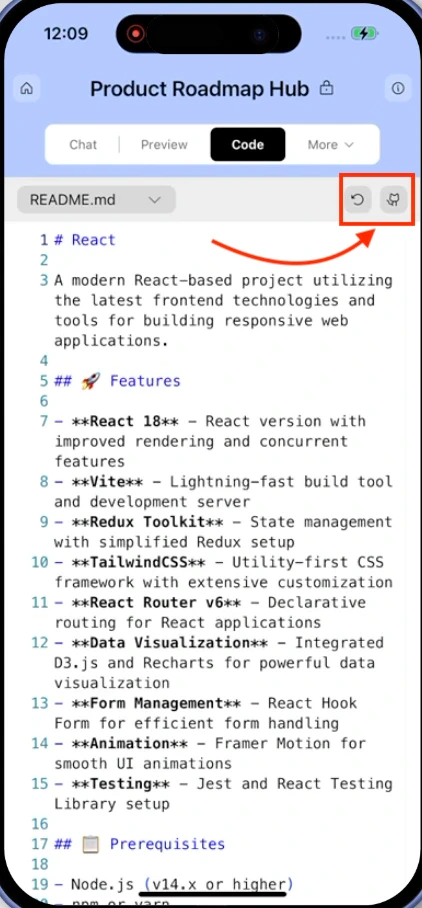
Toolbar actions
The top-right of the code view toolbar has quick actions:- Refresh - Reload the editor and file tree
- Download - Export your app as a
.zipfile to open locally (paid plan required) - GitHub - Push your project to a GitHub repository
Set up GitHub and learn about two-way code sync
What’s next?
Chat with Rocket
Use chat to make broader changes across your project.
Environment variables
Store API keys and secrets your app needs at runtime.
Add custom code
Bring in external scripts, embeds, and components.
Connect APIs
Import and integrate API endpoints into your app.