Control who sees your projects. You need a Rocket account to manage visibility.
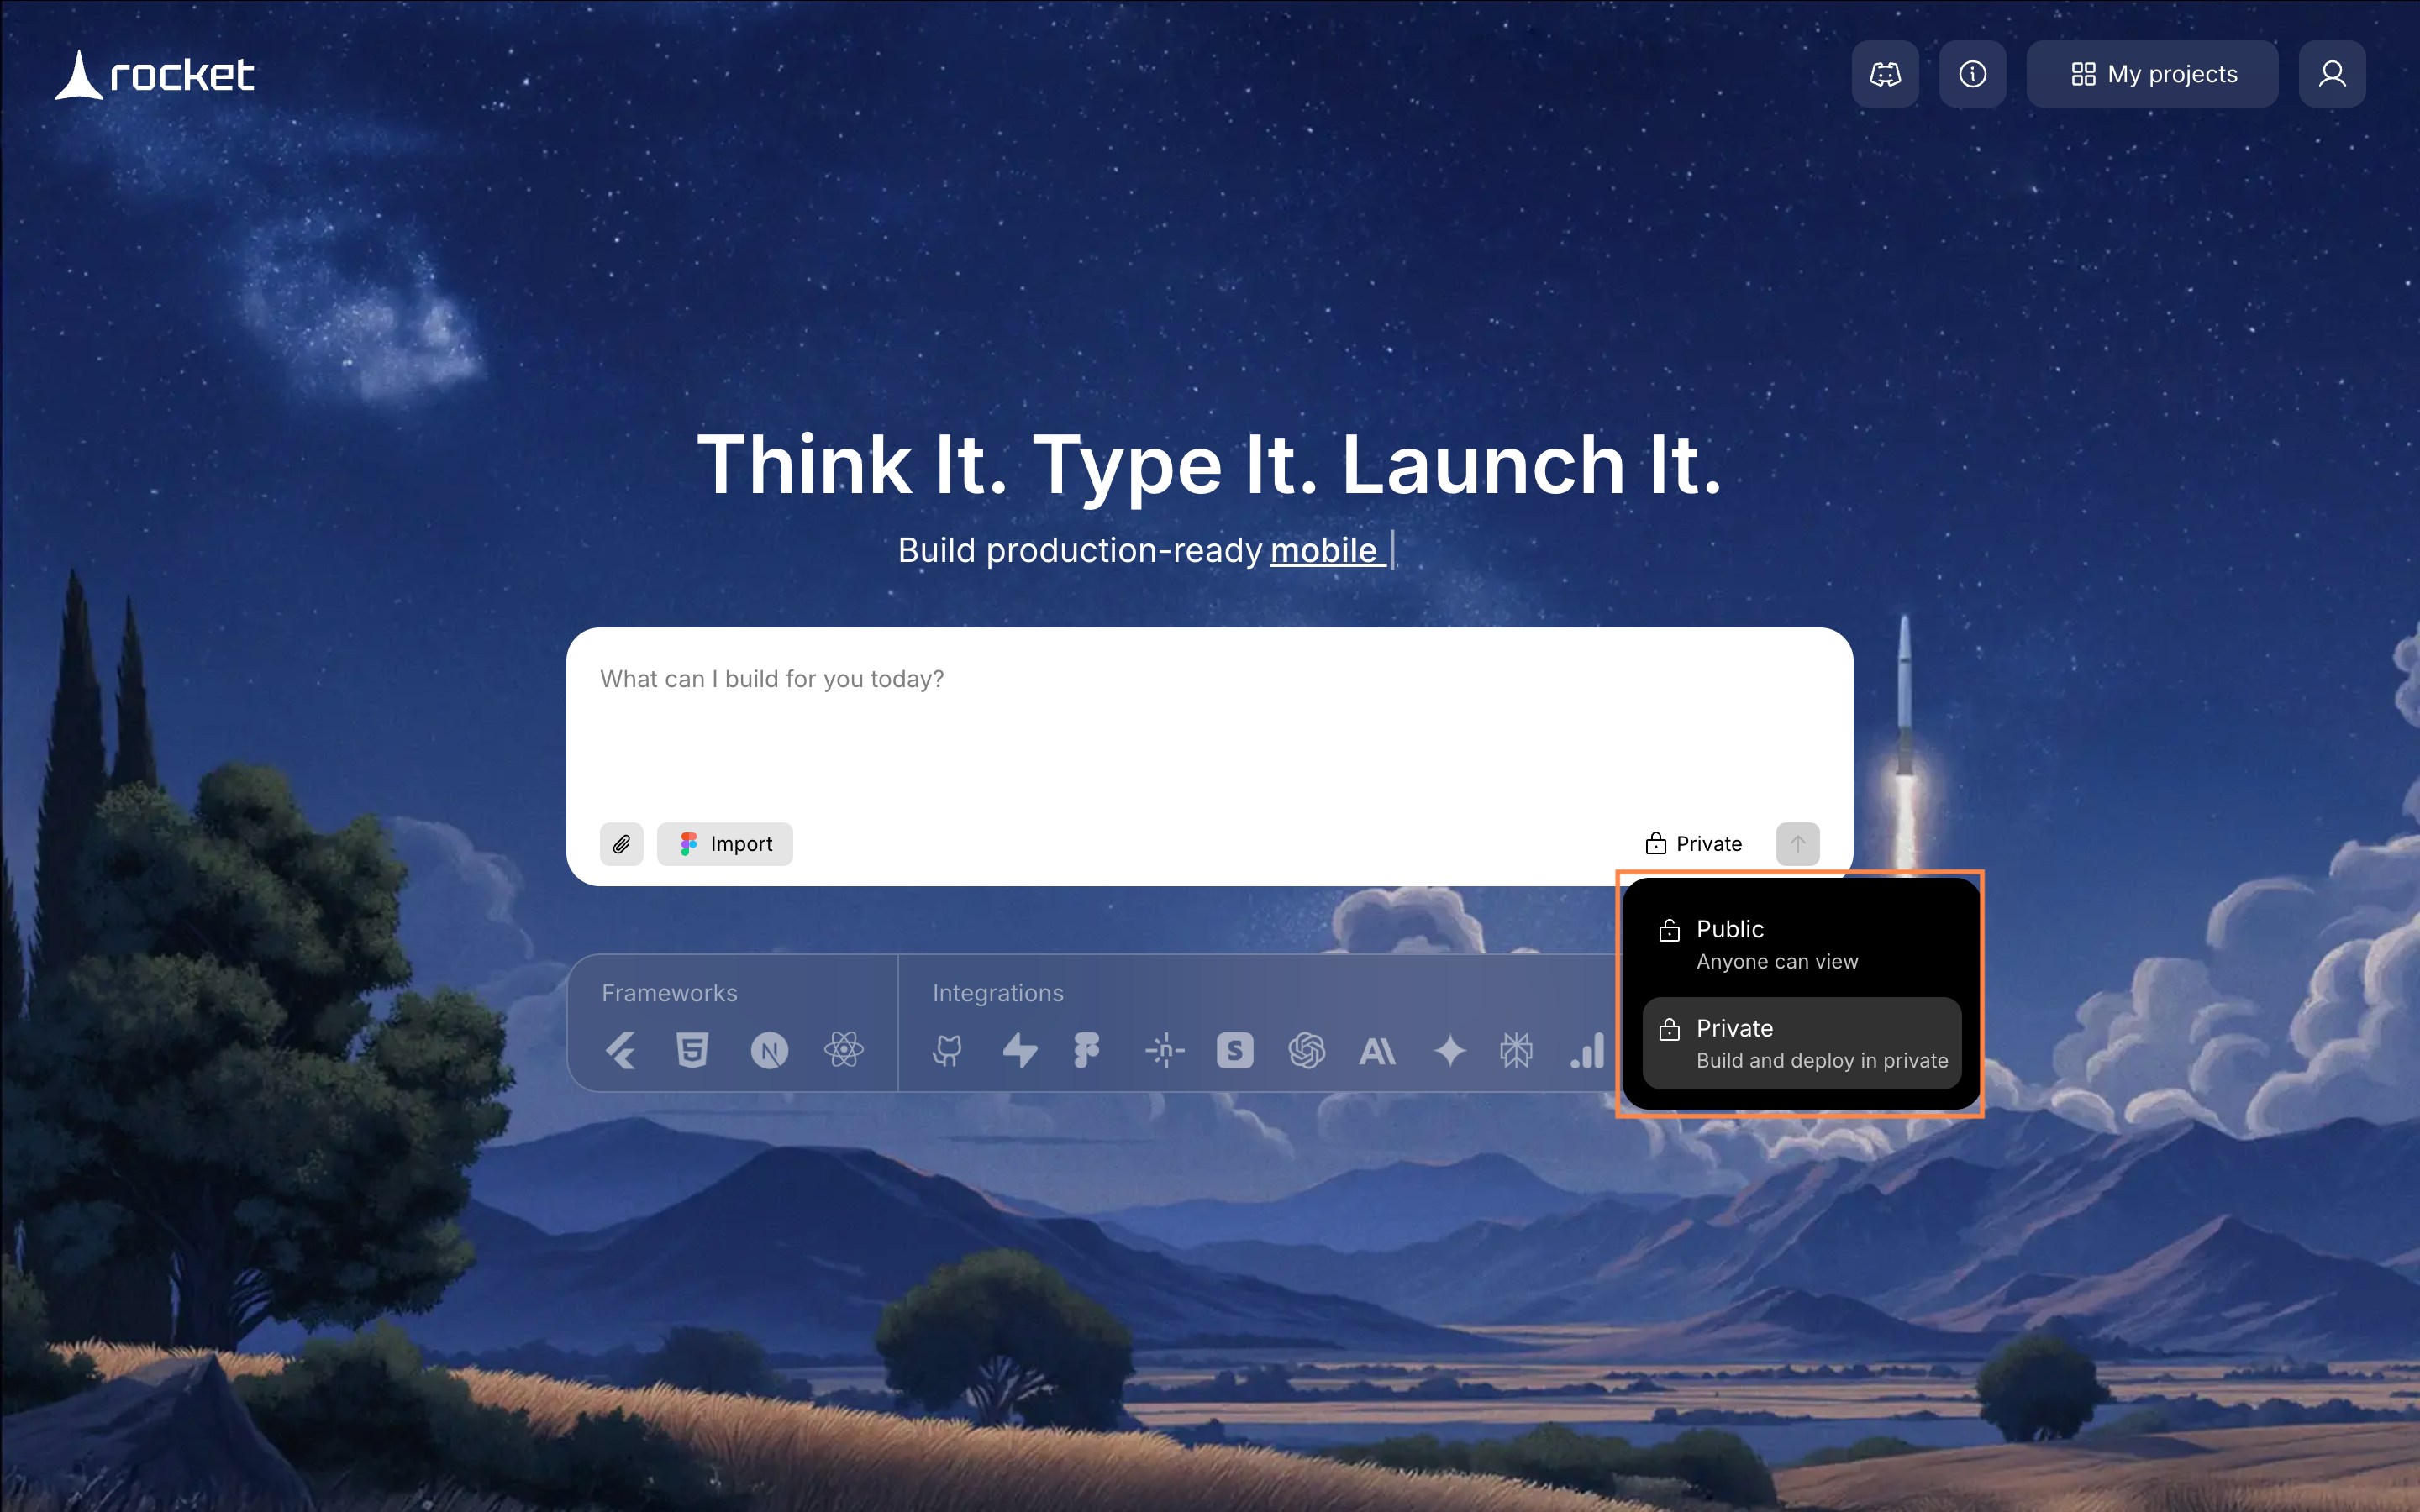
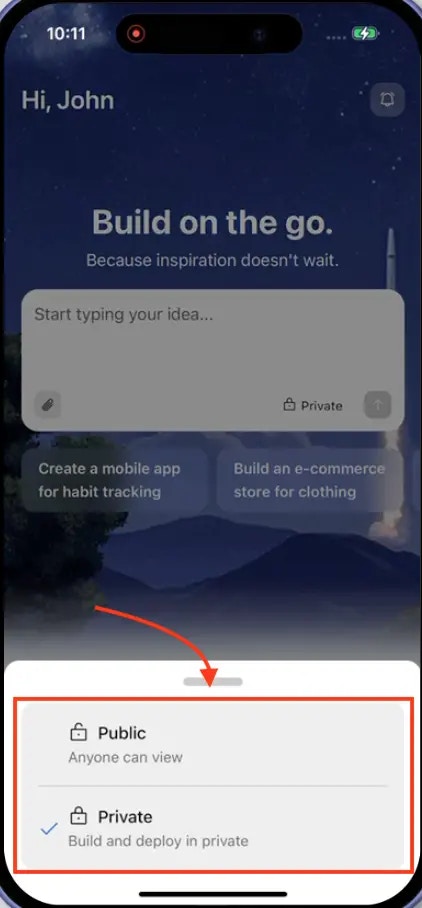
- Private projects stay hidden
- Public projects can appear in Rocket’s showcase
- Free plans are always public
- Paid plans default to private with the option to switch anytime
Public vs Private
| Public | Private | |
|---|---|---|
| Who can see it | Anyone browsing Rocket | Only you |
| Rocket watermark | Yes | No |
| Appears in showcase | Yes, under Built with Rocket | No |
| Free plan | Default (cannot change) | Not available |
| Paid plan | Optional | Default (can switch anytime) |
Where Public projects appear
Public projects are listed in the Resources section on the Rocket landing page under Built with Rocket.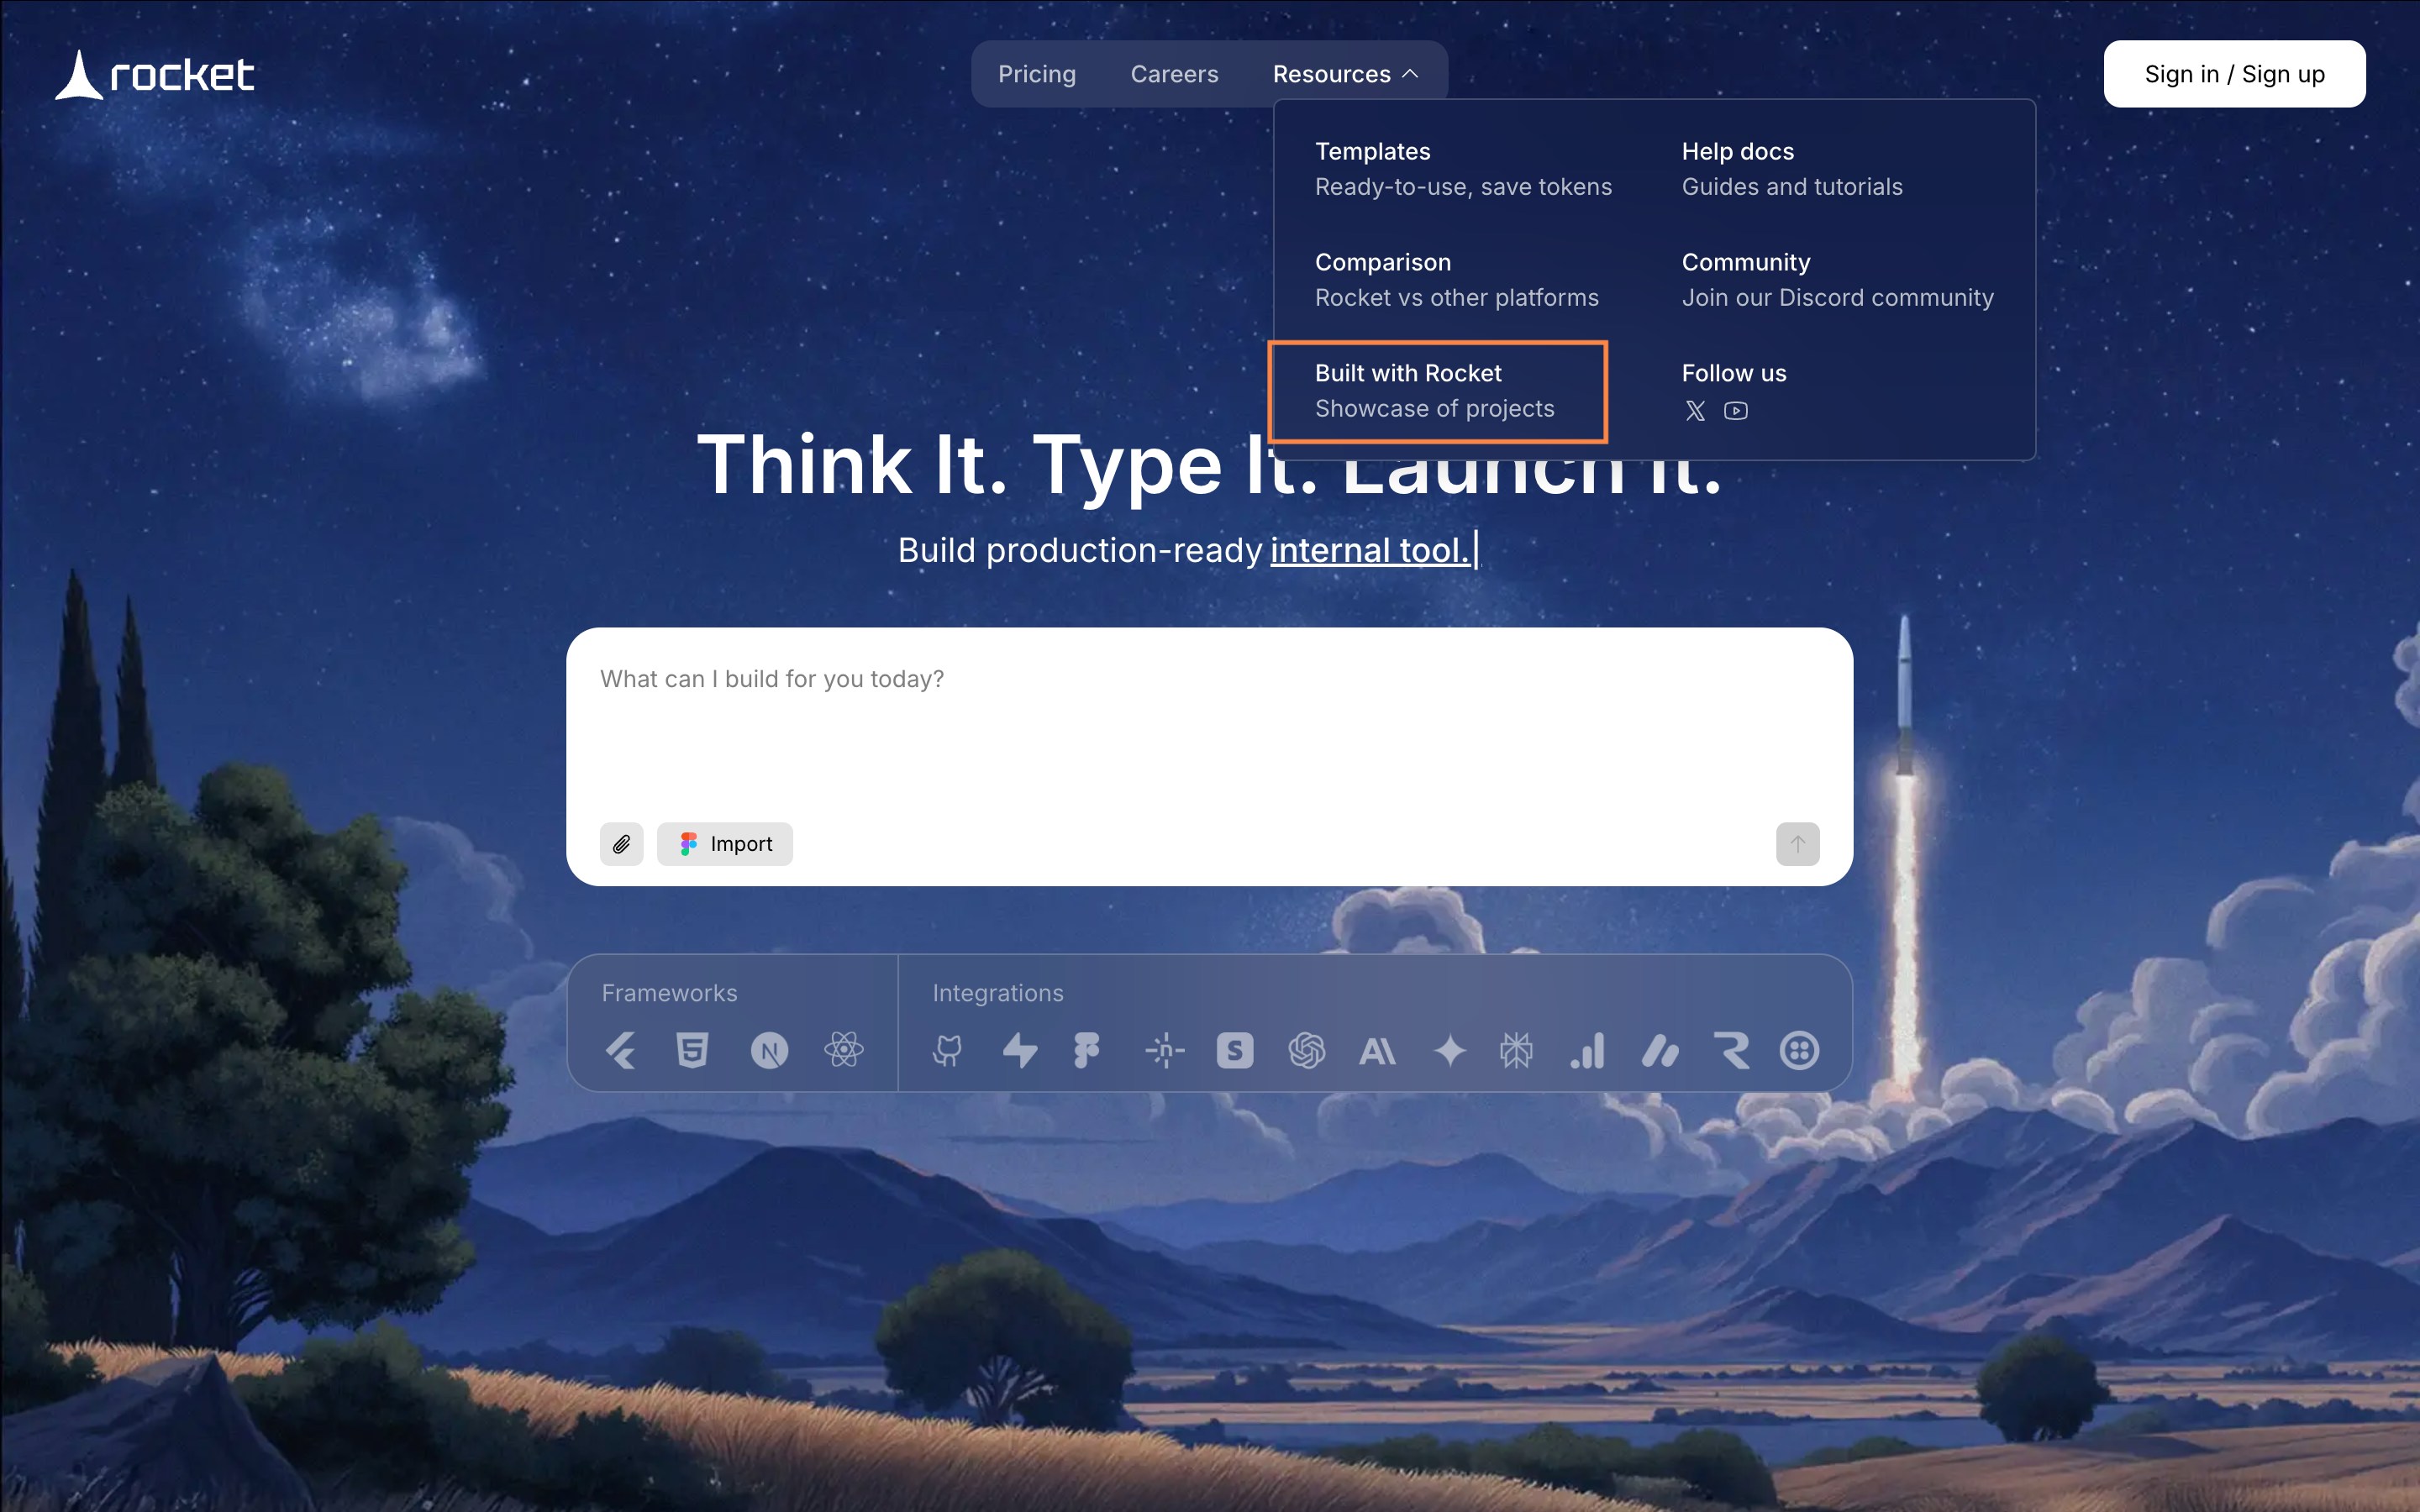
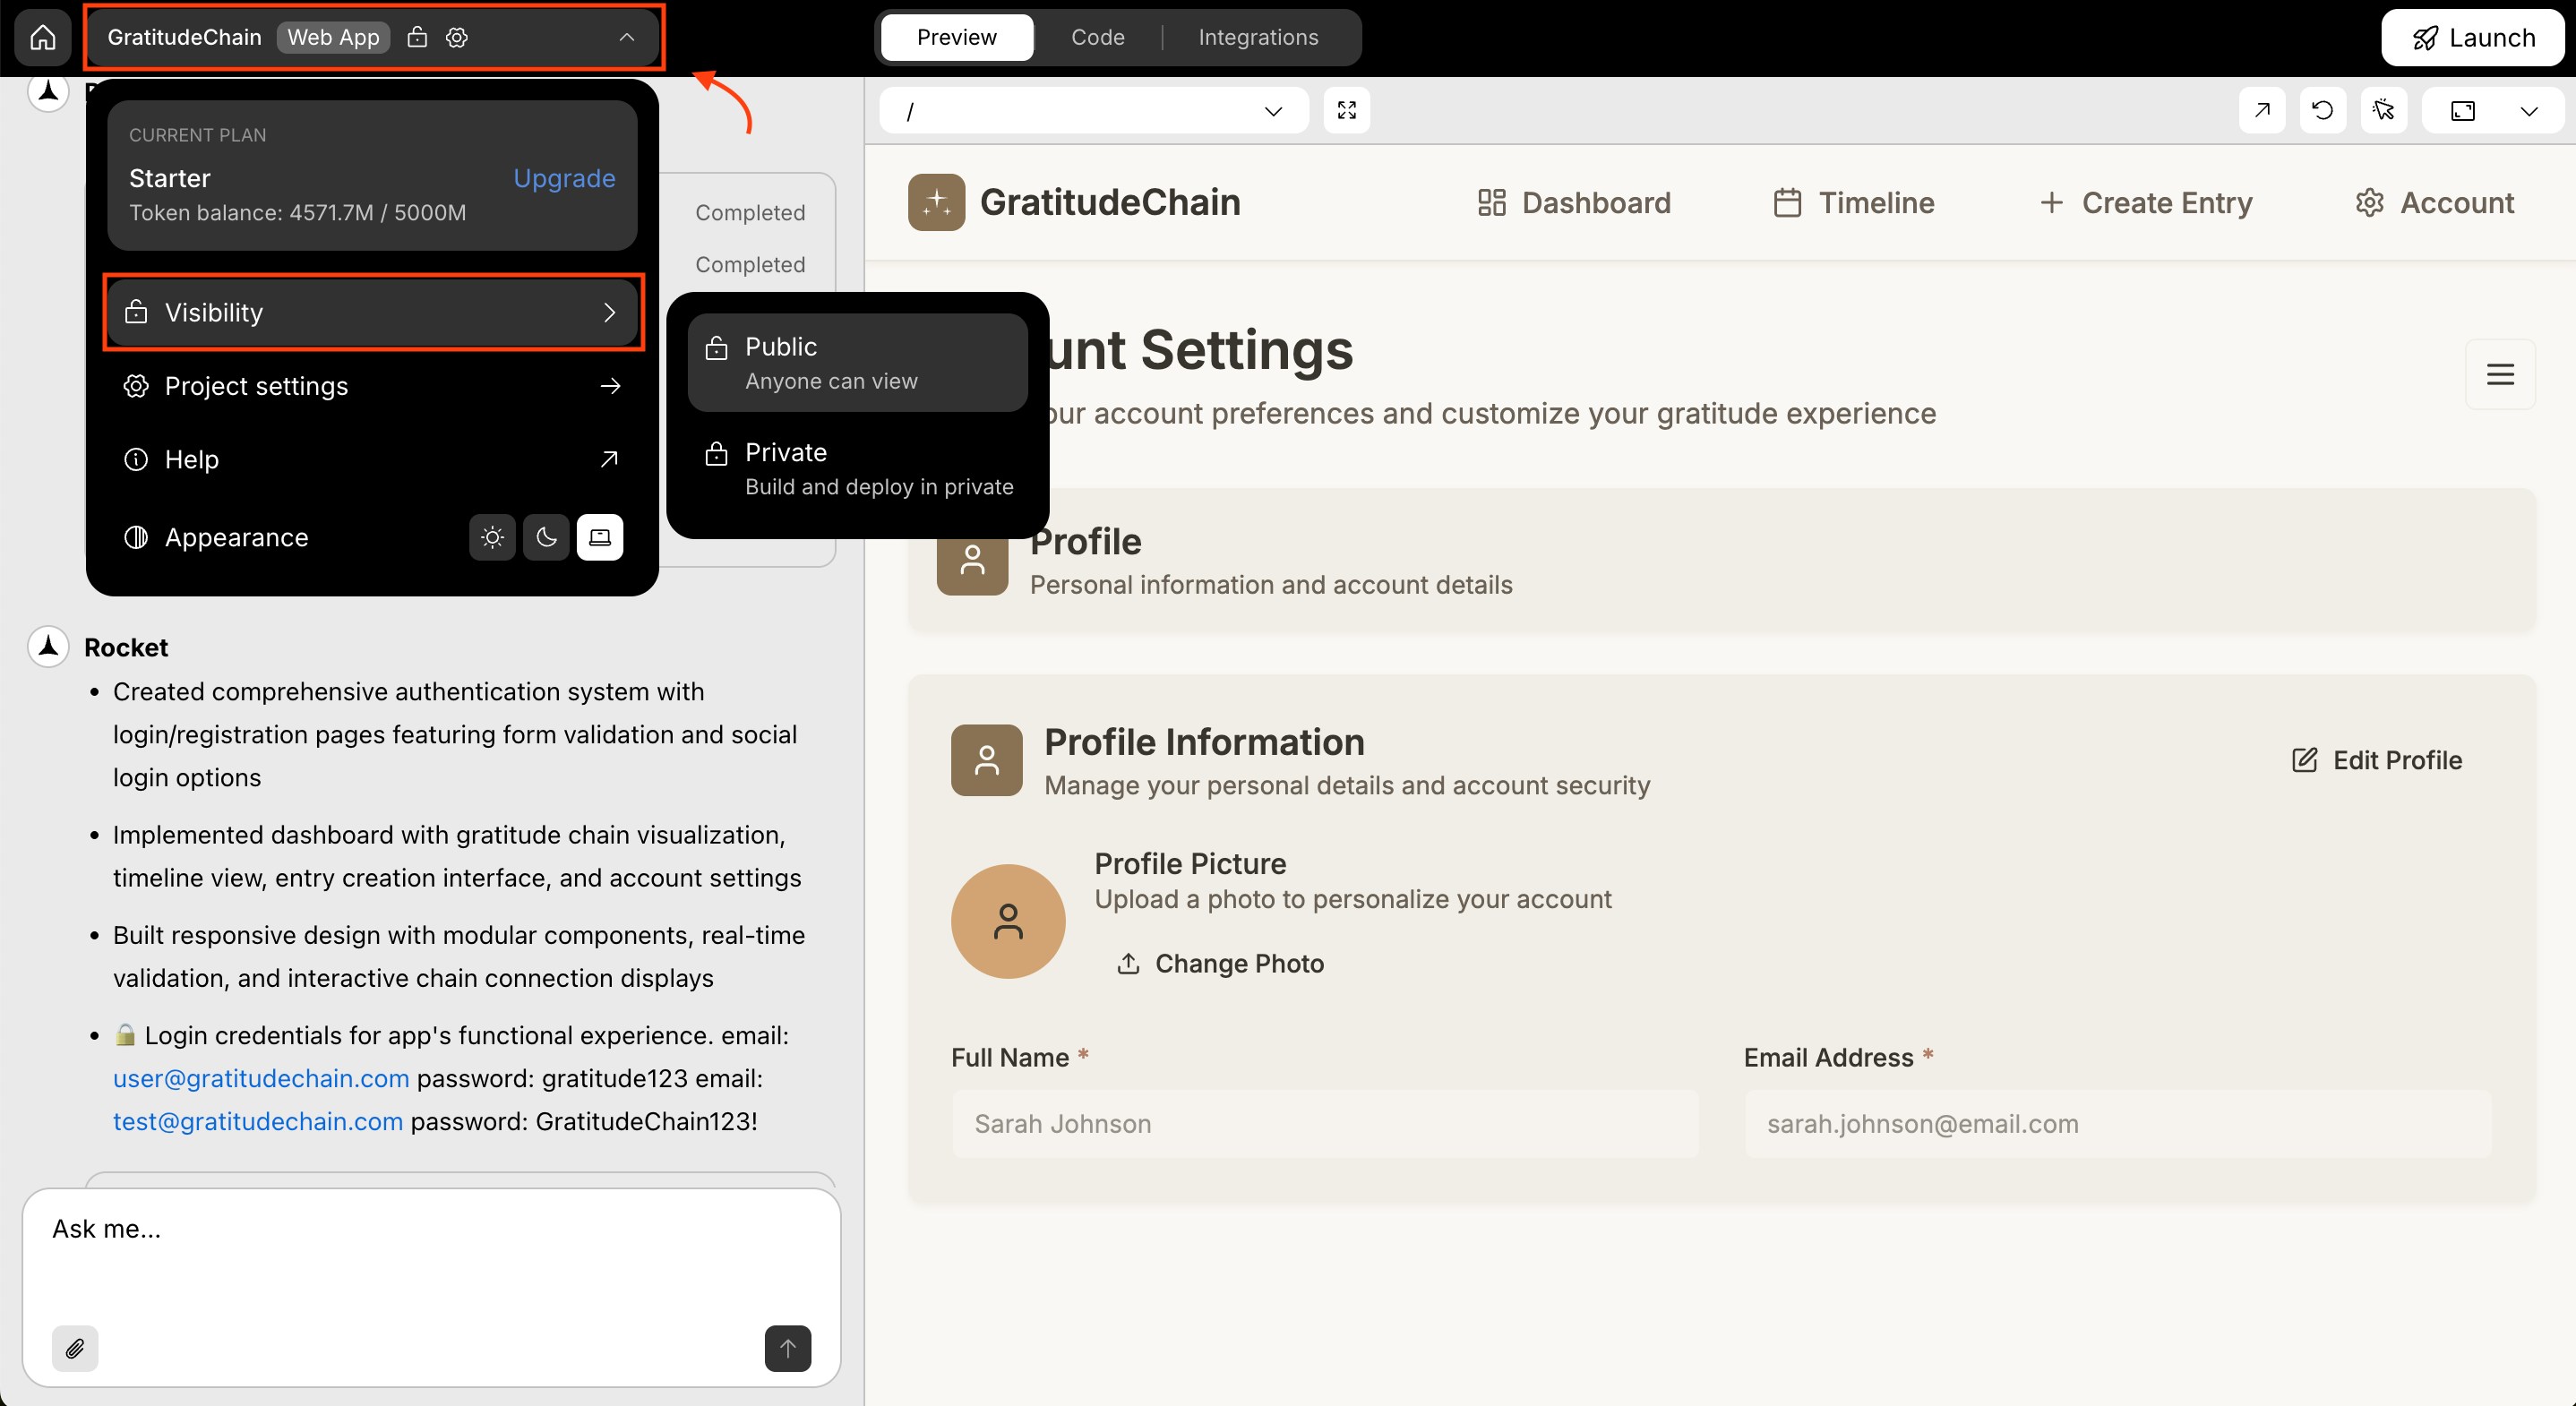
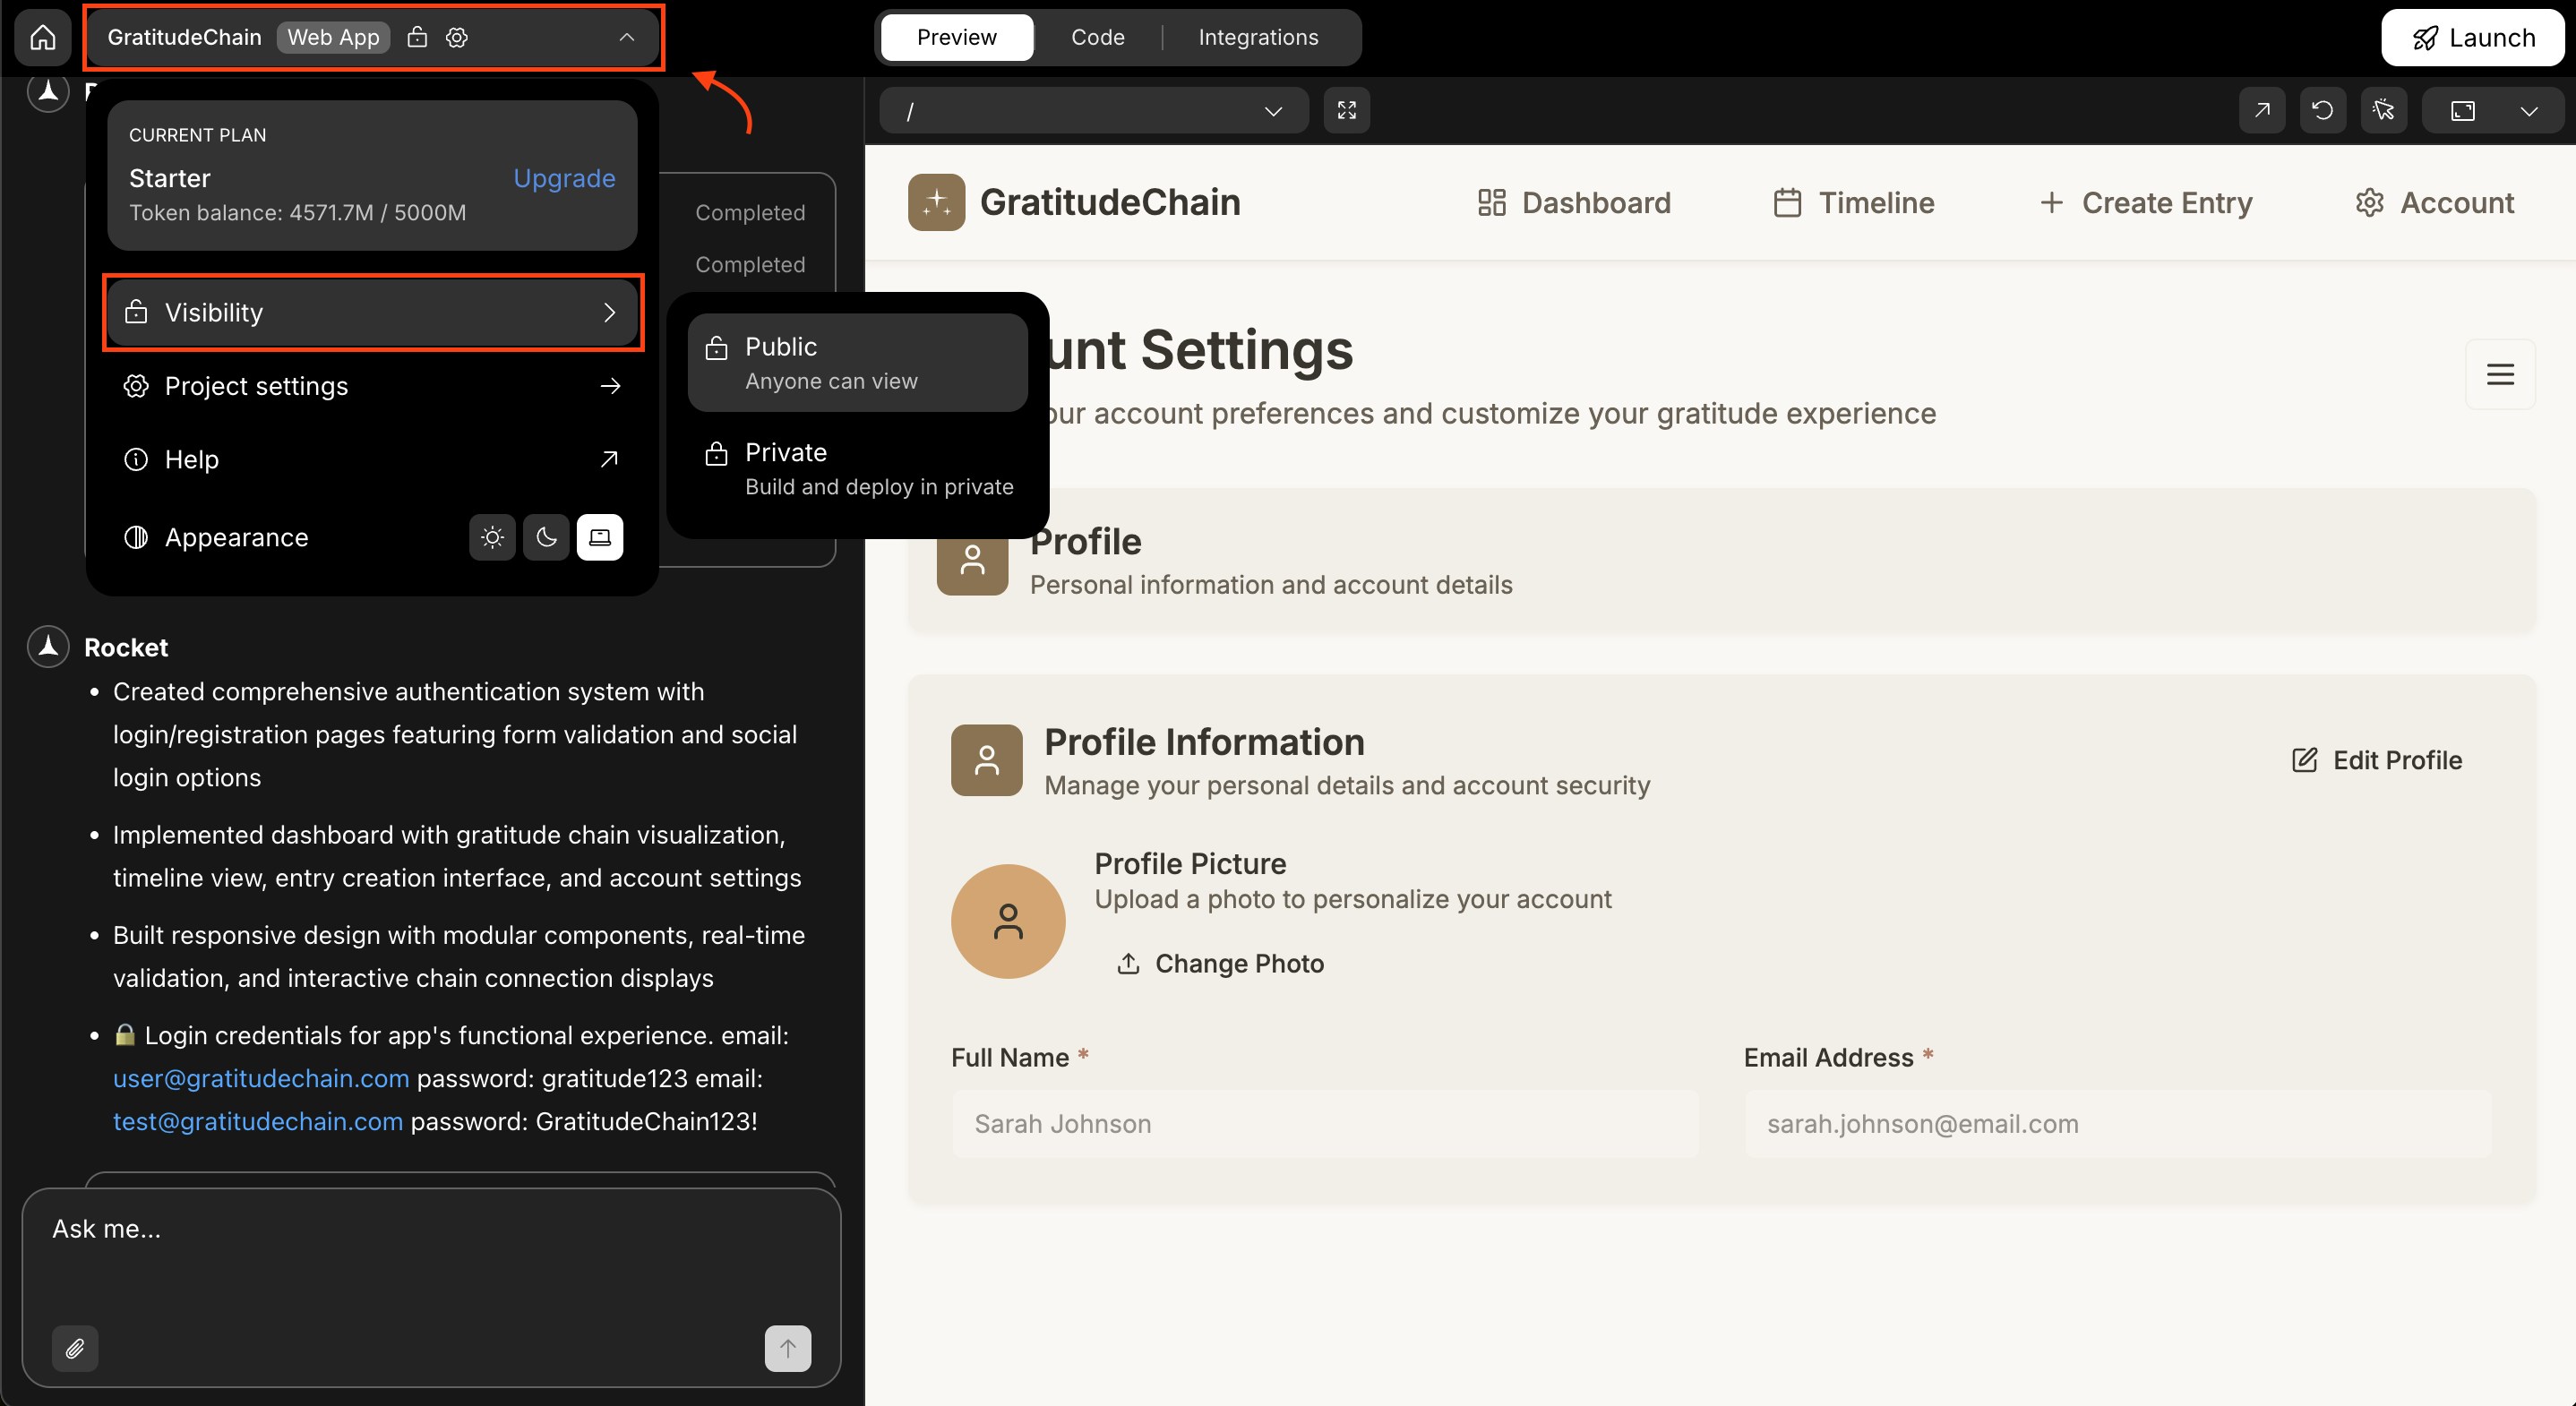
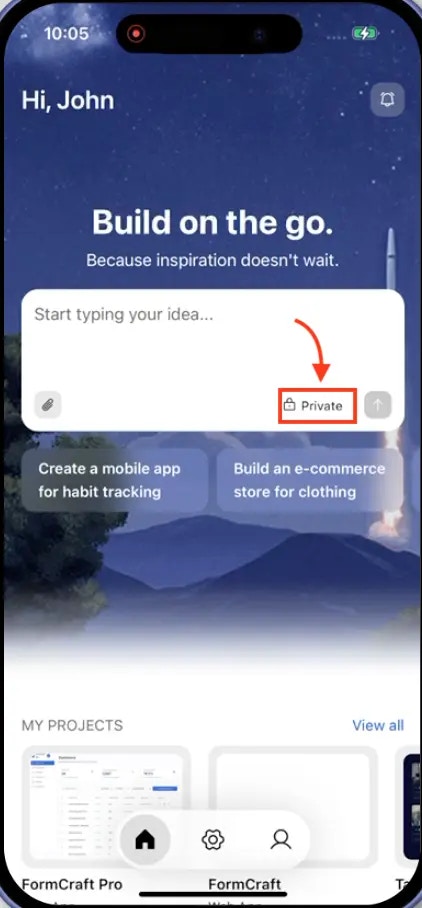
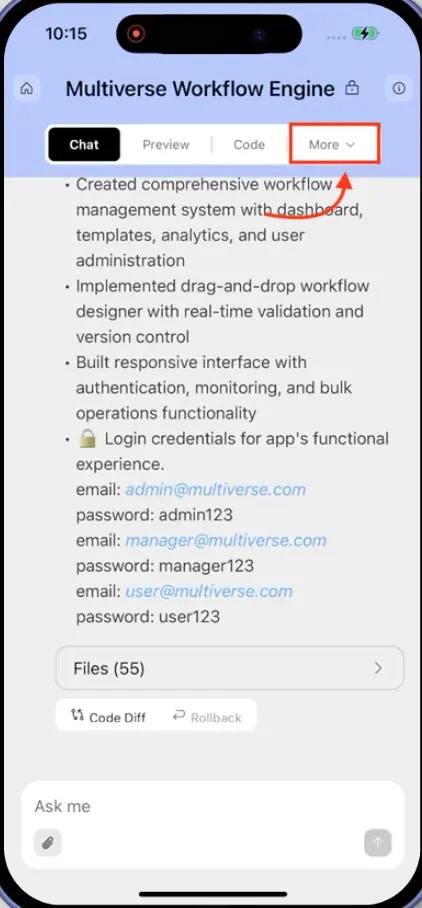
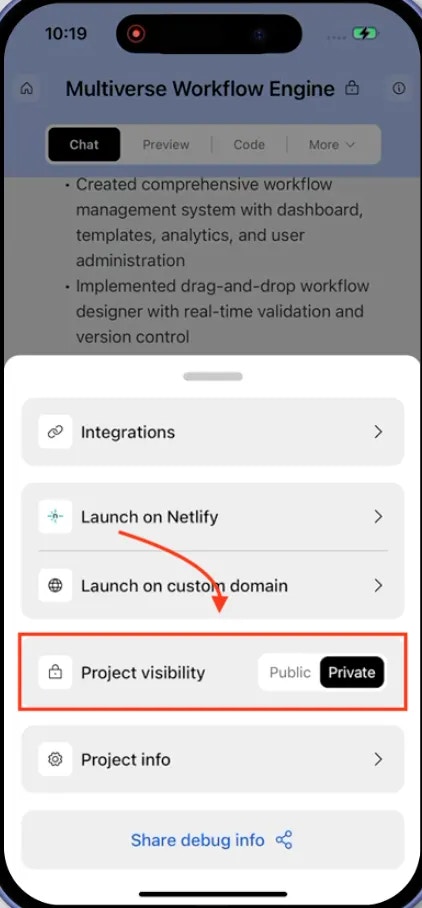
Change visibility
- Web Browser
- Mobile App
What’s next?
Project settings
Rename, delete, or configure your project.
Share with Remix
Share your project as a remix link for others to clone.
Deploy to web
Publish your project to a live URL.
Chat interface
Build and iterate on your app through conversation.