Why launch to web?Share your web app with the world instantly. No server setup, no deployment configuration, just one click to get a public URL. Perfect for sharing with users, clients, or testers right away. Update your live app anytime with another click.
- Web Browser
- Mobile App
Before you begin
You’ll need:
- An app created in Rocket.
- Your project open and ready to launch.
Launch your app
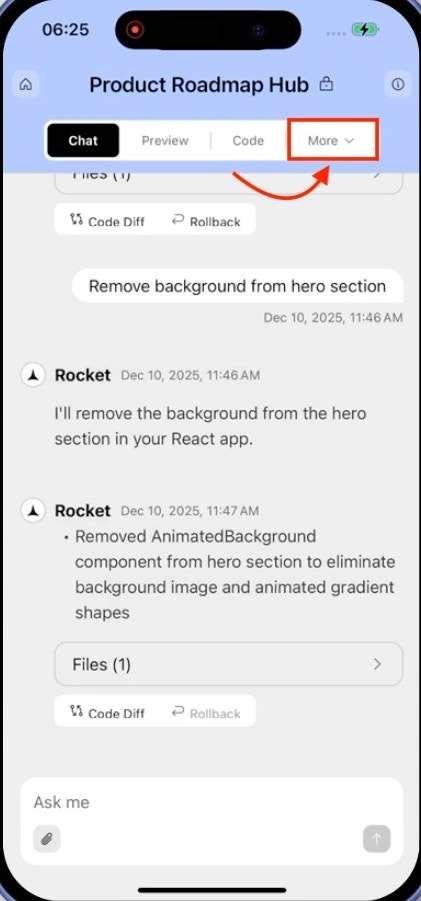
Ready to share your app with the world? Launching with Rocket is fast and effortless.Open your project
Open your app in Rocket.
Click the Launch button in the top-right corner.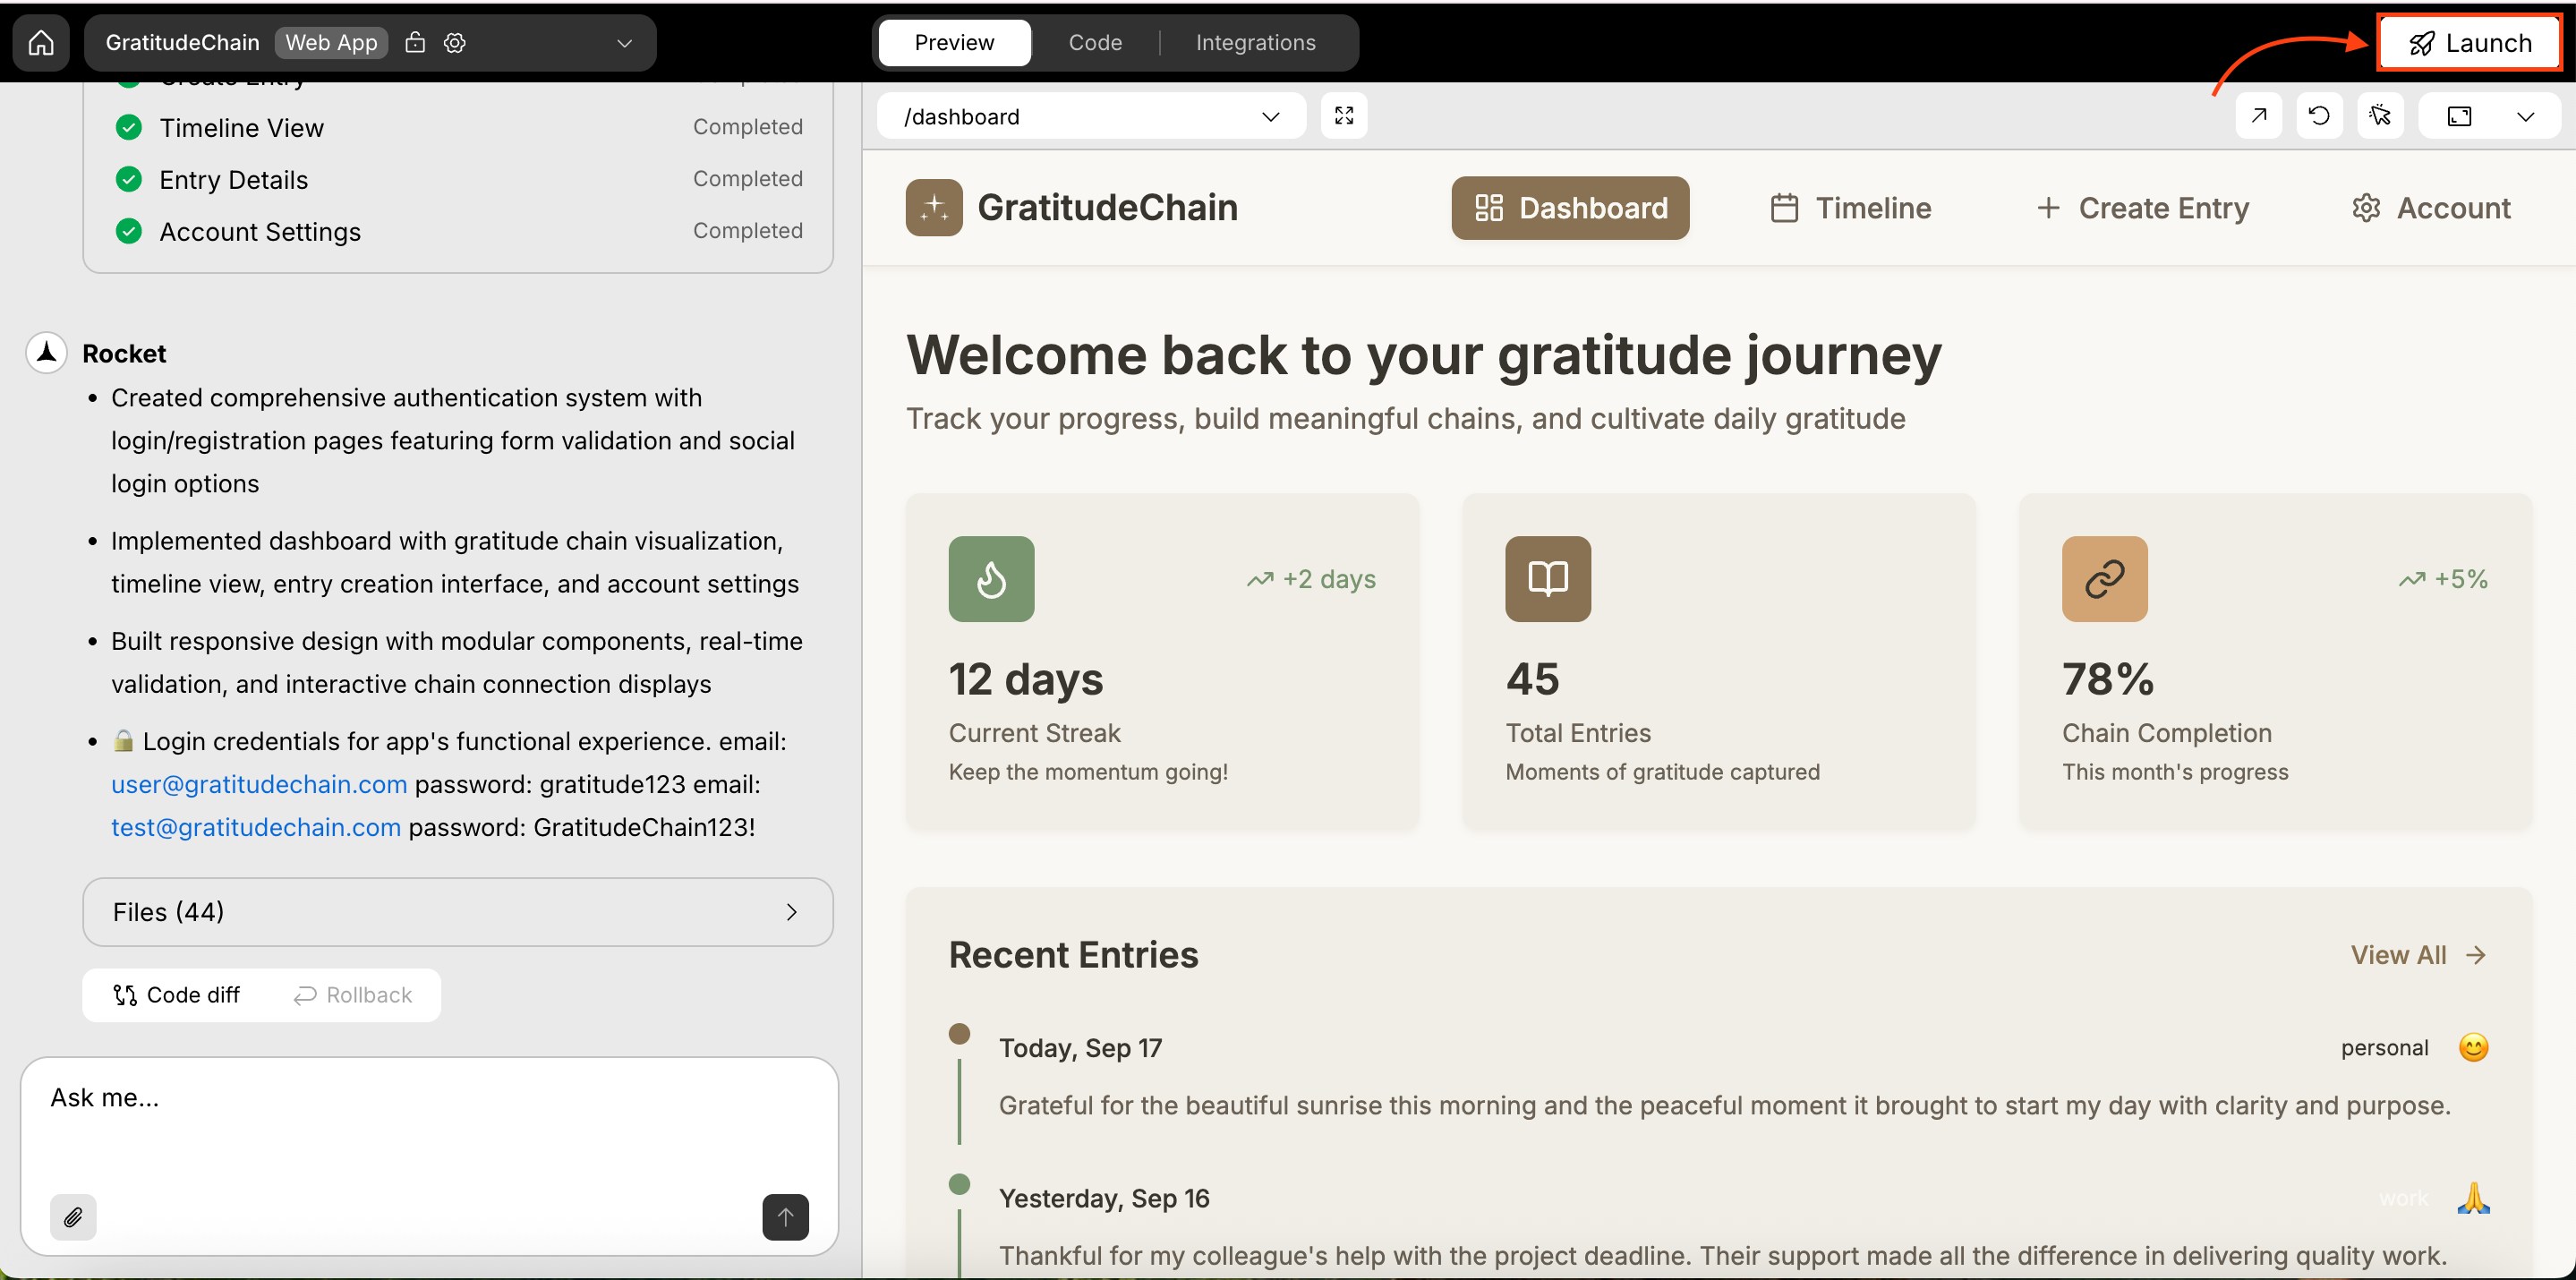
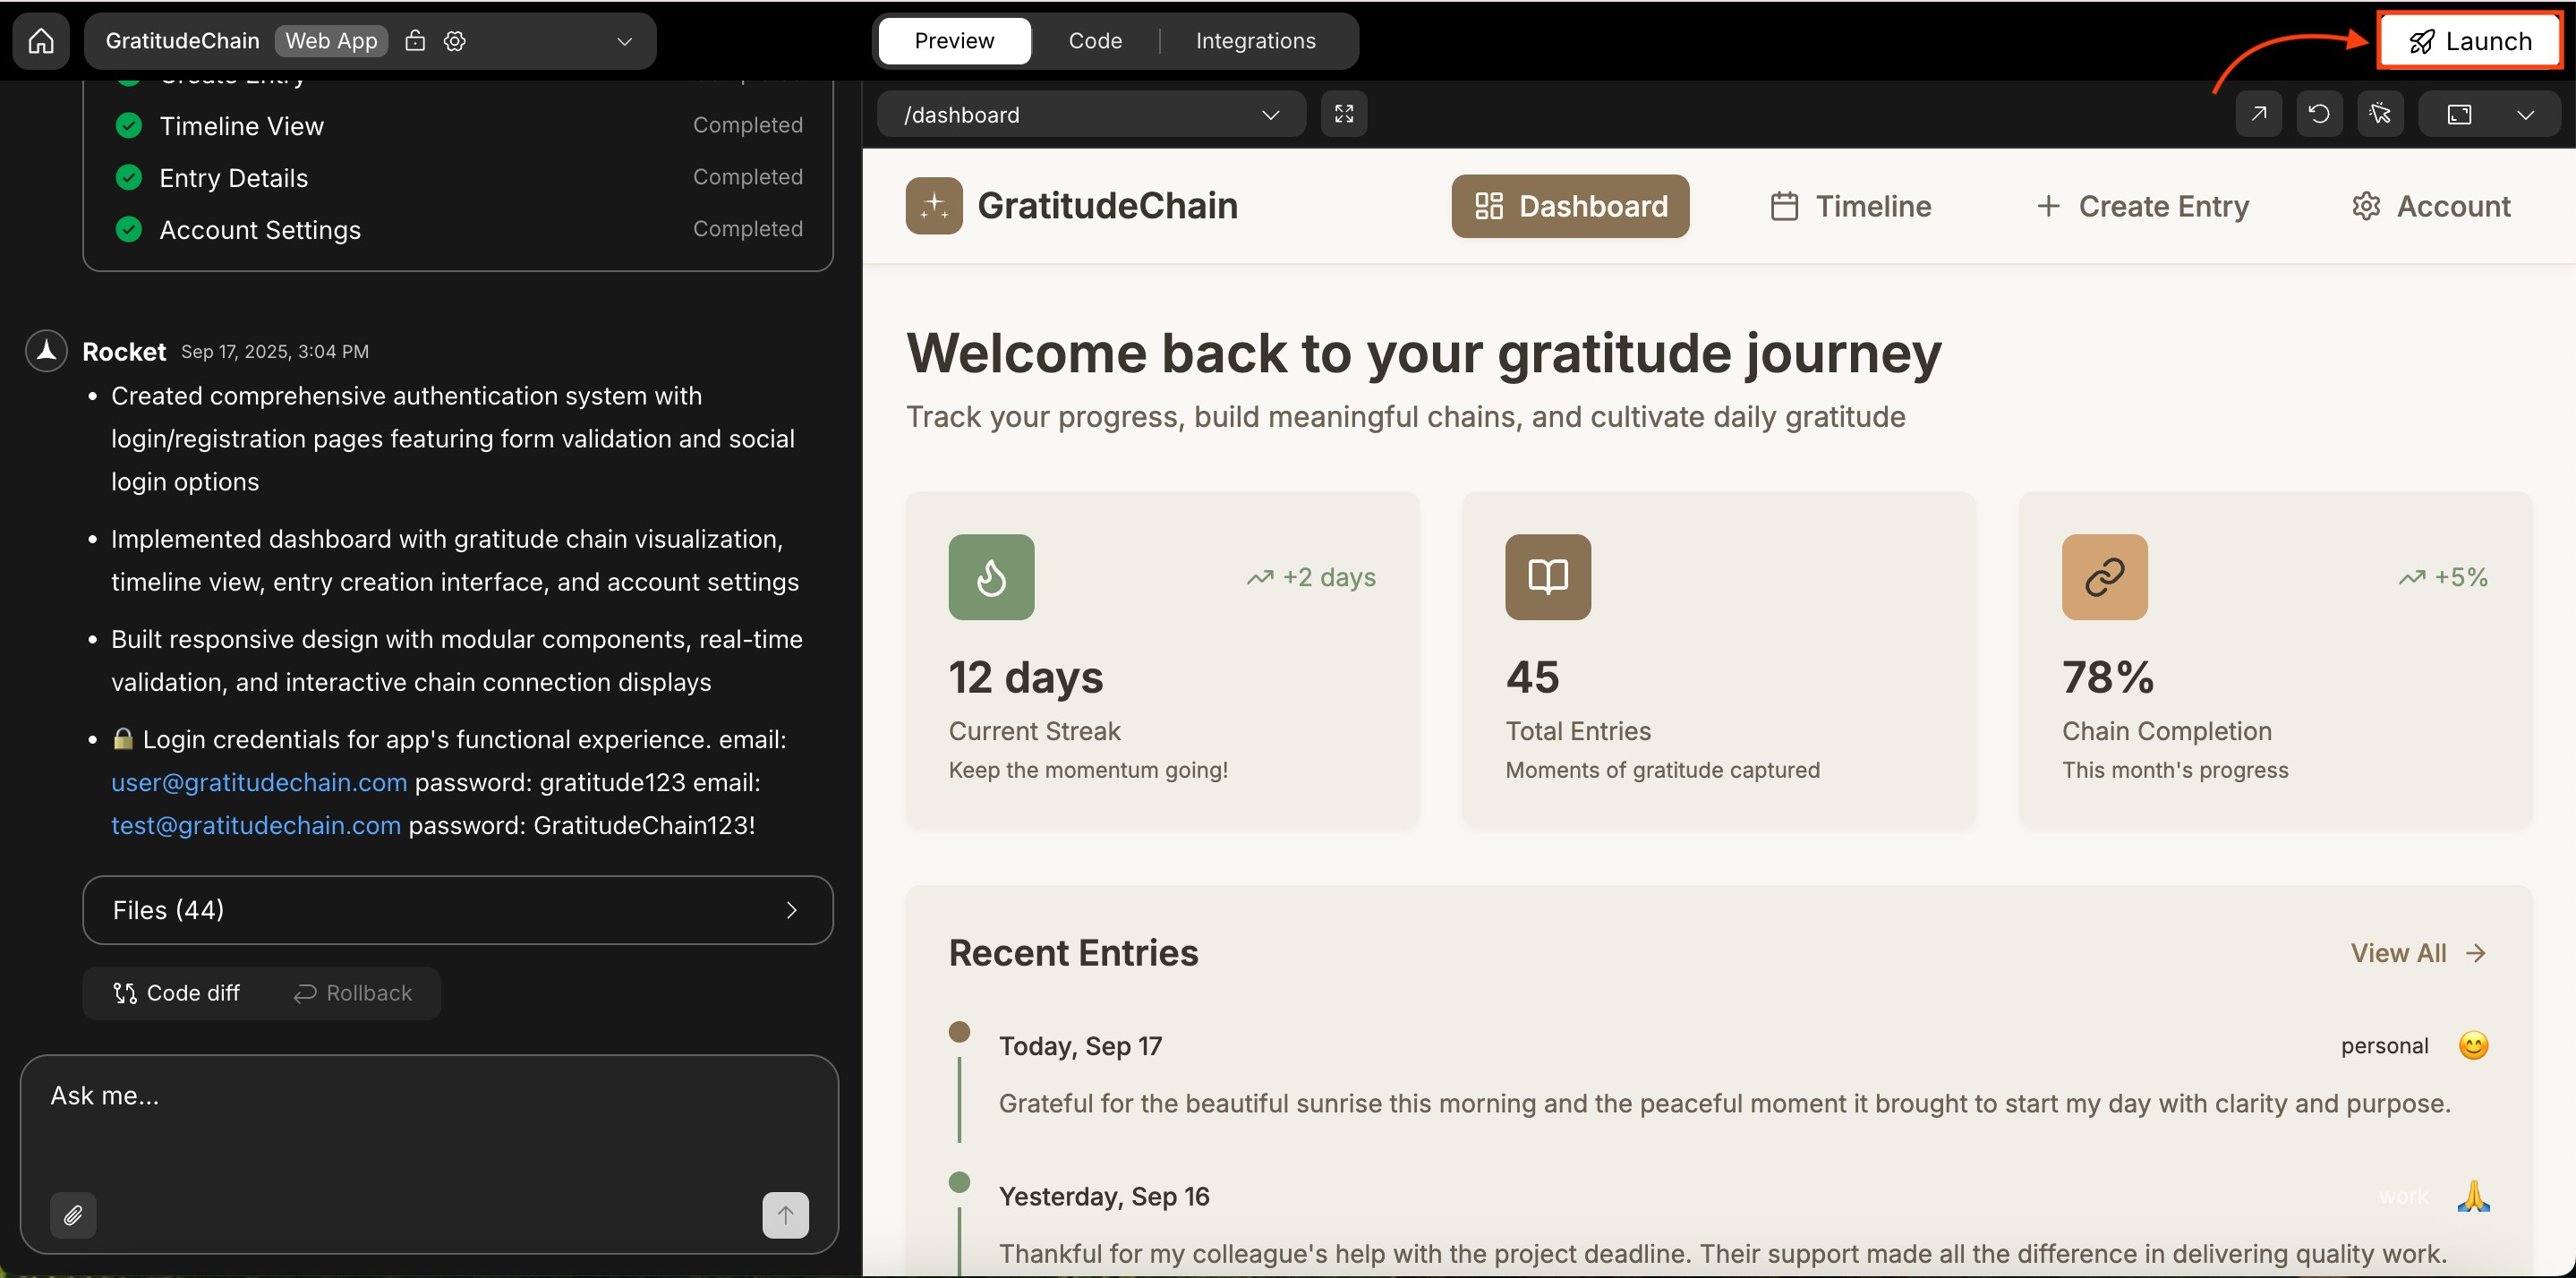
Click the Launch button in the top-right corner.
A popup titled Launch on web appears.
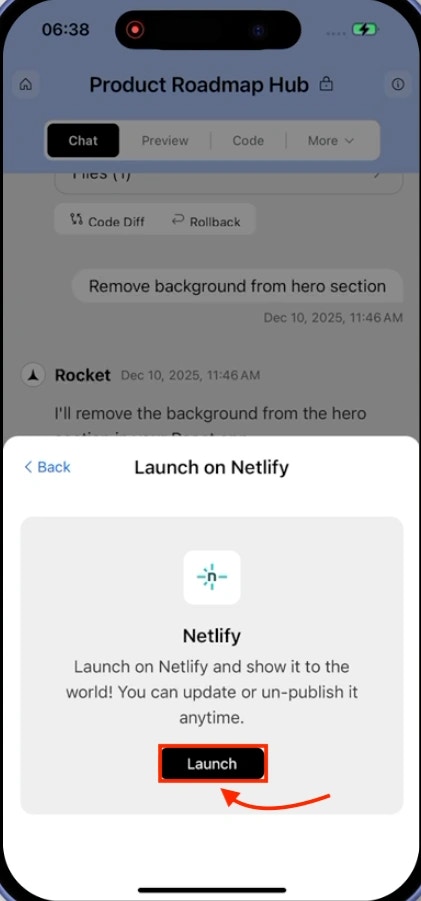
Click Launch
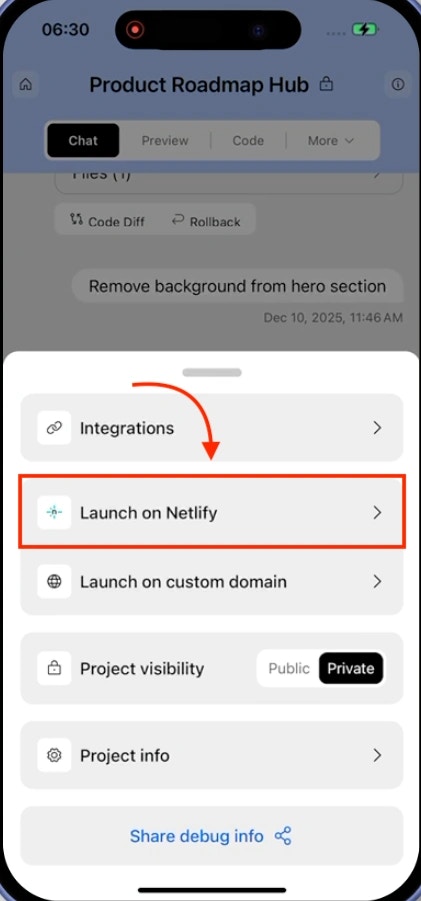
Click Launch on Web in the popup.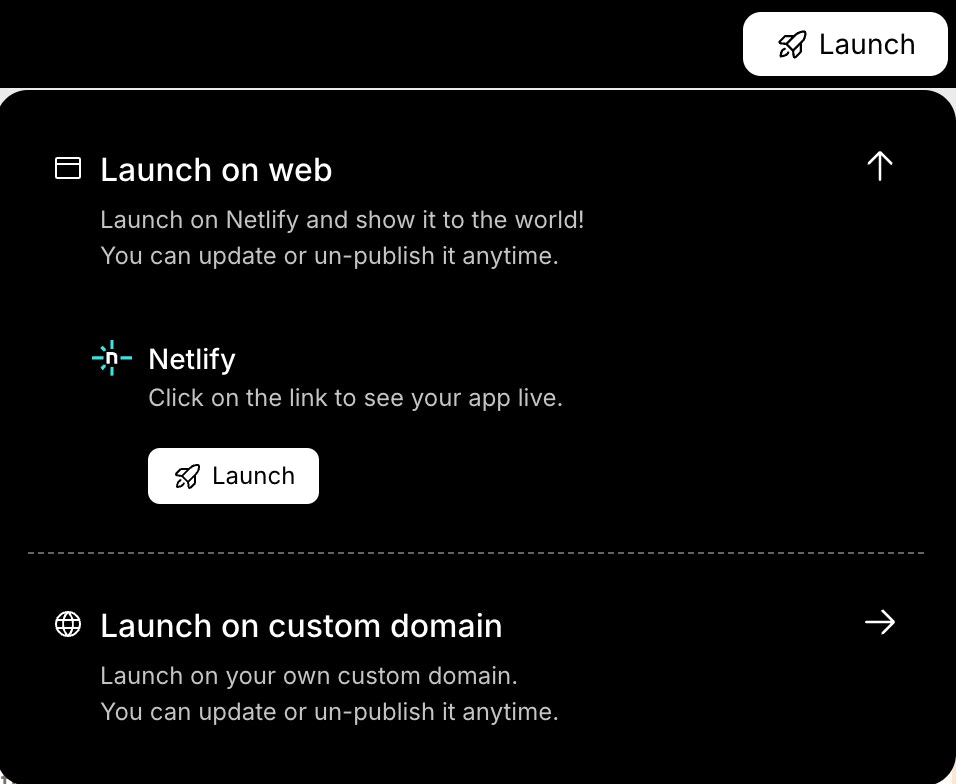

Rocket deploys your app in the background. This may take a few seconds.
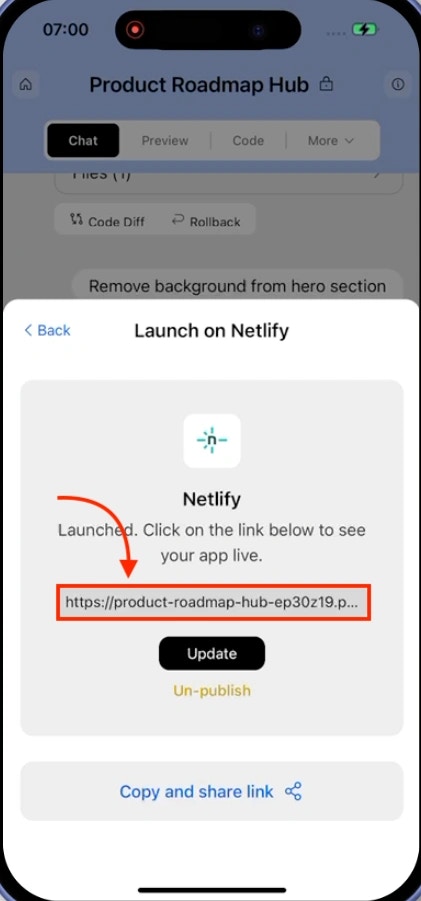
Your app is live
When deployment finishes, you’ll see a success screen with your public URL.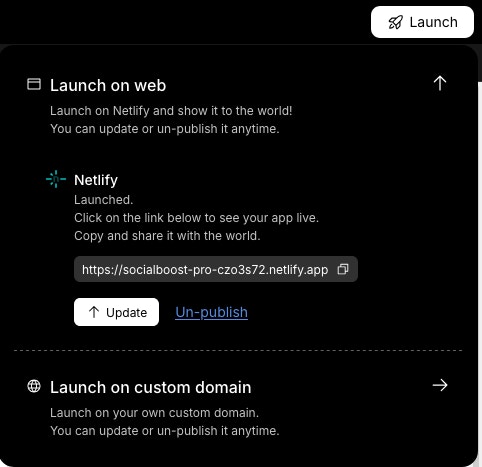

- A link to open your app.
- Update button to republish with changes.
- Unpublish link to take it offline.
First time launching? Rocket uses a default Netlify account if you haven’t connected your own.
Update or unpublish your app
Update your live app or take it offline.
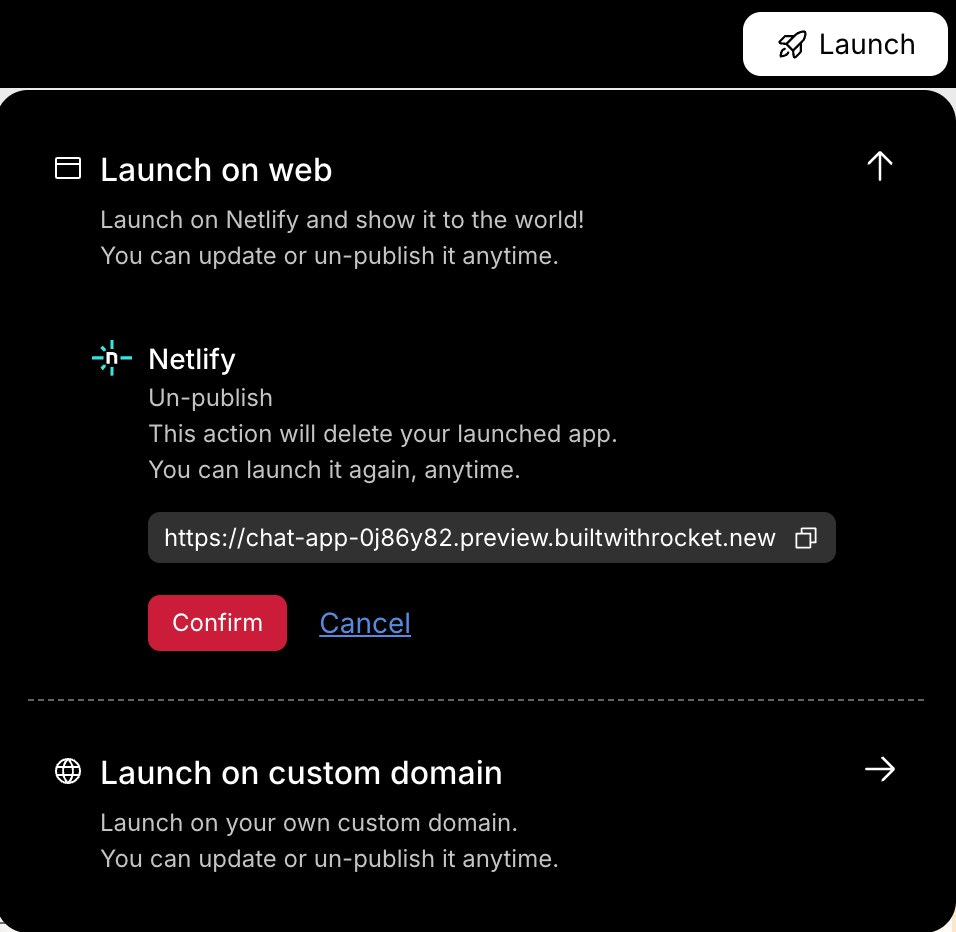
Choose:
- Update: Publishes your latest changes.
- Unpublish: Removes the app and disables the public link.
Choose:
- Cancel to go back.
- Confirm to unpublish.
Free users can’t unpublish apps and will see a Built with Rocket badge on the public site.
Upgrade to remove the badge and access unpublish options.
Upgrade to remove the badge and access unpublish options.
If you published with Rocket’s default domain and later connected your Netlify account, clicking Unpublish removes the app from both URLs.
You did it!
Your app is now live on the web. No setup, no stress, just one click.