Why use Netlify?Connect your Netlify account for full control over your hosting and access to deployment history, rollbacks, and all of Netlify’s advanced features. Perfect if you want to manage multiple deployments or use Netlify’s dashboard for analytics and monitoring.
What is Netlify?
Netlify is a hosting platform for web apps with automatic builds, global CDN, and HTTPS.
Netlify is a hosting platform for web apps with automatic builds, global CDN, and HTTPS.
- Web Browser
- Mobile App
Before you begin
You’ll need:
- A Rocket account - rocket.new.
- A Netlify account.
Connect Netlify to Rocket
Connect Netlify to Rocket and publish your app.First time? If you haven’t connected Netlify yet, Rocket uses a default account for deployments. Connect your own account for full control, deployment history, and access to Netlify’s dashboard.
Connect via Account Settings
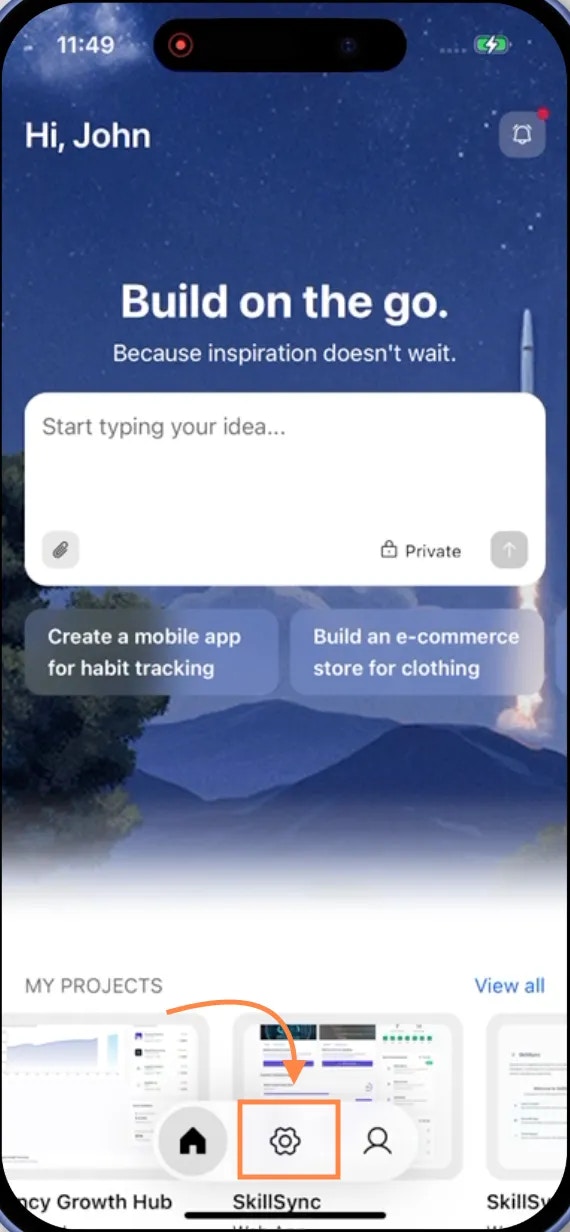
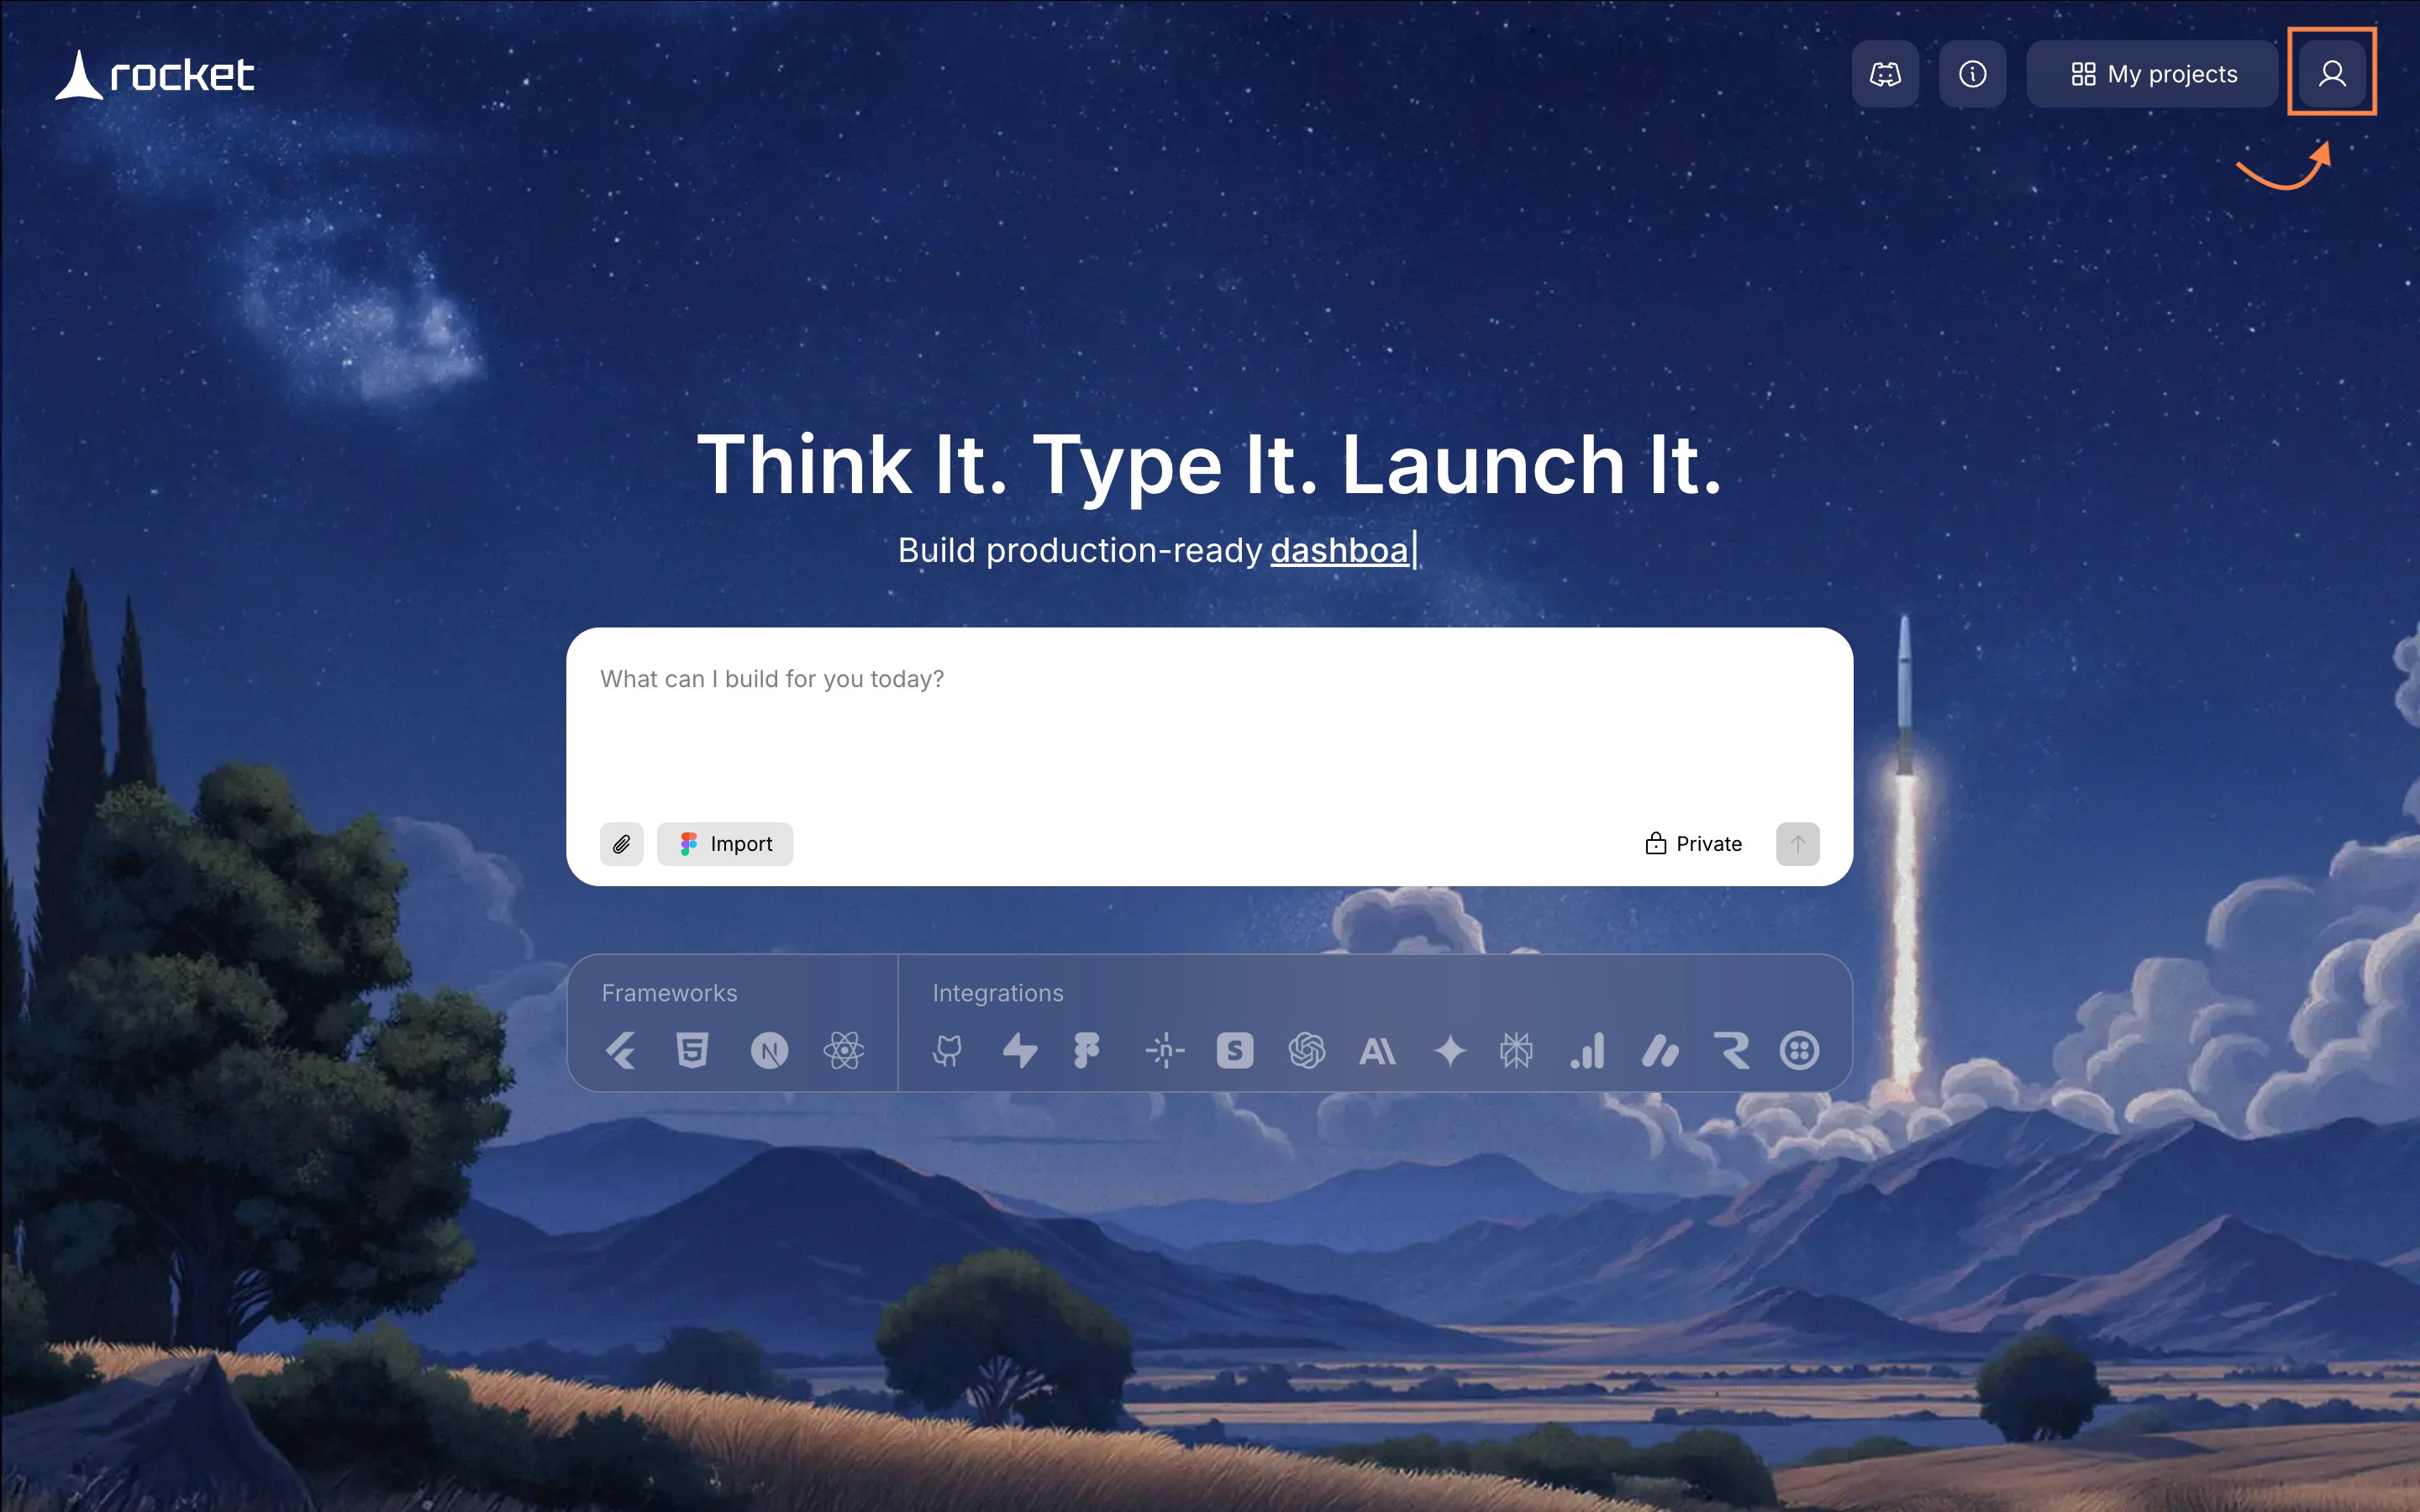
- On the top-right corner of the homepage, click .
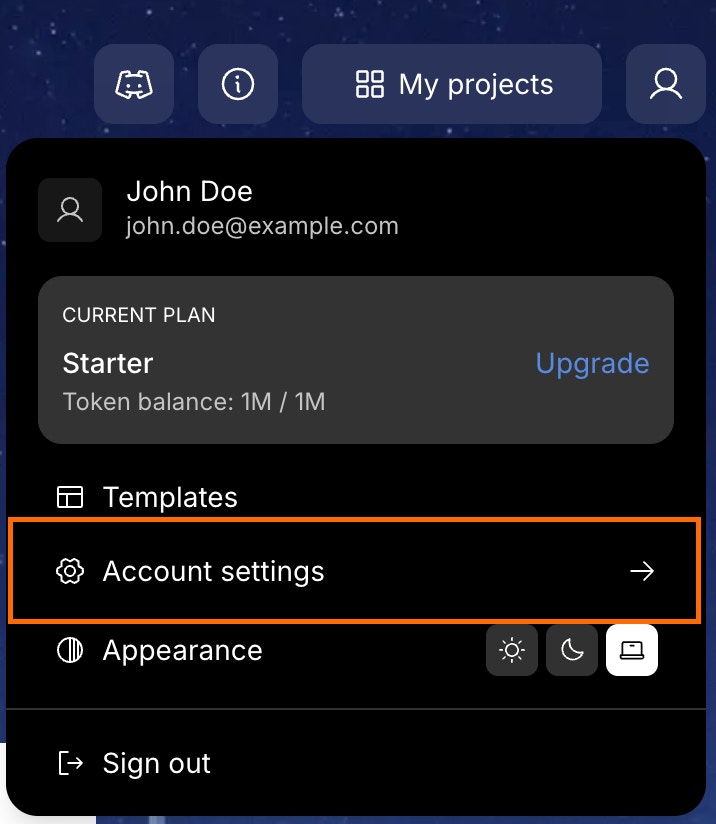
- Choose Account Settings.
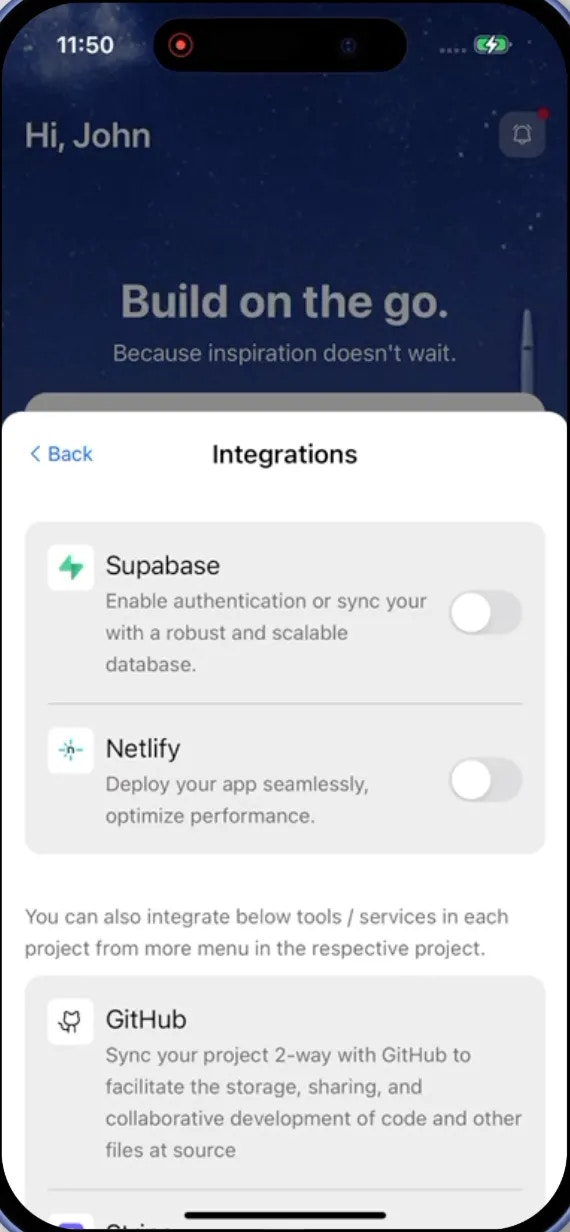
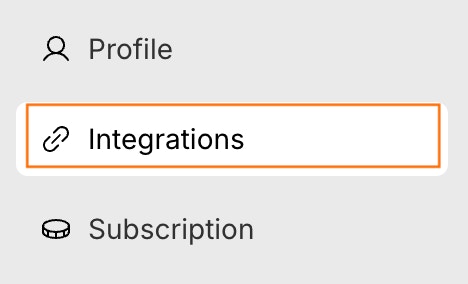
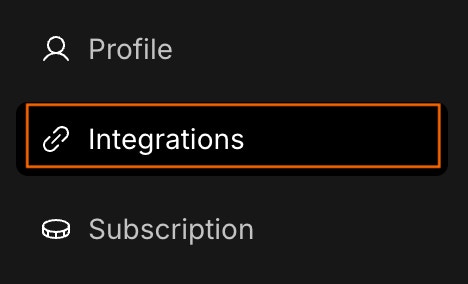
- Click the Integrations tab on the left panel of the popup.
- Click Connect next to the Netlify option.
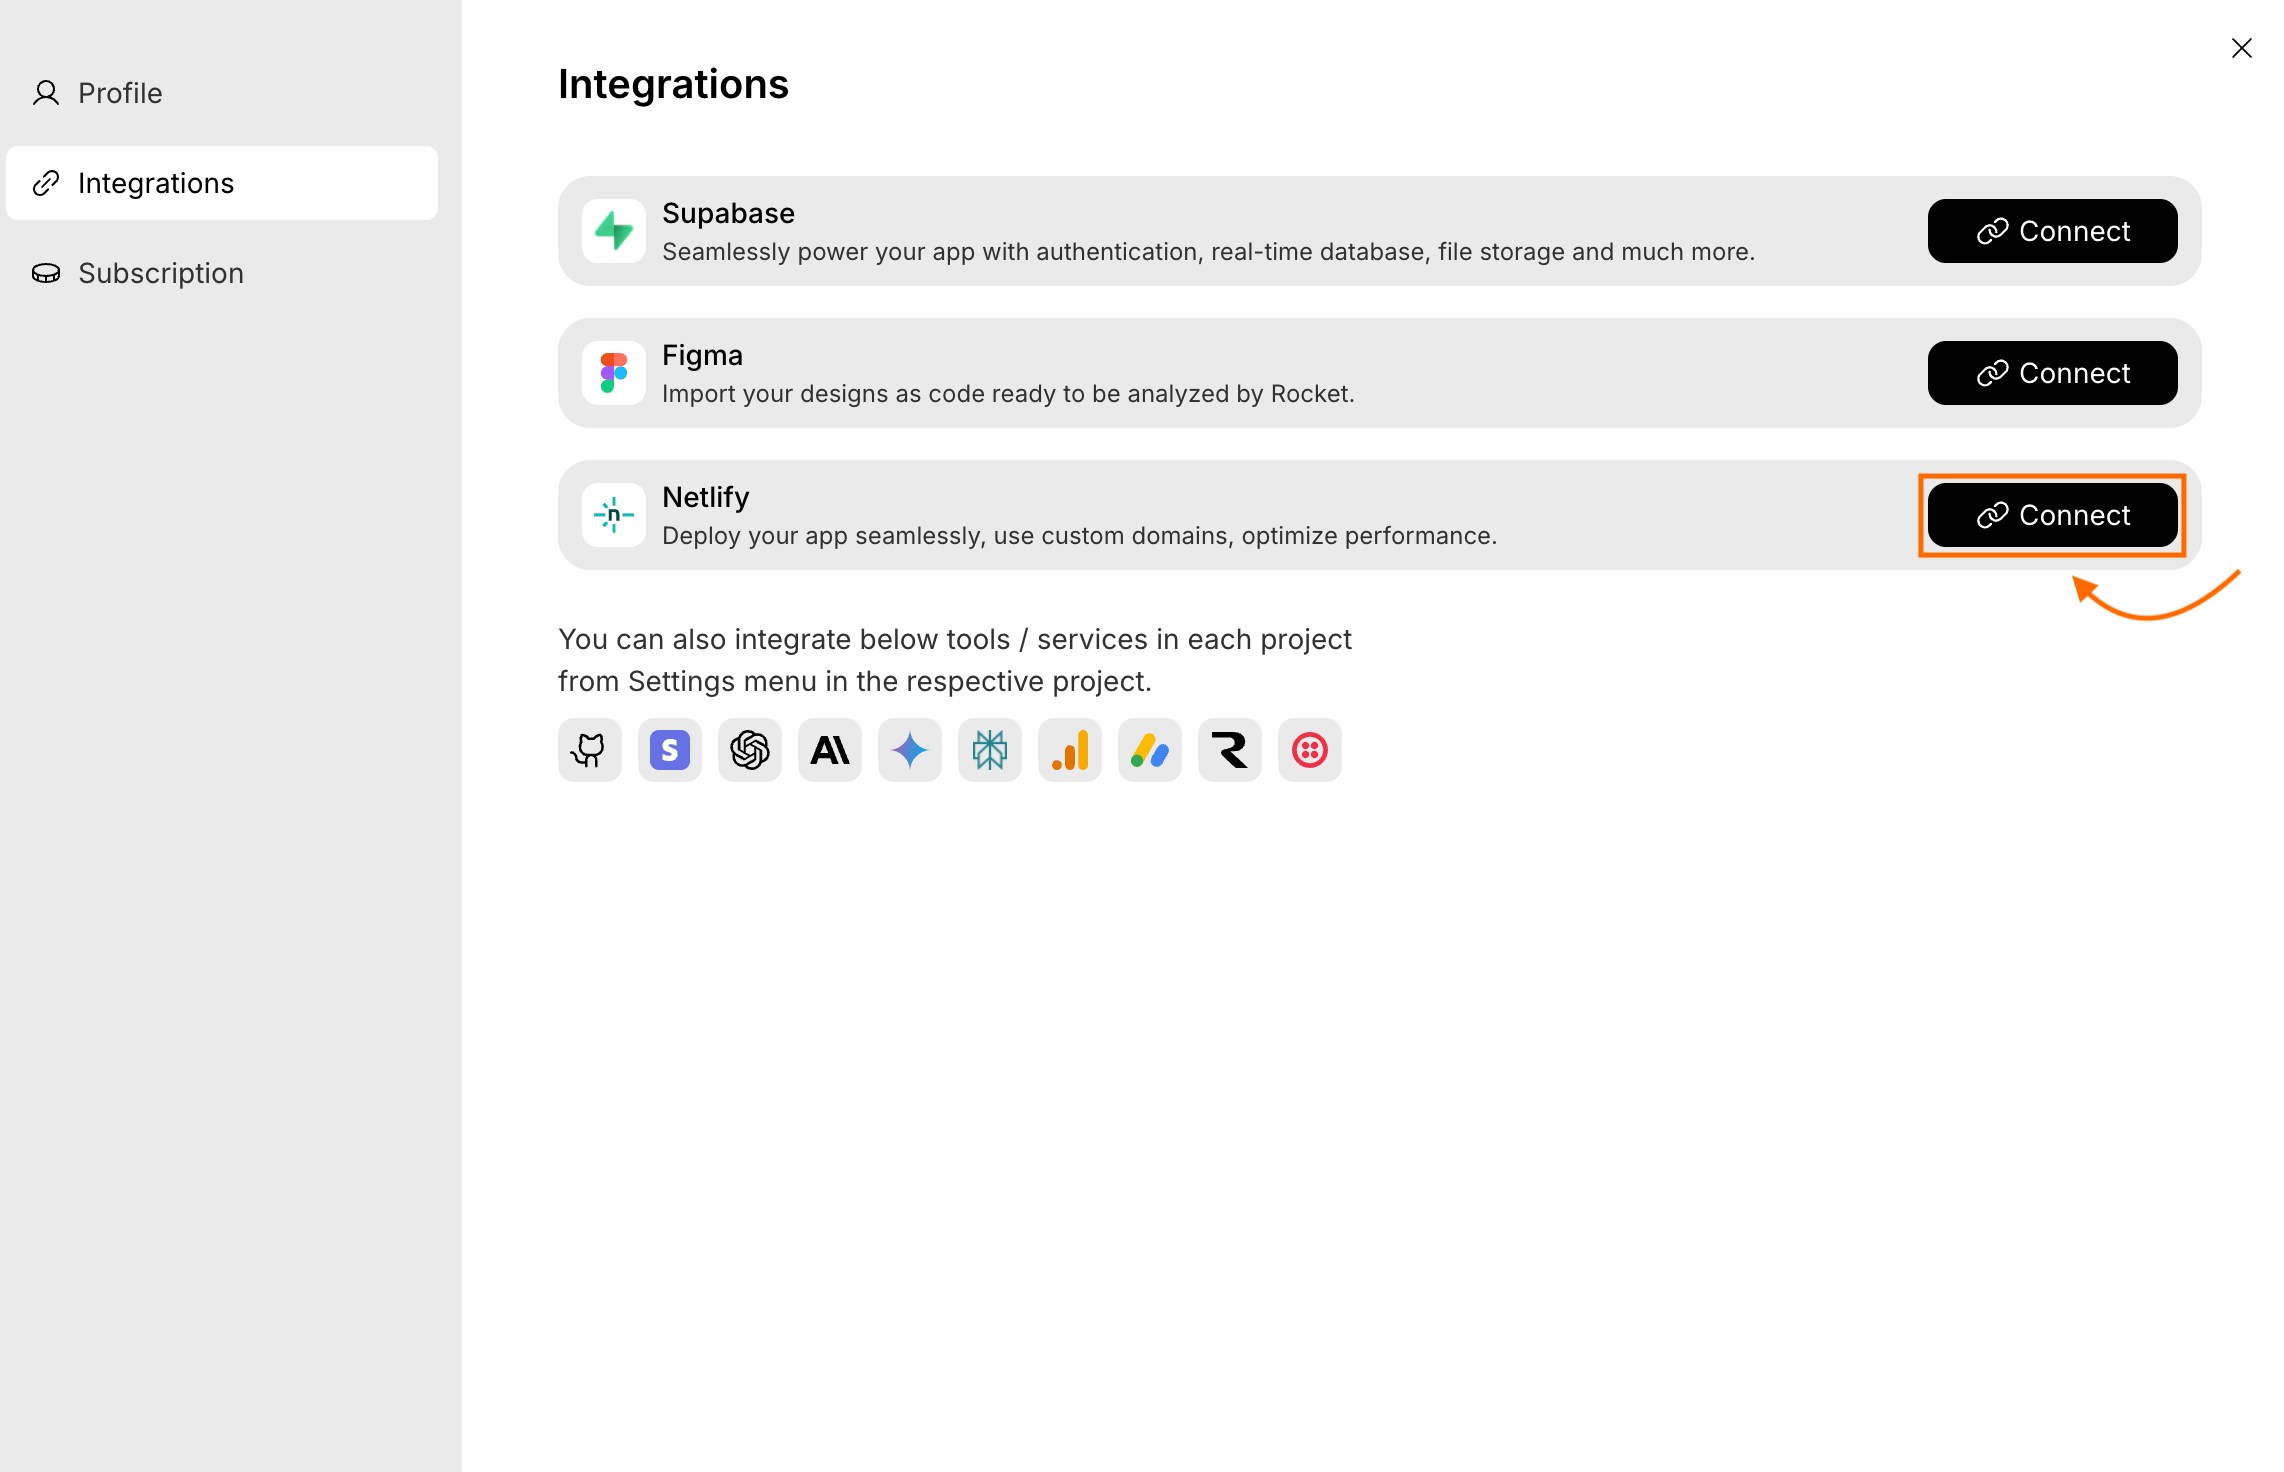
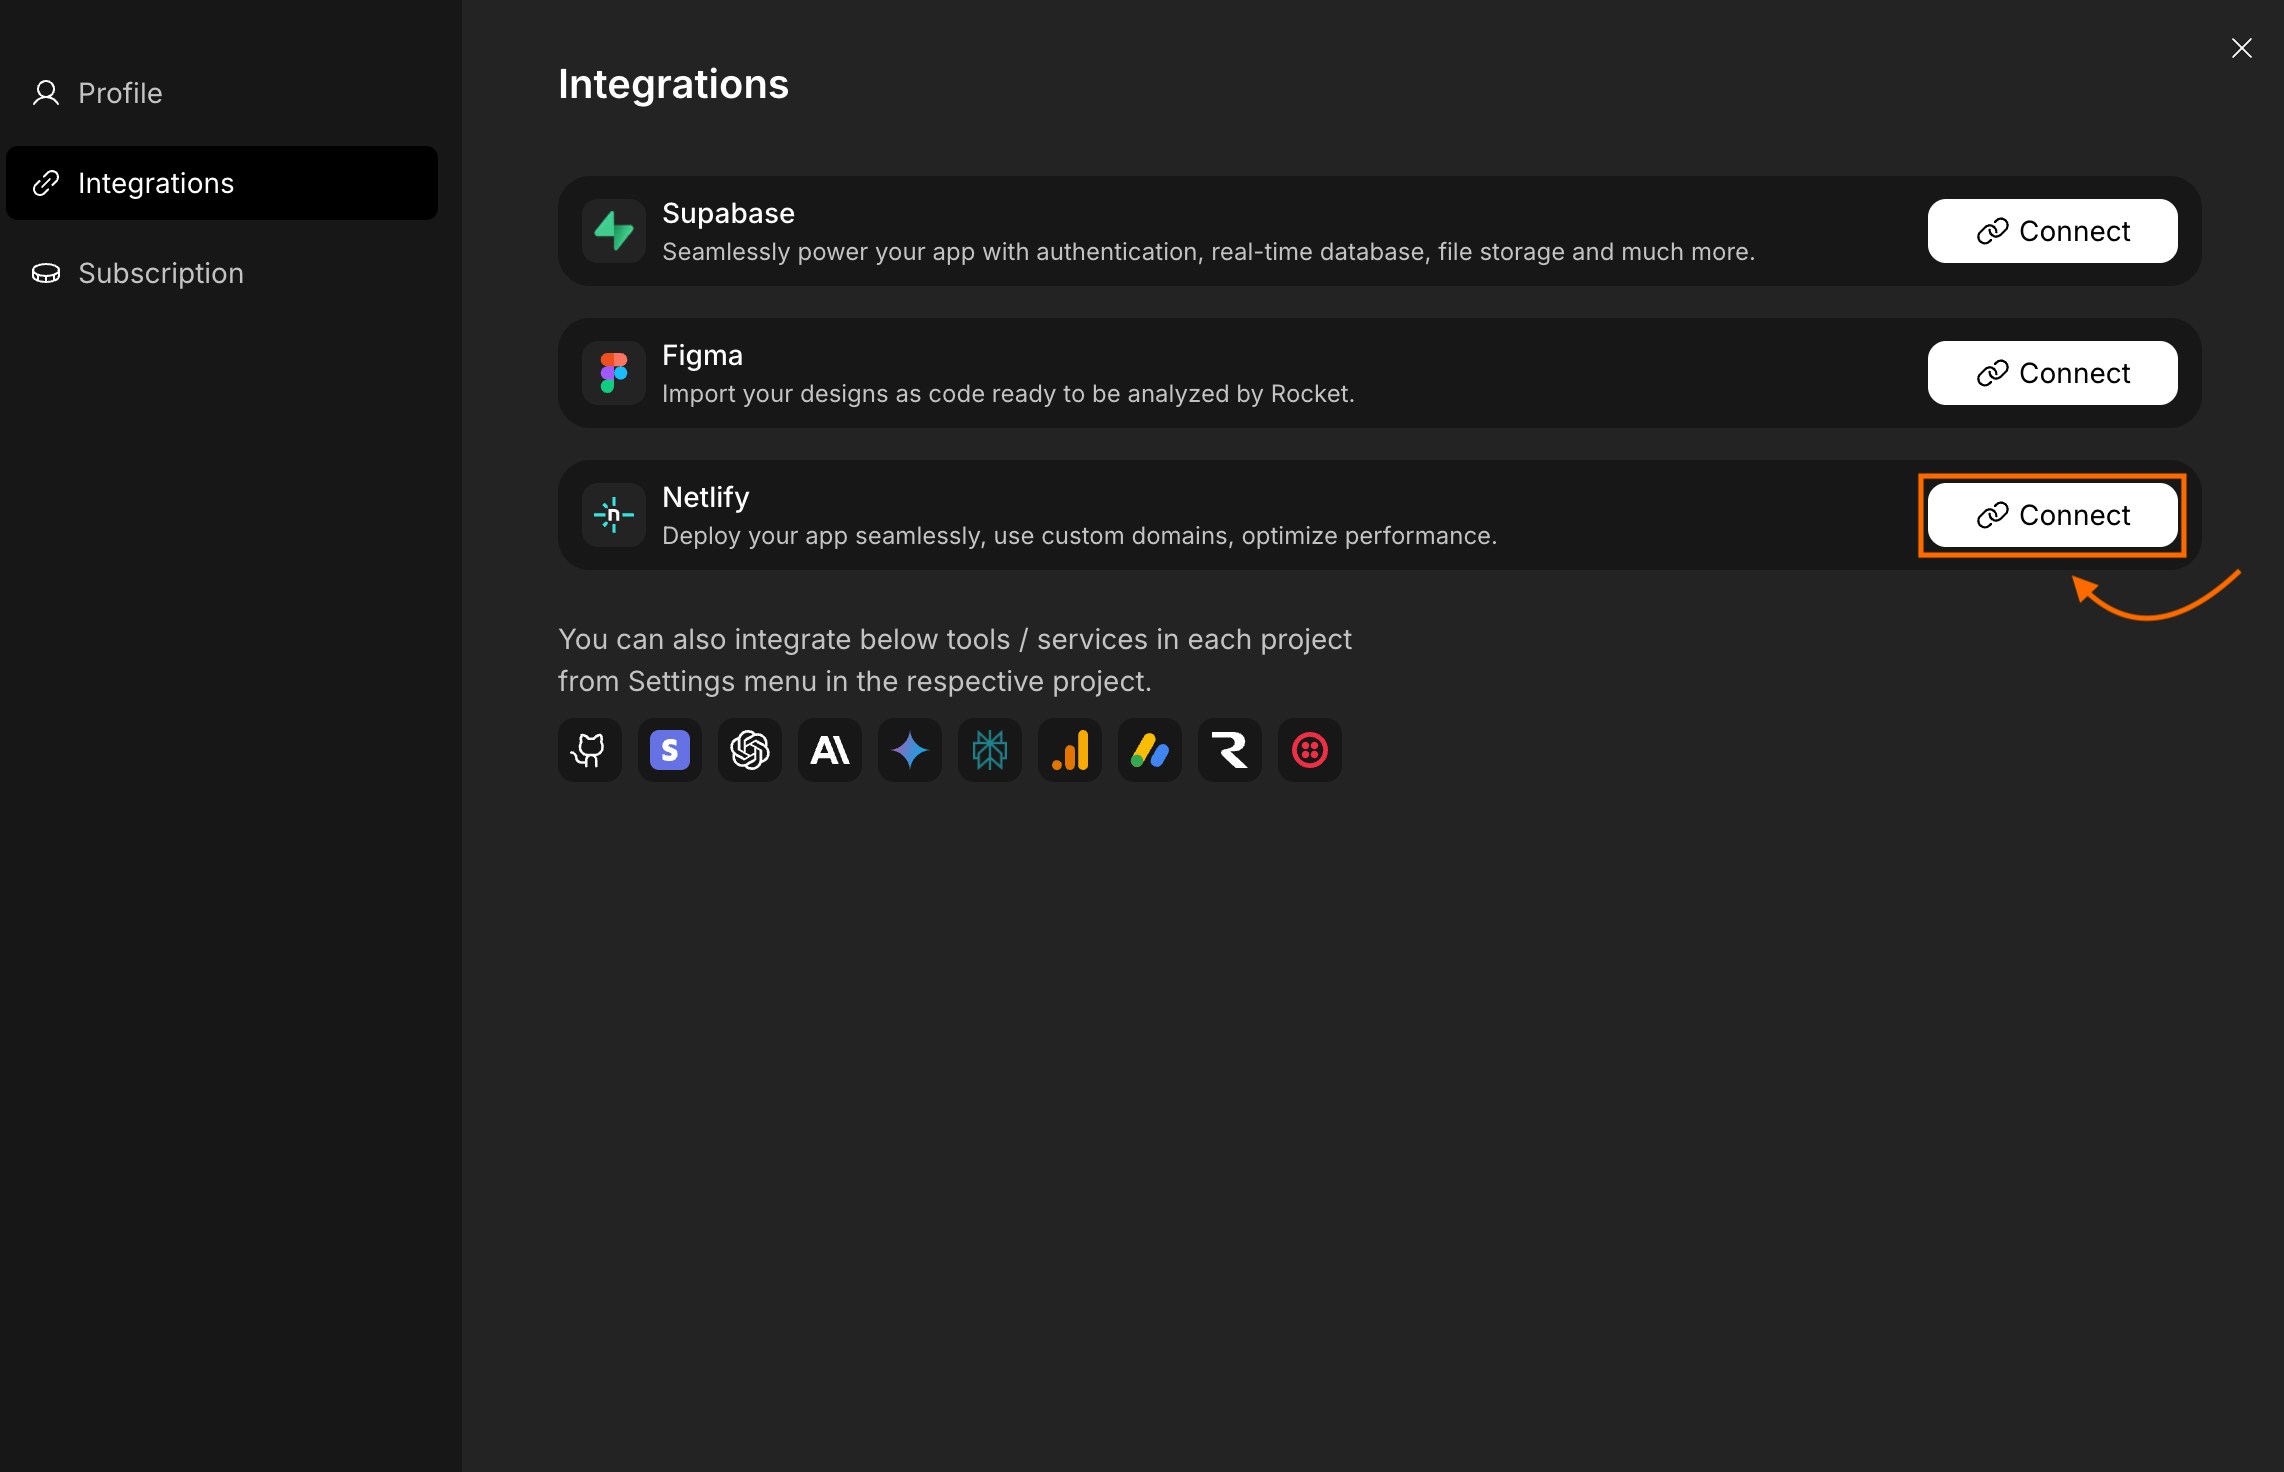
This method is best if you want to manage deployment settings before publishing.
Authorize your Netlify account
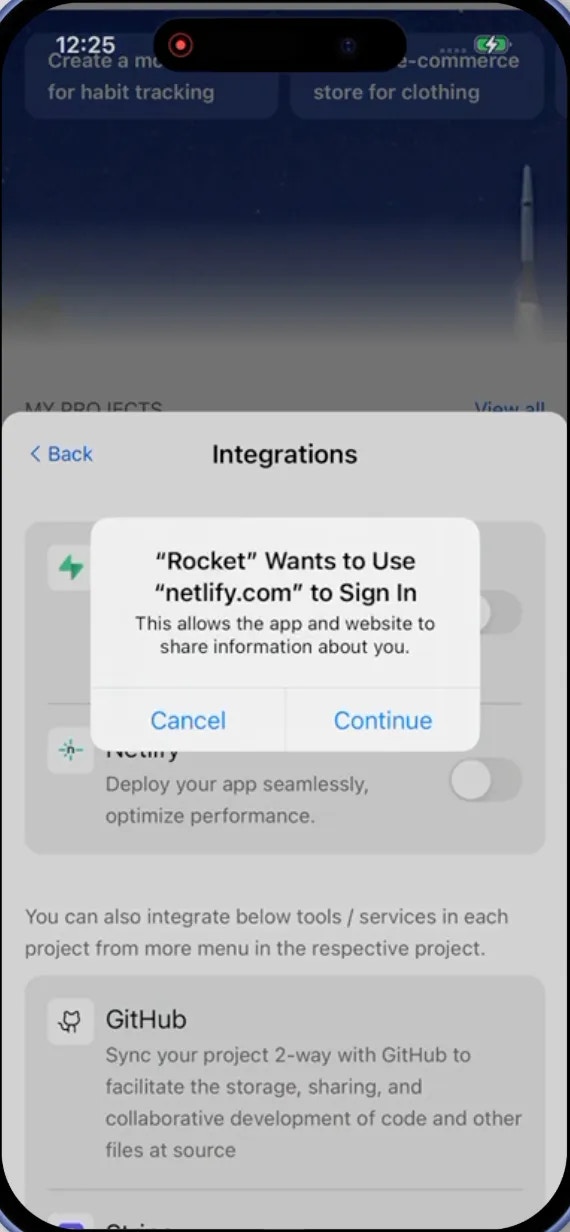
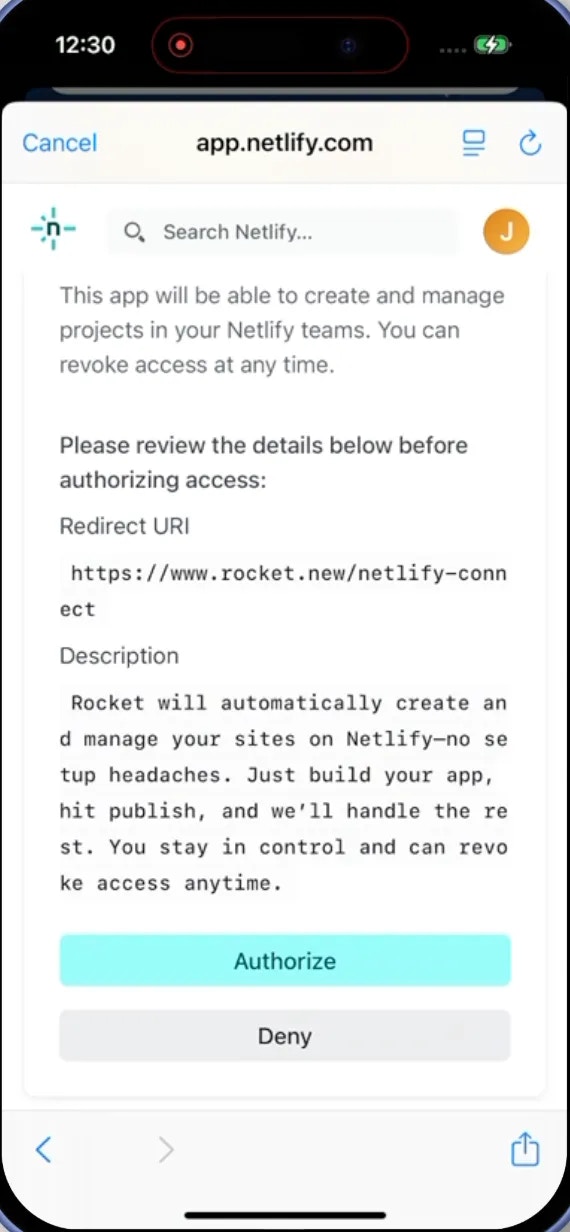
- You’ll be redirected to Netlify’s secure authorization page.
- Sign in using your account (if not signed in).
- Click Authorize to connect your account.
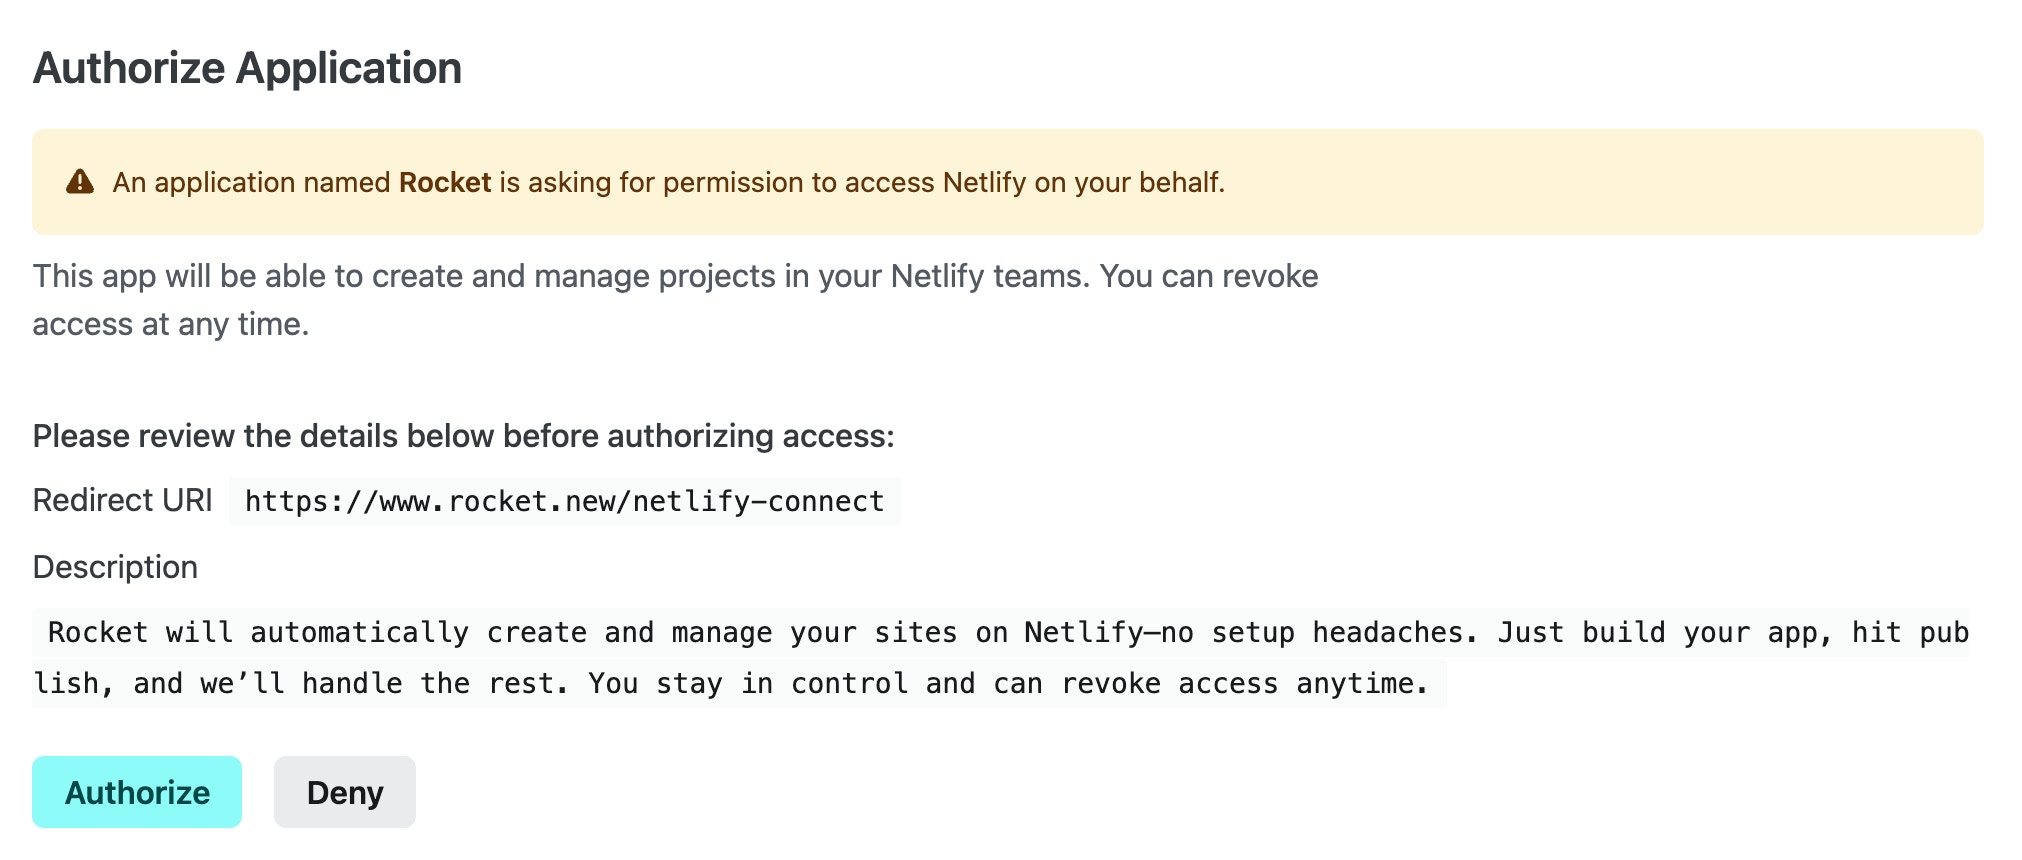
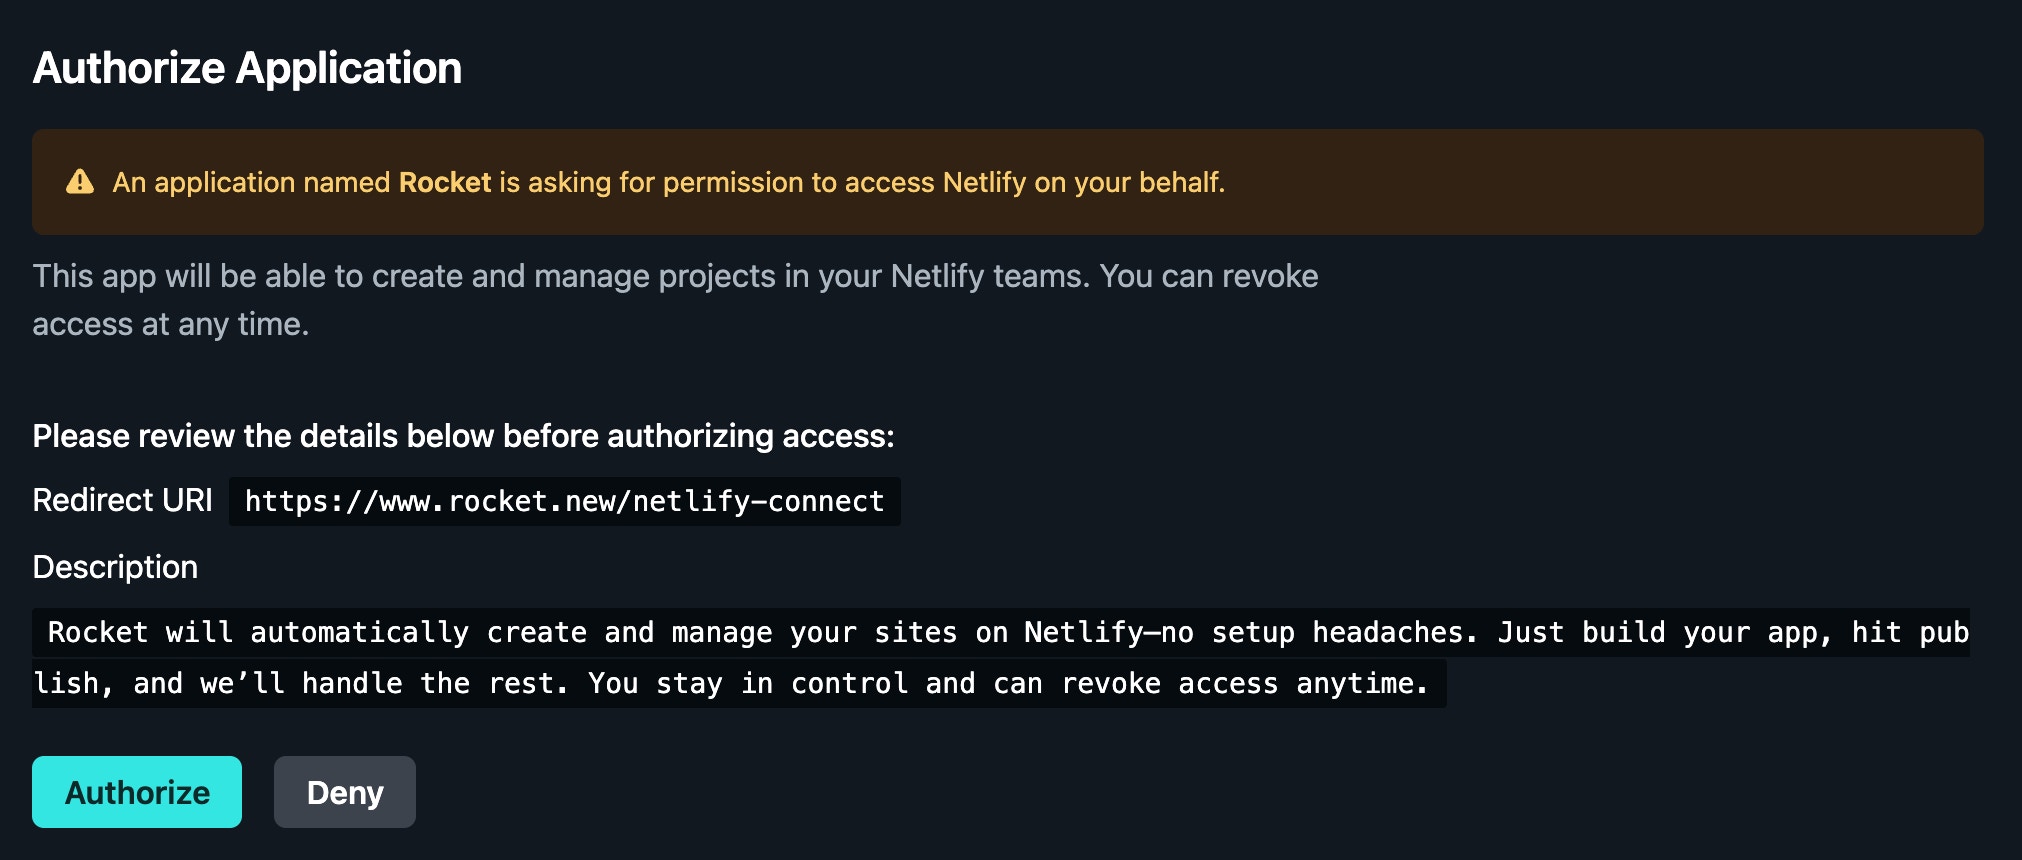
Permissions you’ll grant Rocket:
- Create and manage sites in your Netlify teams.
Success check: You’ll see a confirmation message and be redirected back to Rocket with Netlify connected.
Want to switch your Netlify account?
Want to switch your Netlify account?
If you’ve already connected a Netlify account and want to switch: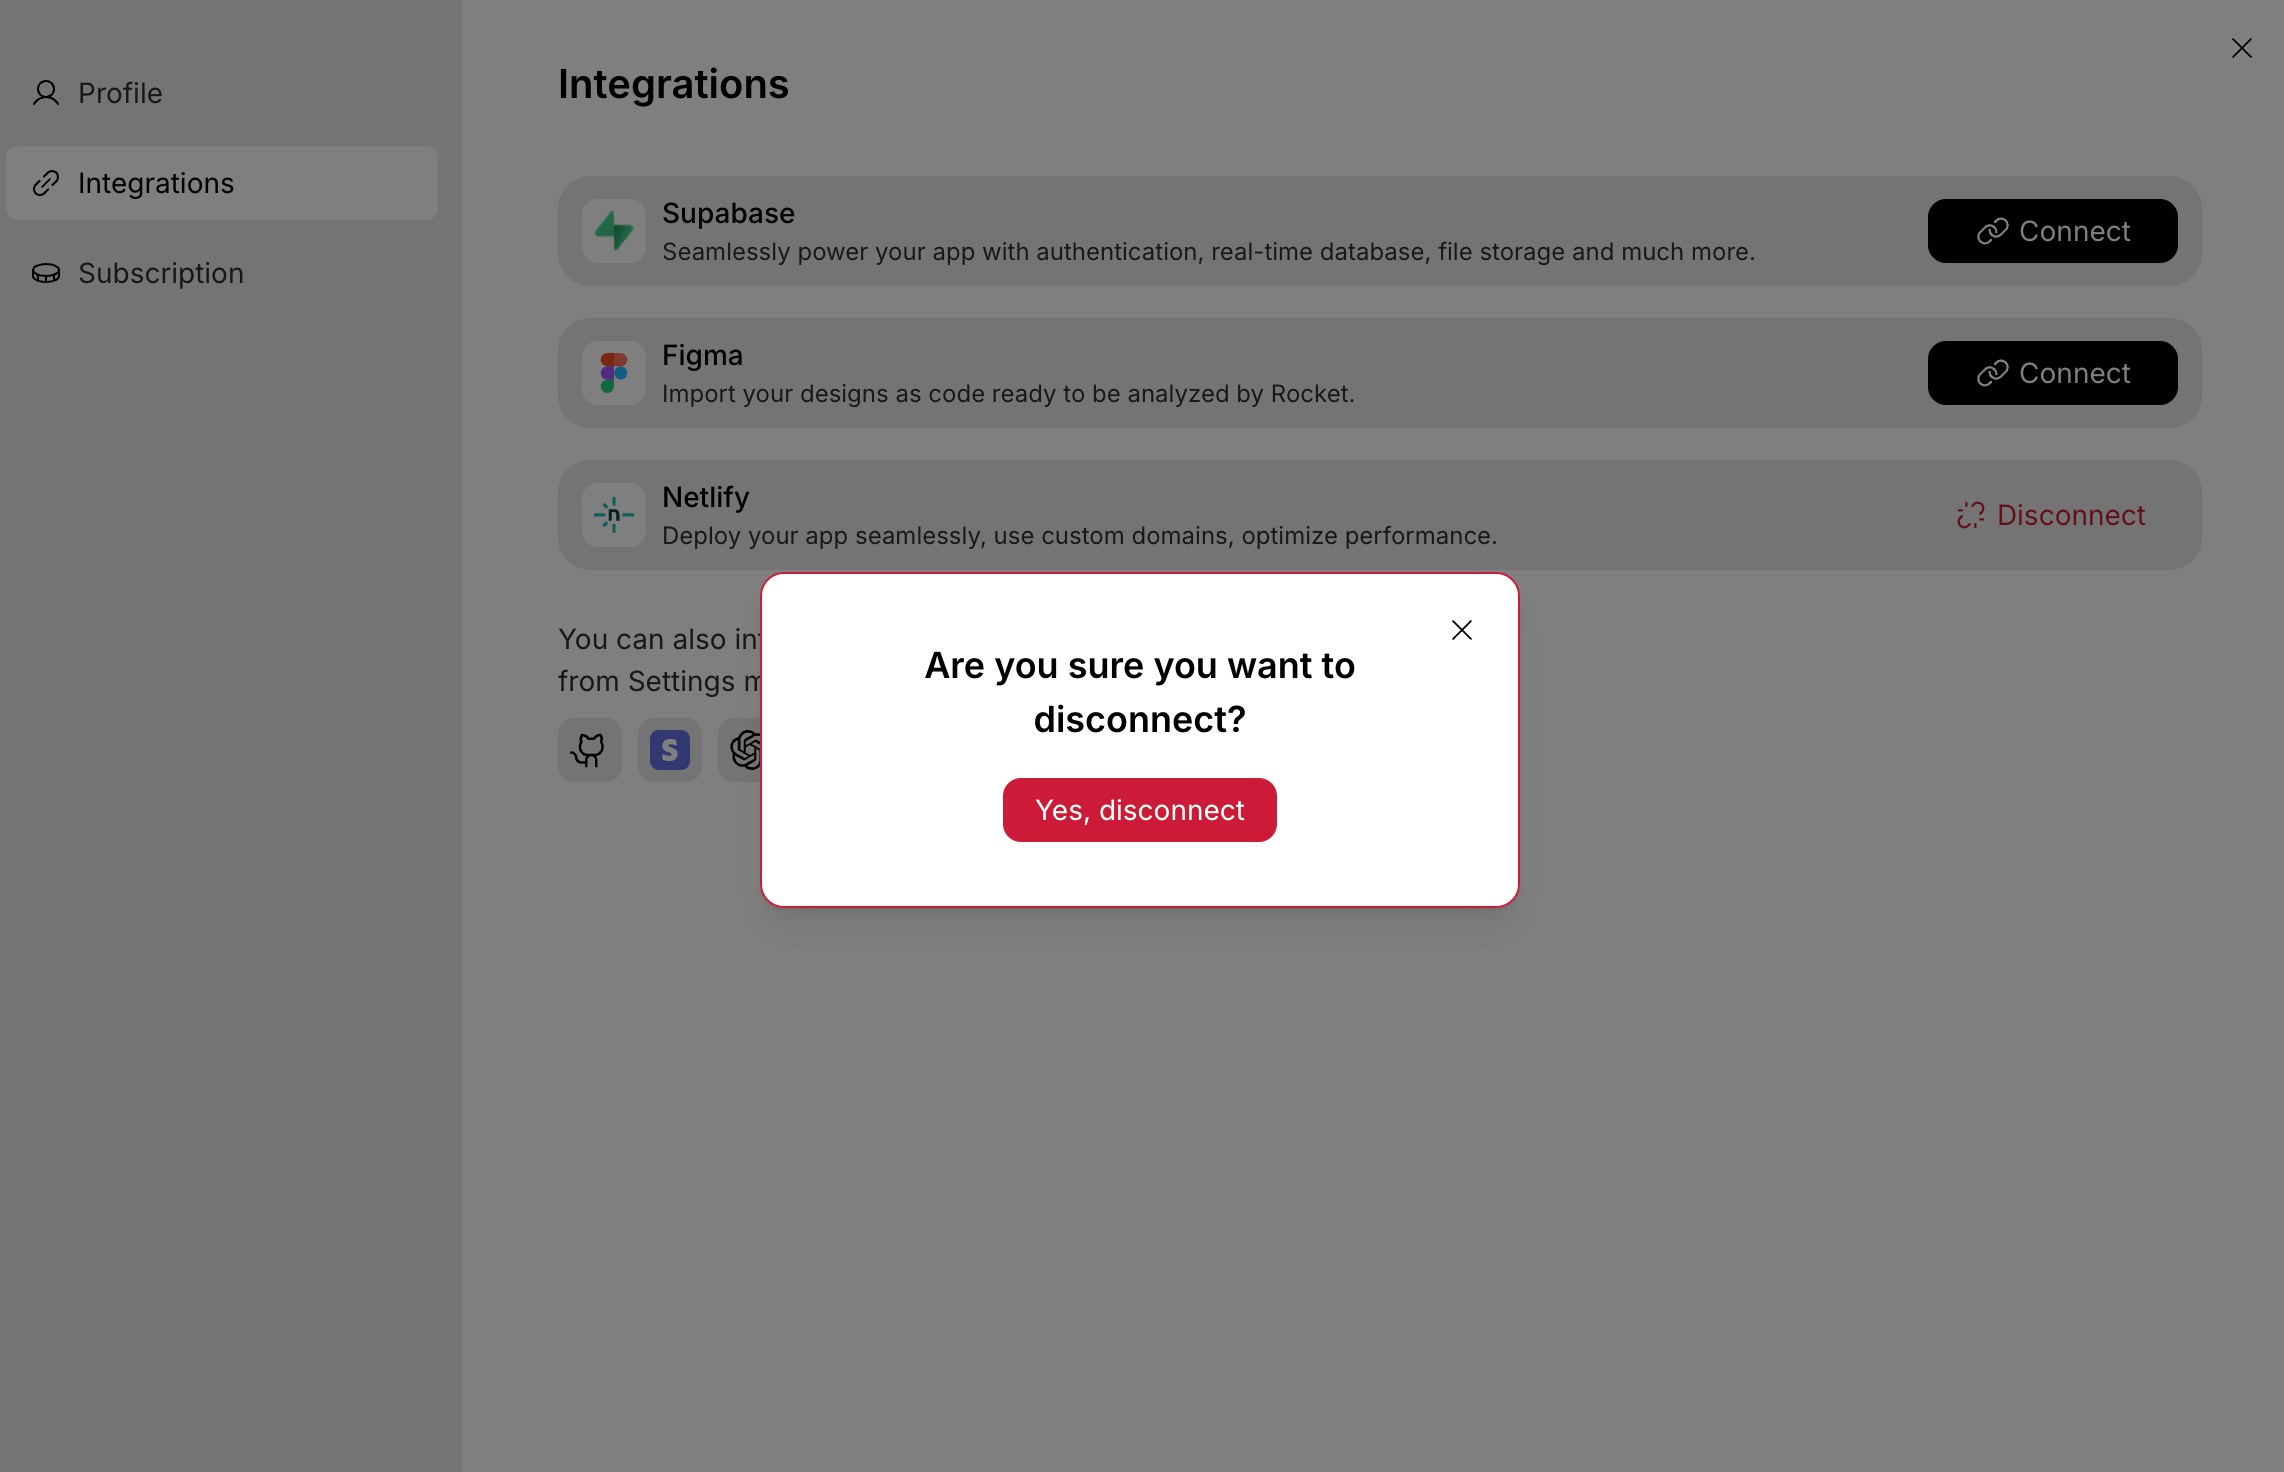
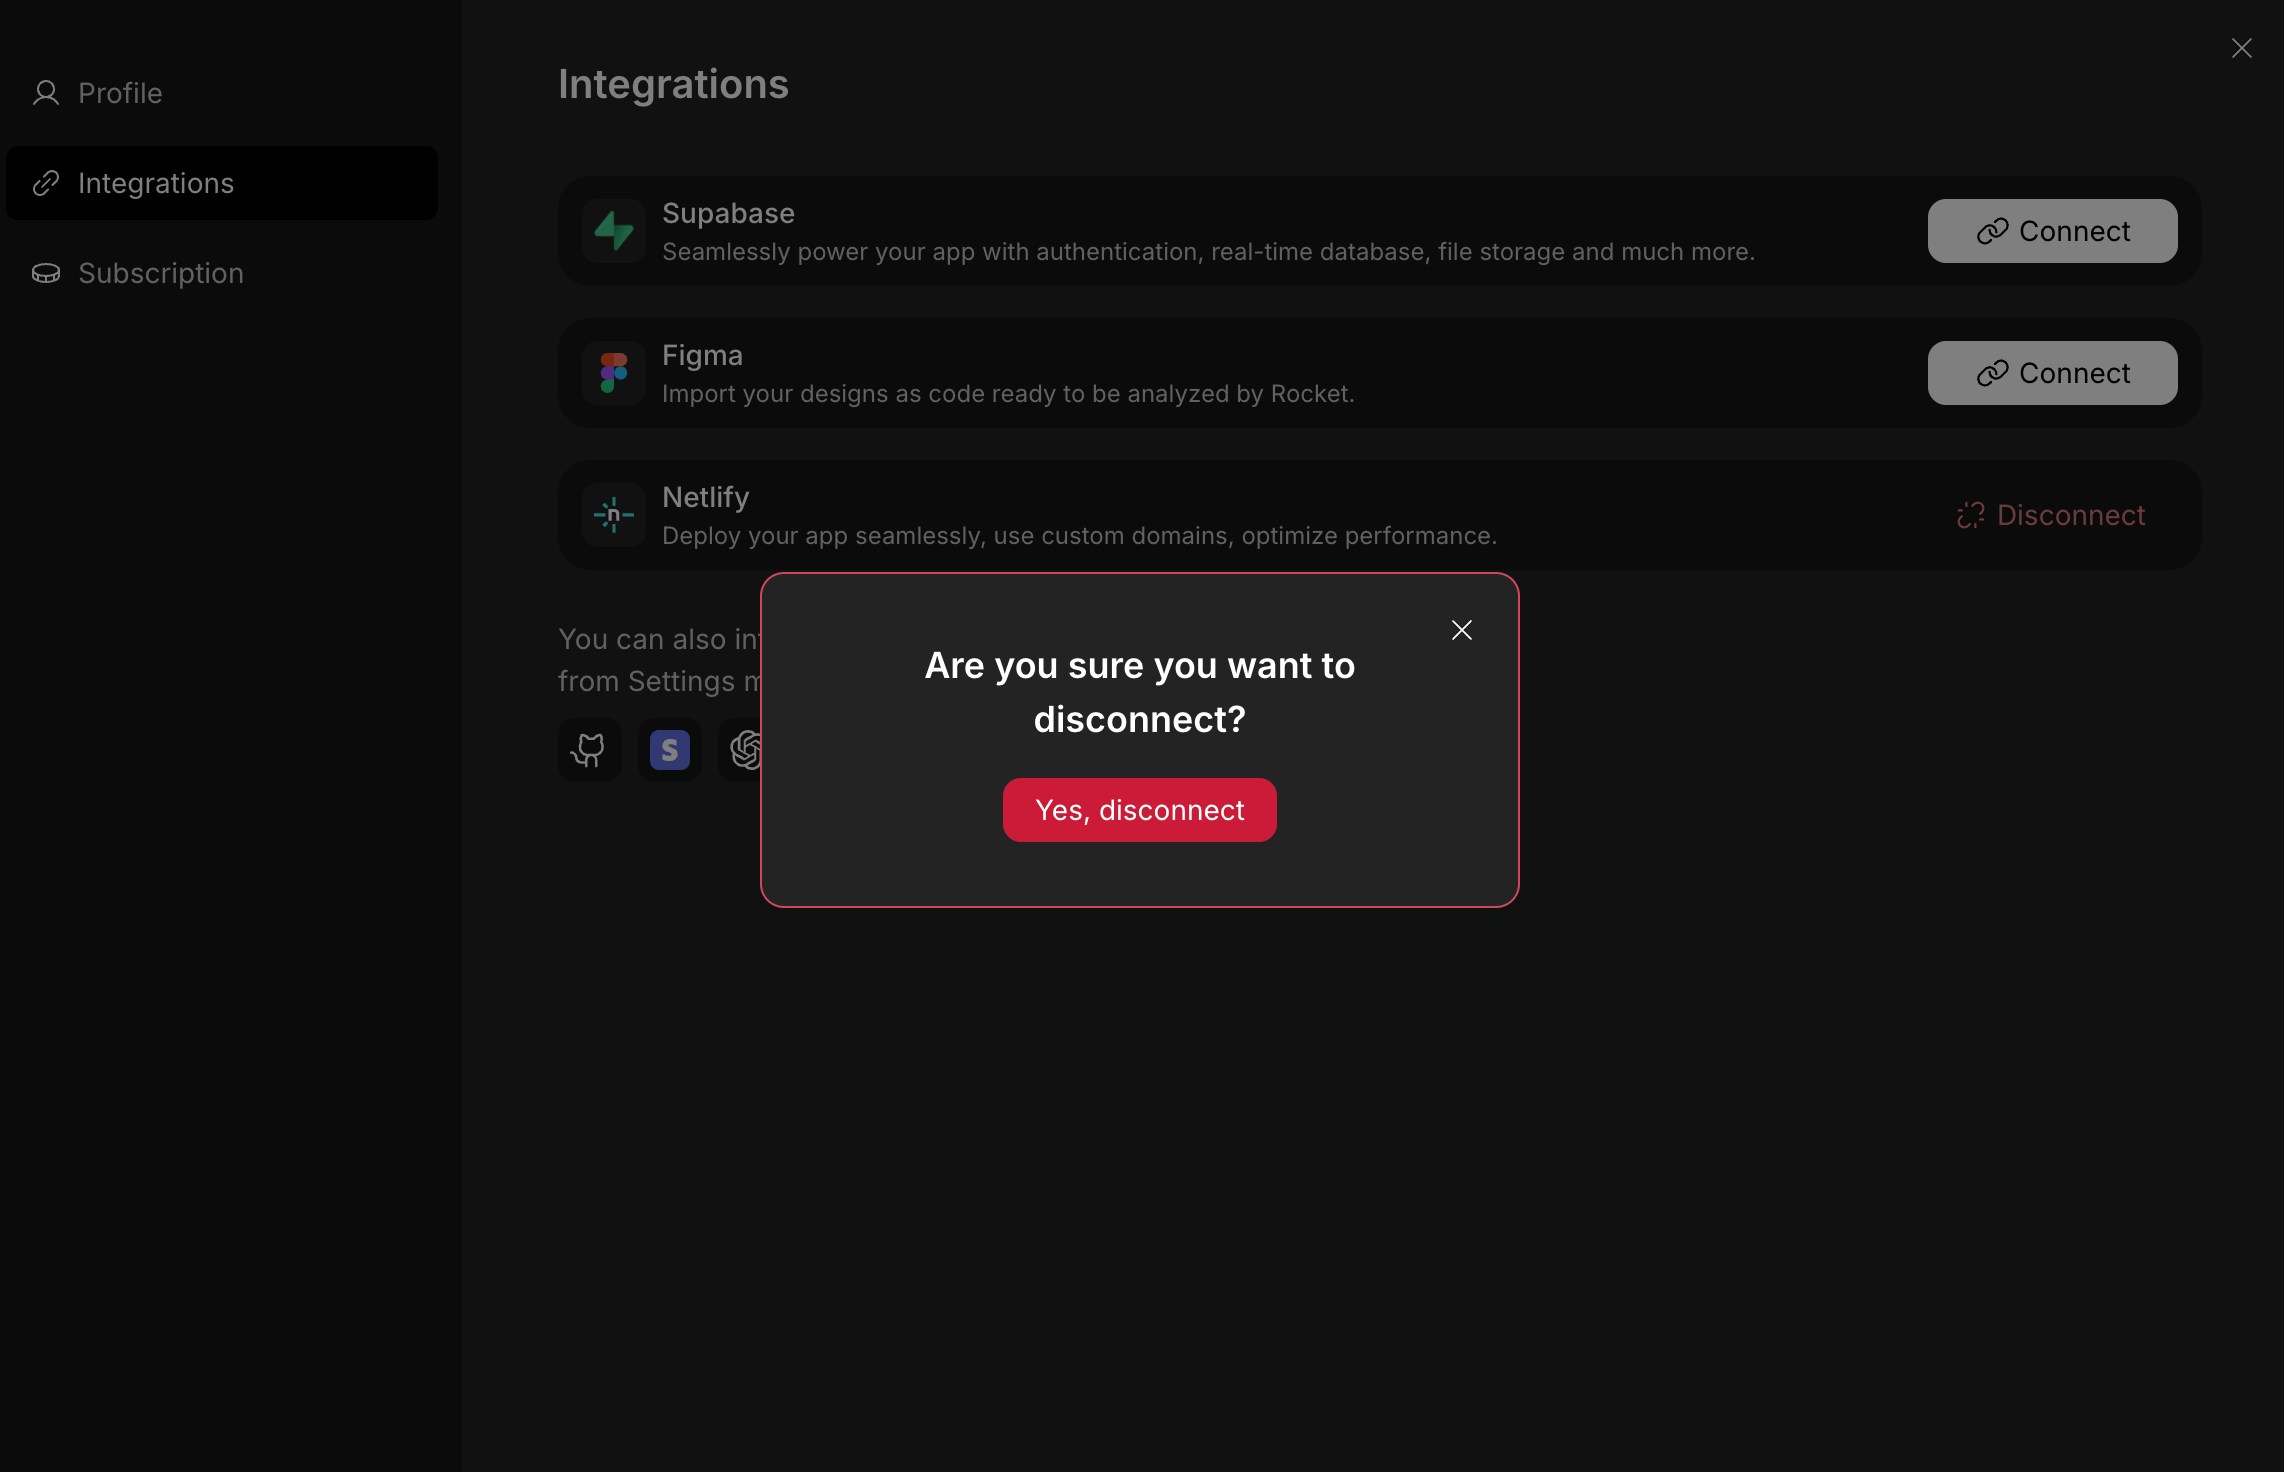
- Go to Account Settings → Integrations.
- Click Disconnect next to the Netlify option.
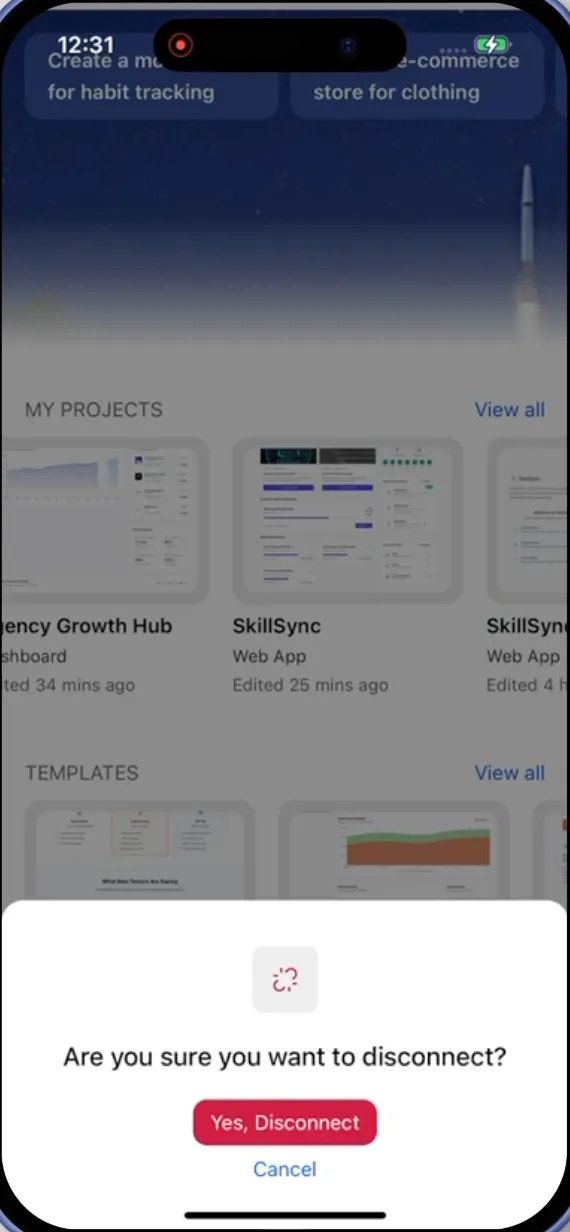
- In the popup that appears, click Yes, disconnect to confirm,
or click to cancel.


- Then connect Netlify again to restart the connection flow.
You did it!
Netlify is now connected to Rocket. You can publish your projects to the web in seconds.


