What you can do
SaaS subscription billing
Monthly or yearly plans with automatic billing, upgrades, downgrades, and cancellation.
One-time product checkout
Sell digital products, courses, templates, or physical goods with a simple checkout flow.
Accept donations
One-time or recurring donations with preset or custom amounts.
Multi-product checkout
Cart-based checkout with multiple line items, quantities, and a single Stripe payment session.
Before you connect
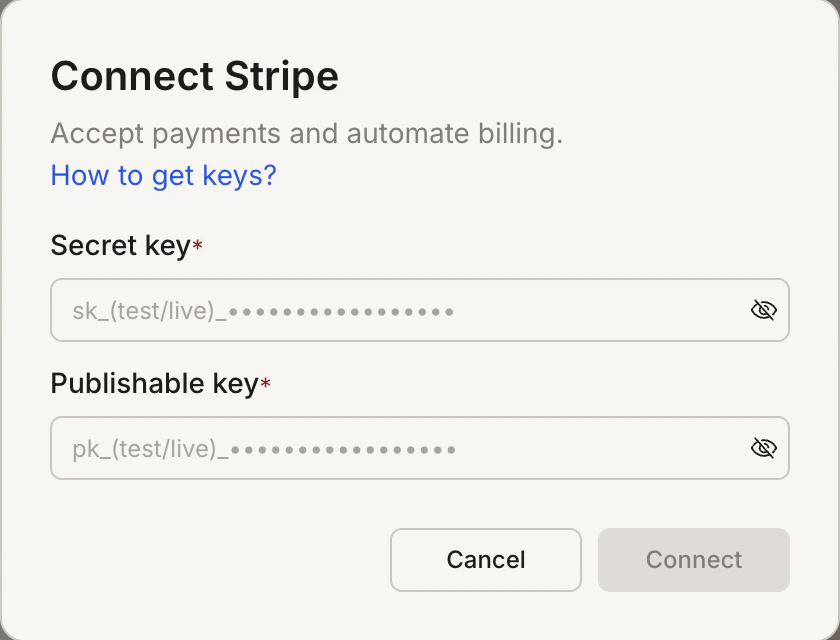
You need your Secret key and Publishable key from the Stripe Dashboard.Open your Stripe API keys in the Stripe Dashboard
| Key type | Prefix | Usage |
|---|---|---|
| Publishable key | pk_ | Safe to use on the client side |
| Secret key | sk_ | Server side only - keep this confidential |
Stripe works best paired with Supabase for user accounts. Rocket links Stripe customers to authenticated Supabase users automatically.
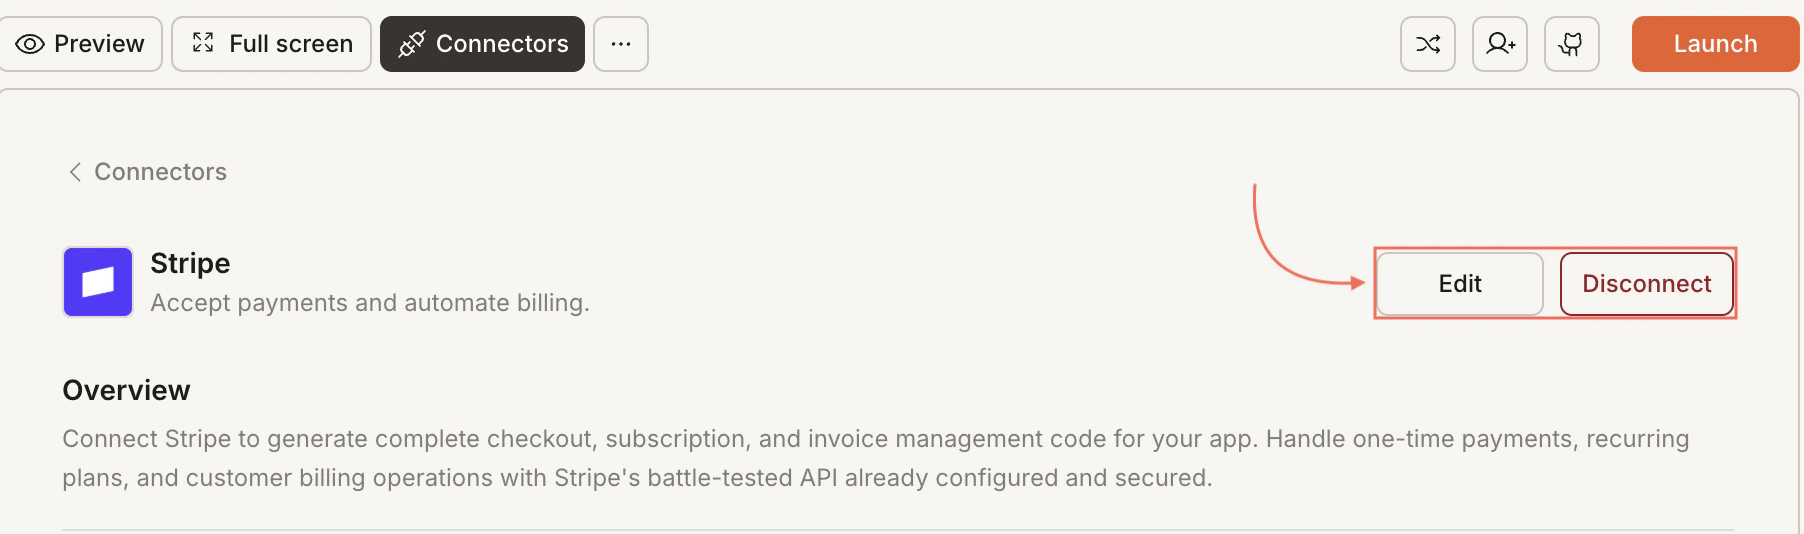
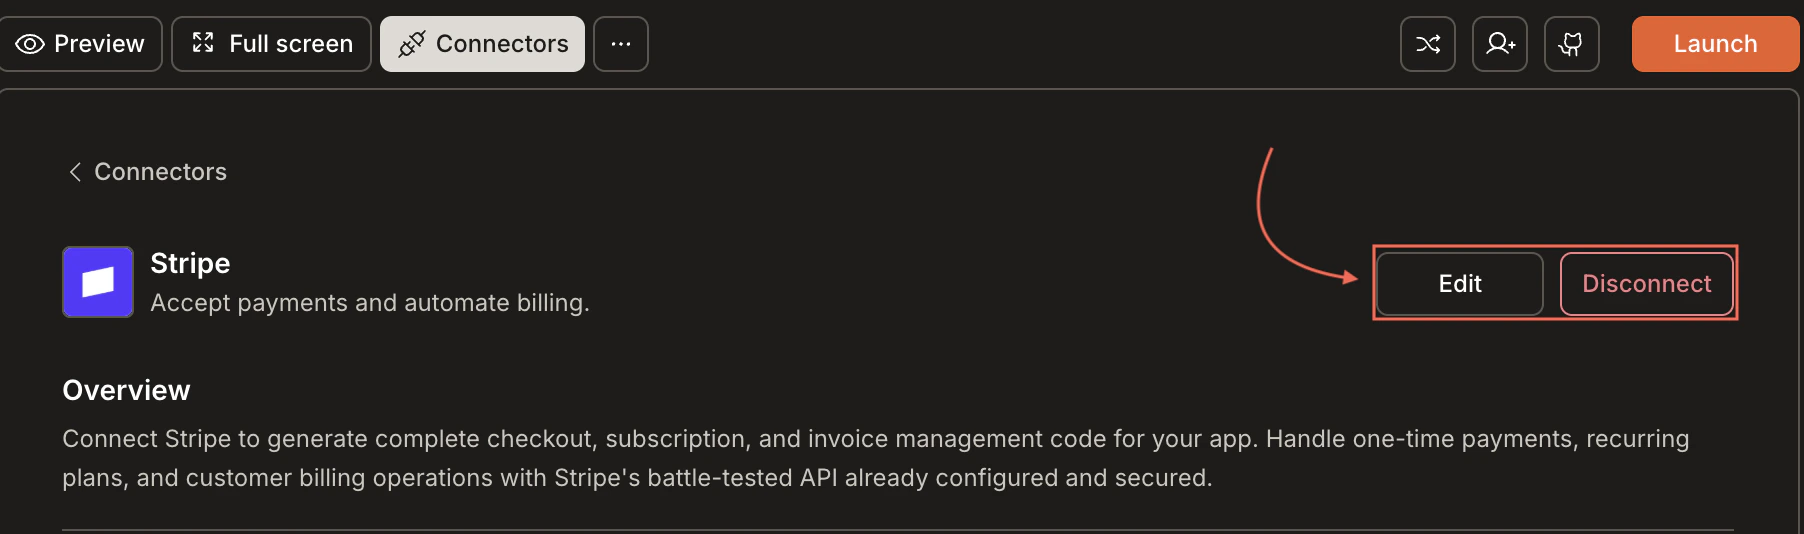
Connect Stripe
- Web Browser
- Mobile App
You can connect from two places - both open the same popup.Option 1: From chatType a prompt that mentions Stripe - for example, 
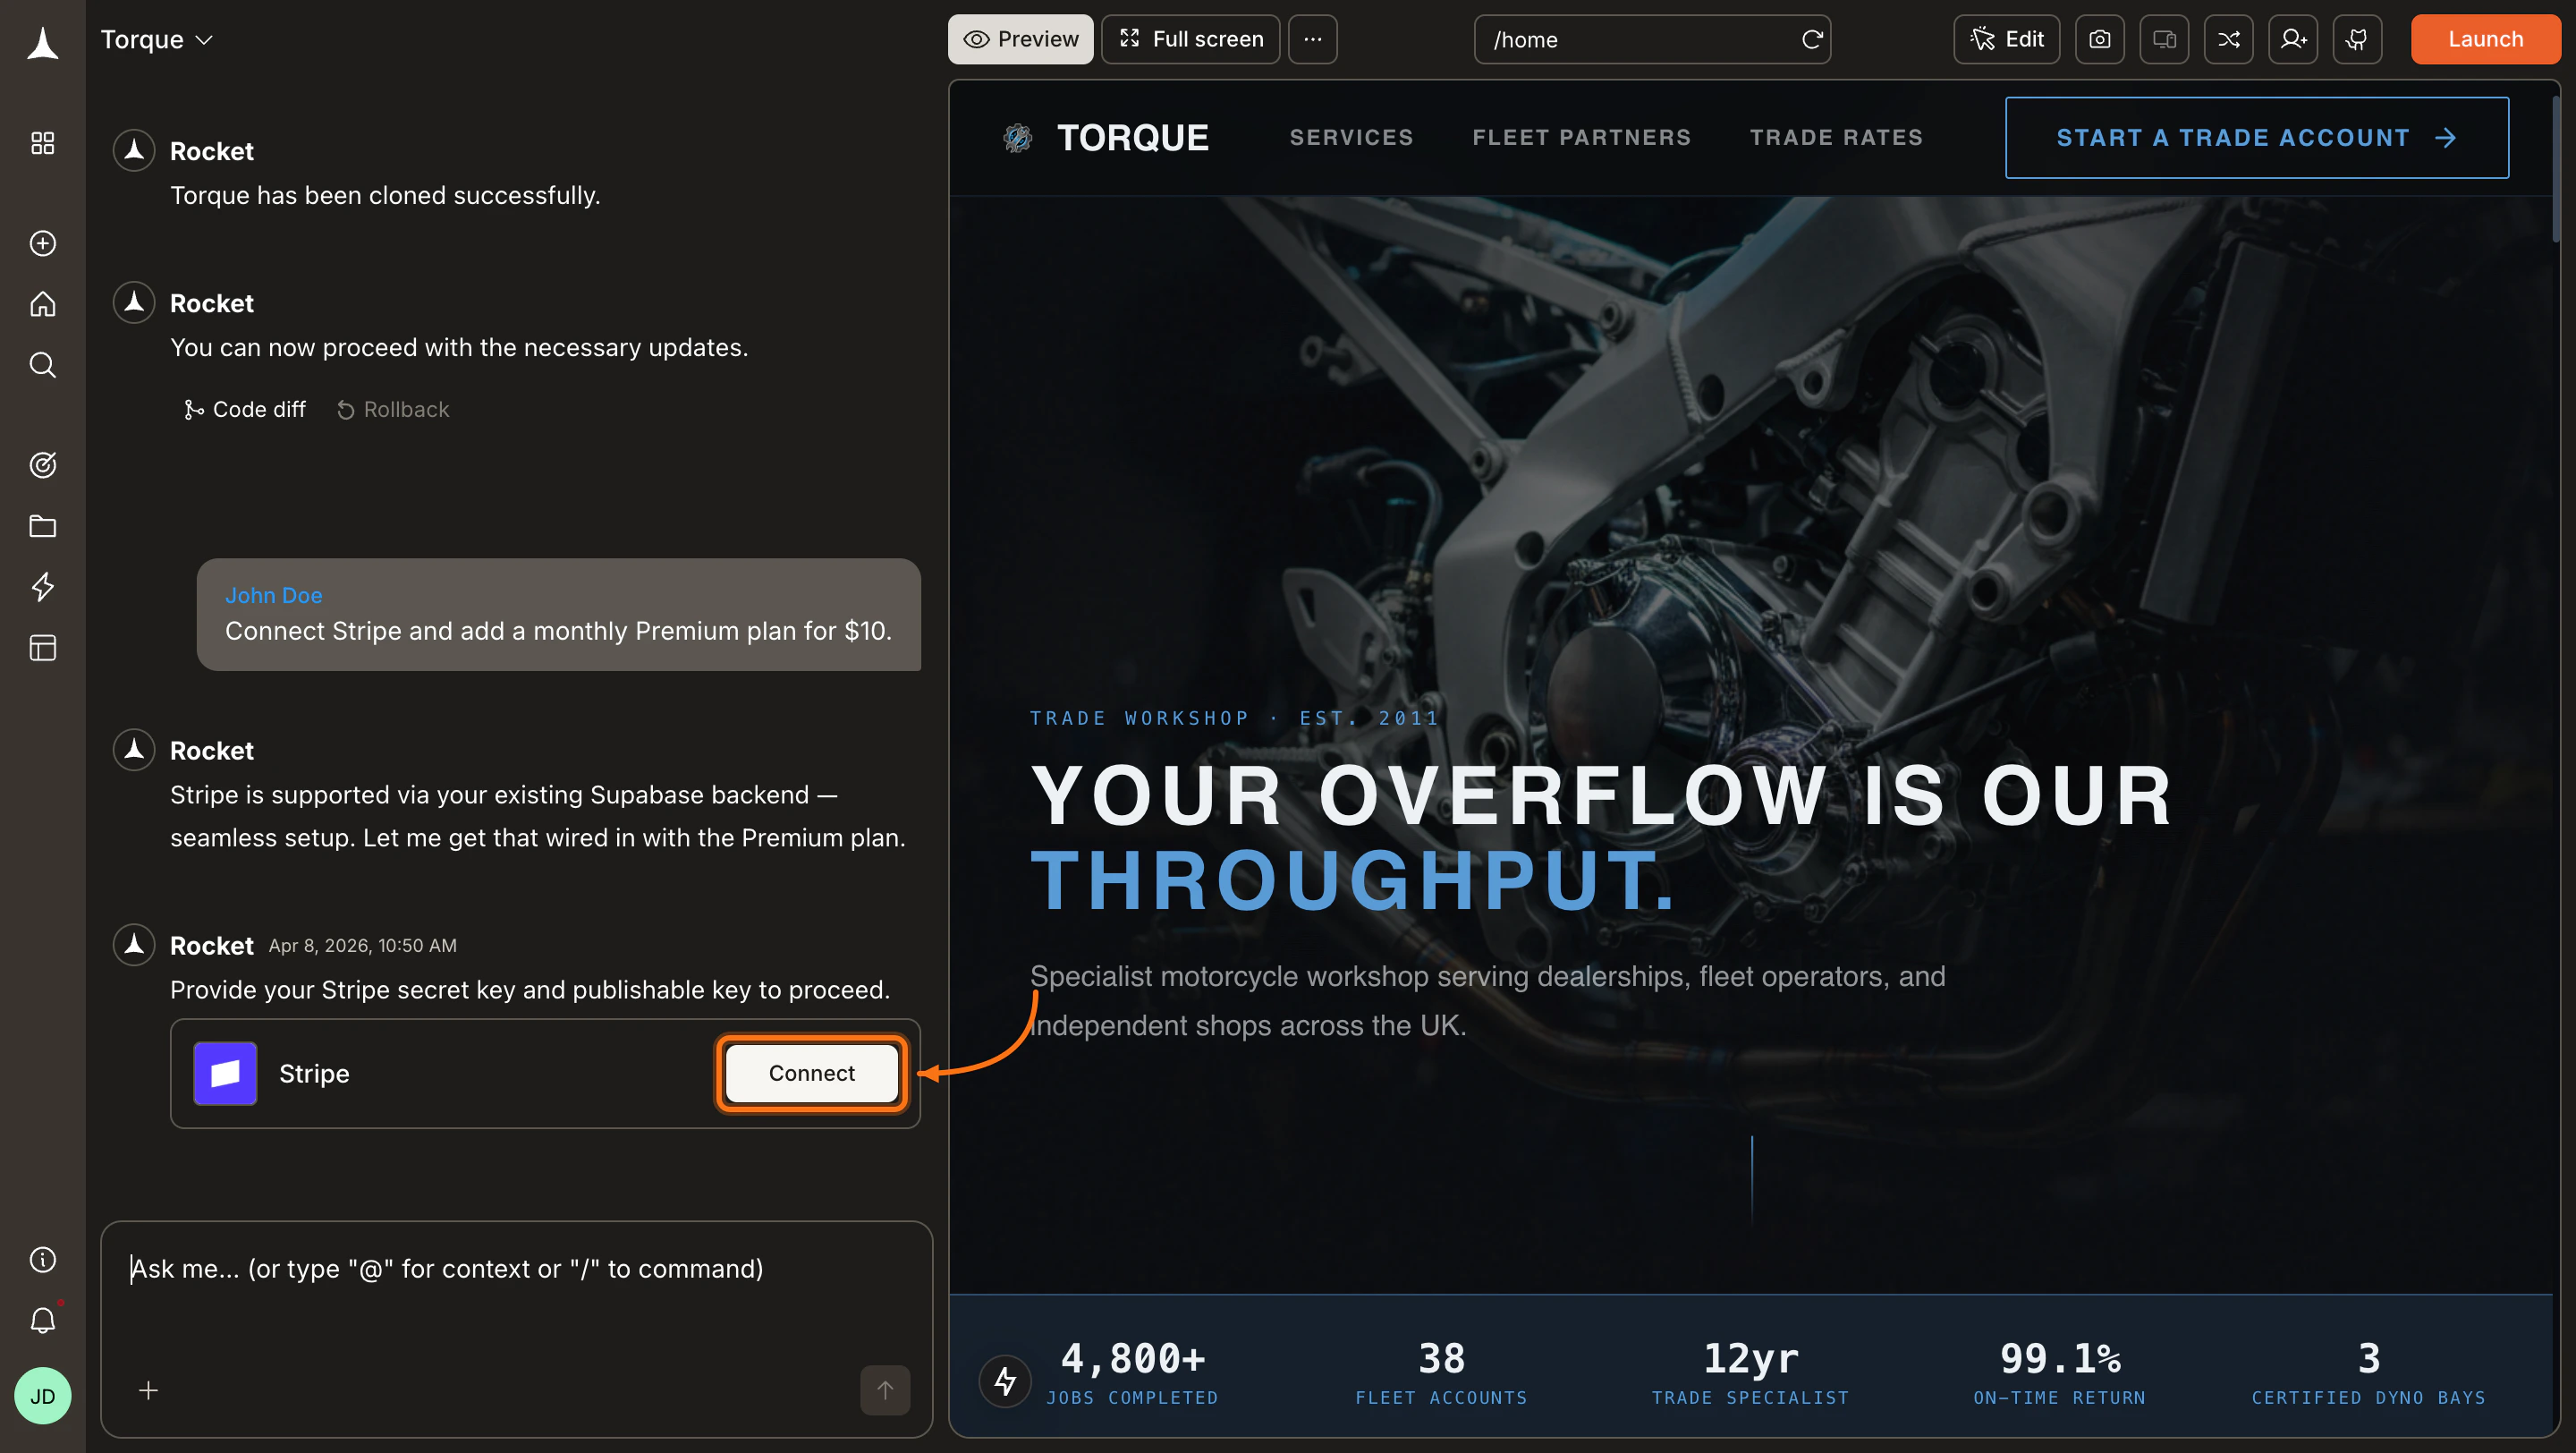
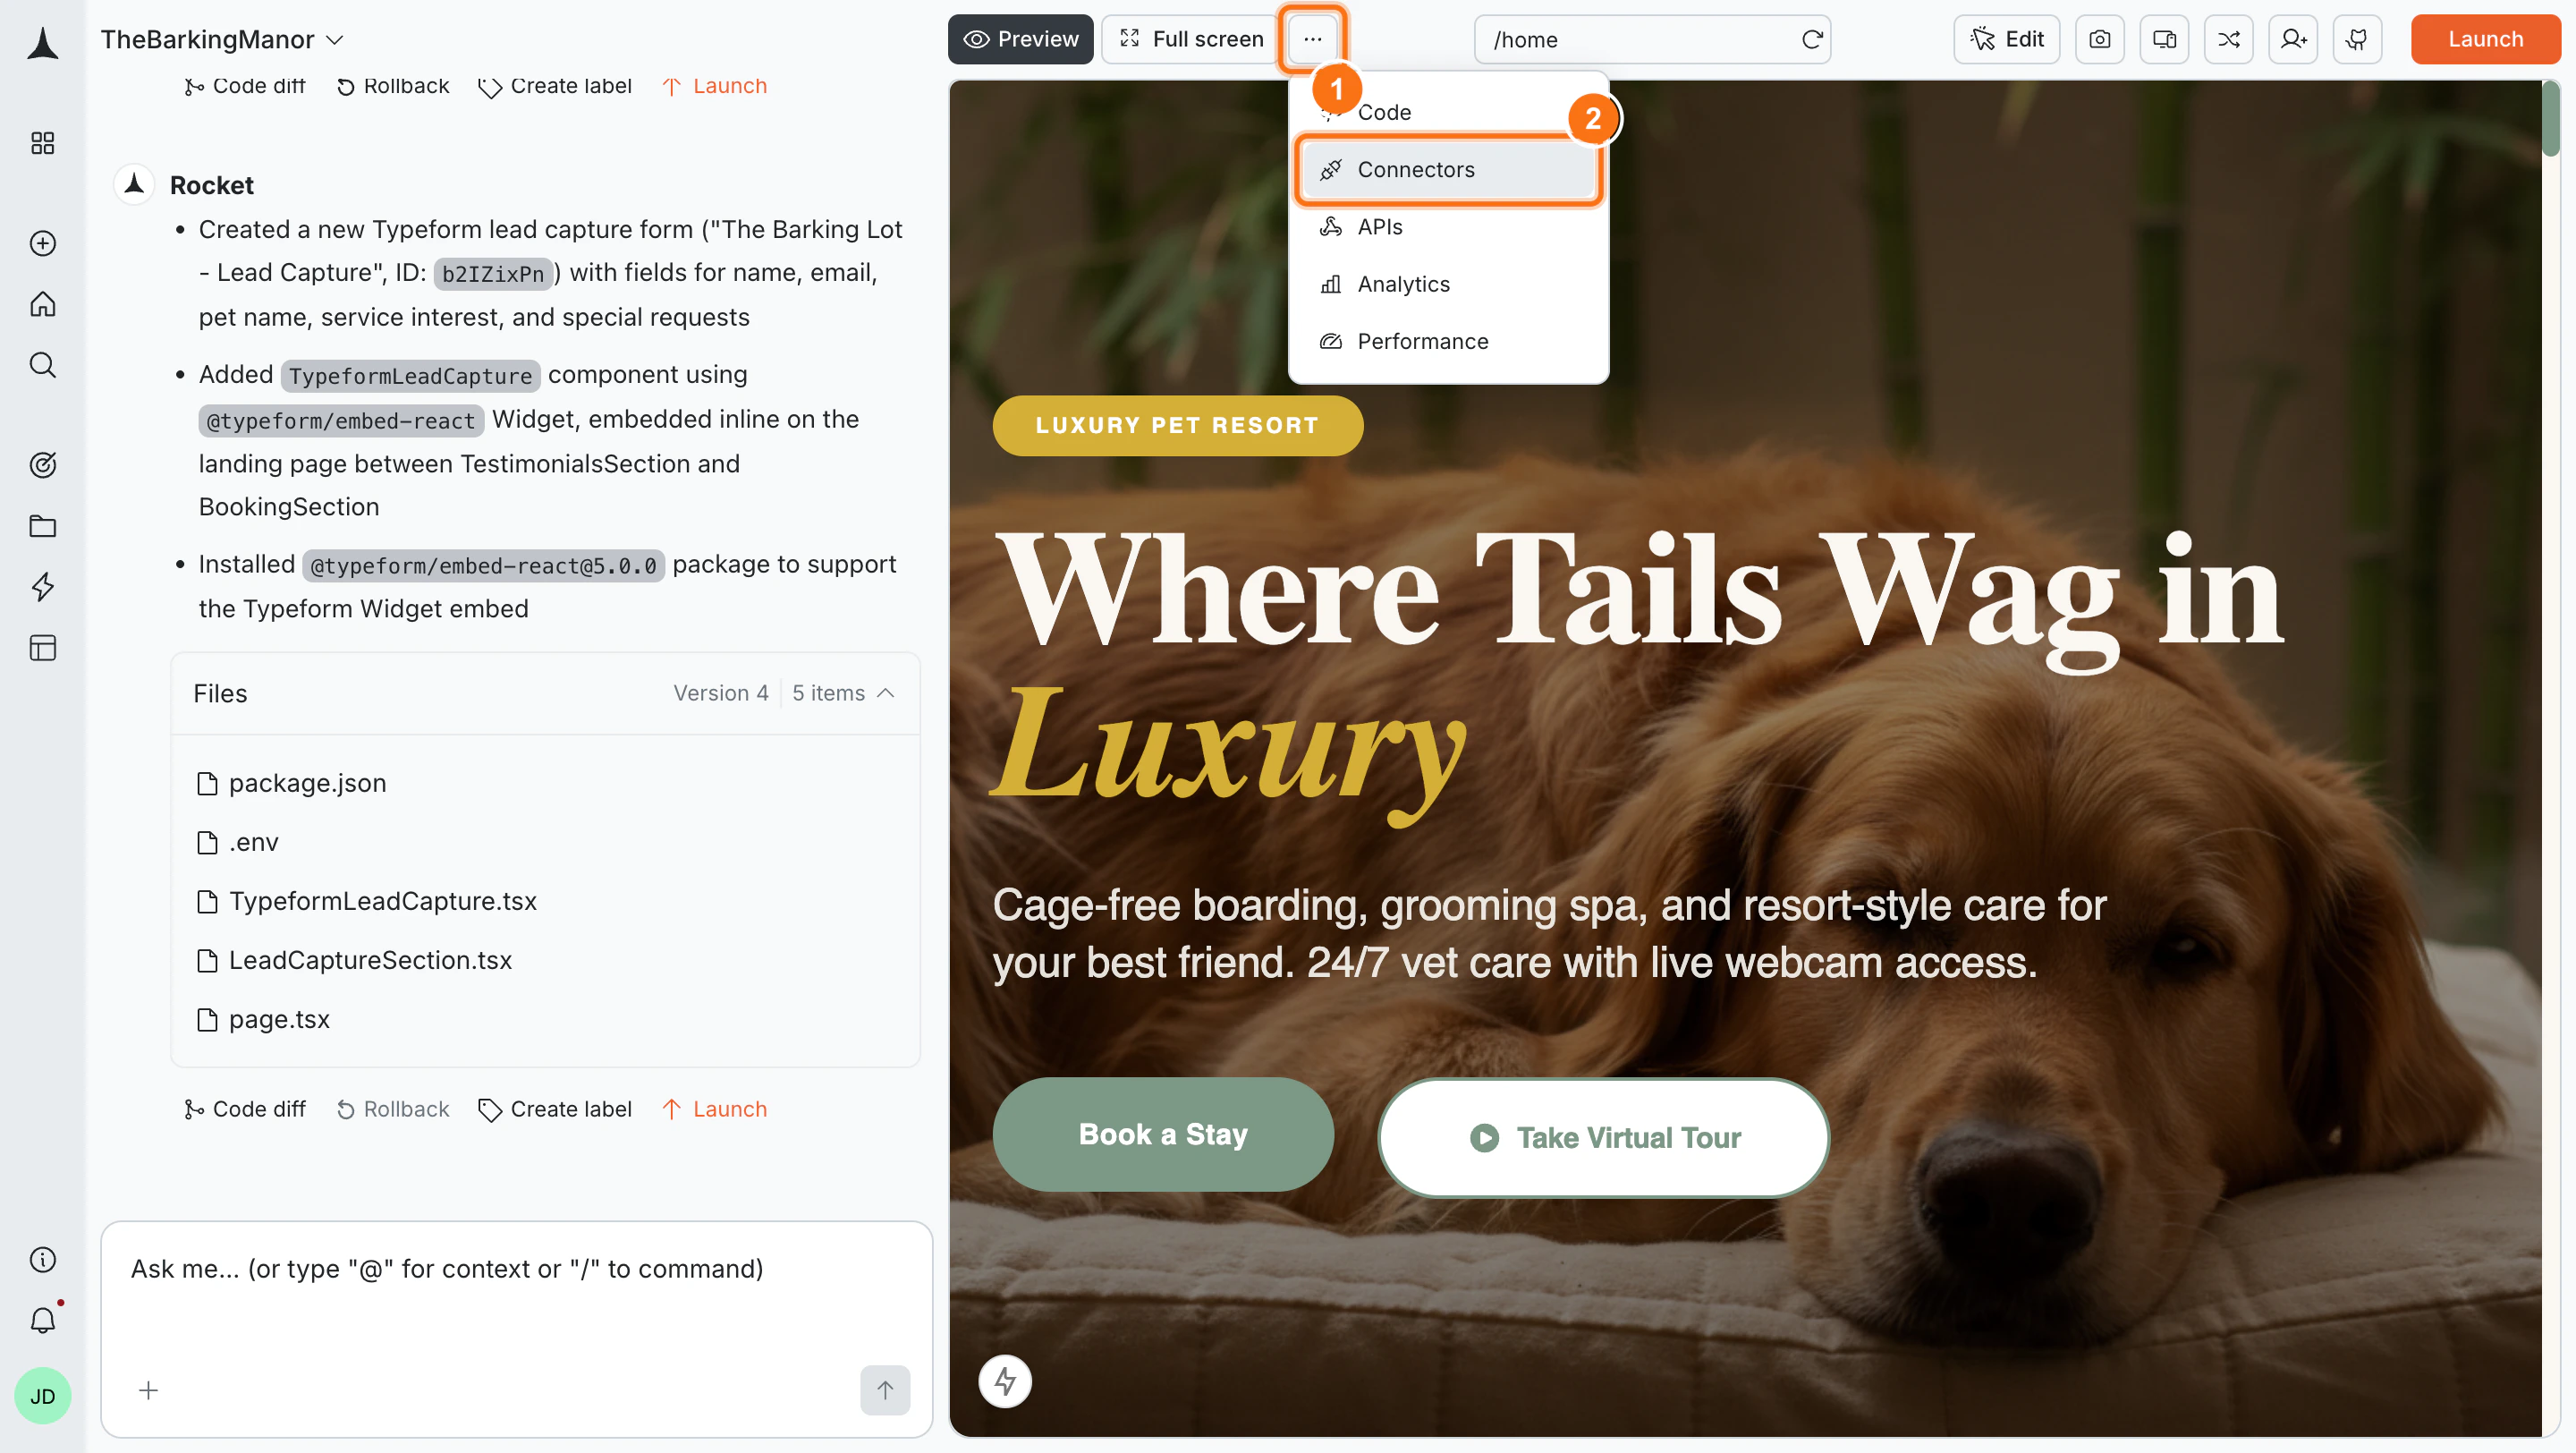
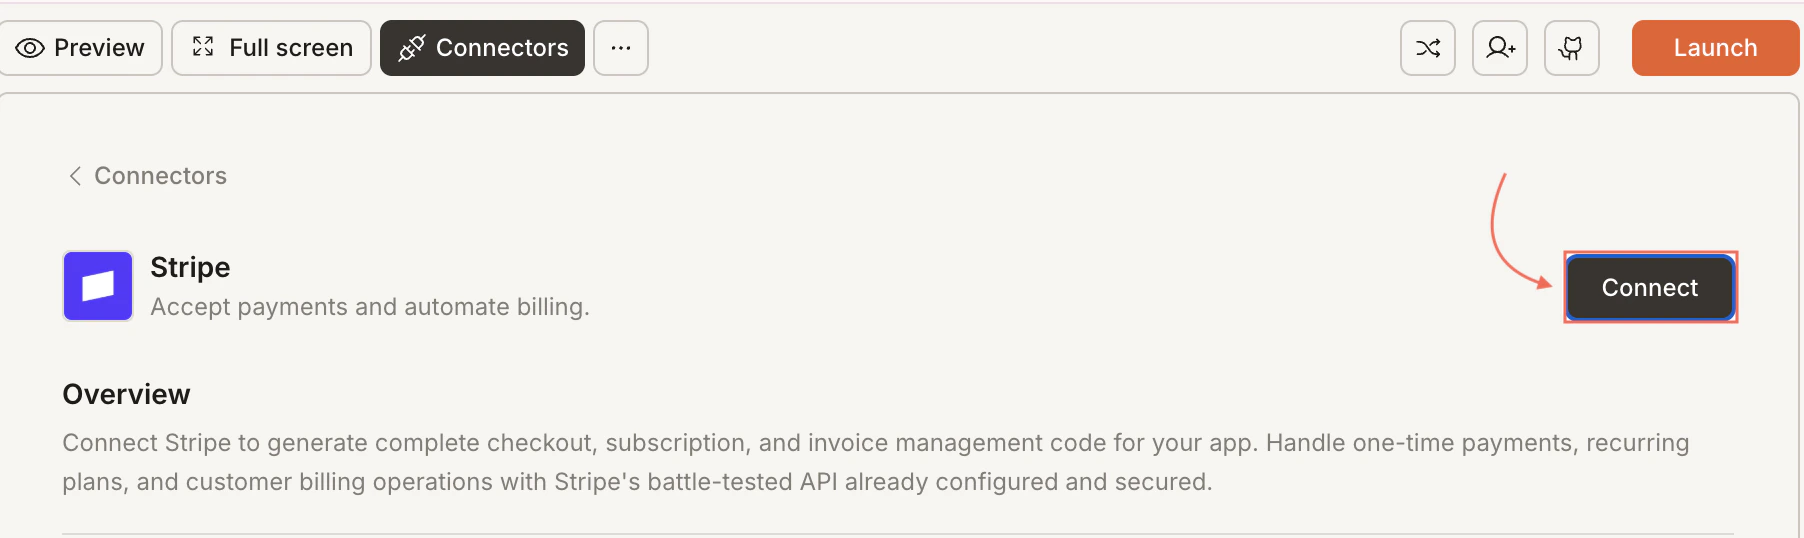
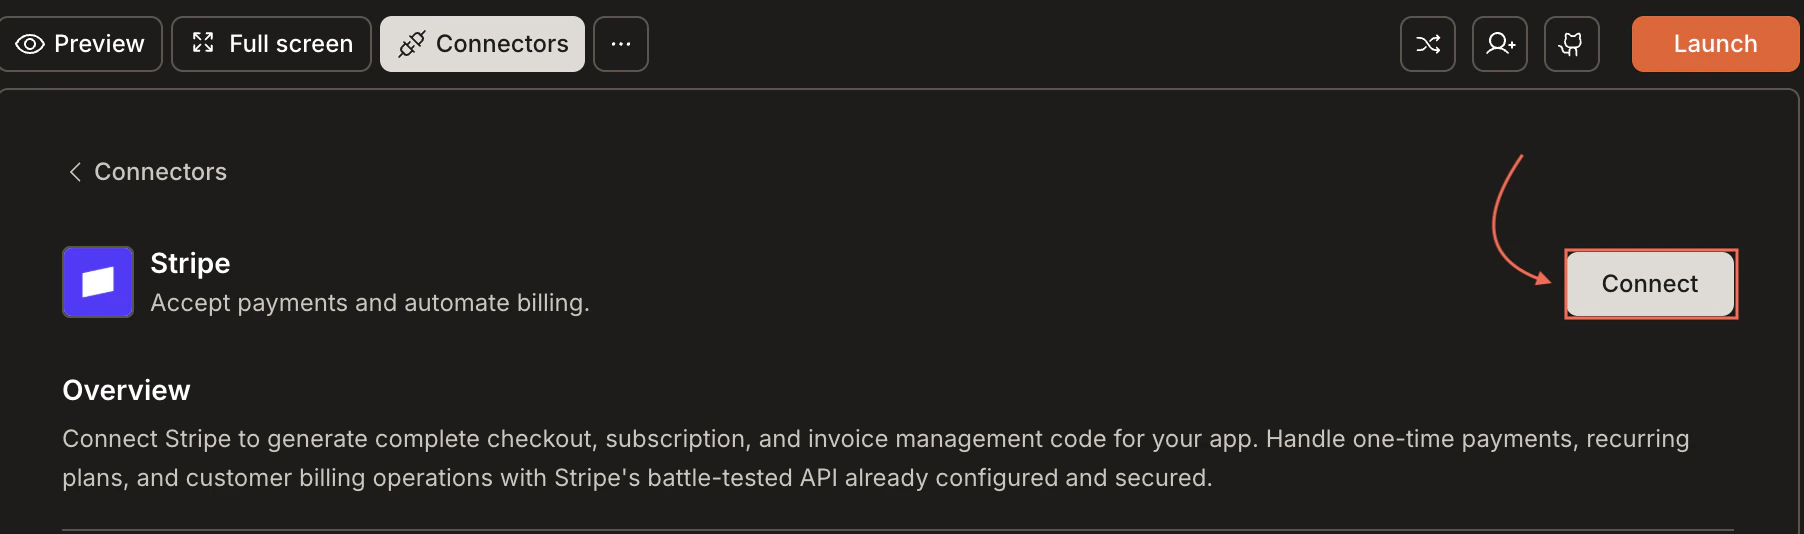
Connect Stripe and add a $49 one-time checkout. Rocket detects the intent and shows a Connect button inline. Click it and the popup opens.... button in the preview toolbar, then select Connectors.Example prompts
| Use case | Prompt |
|---|---|
| Simple checkout | Add a Stripe checkout for my $49 product with a success page. |
| Subscription plans | Create a pricing page with Free, Pro ($19/mo), and Enterprise ($99/mo) tiers using Stripe. |
| Donations | Add Stripe donation buttons with $5, $10, $25, $50 options and a custom amount field. |
| Free trial | Add a 14-day free trial to the Pro plan. Charge $19/month after the trial ends. |
| Invoices | Generate and email a PDF invoice to the customer after each Stripe payment. |
| Coupon codes | Add a coupon code field to the checkout page that applies a Stripe discount. |
| Refund flow UI | Add a "View Orders" page with order history and a link to the Stripe customer portal. |
| Usage-based billing | Track API calls per user and charge $0.01 per call using Stripe metered billing. |
Tips
- Always start with Test mode keys. Switch to Live keys only when you are ready to accept real payments. Test card:
4242 4242 4242 4242. - Connect Supabase first. Rocket links Stripe customers to Supabase user accounts. Connect Supabase before connecting Stripe.
- Webhooks are handled automatically. Rocket sets up the necessary webhook handlers for events like
checkout.session.completedandcustomer.subscription.updated. - Refunds and disputes live in Stripe. Manage refunds, disputes, and financial reporting directly from the Stripe Dashboard.
- One set of keys per task. Each Rocket task connects to a single set of Stripe API keys. You can use the same Stripe account across multiple tasks.
What’s next?
Supabase
Stripe requires Supabase for user accounts. Set it up if you have not already.
Resend
Send order confirmation and receipt emails automatically after Stripe payments.
Google Analytics
Track checkout conversion rates and revenue with GA4 e-commerce events.
Build a SaaS app
Full recipe: Supabase + Stripe + Resend + Netlify to build a complete SaaS product.