Why use code view?Get direct access to your app’s source code. Browse files, make precise edits, manage environment variables, and see build logs in real time. Perfect for debugging issues, customizing behavior, or preparing to export your project.
- Web Browser
- Mobile App
Before you begin
You’ll need:
- An existing project opened in Rocket.
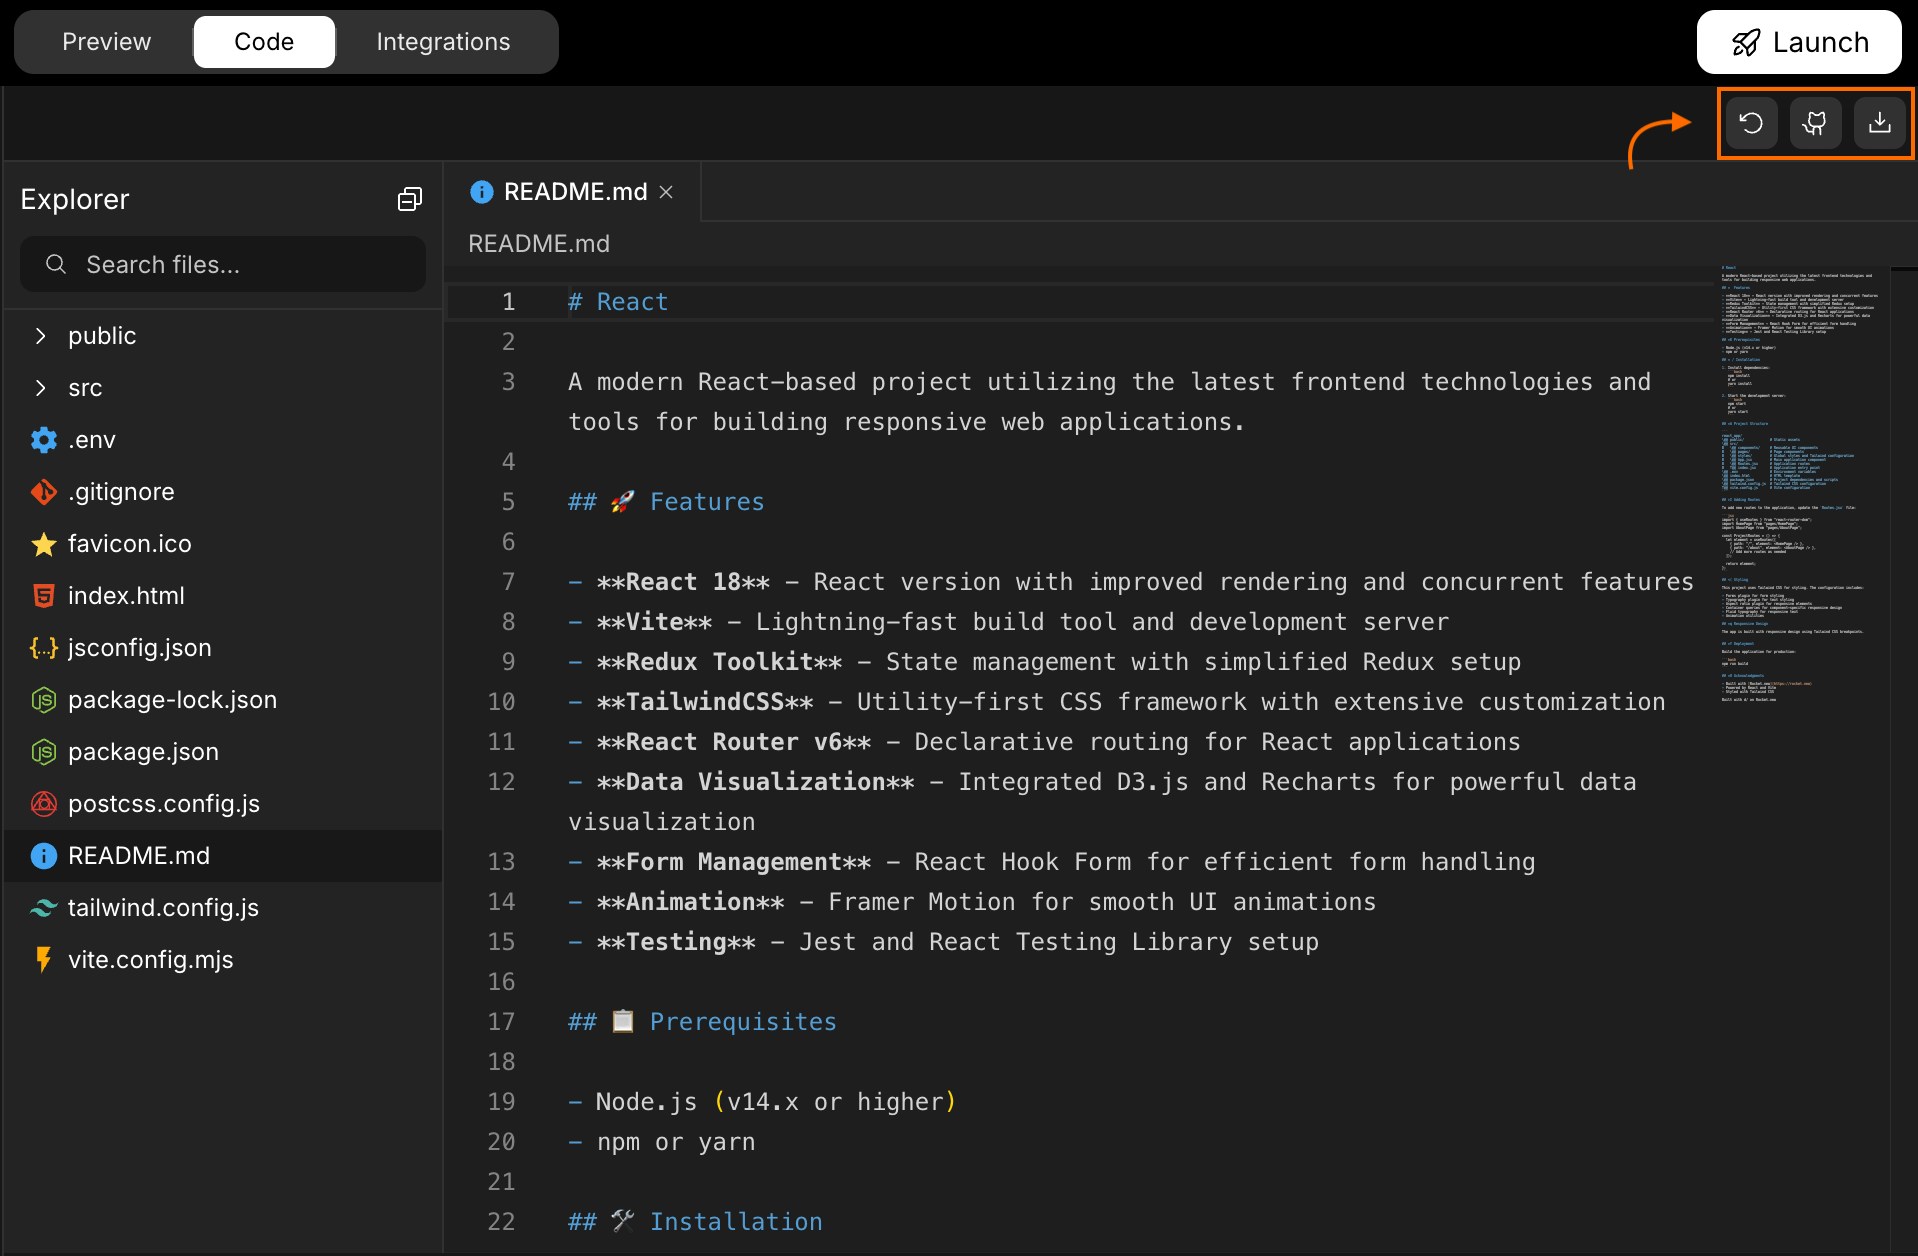
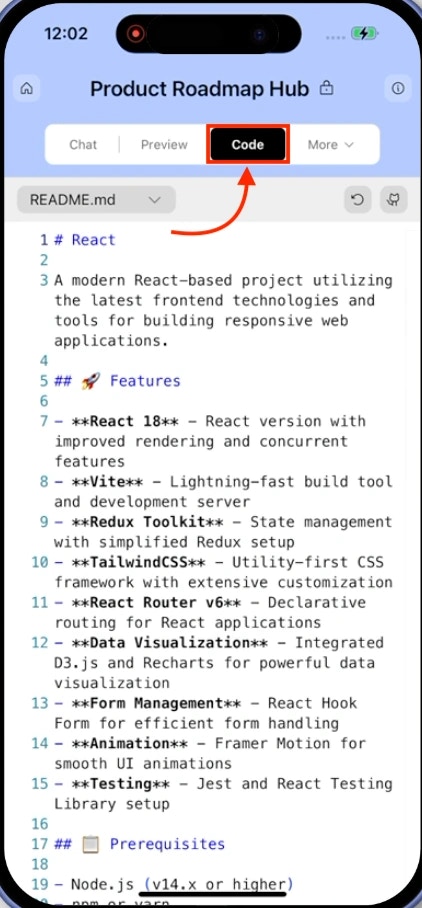
Explore the code-view
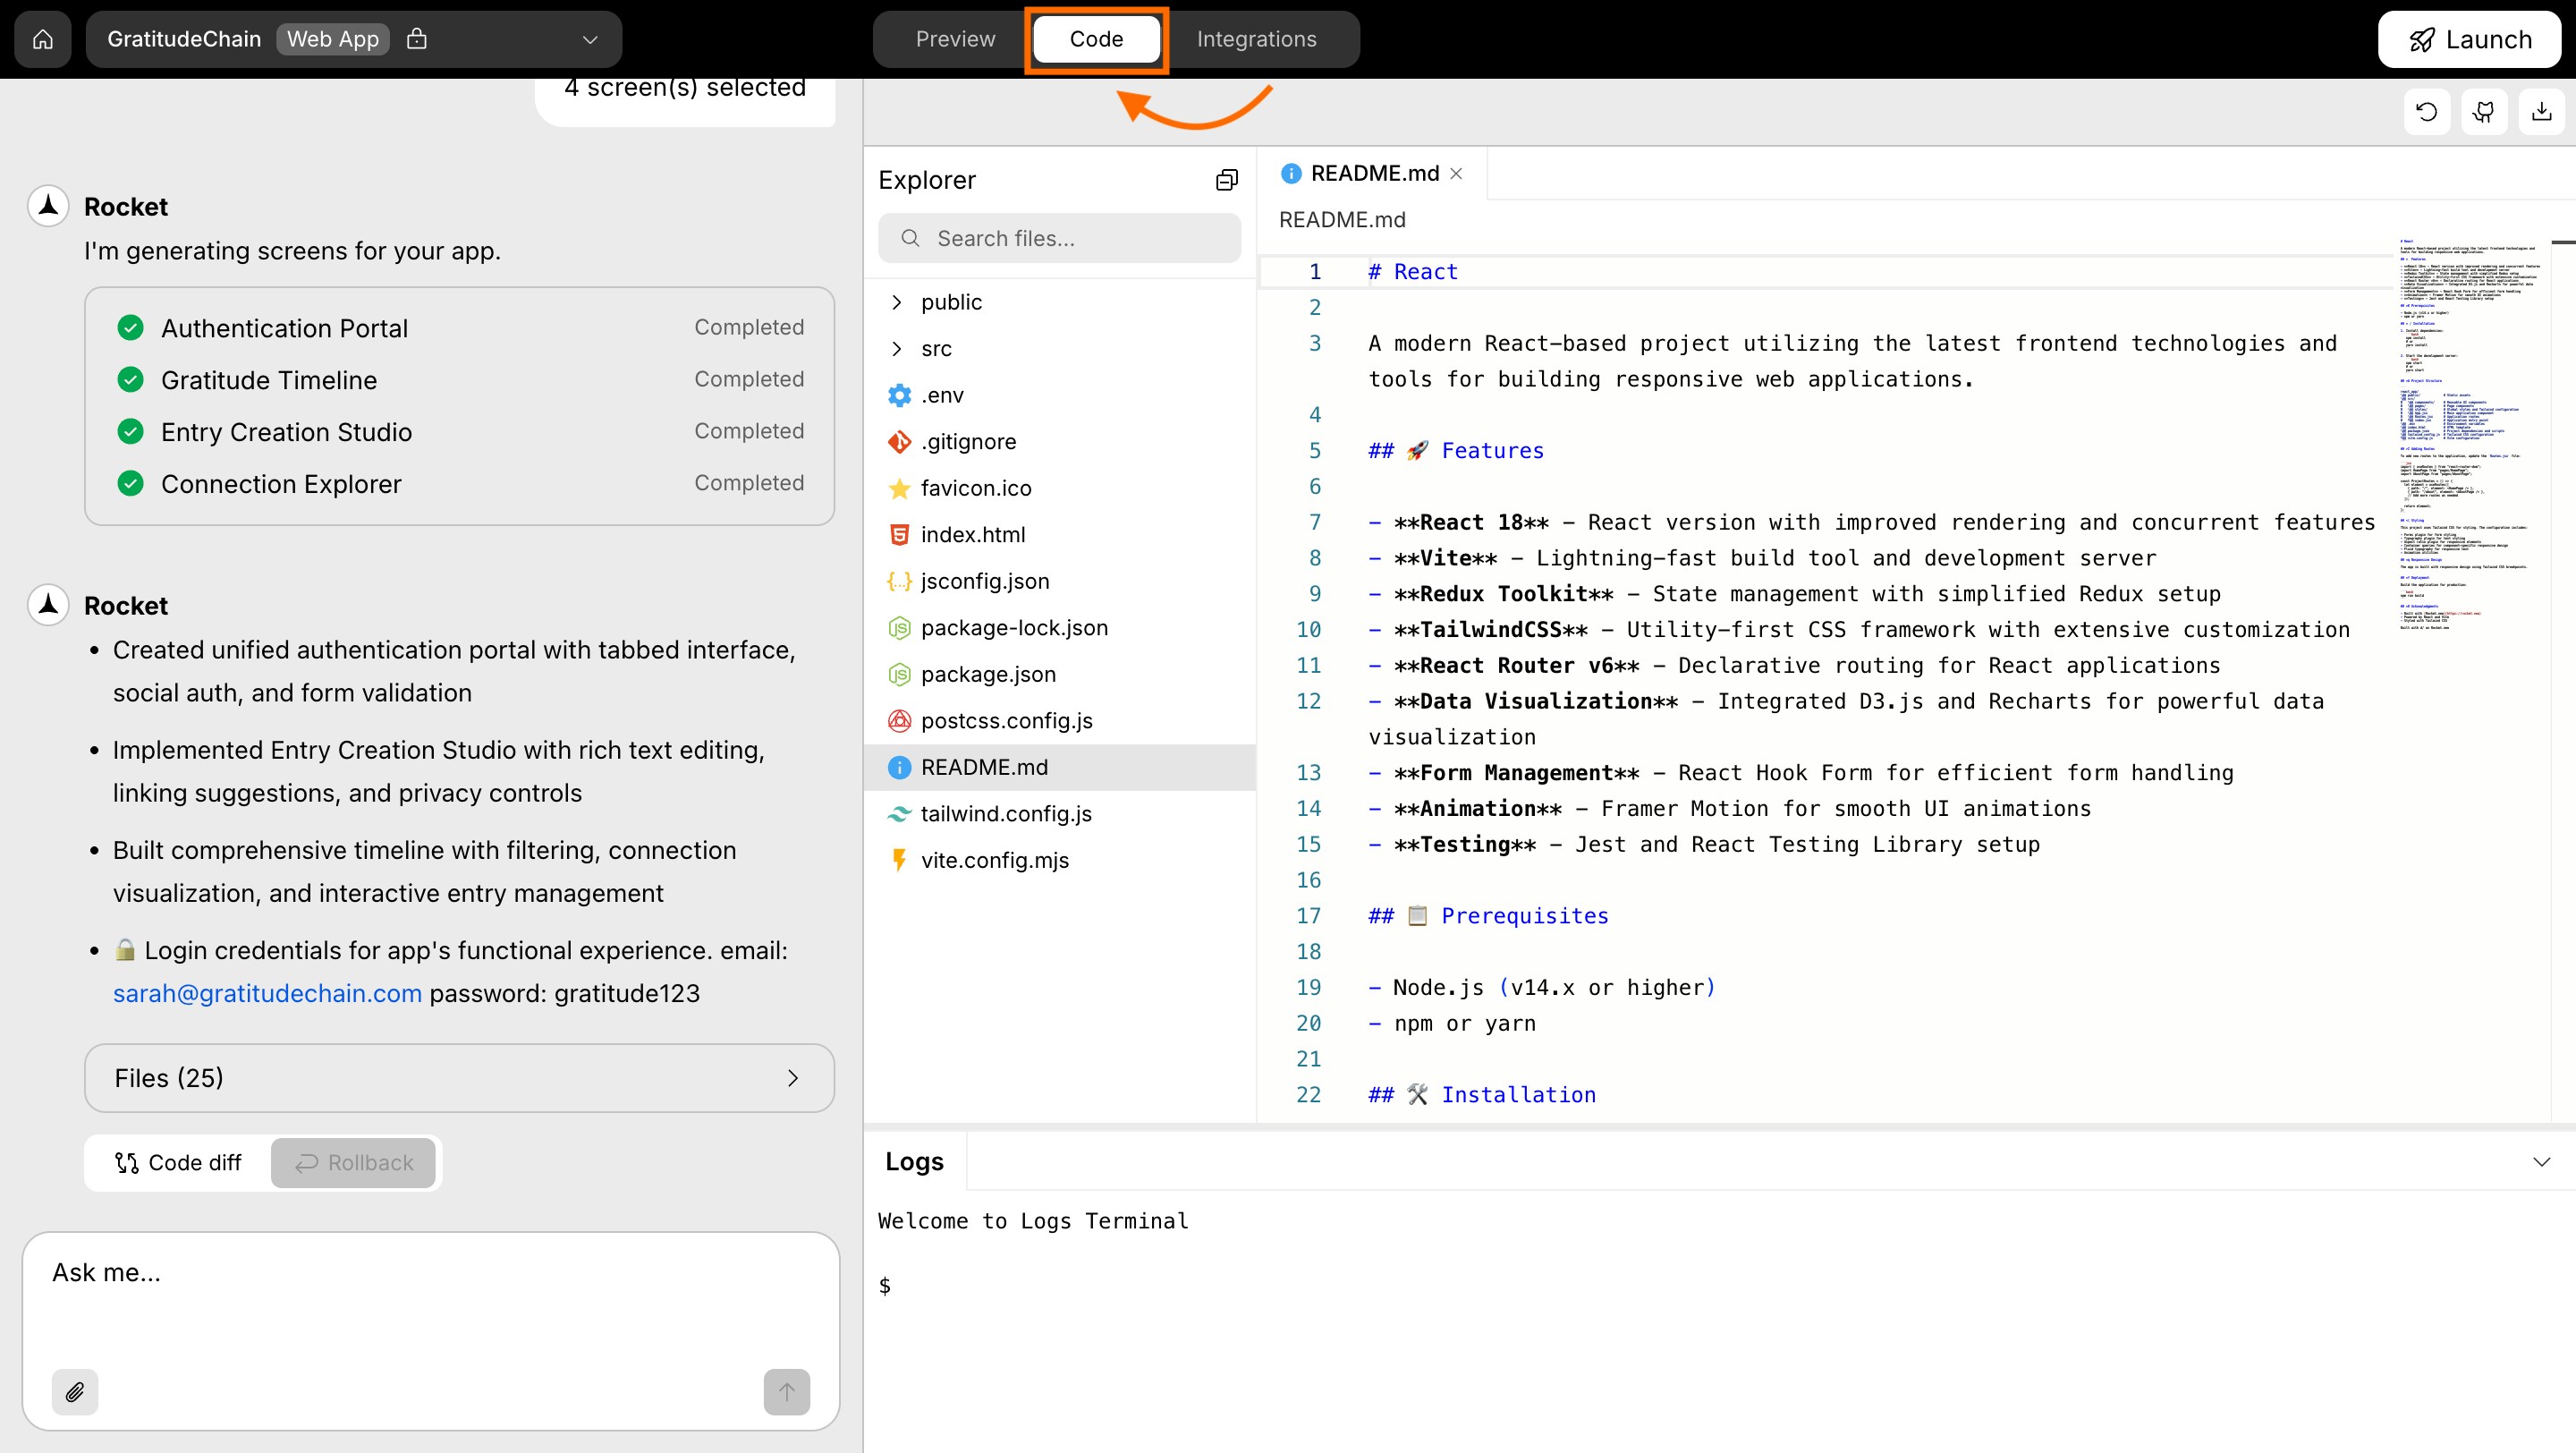
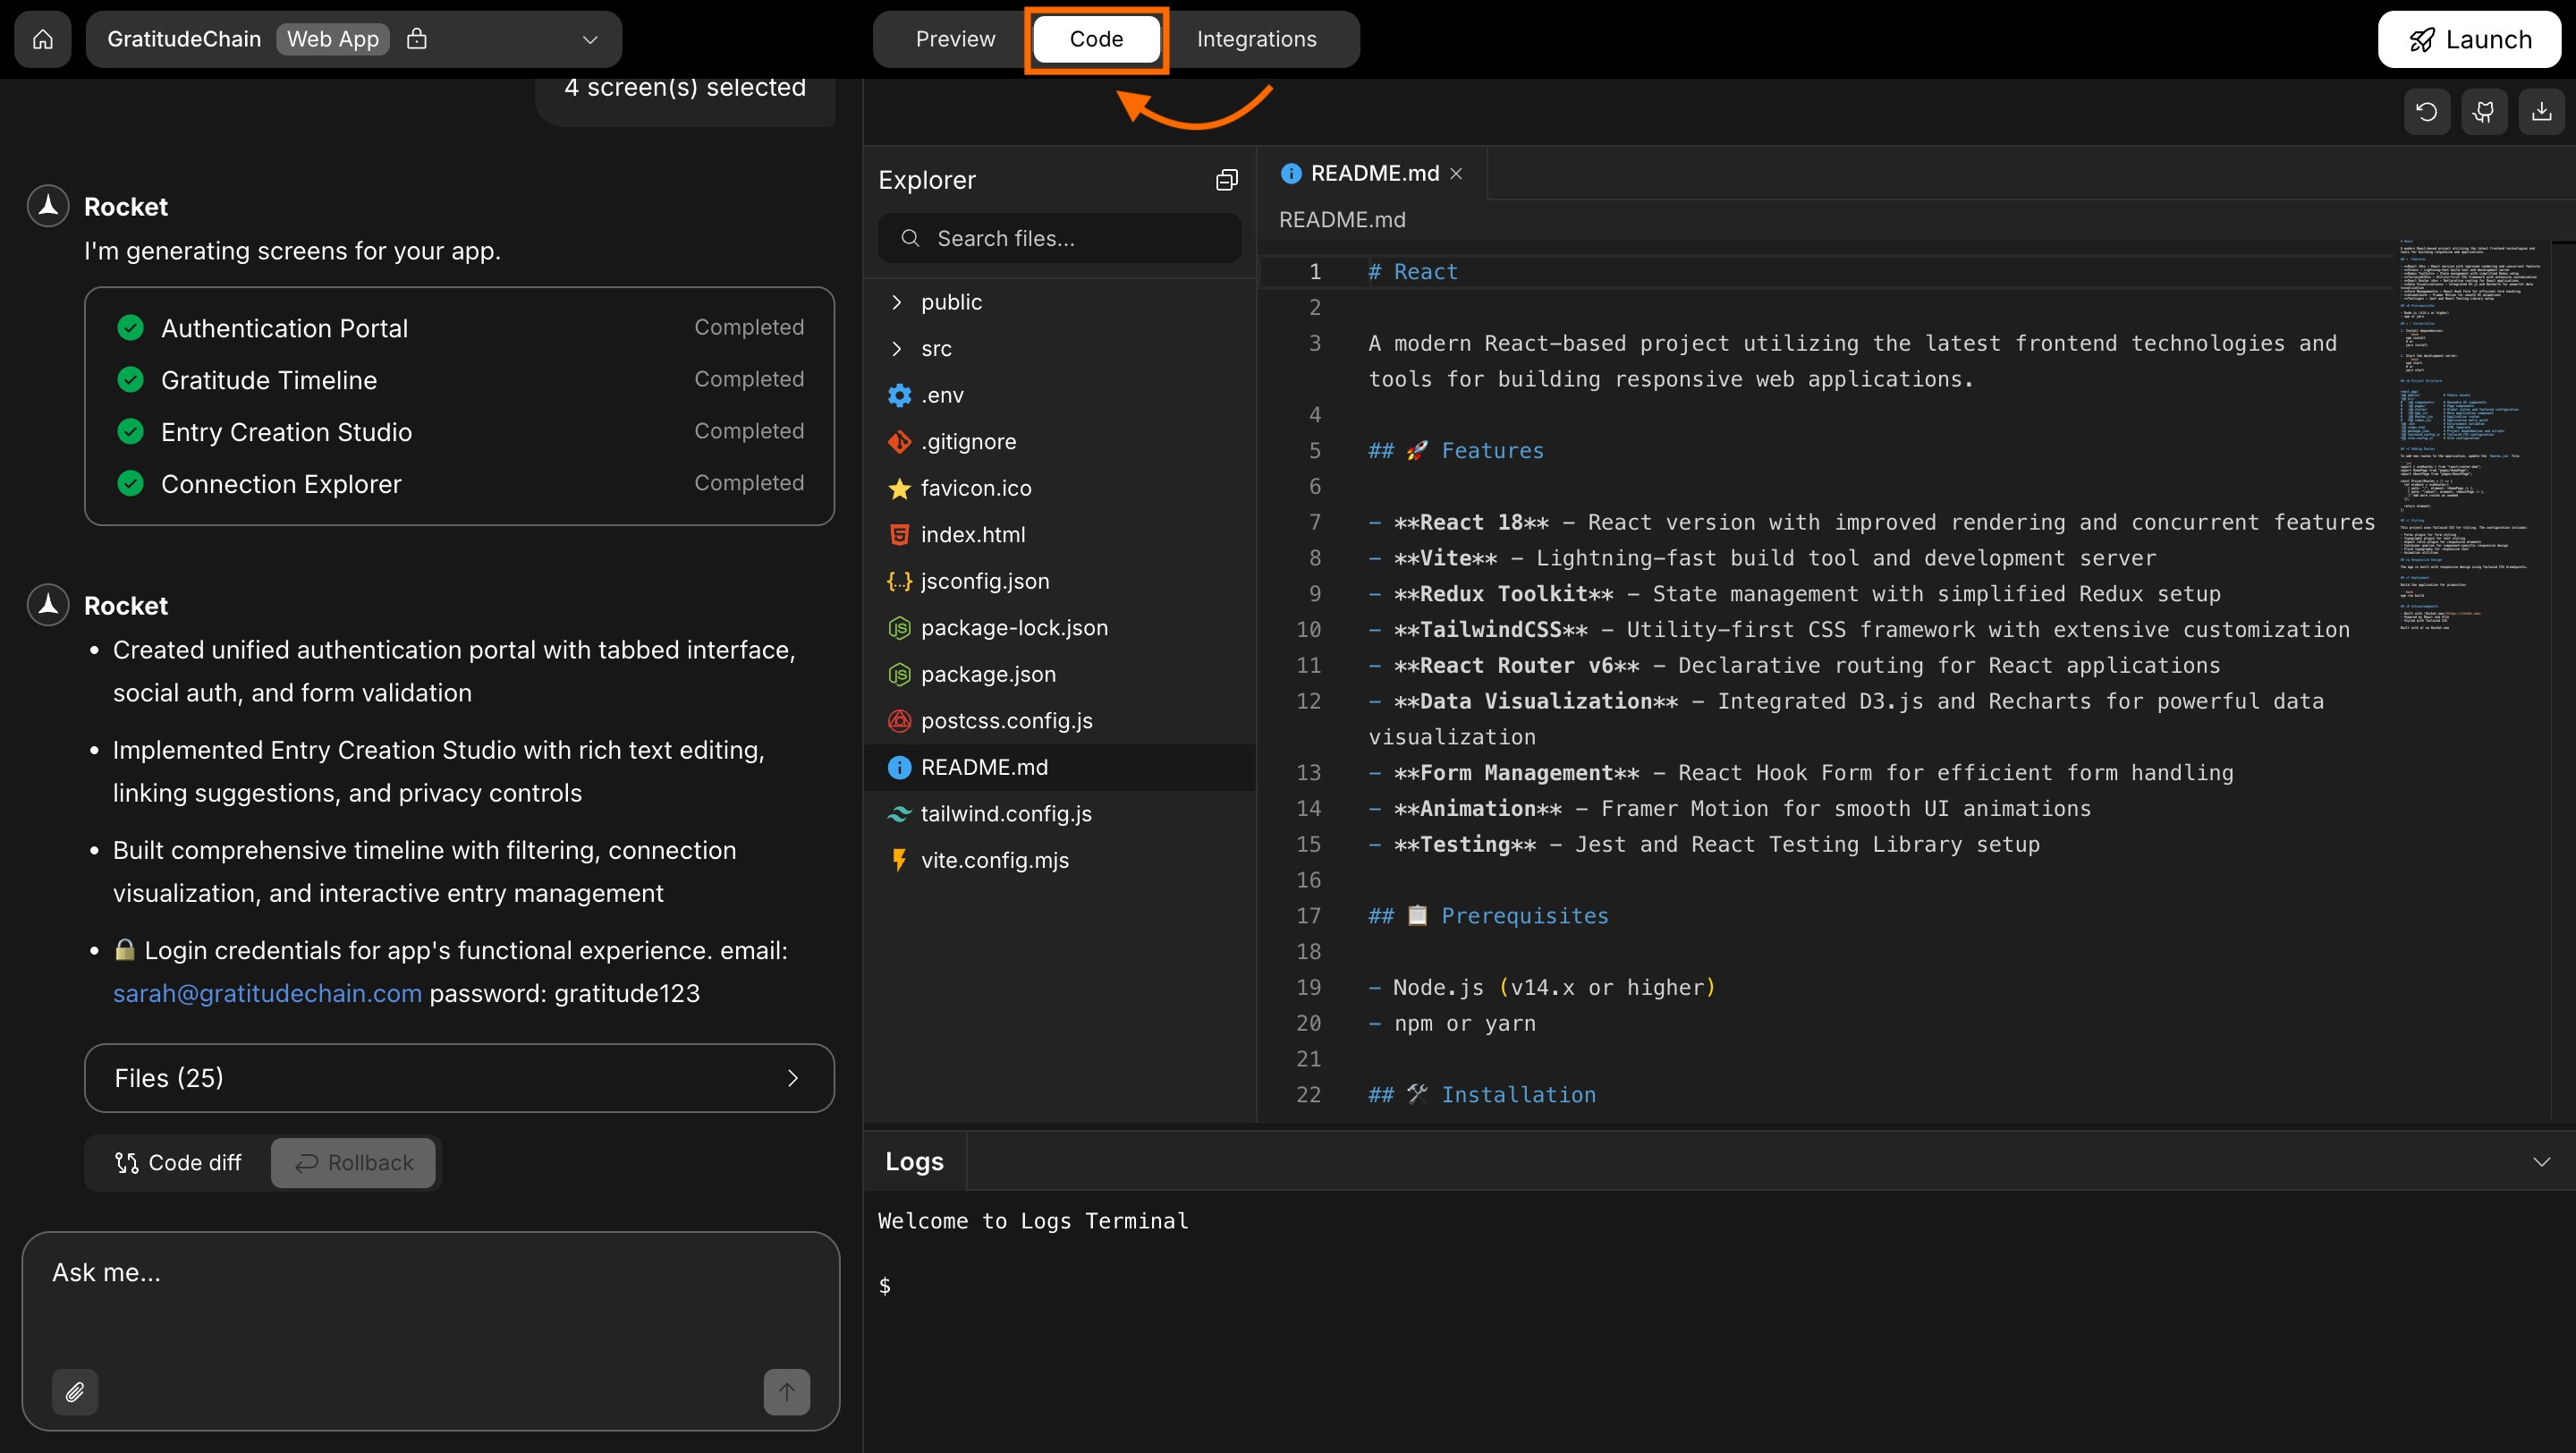
Key features inside code-view
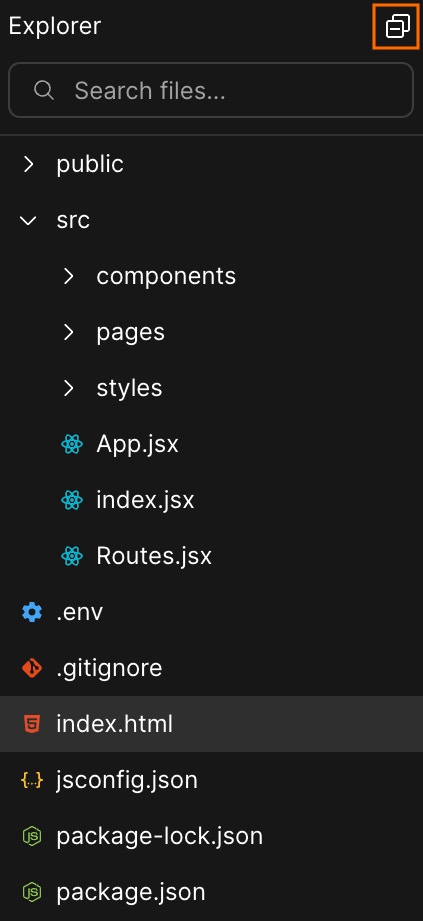
Browse your app files
Browse your app files
What is this? Navigate your project’s file structure using the file explorer. Browse folders, open files, and see your entire project organization at a glance.
pages, components, or styles.- Expand folders to view their contents.
- Click any file to open it in a new tab.
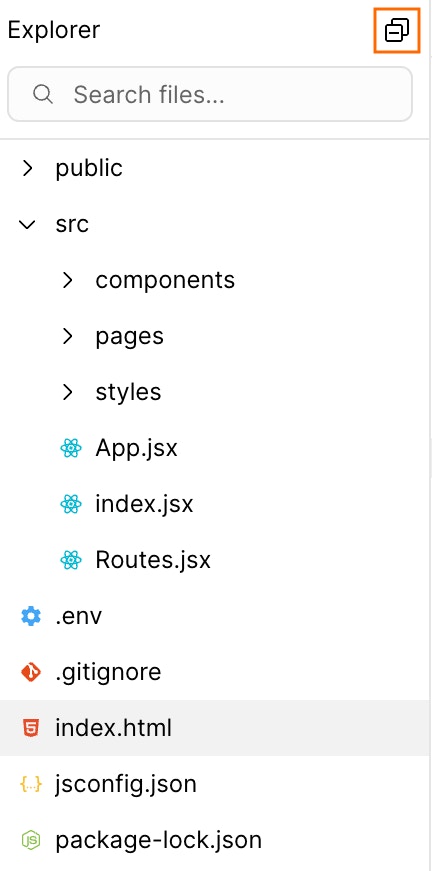
Success check: Your selected file opens in a new tab.
Find files fast with search
Find files fast with search
What is this? Quickly locate files in your project by typing their name. The search filters results in real time as you type, making it easy to find files in large projects.
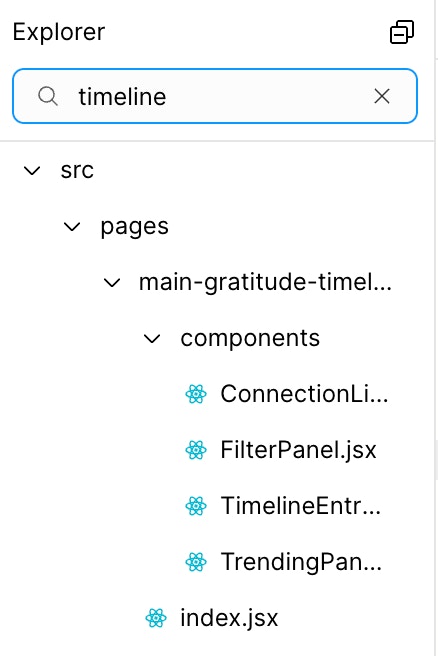
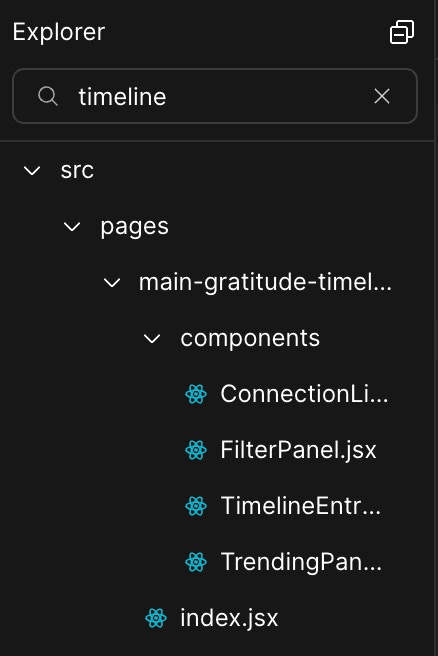
Success check: Matching files appear instantly as you type.
Edit and save any file
Edit and save any file
What is this? Edit any file in your project directly in Rocket’s code editor. Make changes to styles, content, or logic, then save or discard them with one click.
- Click Save to apply changes.
- Click Discard to undo them.
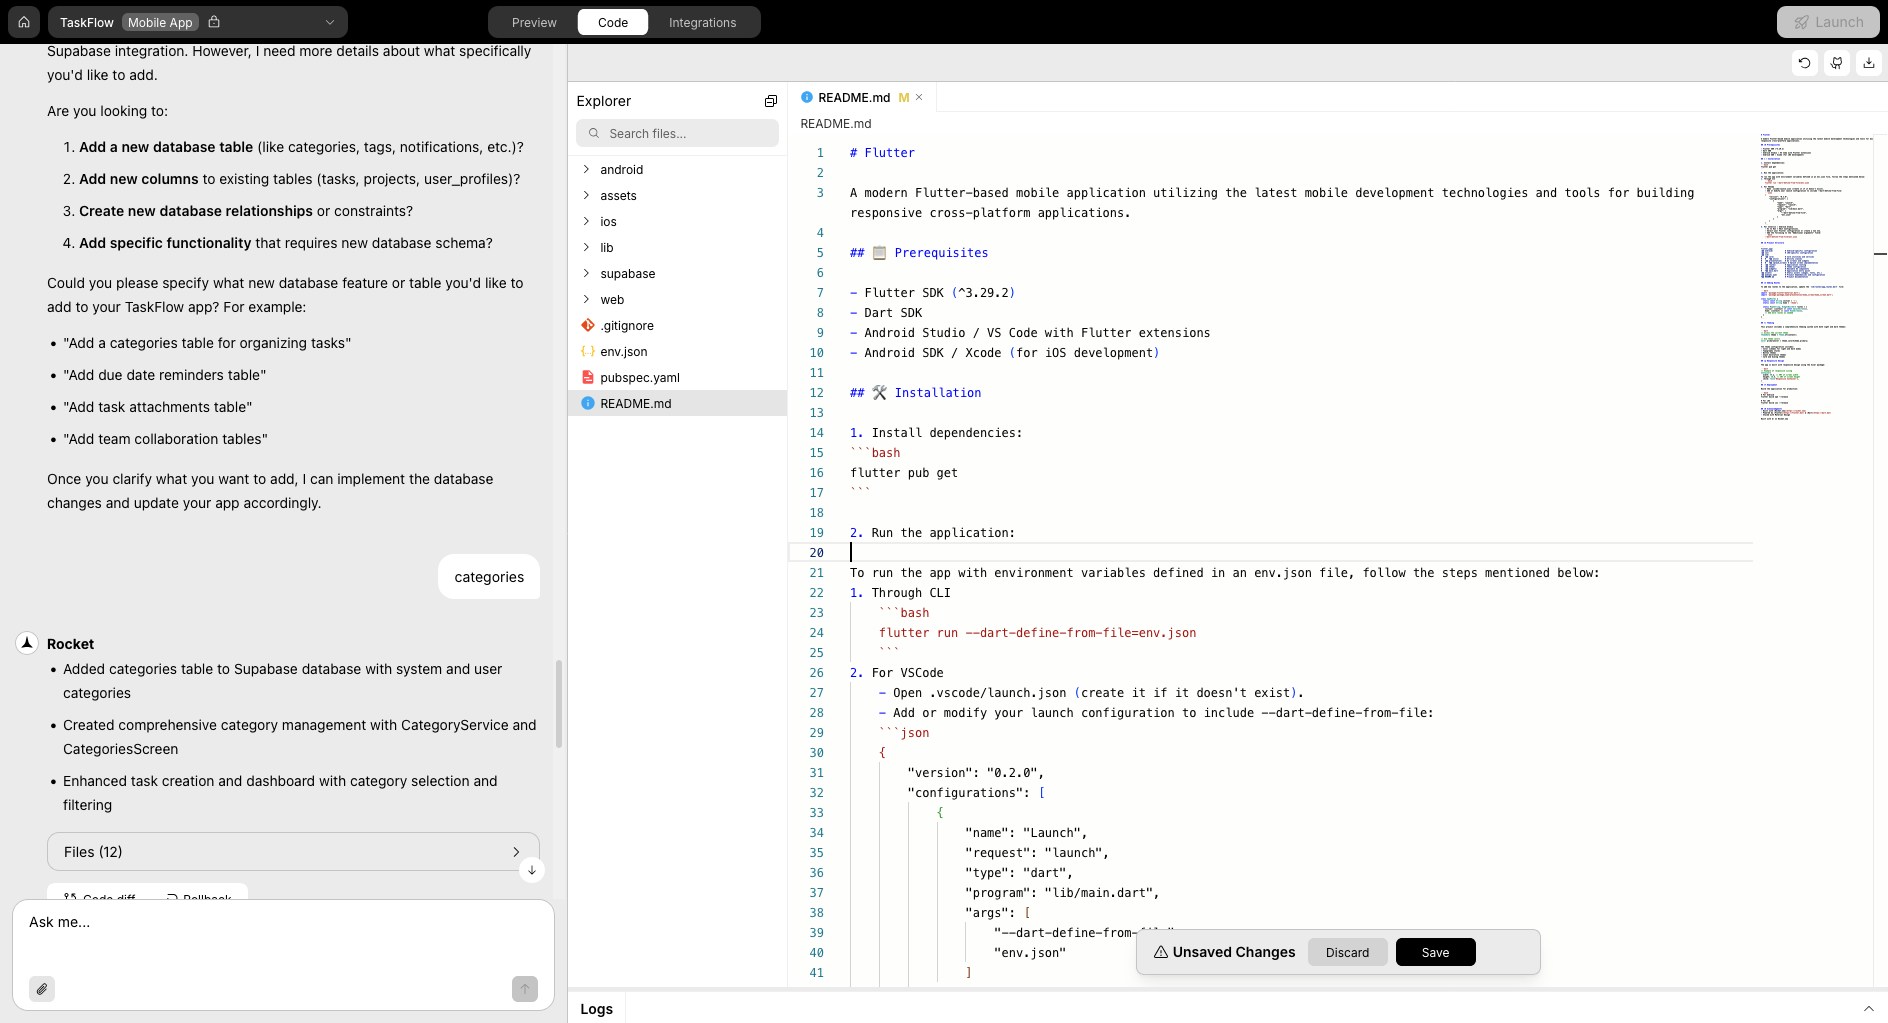
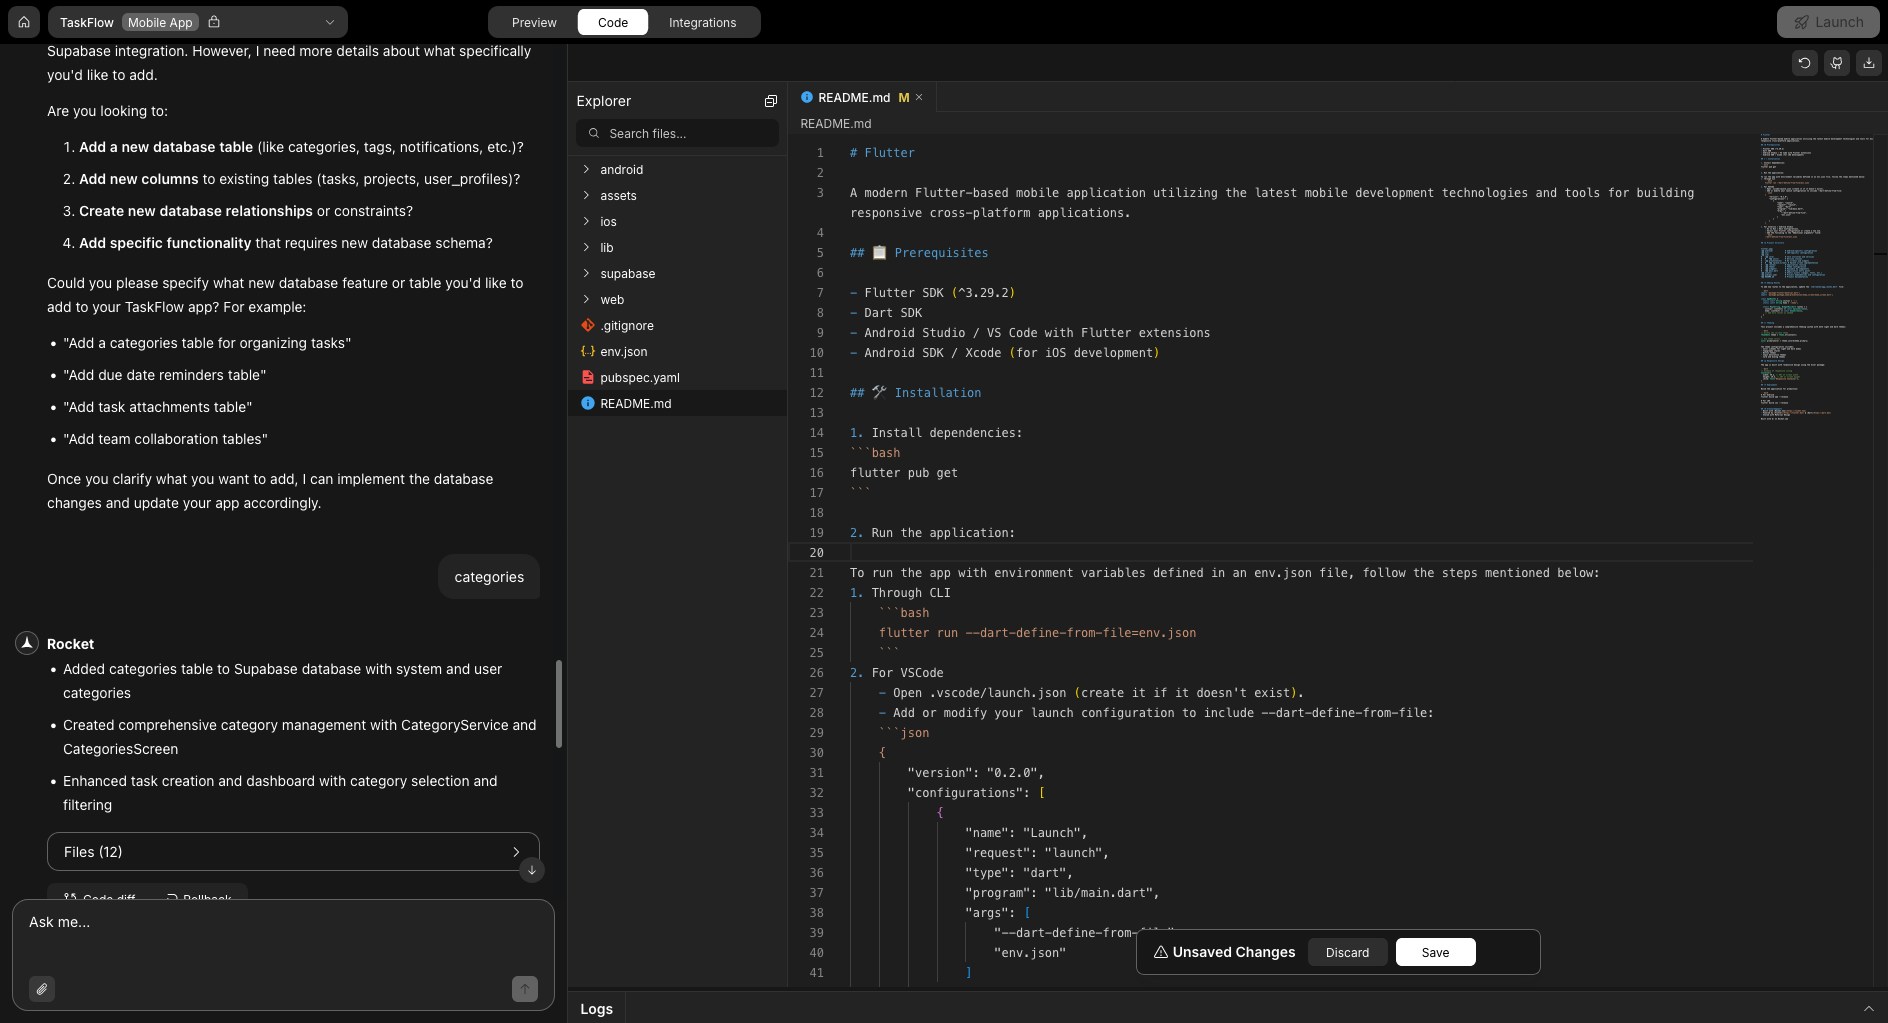
Success check: Your changes are saved and reflected in the file.
If you’re editing configuration files like
tailwind.config.js or package.json, your changes may affect how your app compiles or behaves.If something breaks, you can always revert or refresh.Manage secret keys in your environment file
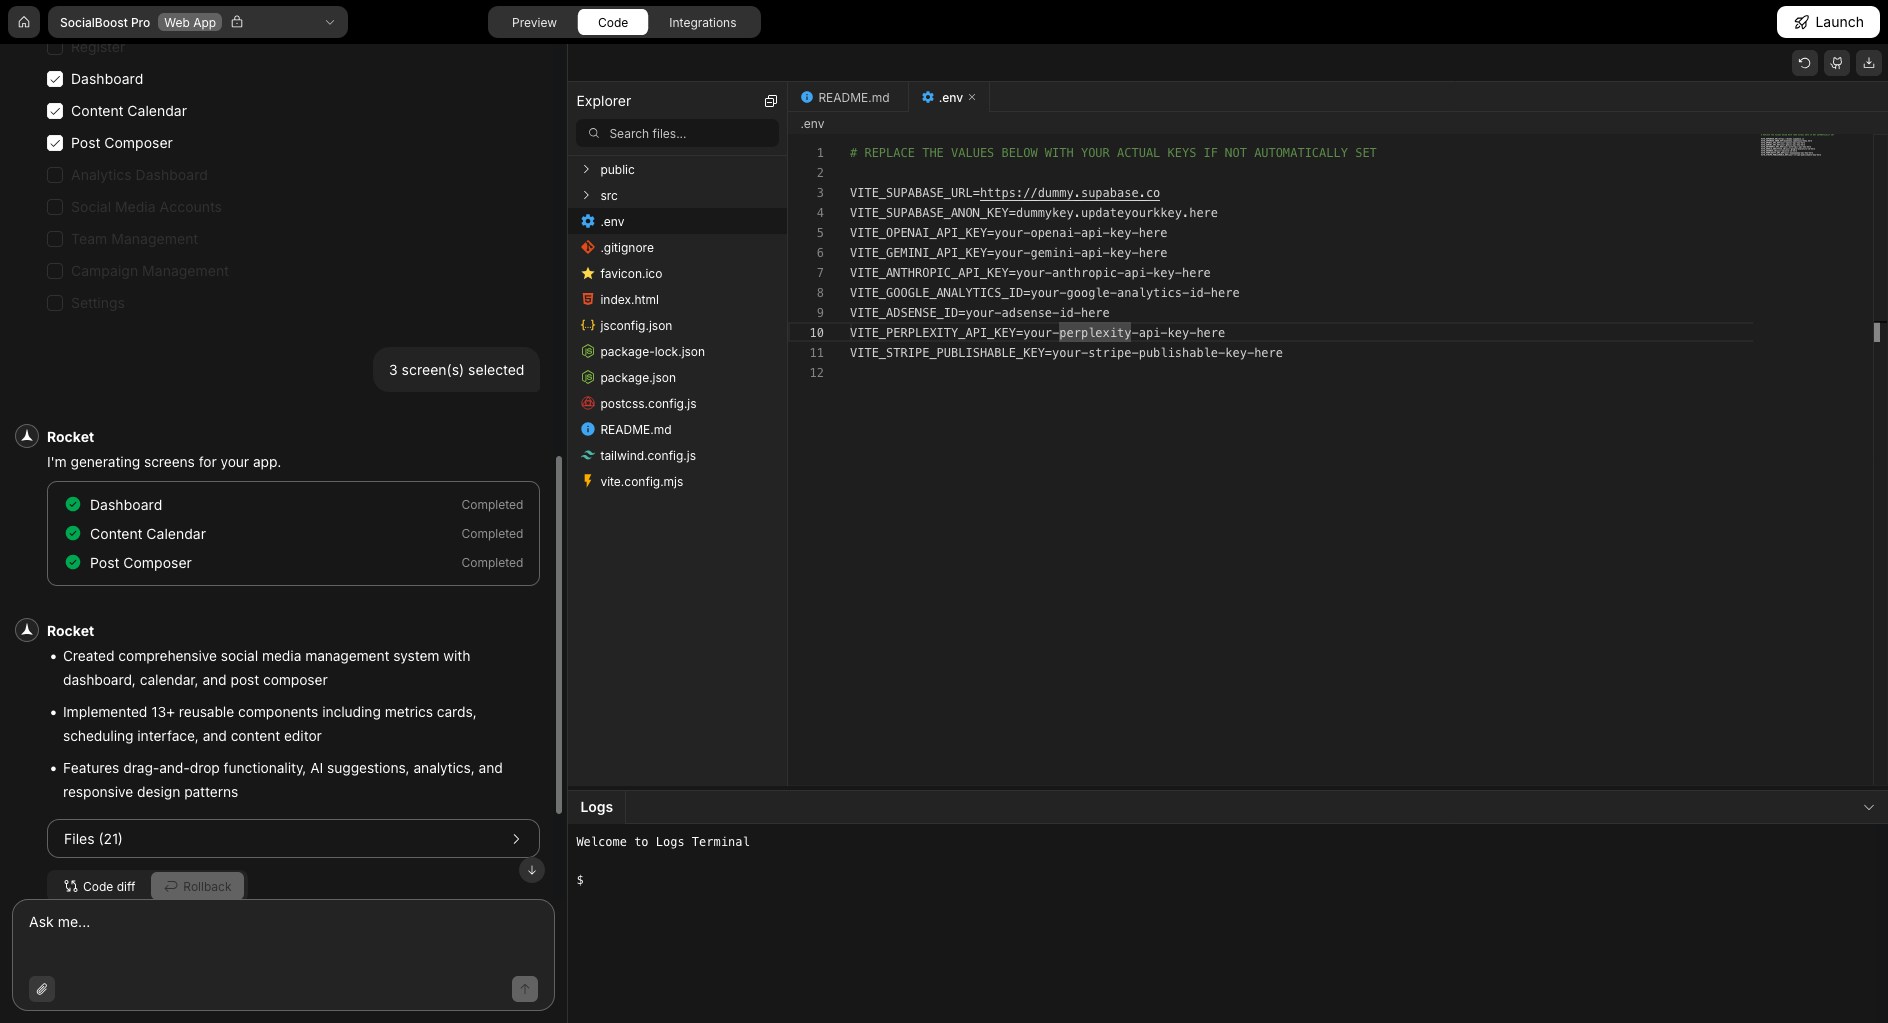
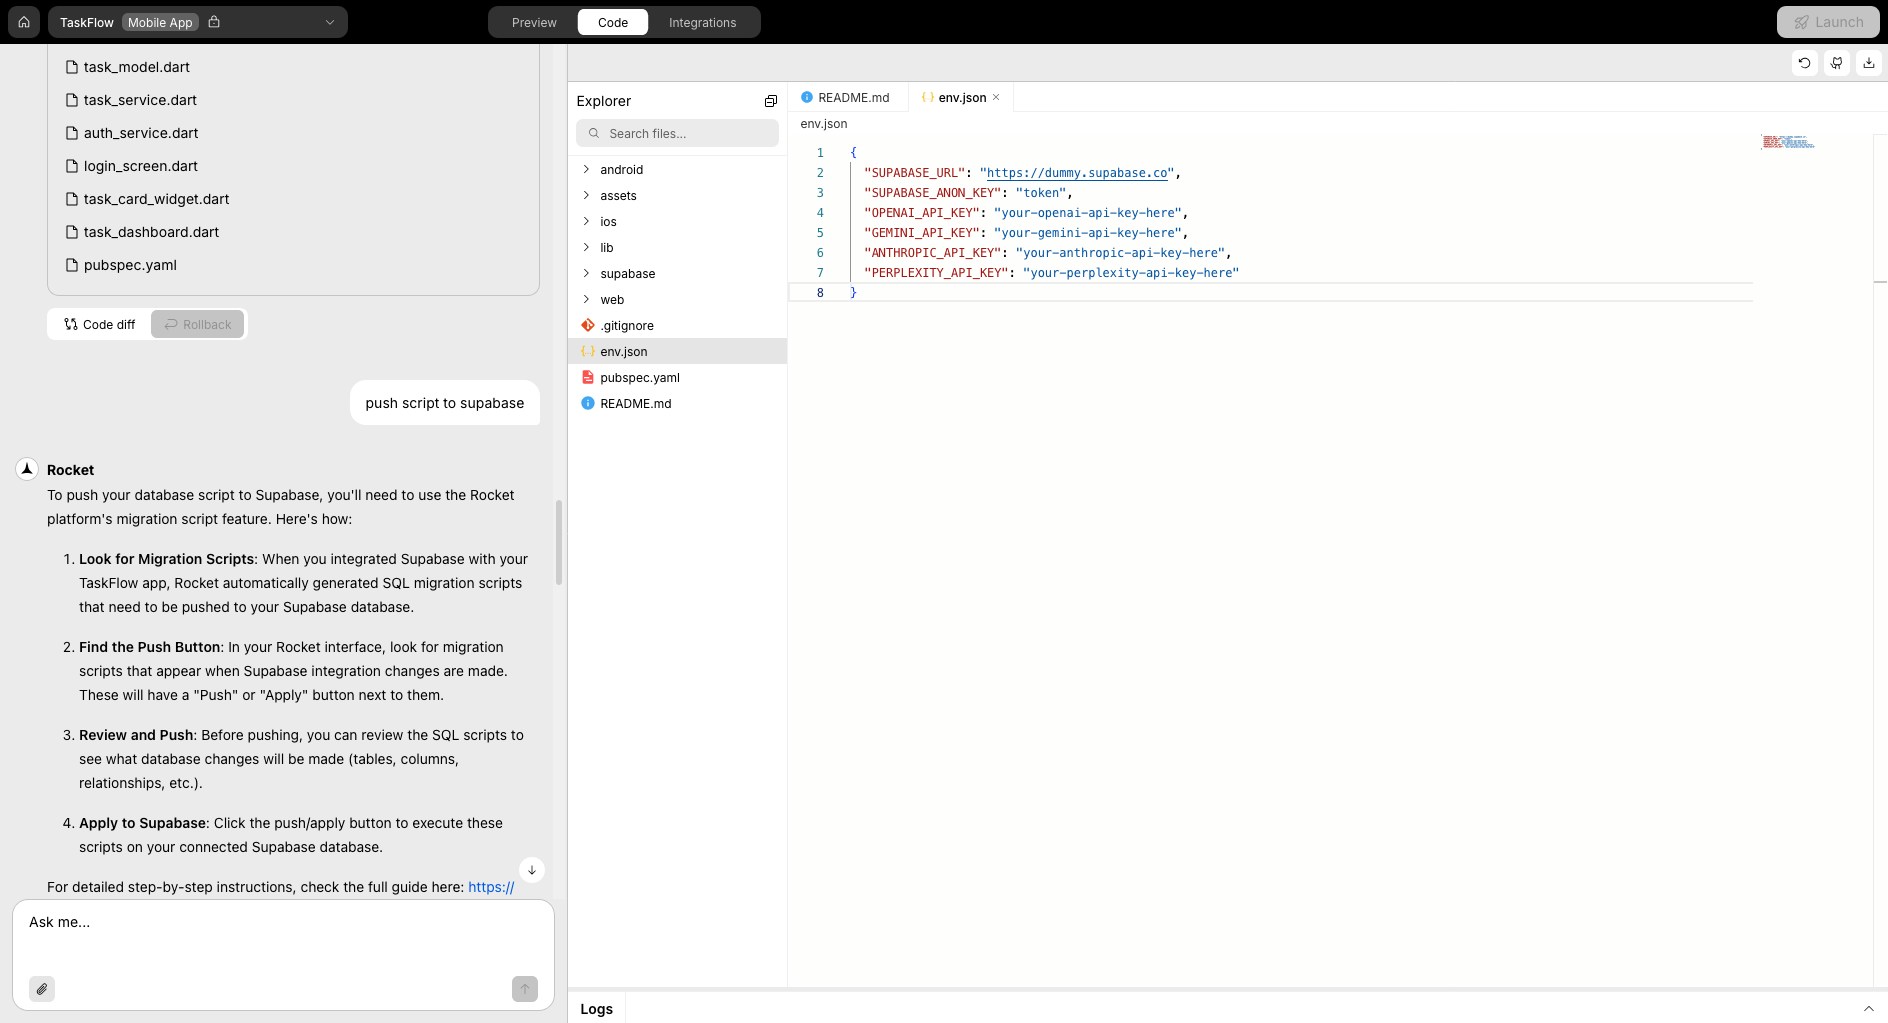
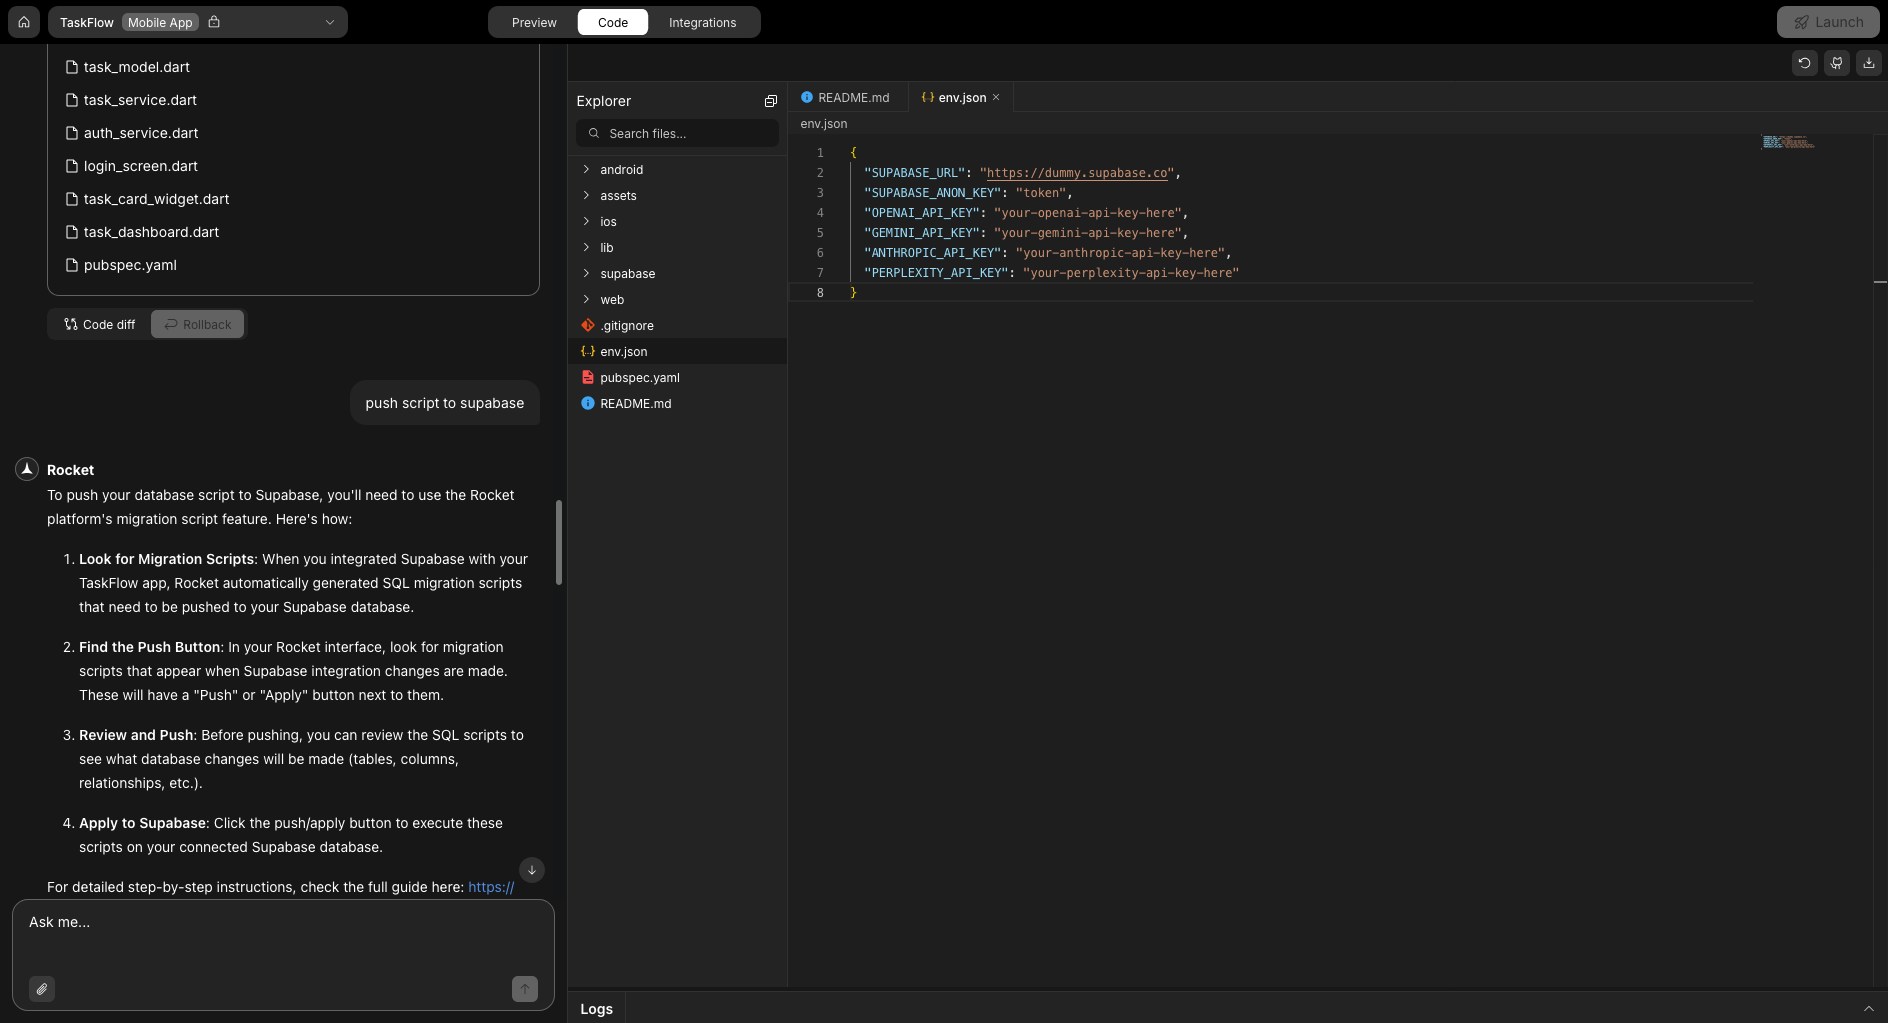
Manage secret keys in your environment file
What is this? Store and manage API keys and environment variables securely in your project. Update existing keys or add new ones without leaving Rocket.
Important: Your environment file stores secret API keys and config values. Never share it unless you’re sure it’s secure.
- Mobile apps use
env.json. - Web apps use
.env.
To update an existing key
- Open the relevant file.
- Find the key and replace its value.
- Press Save.
Example: Updating Supabase? Change bothSUPABASE_URLandSUPABASE_ANON_KEY. Rocket applies them automatically wherever they’re referenced.
- Mobile (env.json)
- Web (.env)


To add a new key
- Open
env.json(for mobile) or.env(for web). - Add a new line, for example:
STRIPE_PUBLISHABLE_KEY=your-stripe-publishable-key-here - Click Save.
“Use STRIPE_PUBLISHABLE_KEY to load the map on the home screen.”
- Mobile (env.json)
- Web (.env)


Tip: Use clear, specific key names so Rocket can recognize and apply them accurately.
Track build logs and debug output
Track build logs and debug output
What is this? Monitor your app’s build process and debug output in real time. See errors, warnings, and build status as you work, helping you catch issues early.
- Monitor app builds and auto reloads.
- Catch errors or warnings early.
- Confirm that updates were successful.


Success check: Logs update automatically after each change.
You don’t need to run commands here. Logs provide a live feed of activity while you work.
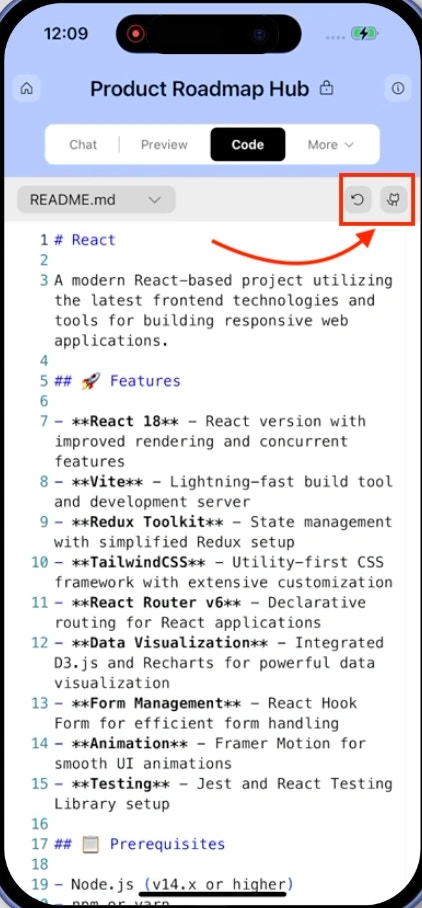
Refresh editor
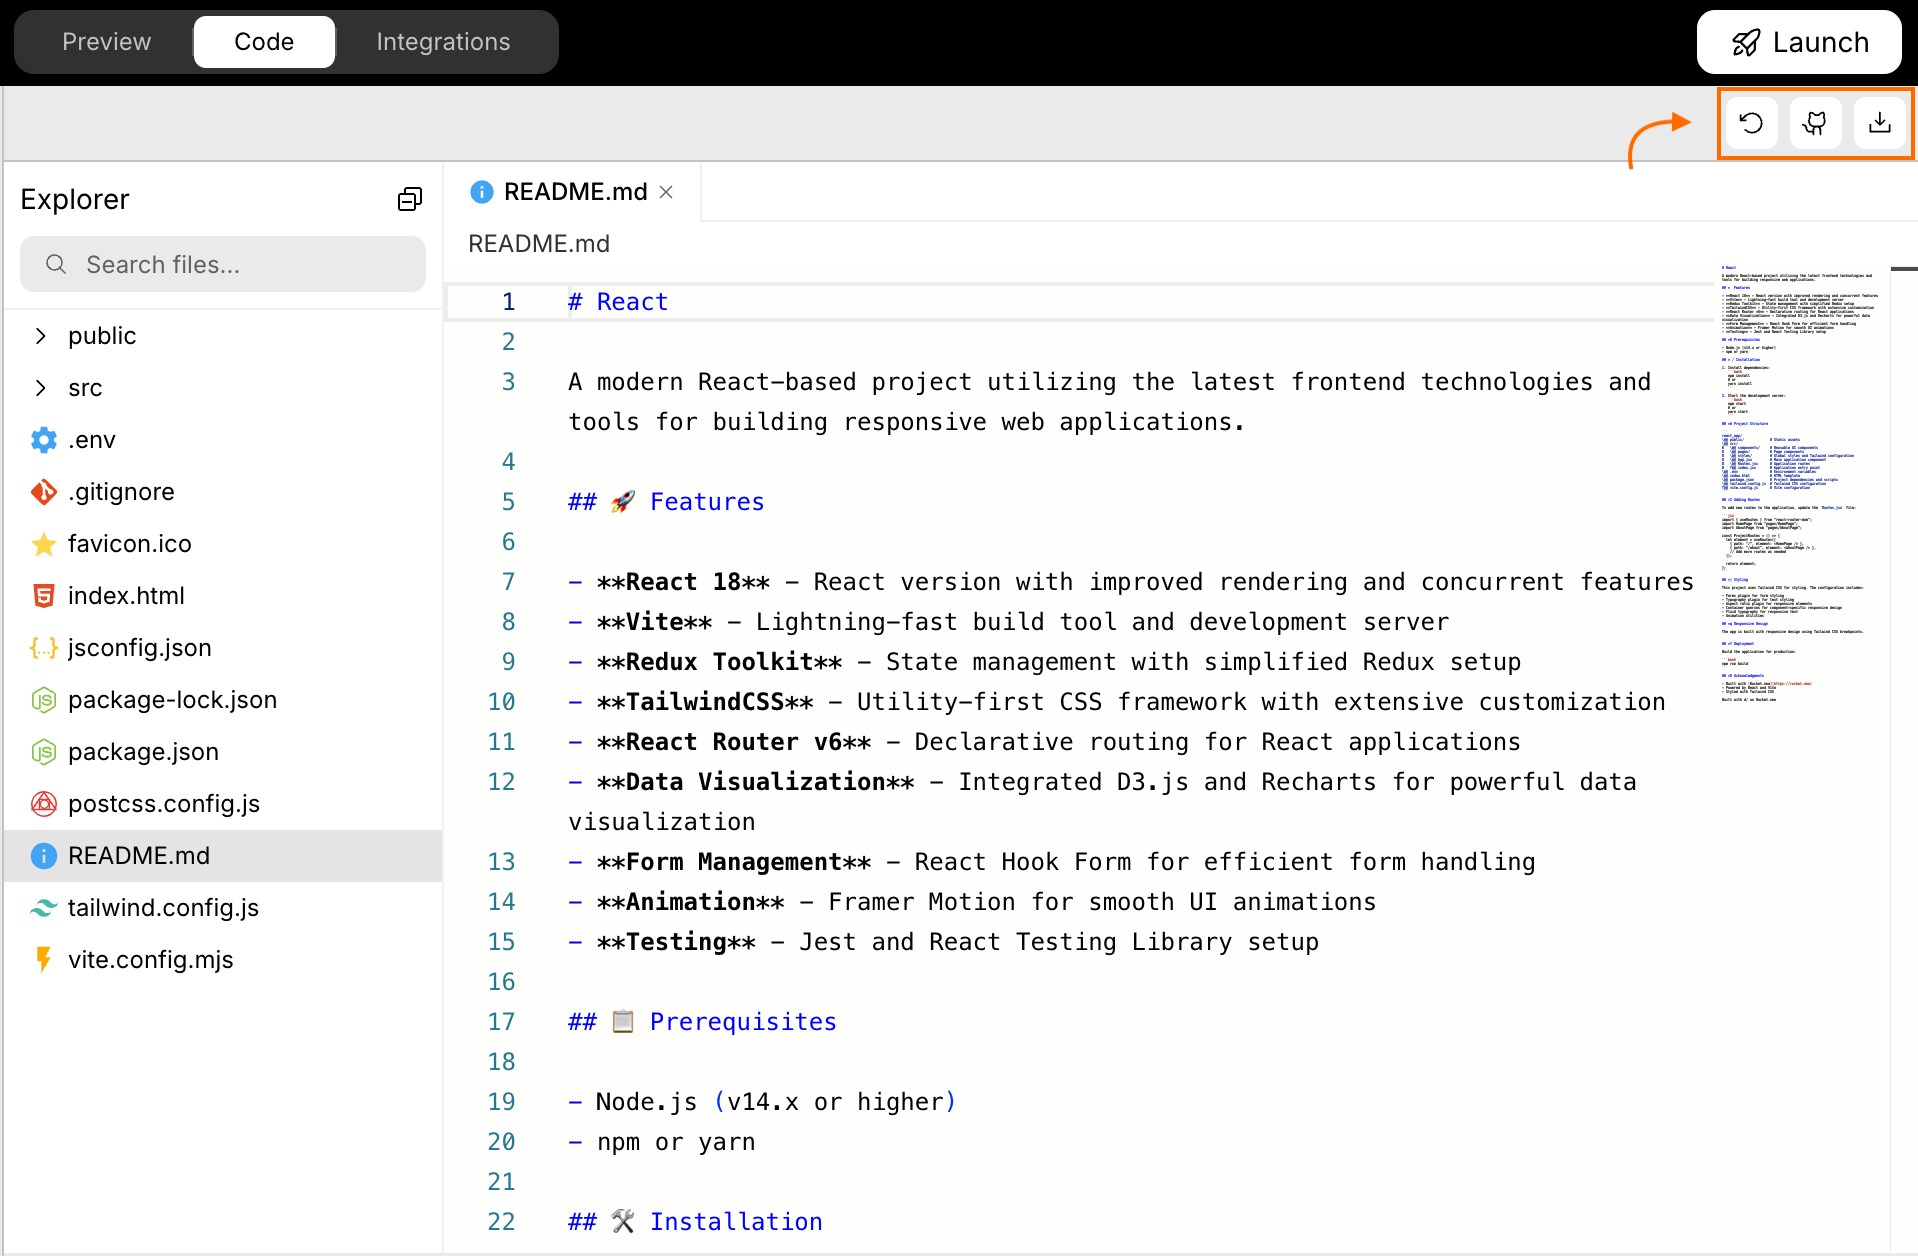
Refresh editor
What is this? Reload your editor and file tree to see the latest state of your project. Use this when files don’t seem to update or you want to ensure you’re seeing the current version.
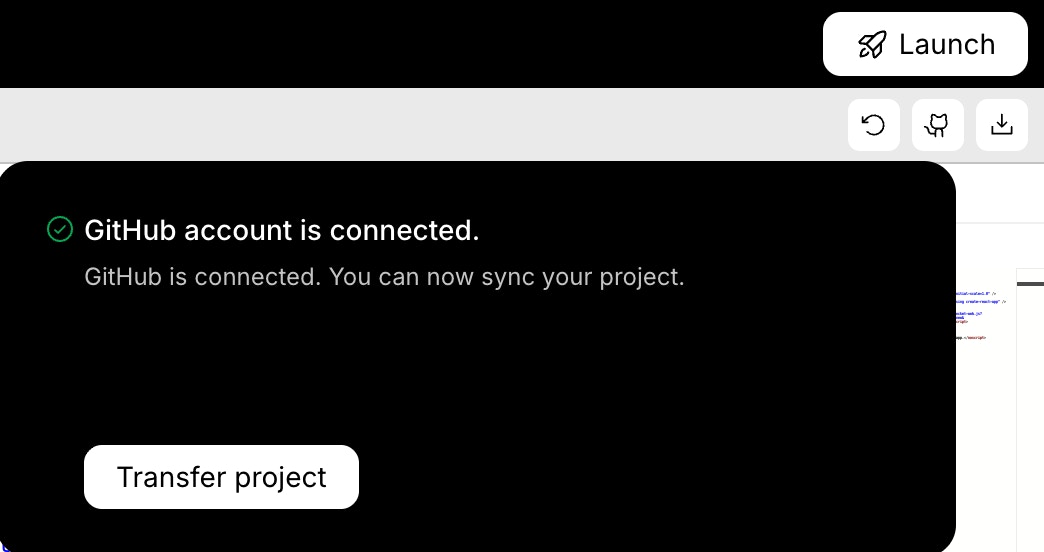
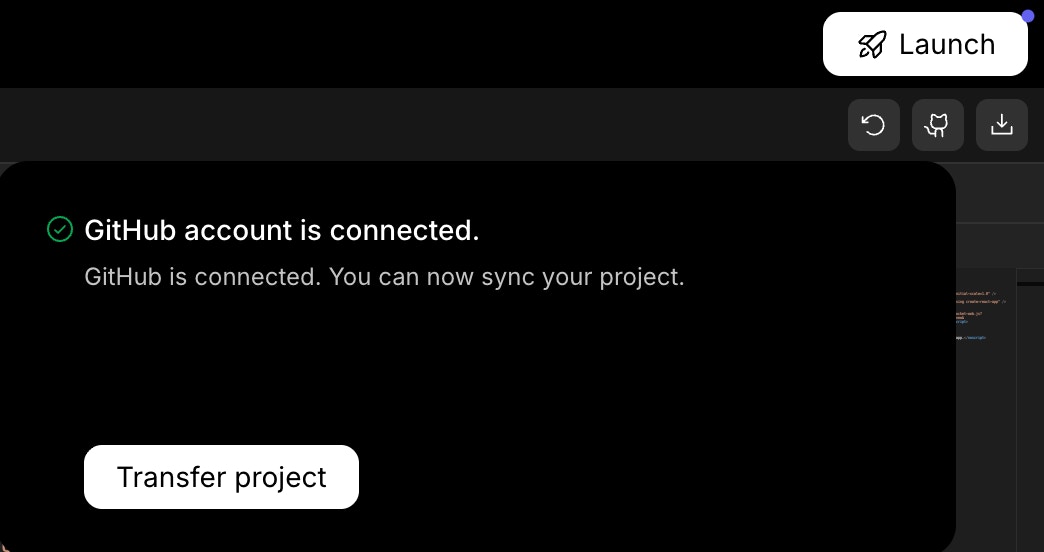
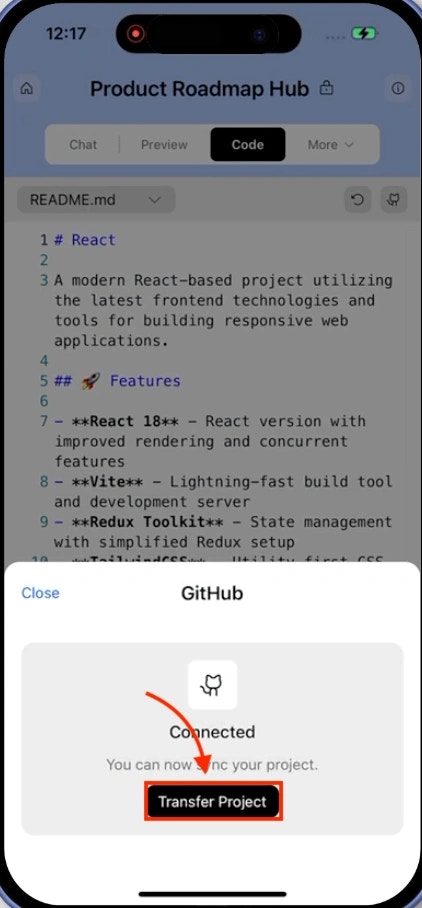
Transfer to GitHub
Transfer to GitHub
What is this? Connect your project to a GitHub repository for version control and backup. Keep your code safe and enable collaboration with team members.
- Connect your GitHub account.
Want to track changes or collaborate with others?
Learn how to connect your project to GitHub.
Learn how to connect your project to GitHub.
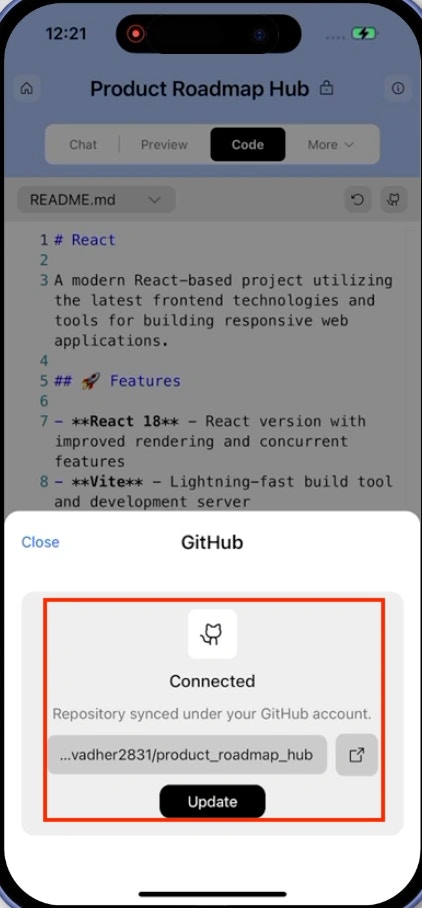
- Click Transfer project to create a new repo.
- After transfer, use the Update button to push changes.
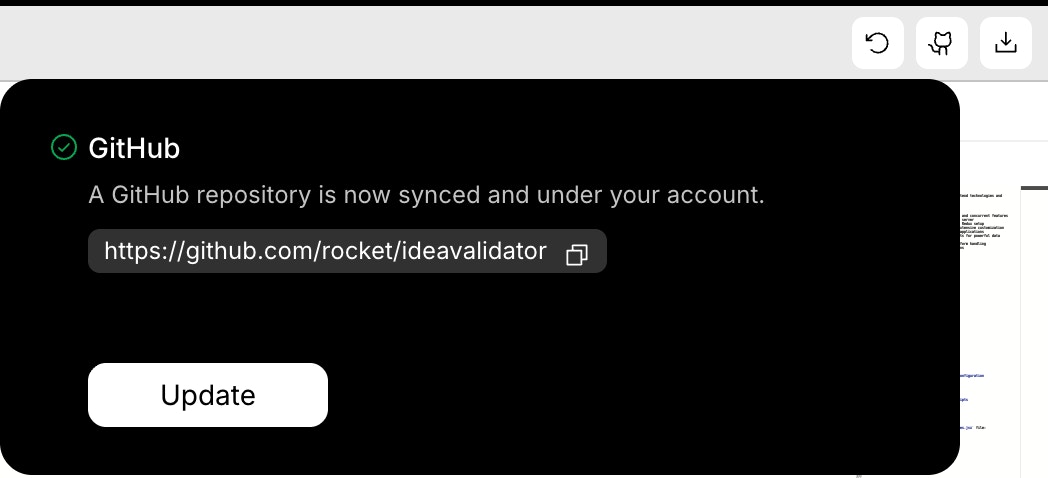
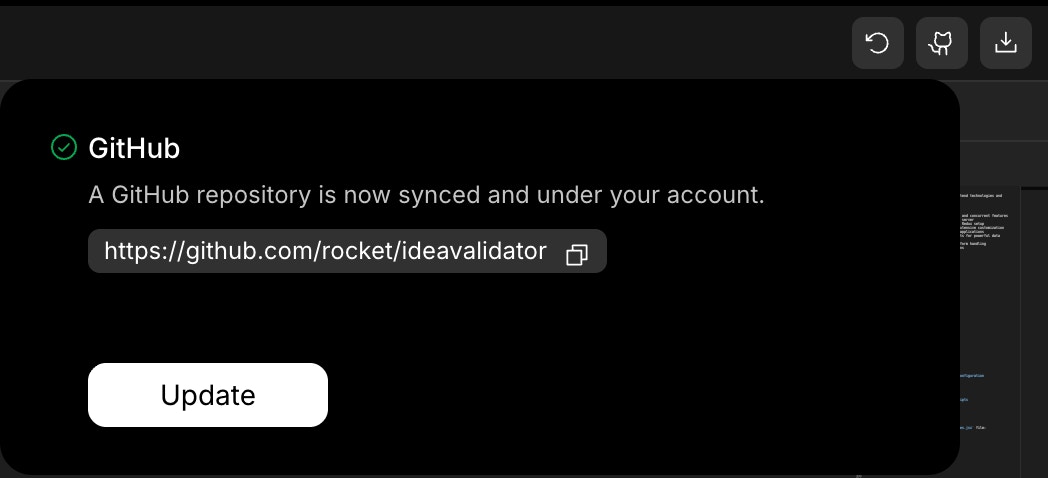
Note: GitHub sync is one-way. Changes made in GitHub won’t appear in Rocket. Only the
main branch is supported.Heads-up: GitHub option is available only for paid users.
Download project source code
Download project source code
What is this? Export your entire project as a zip file. Perfect for working offline, sharing with others, or creating a local backup of your code.
.zip file that you can open locally.Heads-up: Download option is available only for paid users.
You did it!
You explored, edited, and debugged your app using Rocket’s code-view.