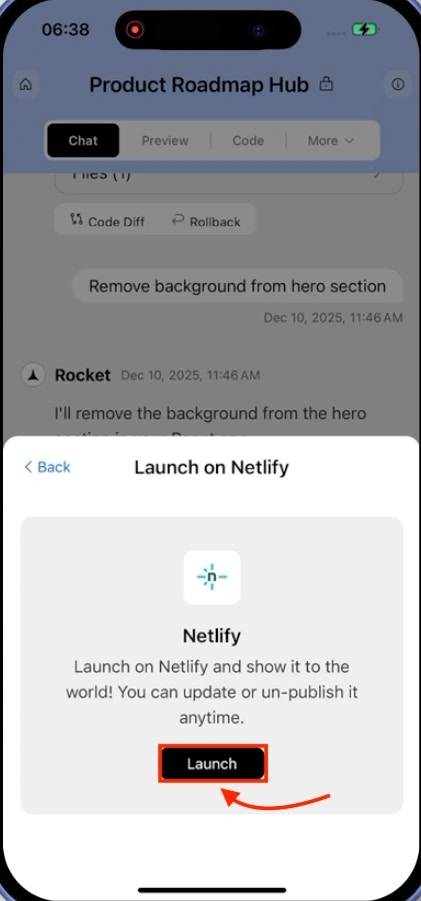
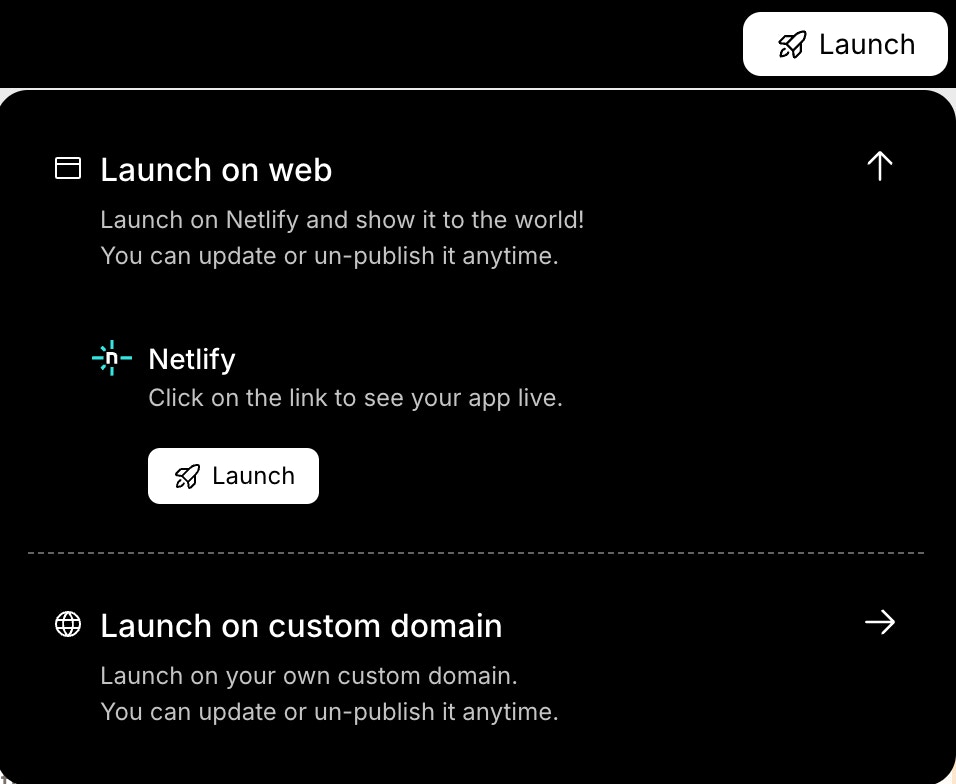
Launch your web app to the internet with a single click. Rocket publishes your app through Netlify (the hosting service that puts your app on the internet) automatically, giving you a public URL you can share with users, clients, or testers.Update or unpublish anytime.
Why launch to web
- Share a live link instantly - send a URL to clients, teammates, or testers without zipping files or setting up hosting
- Get indexed by search engines - deployed sites are crawlable by Google, which means your content can start ranking
- Connect a custom domain - point your own domain at the deployed site for a production-ready presence
- Push updates in one click - every time you improve your app, hit Update to publish the latest version to the same URL
- Web Browser
- Mobile App
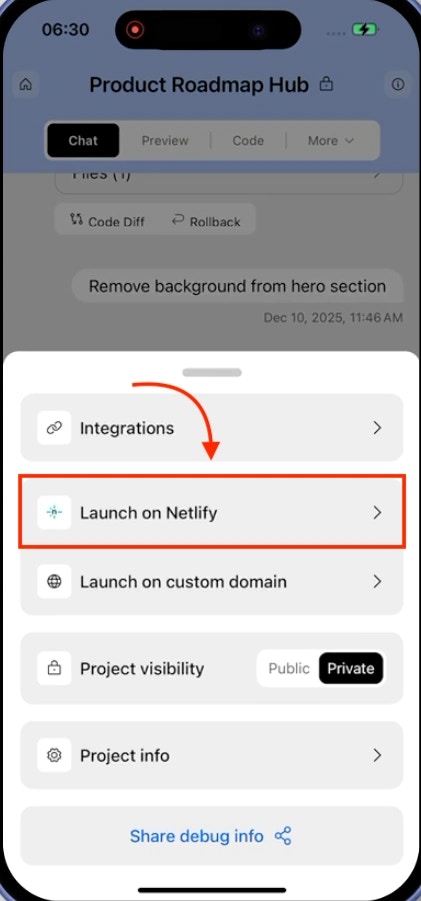
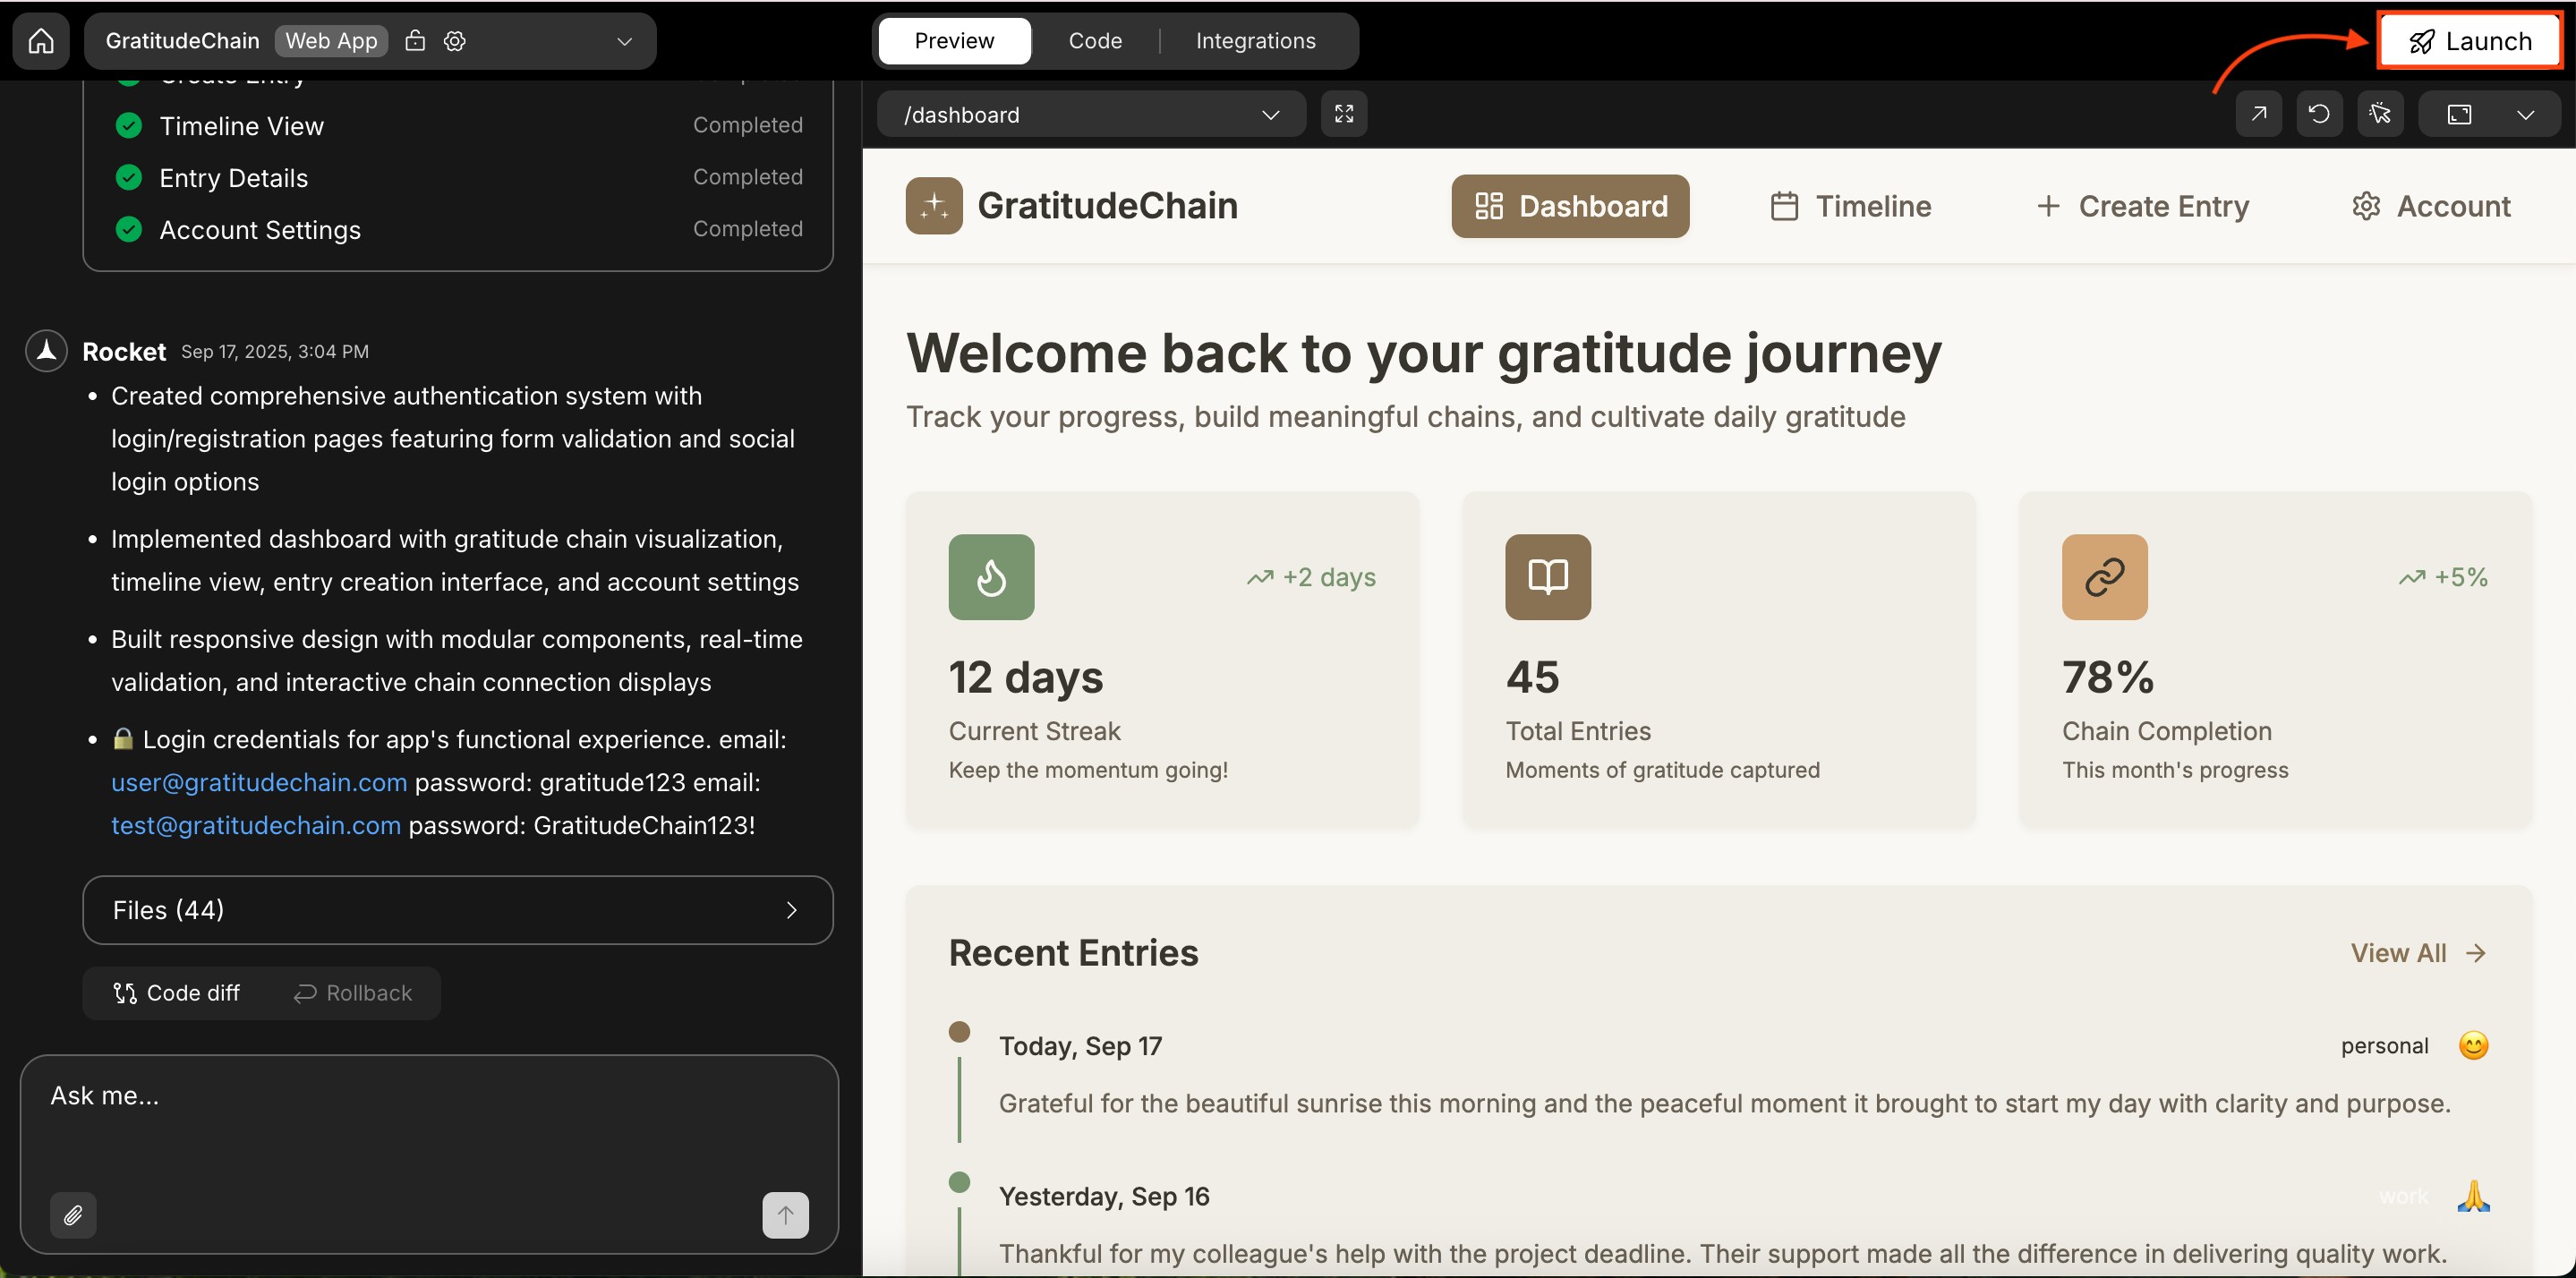
Launch your app
Open your project
Open your app in Rocket and click the Launch button in the top-right corner.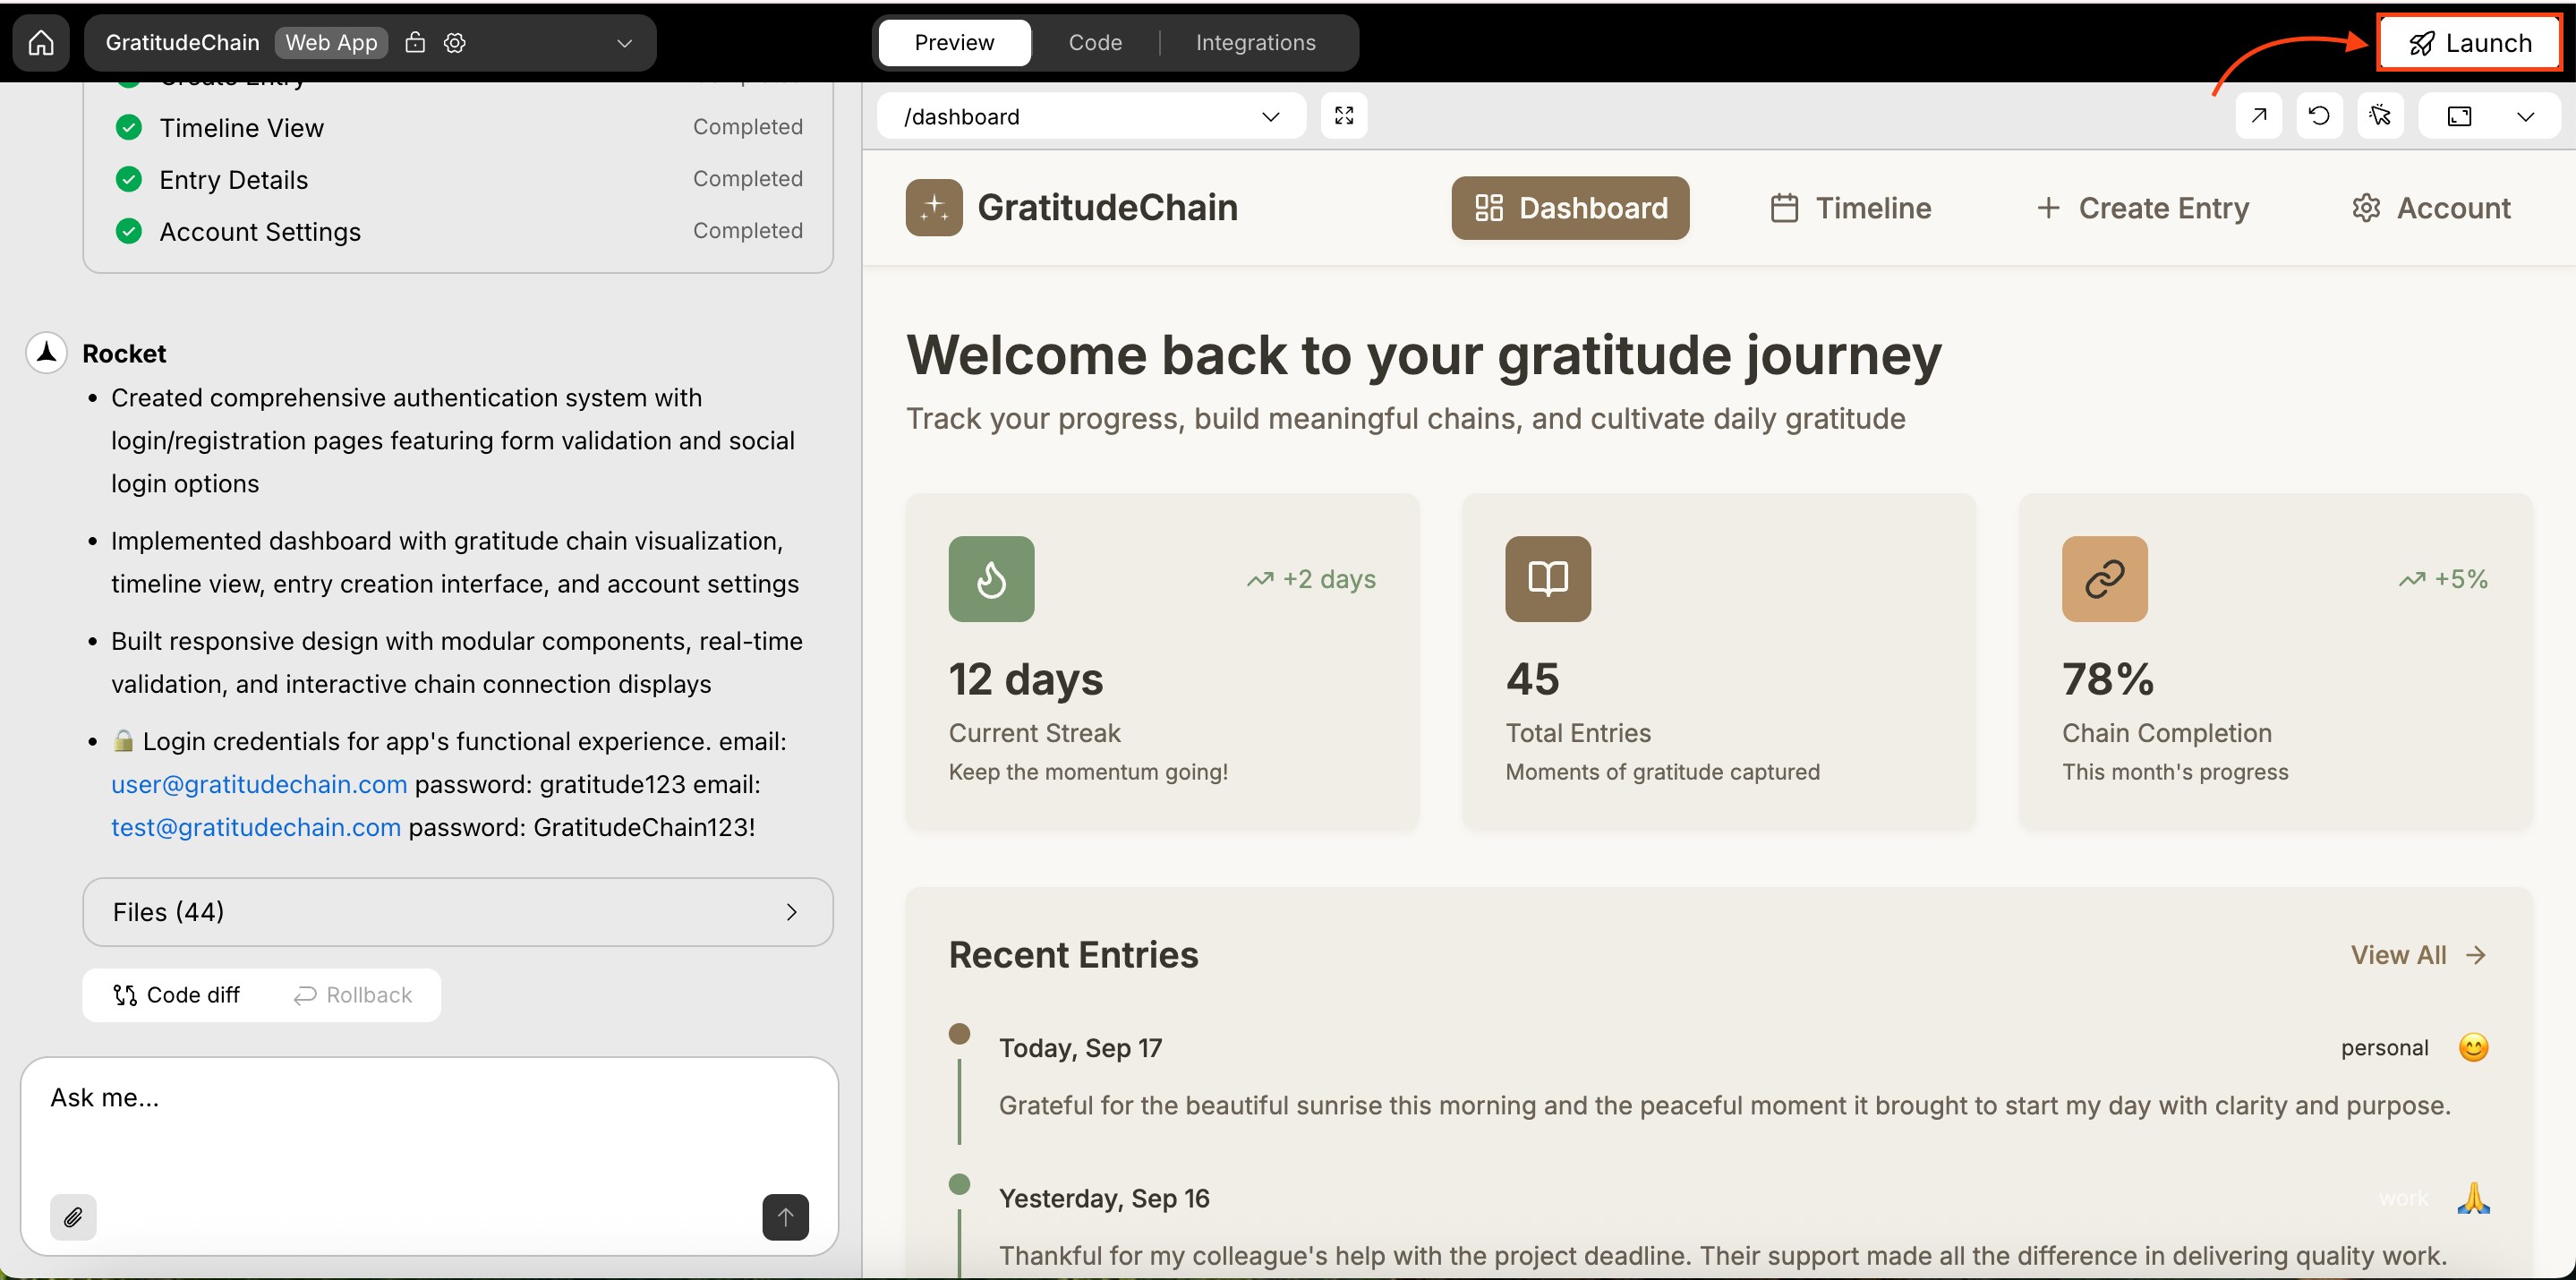
Click Launch
Click Launch on Web in the popup.
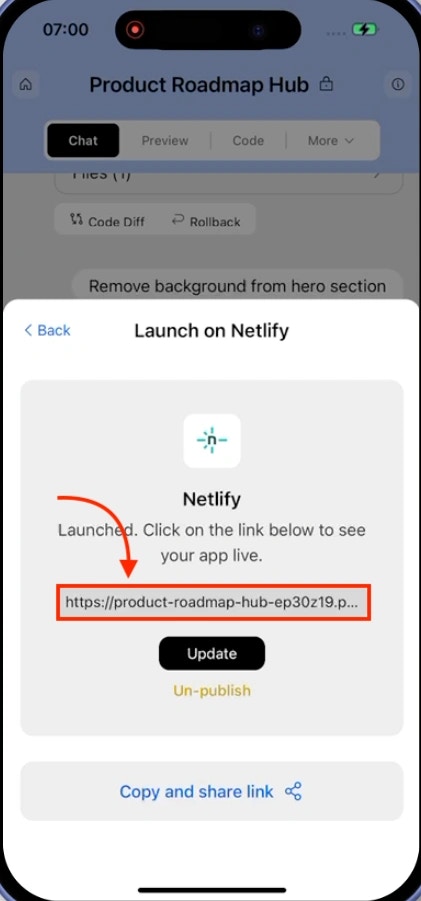
Your app is live
When deployment finishes, you will see a success screen with your public URL.
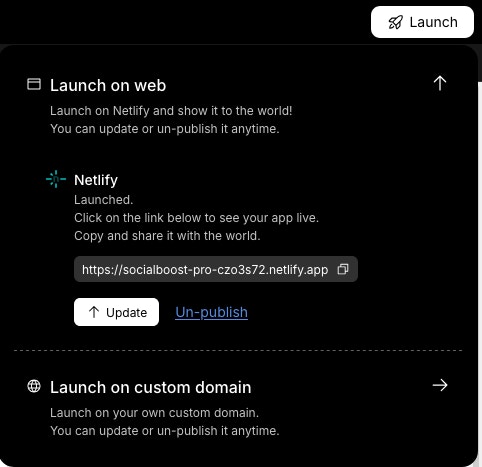
- A link to open your app
- Update button to republish with changes
- Unpublish link to take it offline
First time launching? Rocket uses a default Netlify account if you have not connected your own.
Update or unpublish
- Update publishes your latest changes to the same URL.
- Unpublish removes the app and disables the public link.

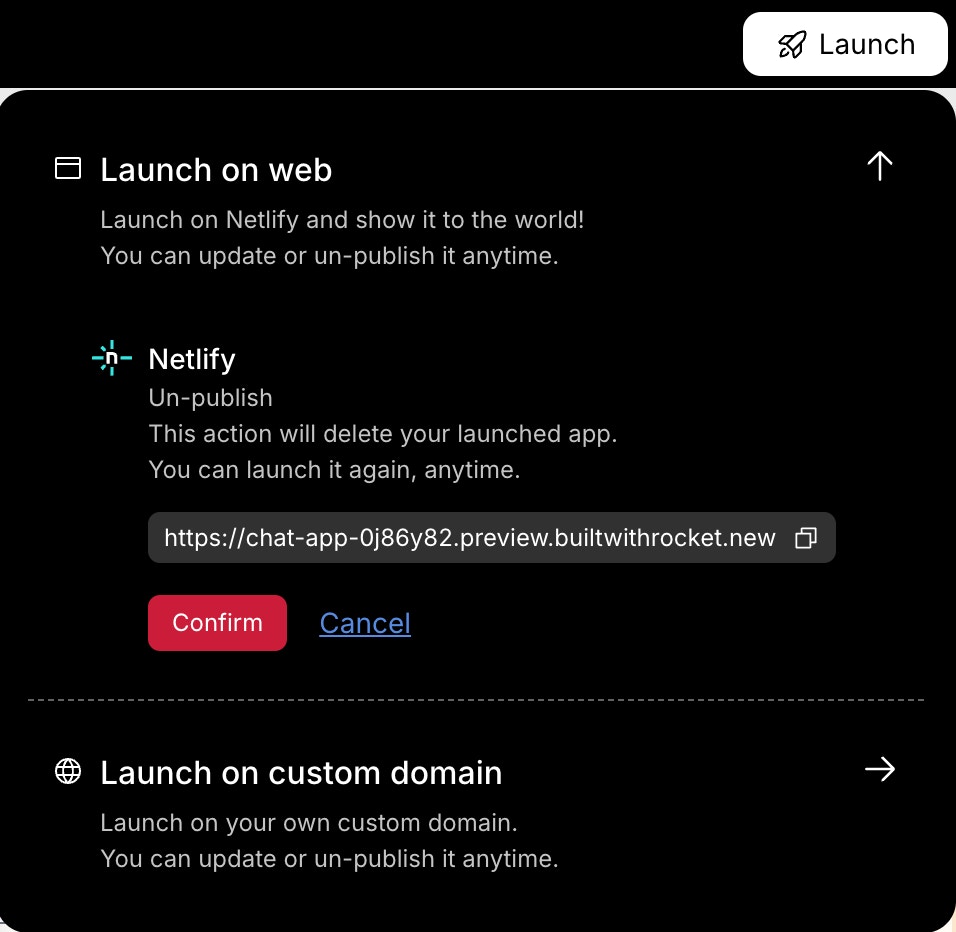
Free users cannot unpublish apps and will see a Built with Rocket badge on the public site. Upgrade to remove the badge and access unpublish options.