What you can build
User authentication
Sign-up, login, password reset, and protected routes. Supports email/password and social providers like Google and GitHub.
Database and content
Store and manage structured data with a PostgreSQL database. Control who can read or edit each row with row-level security policies.
Real-time updates
Push live changes to your UI instantly when rows are inserted, updated, or deleted in your database.
File uploads and storage
Let users upload images, documents, or other files with secure access controls and organized storage buckets.
Multi-tenant apps
Build SaaS products where each organization sees only its own data, with invite flows and role management.
Edge functions
Run server-side logic like sending emails or calling third-party APIs without exposing secret keys to the client.
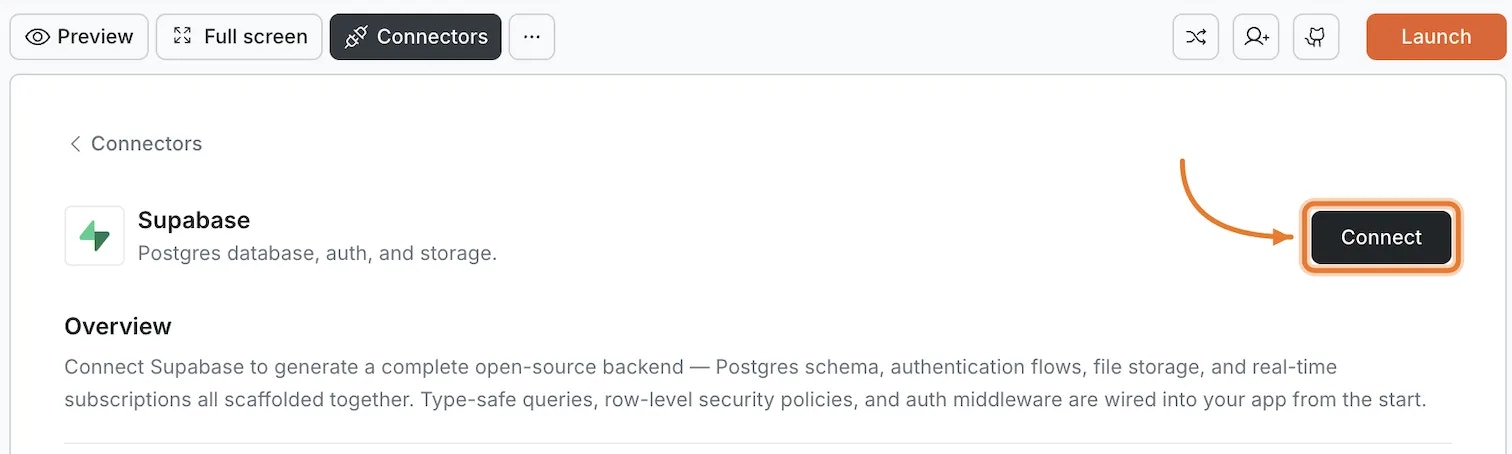
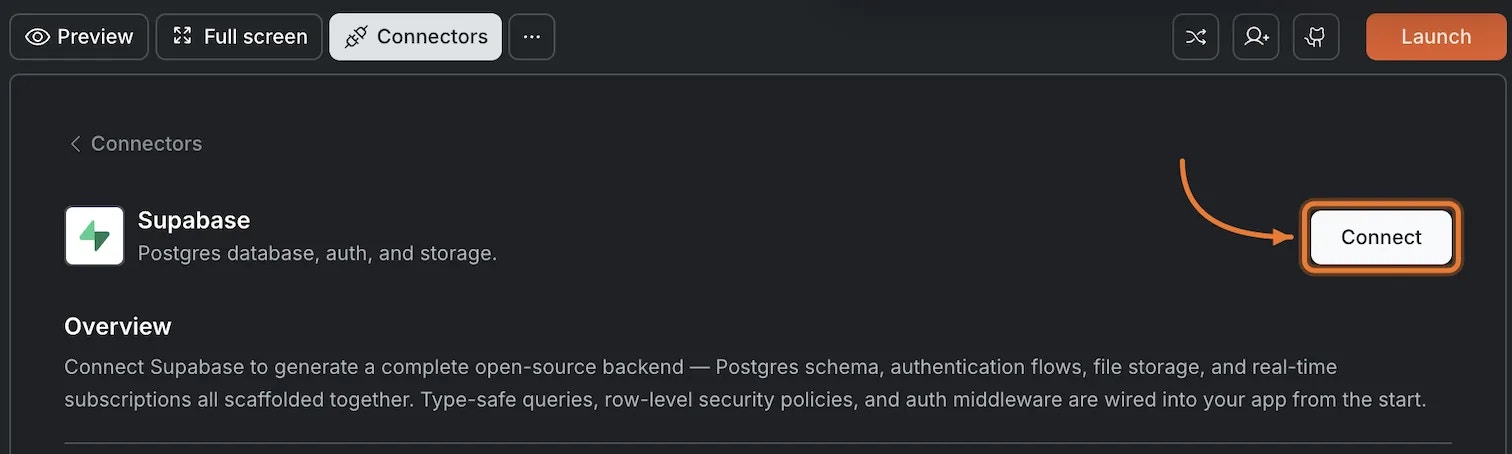
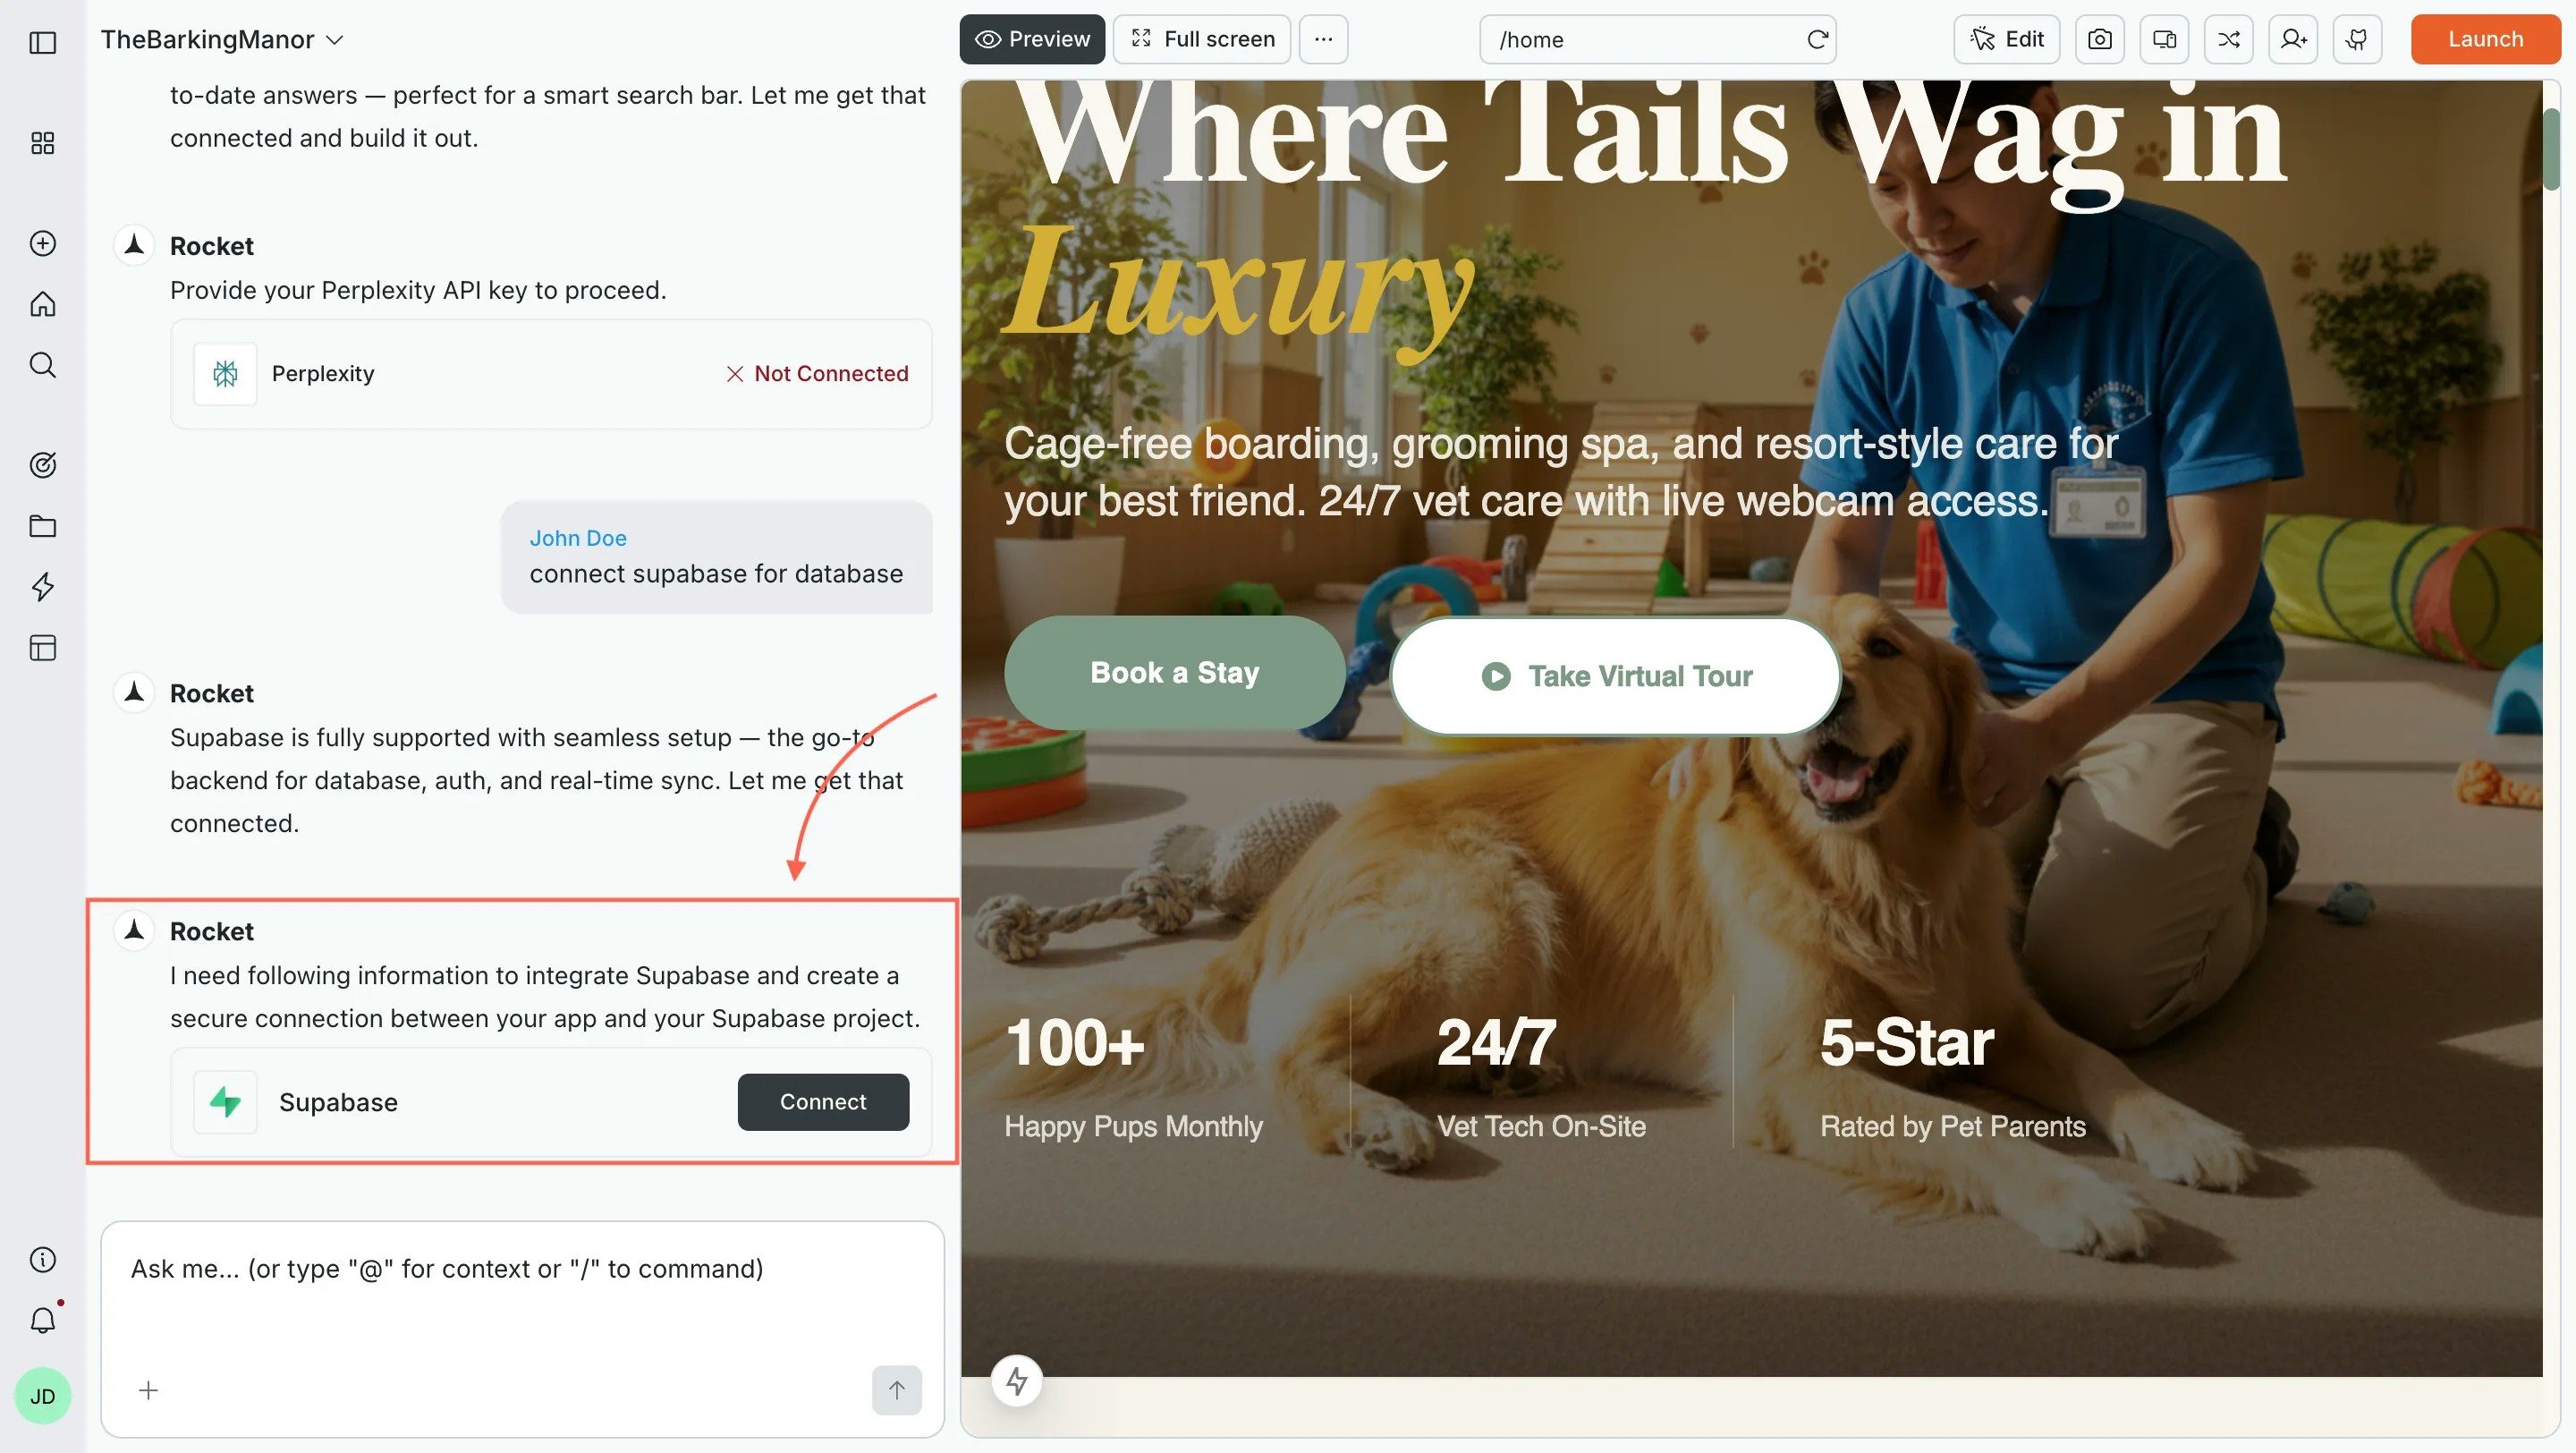
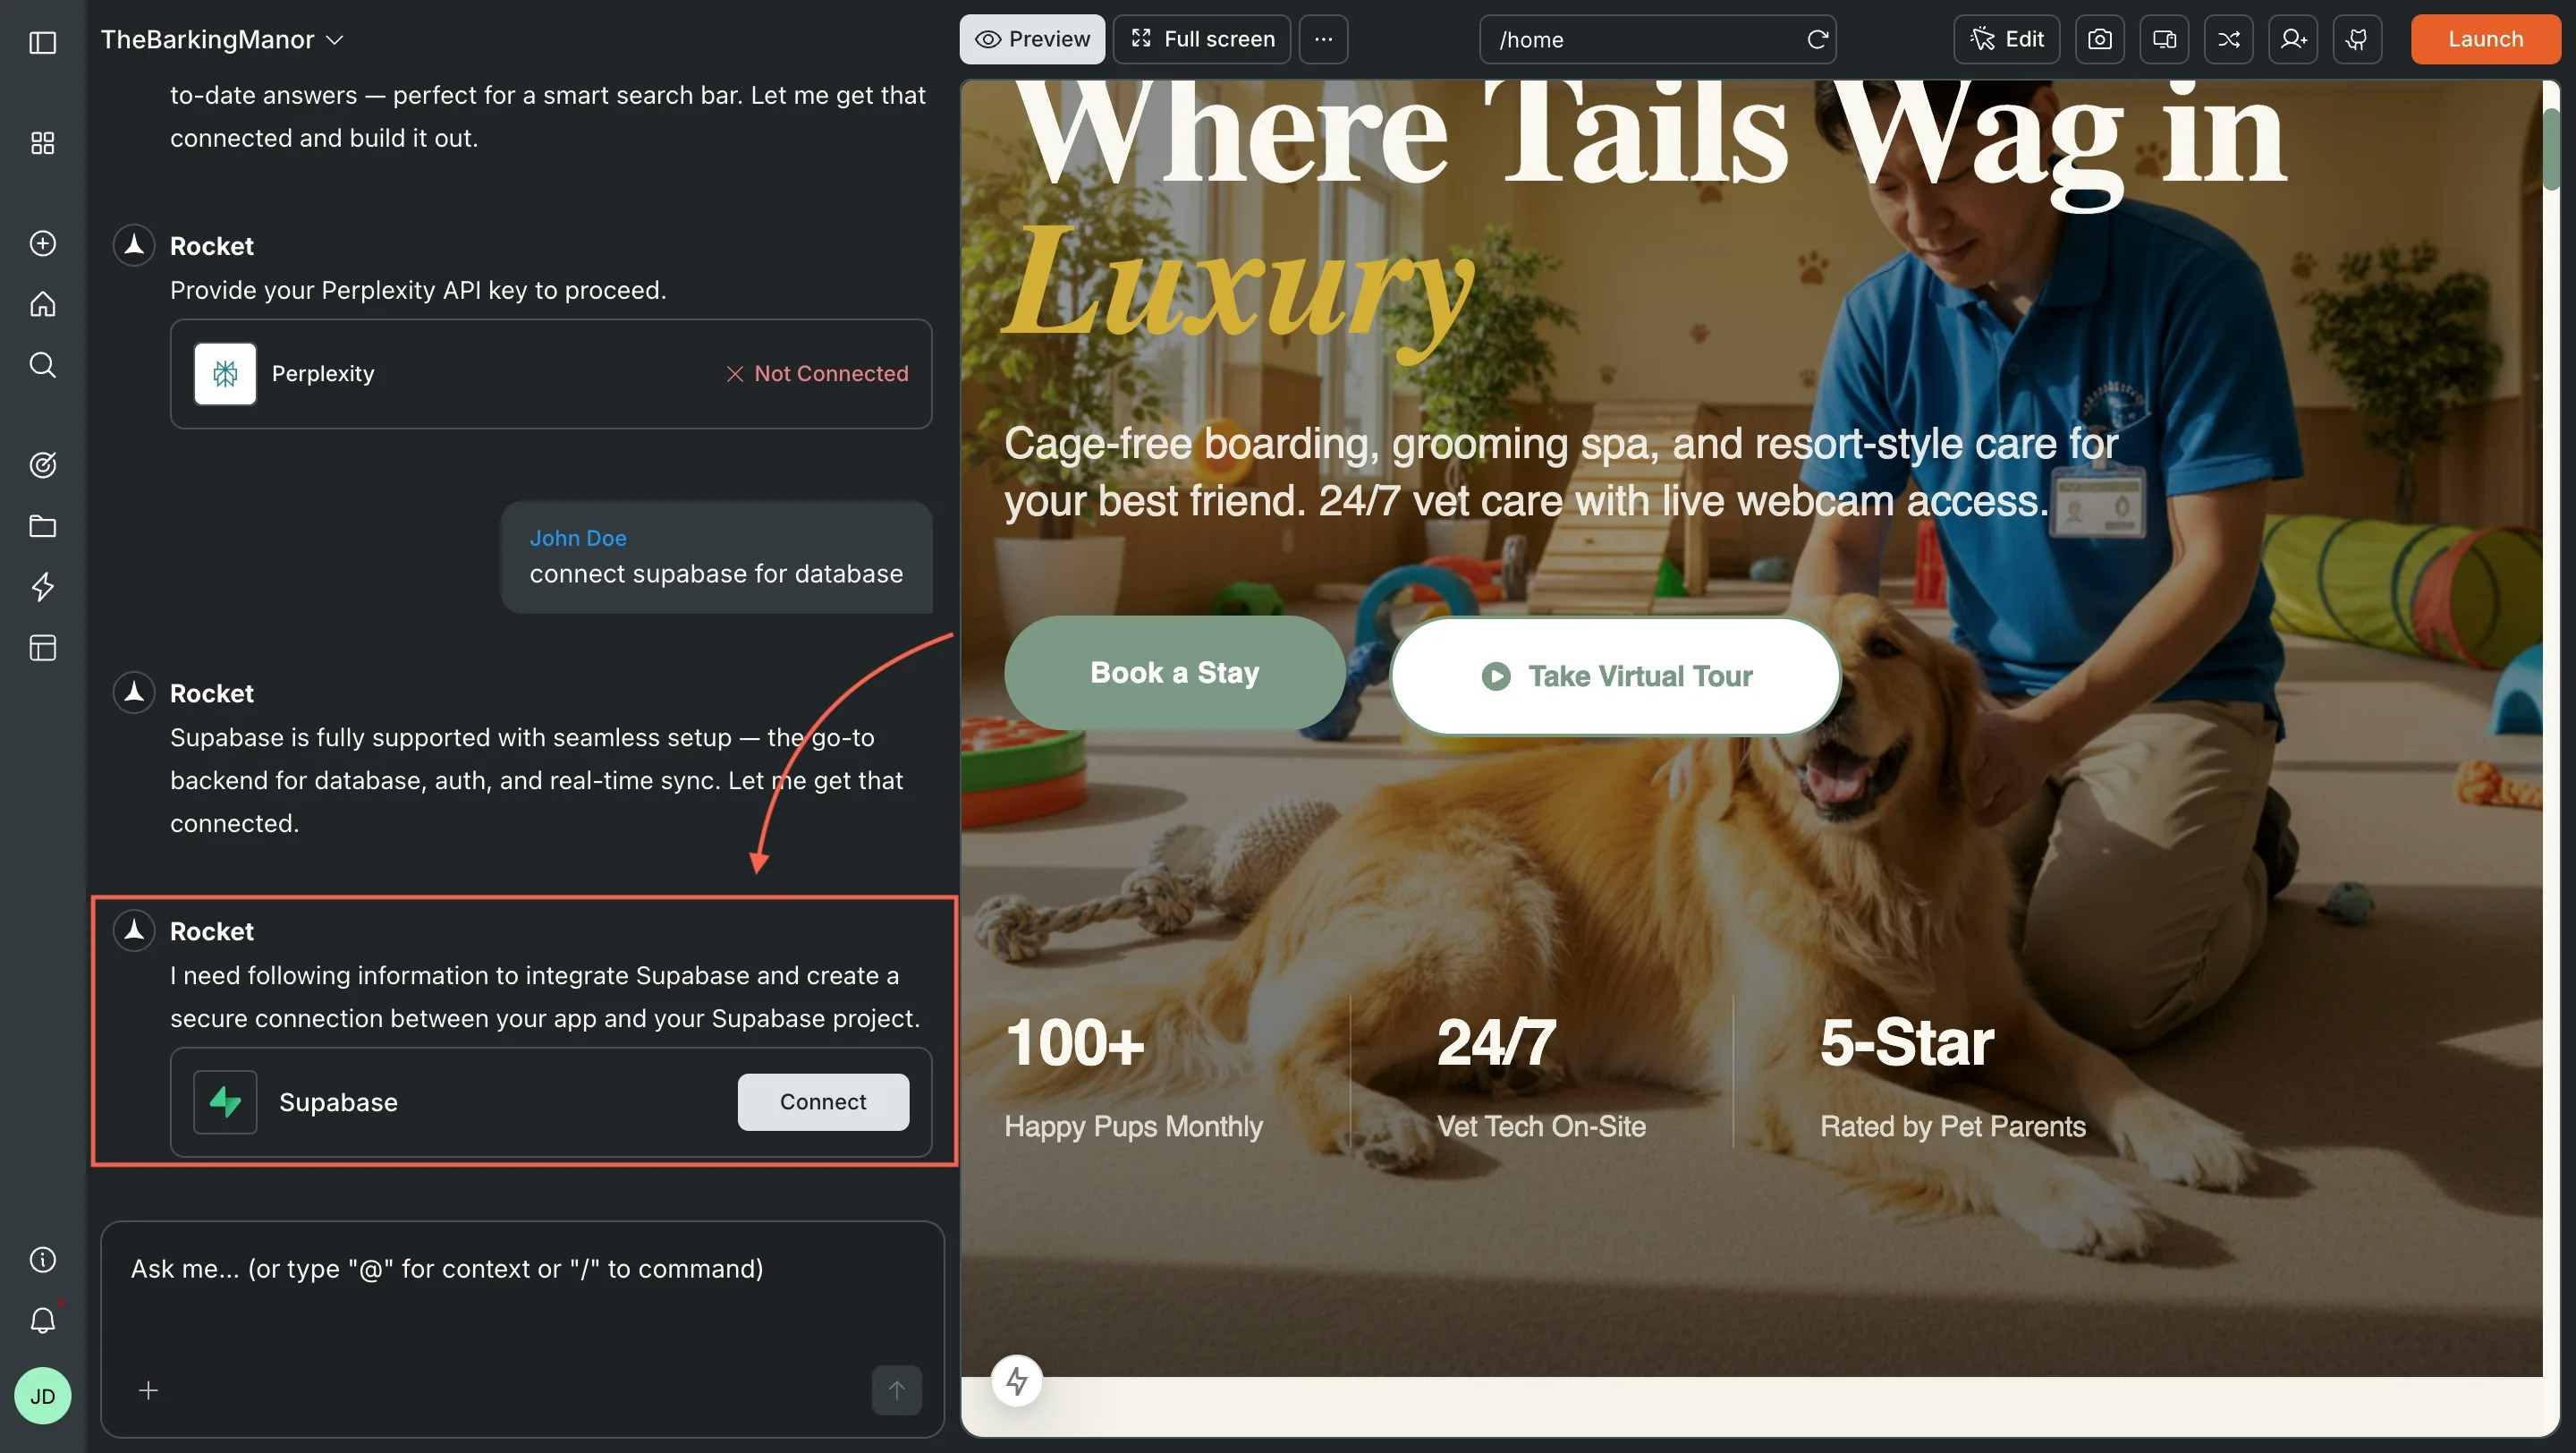
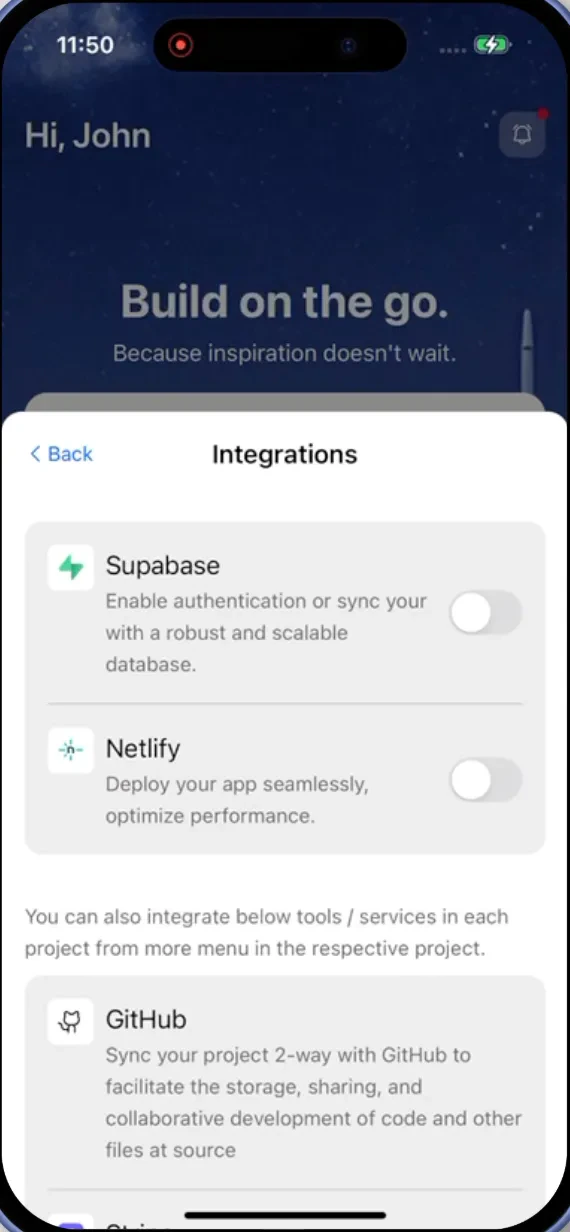
Connect Supabase
Supabase connects via OAuth - no API keys needed.Supabase is a workspace-level connector. No matter where you connect it (Settings, Connectors tab, or chat), it links to your entire Rocket workspace and is available across all tasks.
- Web Browser
- Mobile App
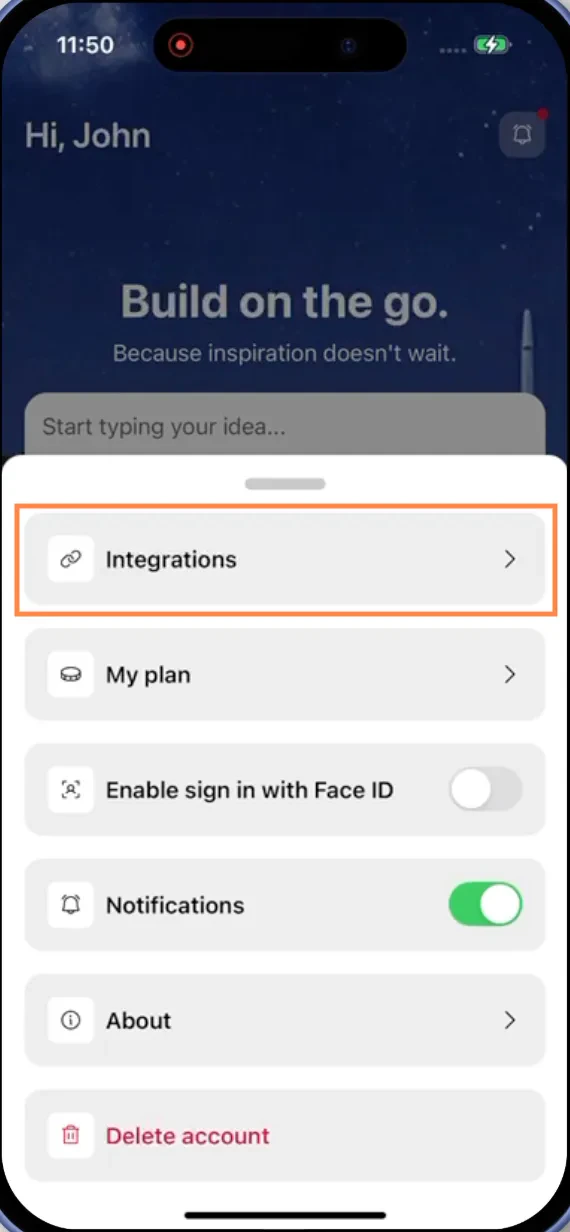
You can connect from three places - all do the same thing.Option 1: From workspace SettingsClick your profile in the top-left, then select Settings.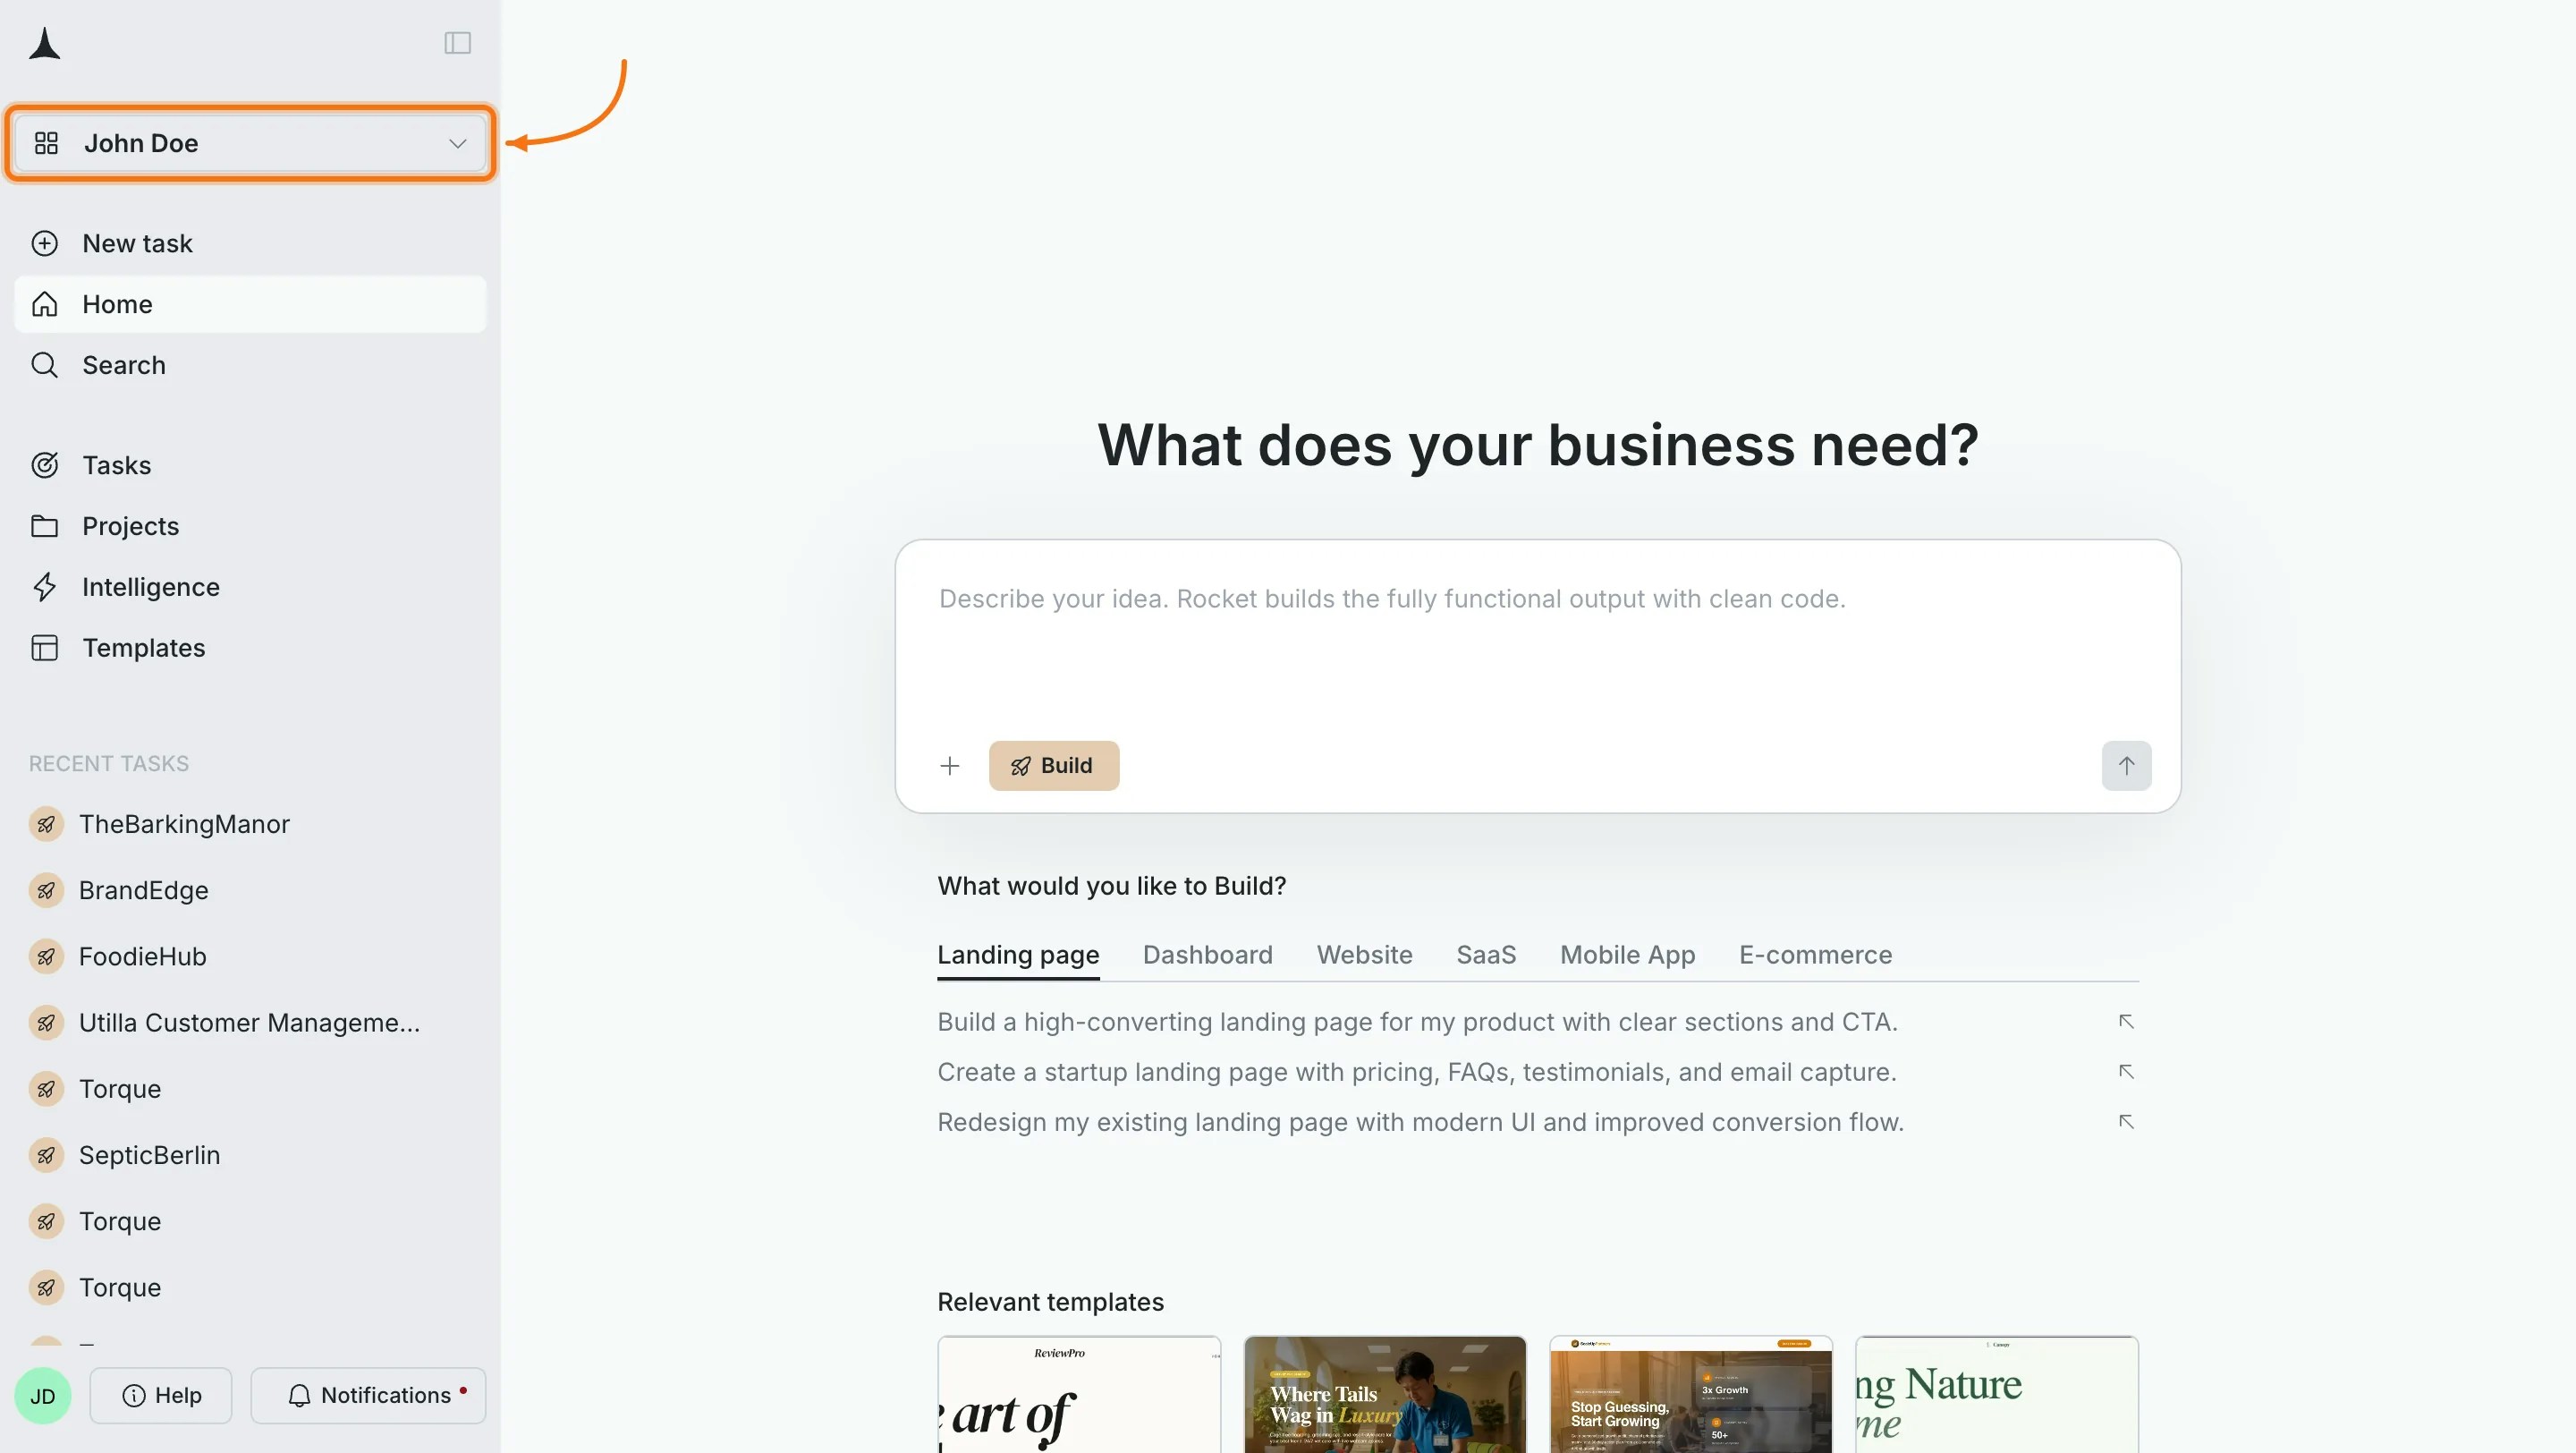
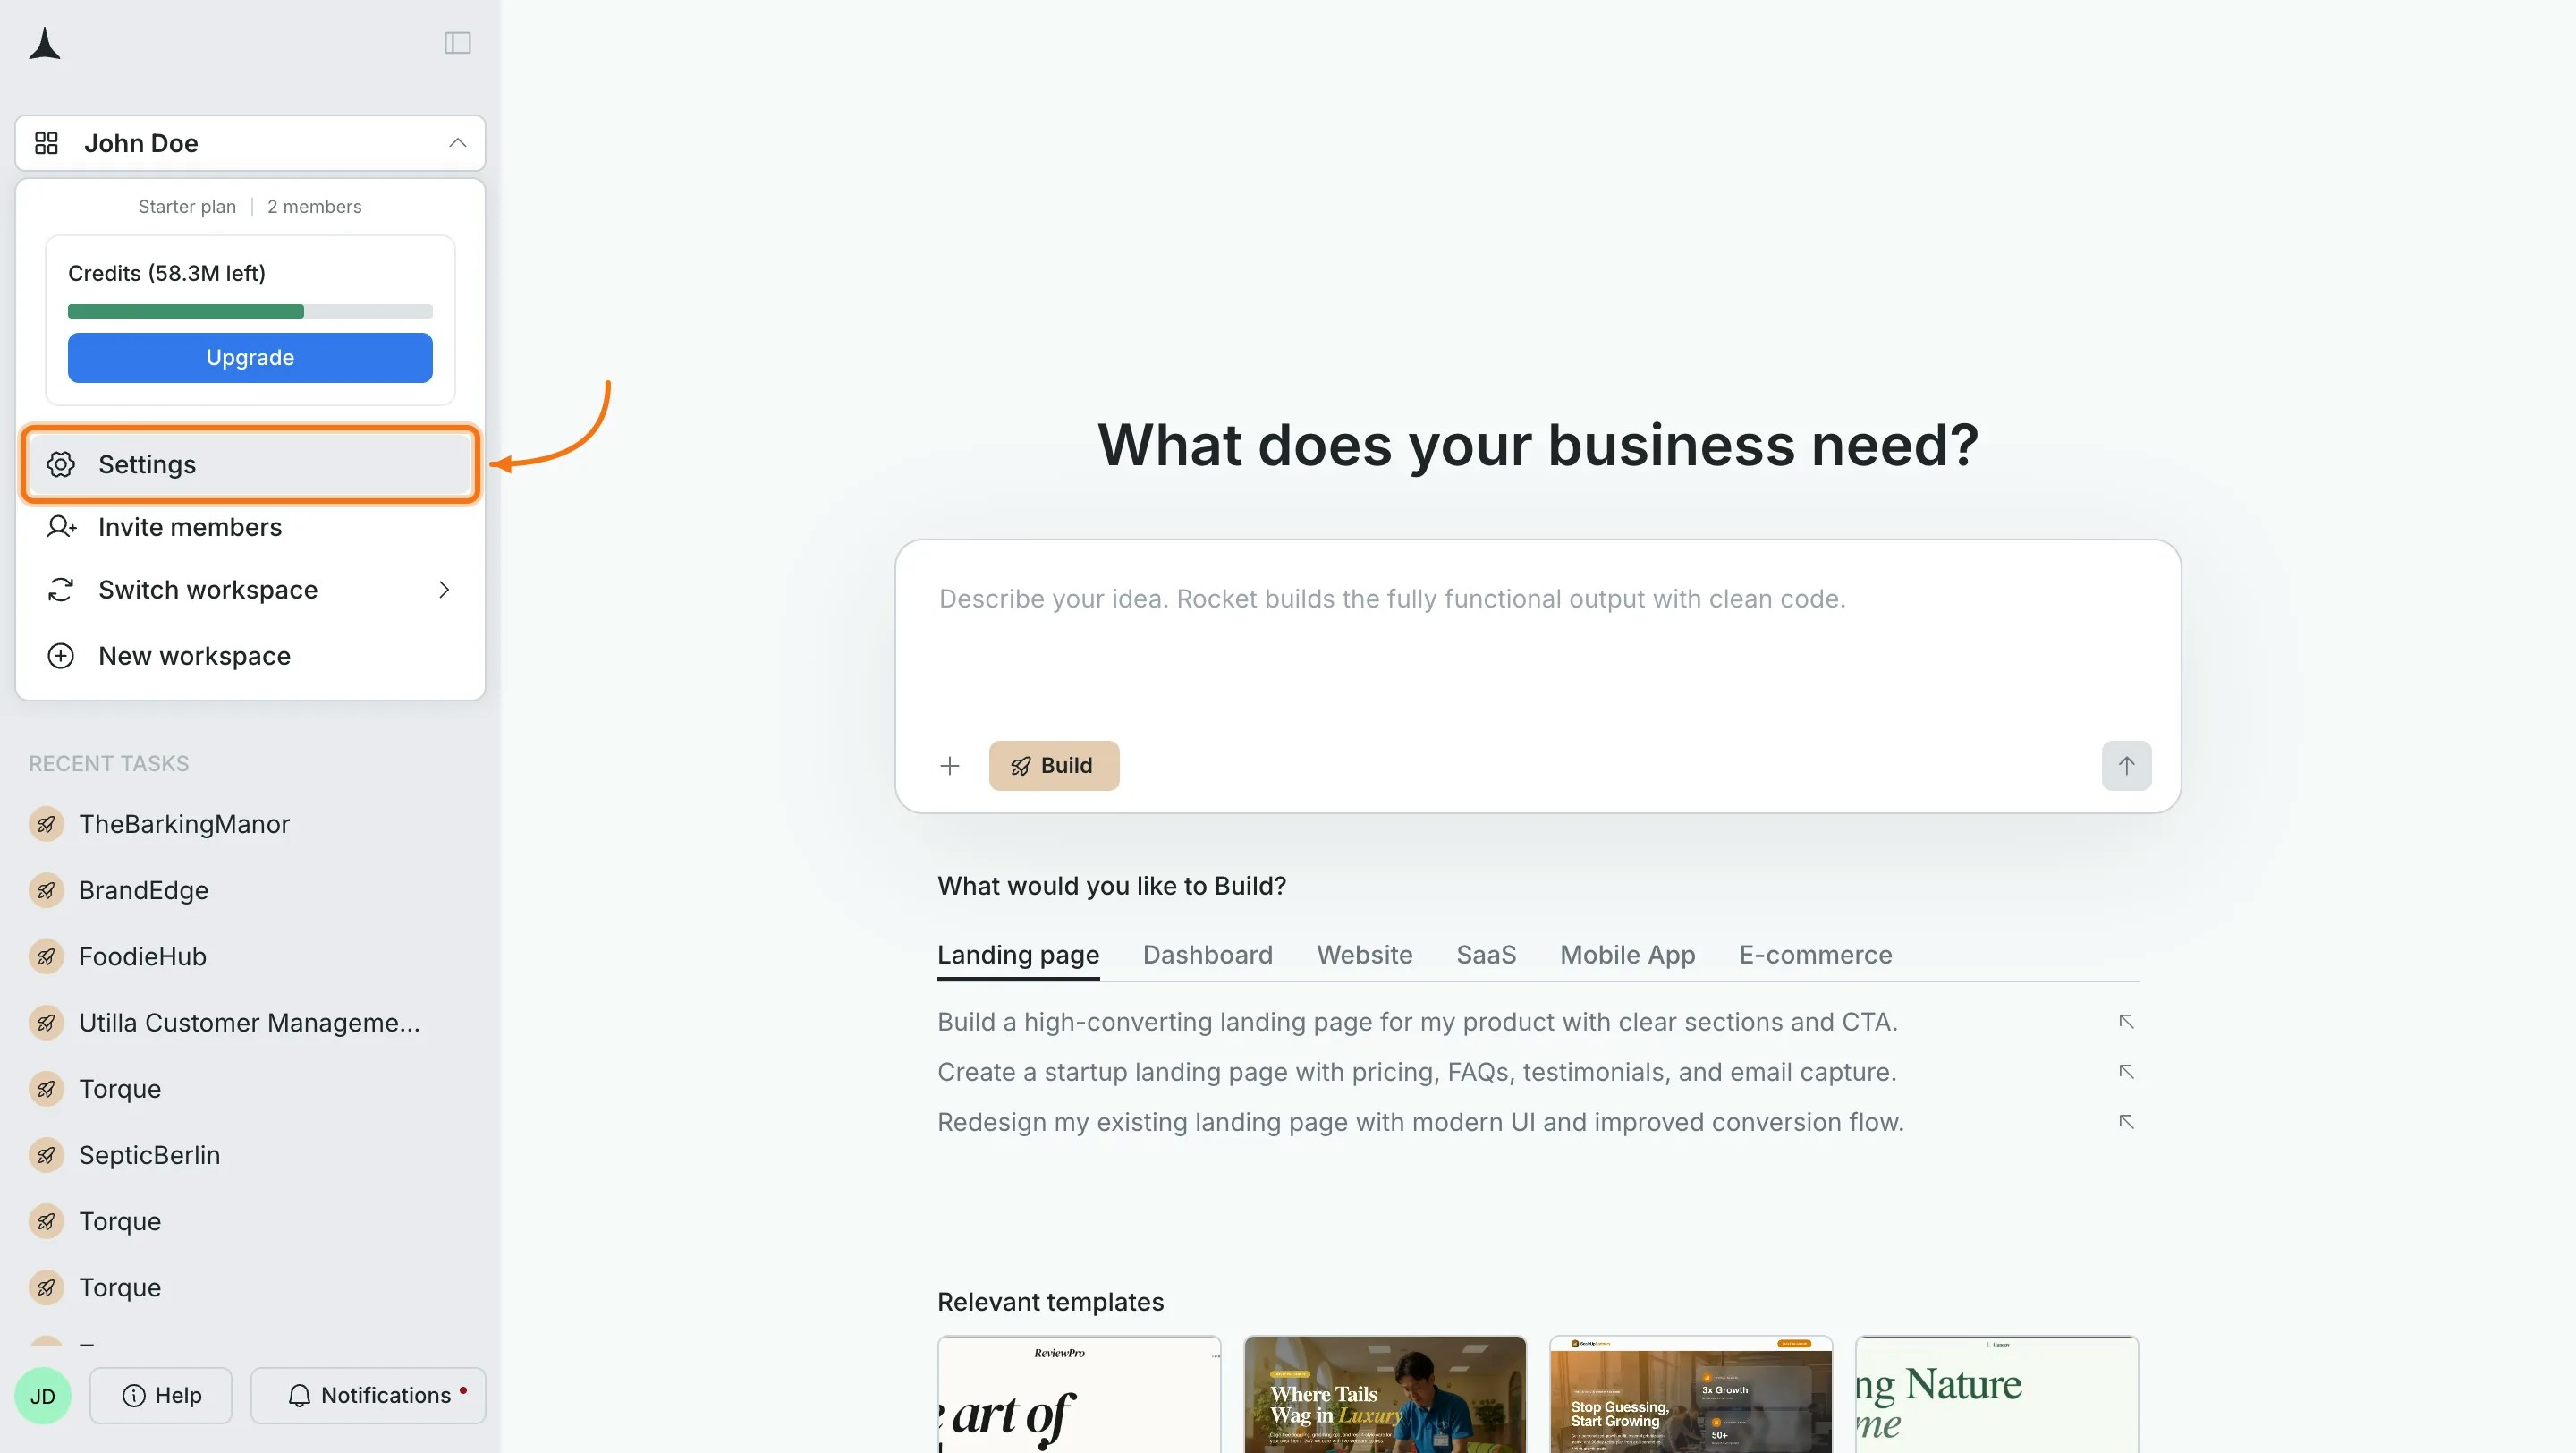
Manage workspace connectors
Connect once from Settings and it is available to all tasks.
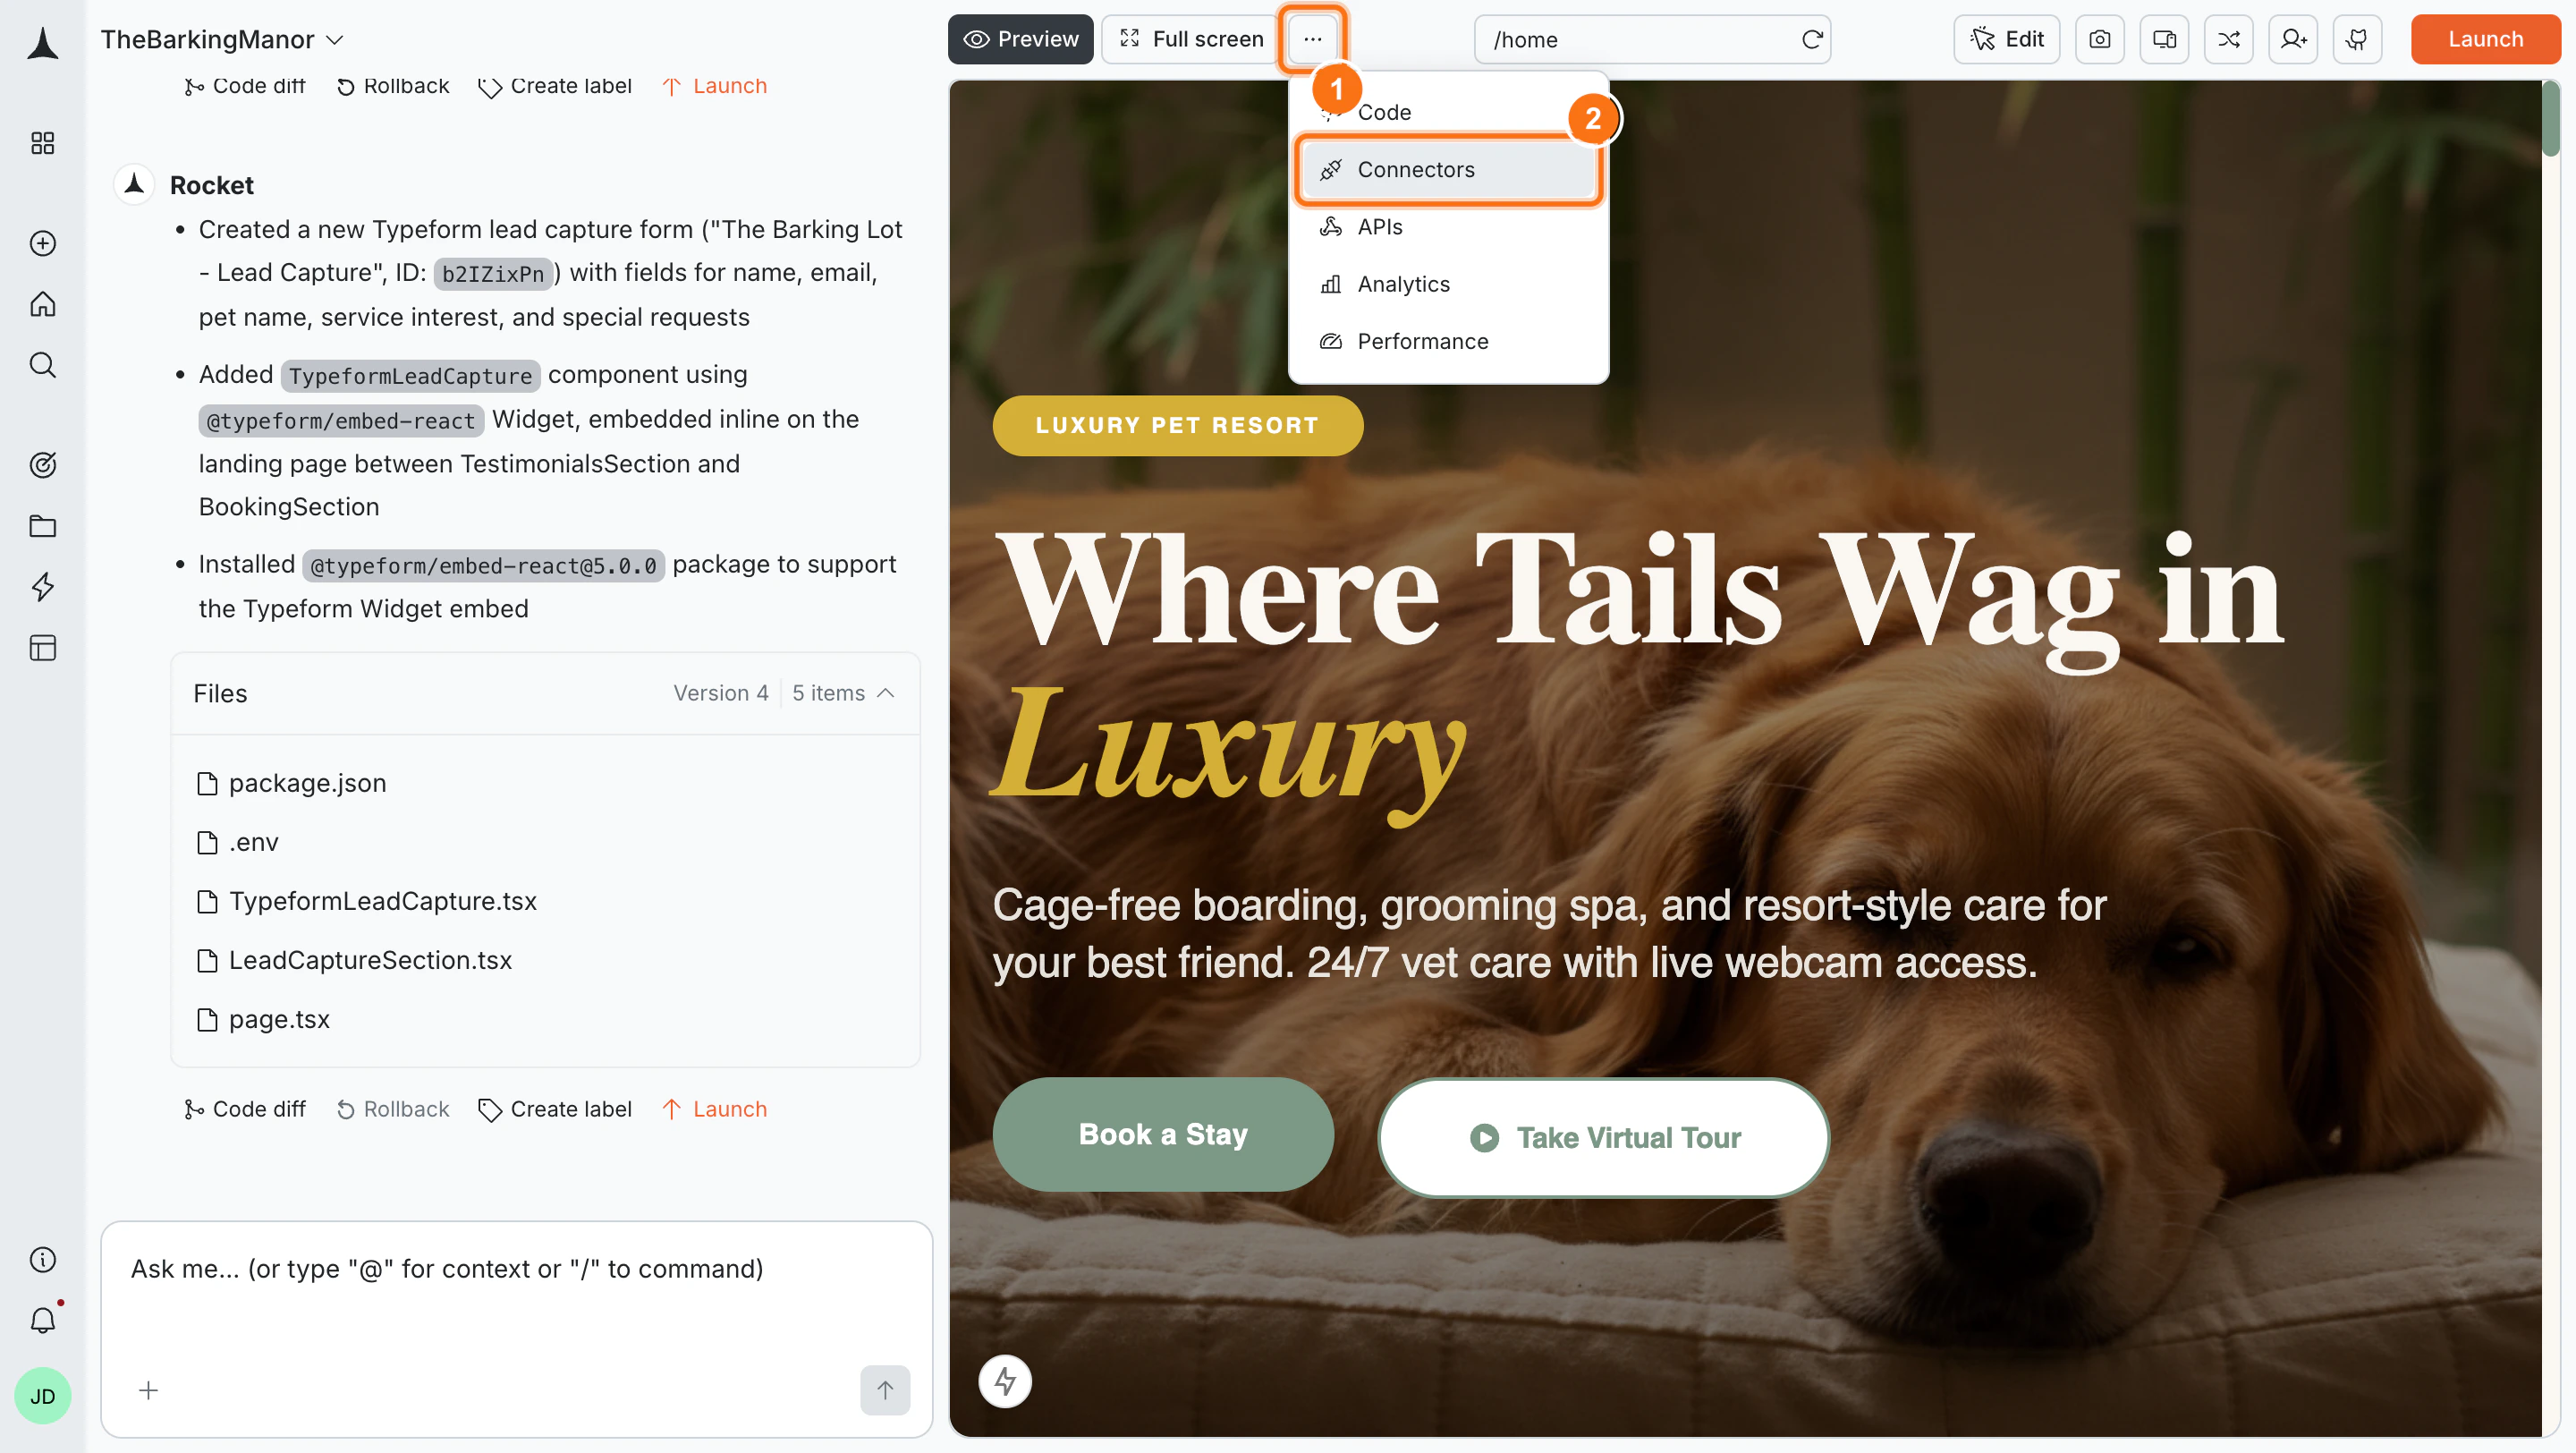
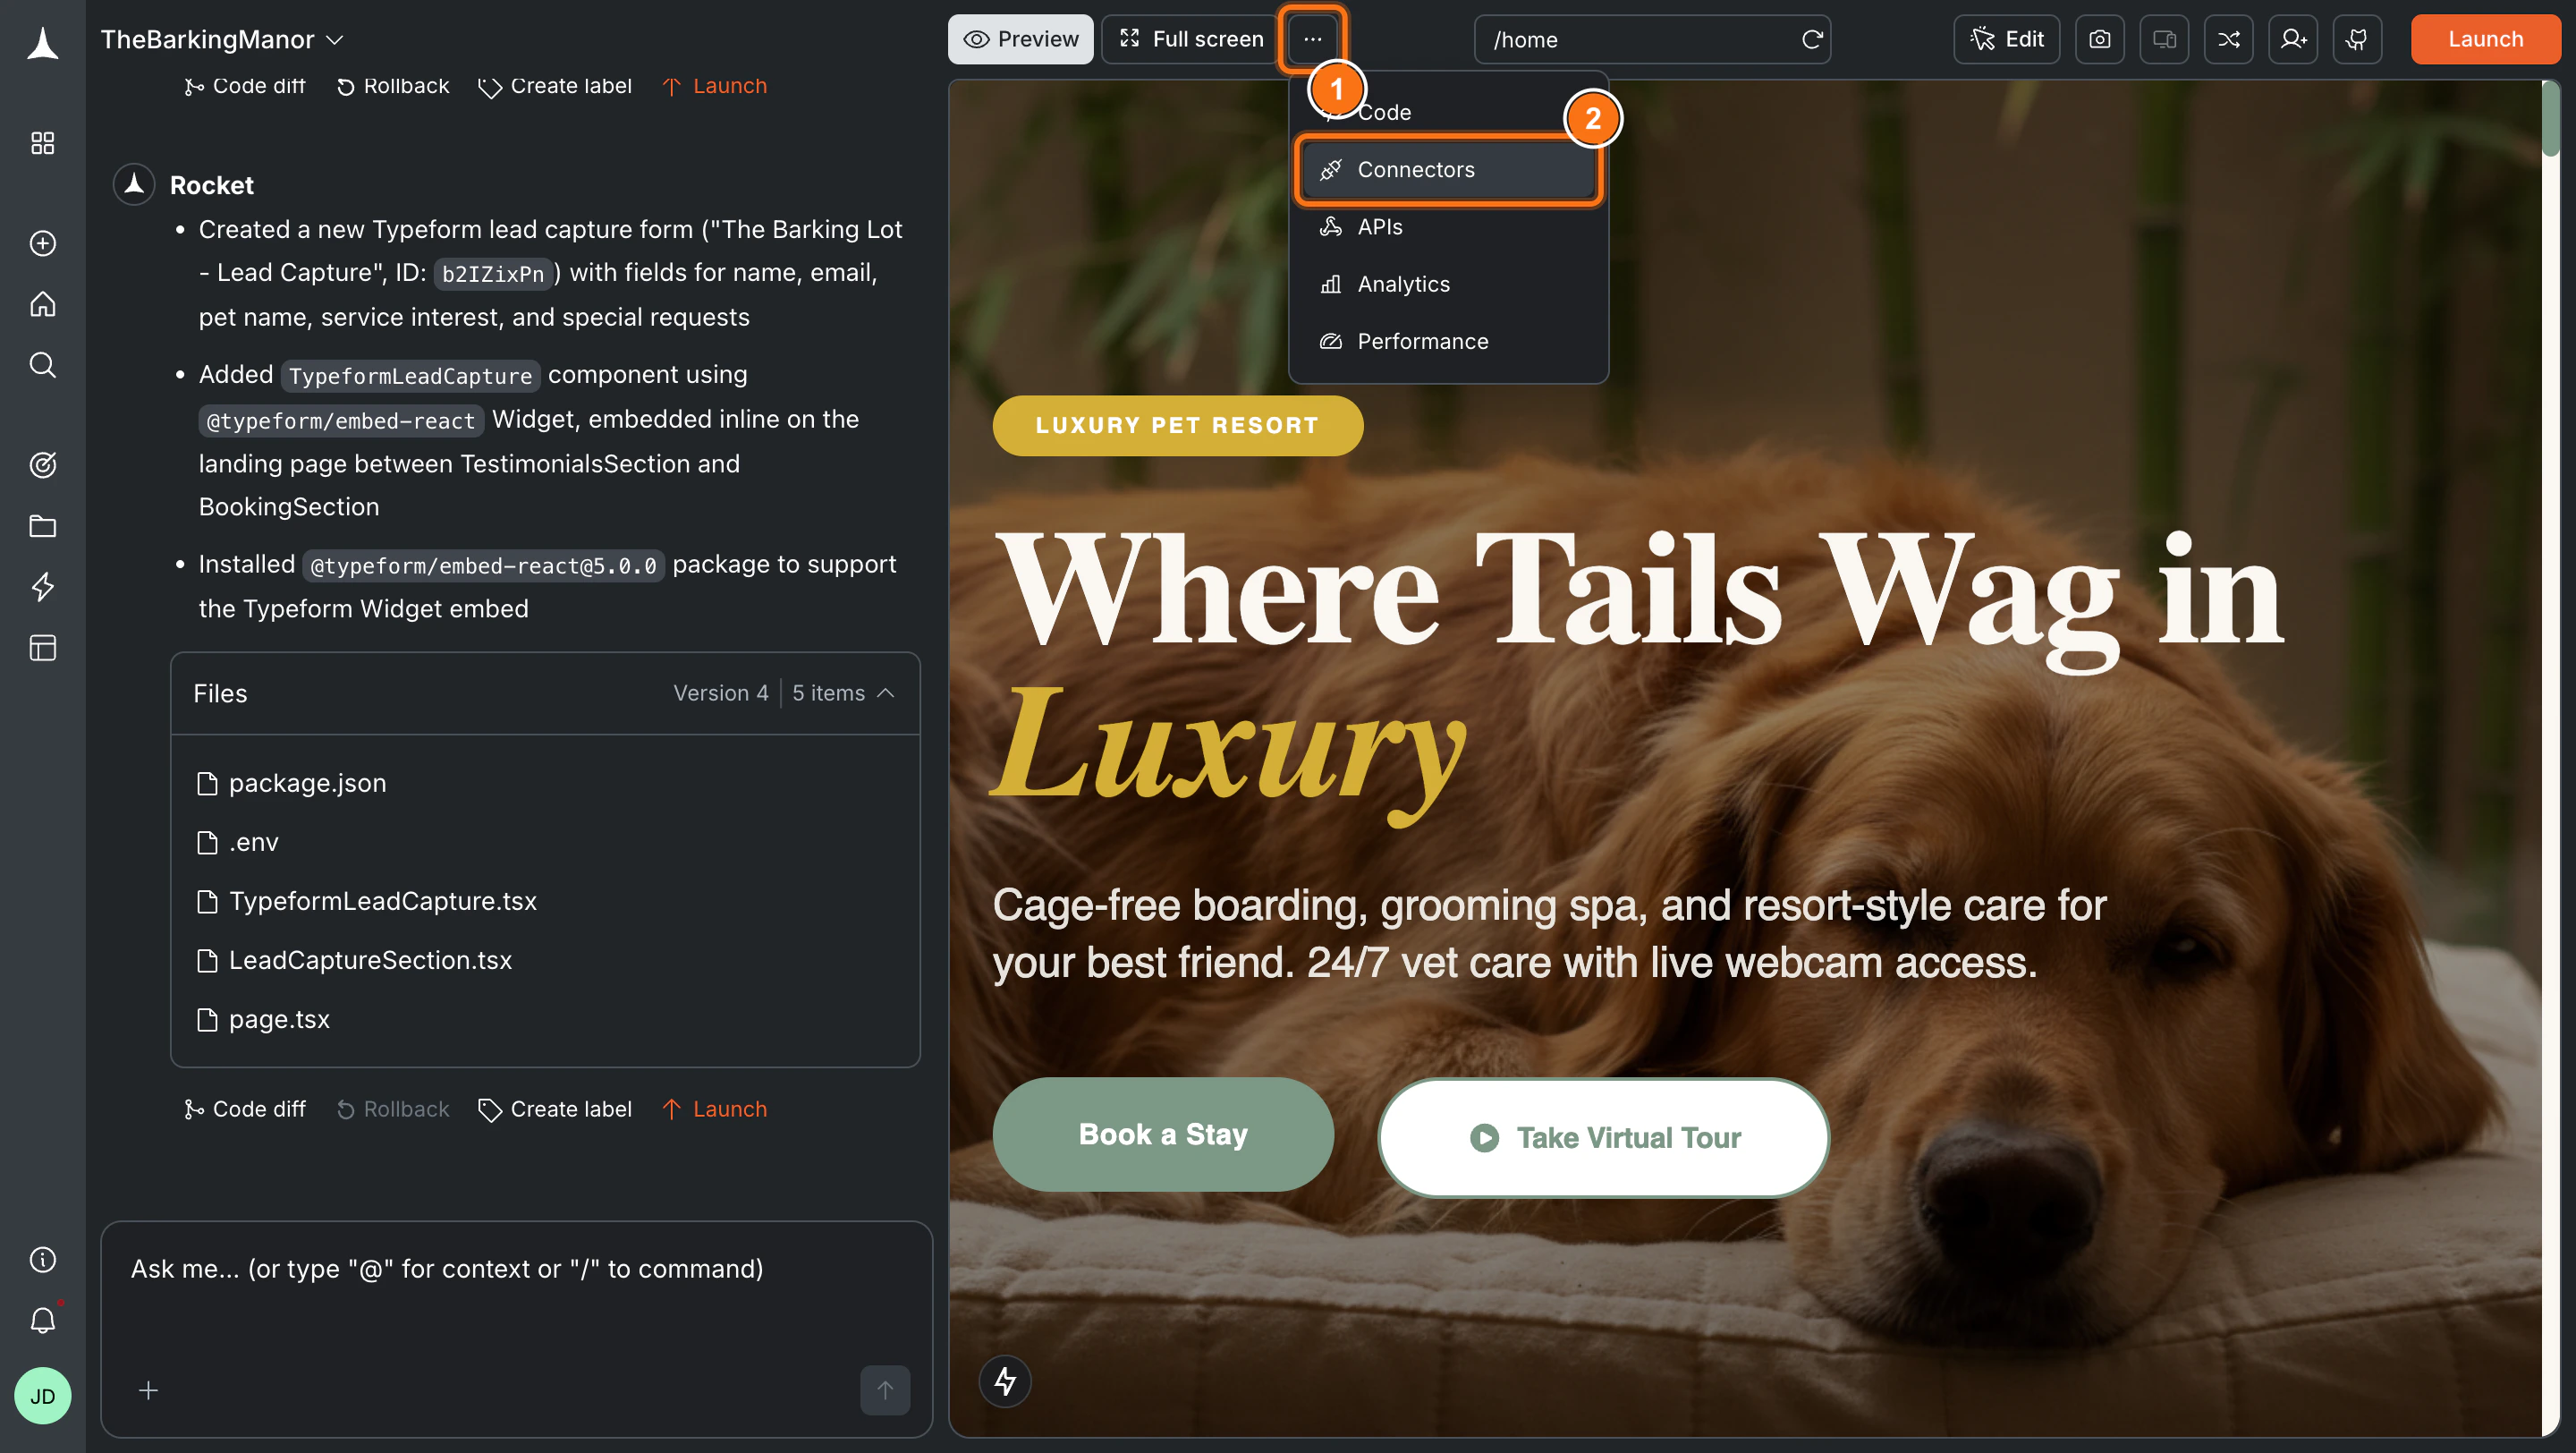
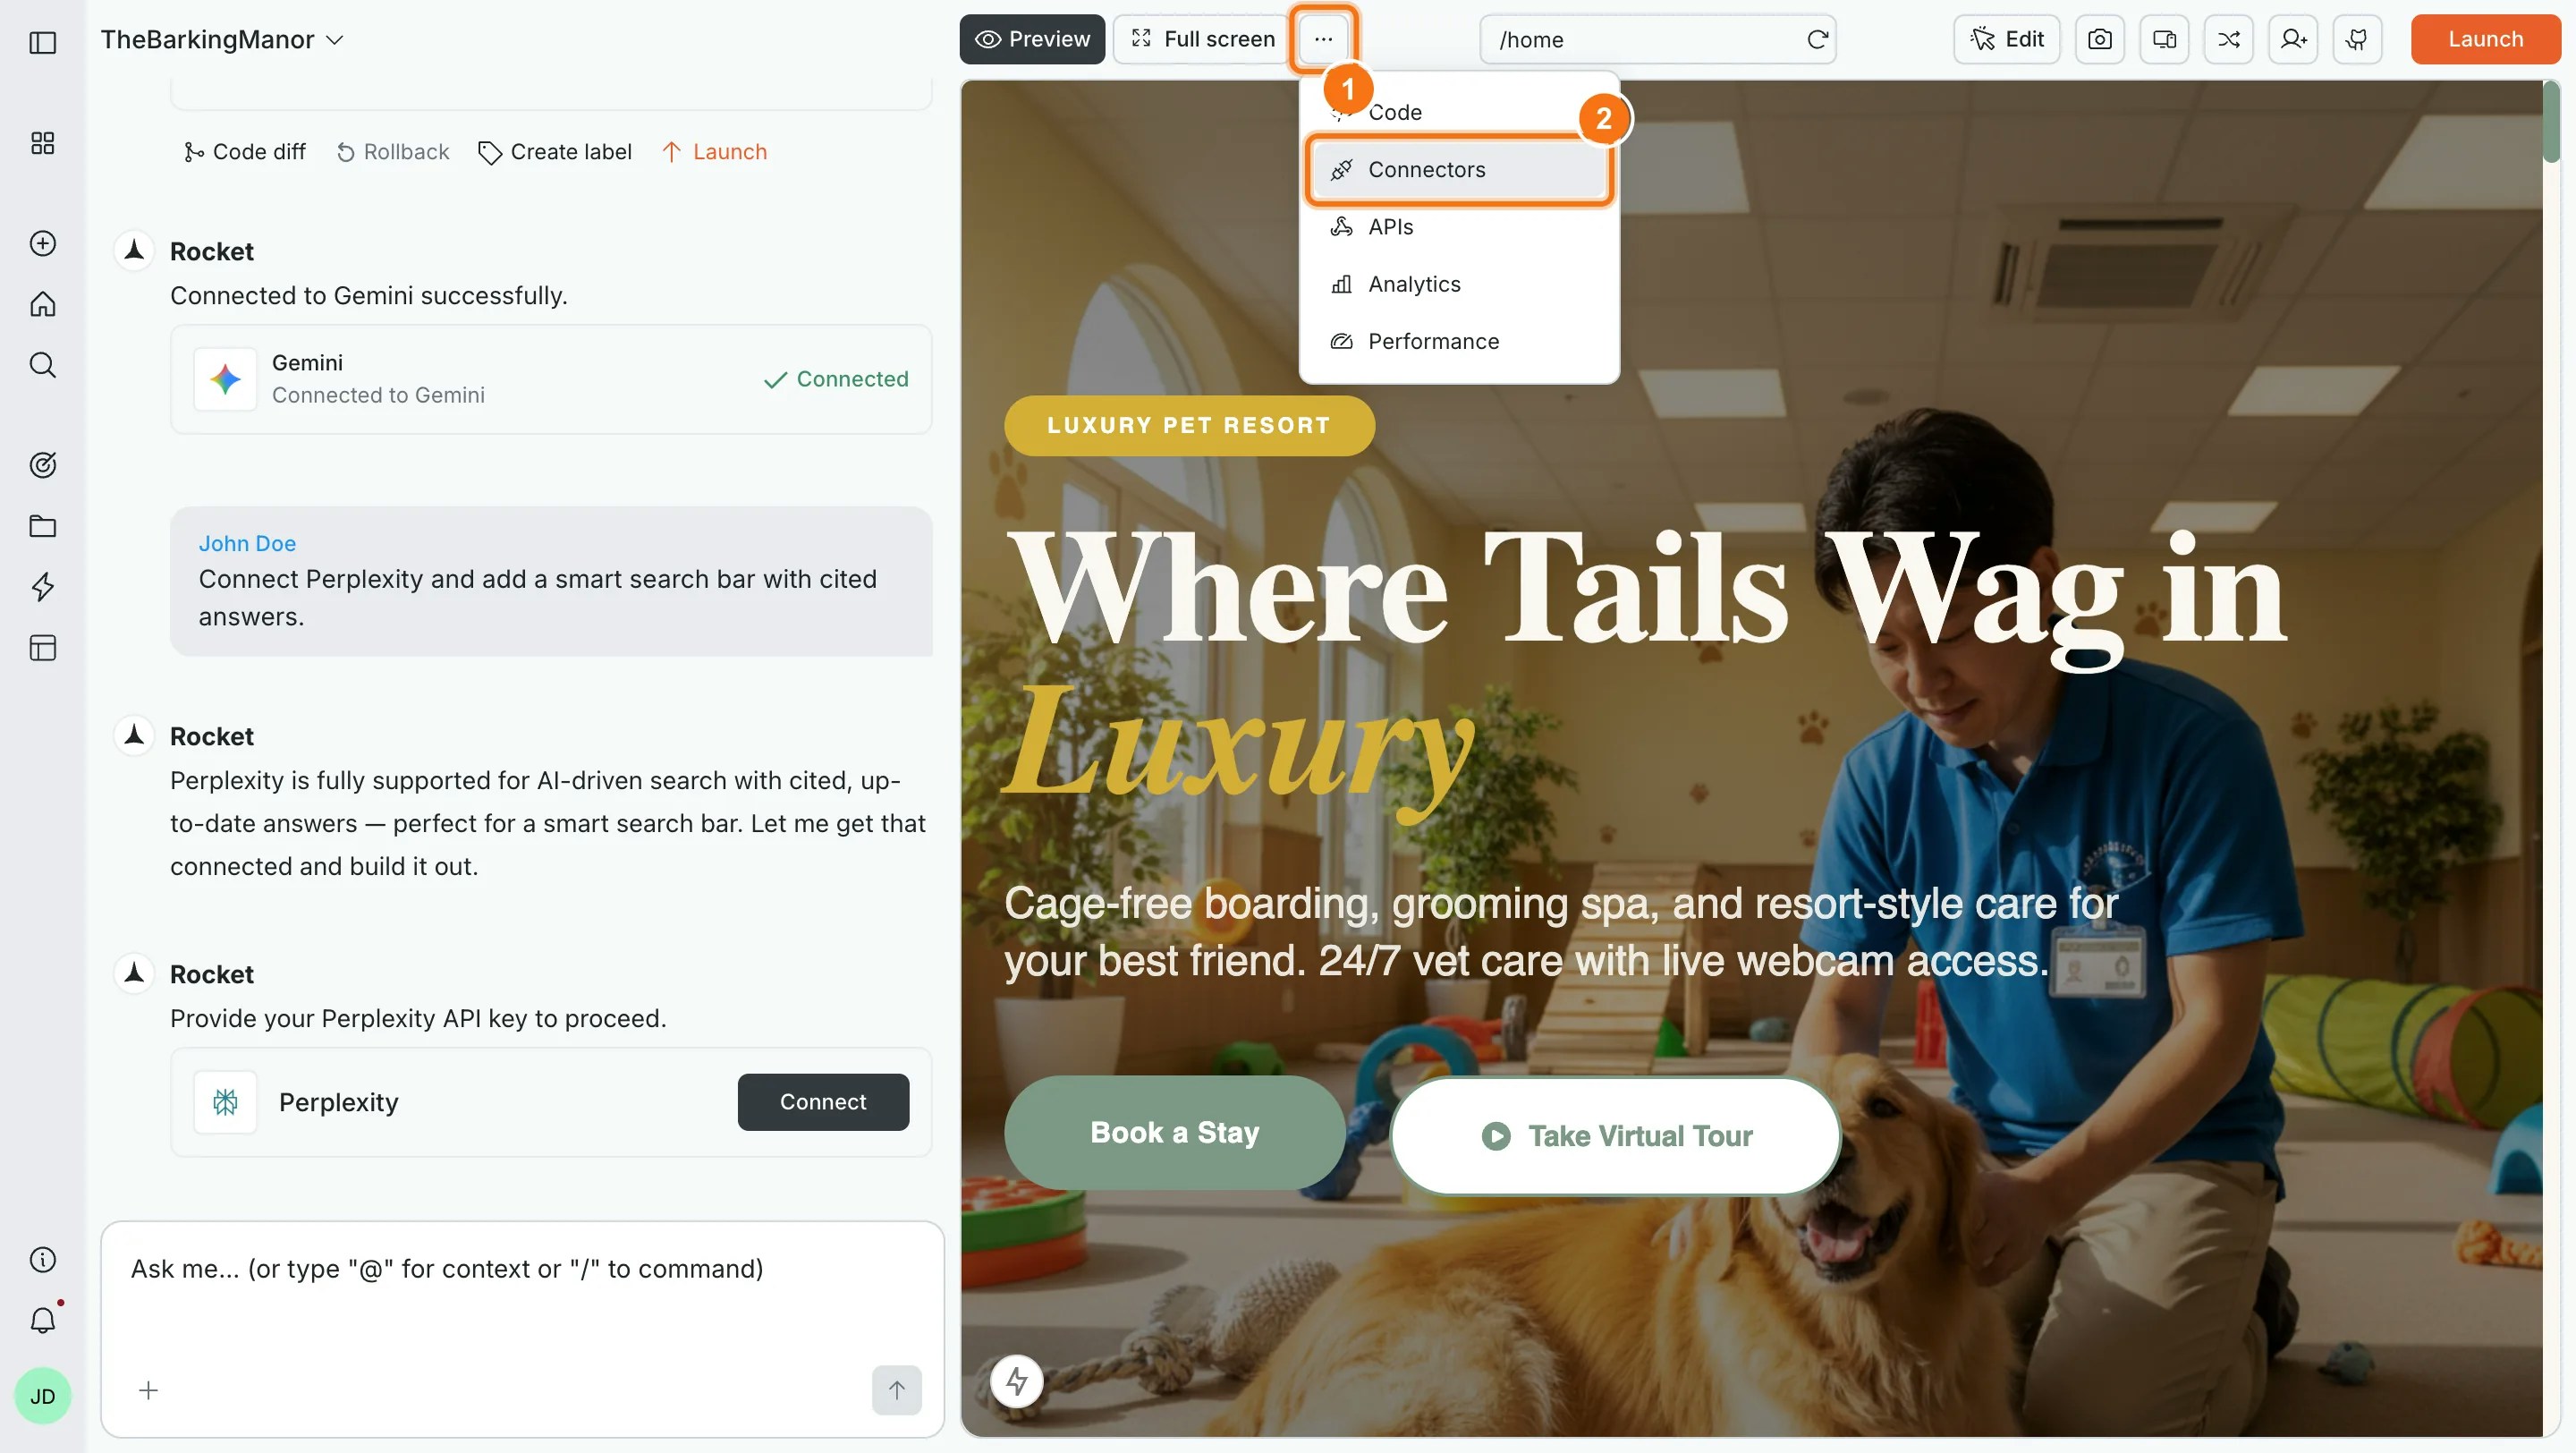
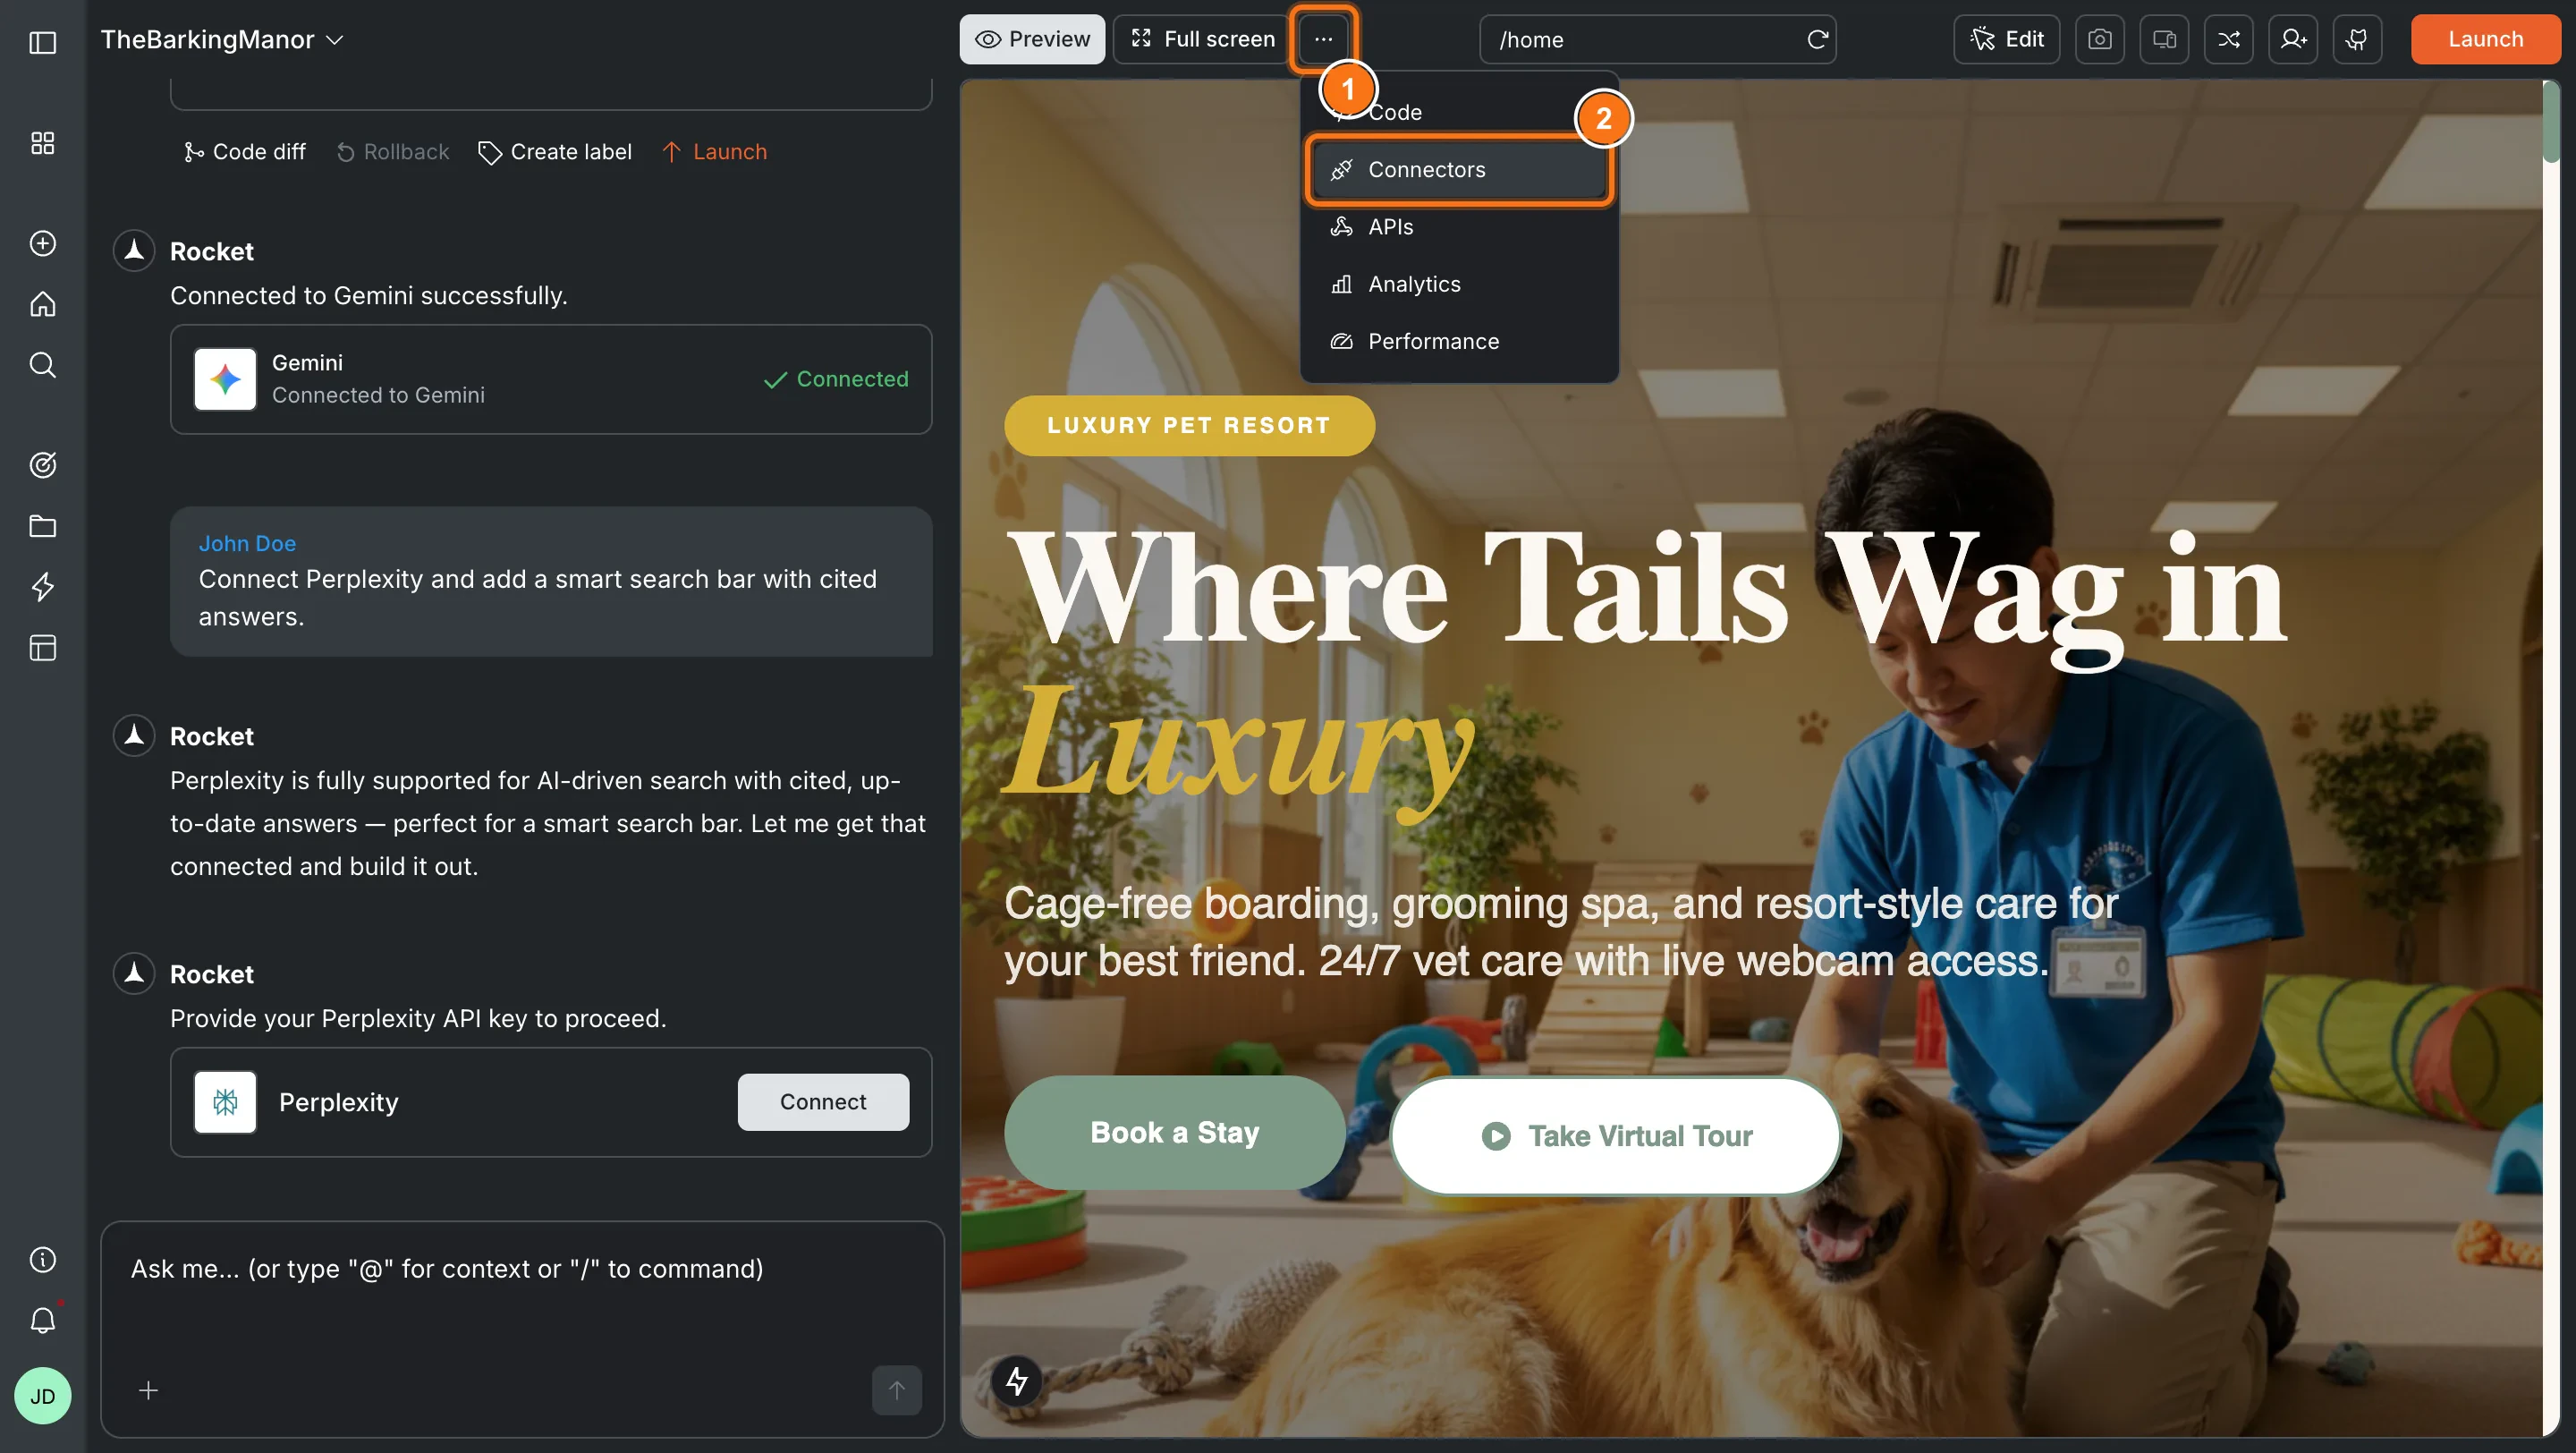
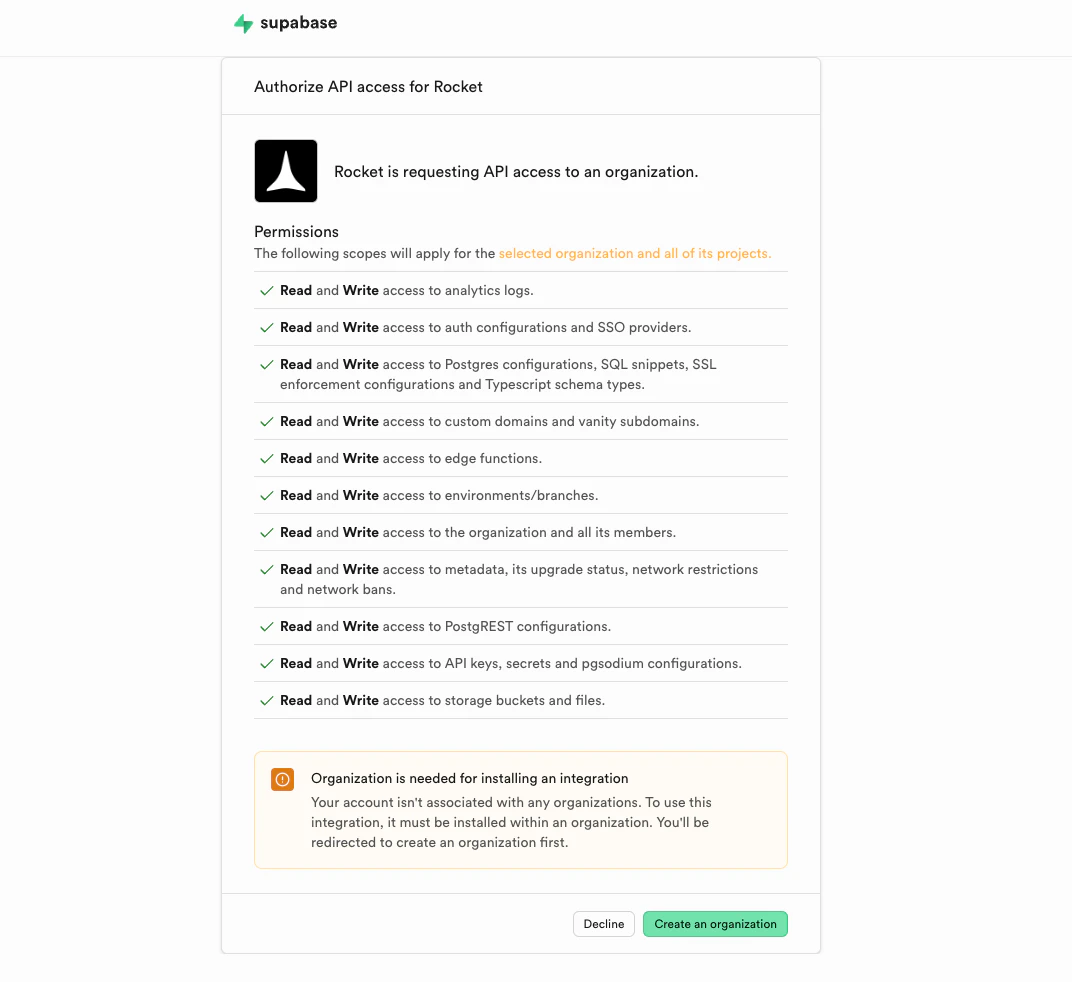
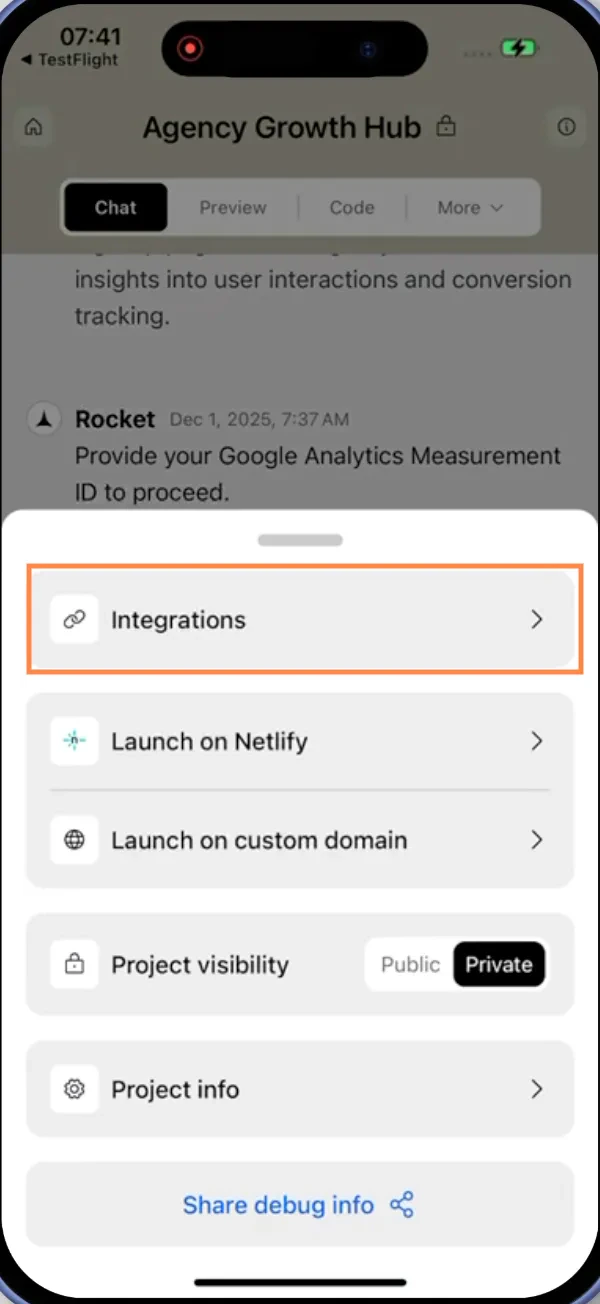
... button in the preview toolbar, then select Connectors.Create a Supabase organization
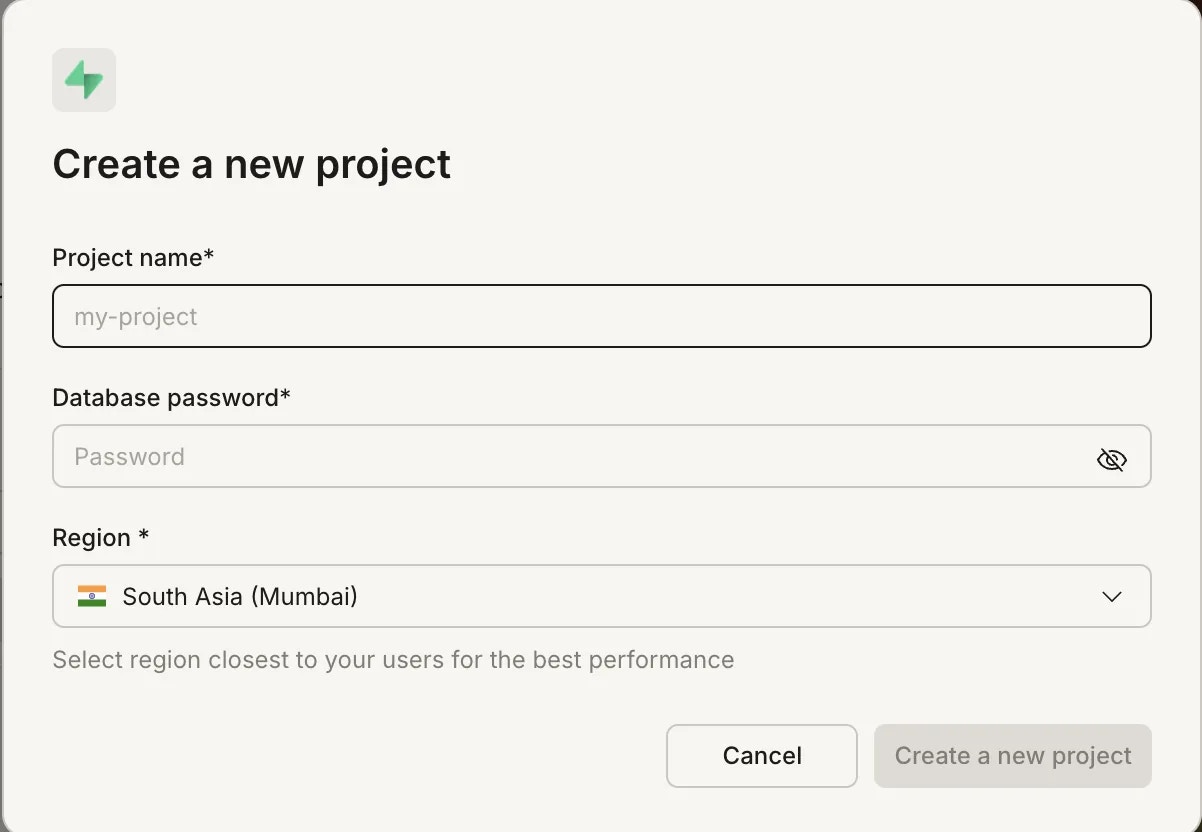
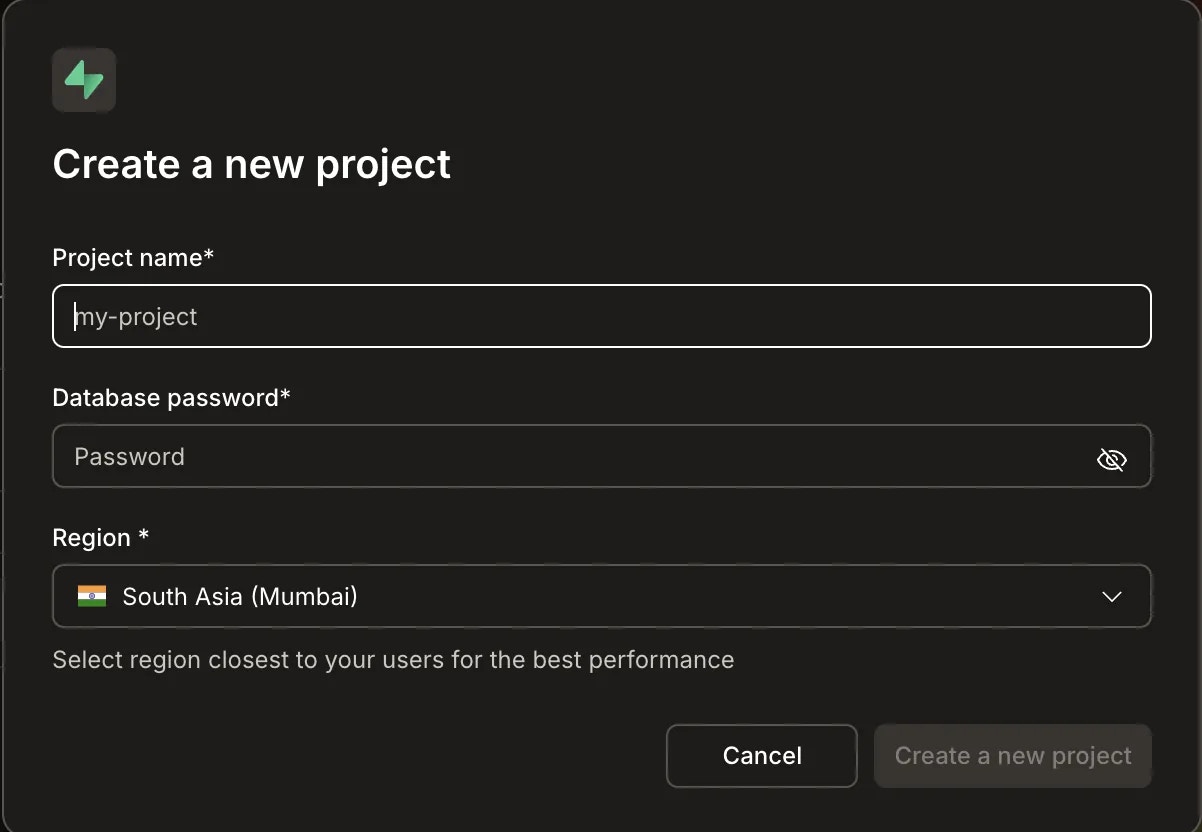
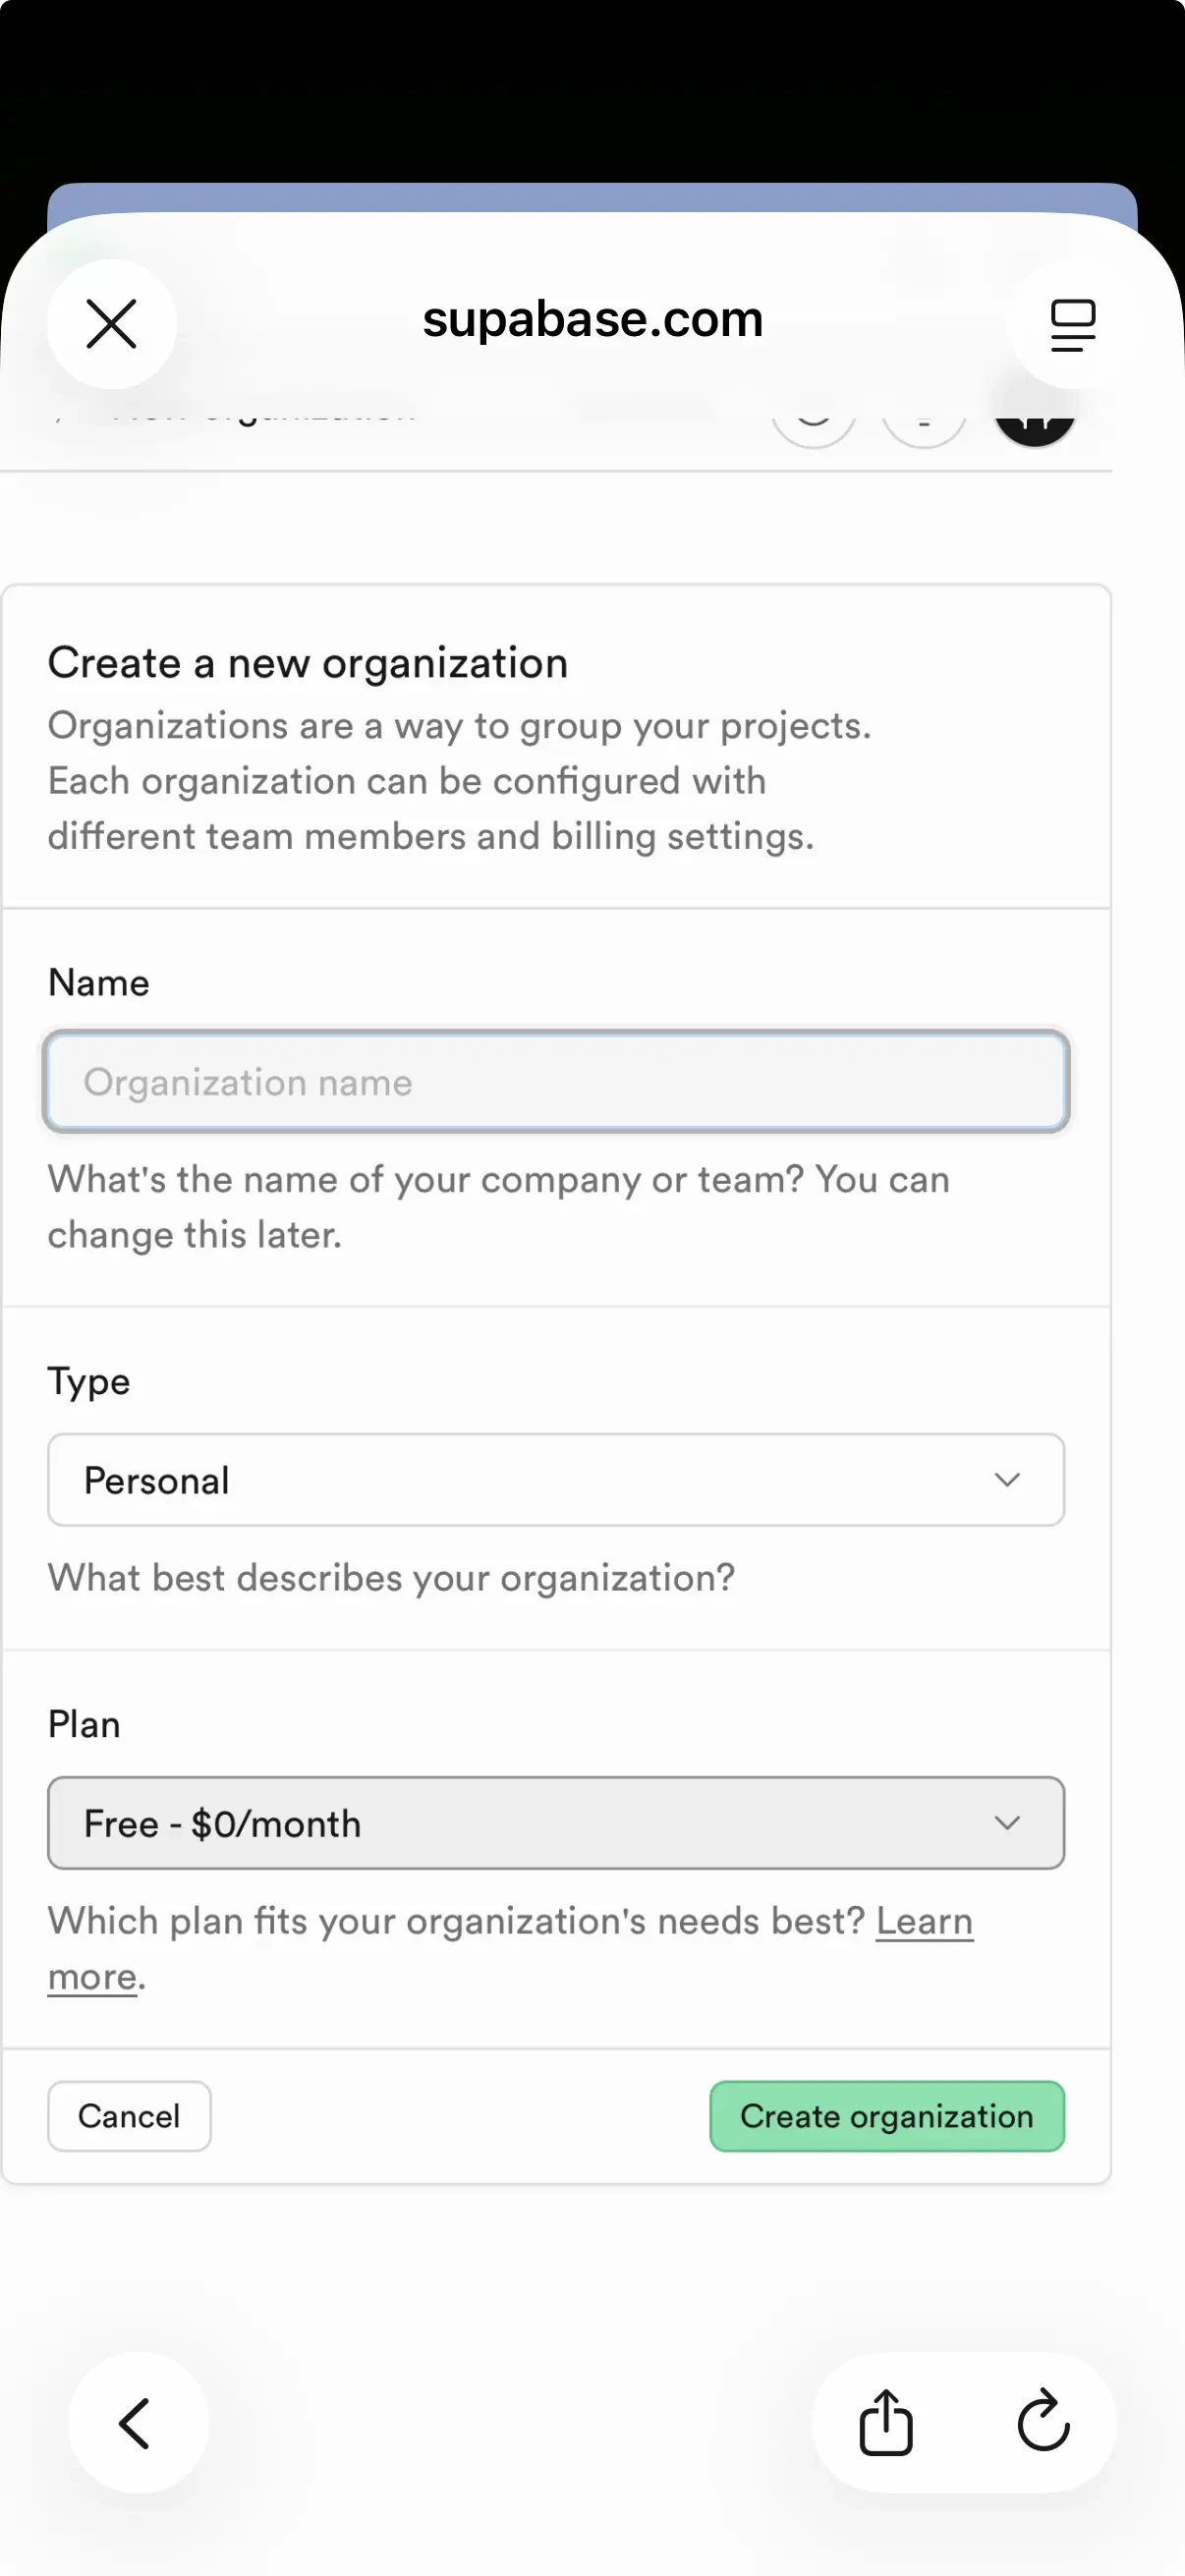
Create a Supabase organization
If you do not have one yet, you will be prompted to create one first.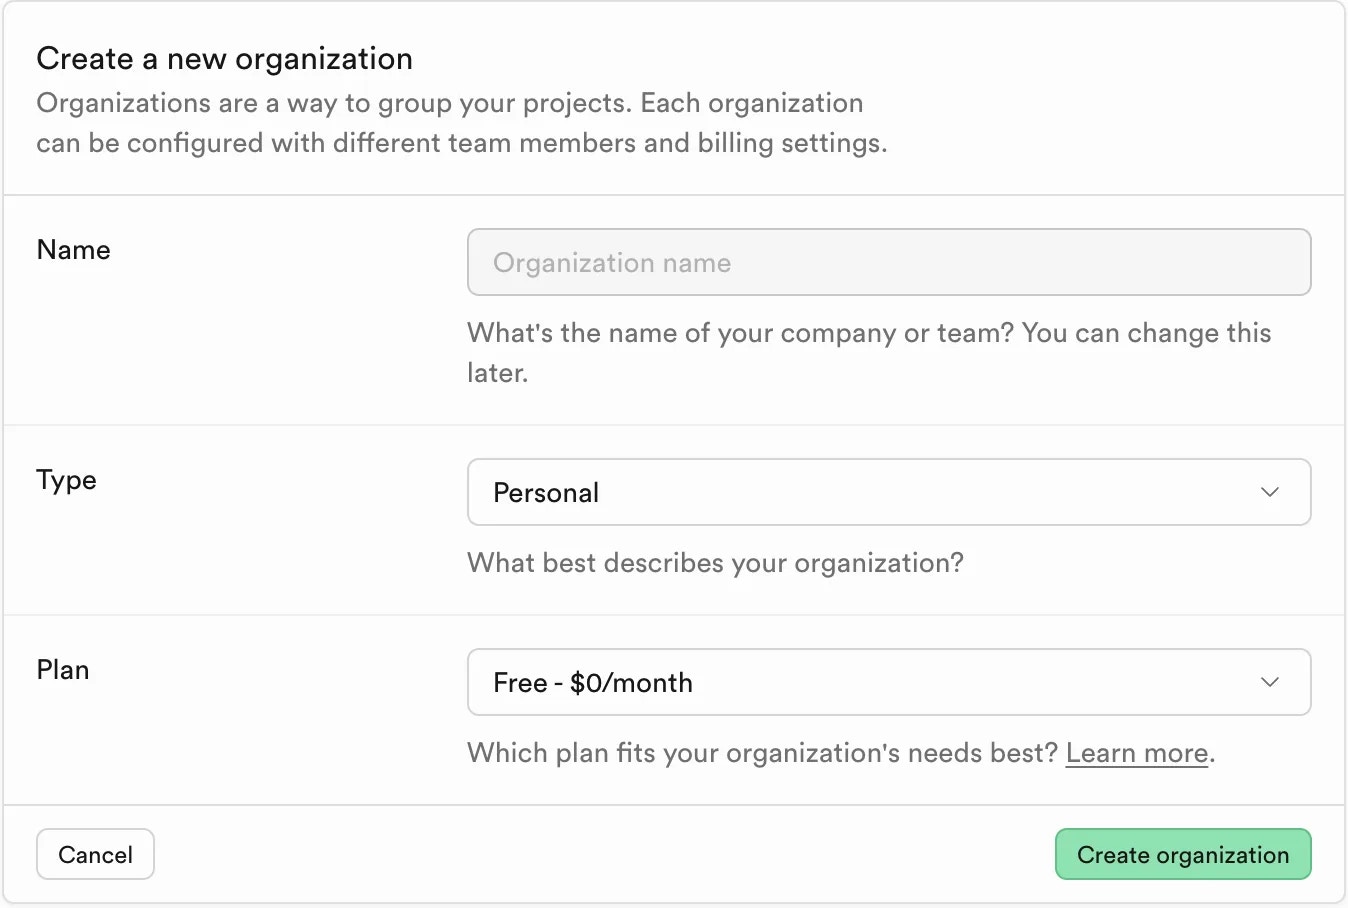
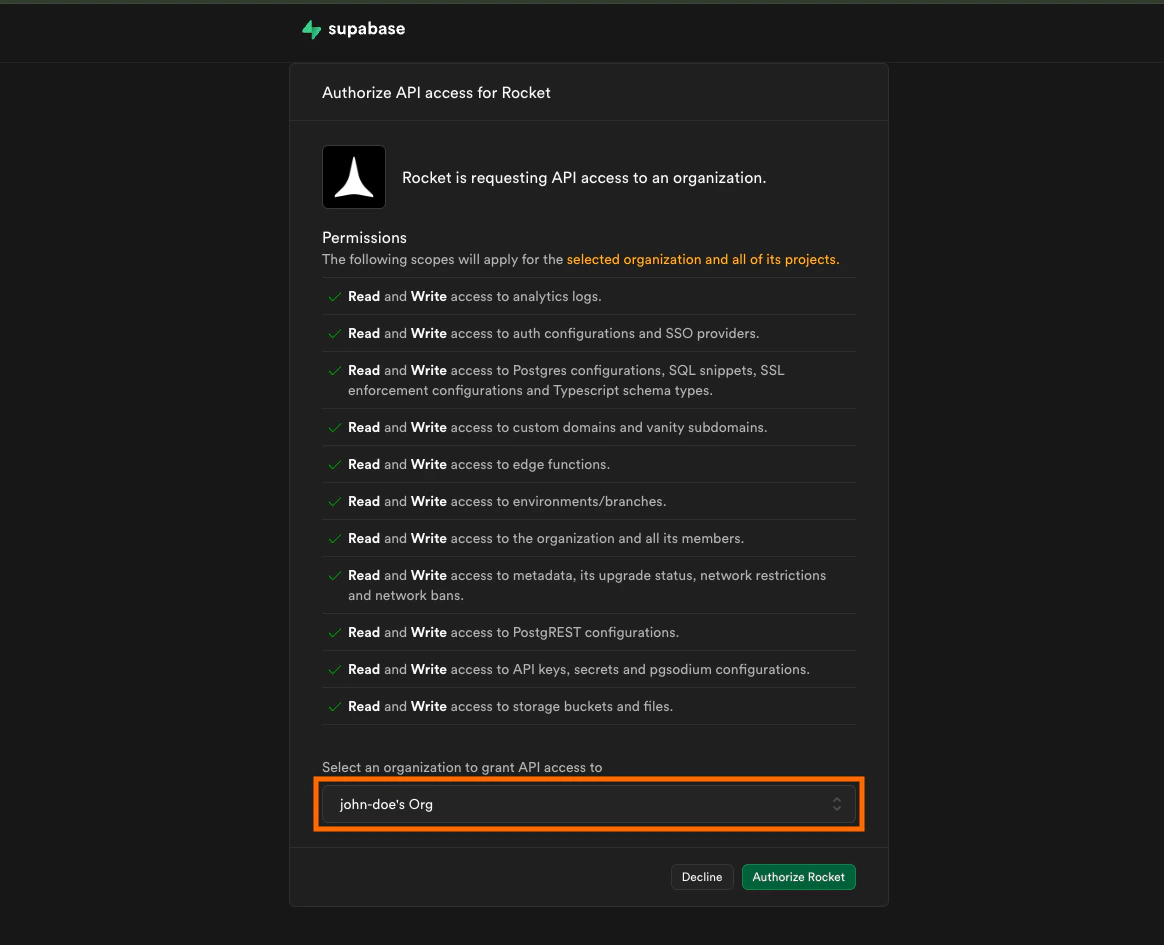
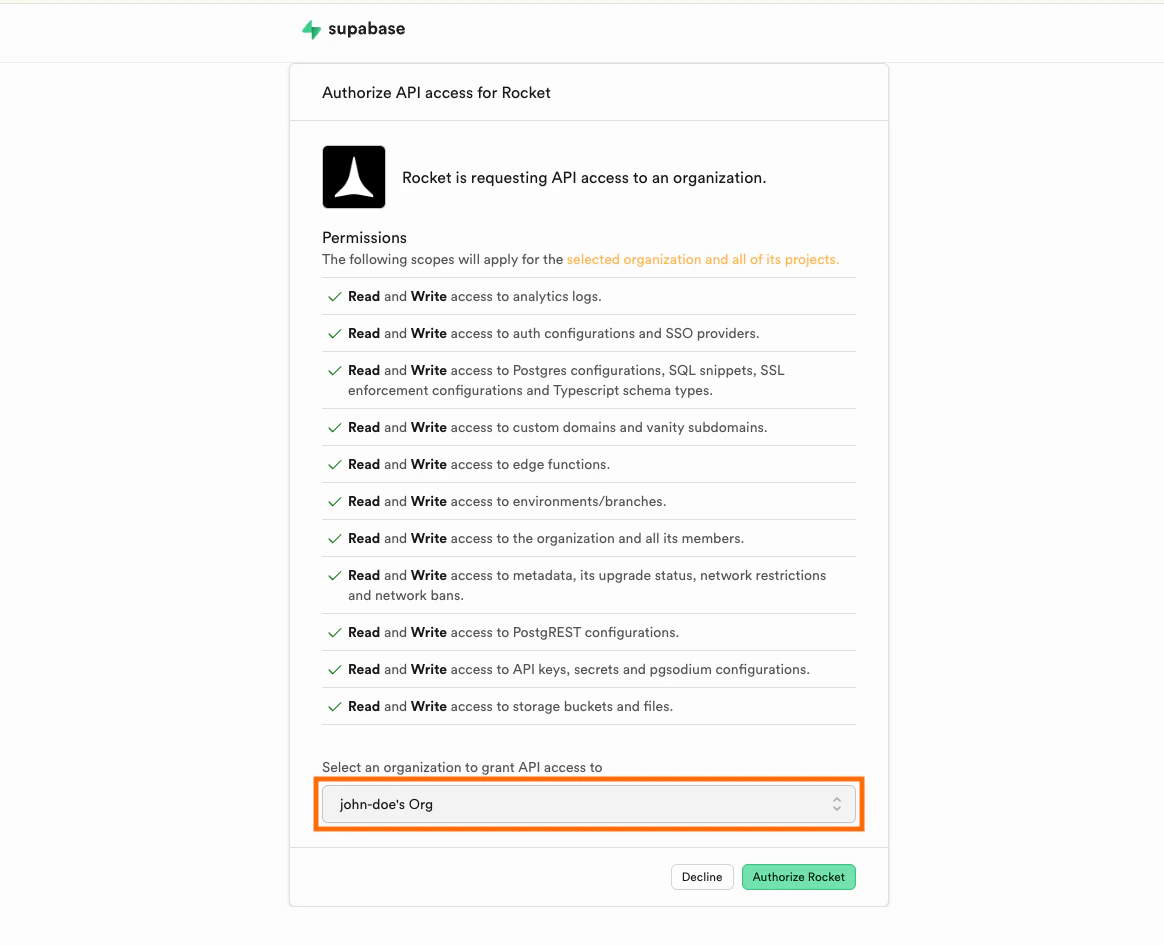
Select an existing organization
Select an existing organization
Choose your organization from the dropdown, then click Authorize Rocket.
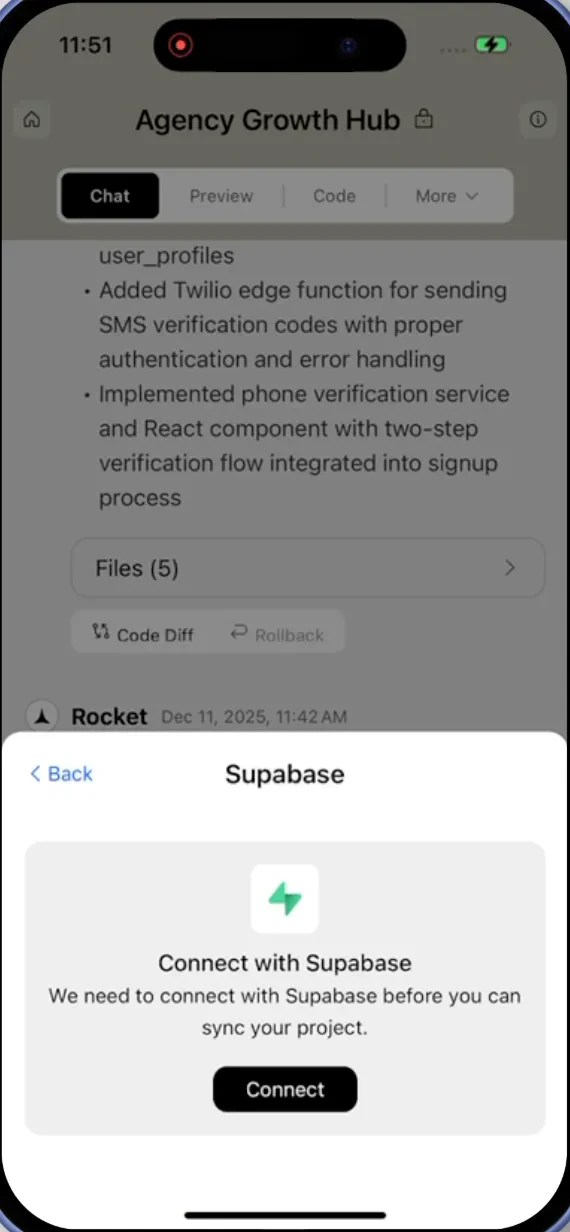
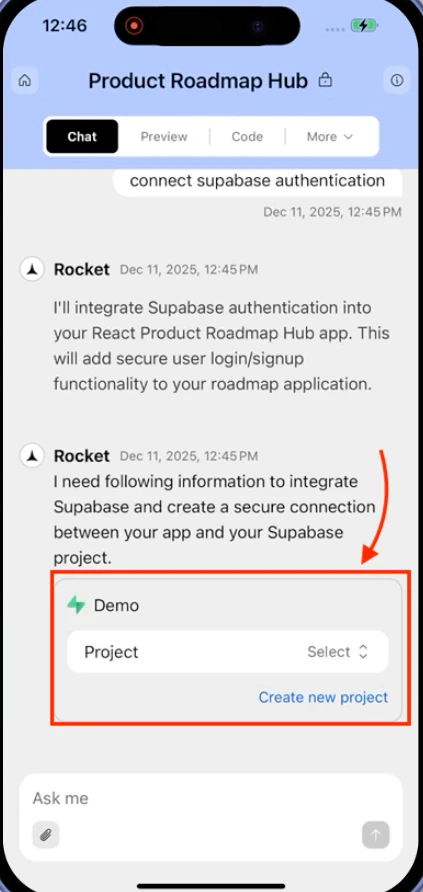
Link a Supabase project
Link a Supabase project
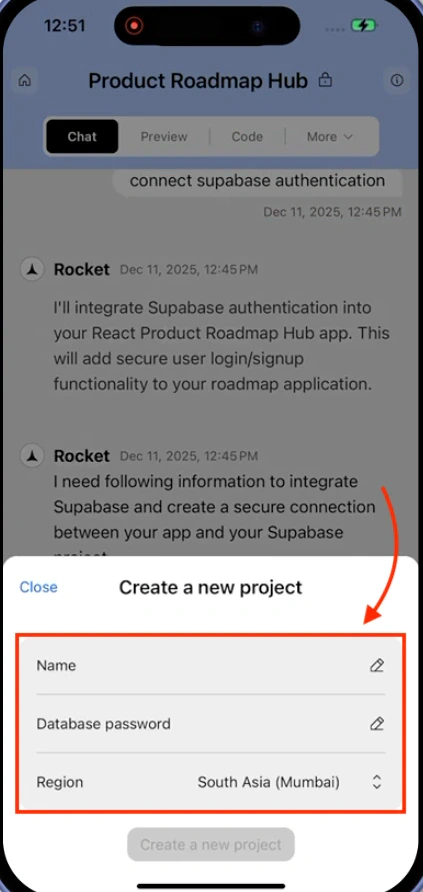
Once authorized, you will be prompted to link a project to this task.Select an existing project from the dropdown.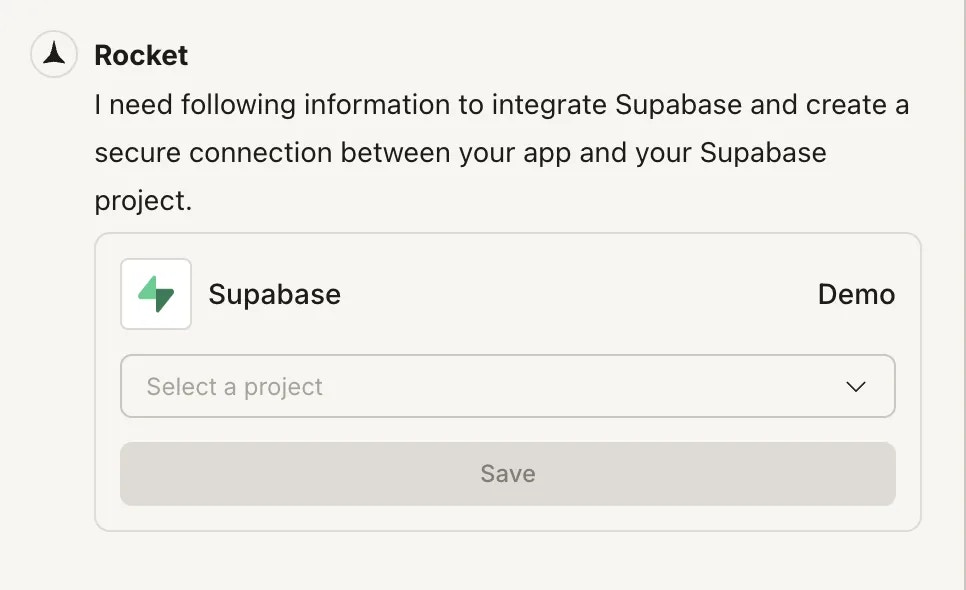
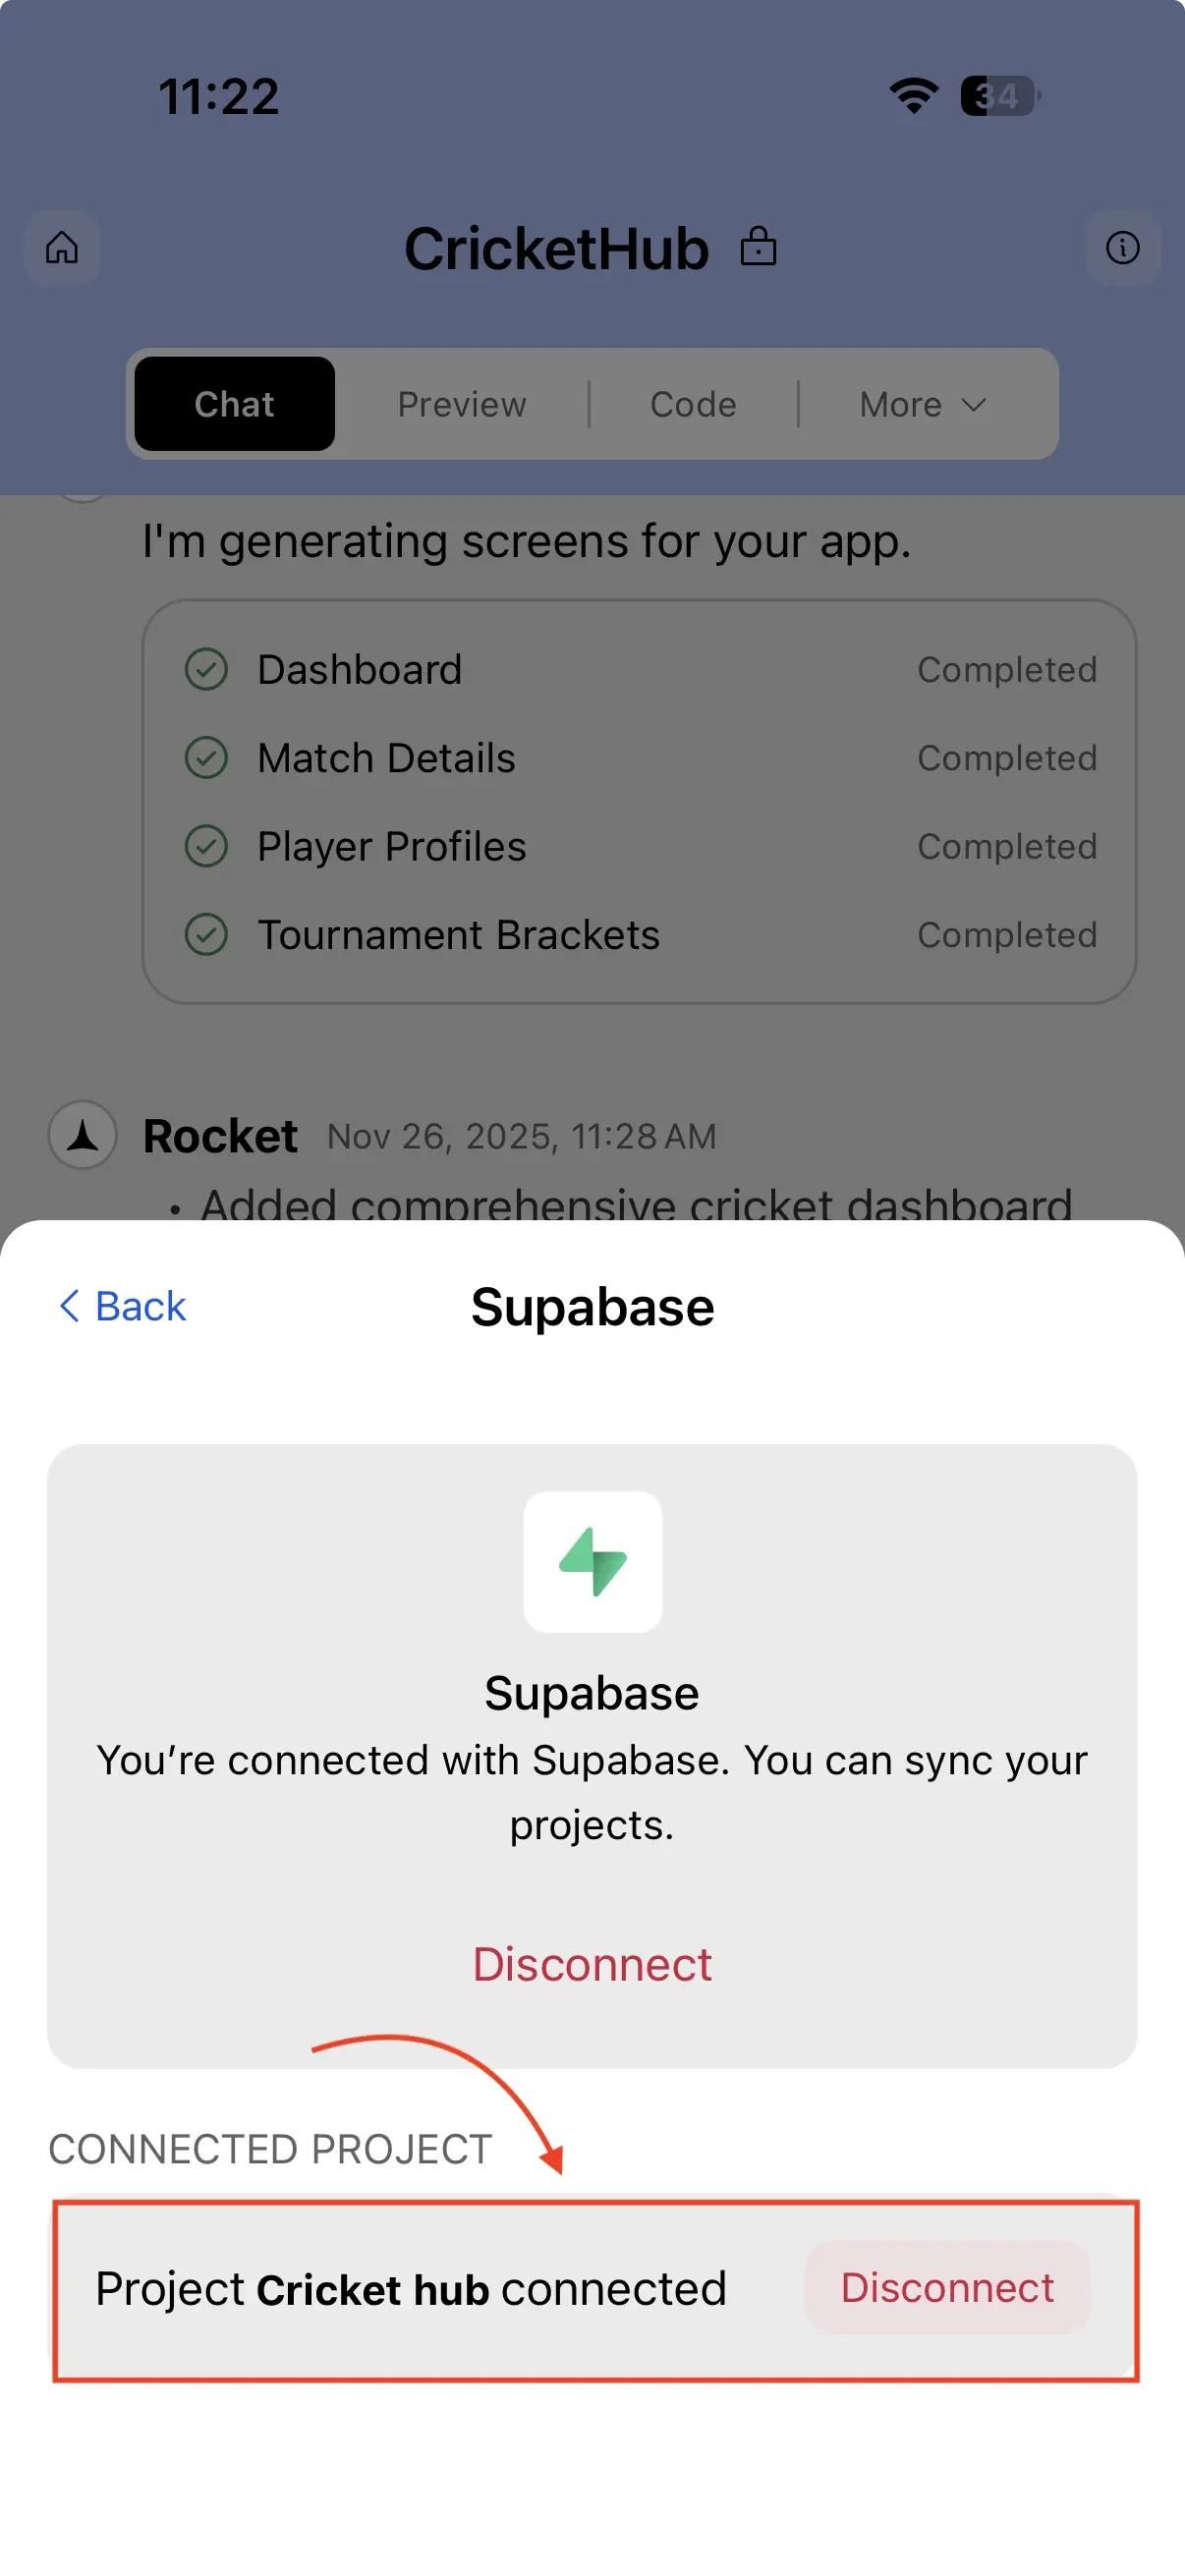
Disconnect this task from its Supabase project
Disconnect this task from its Supabase project
This removes the linked project from the current task only. Your Supabase account stays connected to the workspace.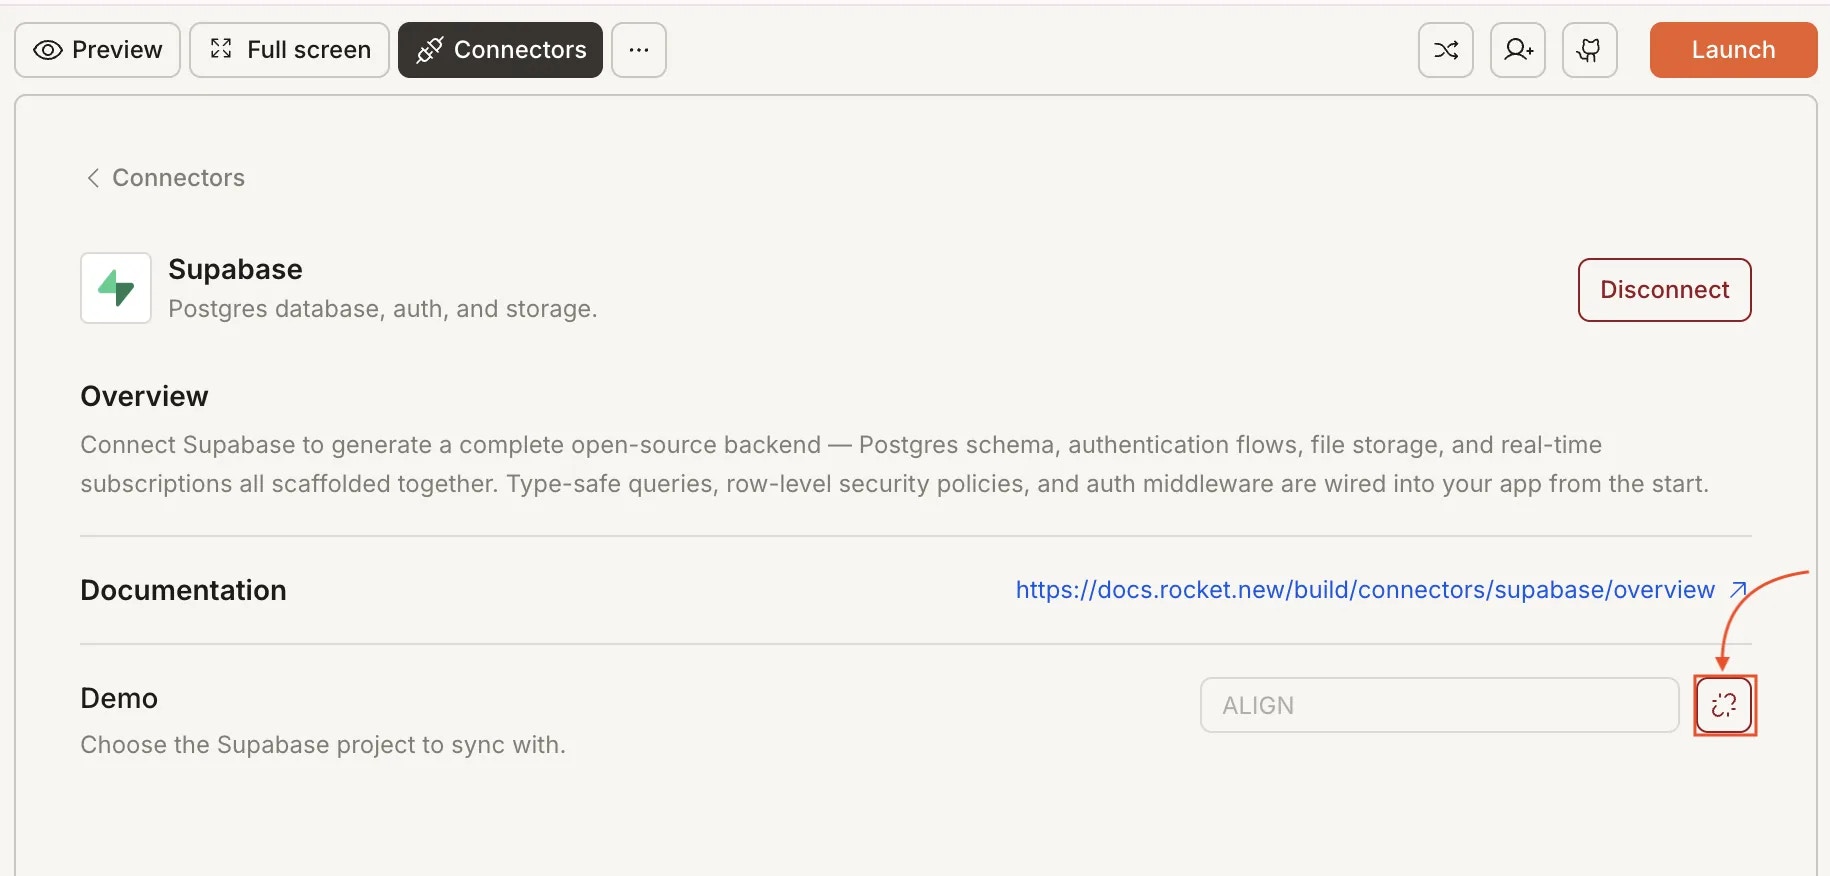
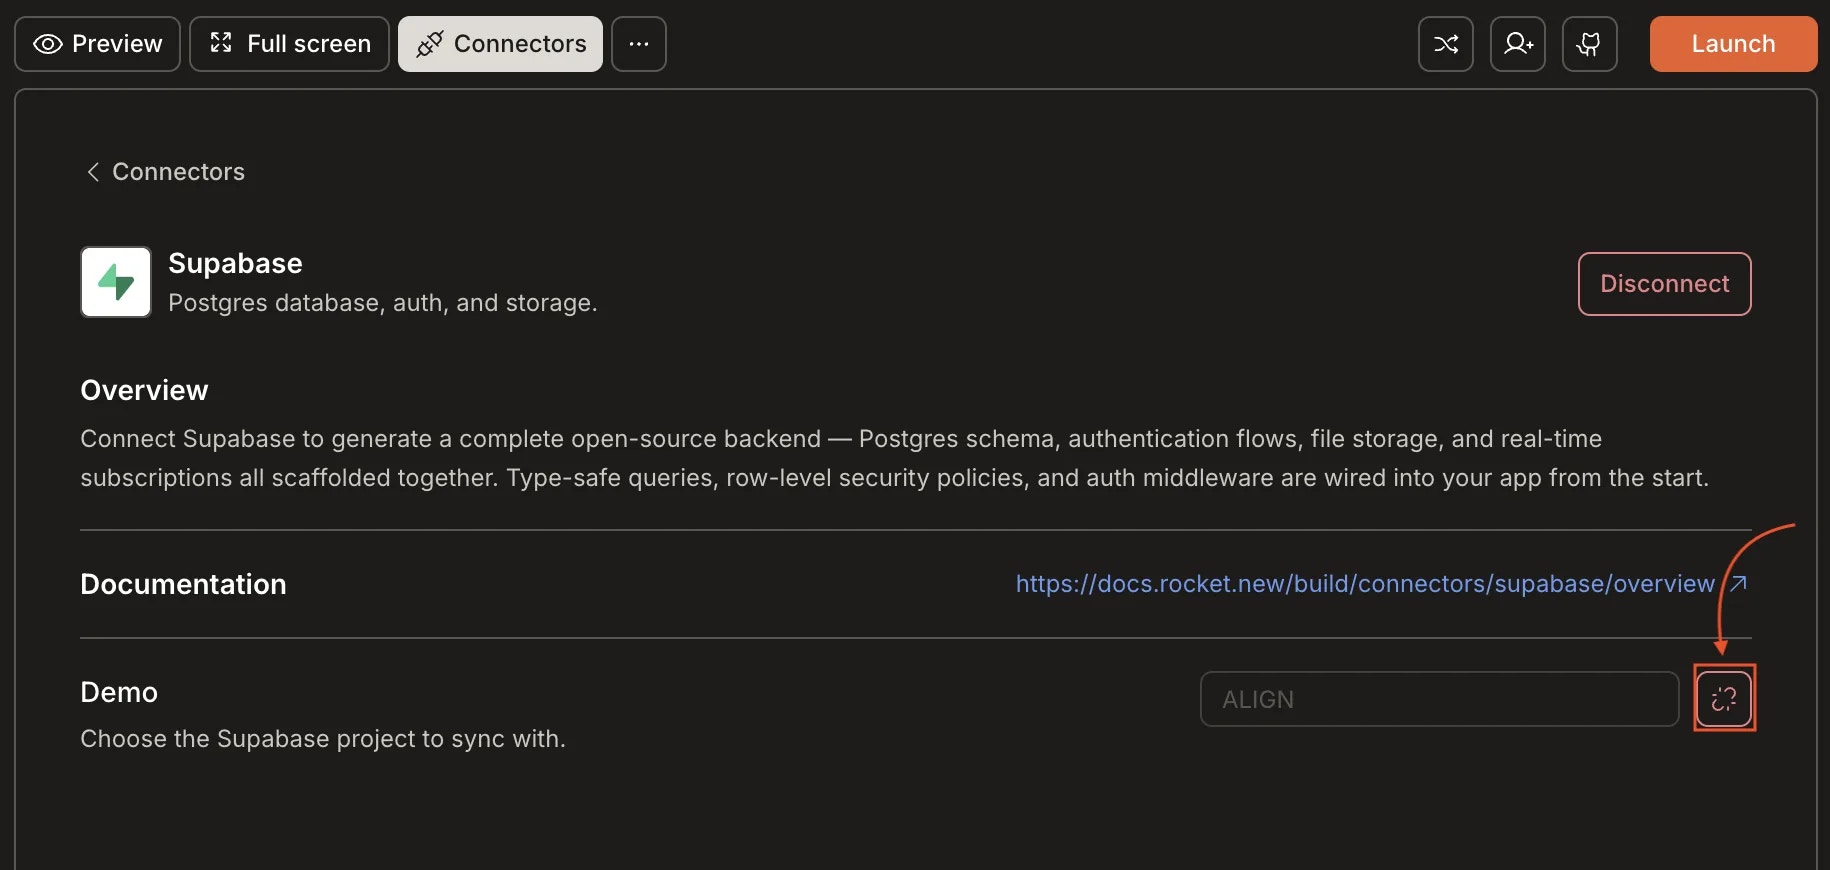
- Click the
...button in the toolbar and select Connectors. - Click the Supabase card.
- Use the Demo dropdown to switch projects, or click Disconnect to unlink the current project.

Manage workspace connectors
Disconnect or switch accounts from workspace Settings.
Example prompts
Once Supabase is connected, paste any of these into chat to get started.| What you want | Prompt to use |
|---|---|
| Email sign-up and login | Add email/password sign-up and login with a protected dashboard page. |
| Database with a UI | Create a products table with name, description, price, and image URL. Add a page to list and filter products. |
| File uploads | Let users upload profile avatars. Store images in Supabase Storage and display them on the profile page. |
| Server-side email on sign-up | Create a Supabase Edge Function that sends a welcome email when a new user signs up. |
| Per-user data access | Add row-level security so users can only read and edit their own records in the posts table. |
| Social login | Add Google and GitHub login options to the sign-up page using Supabase Auth. |
| Live data feed | Show a live feed of new messages in the chat room using Supabase real-time subscriptions. |
| Branded emails | Customize the Supabase confirmation email template to match my app's branding. |
| Multi-tenant data | Scope all database queries to the current user's organization using RLS policies. |
| Password reset | Add a forgot-password page that sends a reset link via Supabase Auth. |
Tips
- One Supabase project per task. Each Rocket task links to a single Supabase project. Use separate tasks if you need separate databases.
- Use edge functions for server-side logic. When code should not reach the client - sending emails, calling APIs with secret keys - ask Rocket to create a Supabase Edge Function instead.
- Free tier limits. Supabase free includes two active projects, 500 MB database storage, and 1 GB file storage. See Supabase pricing for current limits.
- Advanced database settings live in Supabase. Extensions, connection pooling, and RLS policy debugging are managed directly from the Supabase dashboard.
Go deeper
Push migration scripts
Apply Rocket-generated SQL migration scripts to keep your schema in sync.
Storage buckets
Set up file storage buckets and wire them into your app.
Edge functions
Generate and deploy Supabase Edge Functions without leaving Rocket.
Social auth
Add Google, GitHub, and other social login providers.
Redirect URLs
Set the correct redirect URLs so login and password resets work.
Google sign-in
Step-by-step Google sign-in setup for Android APKs.
Existing project
Reuse an existing Supabase project across multiple Rocket tasks.
Email templates
Customize auth email templates to match your app’s branding.
What’s next?
Stripe
Add payments, subscriptions, and checkout to your Supabase-powered app.
Resend
Send transactional emails - welcome messages, receipts, password resets.
Build a SaaS app
Full walkthrough combining Supabase, Stripe, Resend, and Netlify.