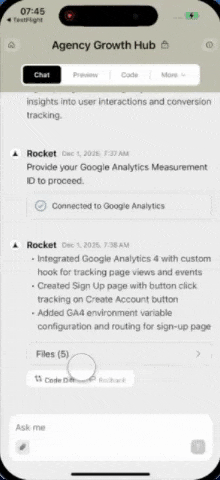
Monetize your app with display ads.Google AdSense is an advertising platform that lets you earn revenue by displaying targeted ads on your website or app. When you connect AdSense to Rocket, you can describe where you want ads to appear in chat and Rocket generates the ad placement code, responsive ad units, and layout adjustments automatically.AdSense works best for content-heavy apps like blogs, news sites, and forums. It pairs naturally with Google Analytics (for measuring how ads affect engagement) and a CMS like Strapi or Directus (for the content that drives ad impressions).Prerequisites:
- A Rocket account at rocket.new.
- A Google AdSense account (free to create).
- For mobile: the Rocket mobile app installed.
What you can use it for
Blog monetization
Blog monetization
Place ads between articles, in the sidebar, and after post content to generate revenue from your blog traffic.Try this prompt:Rocket creates: ad unit components, responsive placement logic, and layout adjustments for each ad slot.
Content site revenue
Content site revenue
Monetize documentation, tutorials, or resource pages with non-intrusive ad placements.Try this prompt:Rocket creates: responsive ad container with breakpoint visibility rules and sticky positioning.
Display ad placements
Display ad placements
Insert standard IAB ad units (leaderboard, medium rectangle, skyscraper) throughout your app.Try this prompt:Rocket creates: fixed-size ad containers, sticky scroll behavior, and AdSense auto-sizing fallback.
In-feed ads
In-feed ads
Insert native-looking ads between items in content feeds, product listings, or search results.Try this prompt:Rocket creates: in-feed ad unit inserted at interval, styled to match the surrounding card grid.
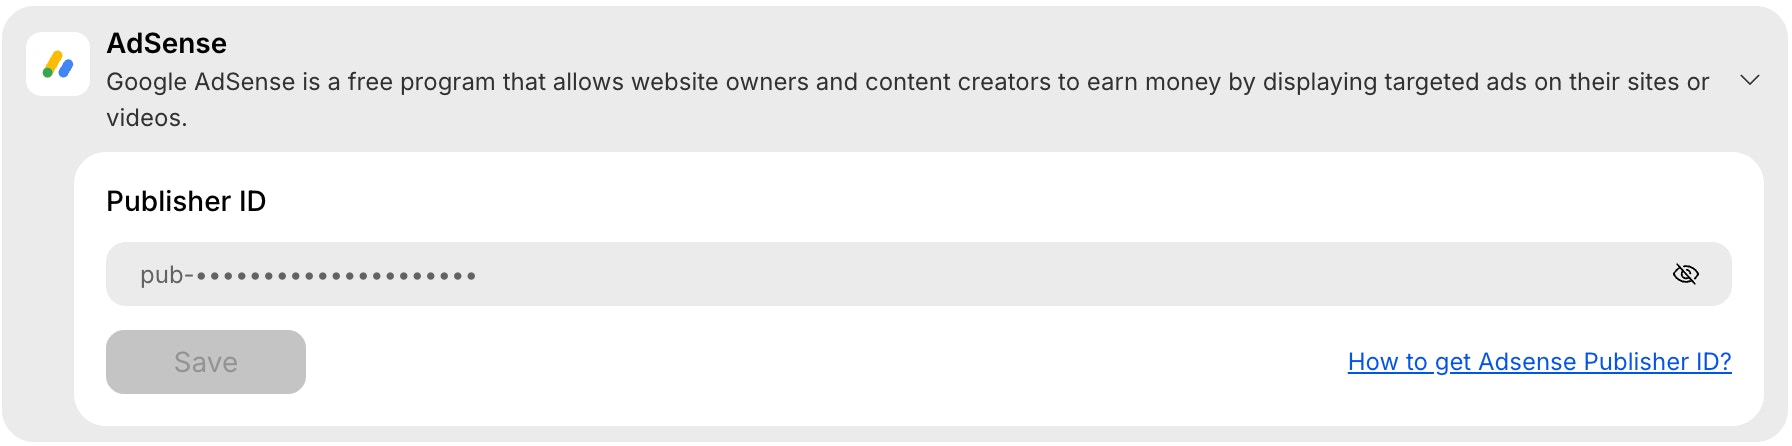
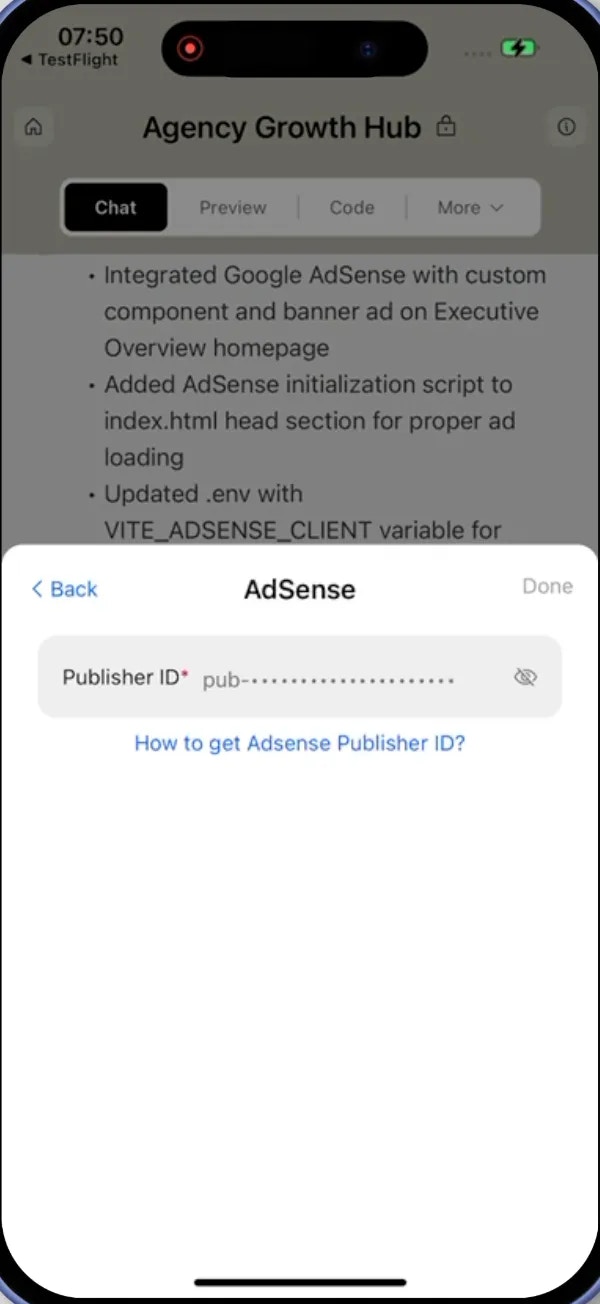
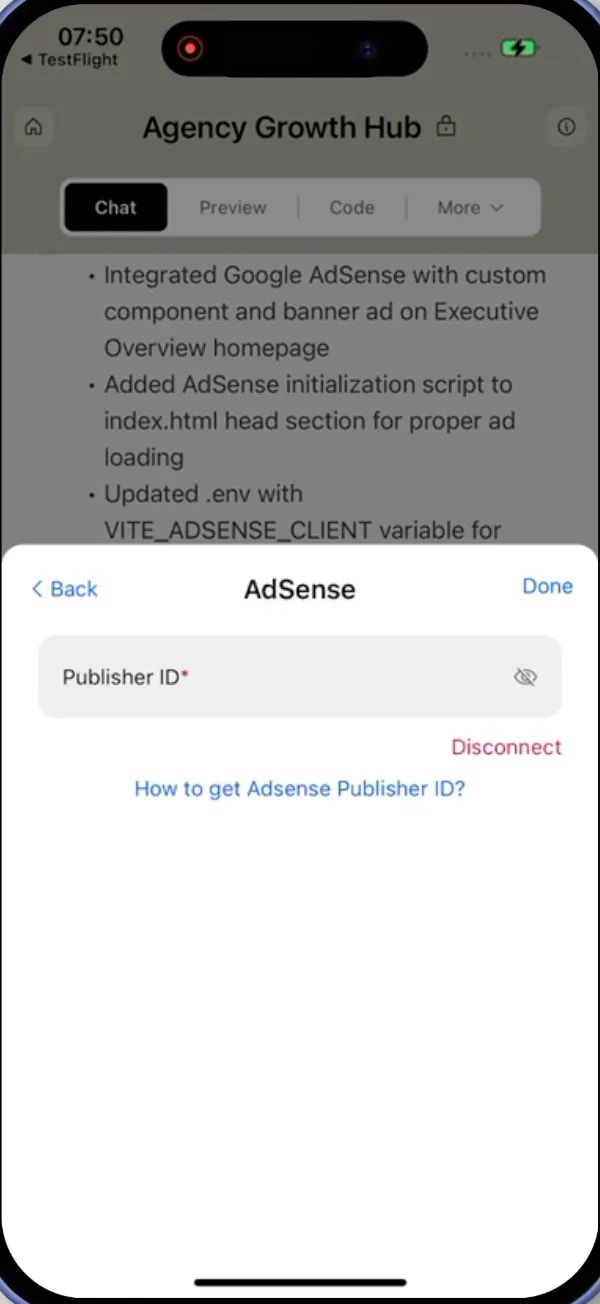
Get your Publisher ID
Open the AdSense help center to find your Publisher ID.
pub-1234567890123456 and is required to display ads on your site.
Detailed setup
- Web Browser
- Mobile App
Connect AdSense to Rocket
There are two ways to connect AdSense to Rocket:Method 1: Use Rocket Chat (fastest)-
In any project, open the chat panel and type something like:
Connect my AdSense account to: -
Add a banner ad to the homepage. -
Insert a responsive ad block below blog posts. -
Show ads in the sidebar of my content pages. - A popup will appear where you can paste your Publisher ID and save it right away.
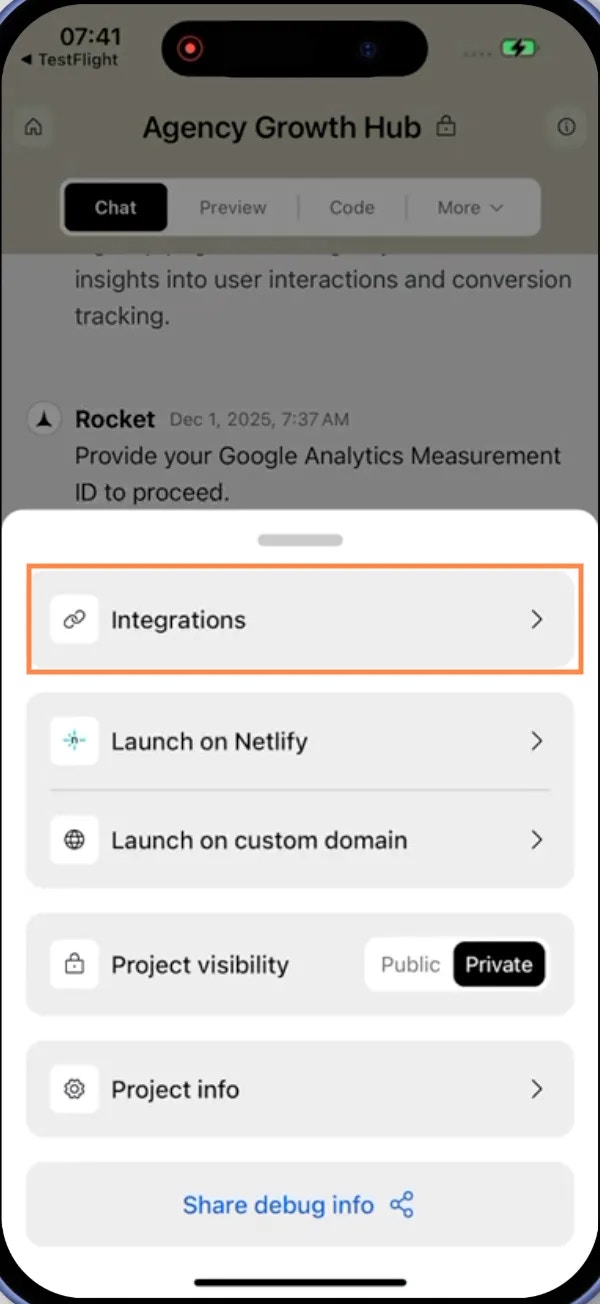
- Open any project and go to Integrations.
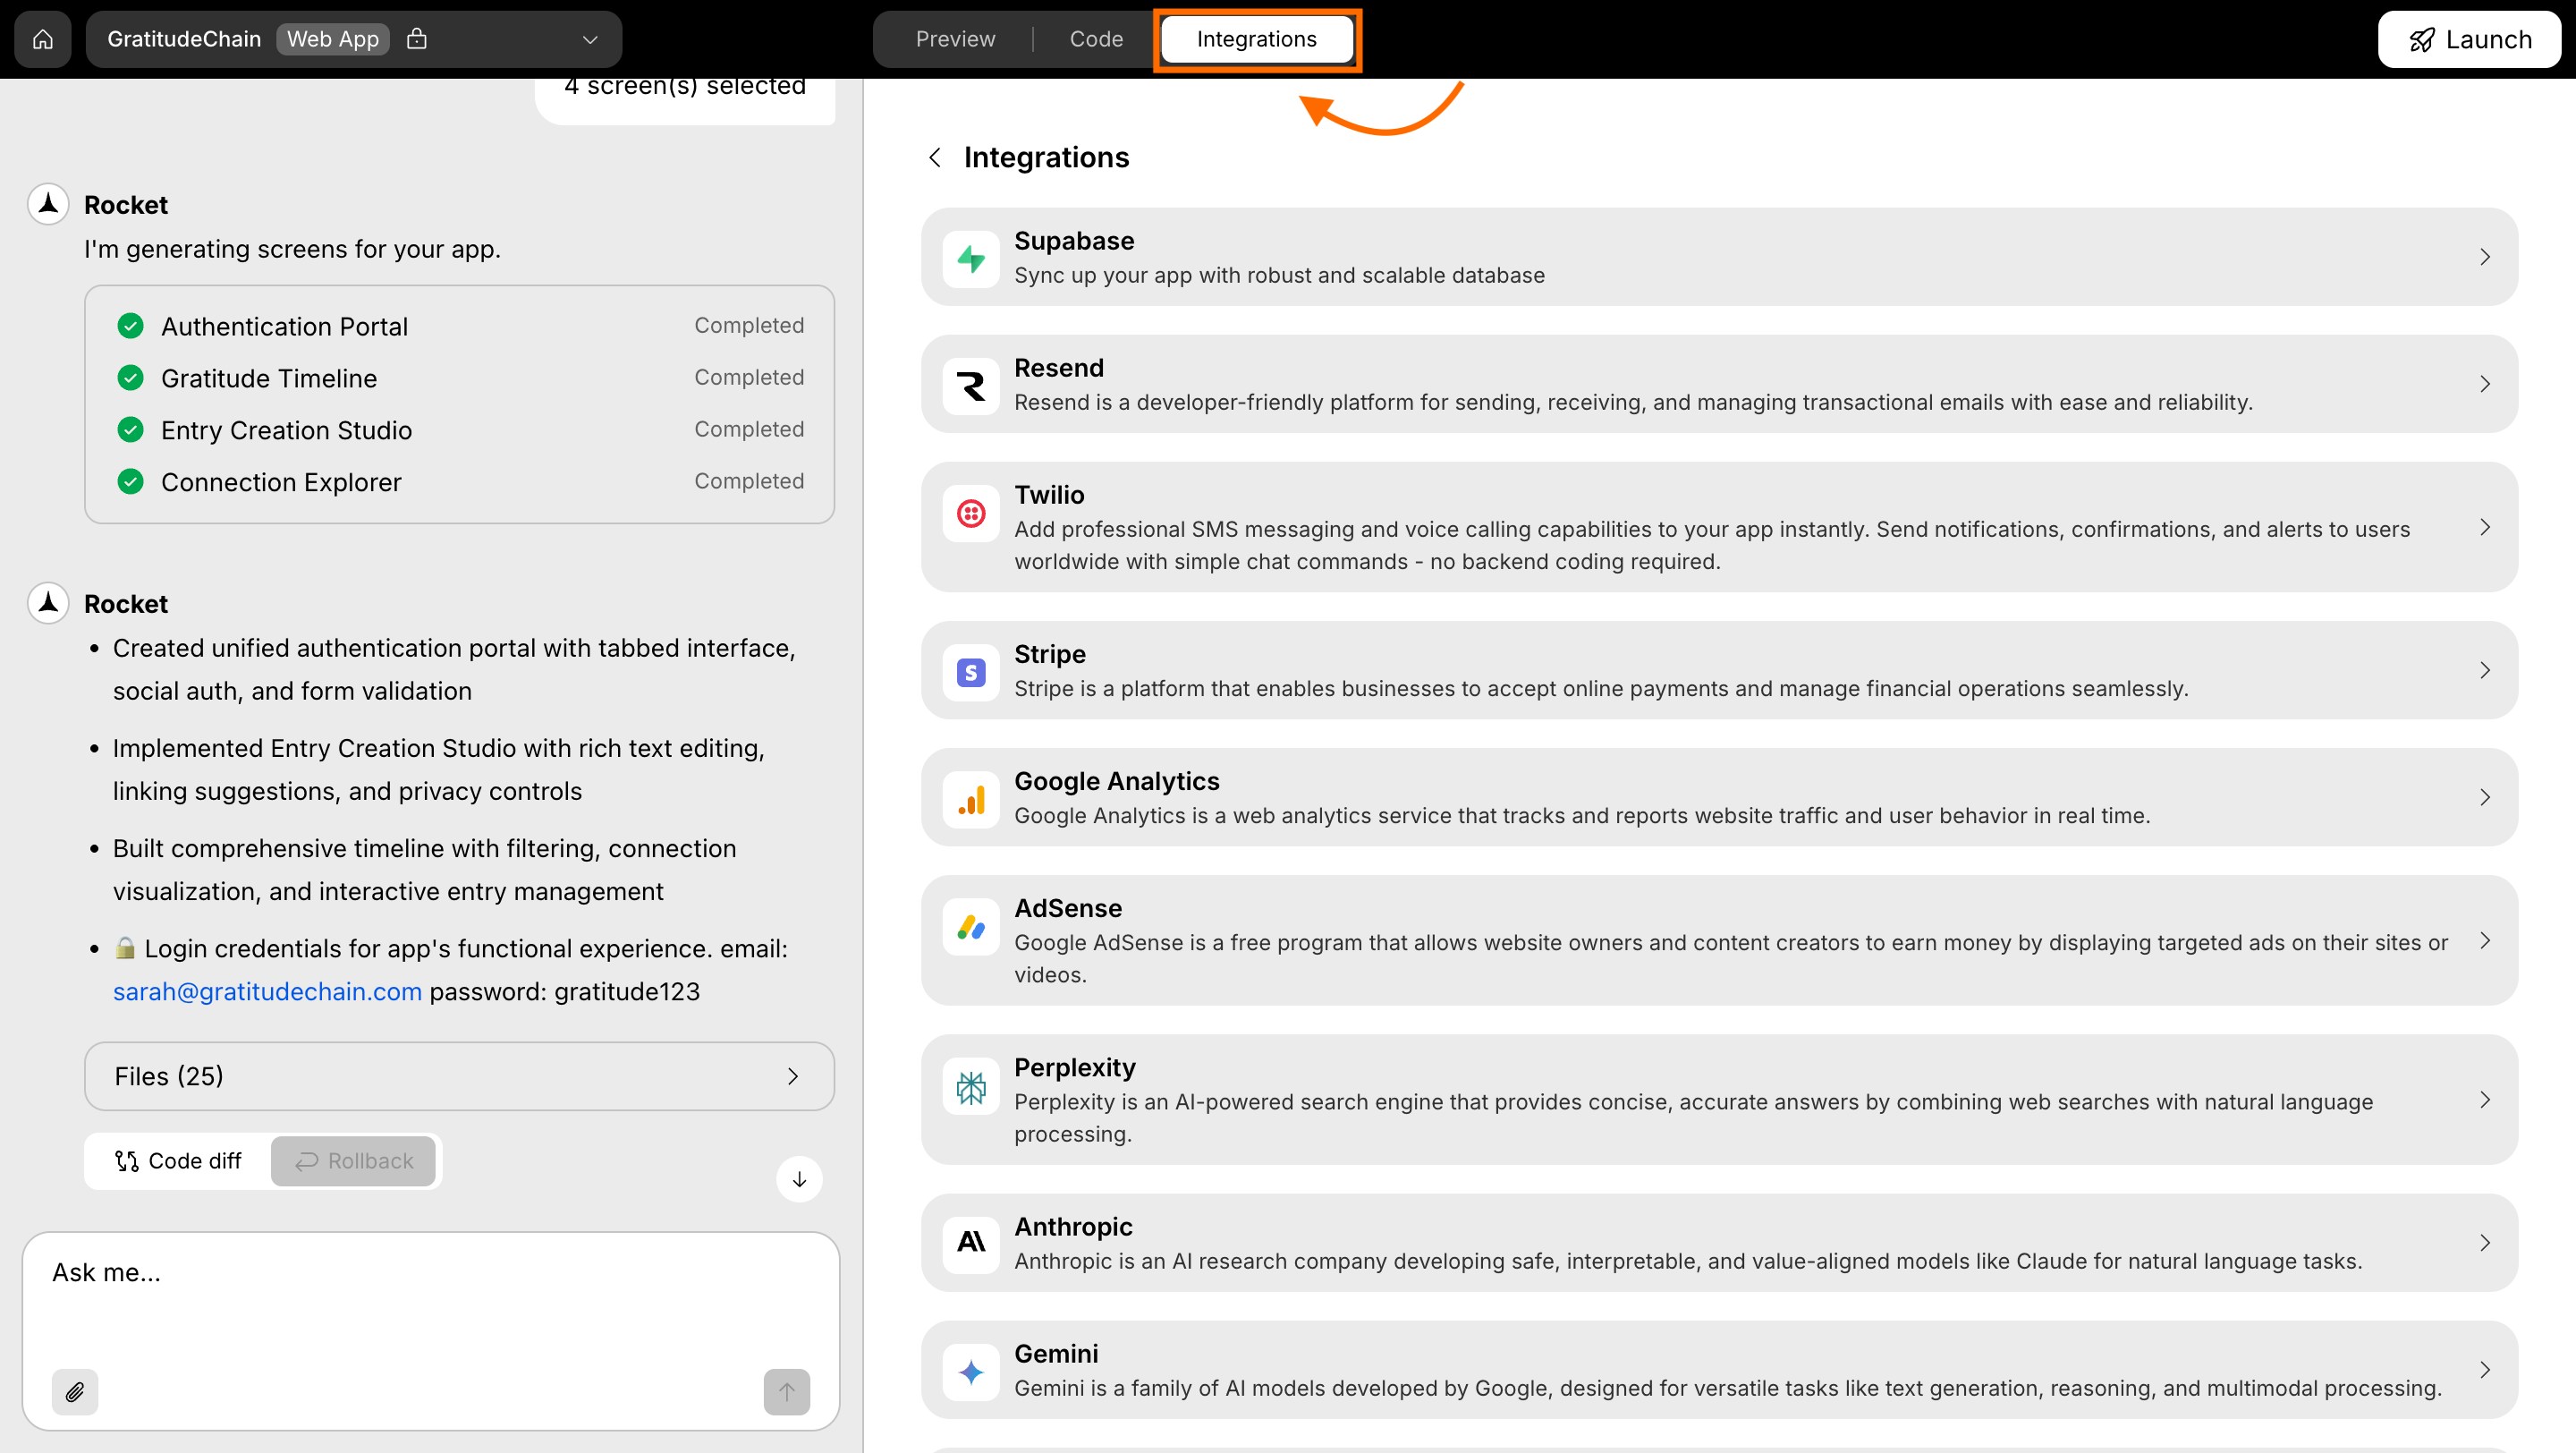
- Click the AdSense card.
When you connect AdSense from Project Settings, Rocket will not automatically insert ads.
After saving your Publisher ID, describe where you want ads to appear in chat for Rocket to set them up.
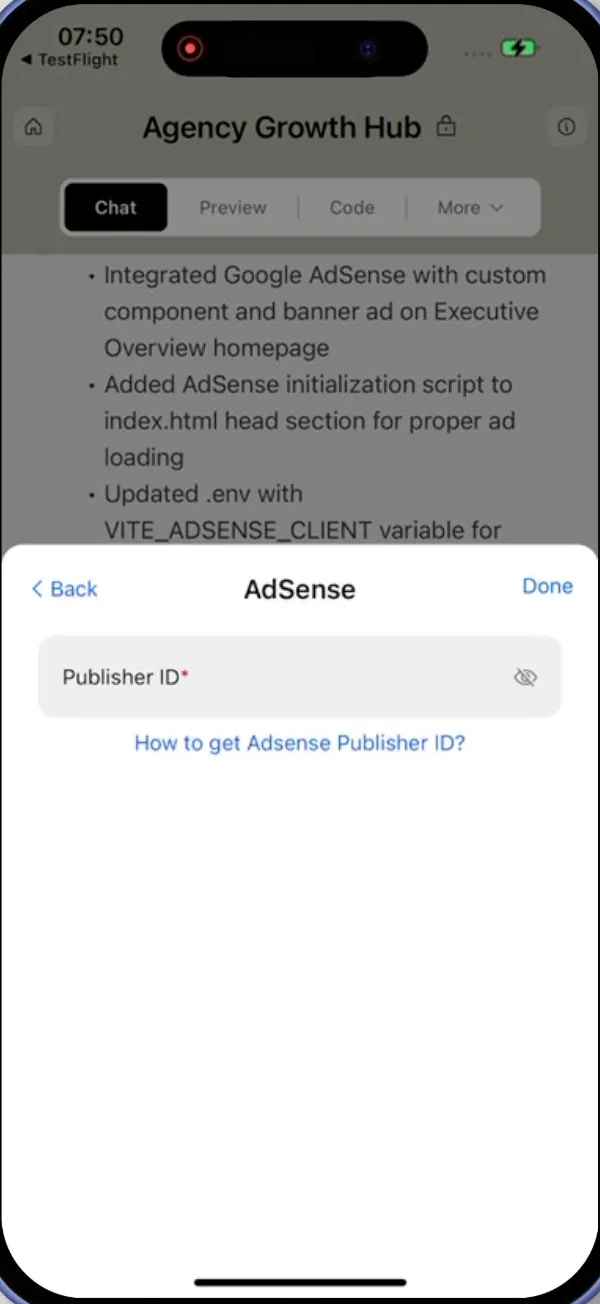
Save your Publisher ID
- Paste your Publisher ID into the input field.
- Click Save to complete setup.
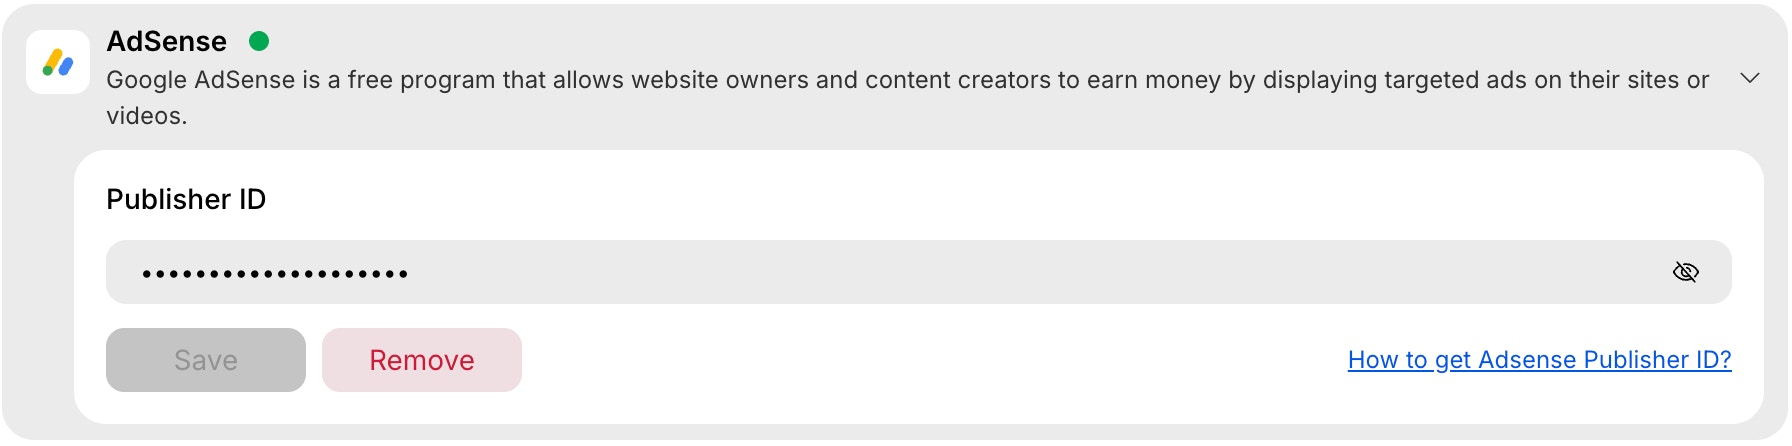
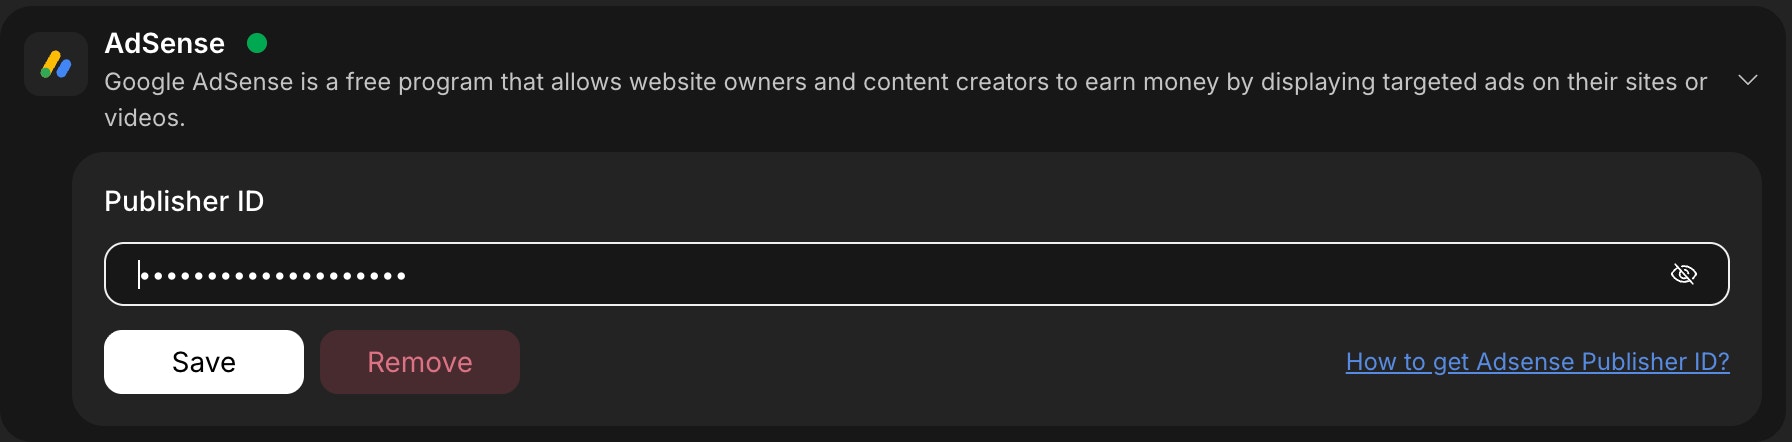
Update or disconnect
- Go back to the AdSense section in your project settings.
- You can update your Publisher ID anytime, or click Remove to disconnect.
Prompt cookbook
Copy-paste these prompts after connecting AdSense to add common ad placements:| Use case | Prompt |
|---|---|
| Header banner | Add a responsive AdSense leaderboard ad below the navigation bar on every page. |
| Sidebar ad | Place a 300x250 medium rectangle AdSense ad in the sidebar, sticky on scroll. |
| In-article ad | Insert an AdSense ad after the third paragraph of every blog post. |
| In-feed ad | Add an AdSense in-feed ad after every 5th post in my blog listing. |
| Footer ad | Place a responsive AdSense banner above the footer on all pages. |
| Mobile-only ad | Show a full-width AdSense ad between content sections, only on mobile devices. |
| Desktop-only ad | Add a skyscraper ad in the right sidebar, visible only on desktop screens wider than 1024px. |
| Between sections | Insert an AdSense ad between the features section and the testimonials section on the landing page. |
Tips and limitations
- Ads only display on deployed projects. AdSense will not render in the Rocket preview or on localhost. Deploy your project and test on the live URL.
- Google must approve your site. Your domain and content must comply with AdSense program policies before ads will appear. New sites may take a few days to get approved.
- Ad blockers will hide ads. A significant percentage of users run ad-blocking extensions. Consider this when projecting revenue.
- Too many ads hurt user experience. Google may limit ad serving if your page has an unfavorable content-to-ad ratio. Follow the AdSense best practices for ad density.
- One Publisher ID per project. Each Rocket project connects to one AdSense account. Use different projects for different Publisher IDs.
What’s next?
Google Analytics
Track how ads affect user engagement and bounce rates with GA4.
Strapi
Pair AdSense with a headless CMS to monetize your content-driven site.
Netlify
Deploy your project so AdSense can start serving ads on your live site.