When you submit a prompt, Rocket scores it for clarity before starting work.
Clear prompt. Rocket starts building immediately.
Vague prompt. Rocket asks a short set of targeted questions first, then starts once it has enough to go on.
The framework is assigned automatically based on your platform: Next.js for web, Flutter for mobile. You cannot change the framework after the task is created.
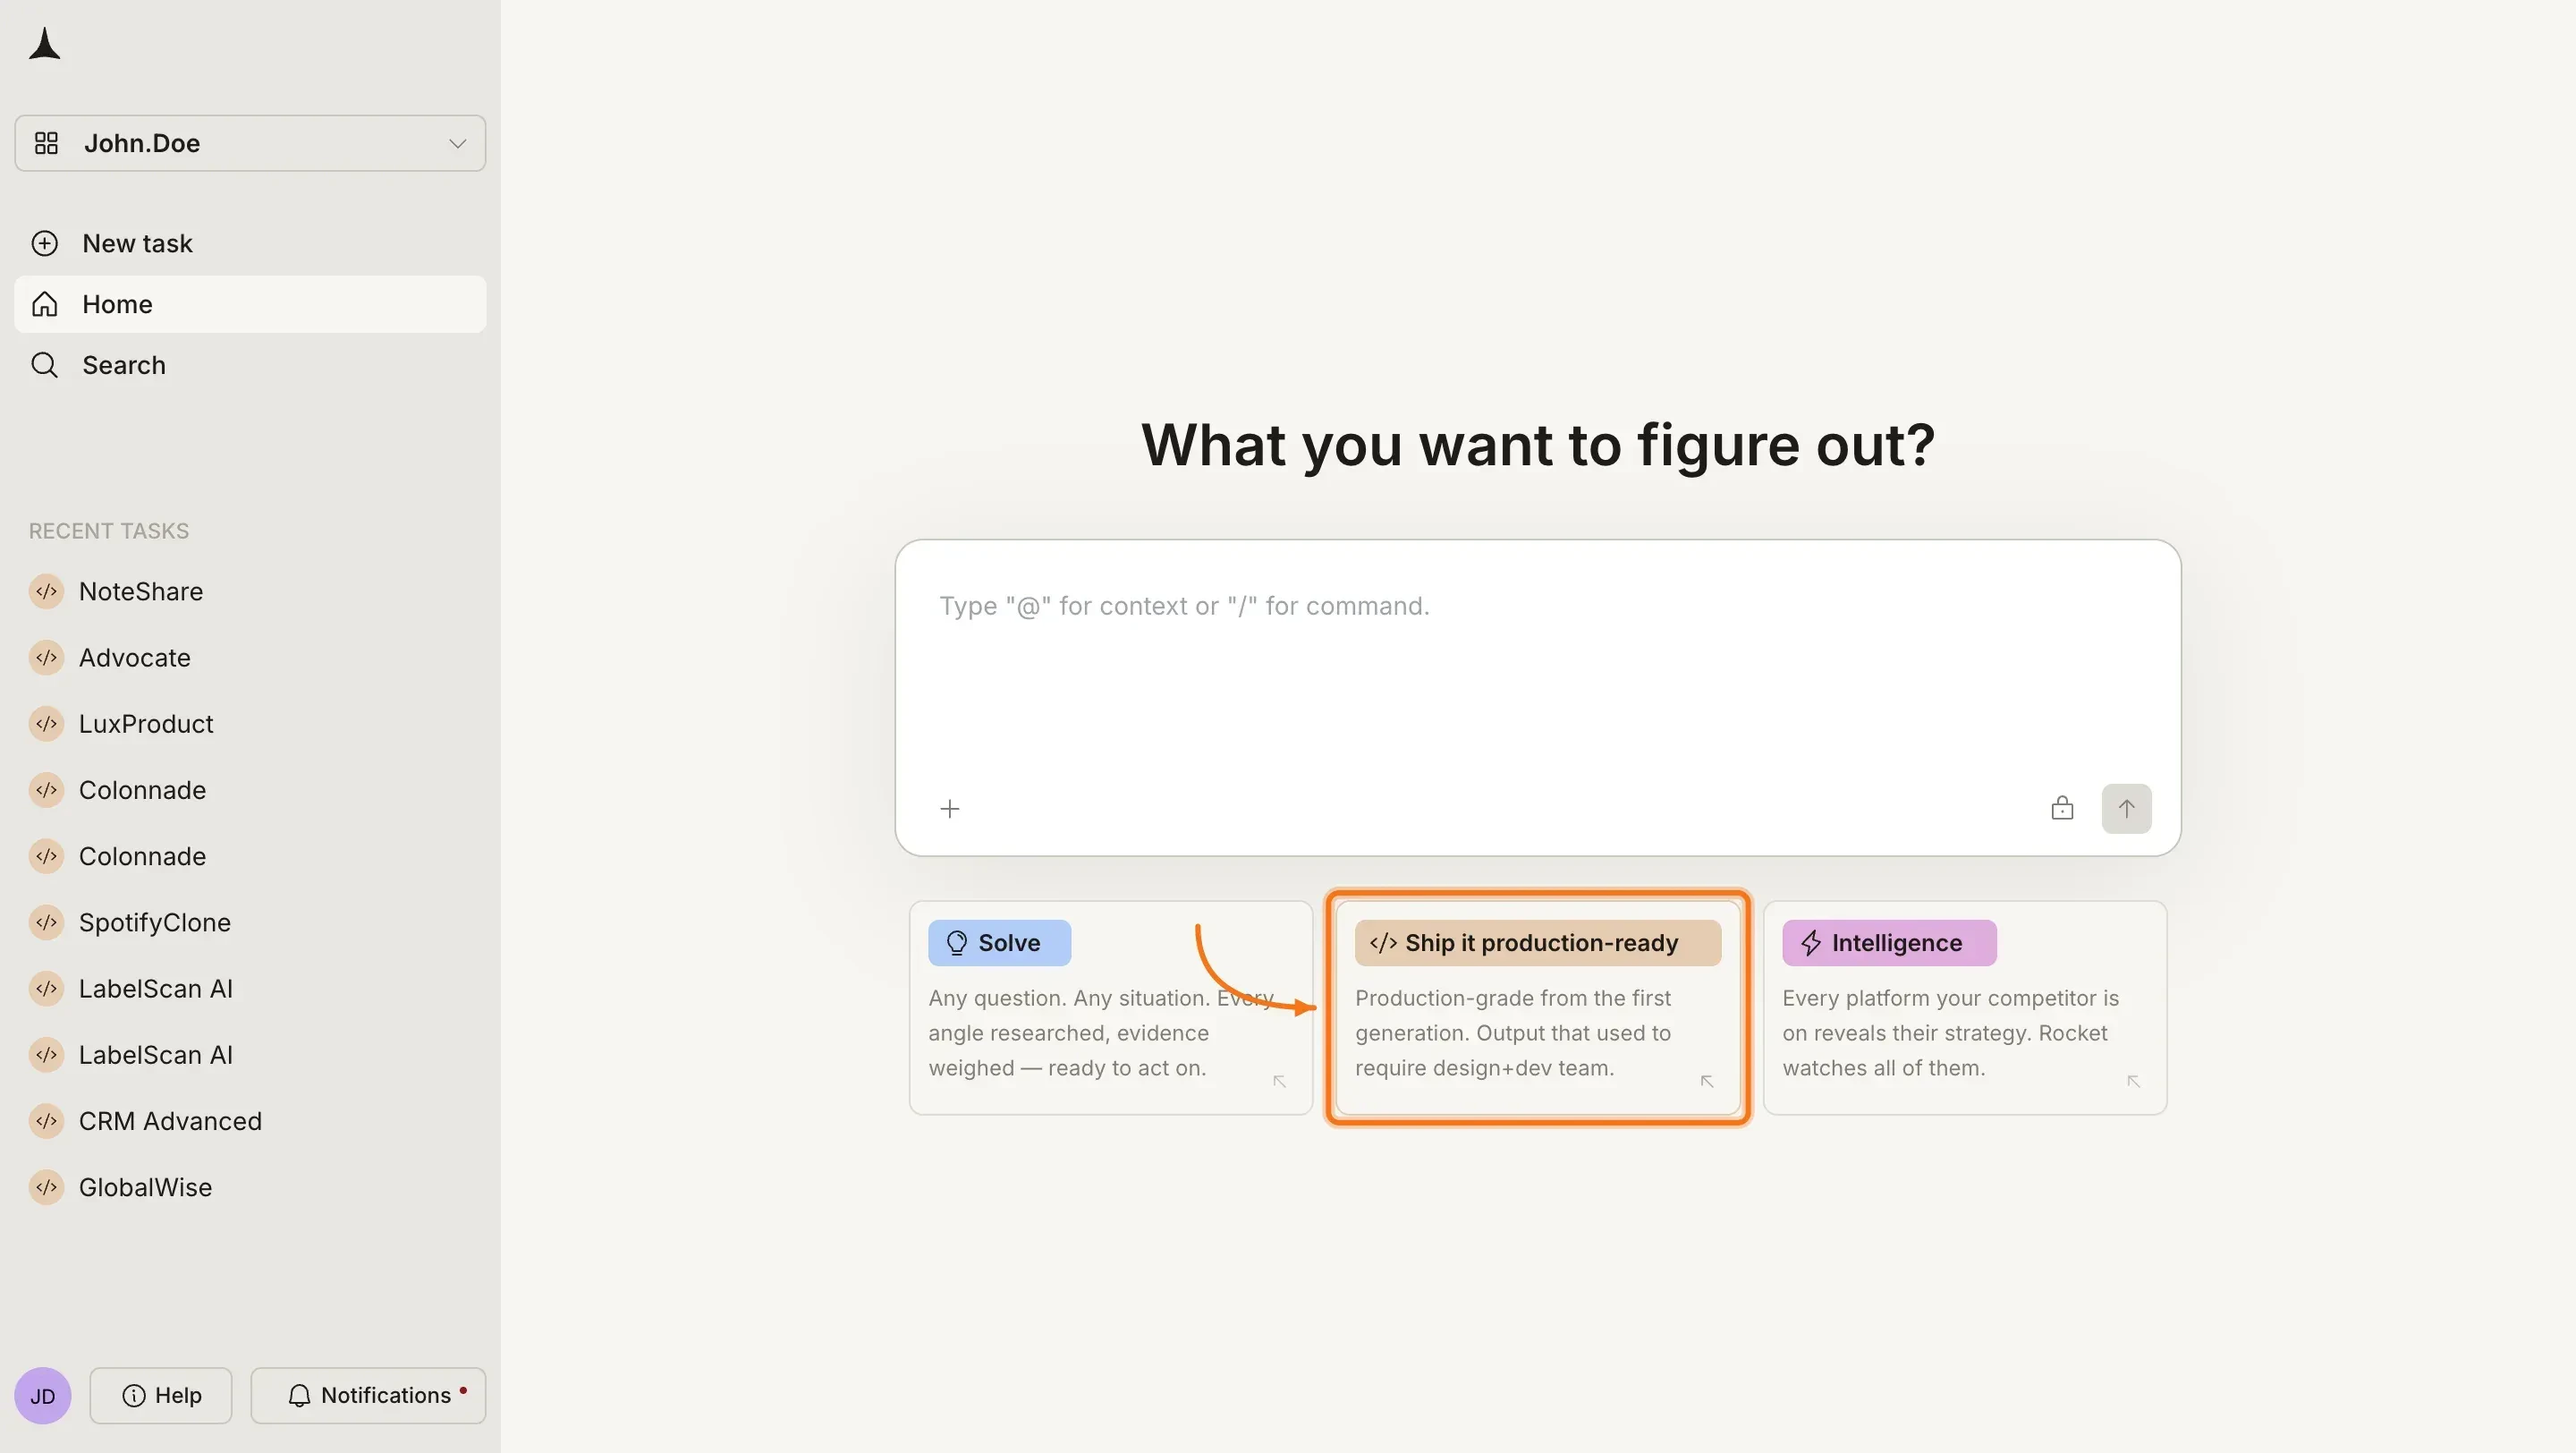
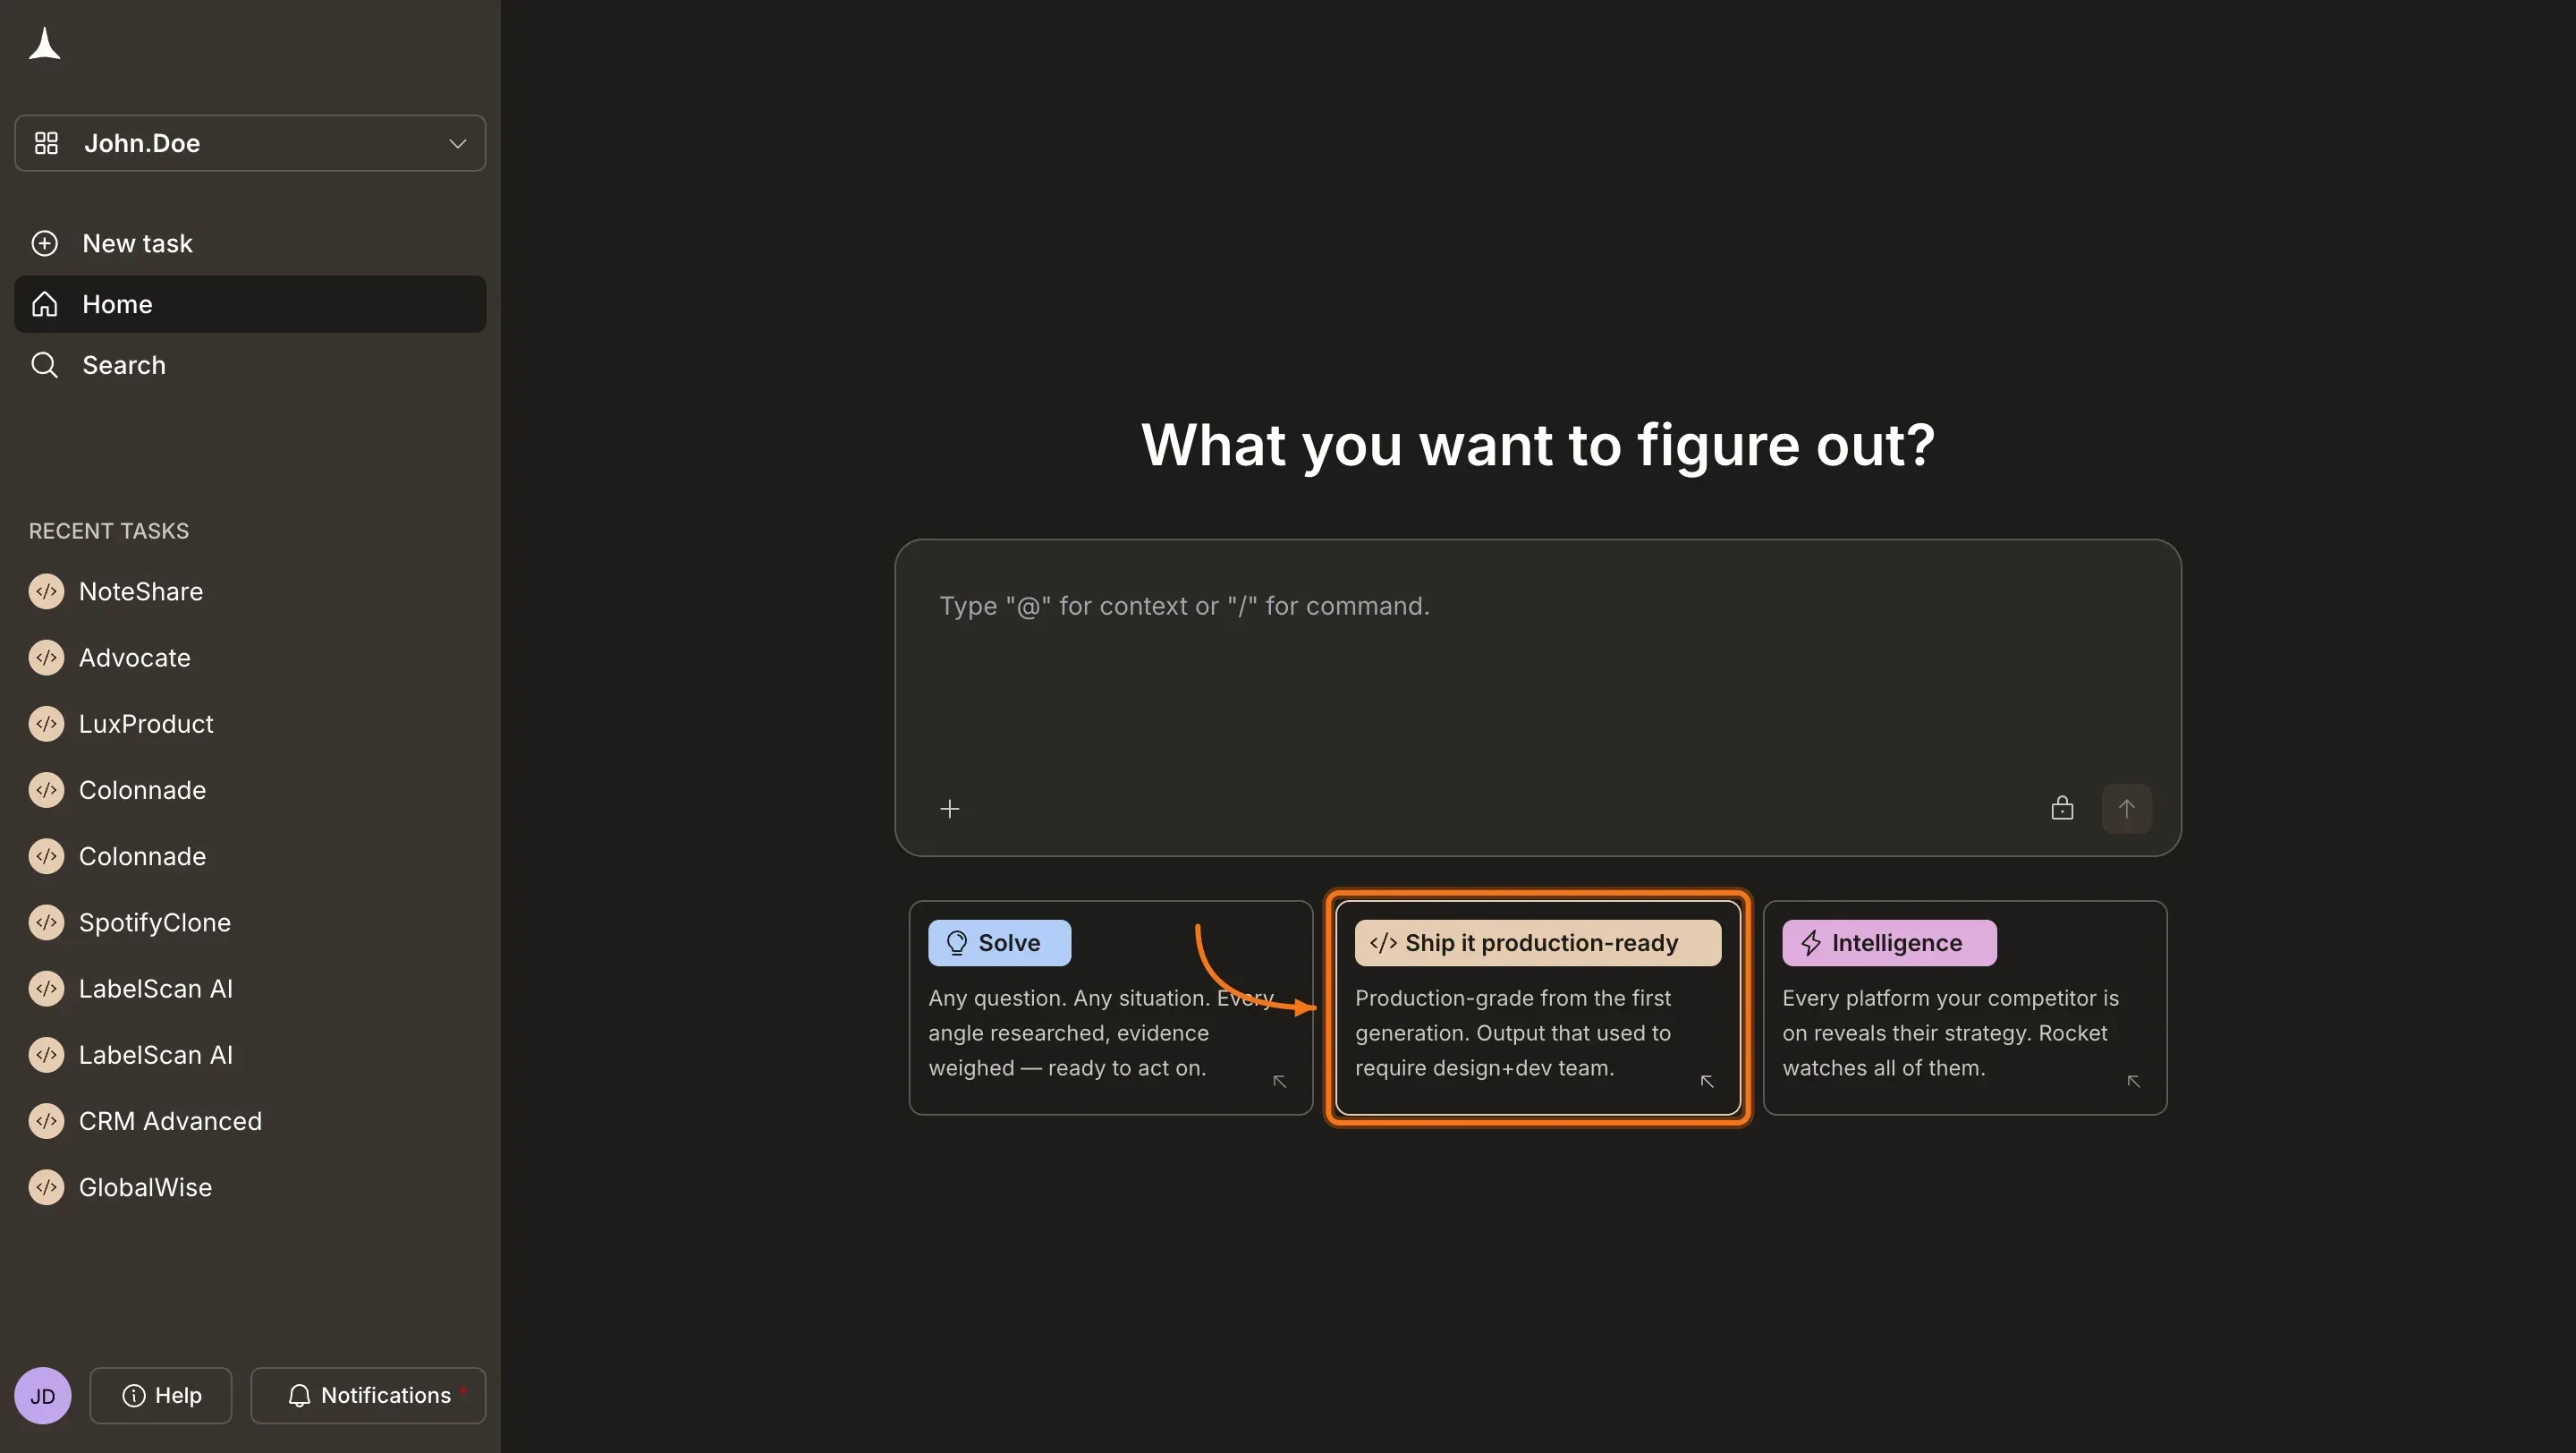
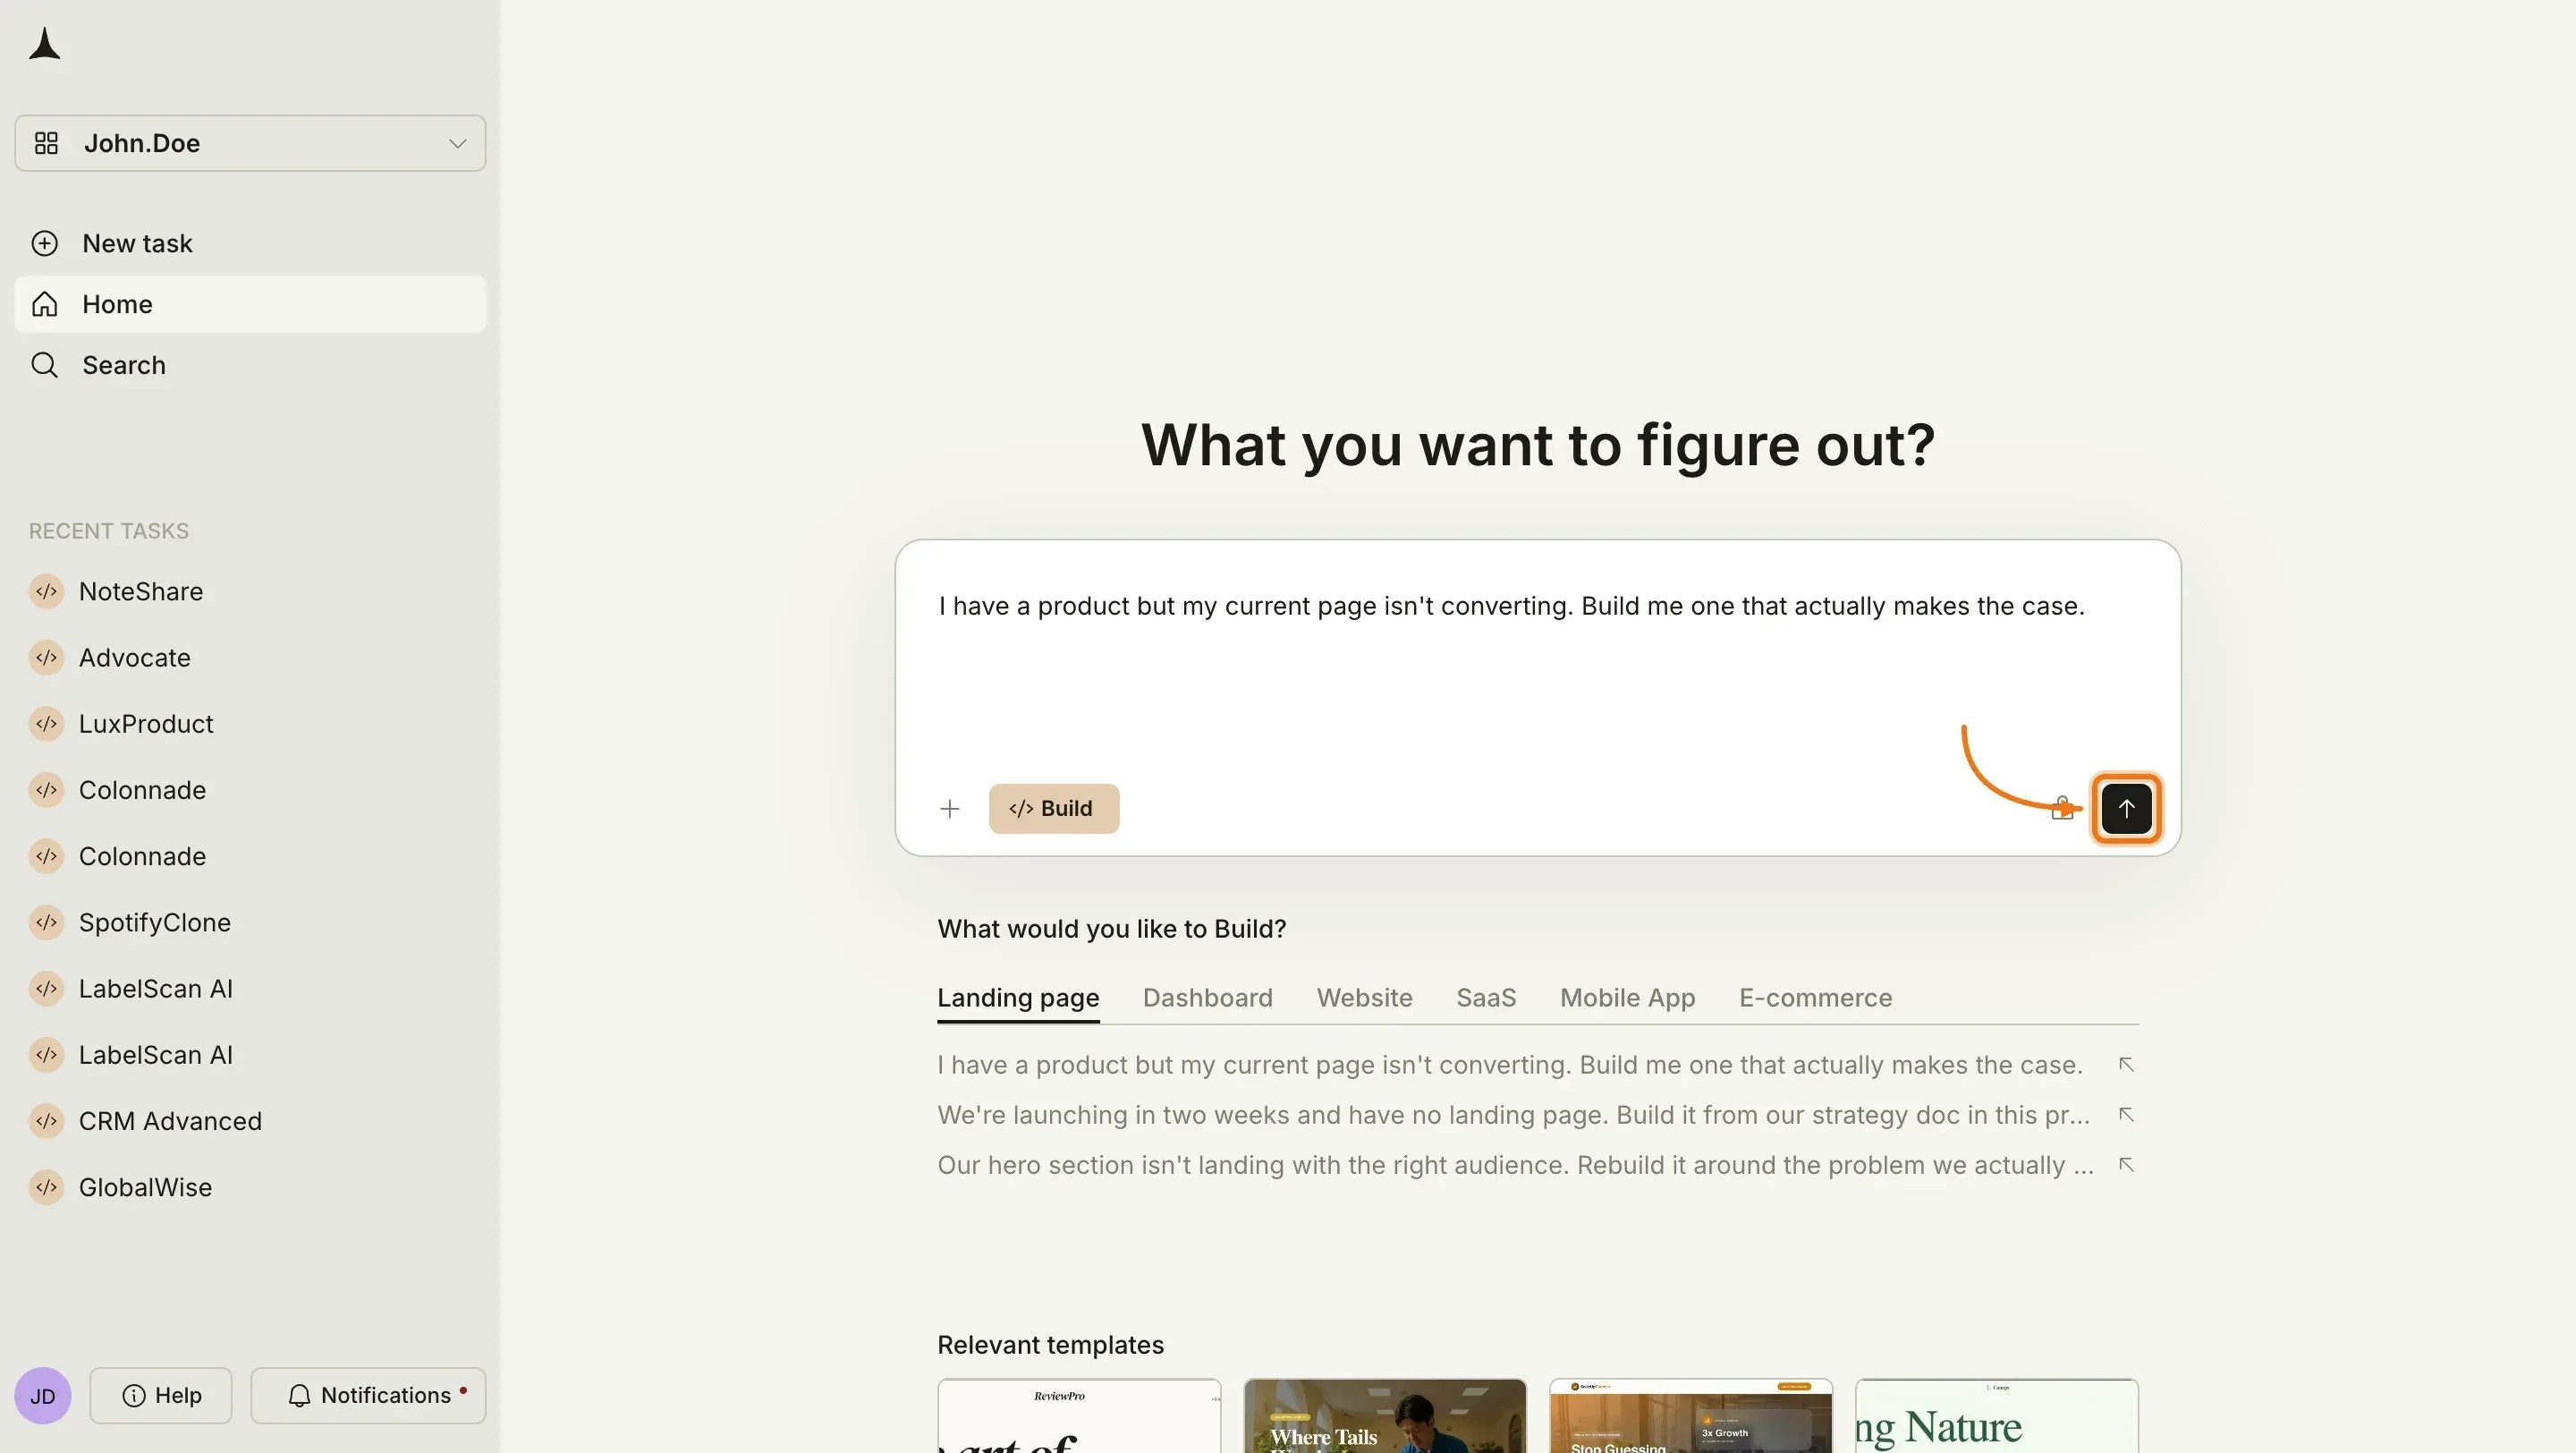
Visit rocket.new and sign in. On the homepage, click Build to start a new Build task.
Rocket homepage
2
Type your idea
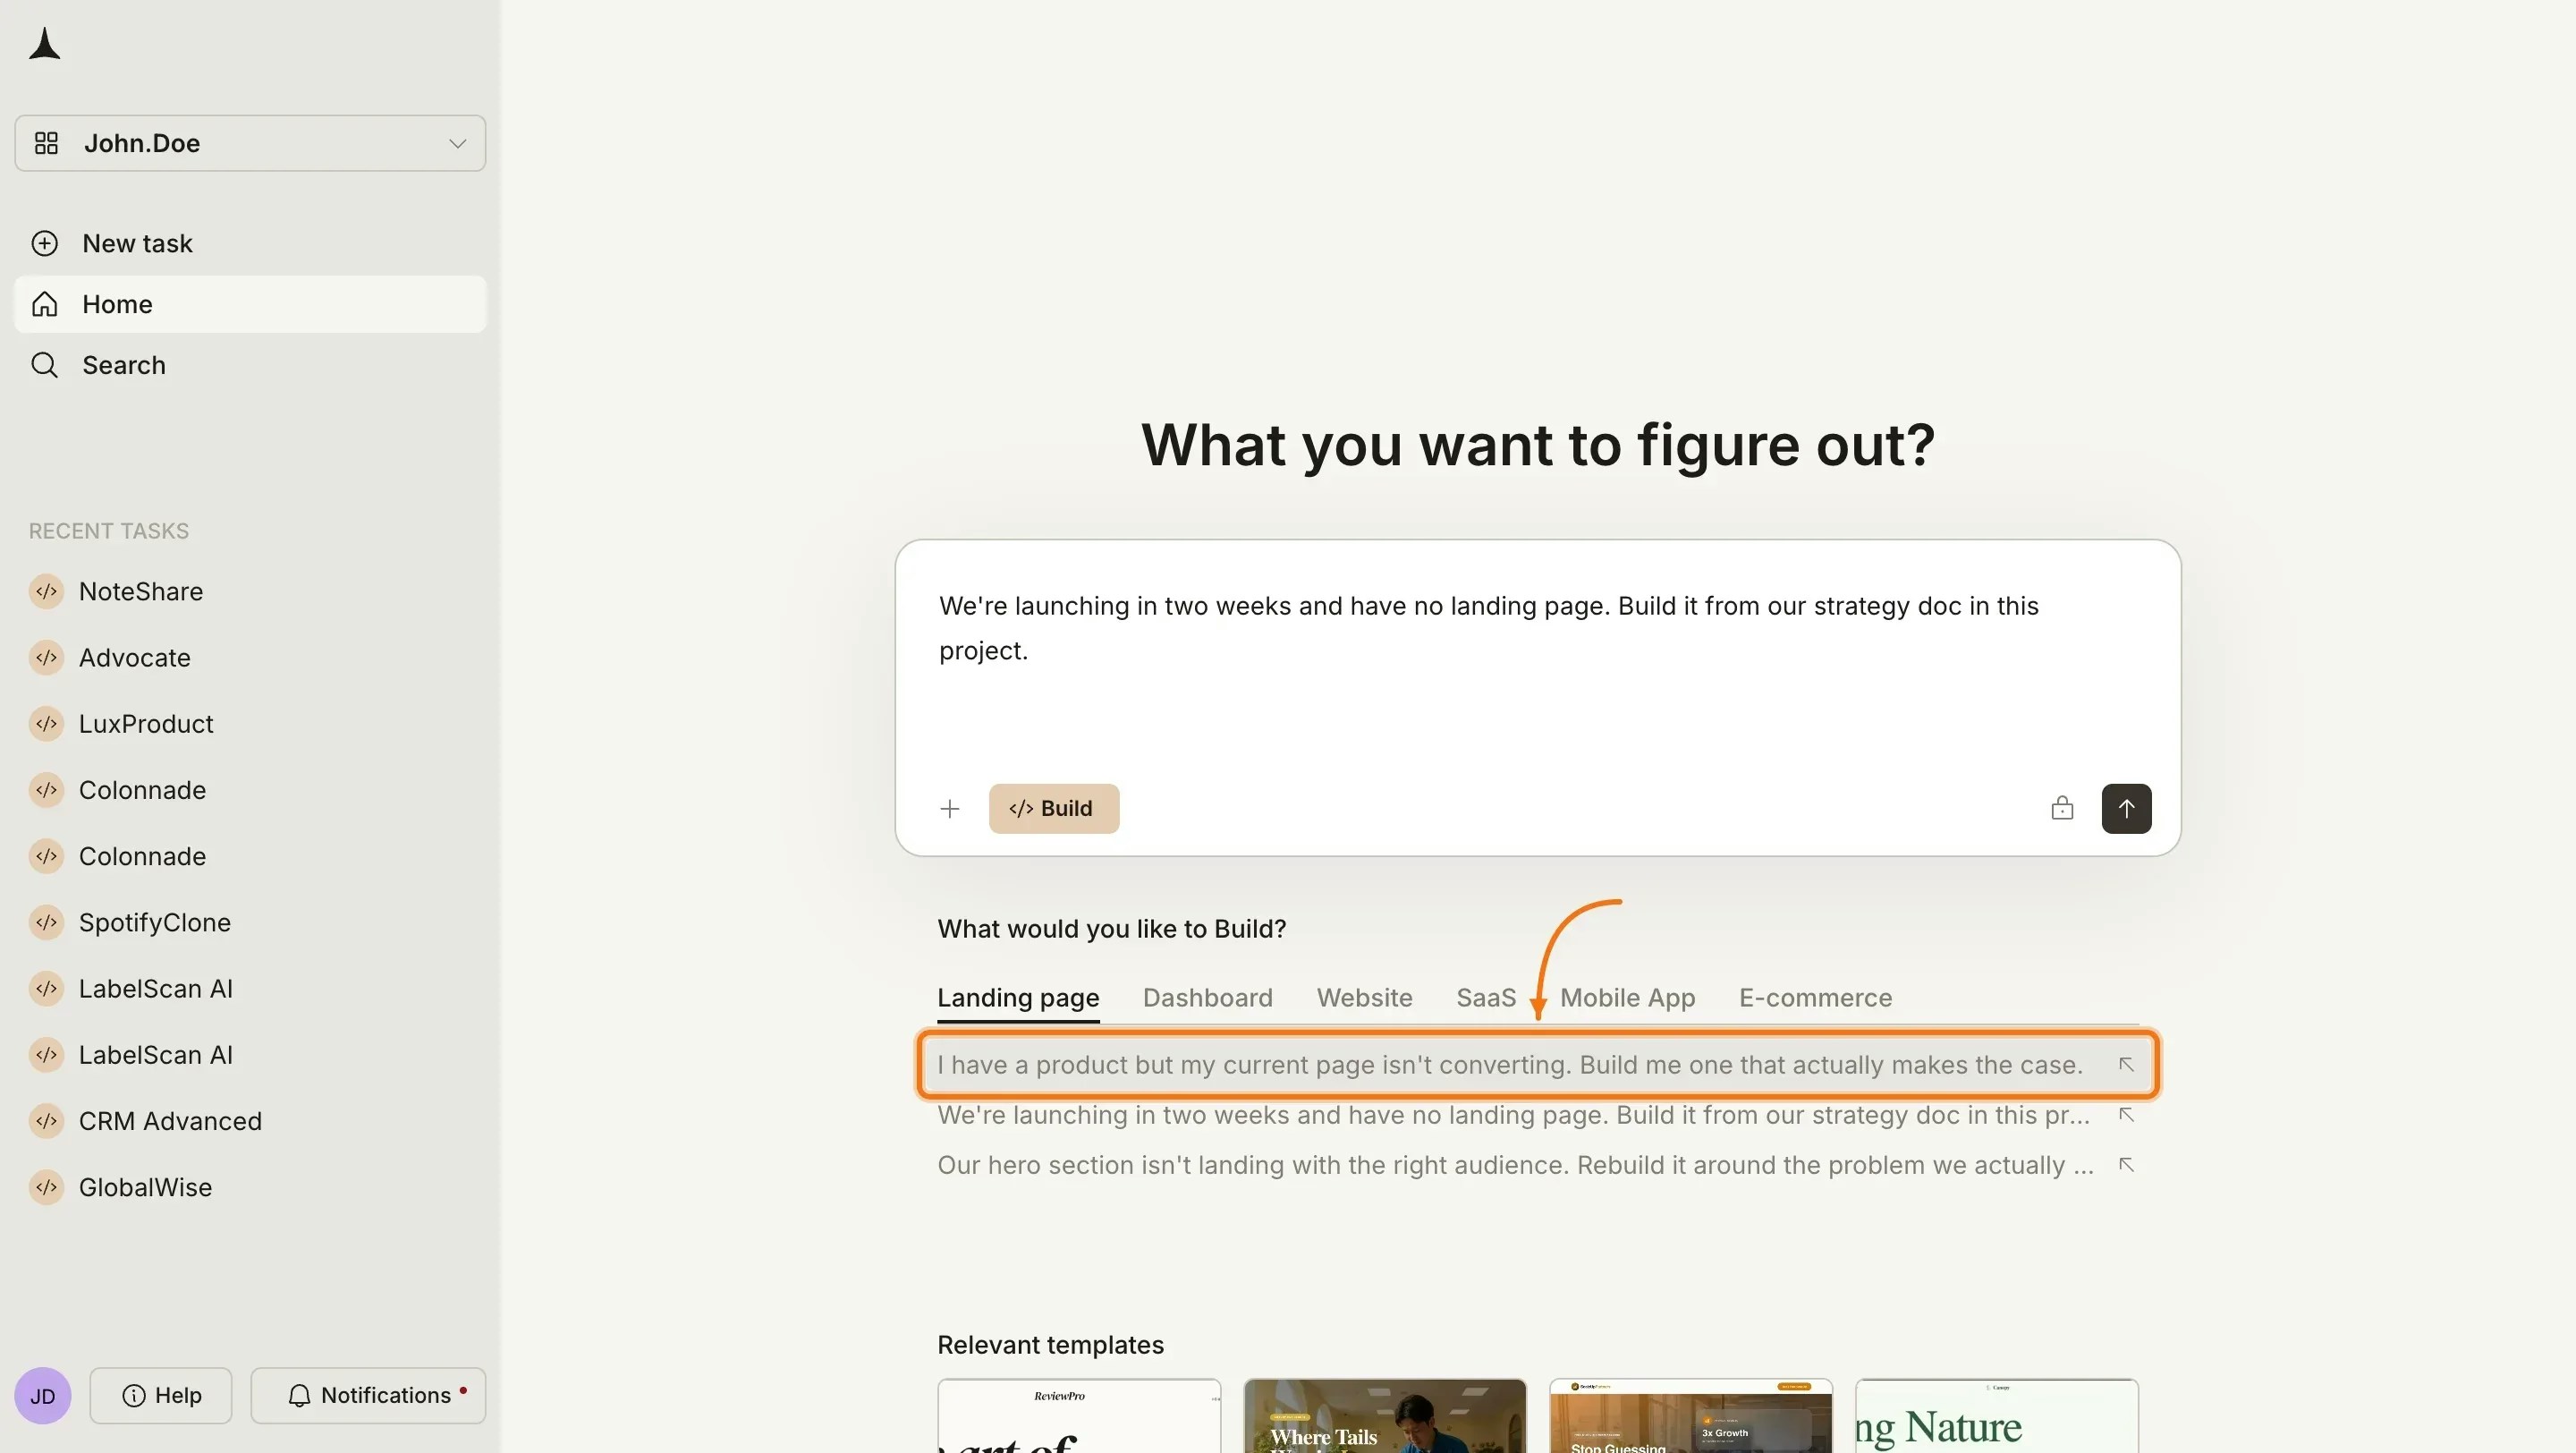
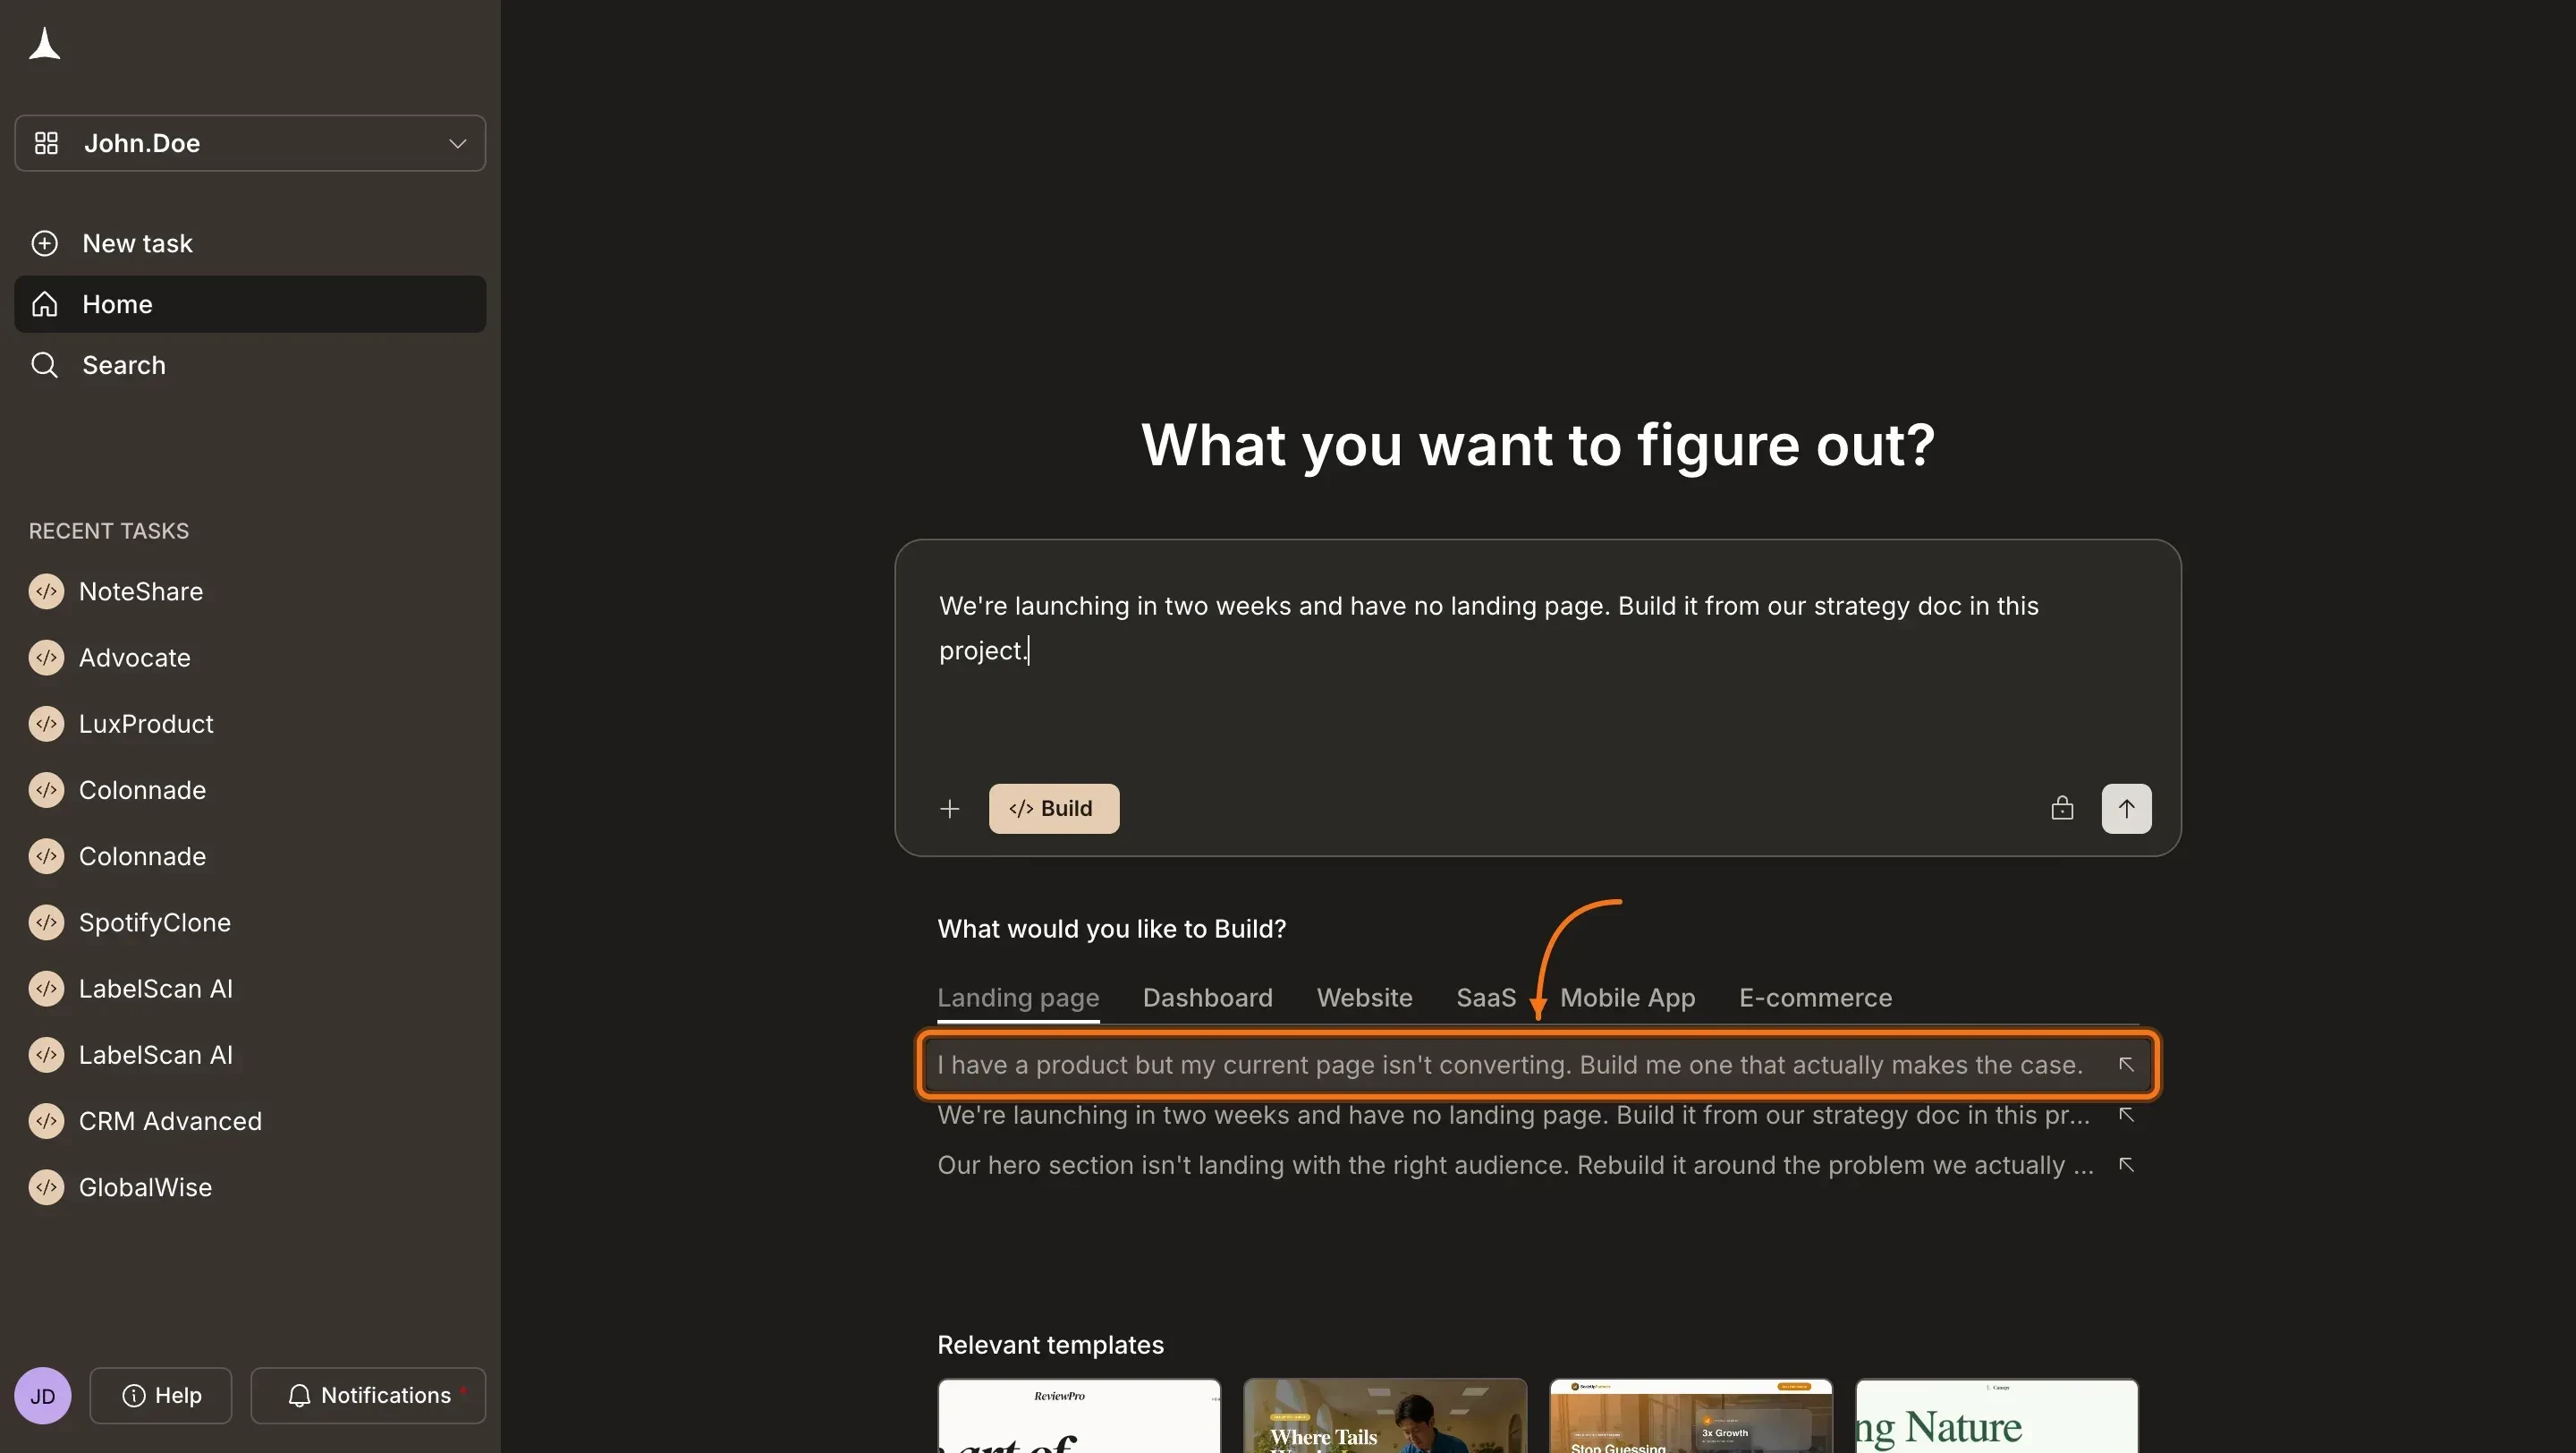
After clicking Build, Rocket shows category tabs below the input: Landing page, Dashboard, Website, SaaS, Mobile App, and E-commerce. Click a tab to see example prompts, then click one to auto-fill it into the input. Or type your own idea directly.
Select a prompt or type your own
3
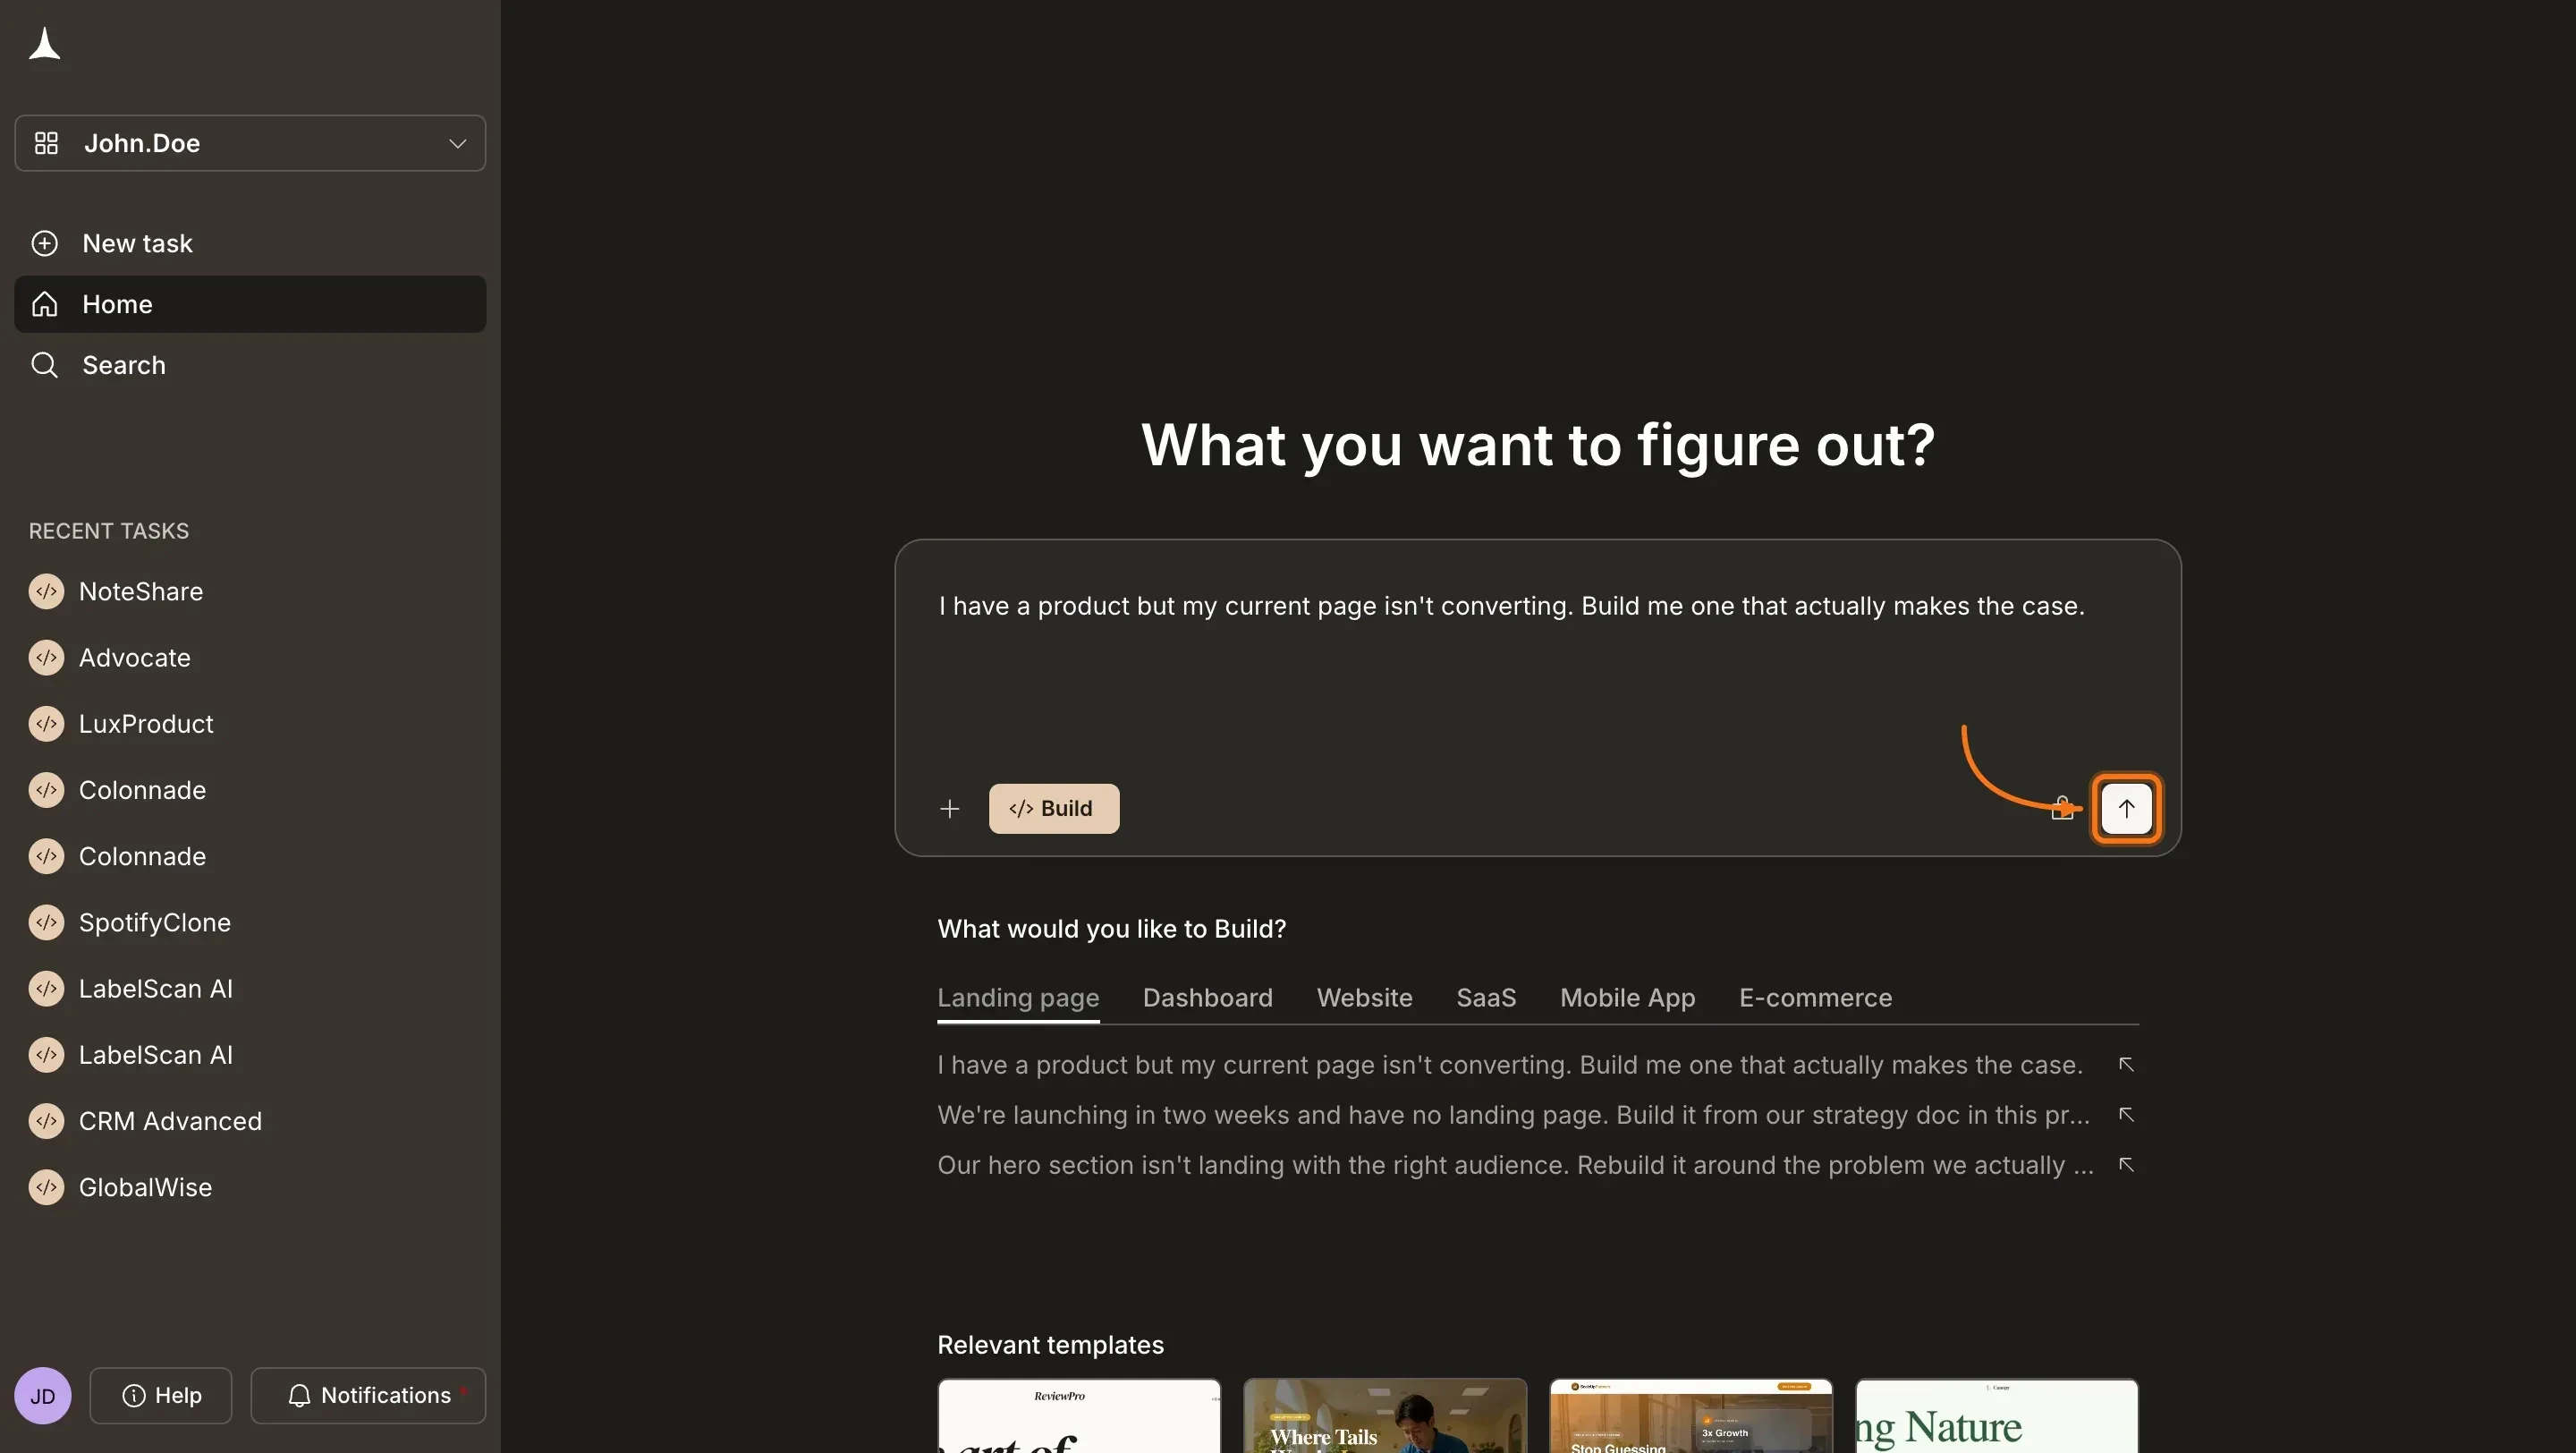
Send your prompt
Once your prompt is in the input field, click the send button or press Enter.
Send the prompt
4
Answer prompt intelligence (if prompted)
If your prompt is specific enough, Rocket skips this step and starts building right away.If it is too vague, prompt intelligence asks a short set of targeted questions about platform, audience, and must-have features. Answer them and Rocket starts immediately.
Prompt intelligence
How Rocket decides when to ask questions and what to do with your answers.
5
Watch Rocket build
Rocket starts building immediately and shows progress in the chat. You will see each screen being generated with its status as it completes.
If generation fails, click Retry. If it keeps failing, simplify your prompt and start a new build.
The Rocket app (iPhone or iPad) installed and signed in.
1
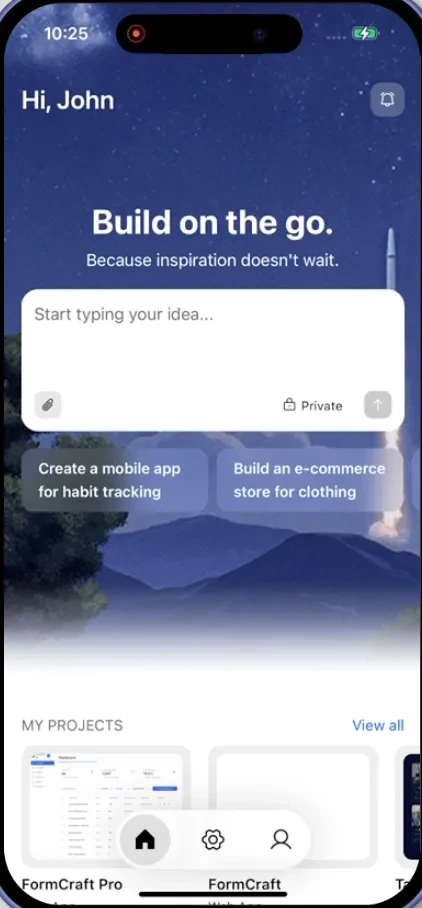
Open the Rocket app
Open the Rocket app on your iPhone or iPad and make sure you are signed in.
Mobile app home screen
2
Describe what you want to build
Type your idea in the chat field. Include the purpose, platform, and key features.Example: A recipe app for home cooks. Browse by cuisine, save favorites, and follow step-by-step cooking mode. Mobile app for iOS and Android.
Enter idea on mobile
3
Answer prompt intelligence (if prompted)
If your prompt is specific enough, Rocket skips this step and starts building right away.If it is too vague, prompt intelligence asks a short set of targeted questions about platform, audience, and must-have features. Answer them and Rocket starts immediately.
Prompt intelligence
How Rocket decides when to ask questions and what to do with your answers.
4
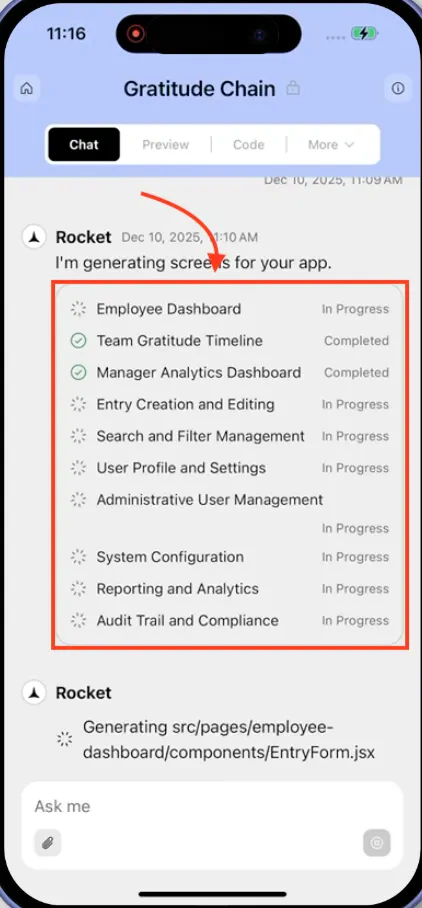
Watch Rocket build
Rocket starts building immediately and shows inline progress in the chat. You will see it working through each file in real time, generating components, merging code, and writing logic.
Build progress on mobile
If generation fails, tap Retry. If it keeps failing, simplify your prompt and start a new build.
Specify the platform. Say “web app” or “mobile app” so Rocket does not need to ask.
Mention the purpose. “Build a booking system for a hair salon” gives Rocket more context than “build a booking app.”
Include key features. List the 3-5 most important features upfront. Rocket can add more later.
State your preferences. If you want dark mode, specific colors, or a particular layout style, say so in your first message.
Start lean, then iterate. Describe a focused core and add features through chat after the initial build. This produces cleaner results than asking for everything at once.