- Web Browser
- Mobile App
Before you begin
You’ll need:
- Access to rocket.new.
- A Figma account and a design file with view or edit permission.
Not sure how to get your Figma link?
Follow this quick guide to grab the right URL.
Follow this quick guide to grab the right URL.
Let’s launch your web application
You’re about to turn design into deployable code – no coding required.Import Figma
-
Simply paste the Figma URL in the chat and Rocket will detect it.
or -
Click Import at the bottom-left of the chat input.
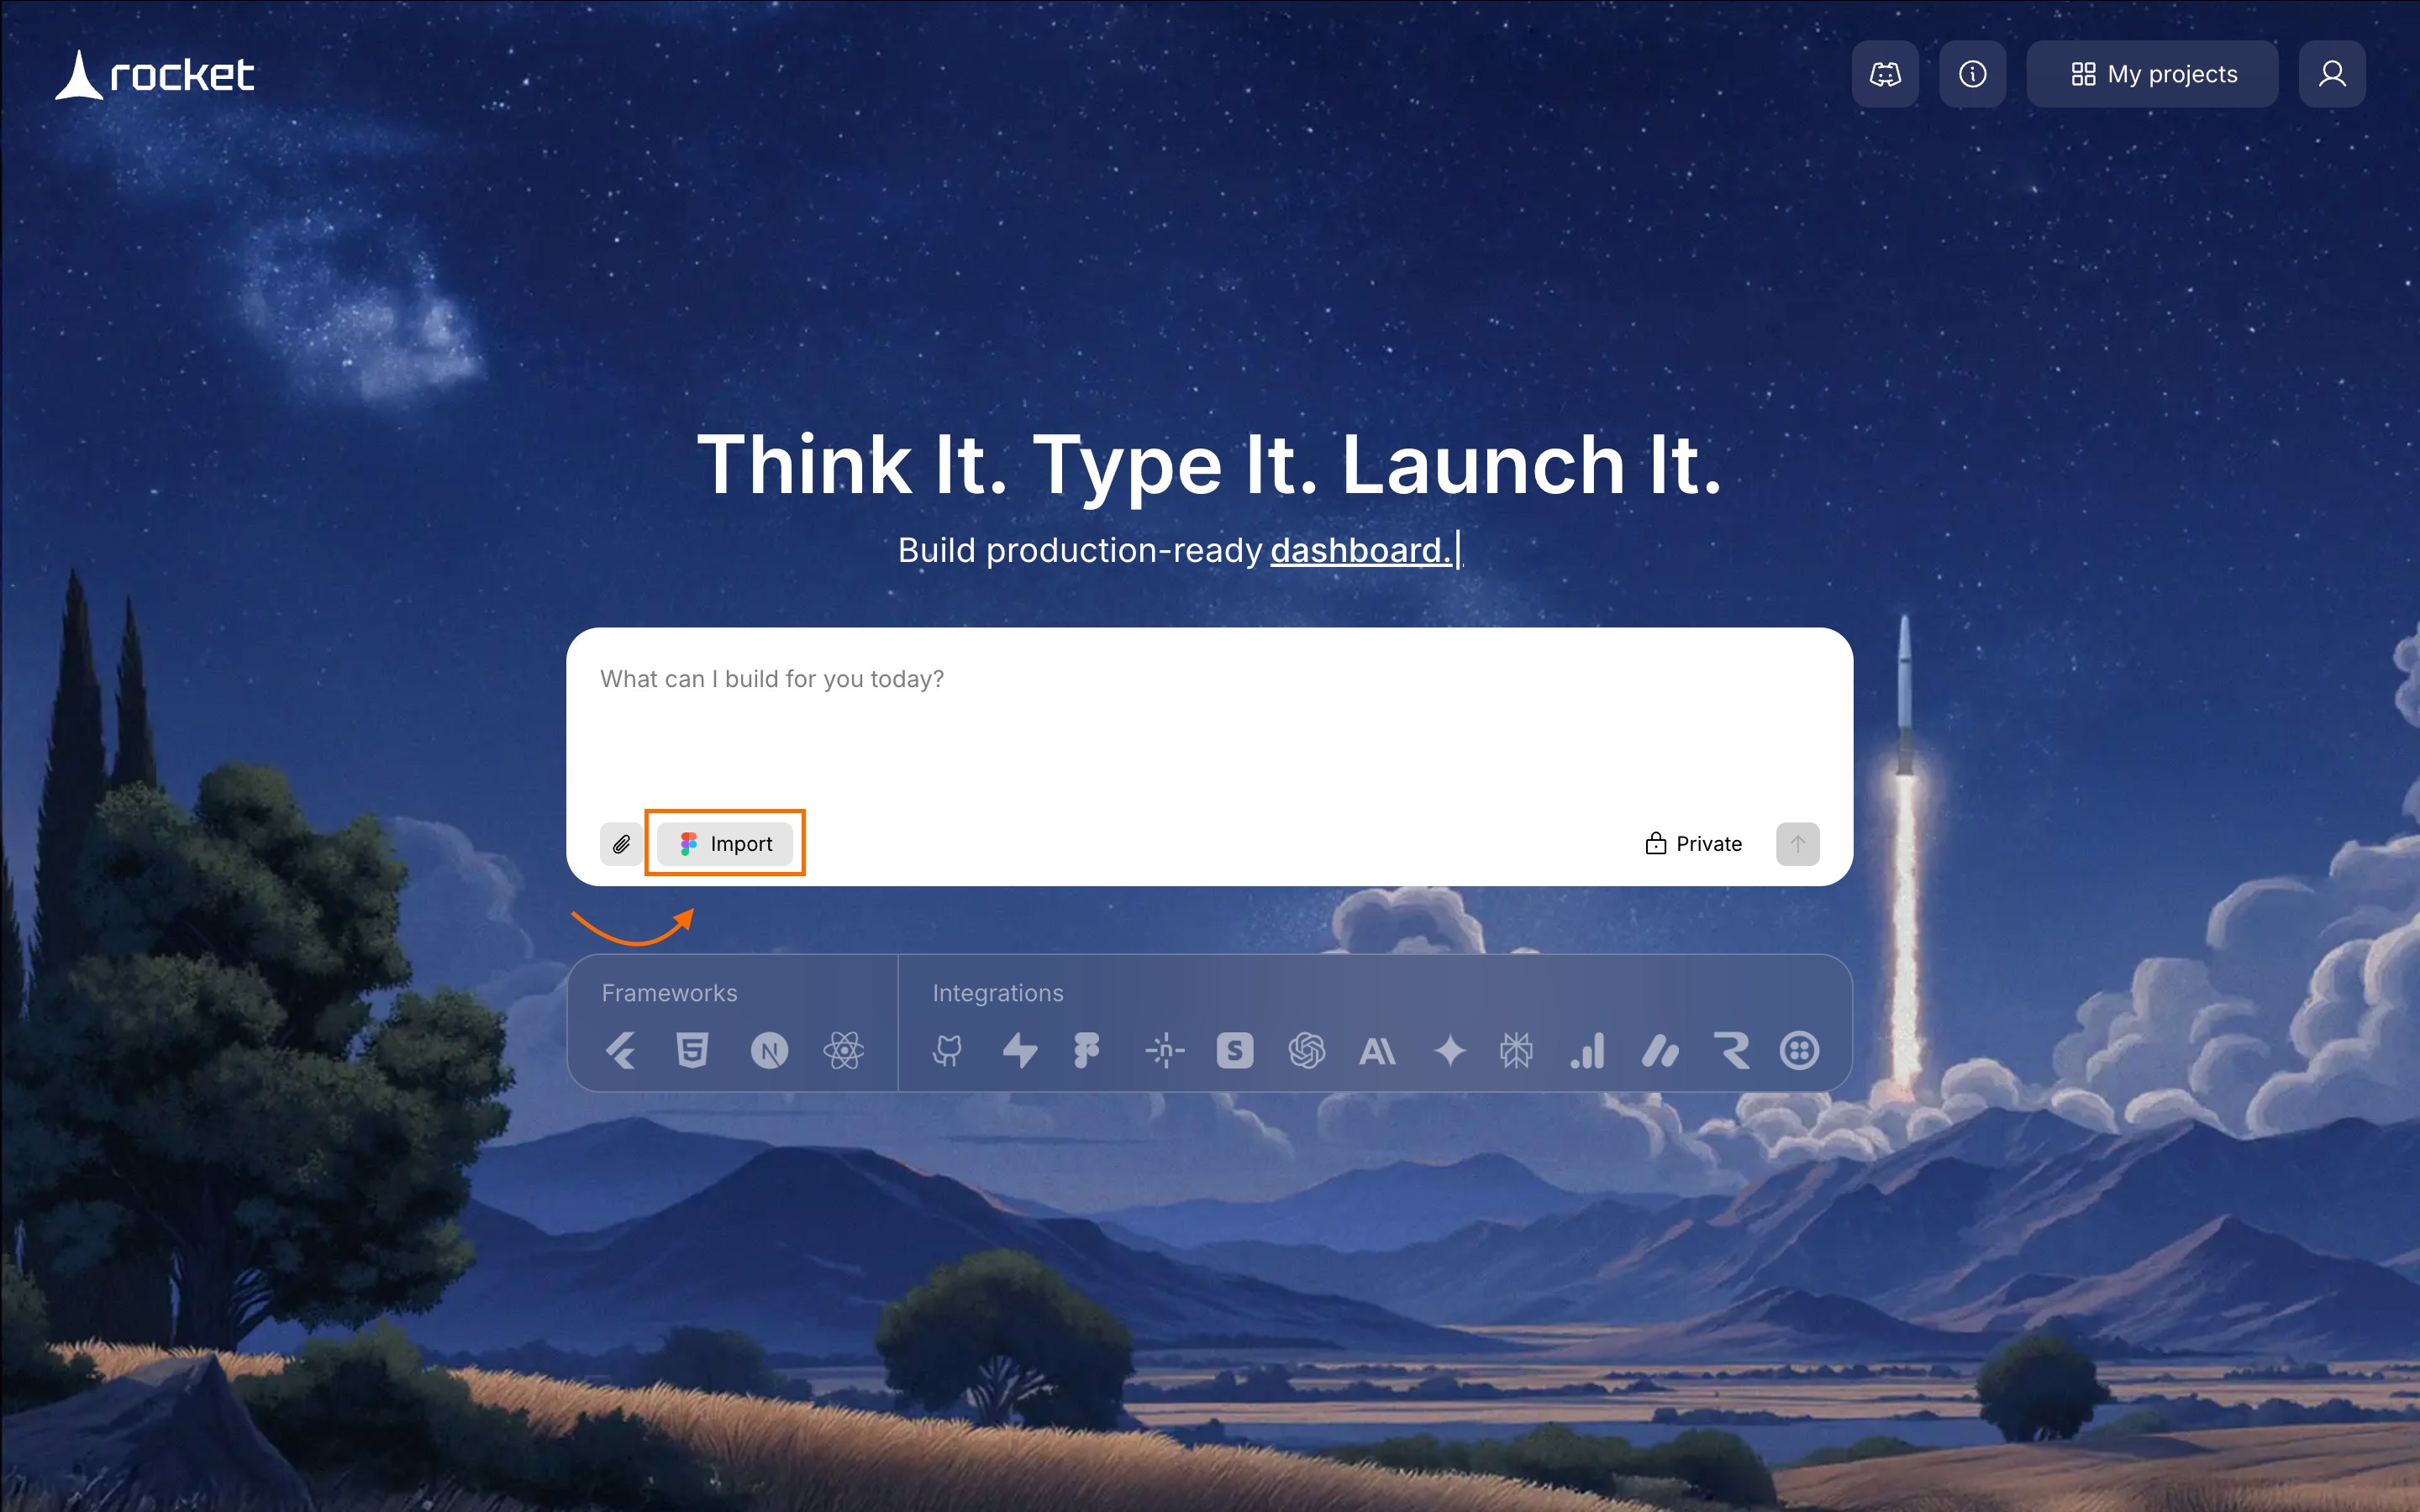
If you haven’t connected your Figma account to Rocket yet, start here:
Learn how to connect your Figma account with Rocket.
Learn how to connect your Figma account with Rocket.
Paste your Figma link in Rocket
Paste your copied link into the popup and click Start import.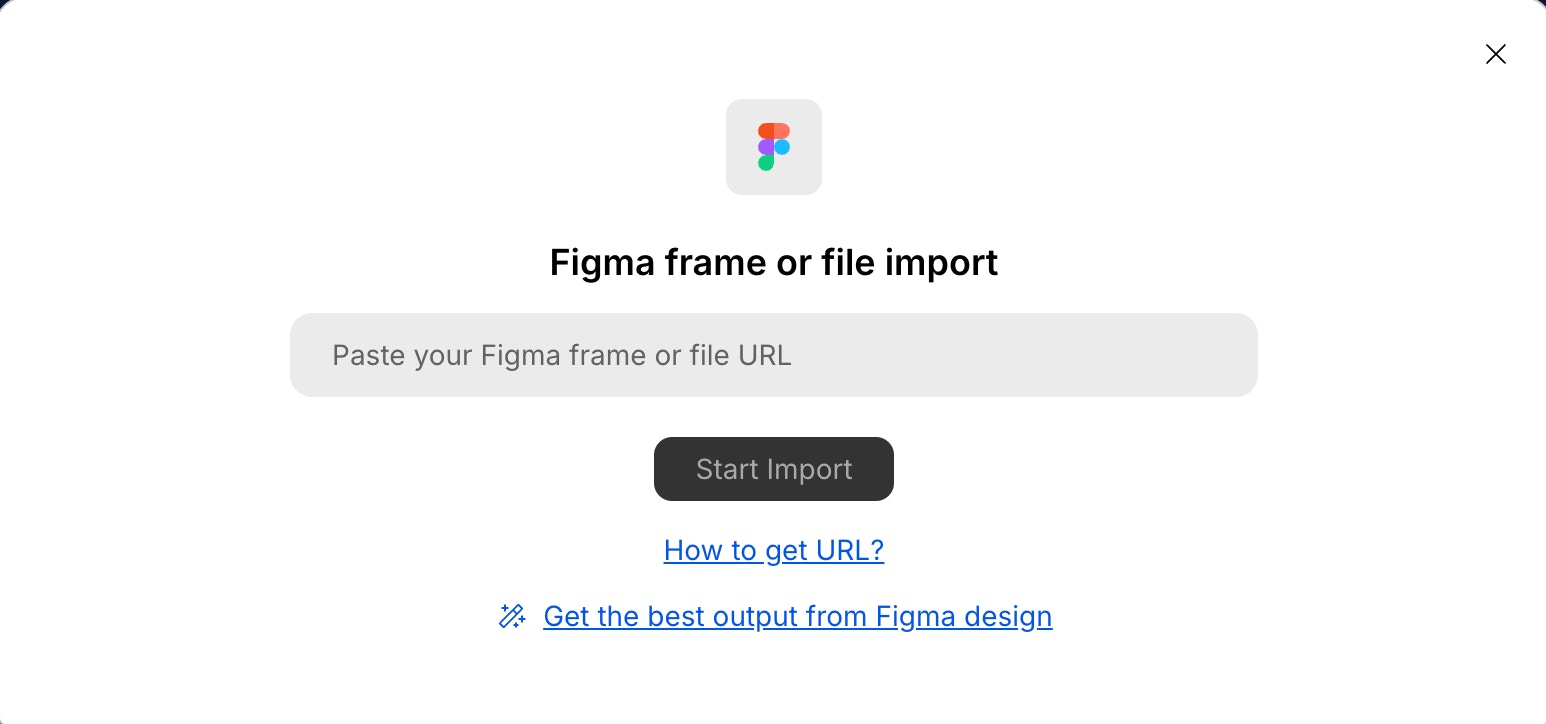
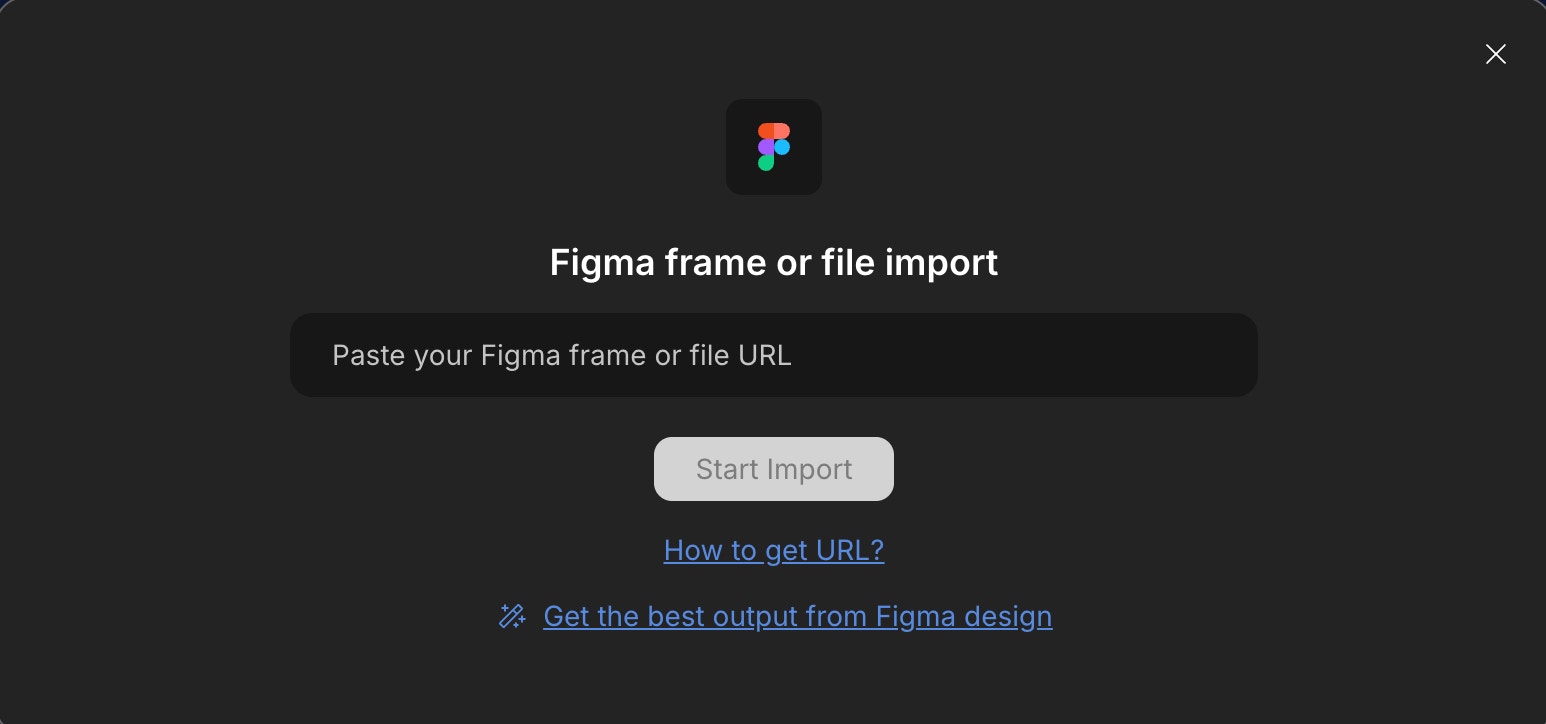


Success check: Rocket shows your design preview and screen options.
Choose screens & framework
Heads up: You can import up to 40 screens per project.
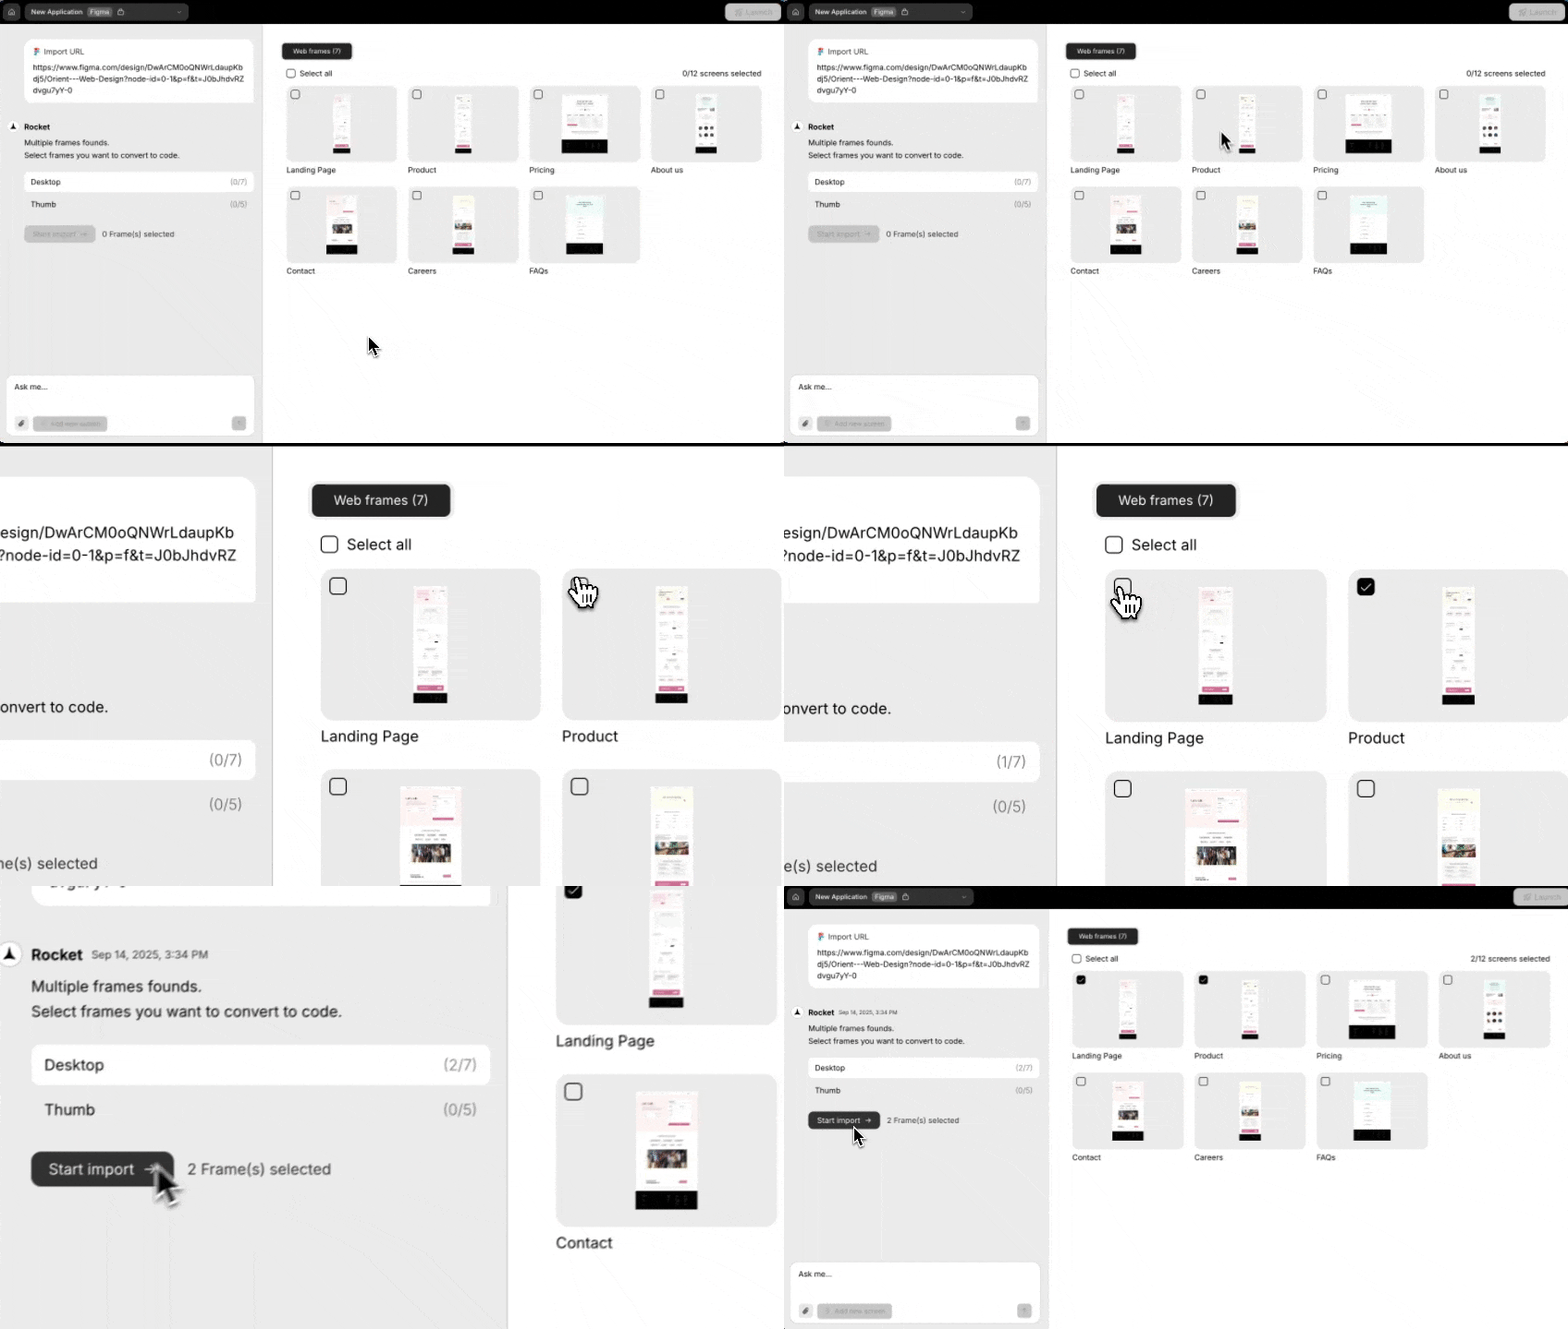
- Select screens: Select Figma frames to turn into a real web app.
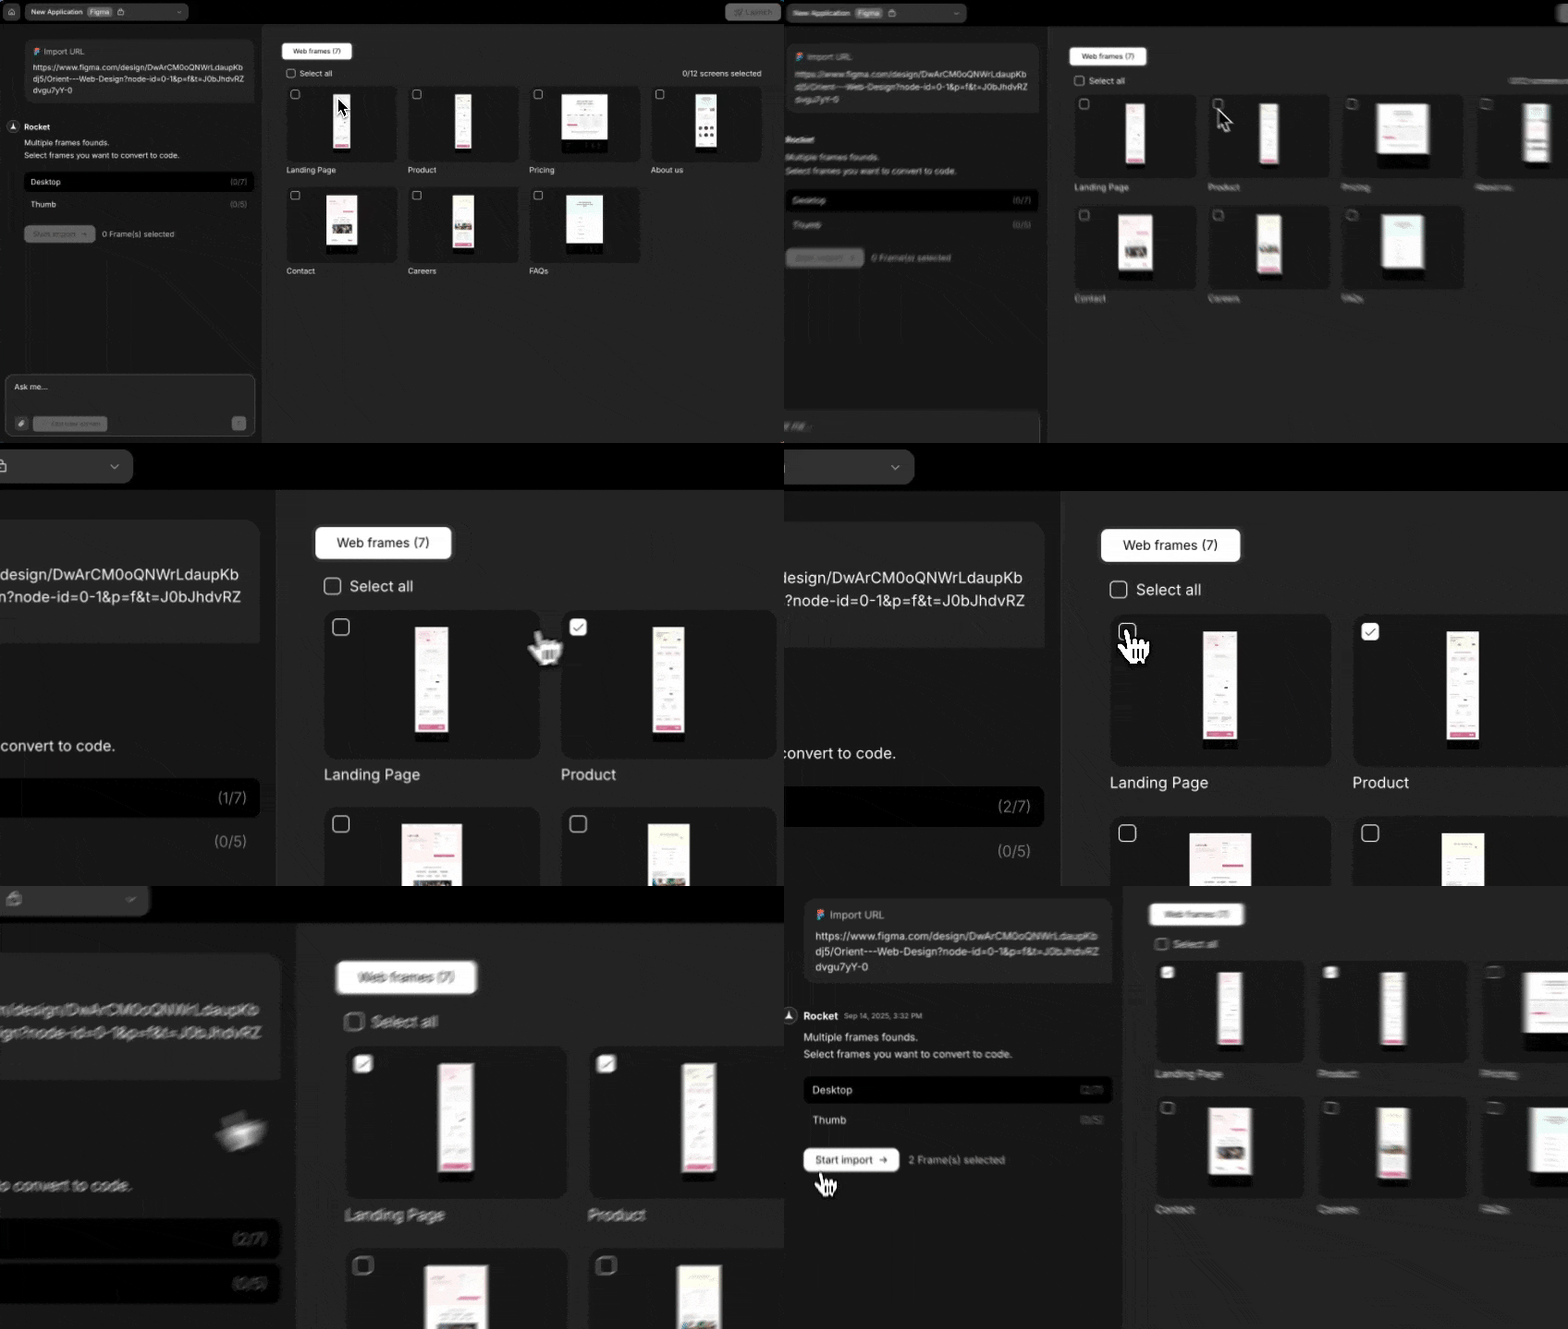
Using the free plan? Some features may be limited. Upgrade to keep generating without interruptions.
- Click Start import in the chat.
- Select framework: Choose between React, HTML, or Next.js.
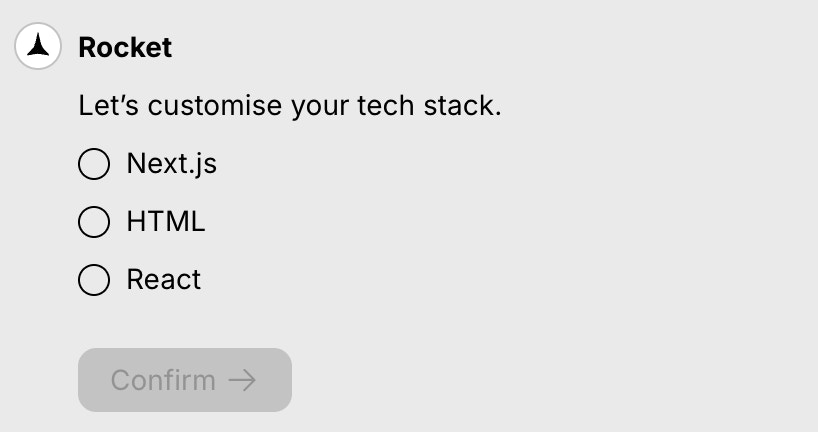
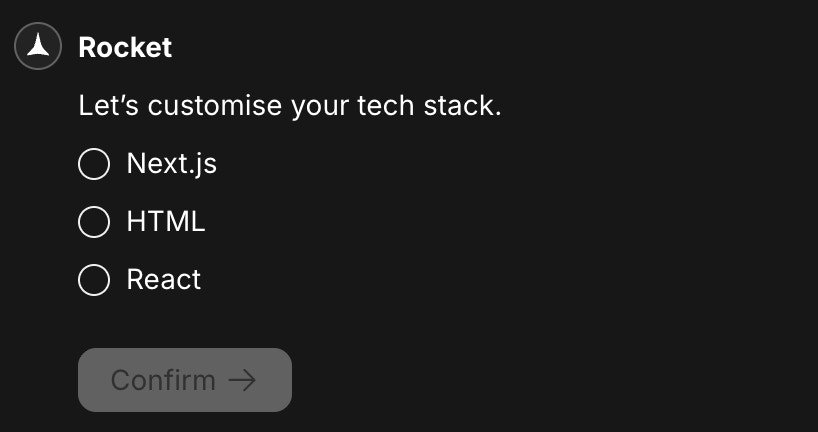
Language defaults: React projects use JavaScript by default. Next.js projects use TypeScript by default. The language is automatically set based on your framework choice.
Design system: TailwindCSS is automatically applied as the default styling for all web applications.
Success check: You’ll see a loading screen with progress indicators.
Rocket generates your web application
Rocket parses your design, optimizes assets, and generates structured, readable code.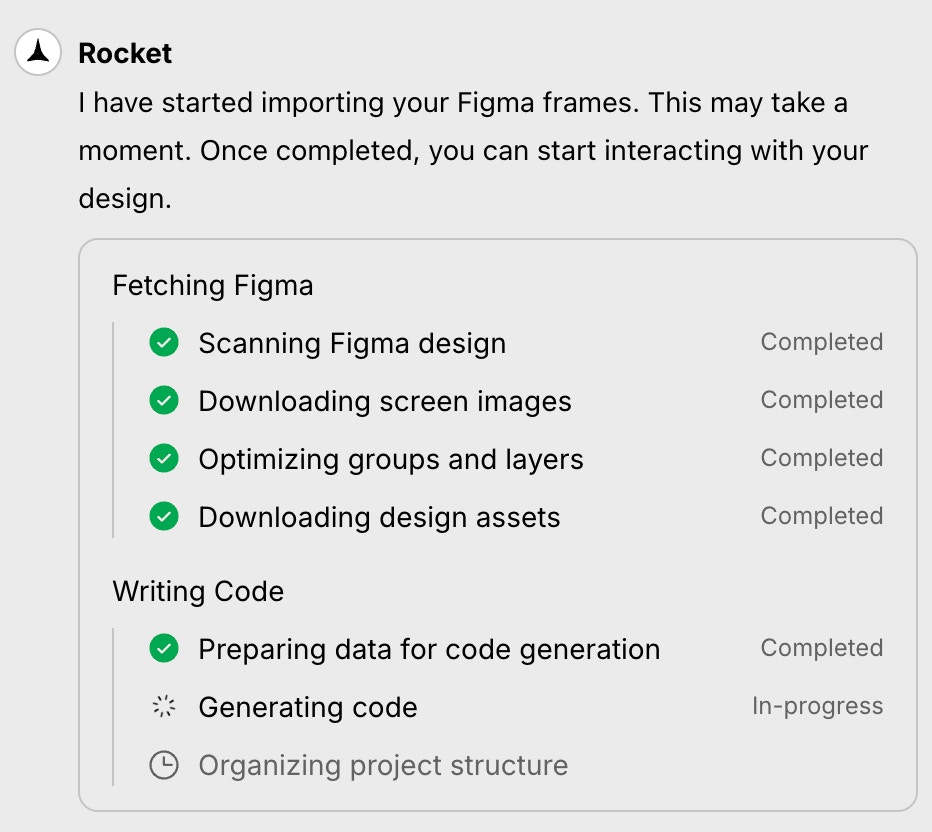
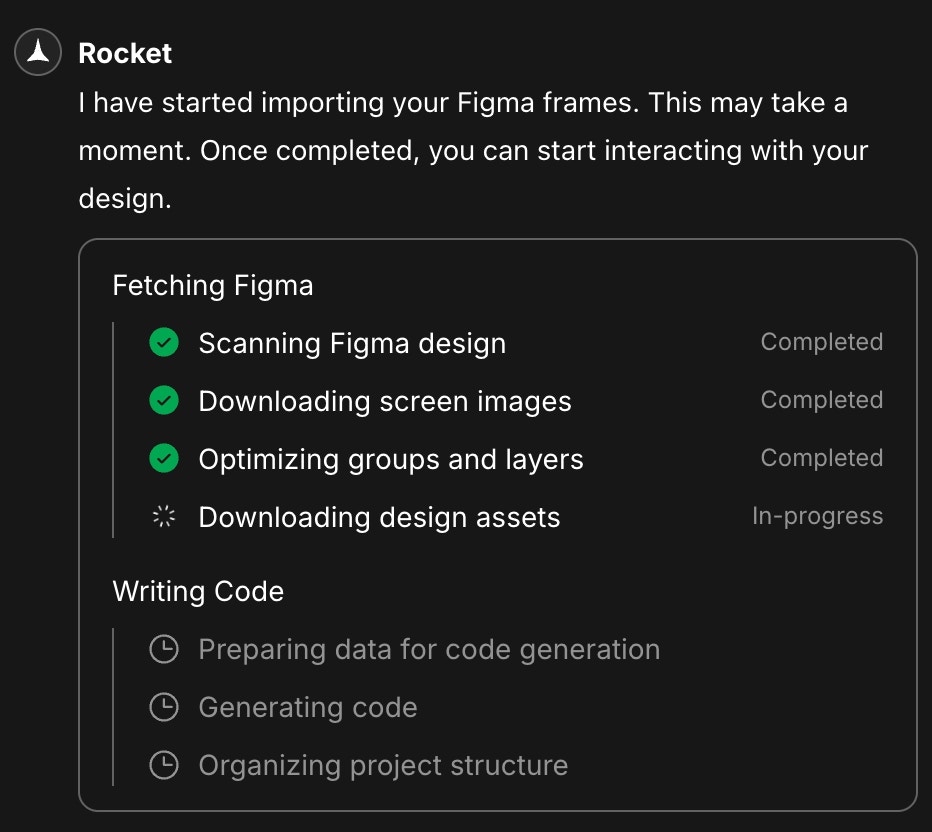


Success check: All status checks turn green – your web application is ready.
Preview and compare with Figma
See your app and the original Figma design side by side - no switching tabs, no guesswork.
- Click on the right corner in the navbar to open the Figma design preview.
- Use the screen dropdown (where Product is selected) to switch between different Figma screens.
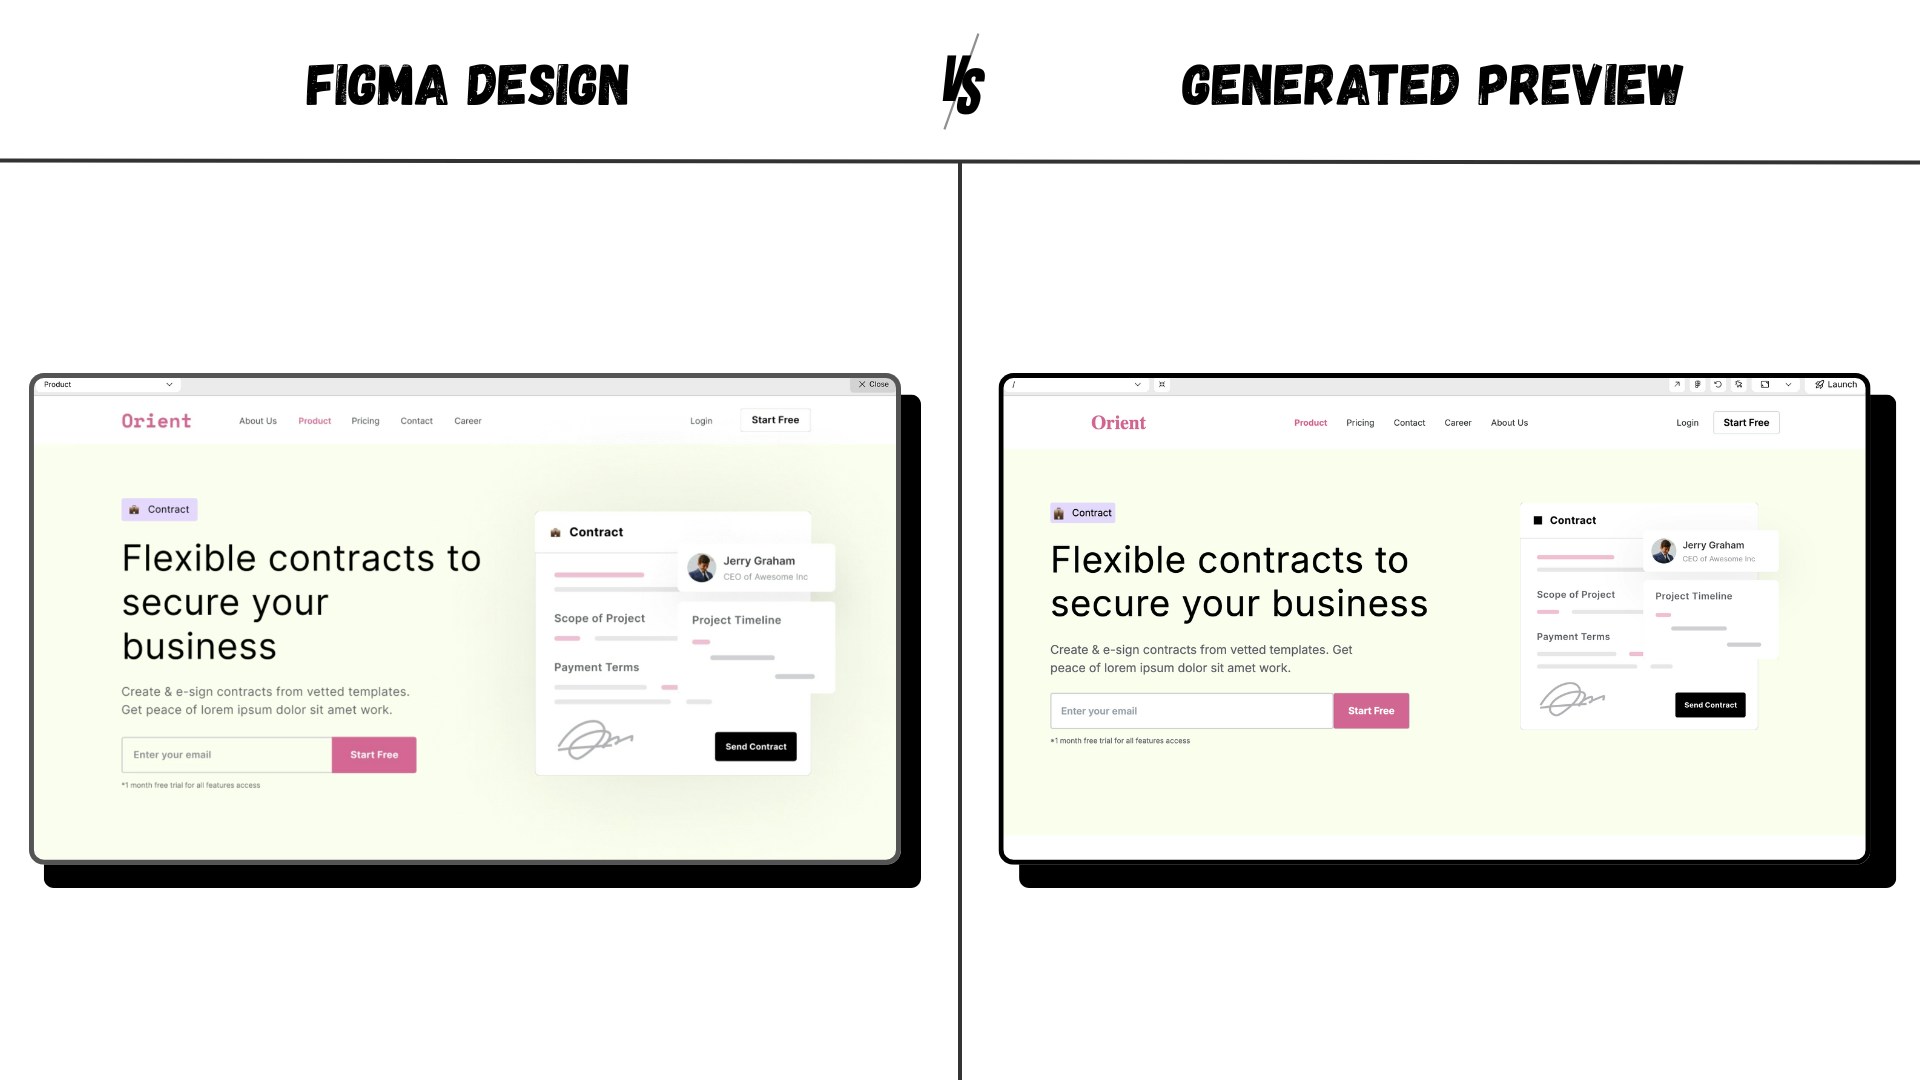
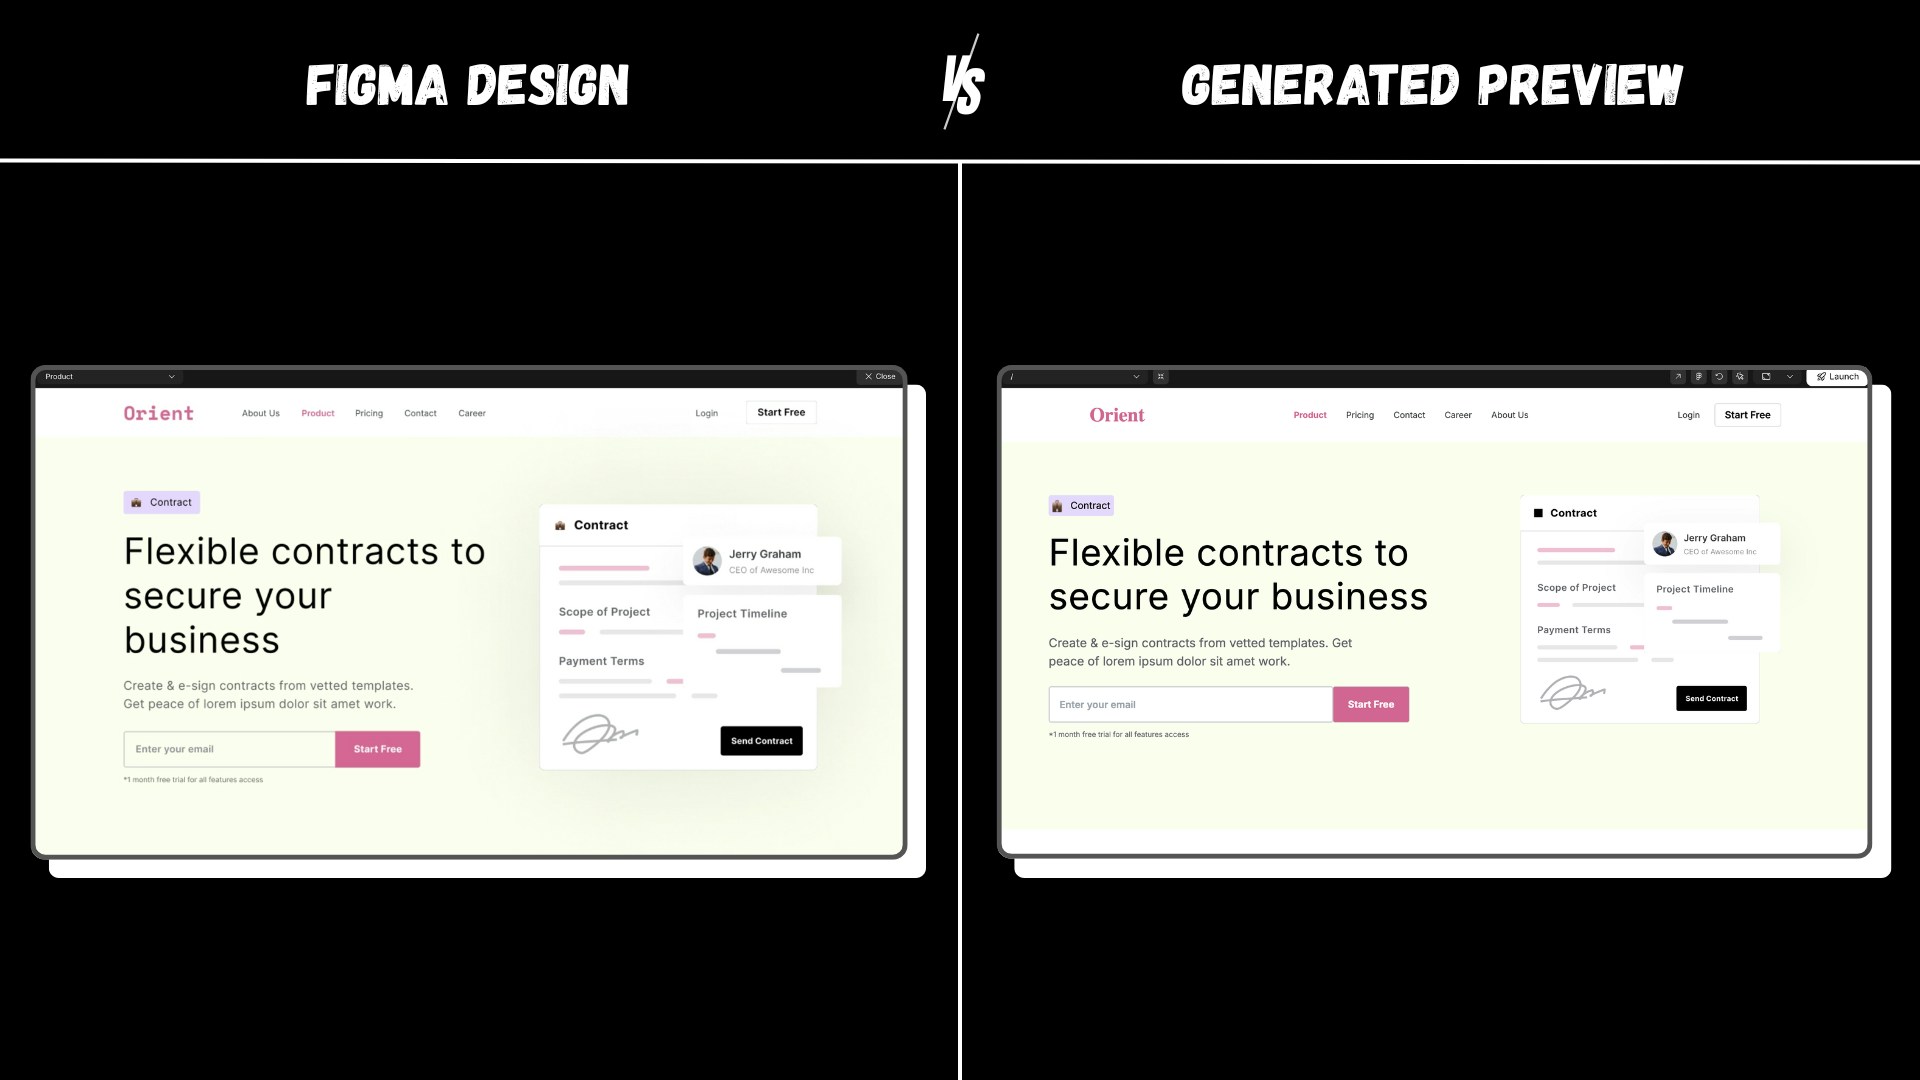
Want to make changes? Just describe what you want in the chat - no need to go back to Figma.Try things like:
- “Change the input field color from white to yellowish as the background.”
- “Add dark mode to the website.”
- “Increase the size of the image on the hero section.”
- “Switch font to Roboto and make the header smaller.”
Add a new screen
Need to bring in more screens? Rocket makes it effortless.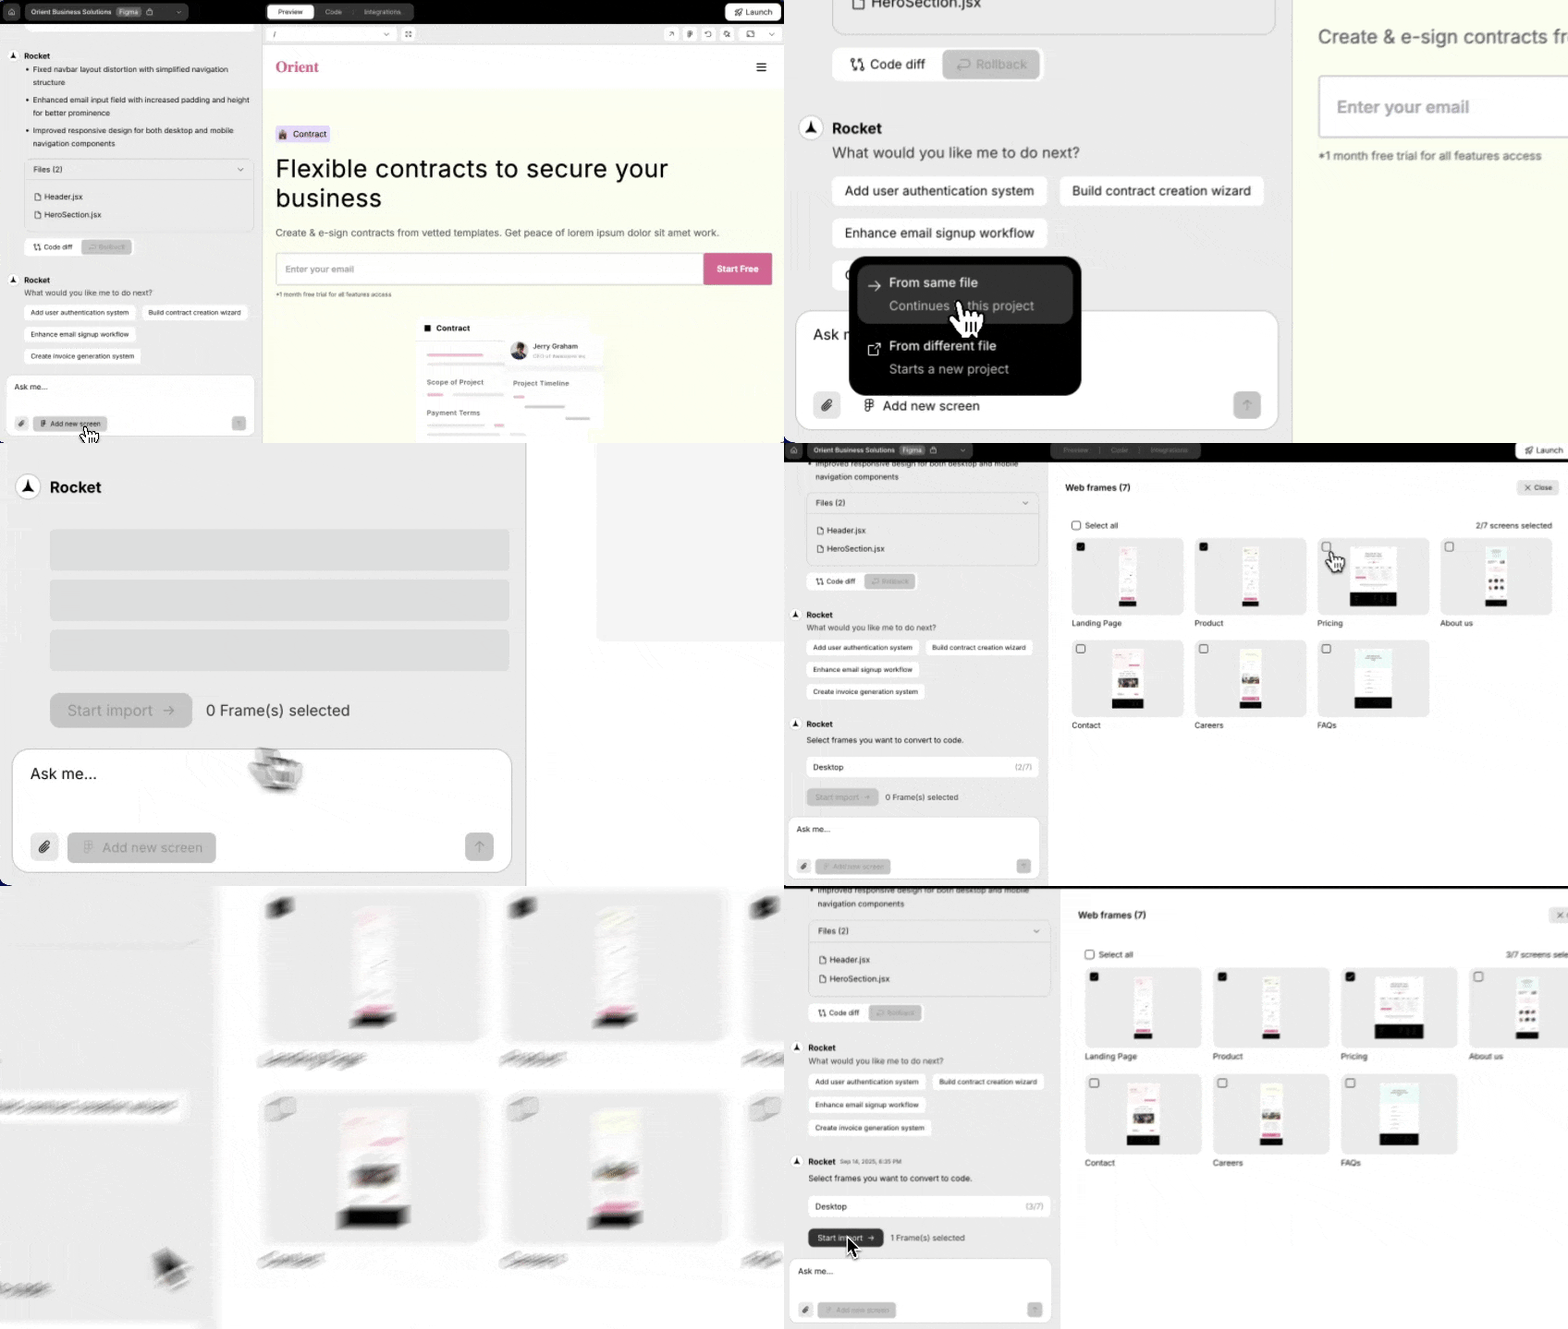
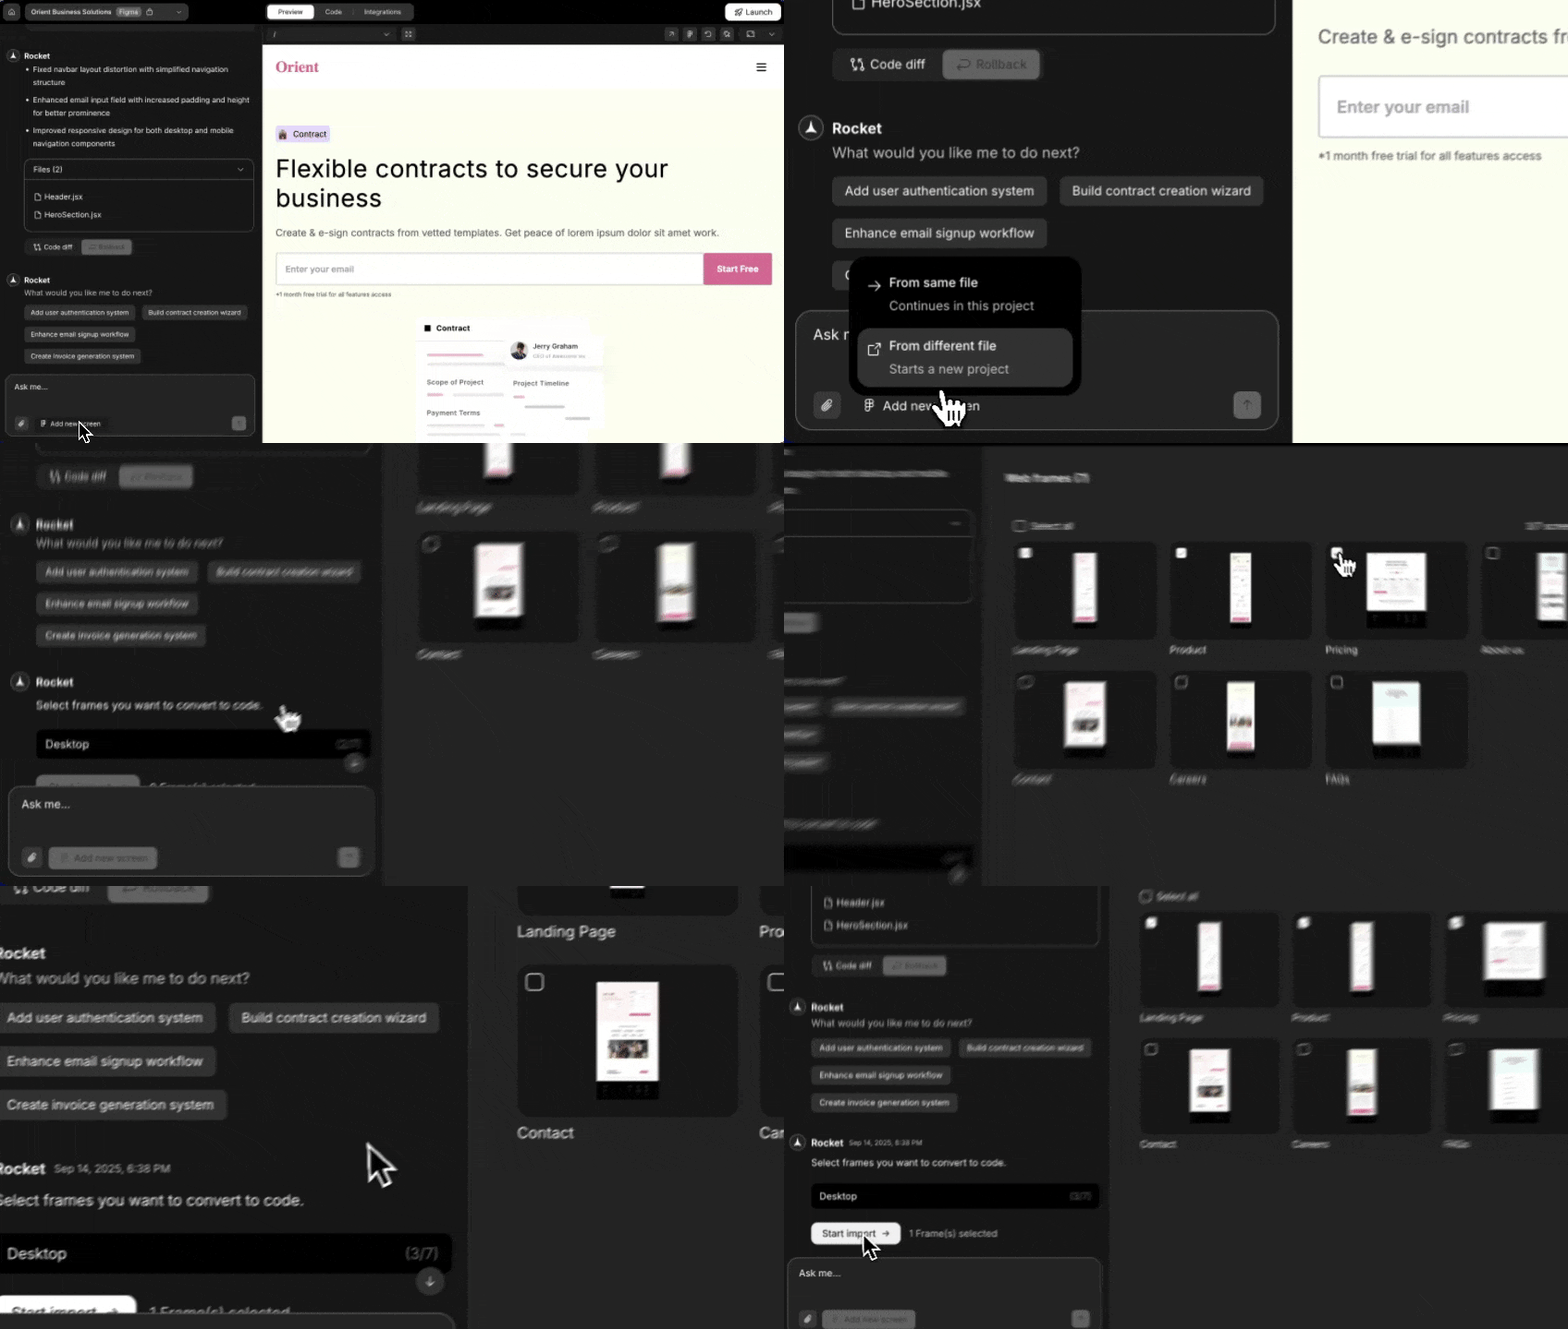
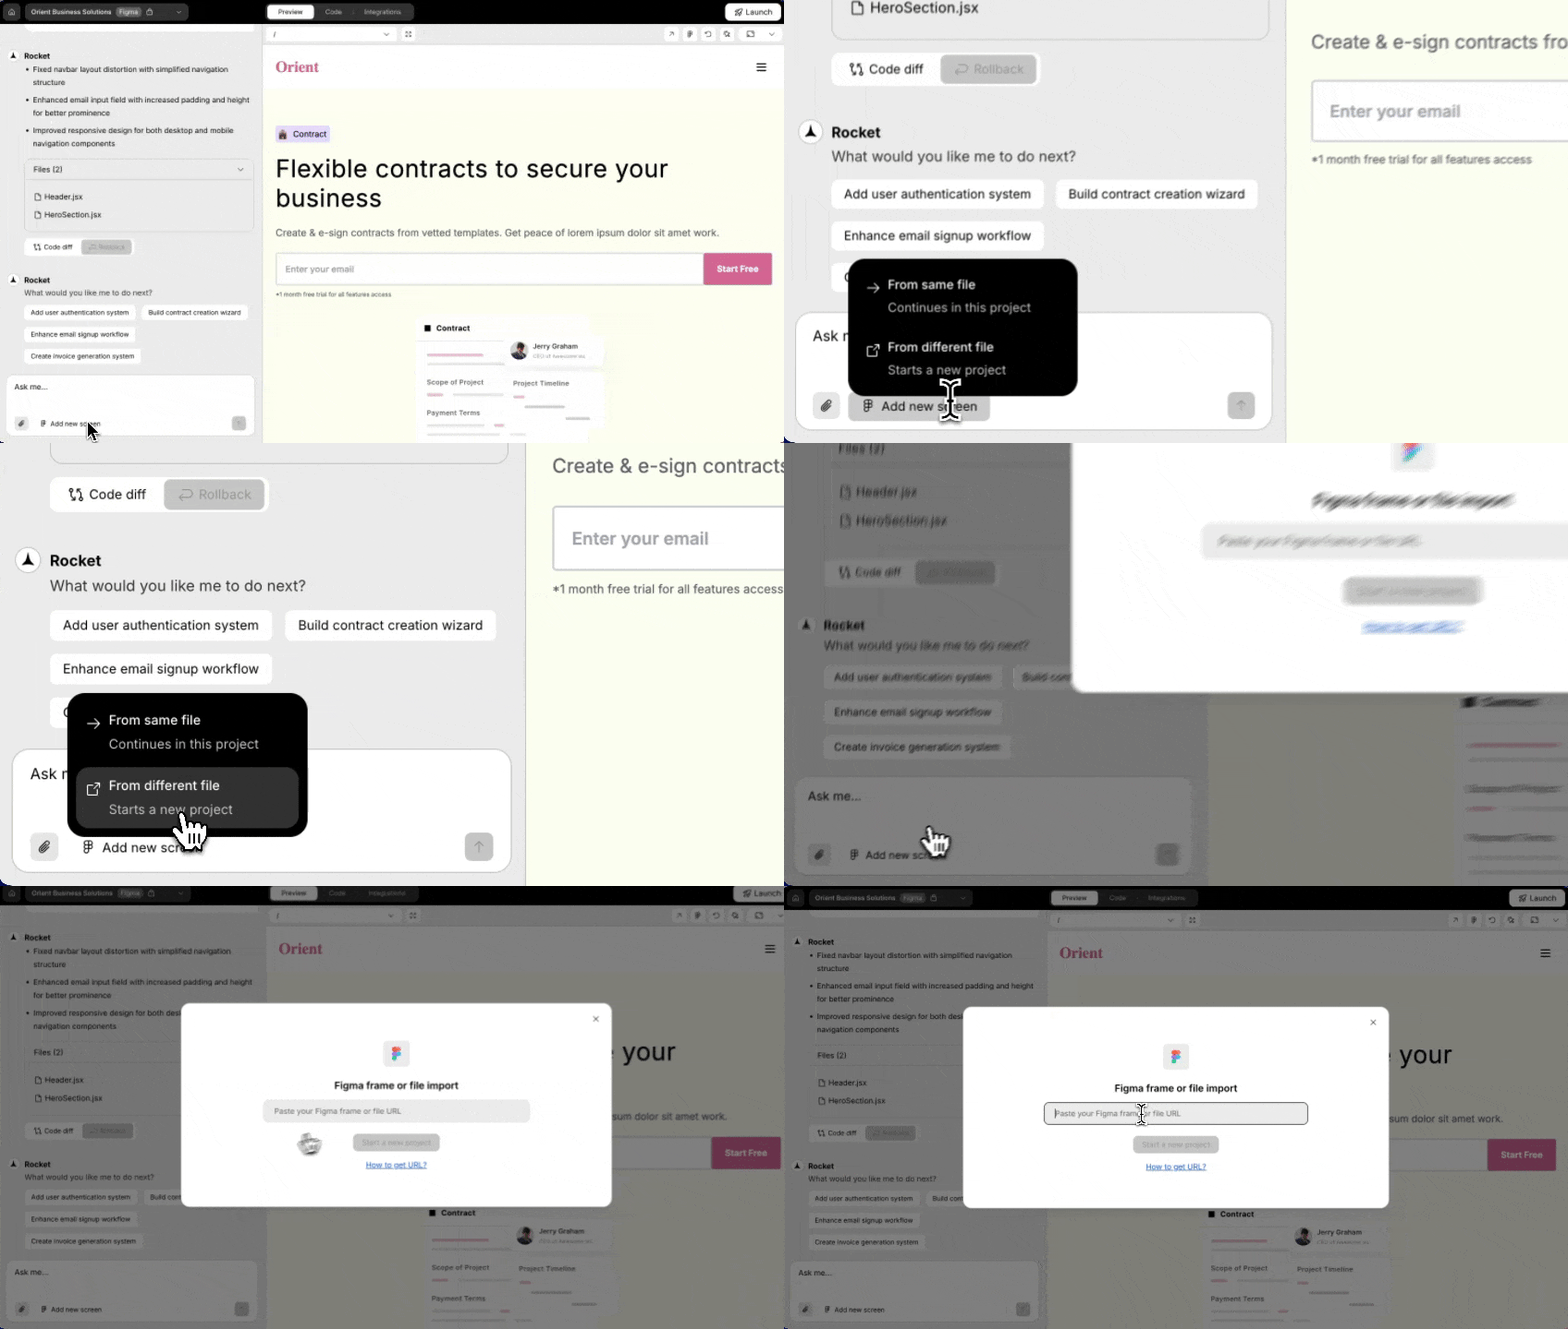
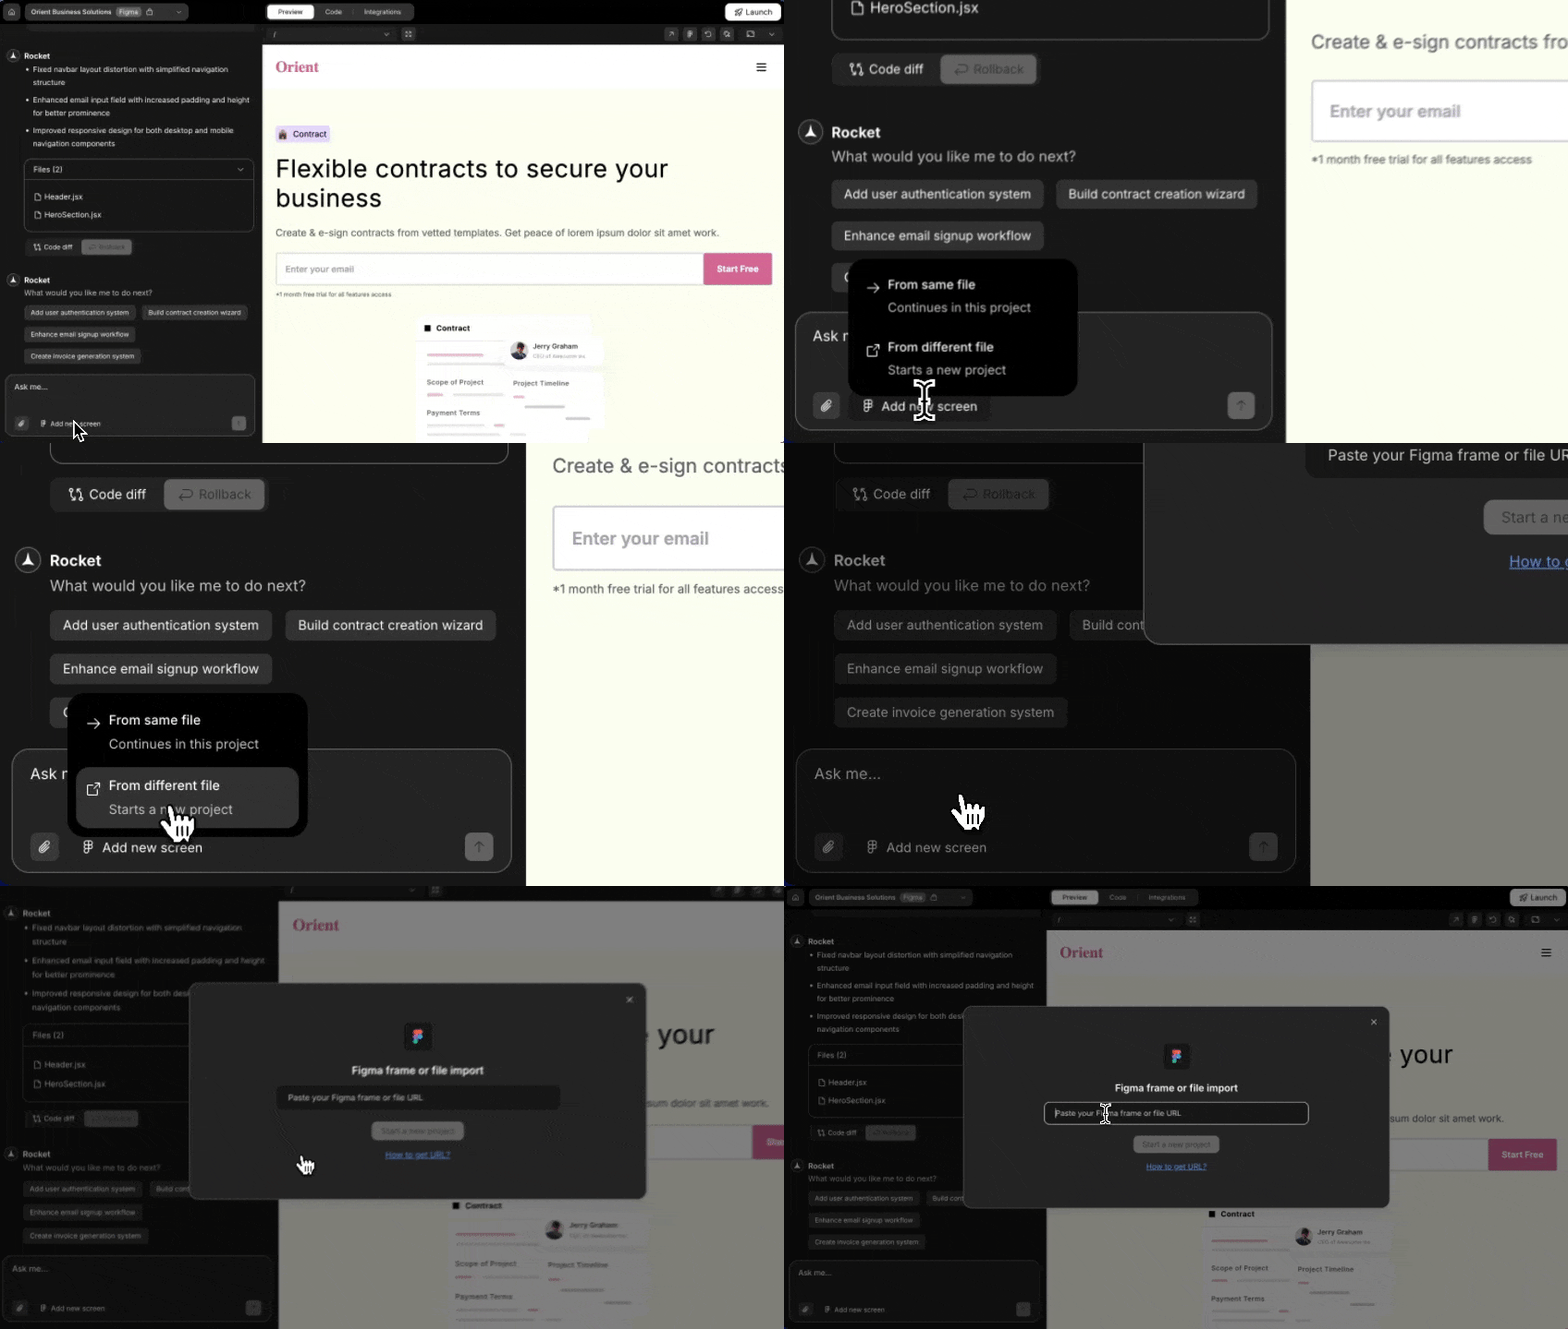
- Click the Add new screen button at the bottom of the chat interface.
1: From the same Figma file
You’ll see a list of available screens, with already imported ones marked. Just select the new screens you want and click Start import.

2: From a different Figma file
Want to start another project with a new design? Choose From different file in the popup. You’ll be prompted to paste a new Figma URL.

Importing Figma from a different file creates a new project, so your current one stays just how you left it.
You did it!
You’ve just turned your design into a real working web app, powered by Rocket.

