Click to edit, no code required.Select any element in the preview and change its text, style, spacing, or image instantly. Visual edit turns your preview into a design tool where changes become real code automatically.You need an existing Rocket project with access to the preview panel. Do not have one yet? Create one to get started.
Visual edit is only available from the web browser. It is not supported in the Rocket mobile app.It works the same way for both web and mobile projects.
| Use visual edit when | Use chat instead when |
|---|---|
| You can see and click the element you want to change | You need changes across multiple pages at once |
| Quick style, spacing, or text tweaks | Complex logic or layout restructuring |
| You want immediate visual feedback | You are adding new sections or entire pages |
Getting started
Hover and select
Hover over any element in your preview. It highlights to show it is ready to edit. Click to select it.
Edit text
Modify text content directly in the preview.- Select an element containing text.
- Click Edit text.
- Type your new text content.
- Press Enter for a new line, Save changes, or click outside to close the text editor.


Success check: The text updates immediately in the preview.
Edit style
Change colors, fonts, alignment, weight, and other visual styles for elements.- Select an element.
- Click Edit style.
- Adjust the style properties you want to change.
- Changes appear automatically as you adjust them.
- Press Save changes.
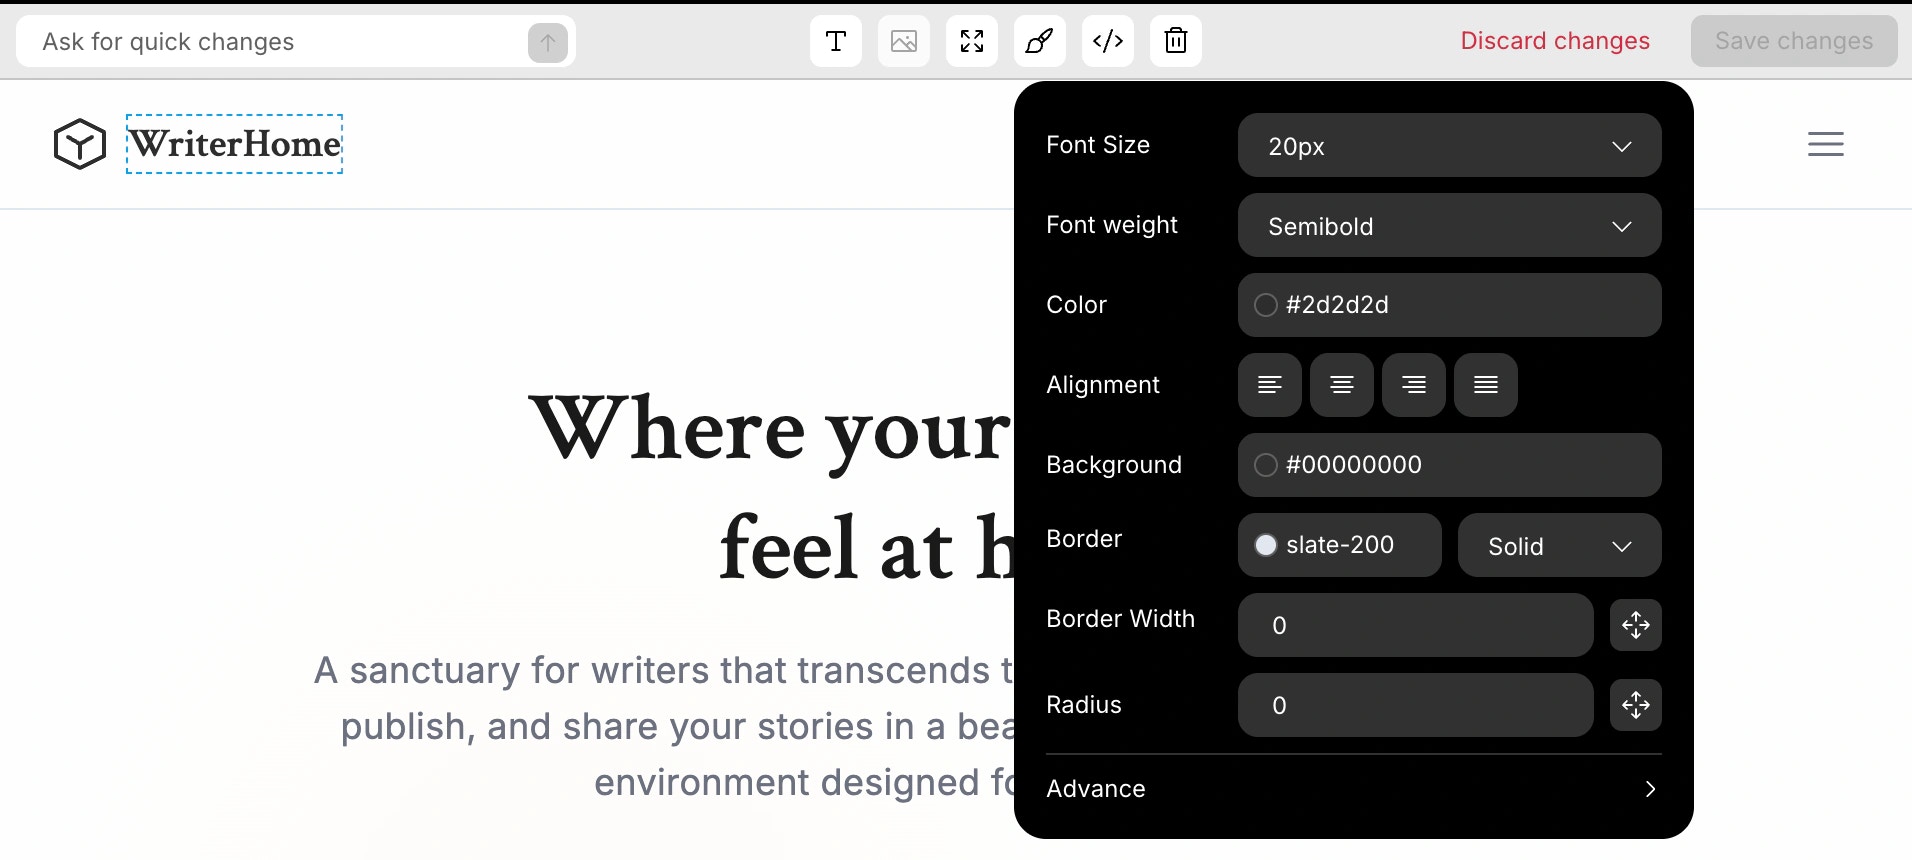
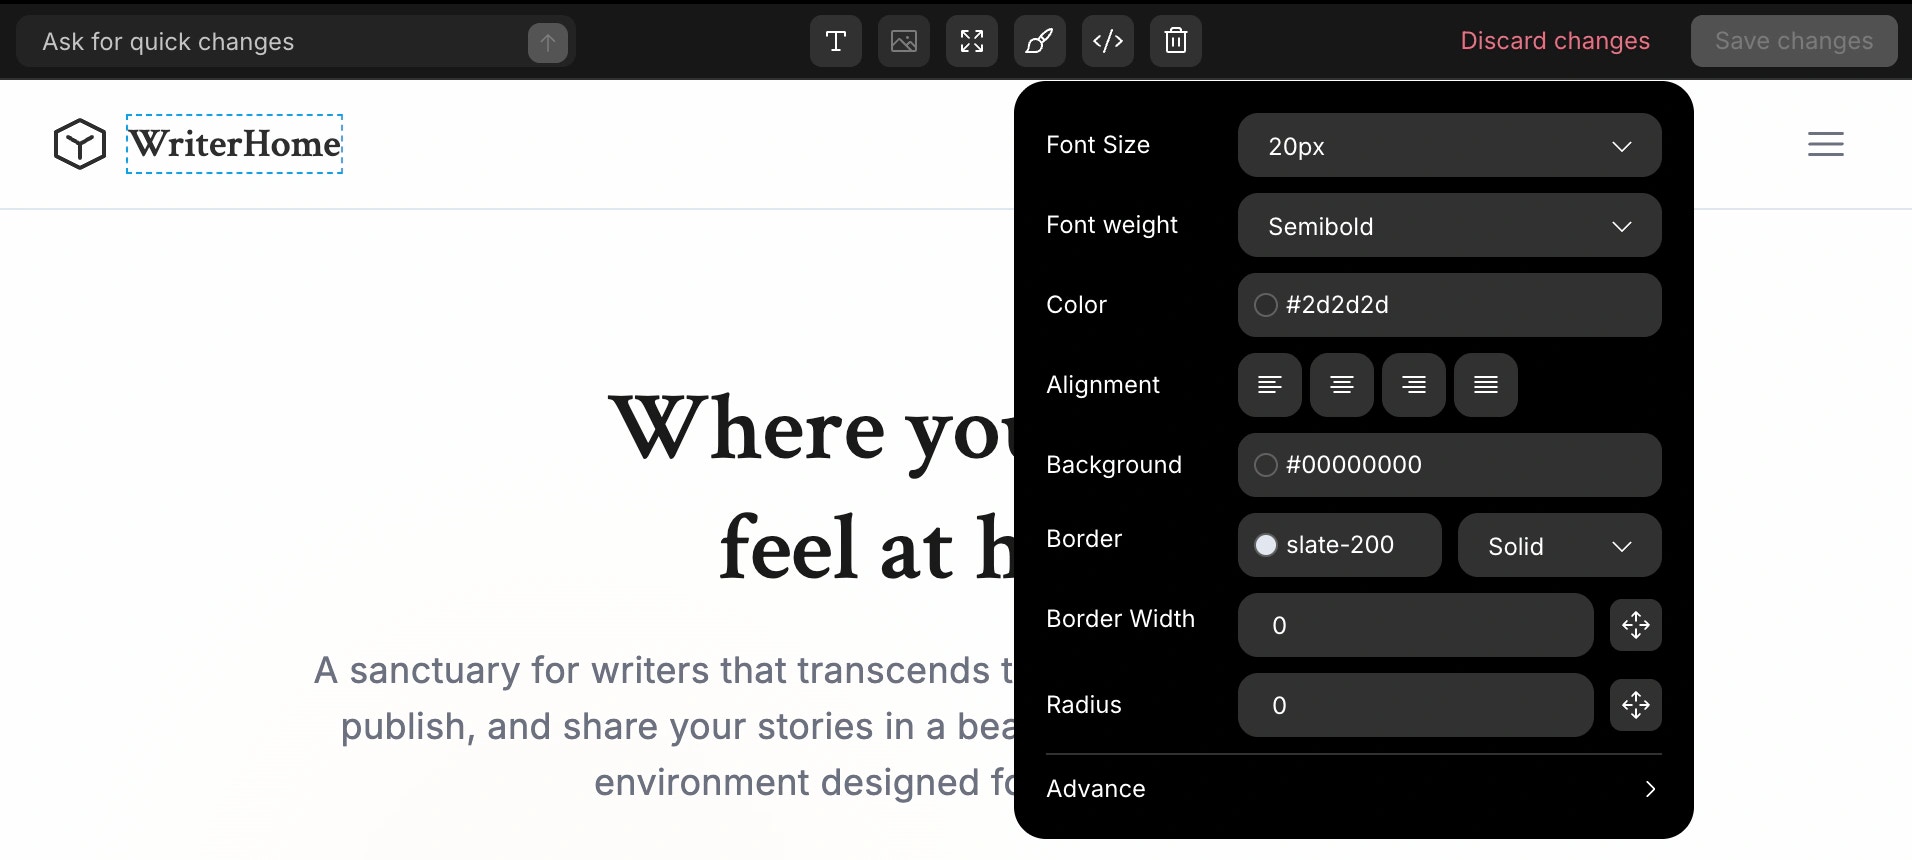
Success check: The element’s visual style updates in real time as you make changes.
Edit spacing
Adjust padding, margin, and layout spacing for elements.- Select an element.
- Click Edit spacing.
- Adjust padding and margin values.
- Changes apply automatically.
- Press Save changes.
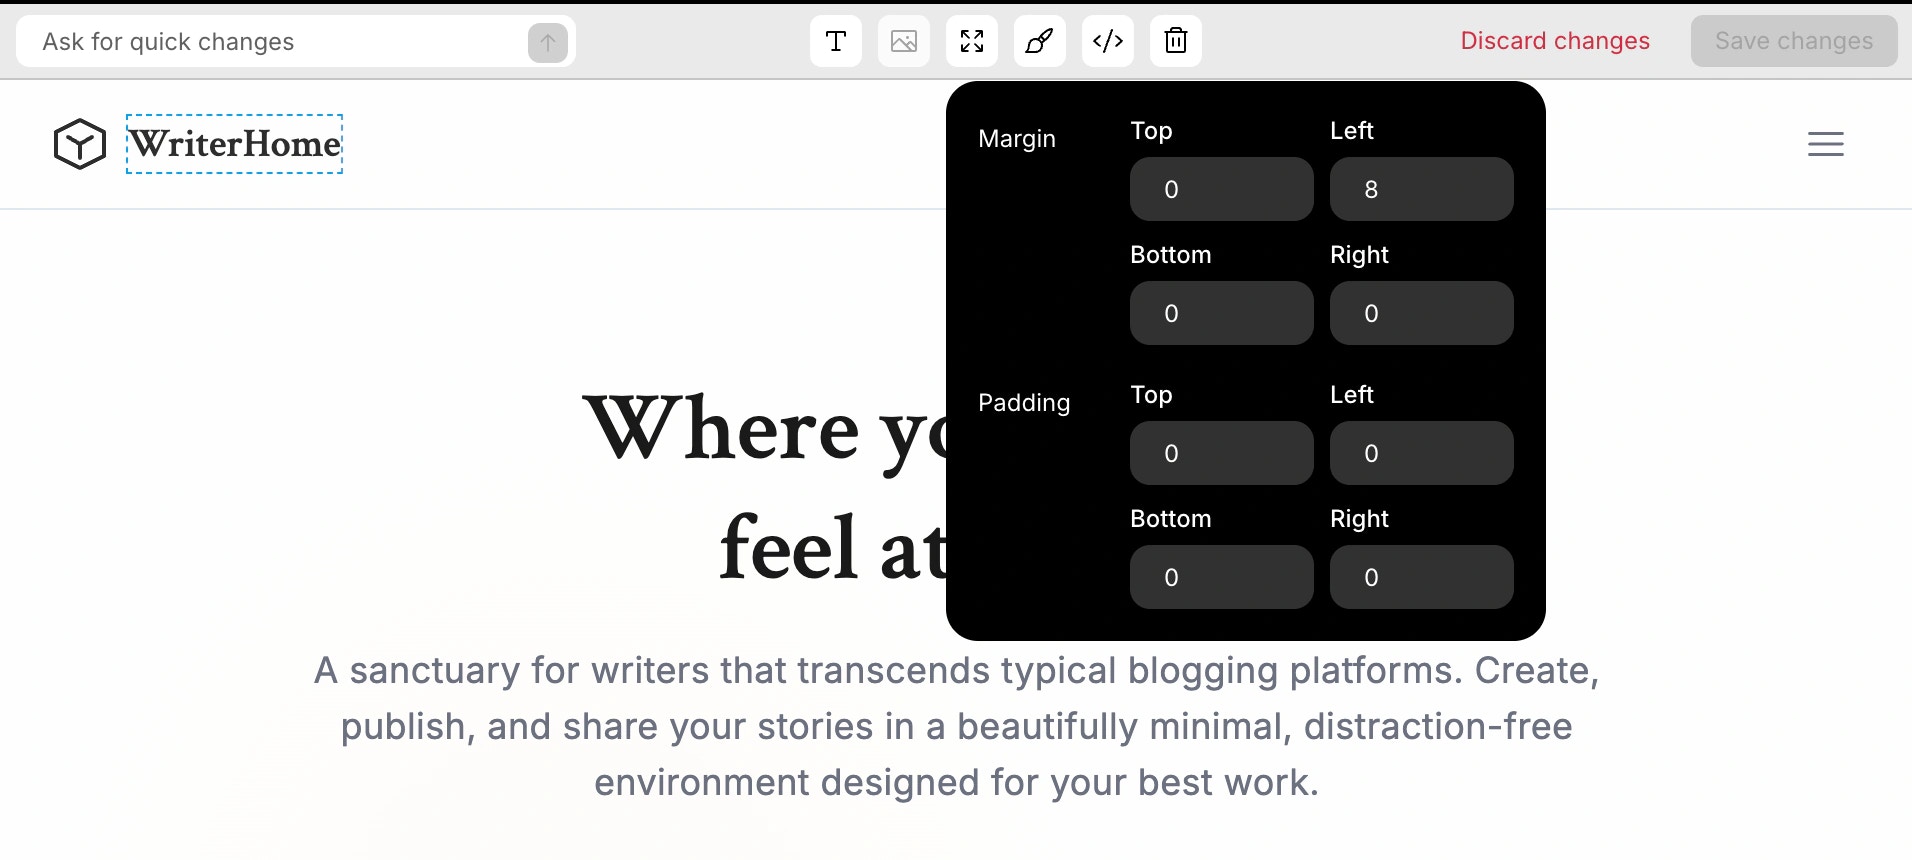
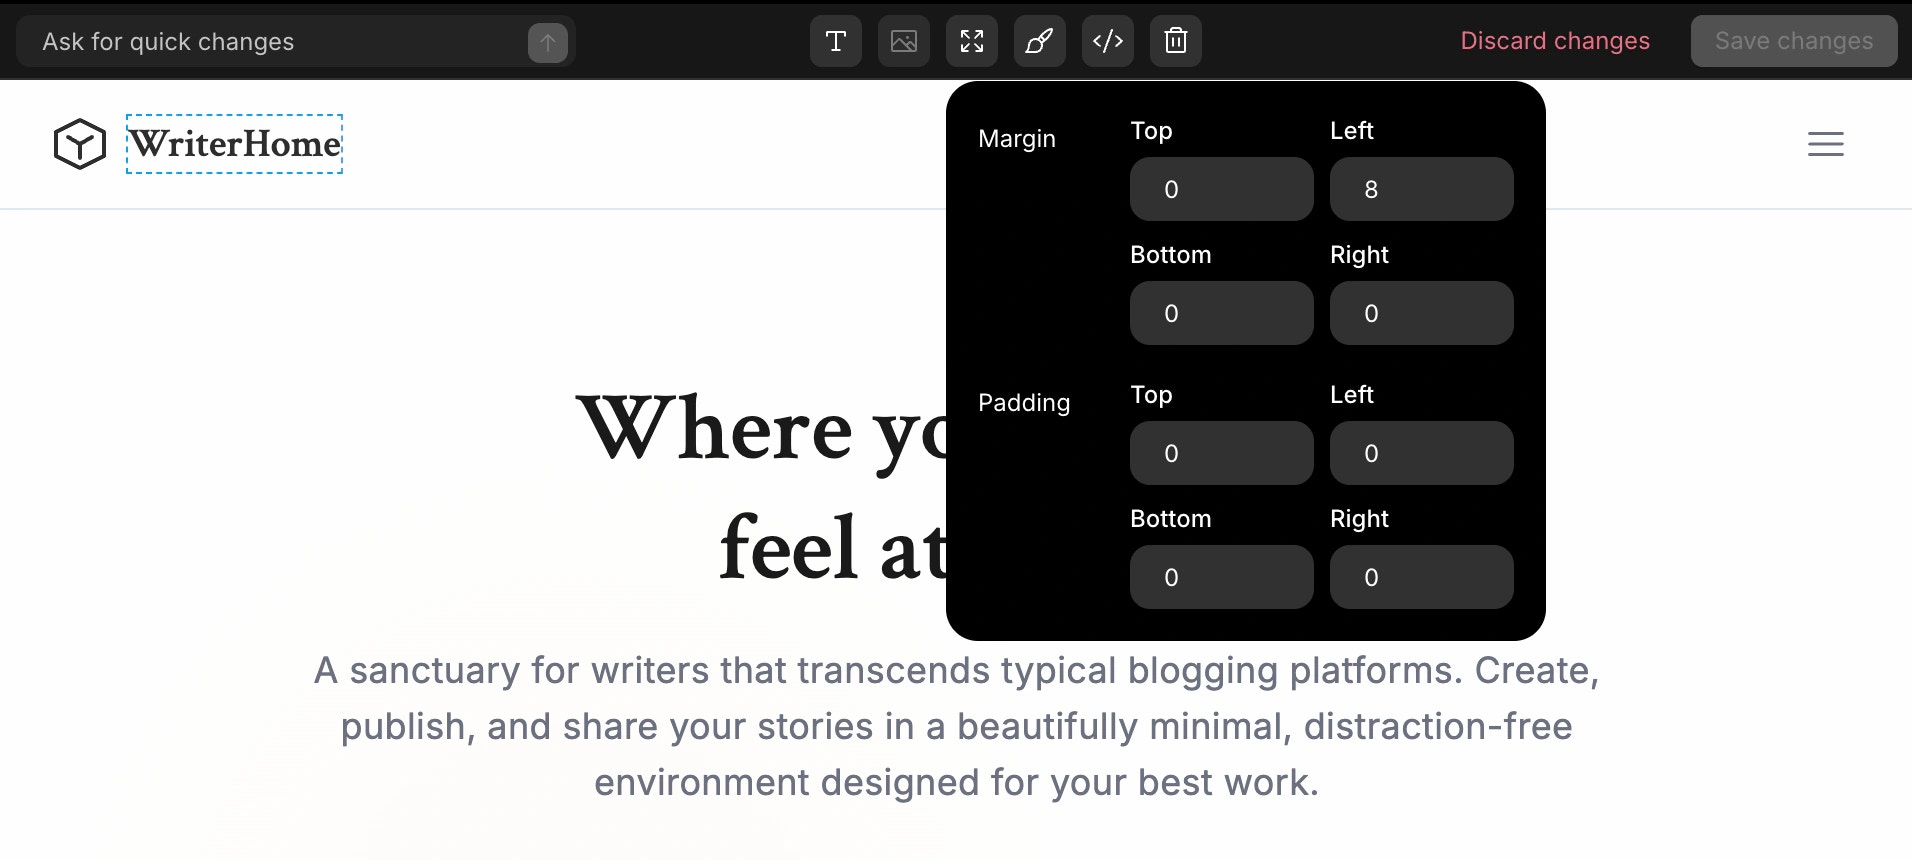
Success check: The element’s spacing updates immediately in the preview.
Edit image
Replace or modify images in your project.- Select an image element.
- Click Edit image.
- Upload a new image or modify image properties.
- Changes apply automatically.
- Press Save changes.

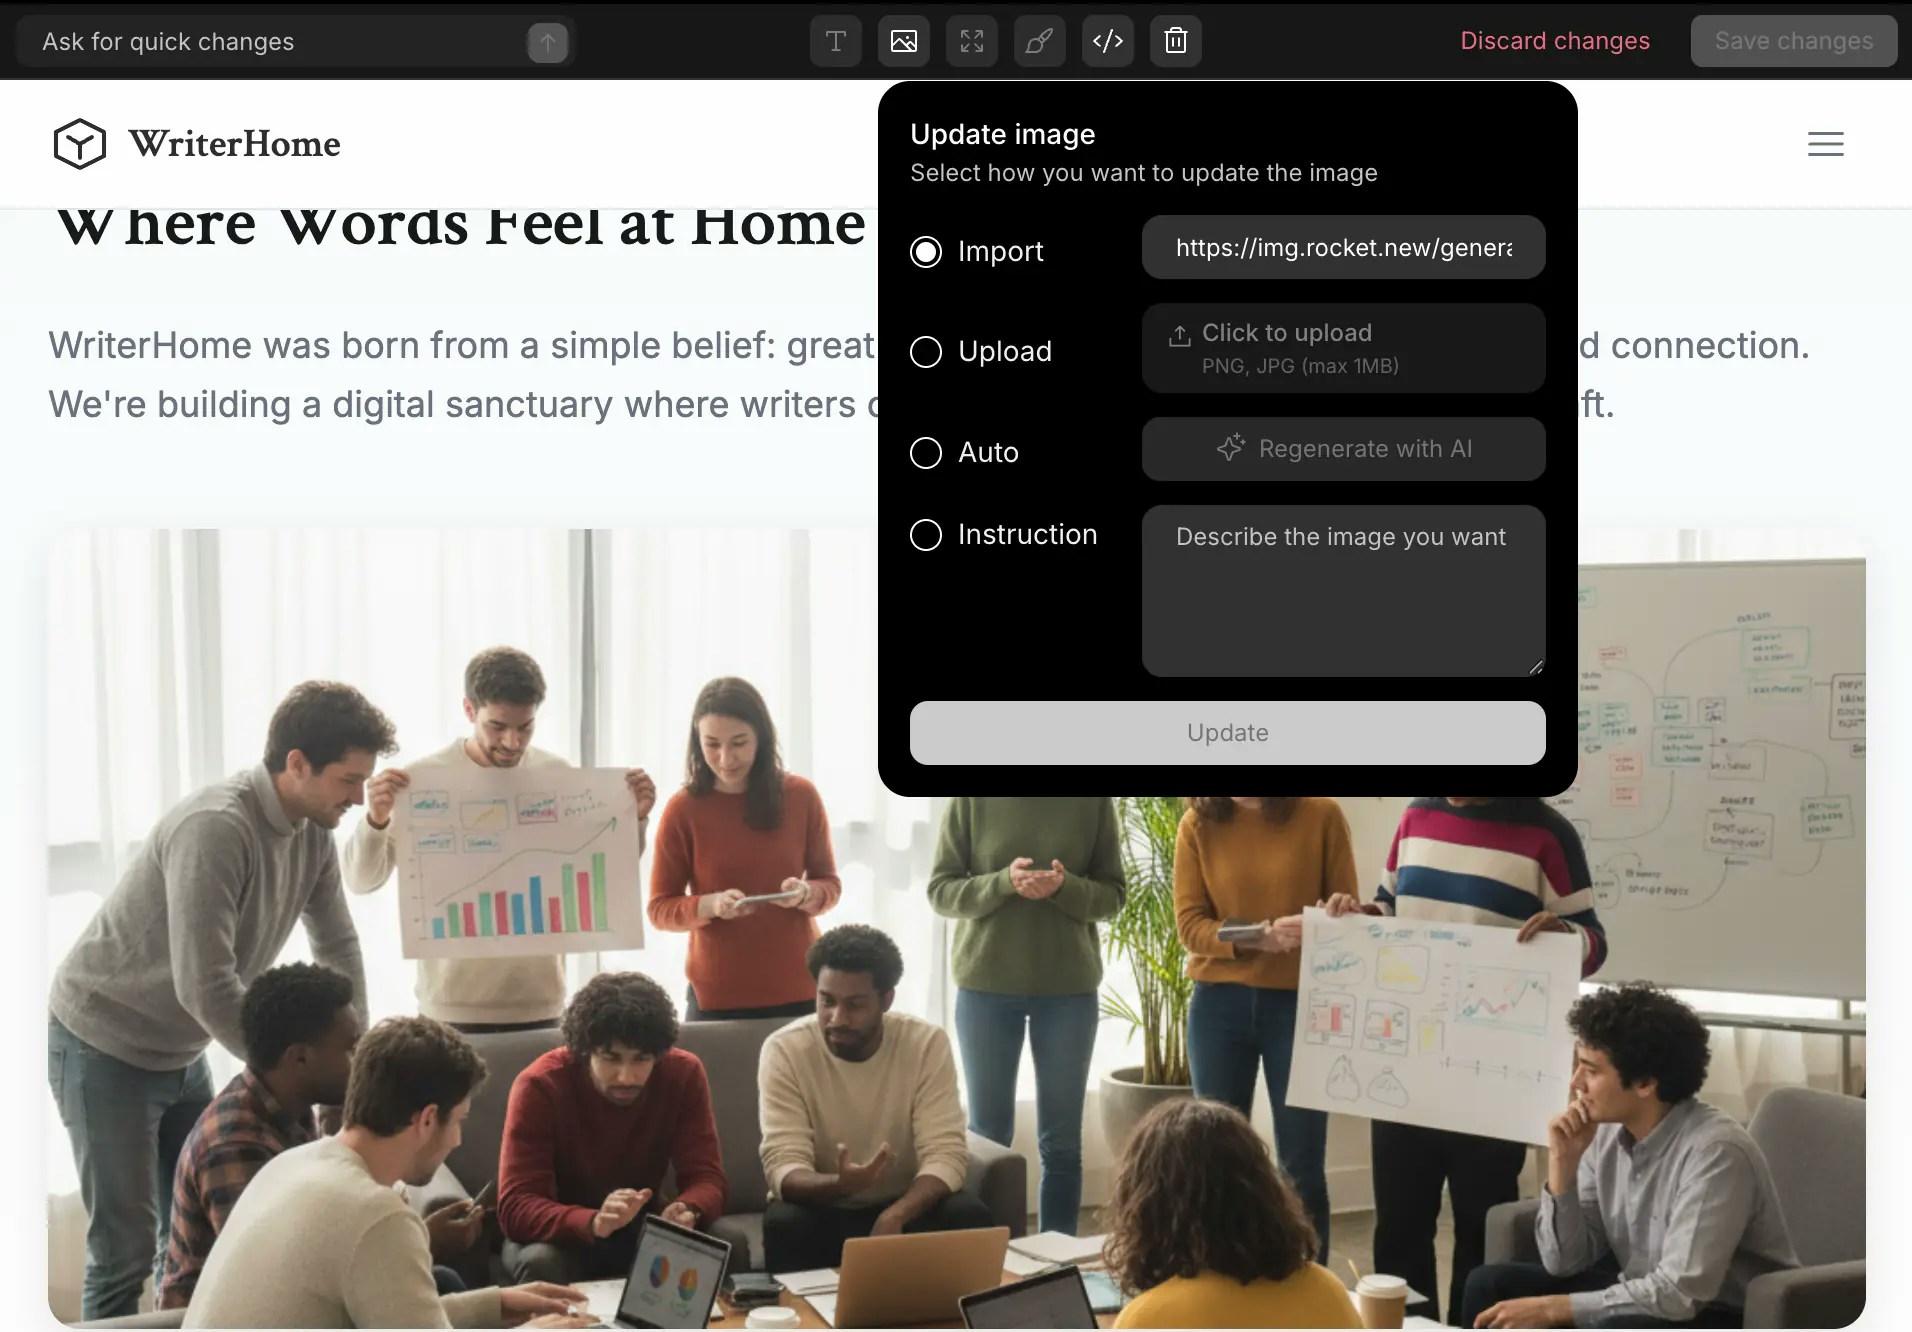
Success check: The image updates in the preview.
Delete element
Remove elements from your project.- Select the element you want to remove.
- Click Delete element.
- Confirm the deletion.
- Press Save changes.


Success check: The element is removed from the preview.
Go to code
Jump to the code view for the selected element to make more advanced changes.- Select an element.
- Click Go to code.
- The code view opens showing the code for that element.
- Press Save or Discard to apply your changes.


Success check: The code view opens with the selected element’s code highlighted.
Edit multiple elements
Edit multiple elements before saving to batch your changes and apply them all at once.- Click the first element and use the editing tools to make your changes.
- Do not save yet. Click another element in the preview.
- Use the editing tools to make changes to that element.
- Repeat for as many elements as needed.
- All changes are saved together automatically.
Success check: All selected elements update when changes are applied.
Ask for quick changes
With an element selected, use the Ask for quick changes tool to make modifications using natural language. No need to use specific tools or dropdowns.- Select an element in the preview (or keep your current selection).
- Click Ask for quick changes.
- Type your change request in plain English.
- Press Enter or click the send button.
Make the selected button orange with white text and rounded corners.Set this heading to bold, center aligned, 32px font size.Add 24px padding and a subtle box shadow to this card.Change the background to a gradient from blue to purple.Make this text italic and change the color to gray.Remove the border and add 8px border-radius to this image.


Success check: The preview updates immediately to reflect your changes, and Rocket confirms the update.