Test your Rocket.new app live as you build with responsive previews, screen navigation, and screenshot capture - no deploying needed.
See your app running live as you build. The preview is a browser built into the Rocket editor. Every change you make updates the preview in real time. The preview is separate from your live URL. Use Launch in the toolbar to publish your app publicly.
Use the URL bar in the preview toolbar to go to any route in your app. Type the path directly (for example /dashboard or /settings) and press Enter.You can also use the Currently viewing dropdown to switch between screens. The Refresh icon sits in the same control strip as the URL bar. Click it if your latest changes are not showing.
Click Full screen in the toolbar to expand the preview and hide the chat panel. Use this when you want a larger view or need more room to test interactions.Click Full screen again to return to the editor.
Click the Edit button in the toolbar and select Visual edits to enter visual edit mode. Click any element to change its text, style, spacing, or image directly in the preview.
Learn more about visual edit and what you can change.
Take a screenshot of the current preview and use it in chat to show Rocket exactly what to change.
Click the Camera icon in the toolbar.
Choose your capture mode:
Full screen - captures the entire preview area
Selected area - click and drag to capture a specific region
Drag and drop the screenshot into the chat input.
Screenshot capture options
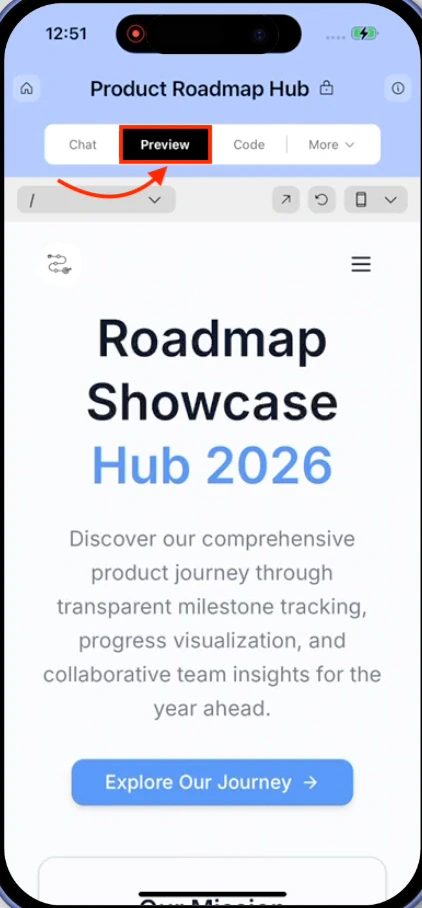
The Rocket mobile app supports screen navigation, refresh, and responsive views. Full screen, visual edit, and screenshot capture are only available on the web browser.
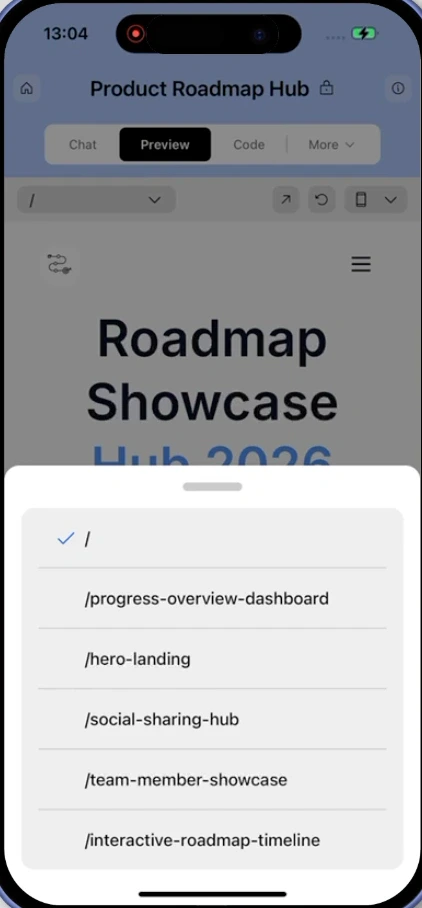
Use the Currently viewing dropdown to switch between screens in your app. The Refresh icon sits in the same control strip as the URL bar. Tap it if your latest changes are not showing.
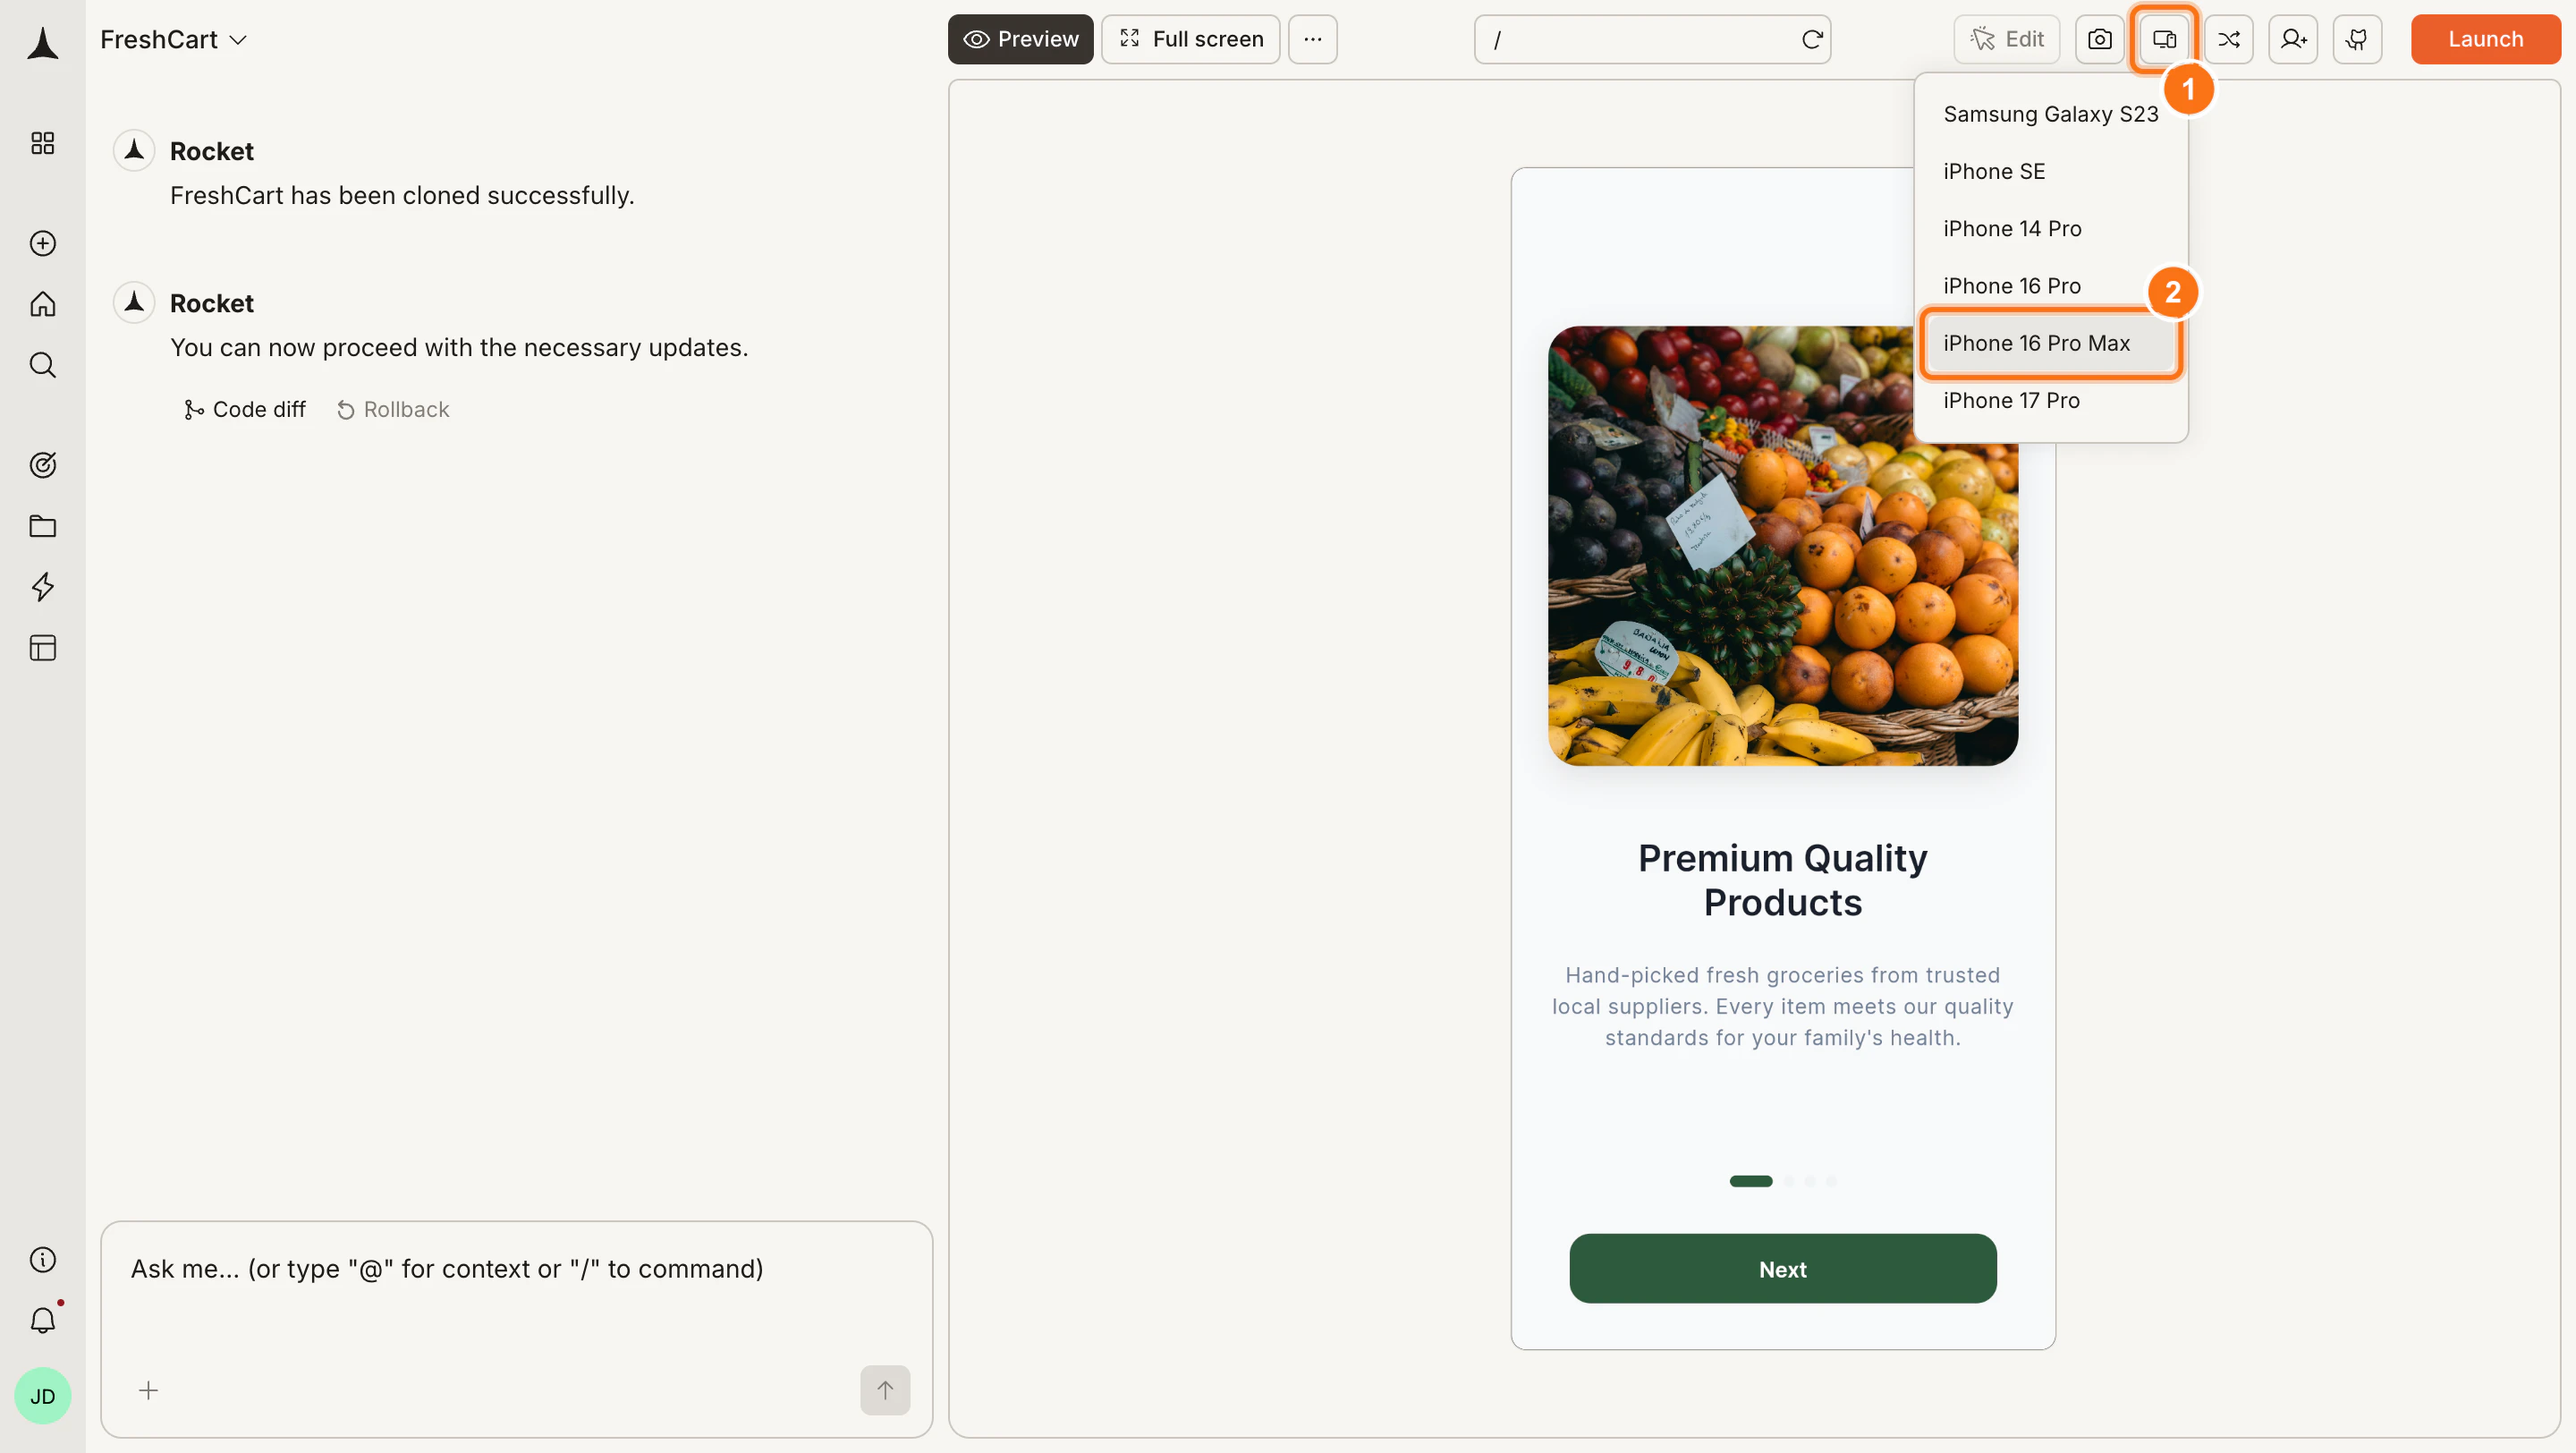
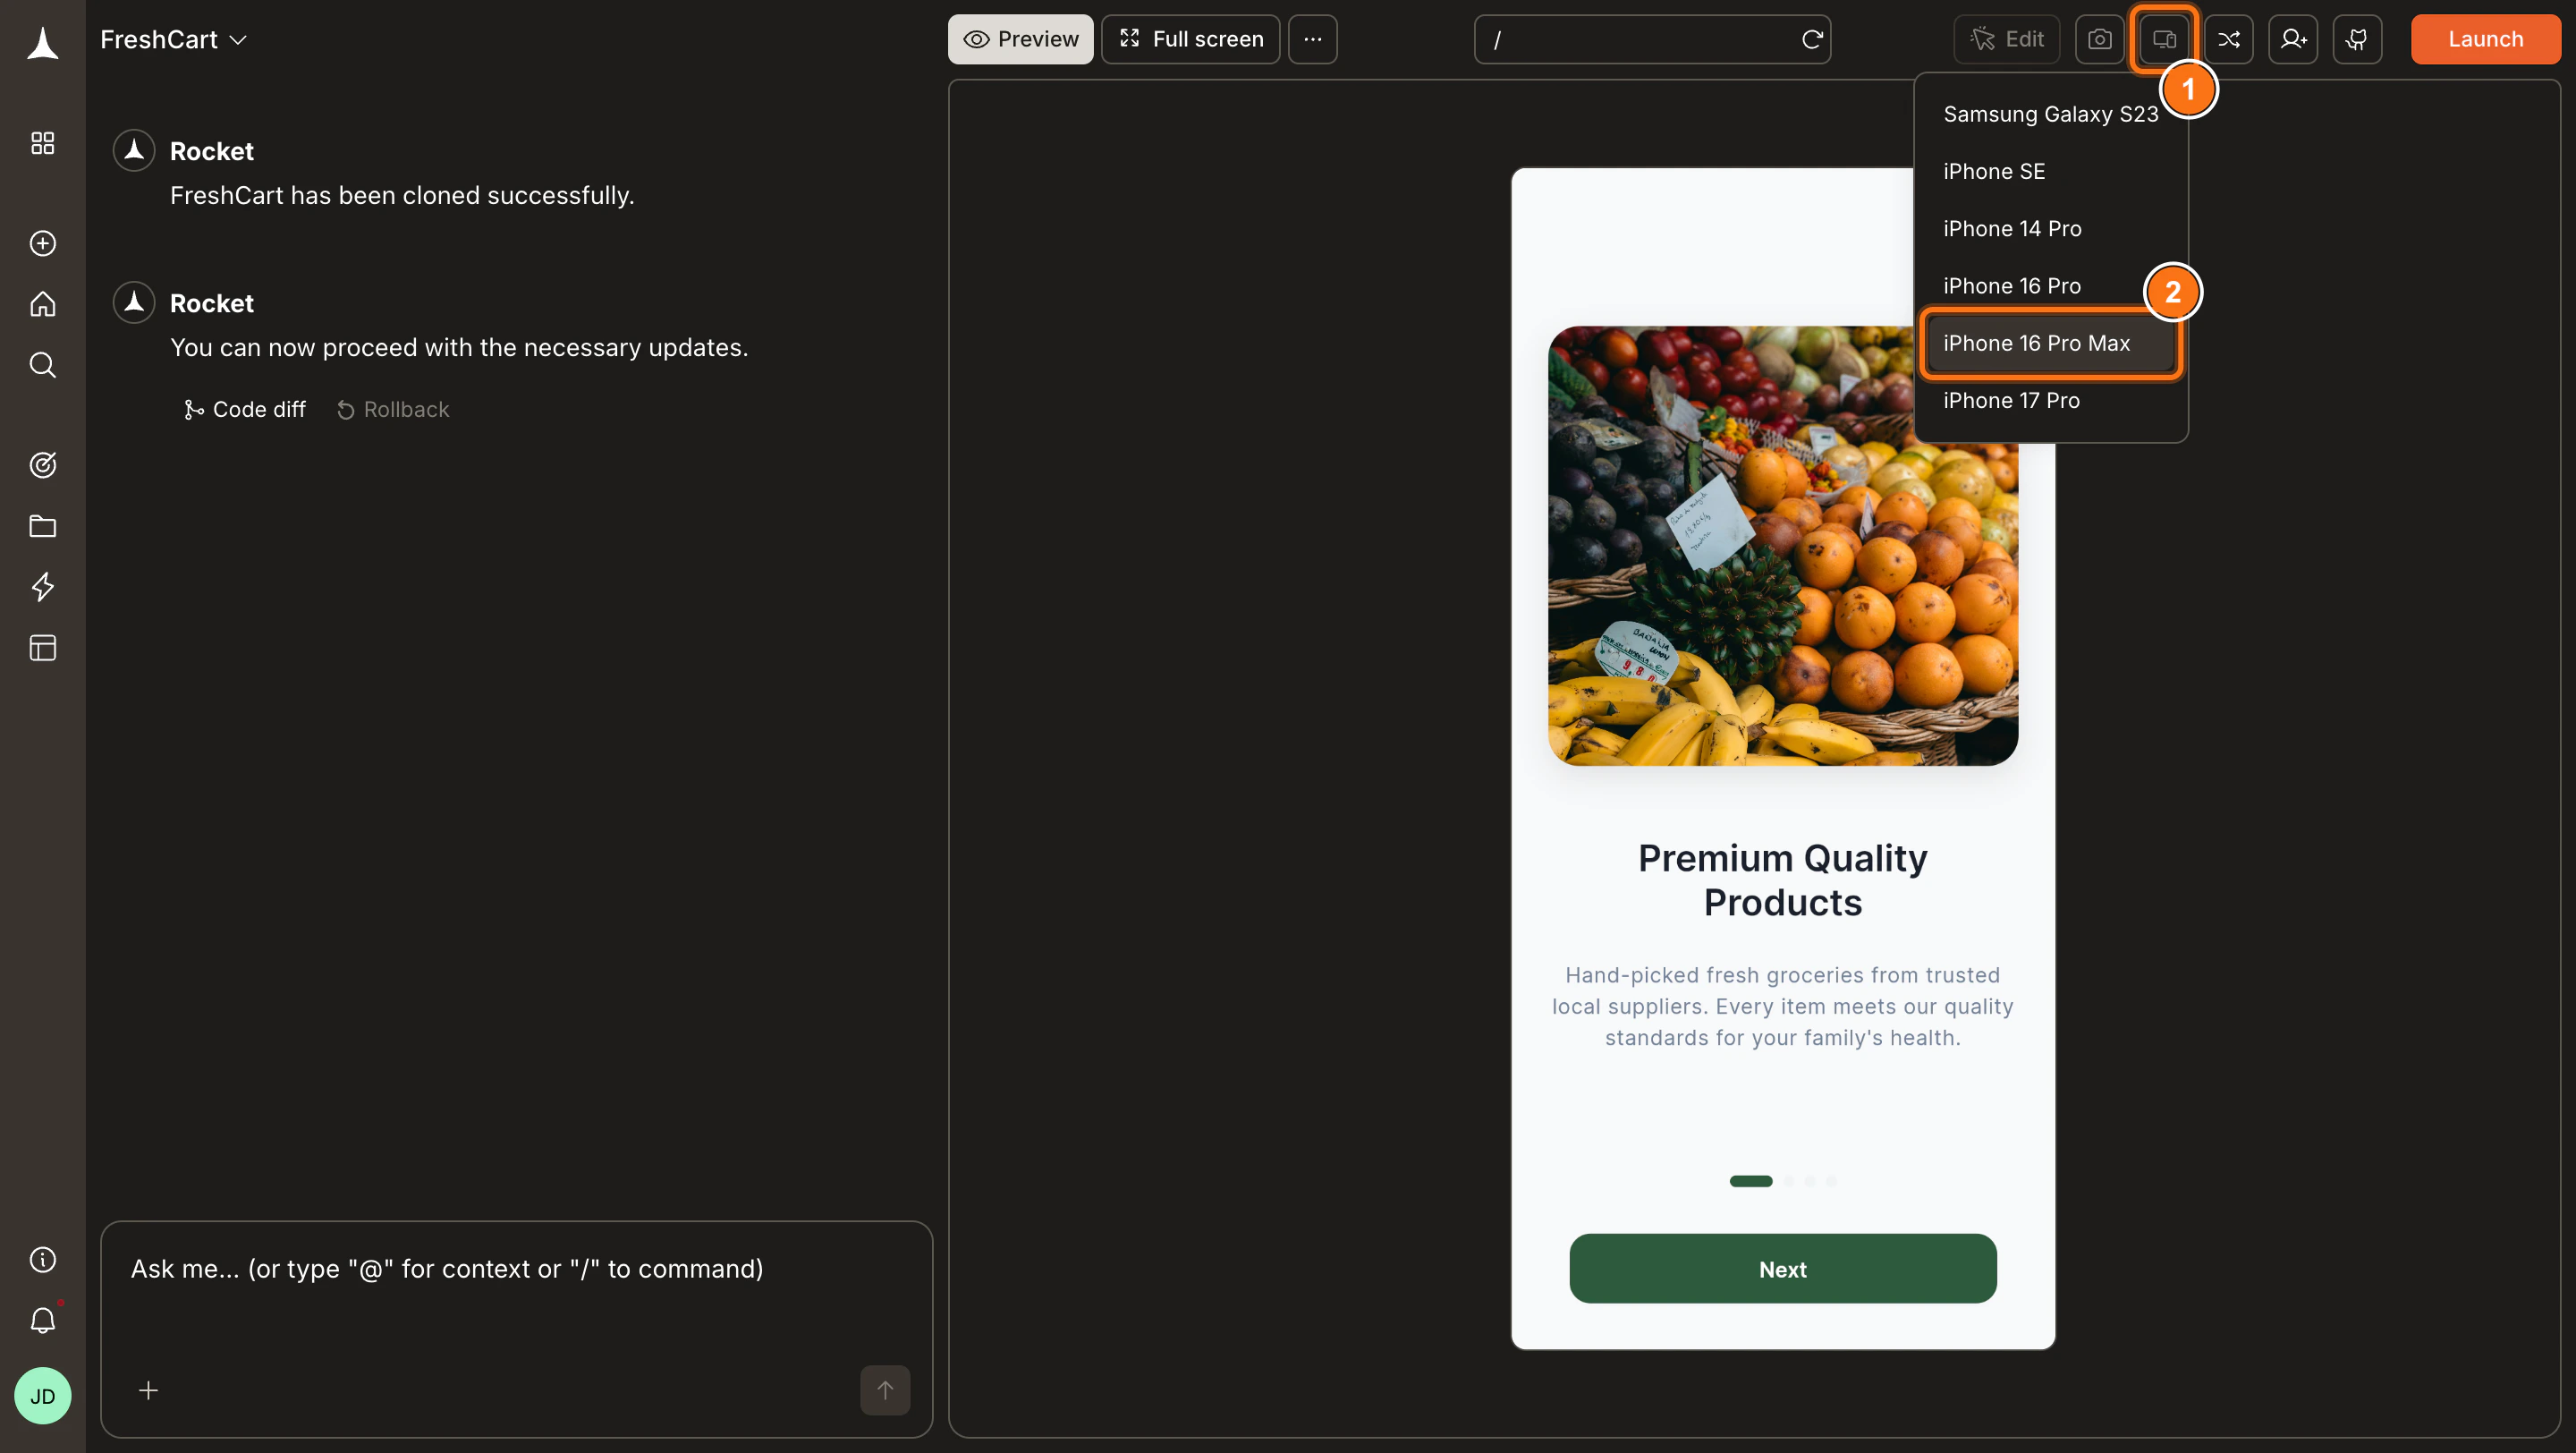
Tap the Device icon to switch between screen sizes and device models.Web app views: Desktop, Laptop, Tablet, MobileMobile device models: Samsung Galaxy S23, iPhone SE, iPhone 14 Pro, iPhone 16 Pro, iPhone 16 Pro Max, iPhone 17 Pro