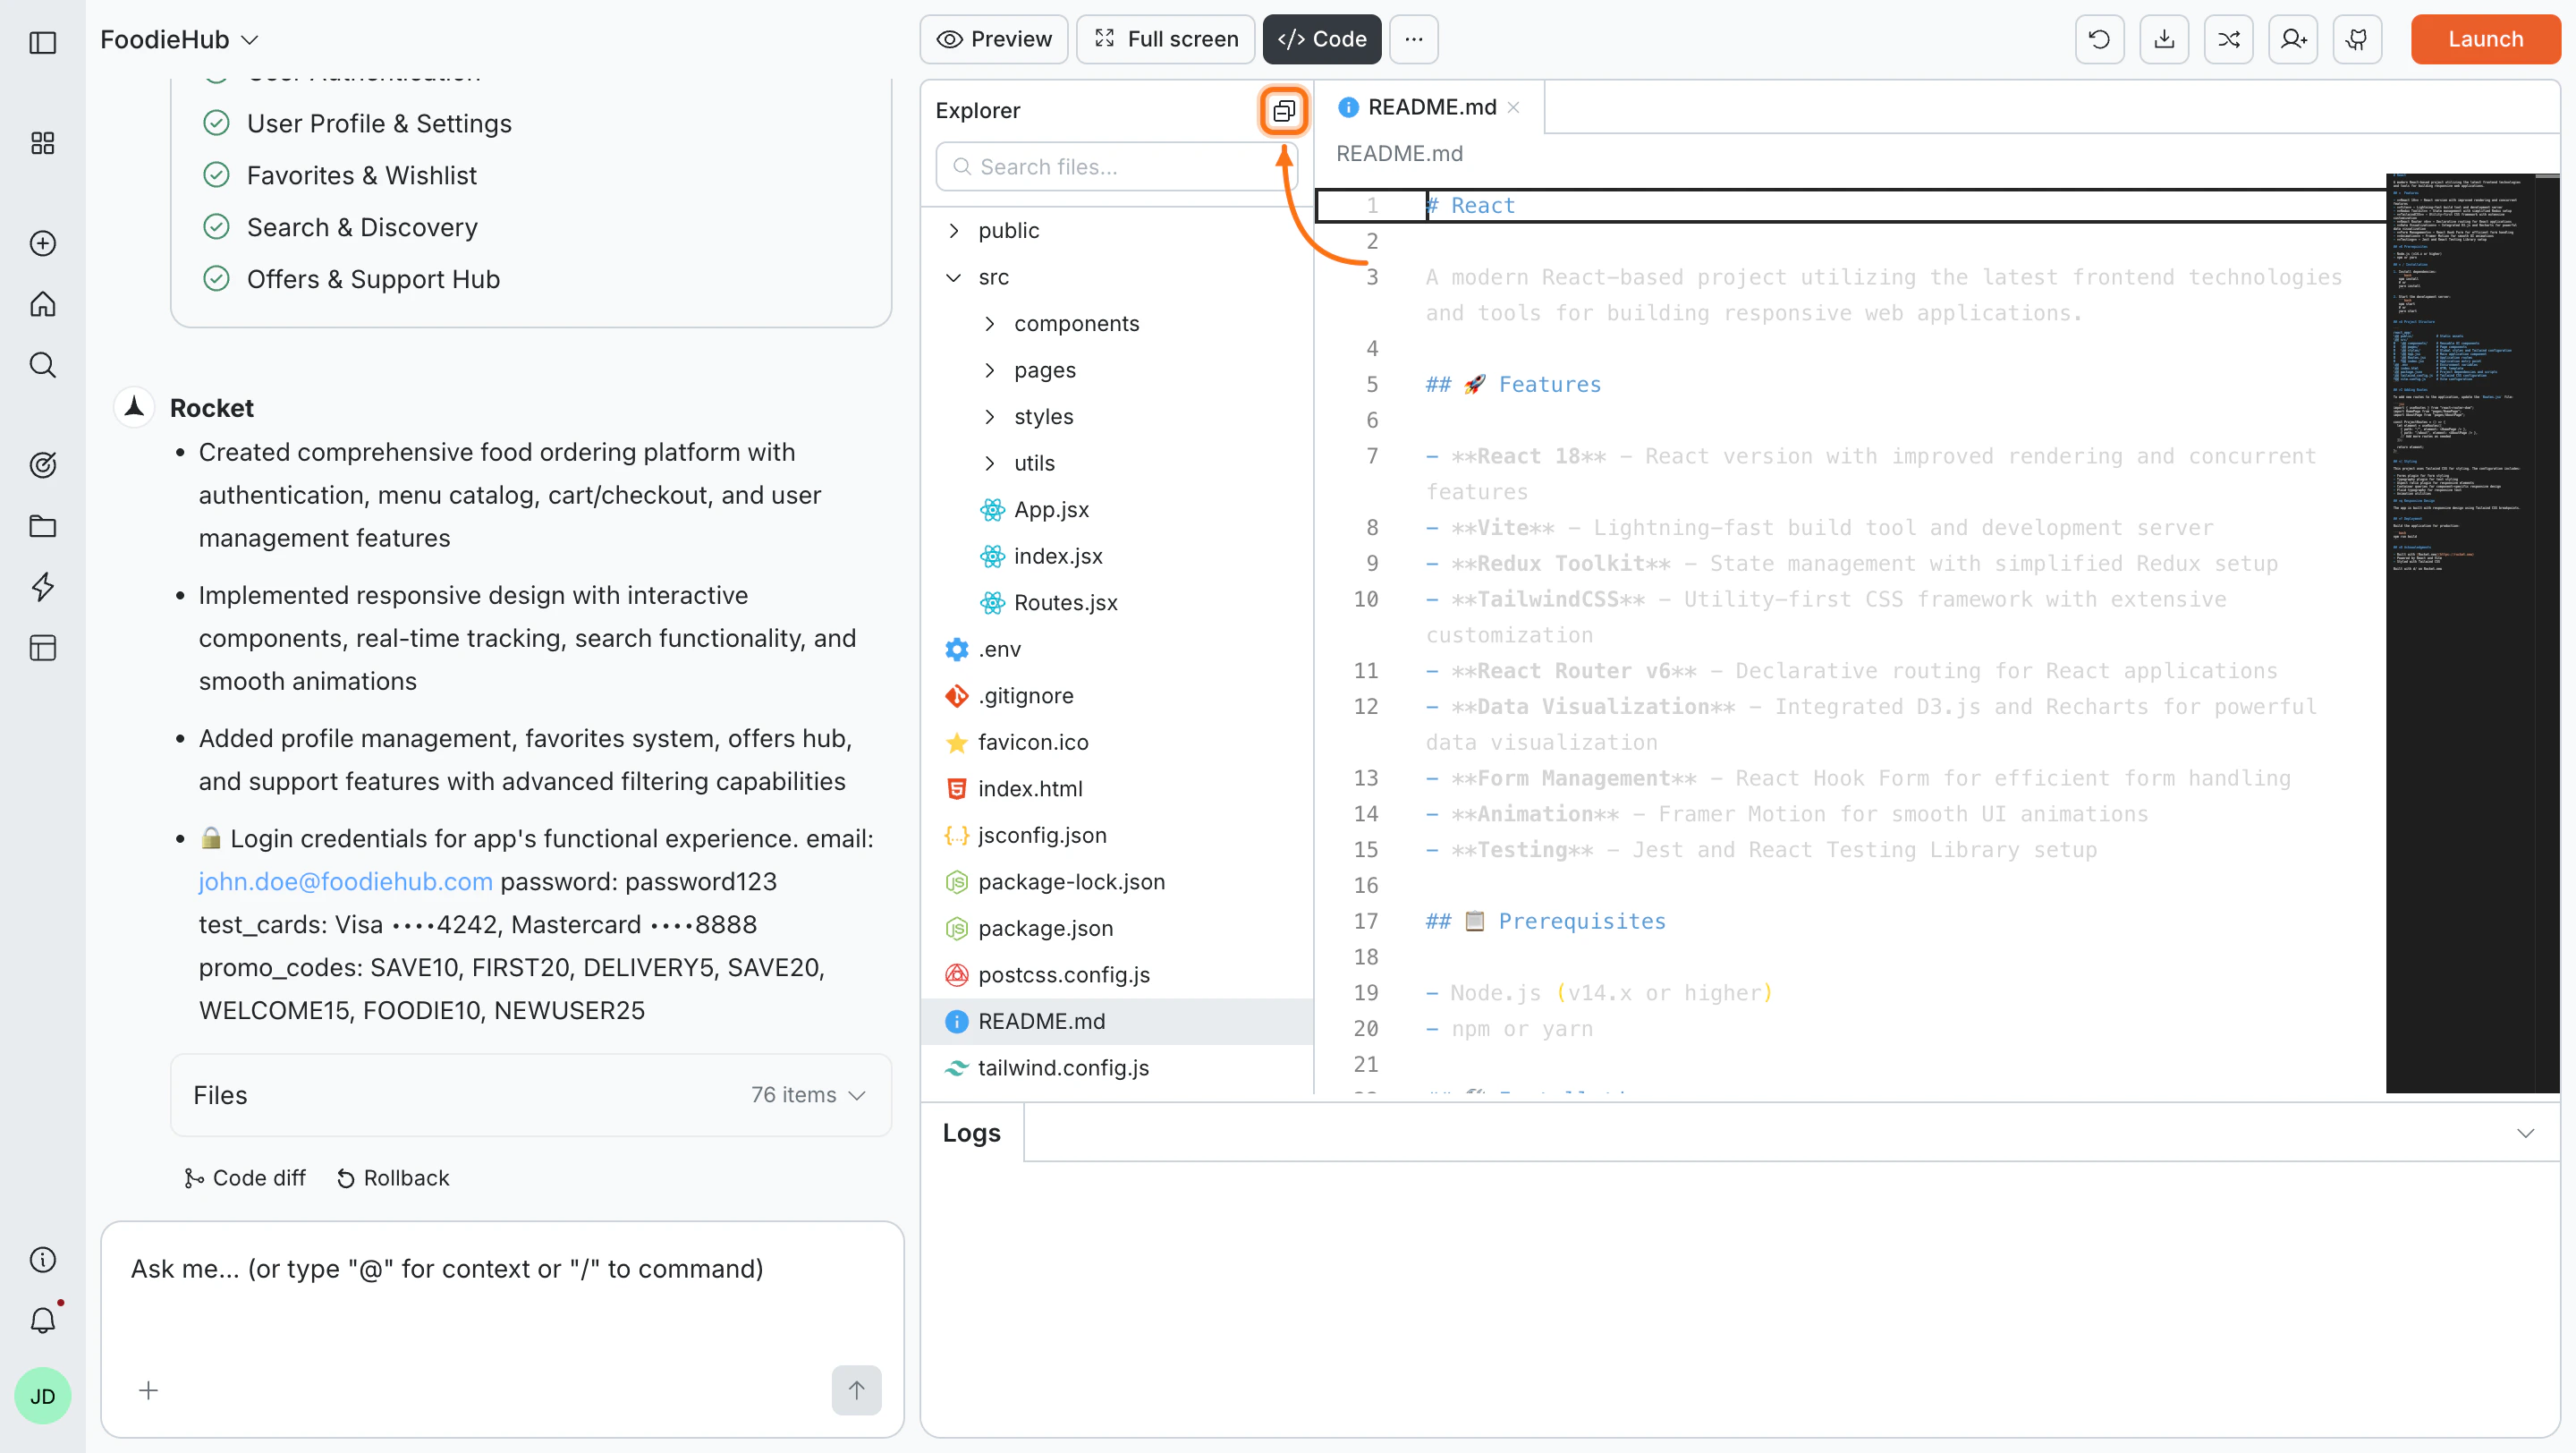
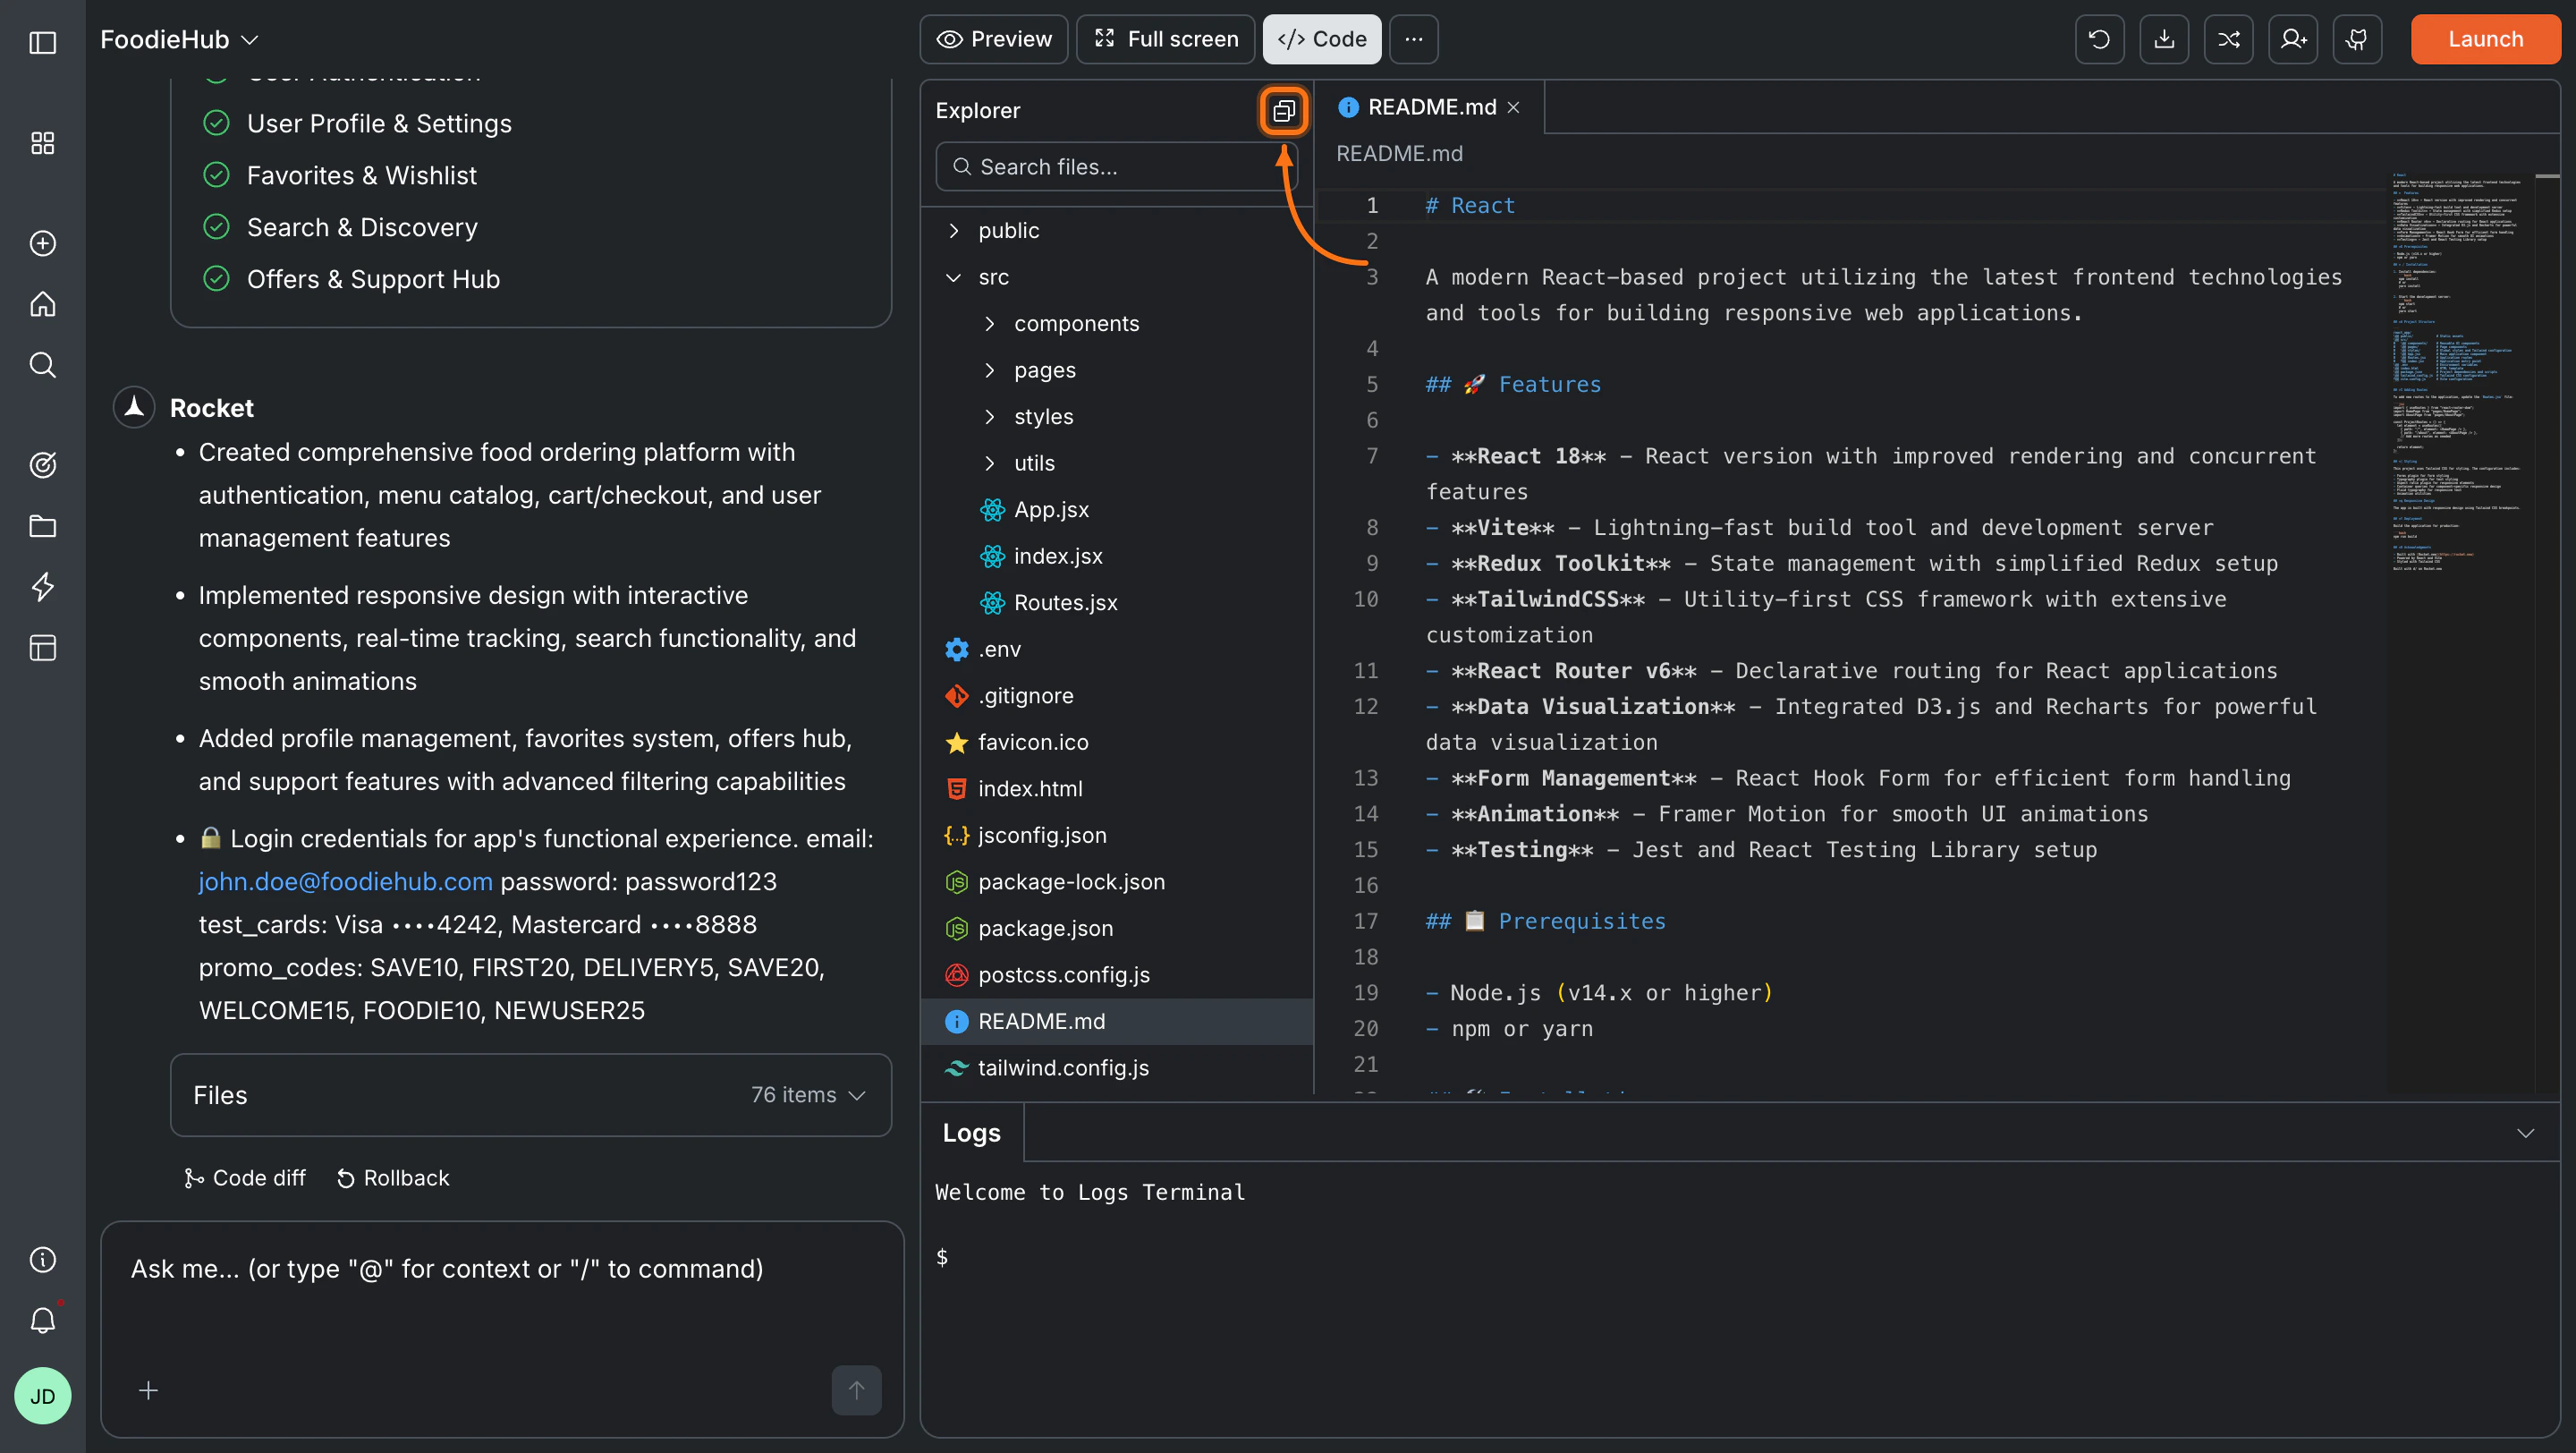
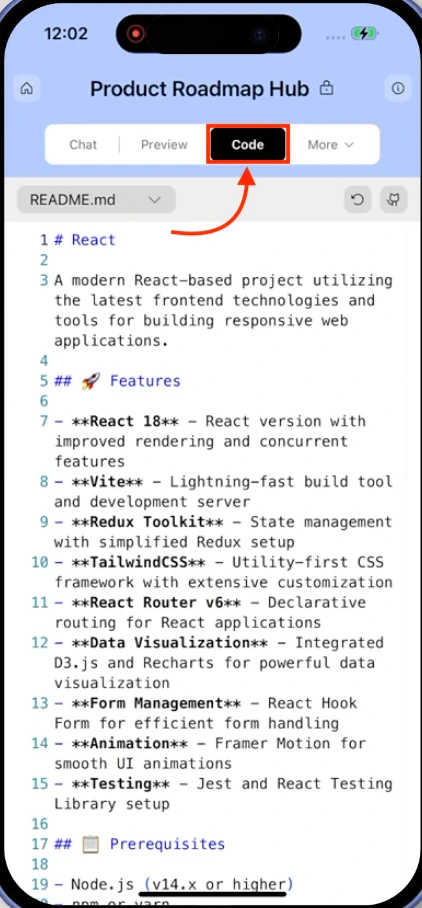
Open the file tree in the Rocket.new Build editor to inspect project source, tweak components, and make direct code edits alongside AI changes.
Code view lets you browse your project’s source files, make direct edits, view live build logs, and download or push your code. All without leaving the Rocket editor.
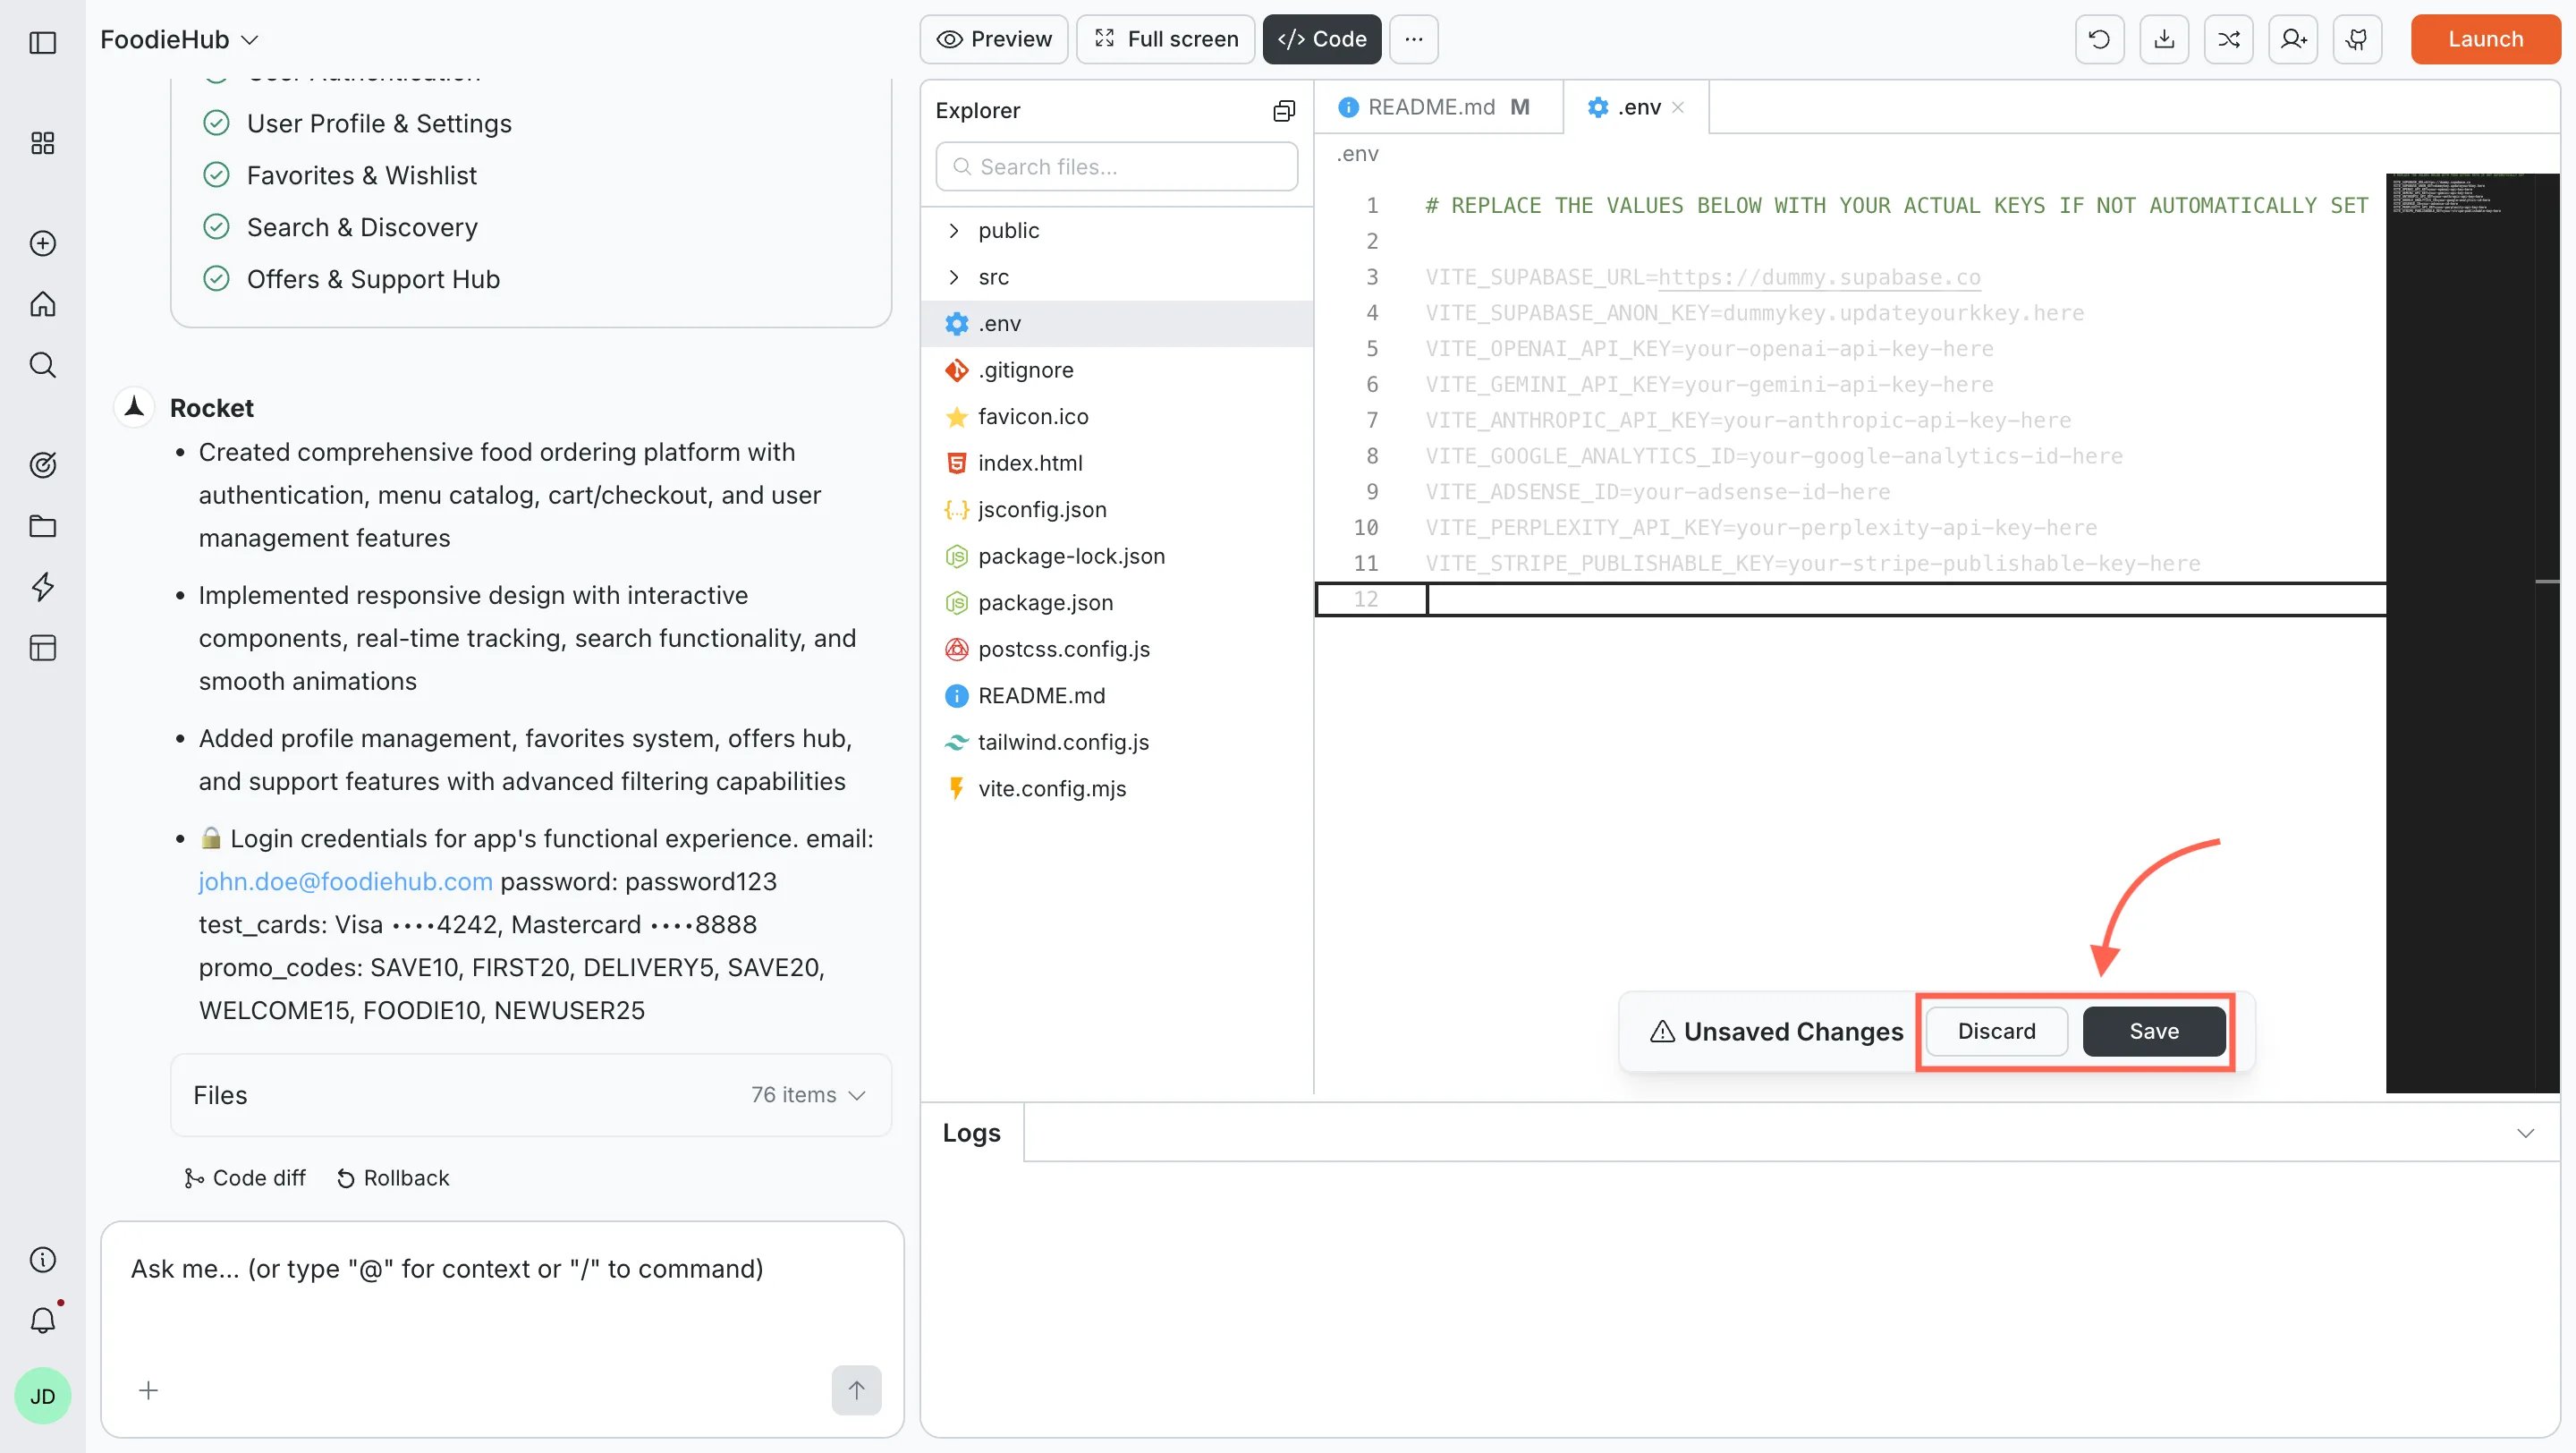
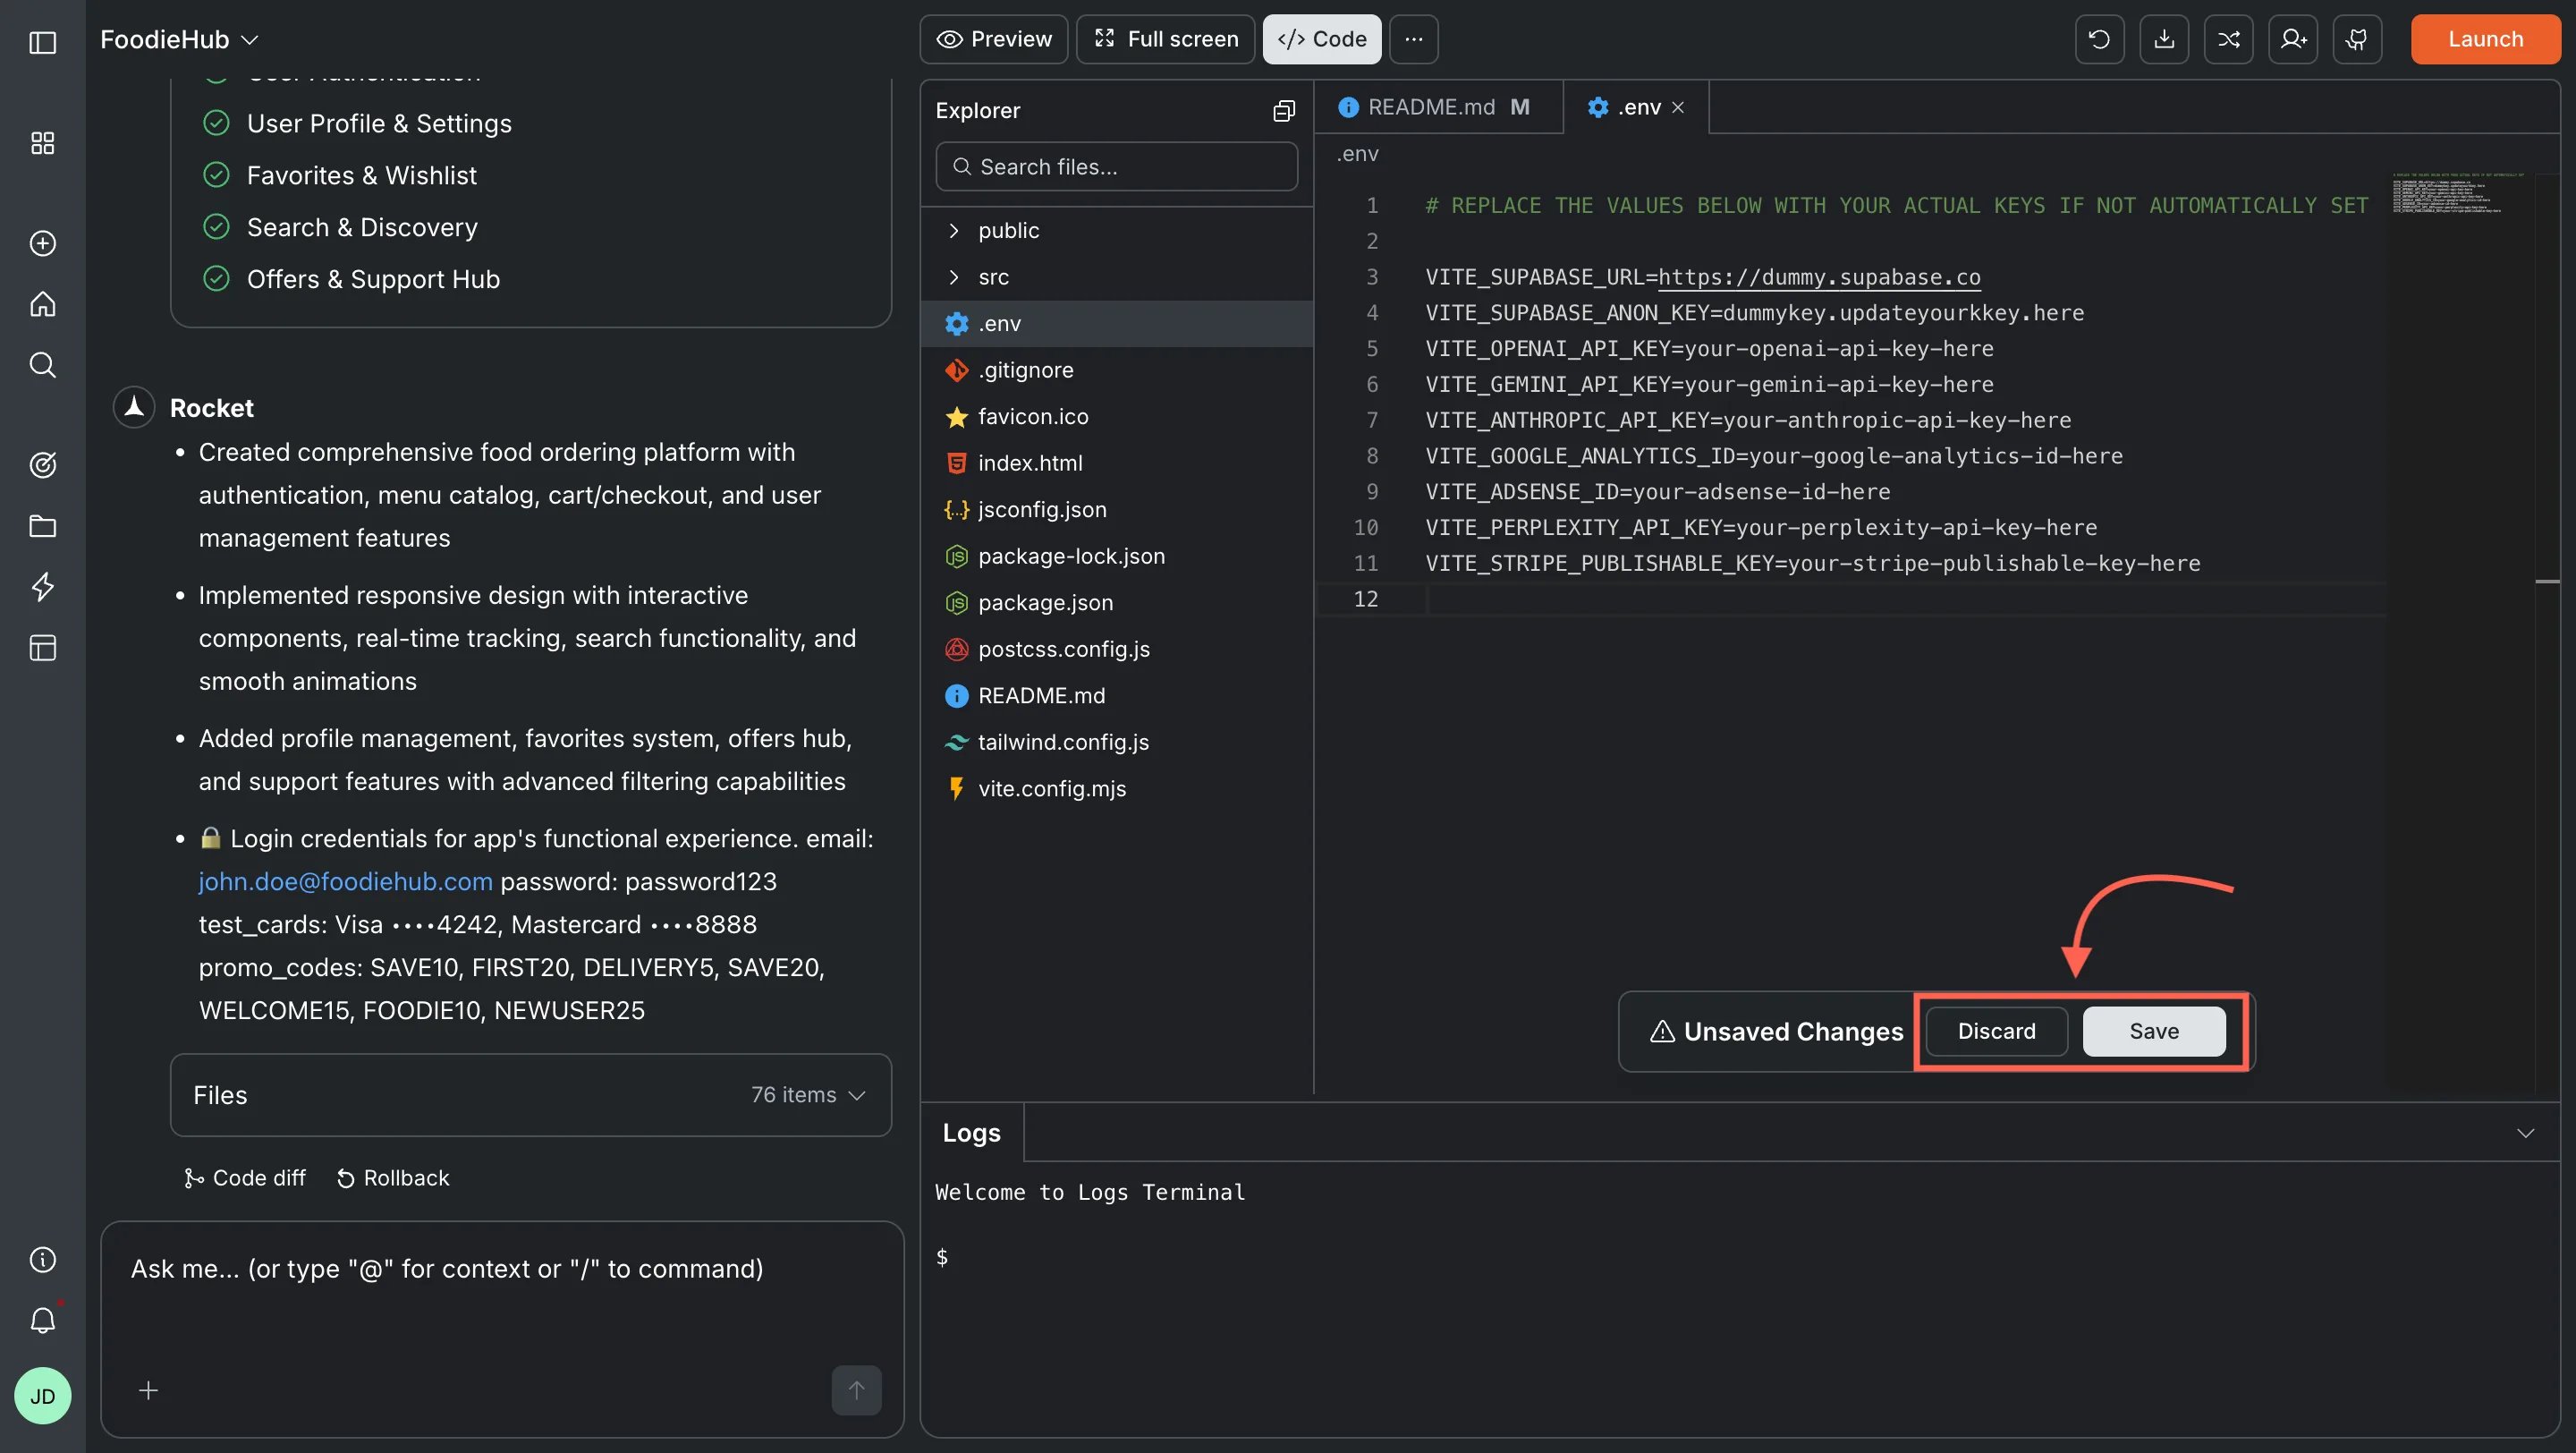
Click a file to open it in the editor. Make your changes, then use the save bar at the bottom:
Click Save to apply changes
Click Discard to undo them
Editor with save and discard options
Editing configuration files like tailwind.config.js or package.json can affect how your app compiles or behaves. If something breaks after a config edit, you can roll back to a previous version.
The Logs panel at the bottom of the screen shows live output as you edit and save. It has a collapse arrow on the right to hide it when you need more editor space. Logs update automatically - no commands needed.Use the logs to:
Export your entire project as a .zip archive so you can open it in your own IDE, run it locally, run tests, or hand it off to another developer.
Code download interface
Downloading source code requires a paid plan (Pro or above) and is only available on the web browser. Mobile app users can browse files and push to GitHub, but code download is not supported.
1
Open Code view
Open your task in the Build editor and click the </> Code button in the top toolbar (the same bar as Preview and Full screen). The main panel switches to code view.
Code view toolbar button
2
Click Download in the toolbar
Click the Download icon in the top-right of the code view toolbar. Rocket packages your full project - source files, configuration, and environment variable templates - into a single .zip archive.If you are on the Free plan, the button prompts you to upgrade. See Pricing for plan details.
3
Wait for the export to finish
A short progress indicator shows the export status. For large projects this can take up to a minute. Once complete, the .zip file is saved to your browser’s default download folder.
4
Extract the archive
Locate the downloaded .zip file and extract it to a folder on your computer:
macOS: Double-click the .zip file in Finder, or run unzip project-name.zip in Terminal
Windows: Right-click the .zip and choose Extract All, or run Expand-Archive project-name.zip in PowerShell
The extracted folder contains your full project structure.
5
Install dependencies and run locally
Open the extracted folder in your IDE or terminal and install dependencies.
Choose a connected device or emulator when prompted. See the Flutter install guide for setup help.
6
Add your environment variables
Rocket exports an environment template (.env for web apps, env.json for mobile apps) with placeholder values. Fill in your own API keys and secrets before running the app locally.
View and manage environment variables
What to do after downloading:
Run locally for testing, automated tests, or custom build steps
Push to a new GitHub repository to version-control your code and trigger CI/CD pipelines. Use GitHub integration for ongoing two-way sync (Next.js TypeScript), or clone the extracted repo and push manually
Continue iterating in Rocket - anytime you change the app in Rocket, click Download again to export the latest version
Downloaded .zip archives reflect the project state at the moment of export. They do not auto-sync with later changes made in Rocket. To keep a repository up to date automatically, use GitHub integration instead of manual downloads.
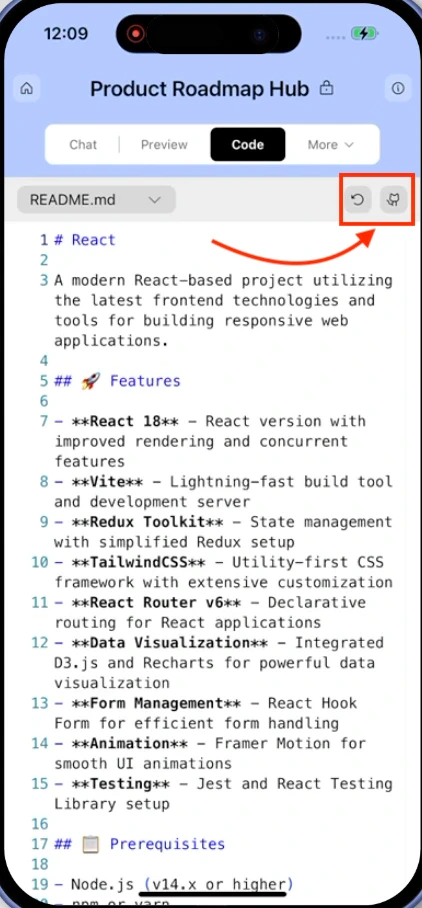
The mobile app supports browsing files and GitHub integration. Editing files, managing environment variables, viewing build logs, and downloading code are only available on the web browser.
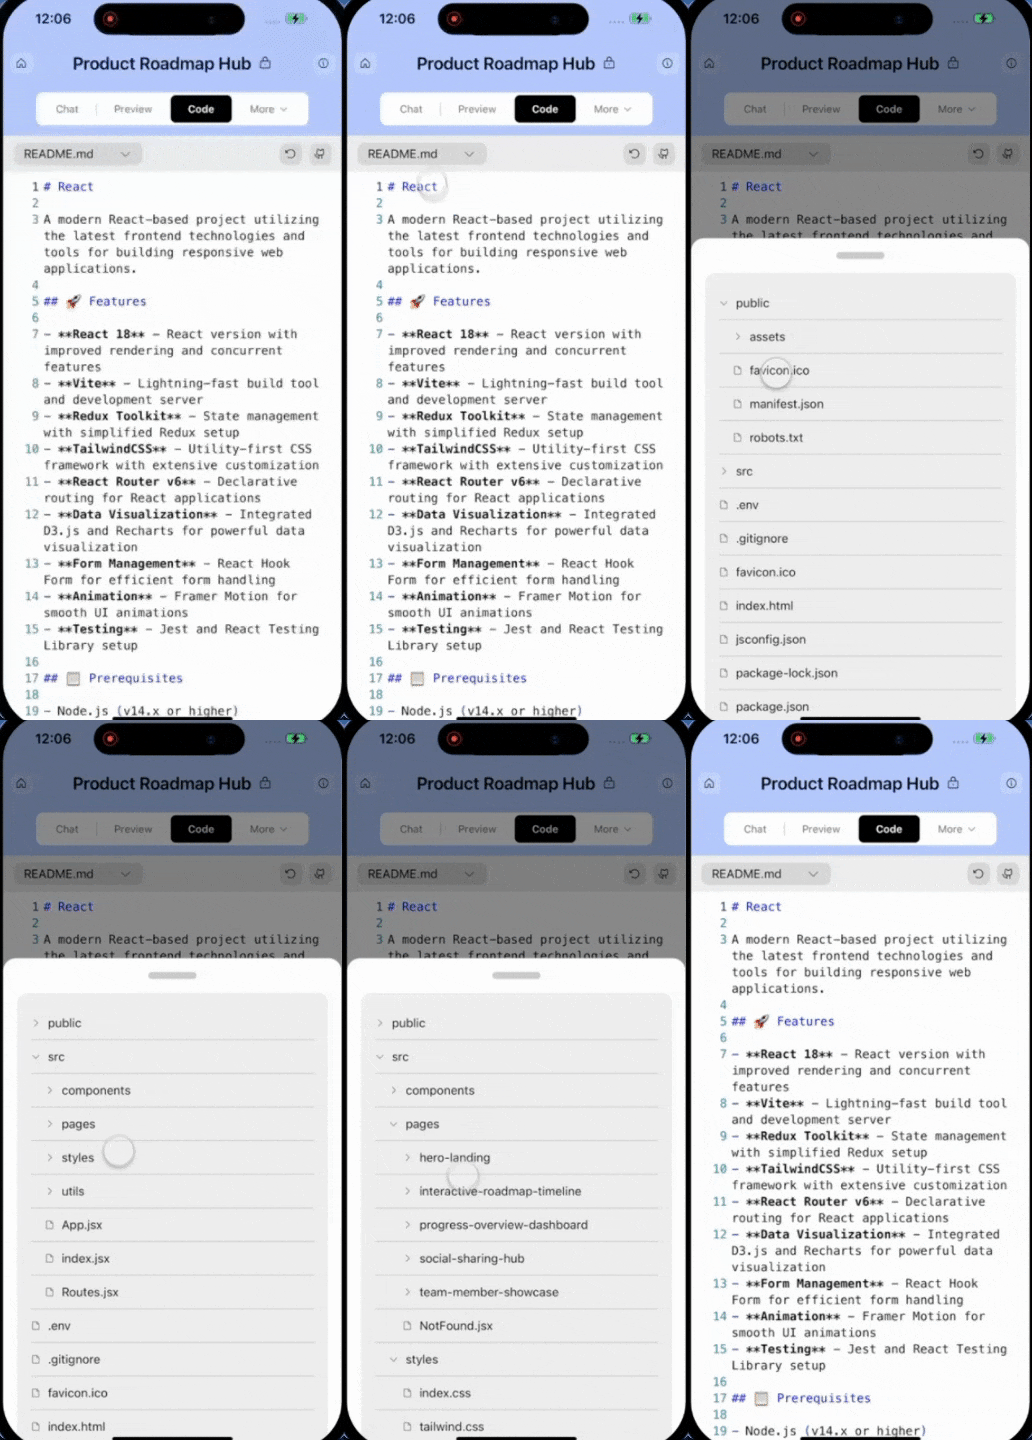
Tap the current file name at the top of the screen to open the file picker. Browse all folders and files in your project and tap any file to switch to it.