Connecting a custom domain requires a paid plan (Pro or above). You also need a Rocket task that has been deployed to the web and access to your domain provider account.
- Web Browser
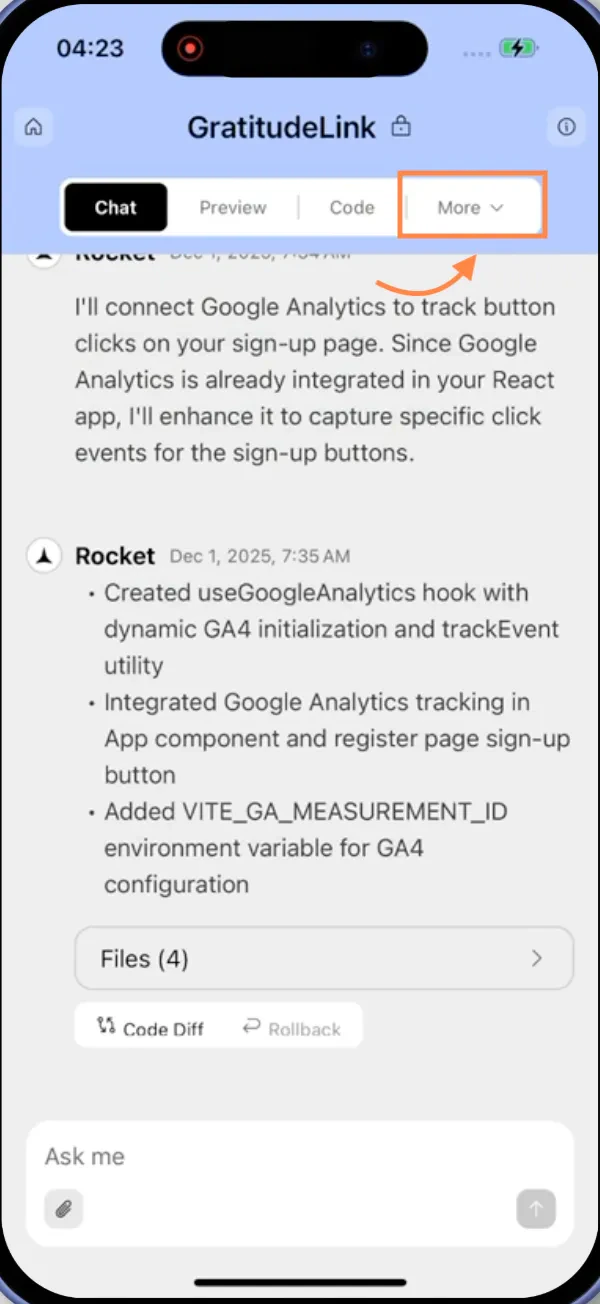
- Mobile App
Automatic setup (default)
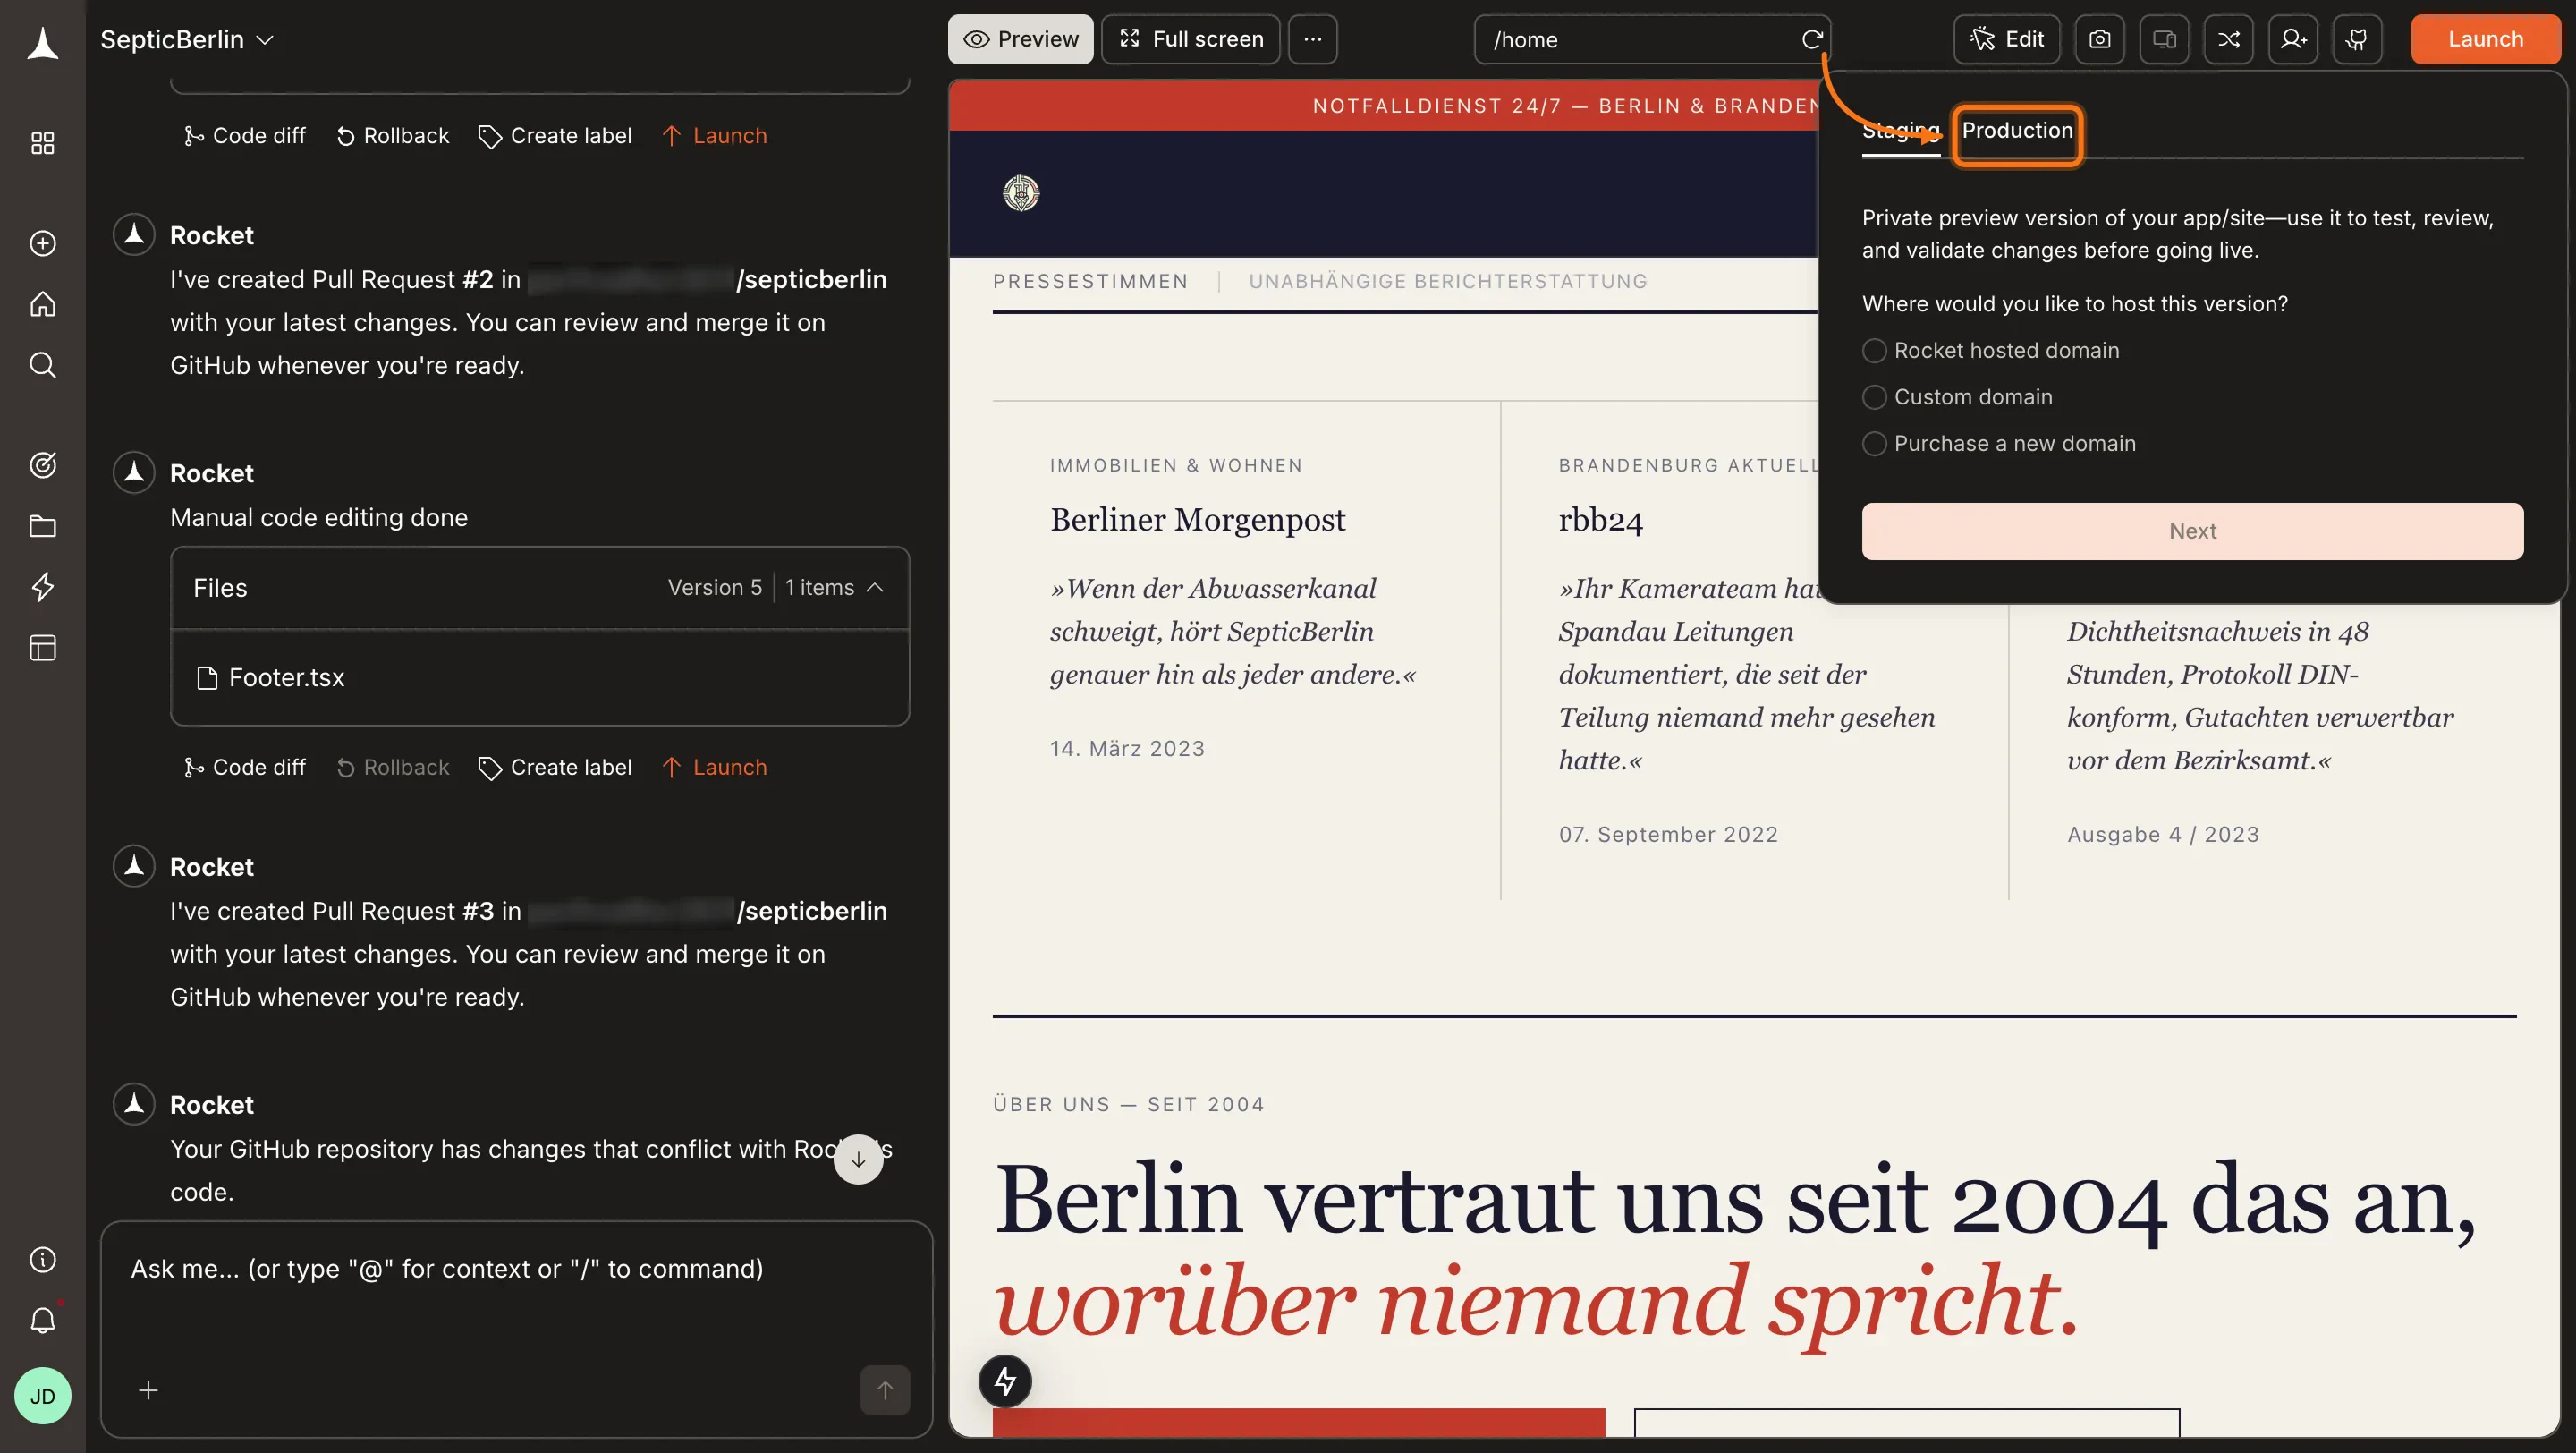
Rocket uses an automated flow to log in to your domain provider and configure DNS automatically with your permission. This works for supported providers.Open the Production tab in the Launch panel
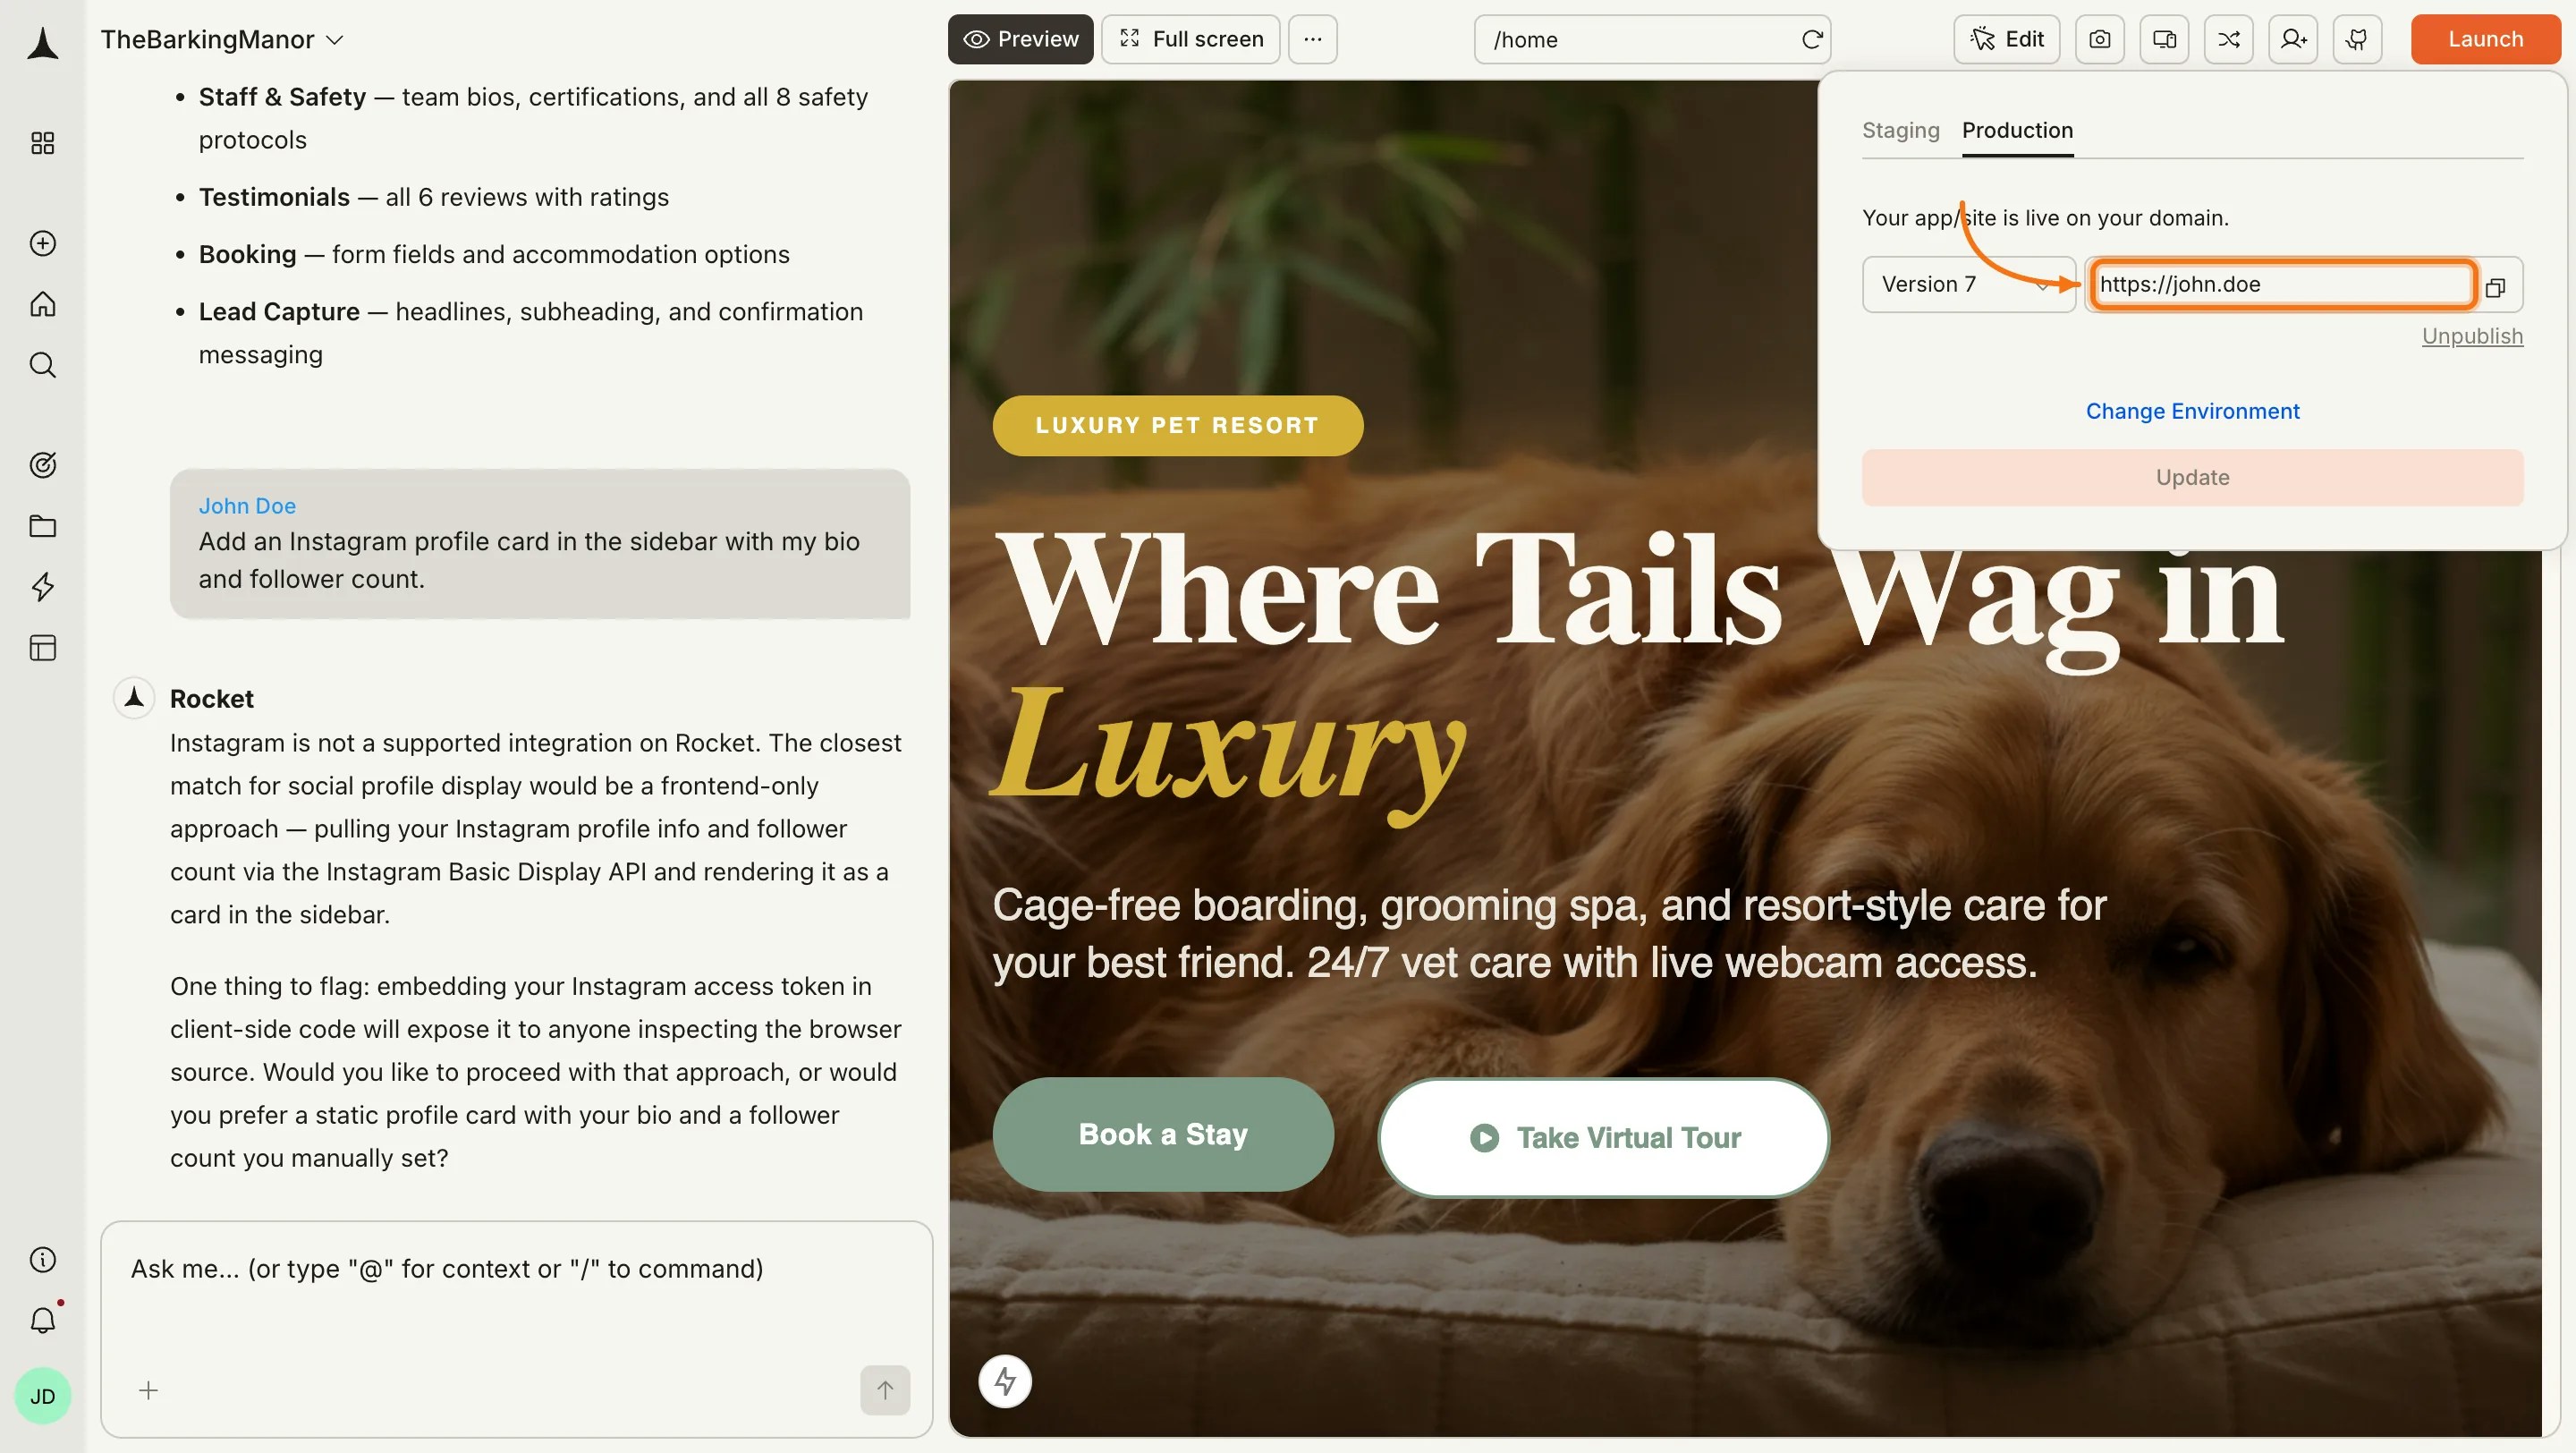
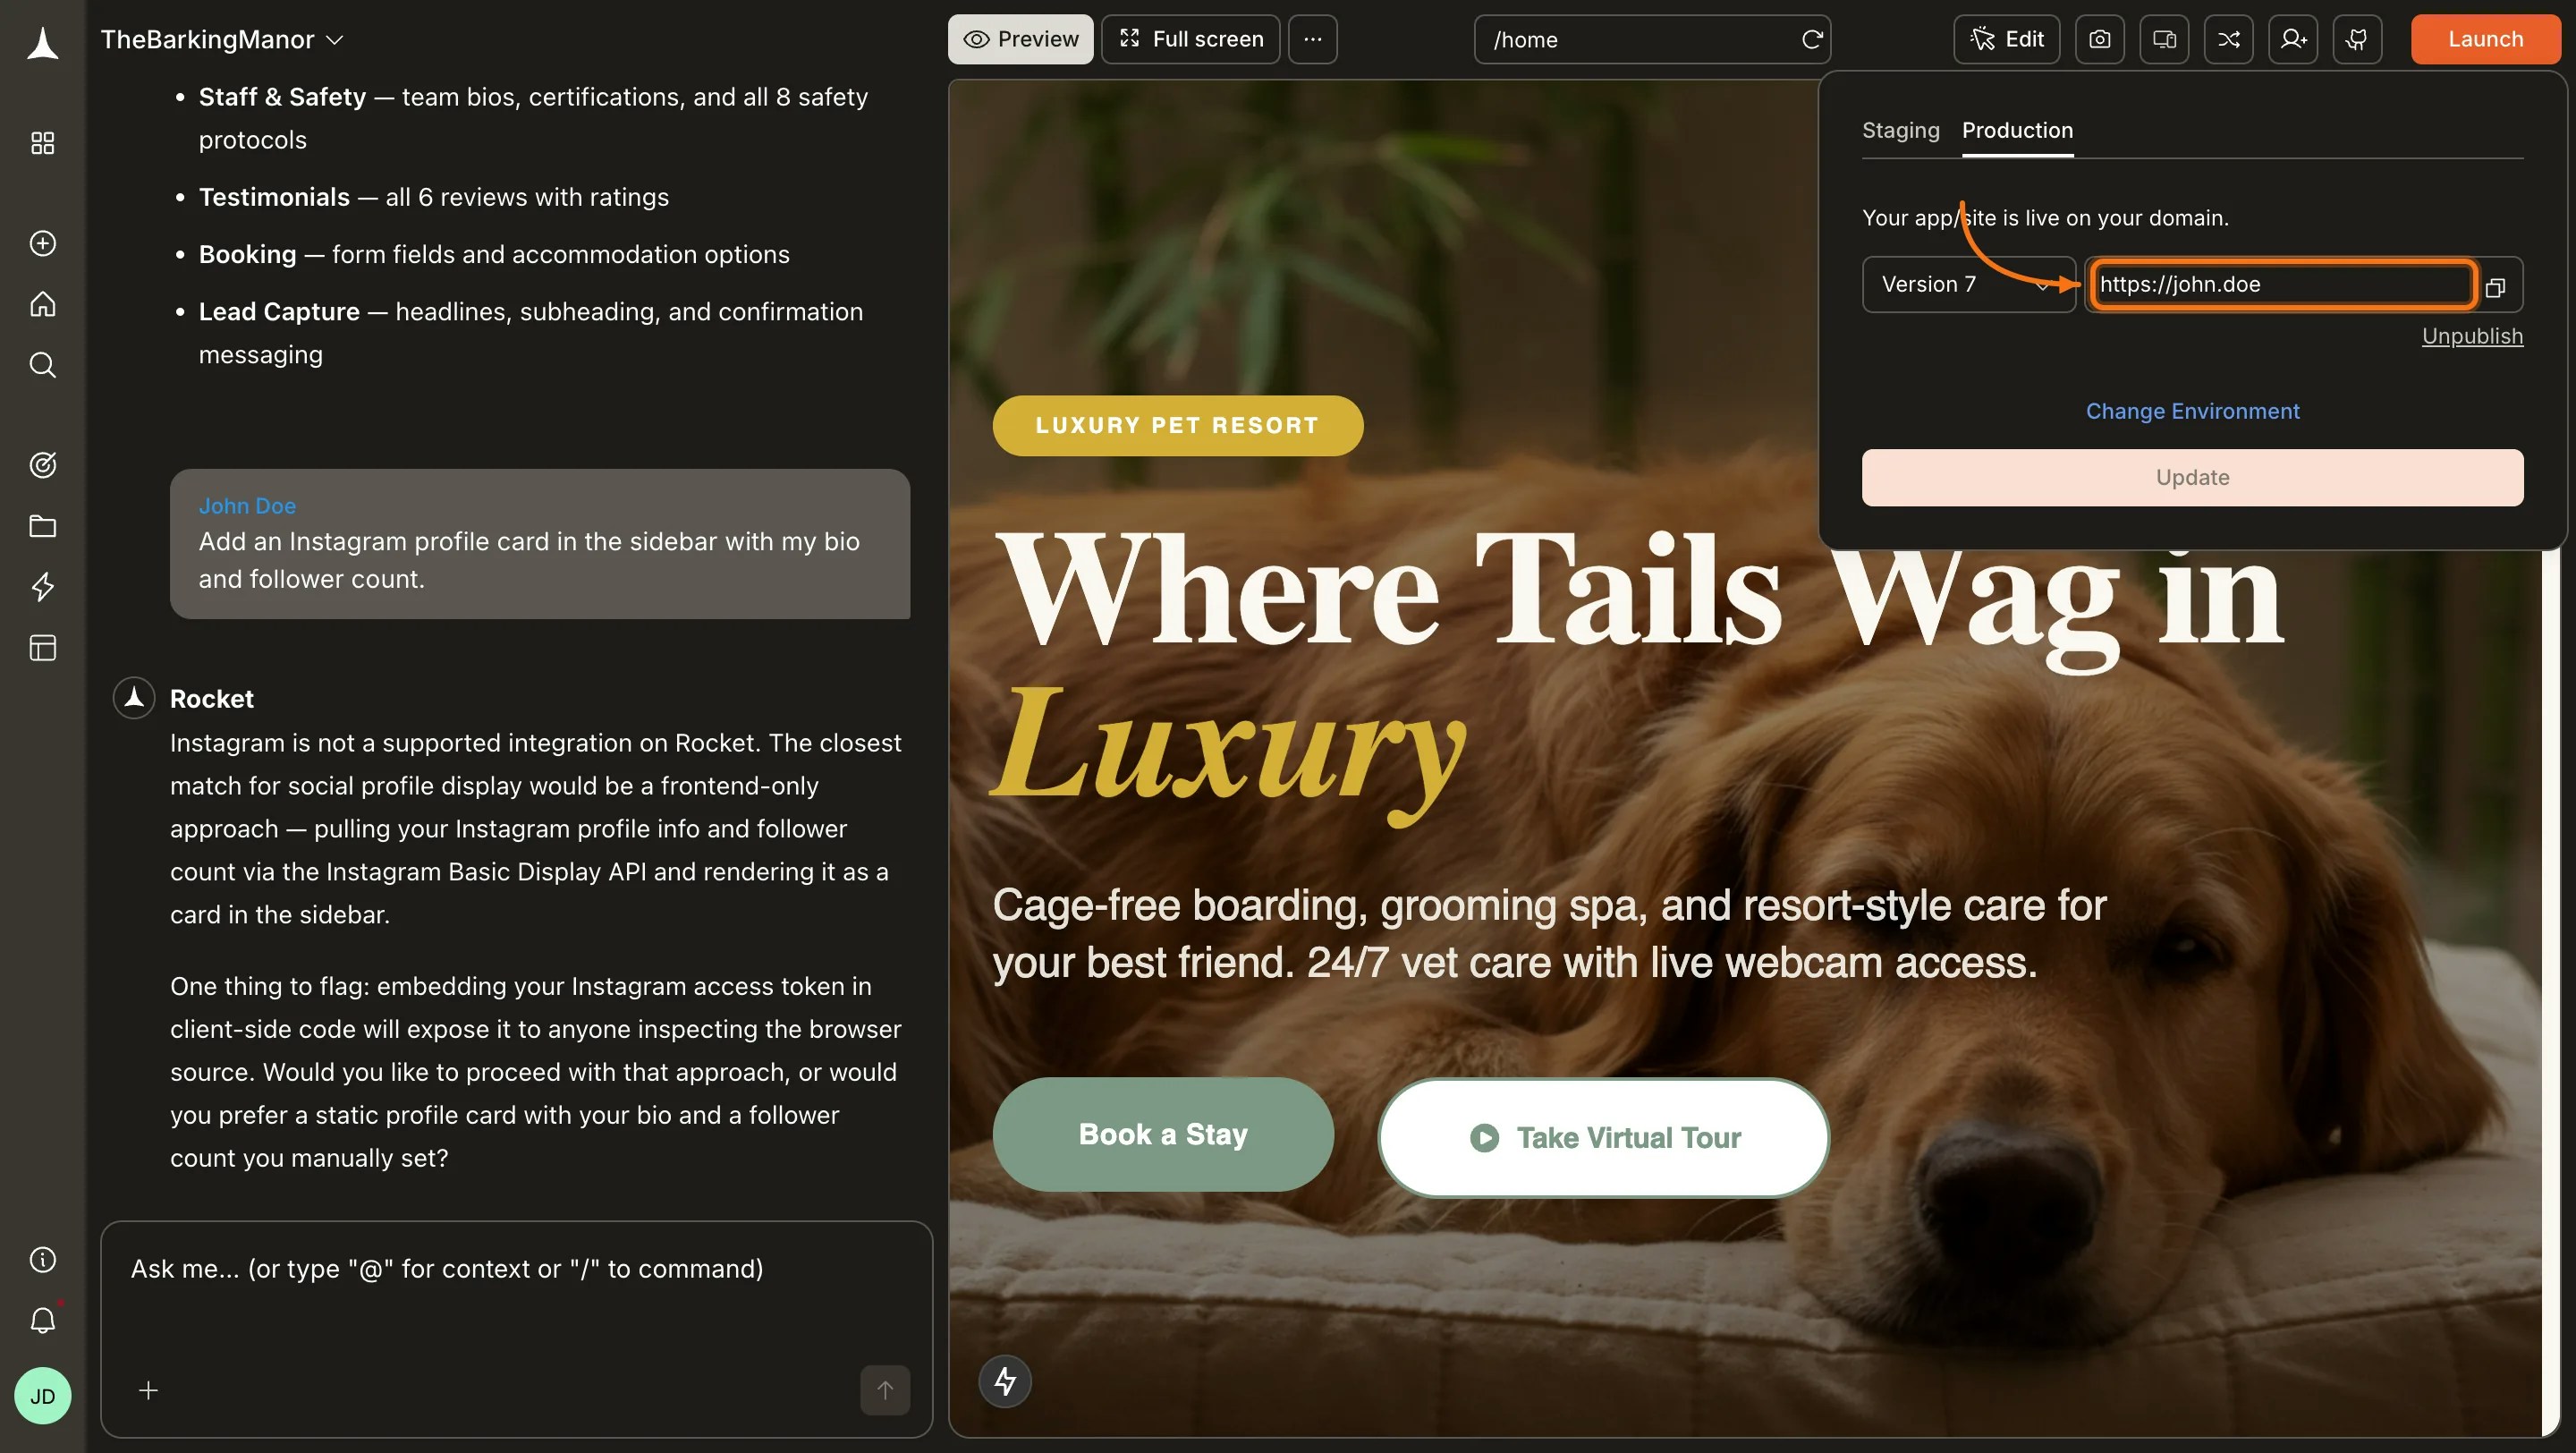
Click the Launch button in the top-right corner of your project, then click the Production tab.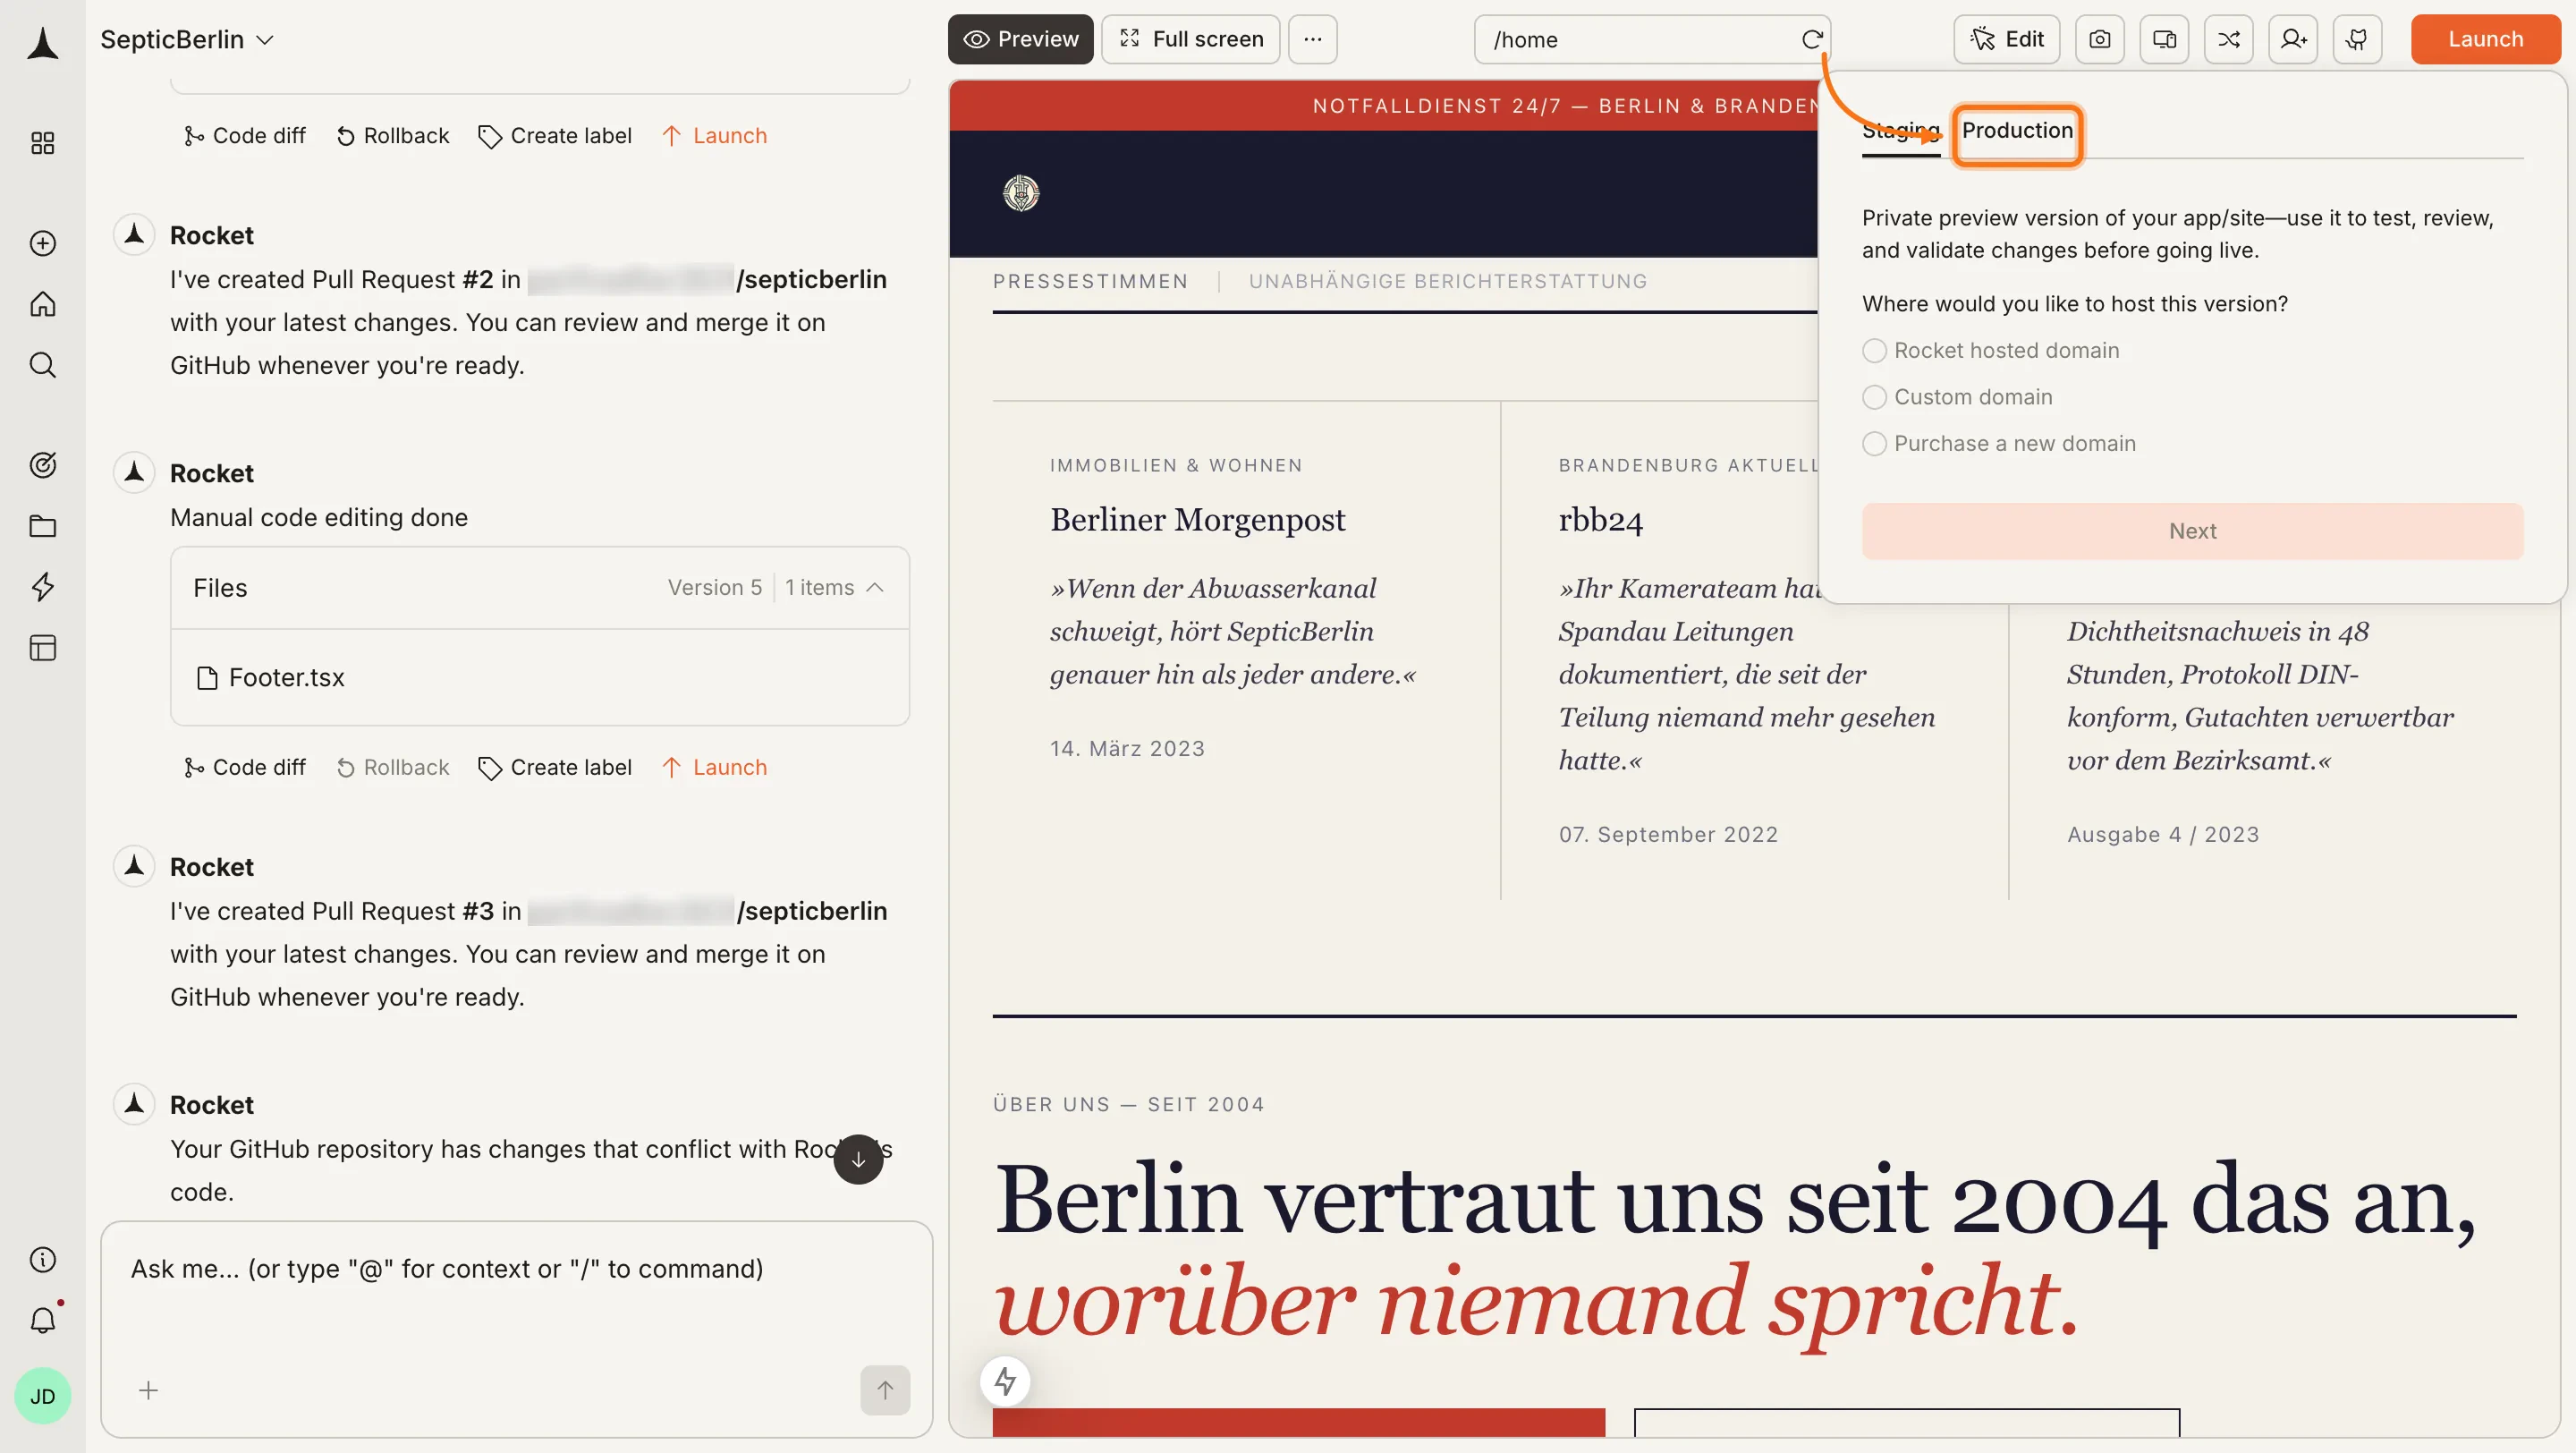
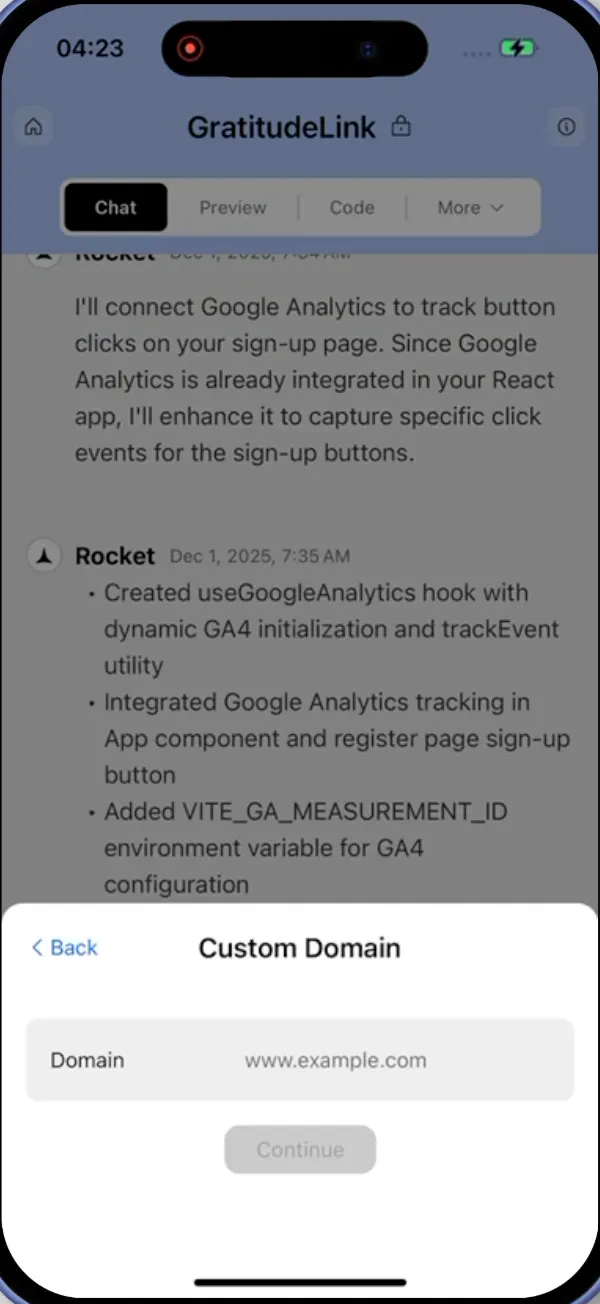
Select a version and enter your domain
Choose which version of your app to publish from the version dropdown. Once you select a version, type your domain in the Custom domain field (for example, 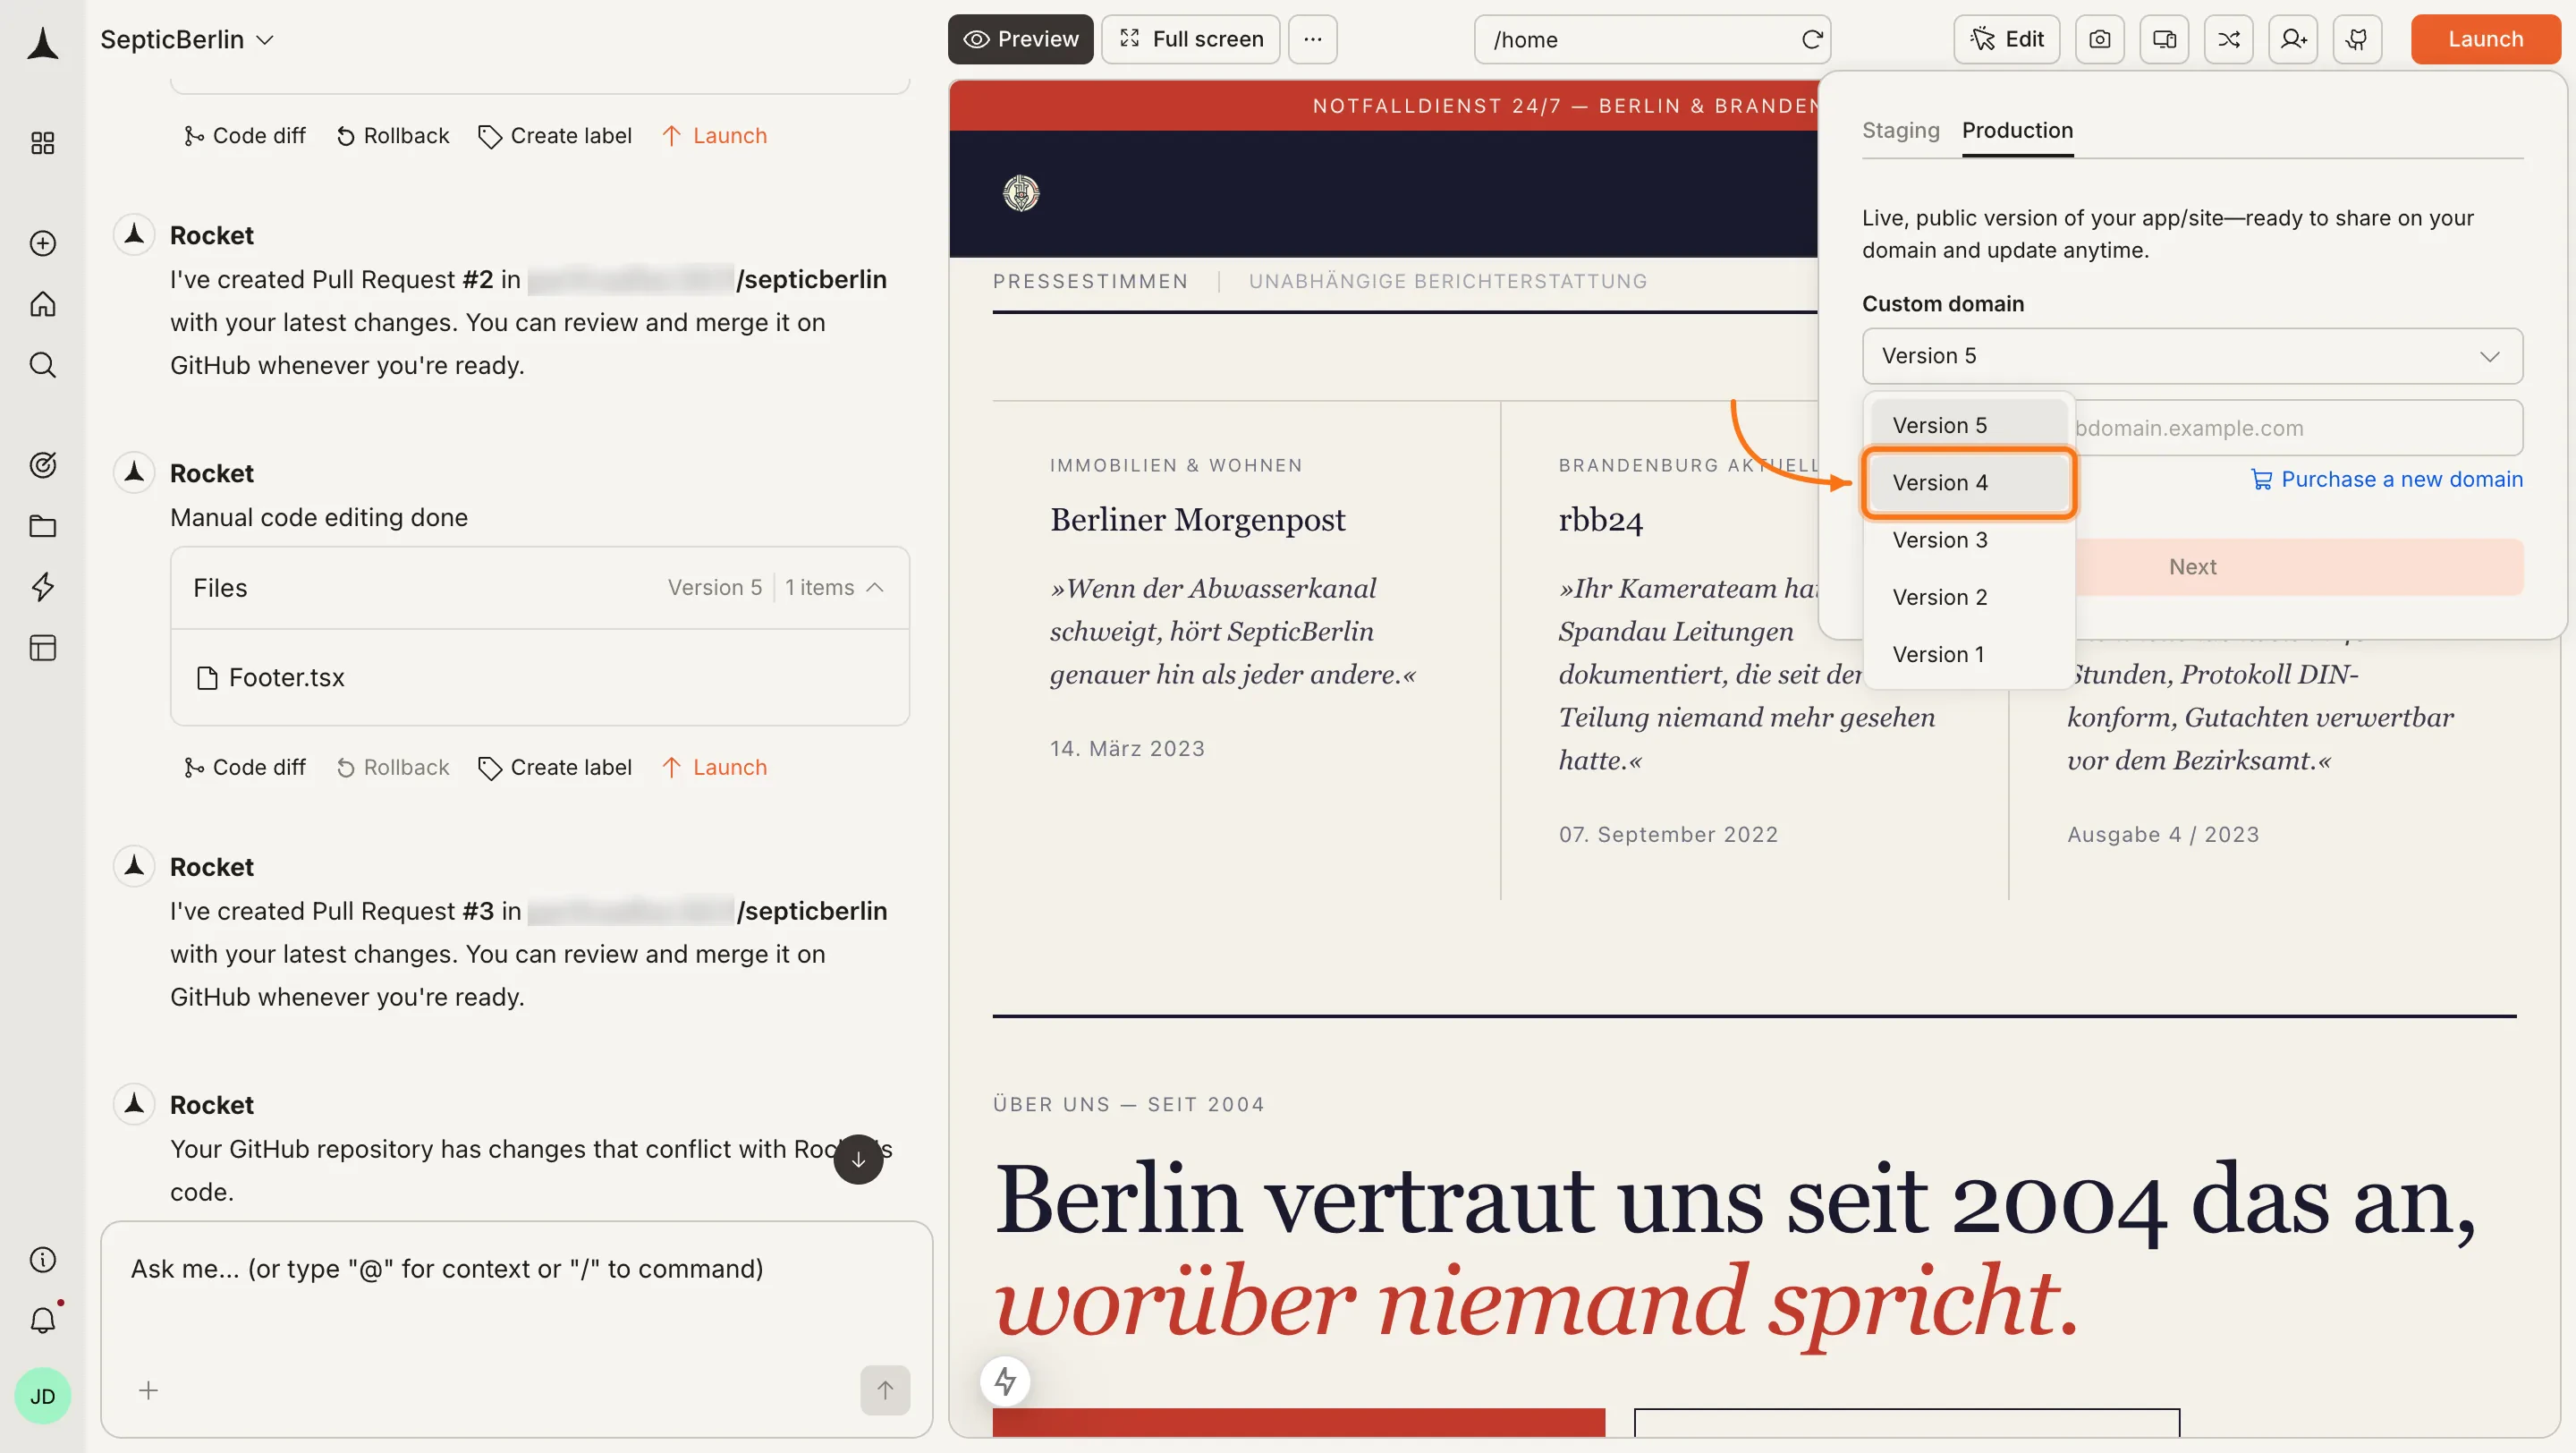


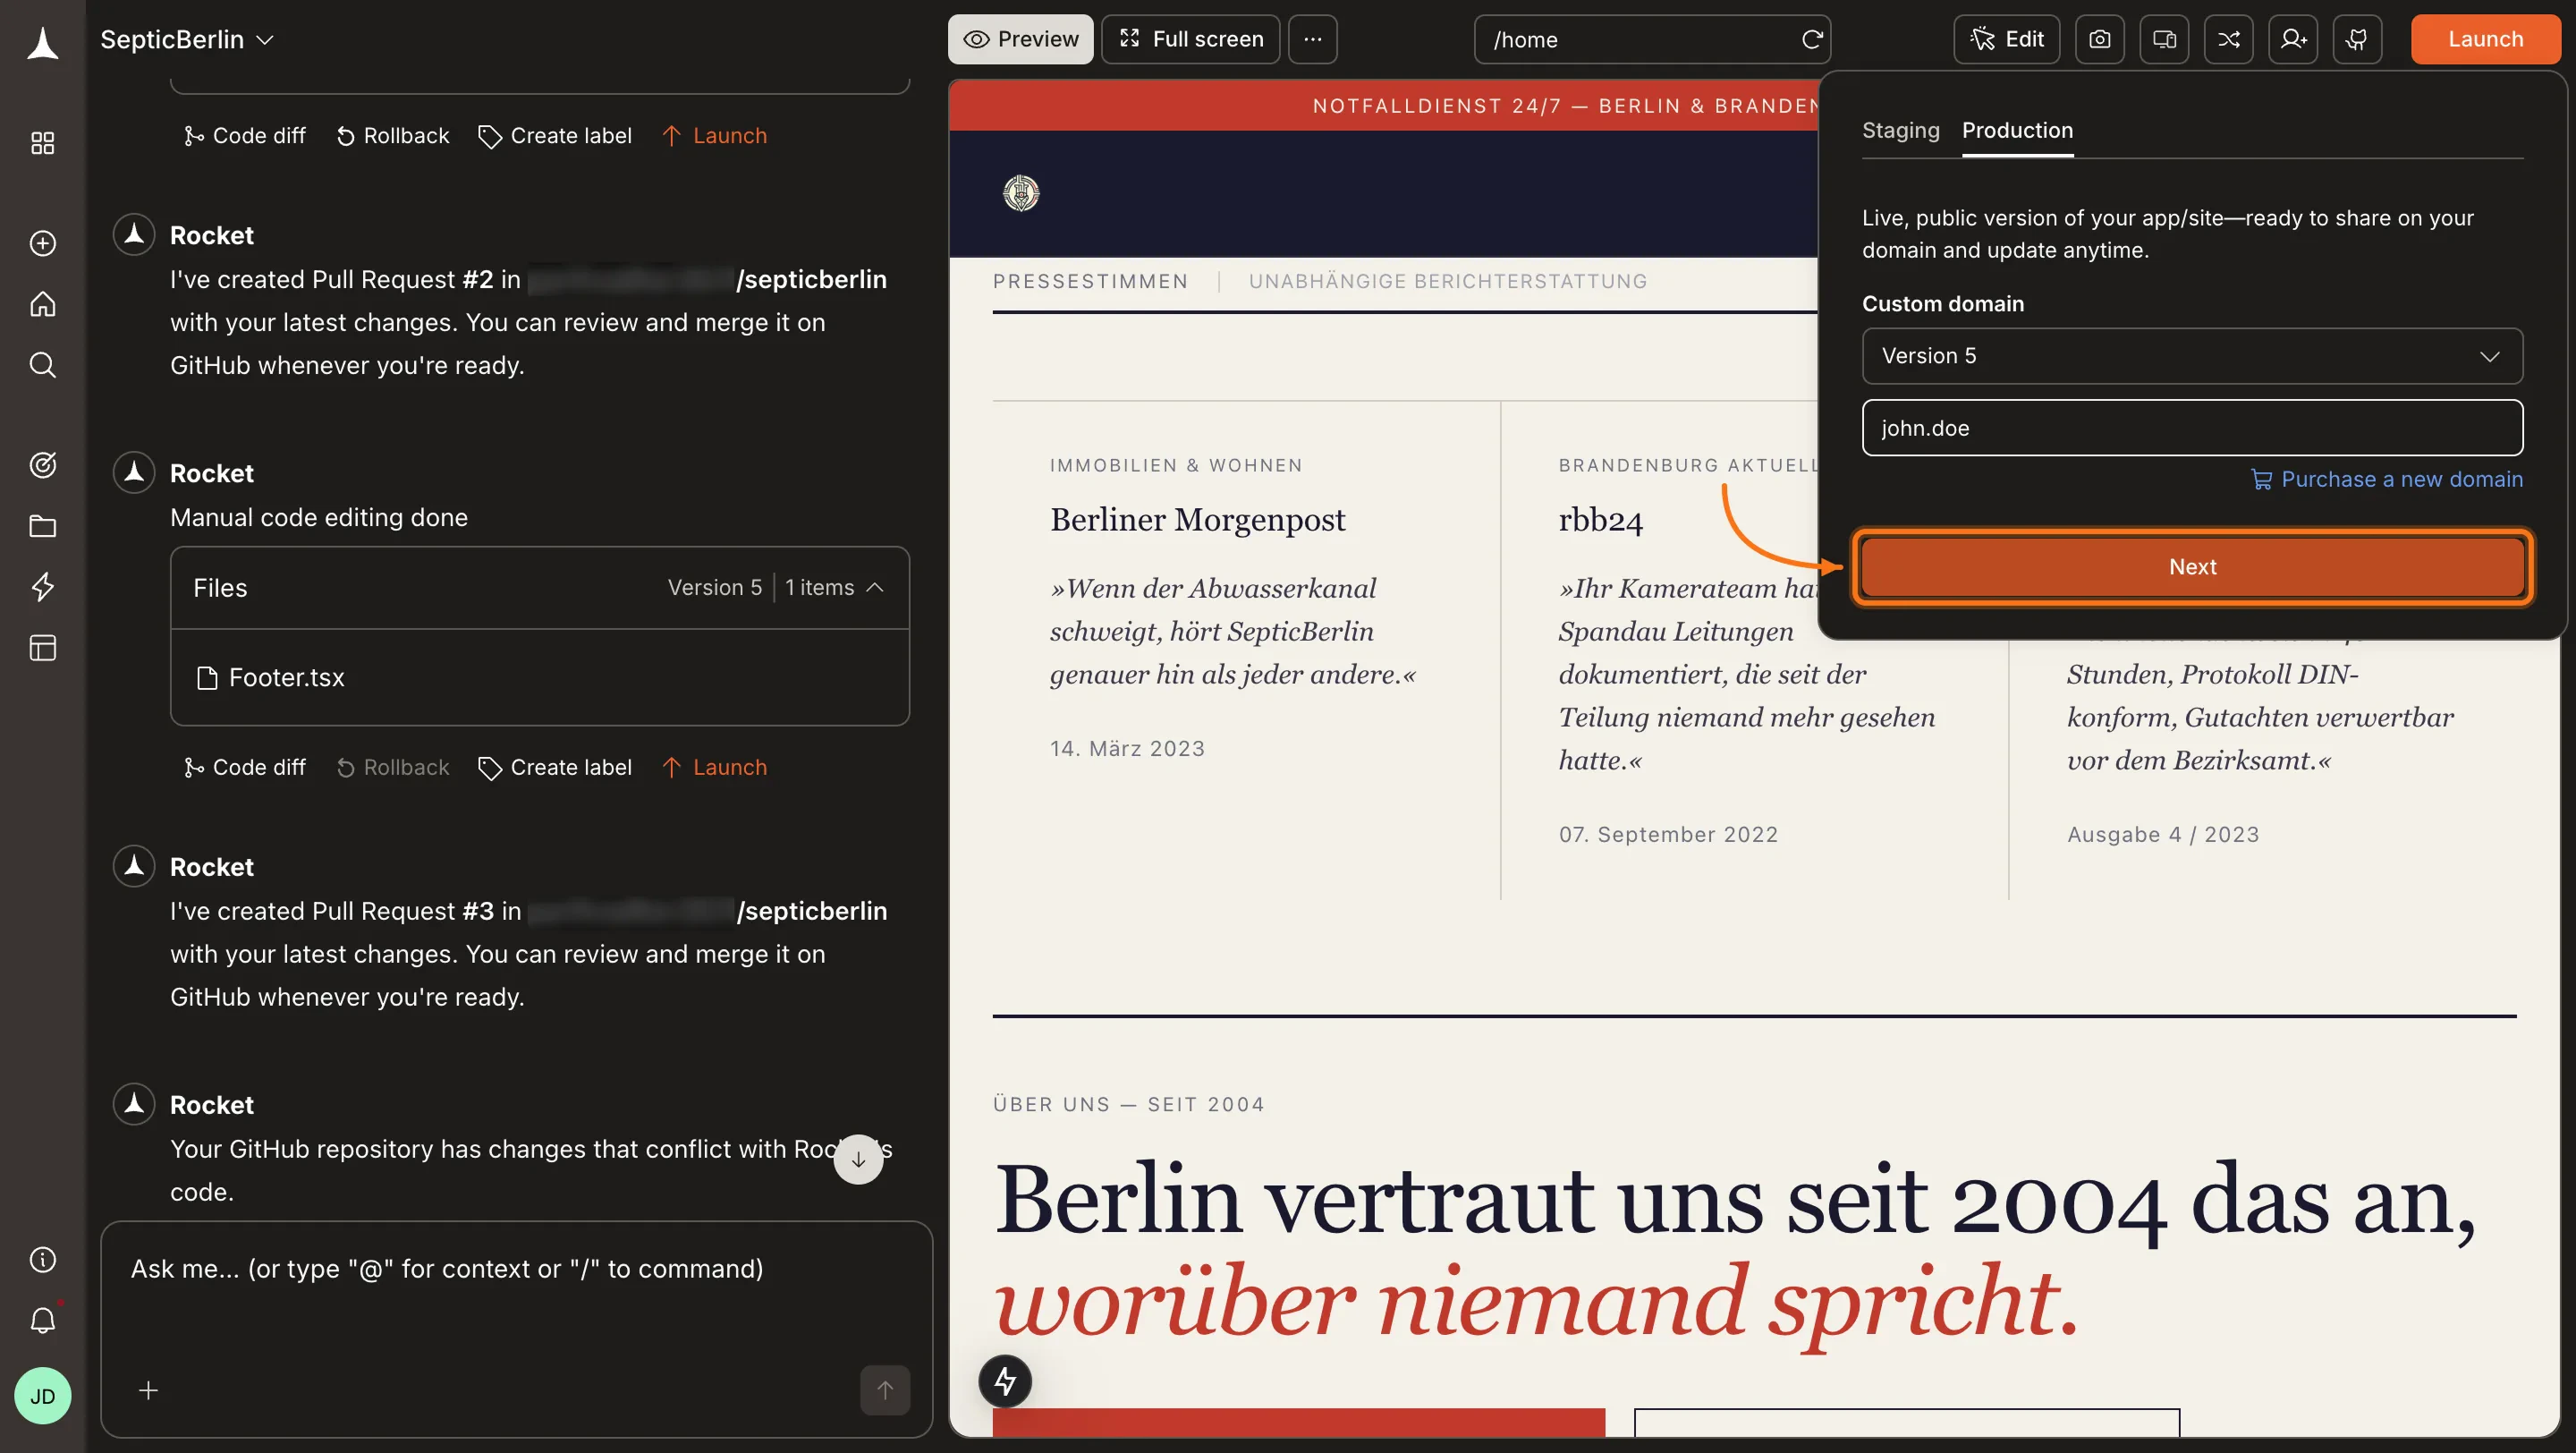
example.com) and click Next.Once you publish on a version, you can only move forward to newer versions. To go back to an earlier version, you need to unpublish and publish again from that version.
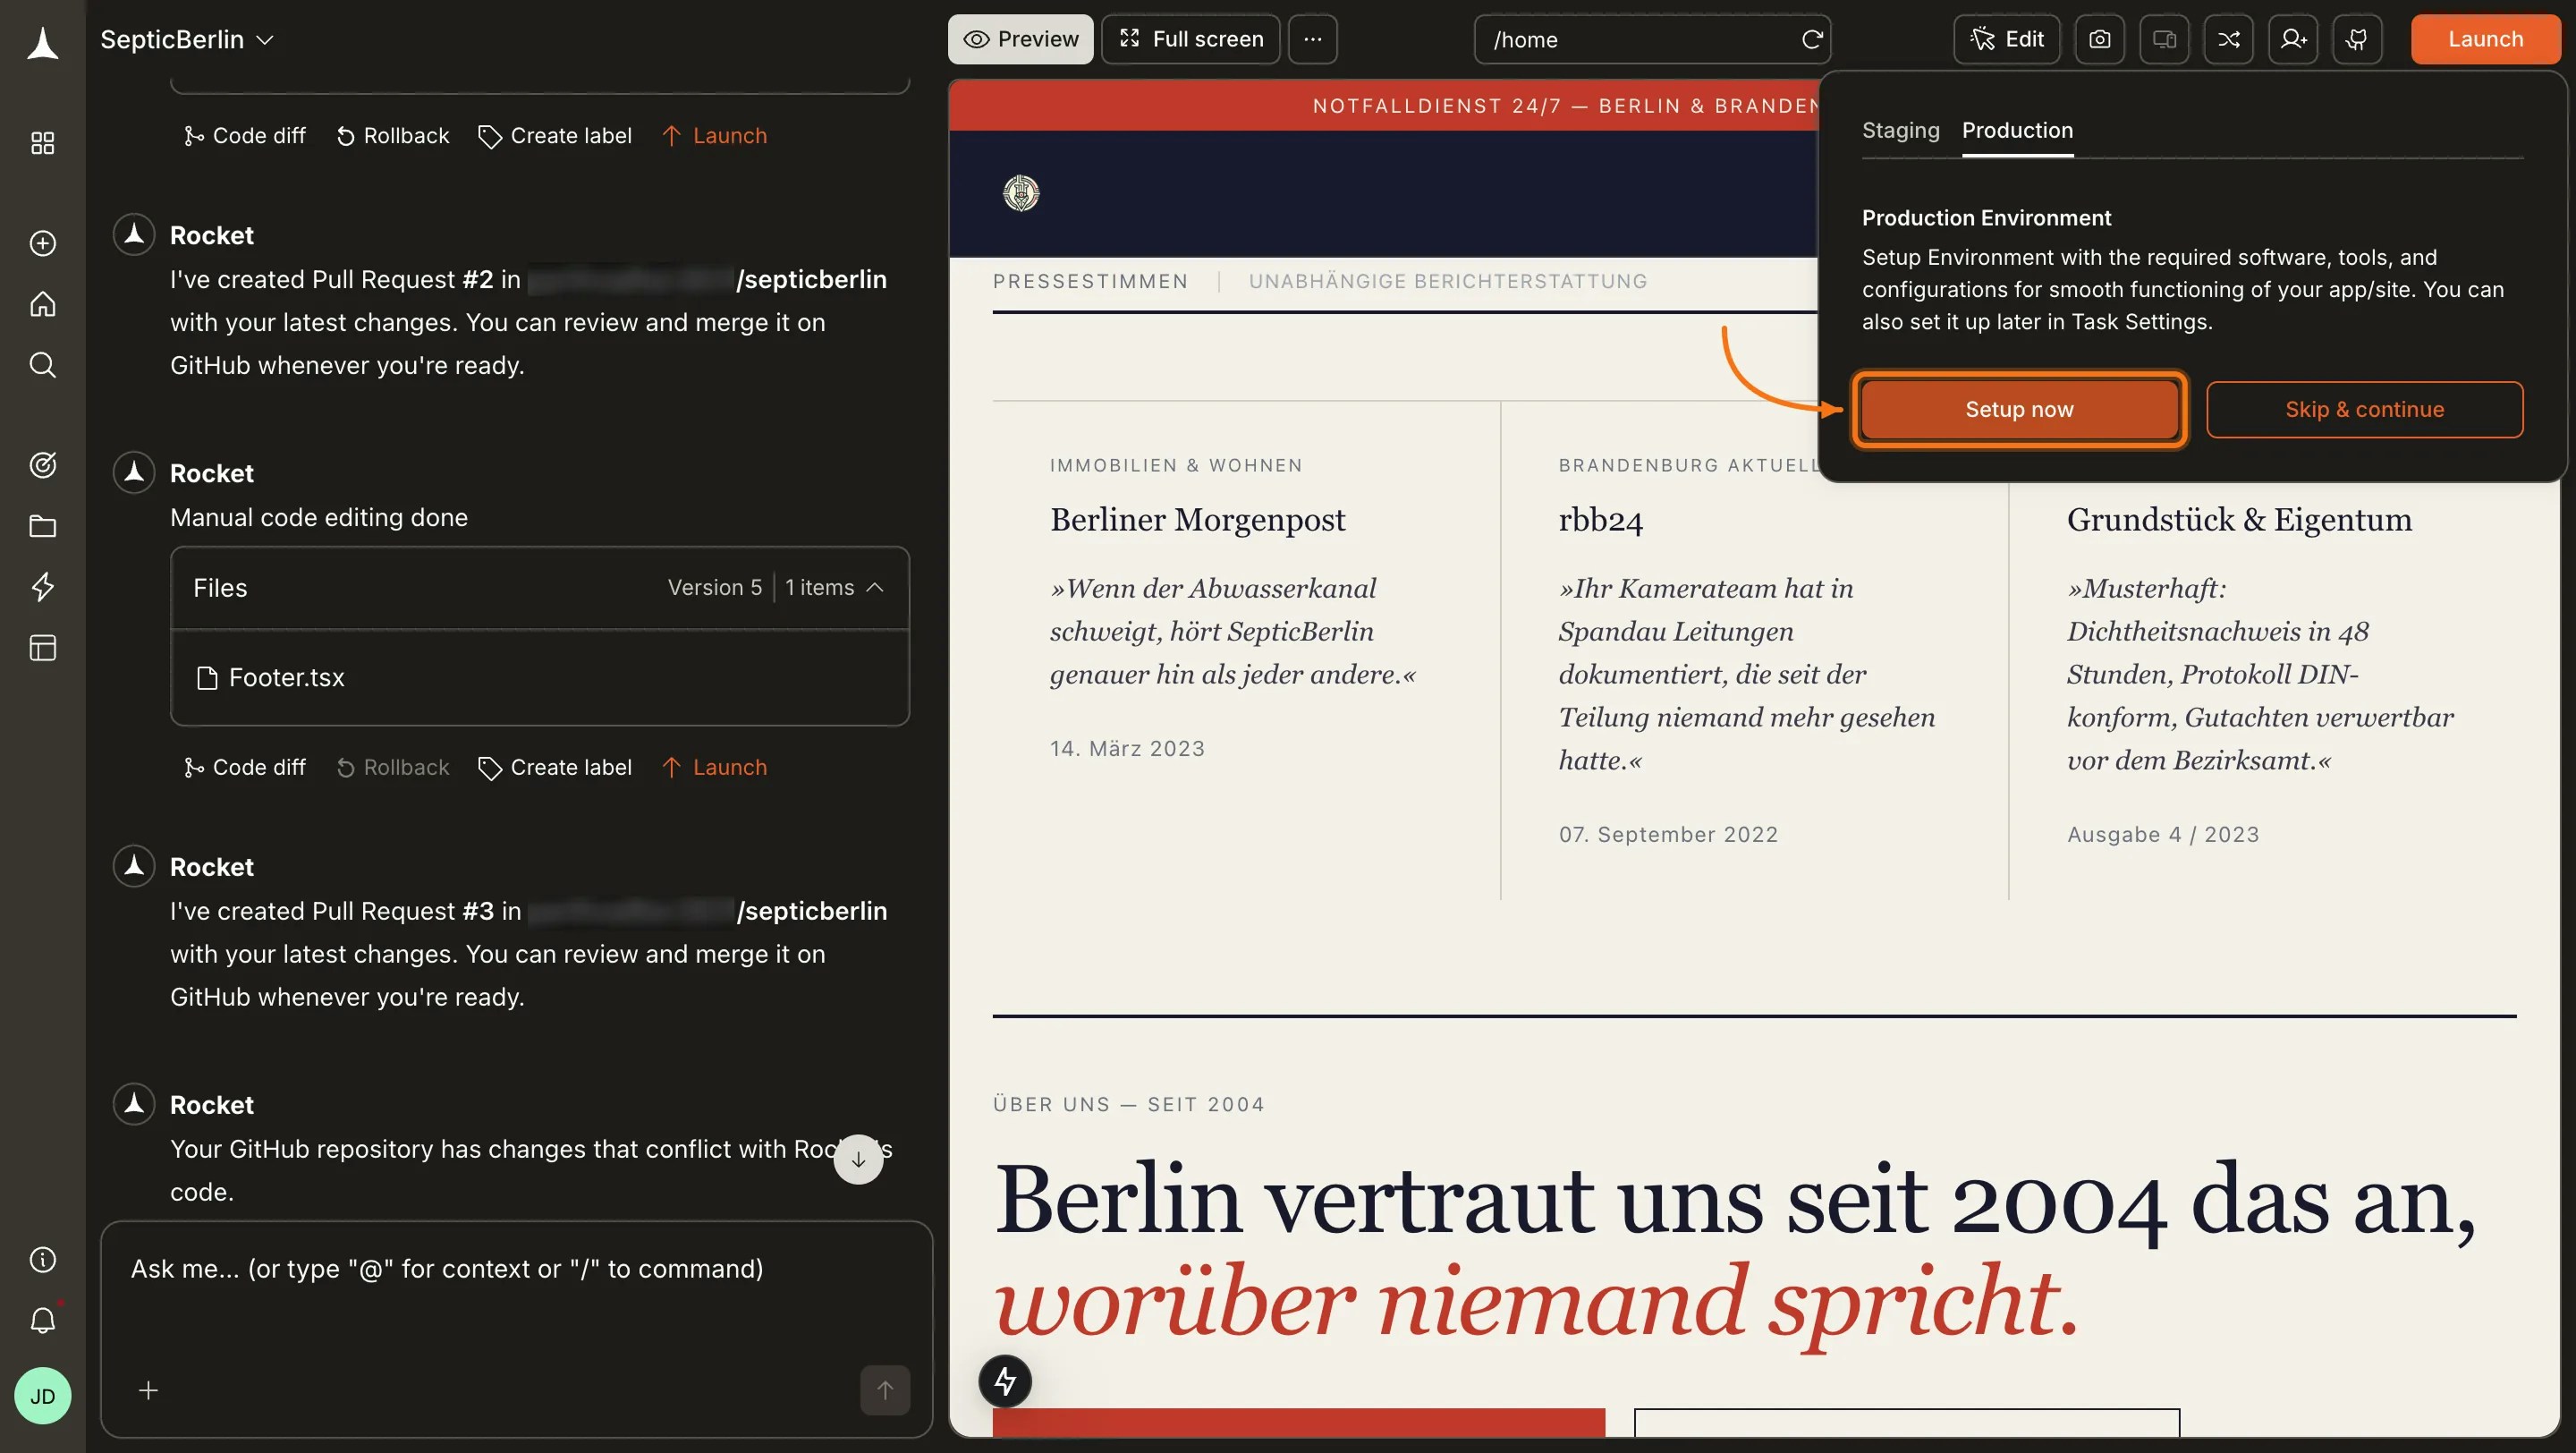
Set up the Production Environment
Rocket prompts you to configure your Production Environment. Click Setup now to add any required environment variables. If you have no environment variables to add, click Skip & continue.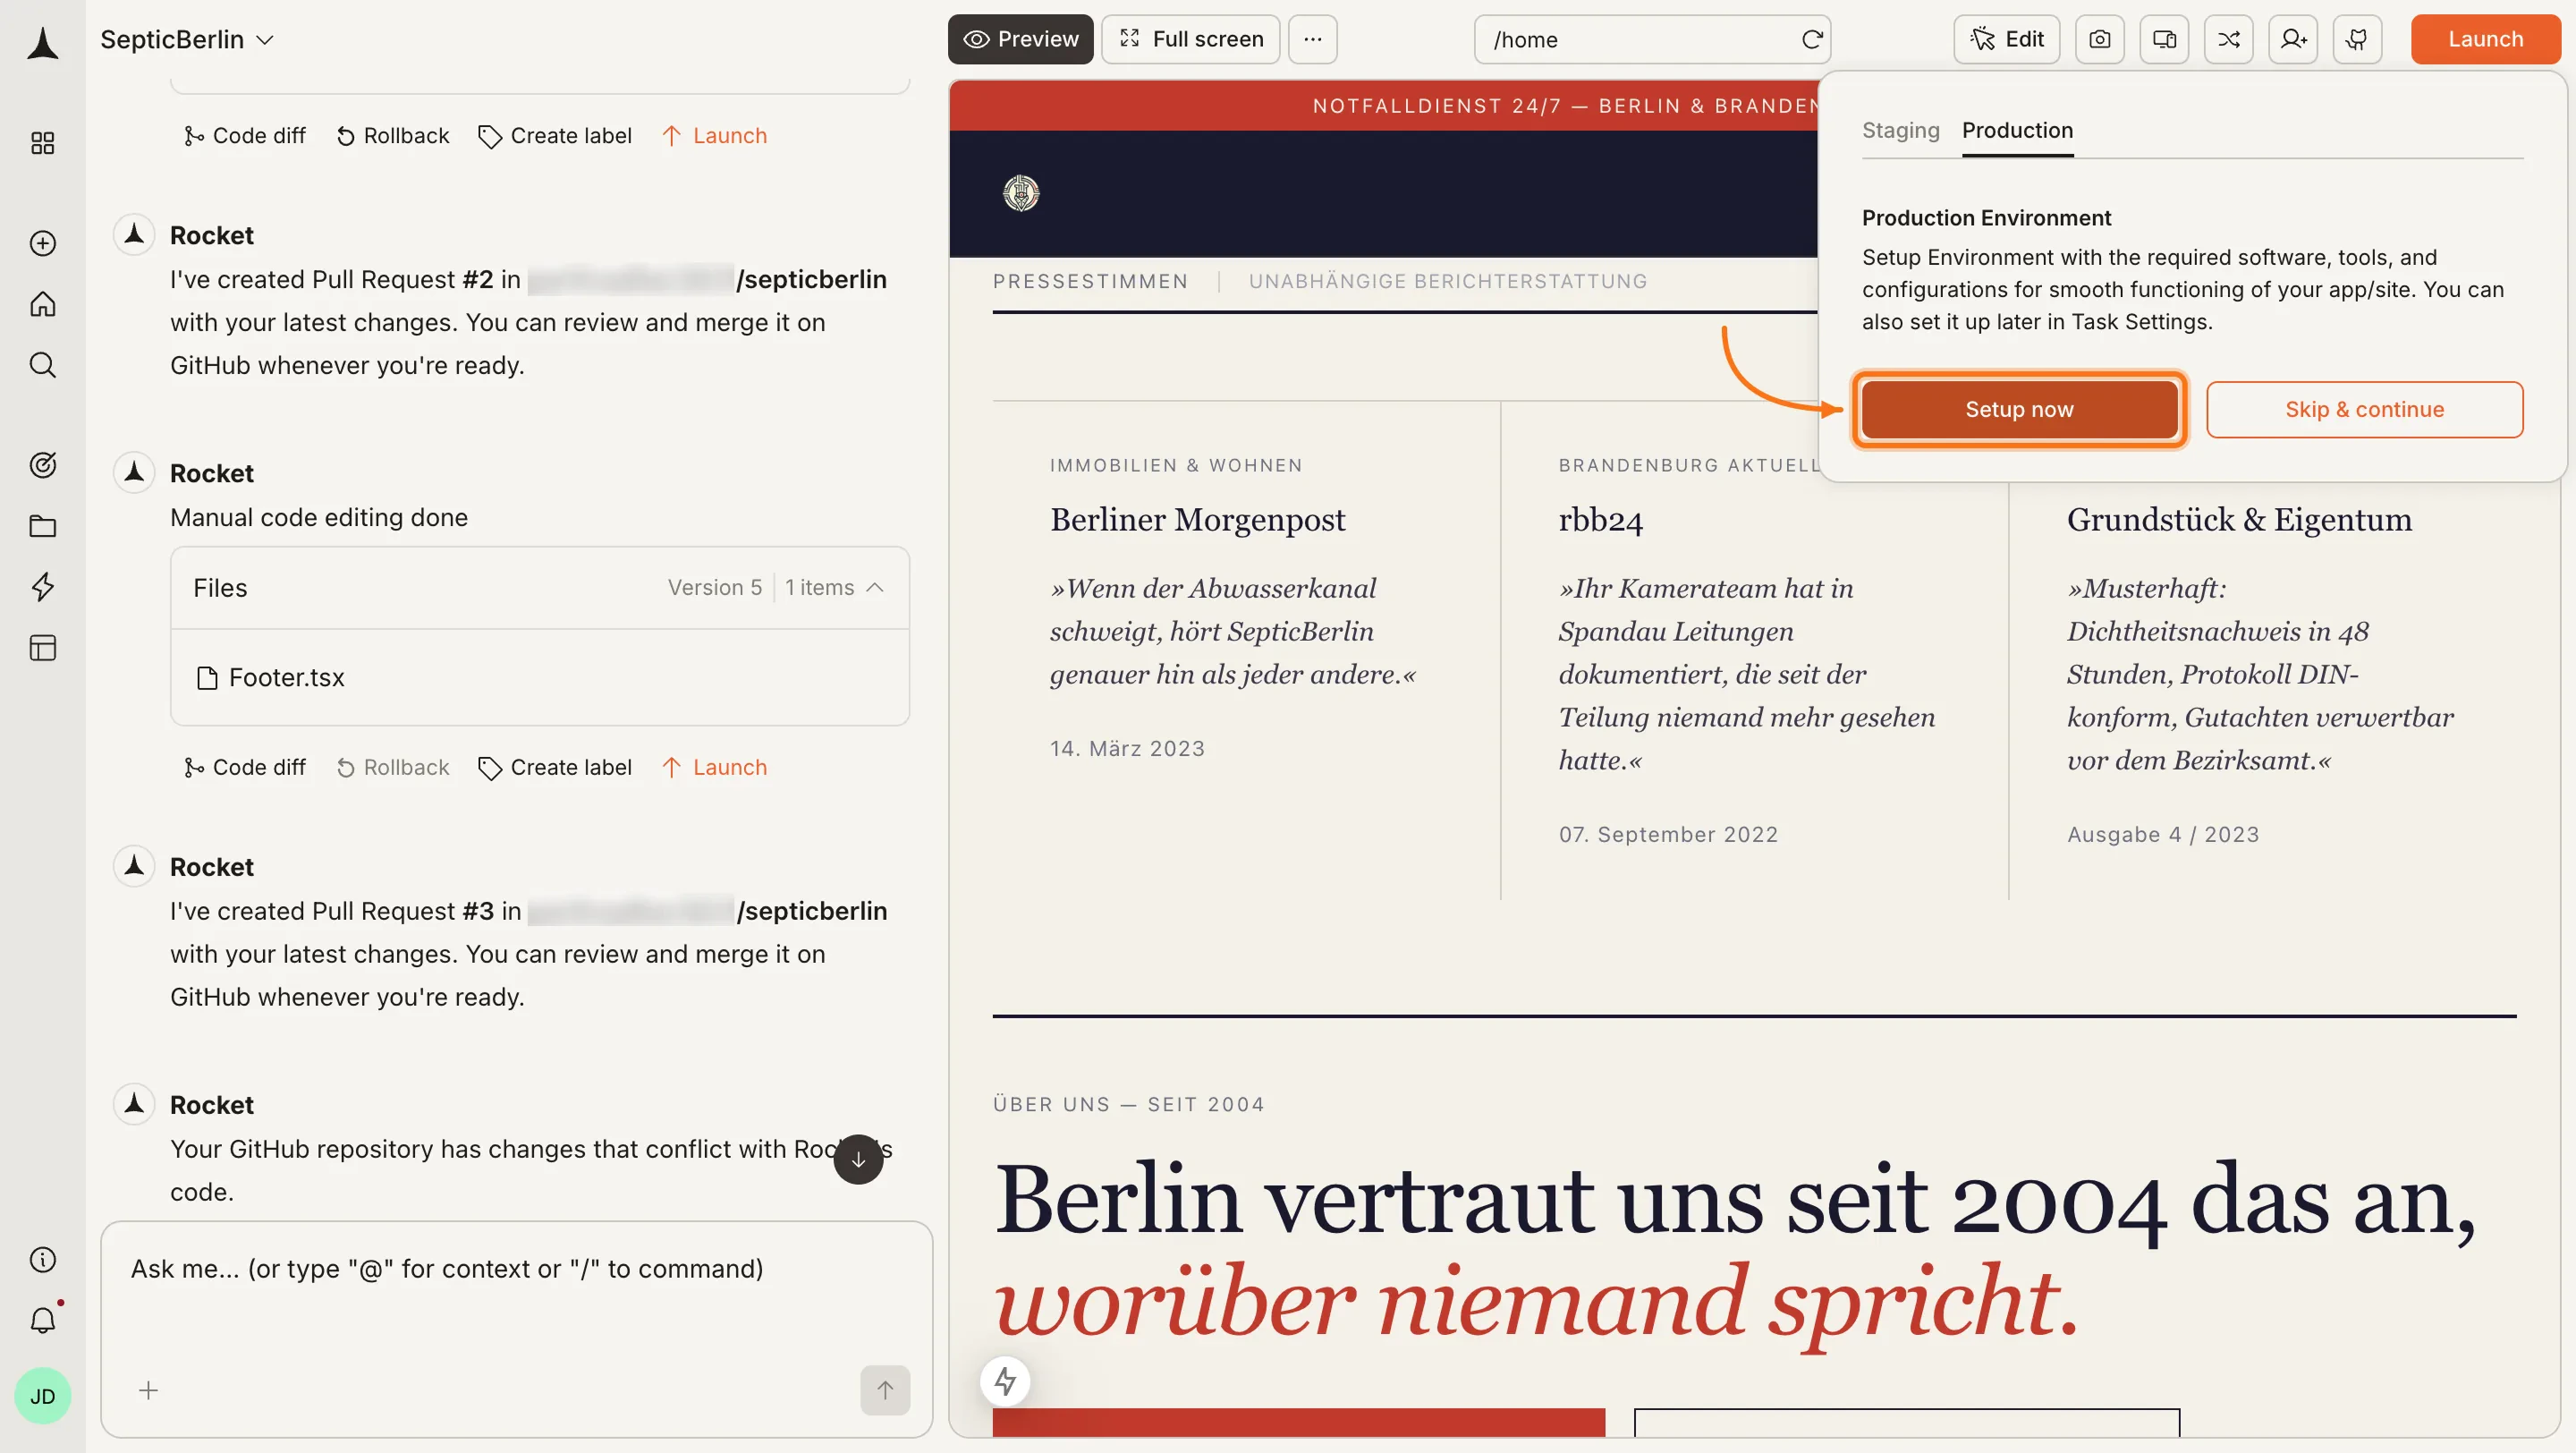
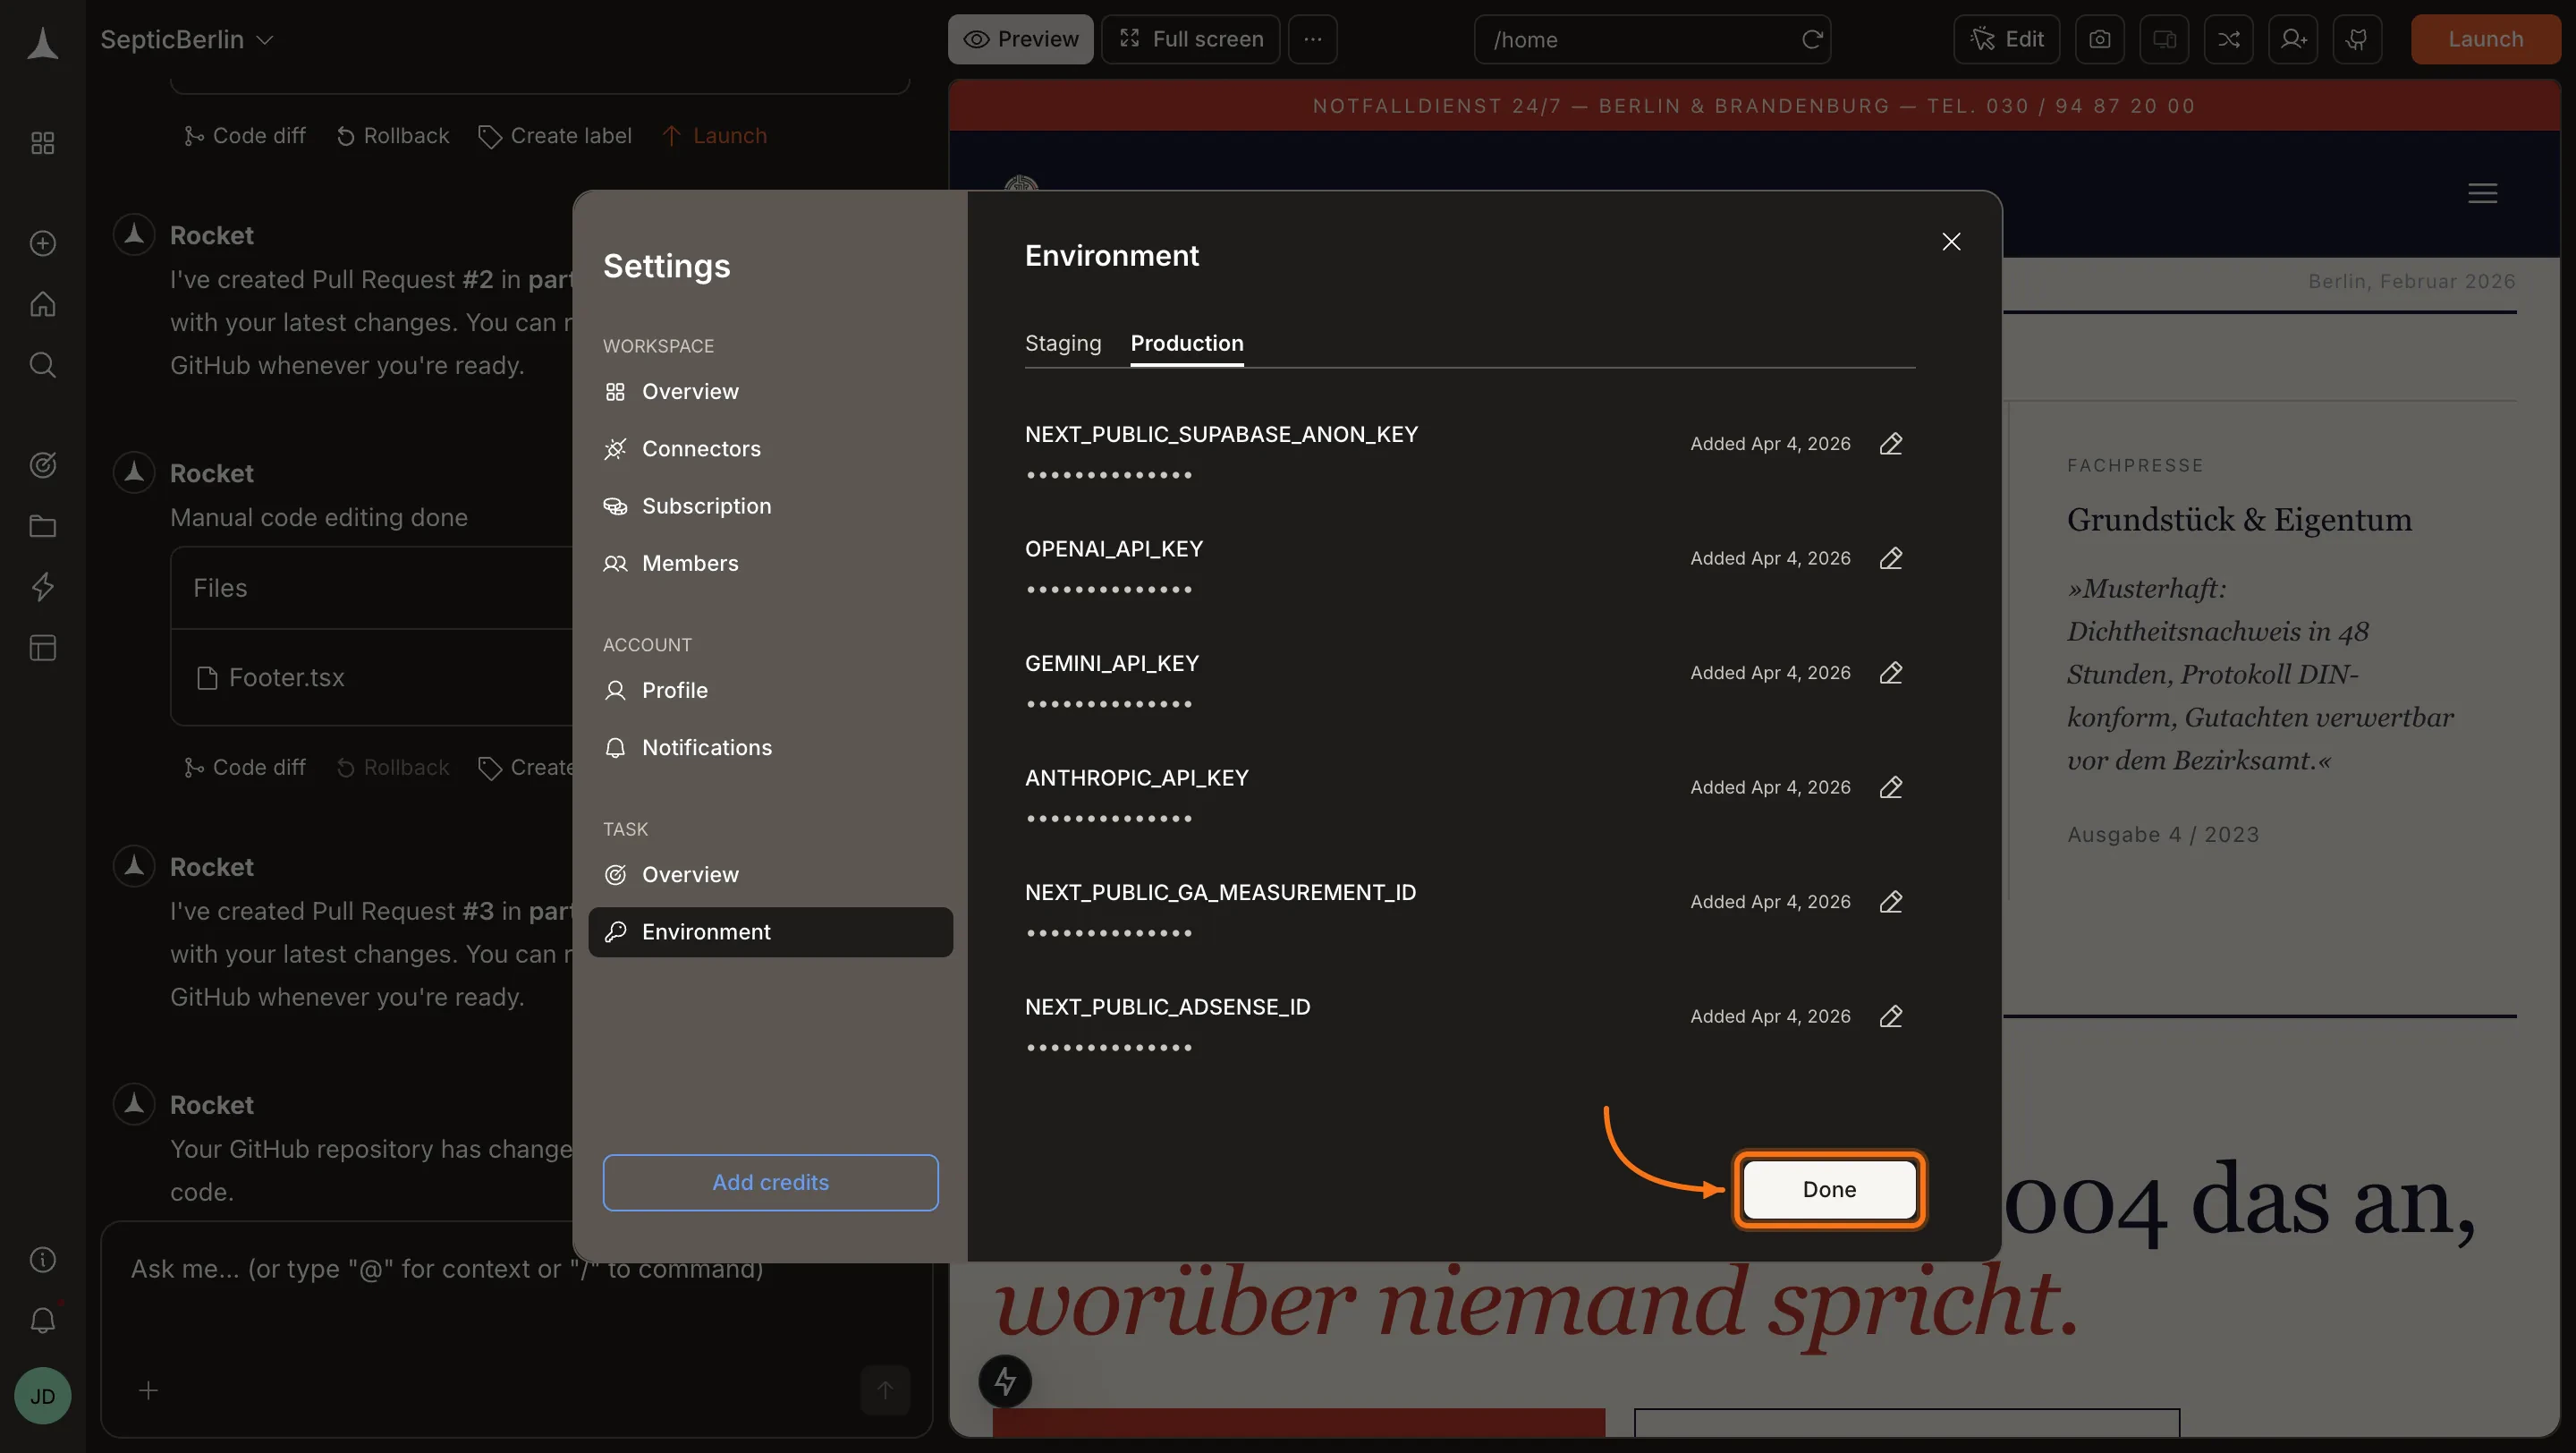
Add environment variables and click Done
Add your required environment variables in the Production environment settings, then click Done to continue.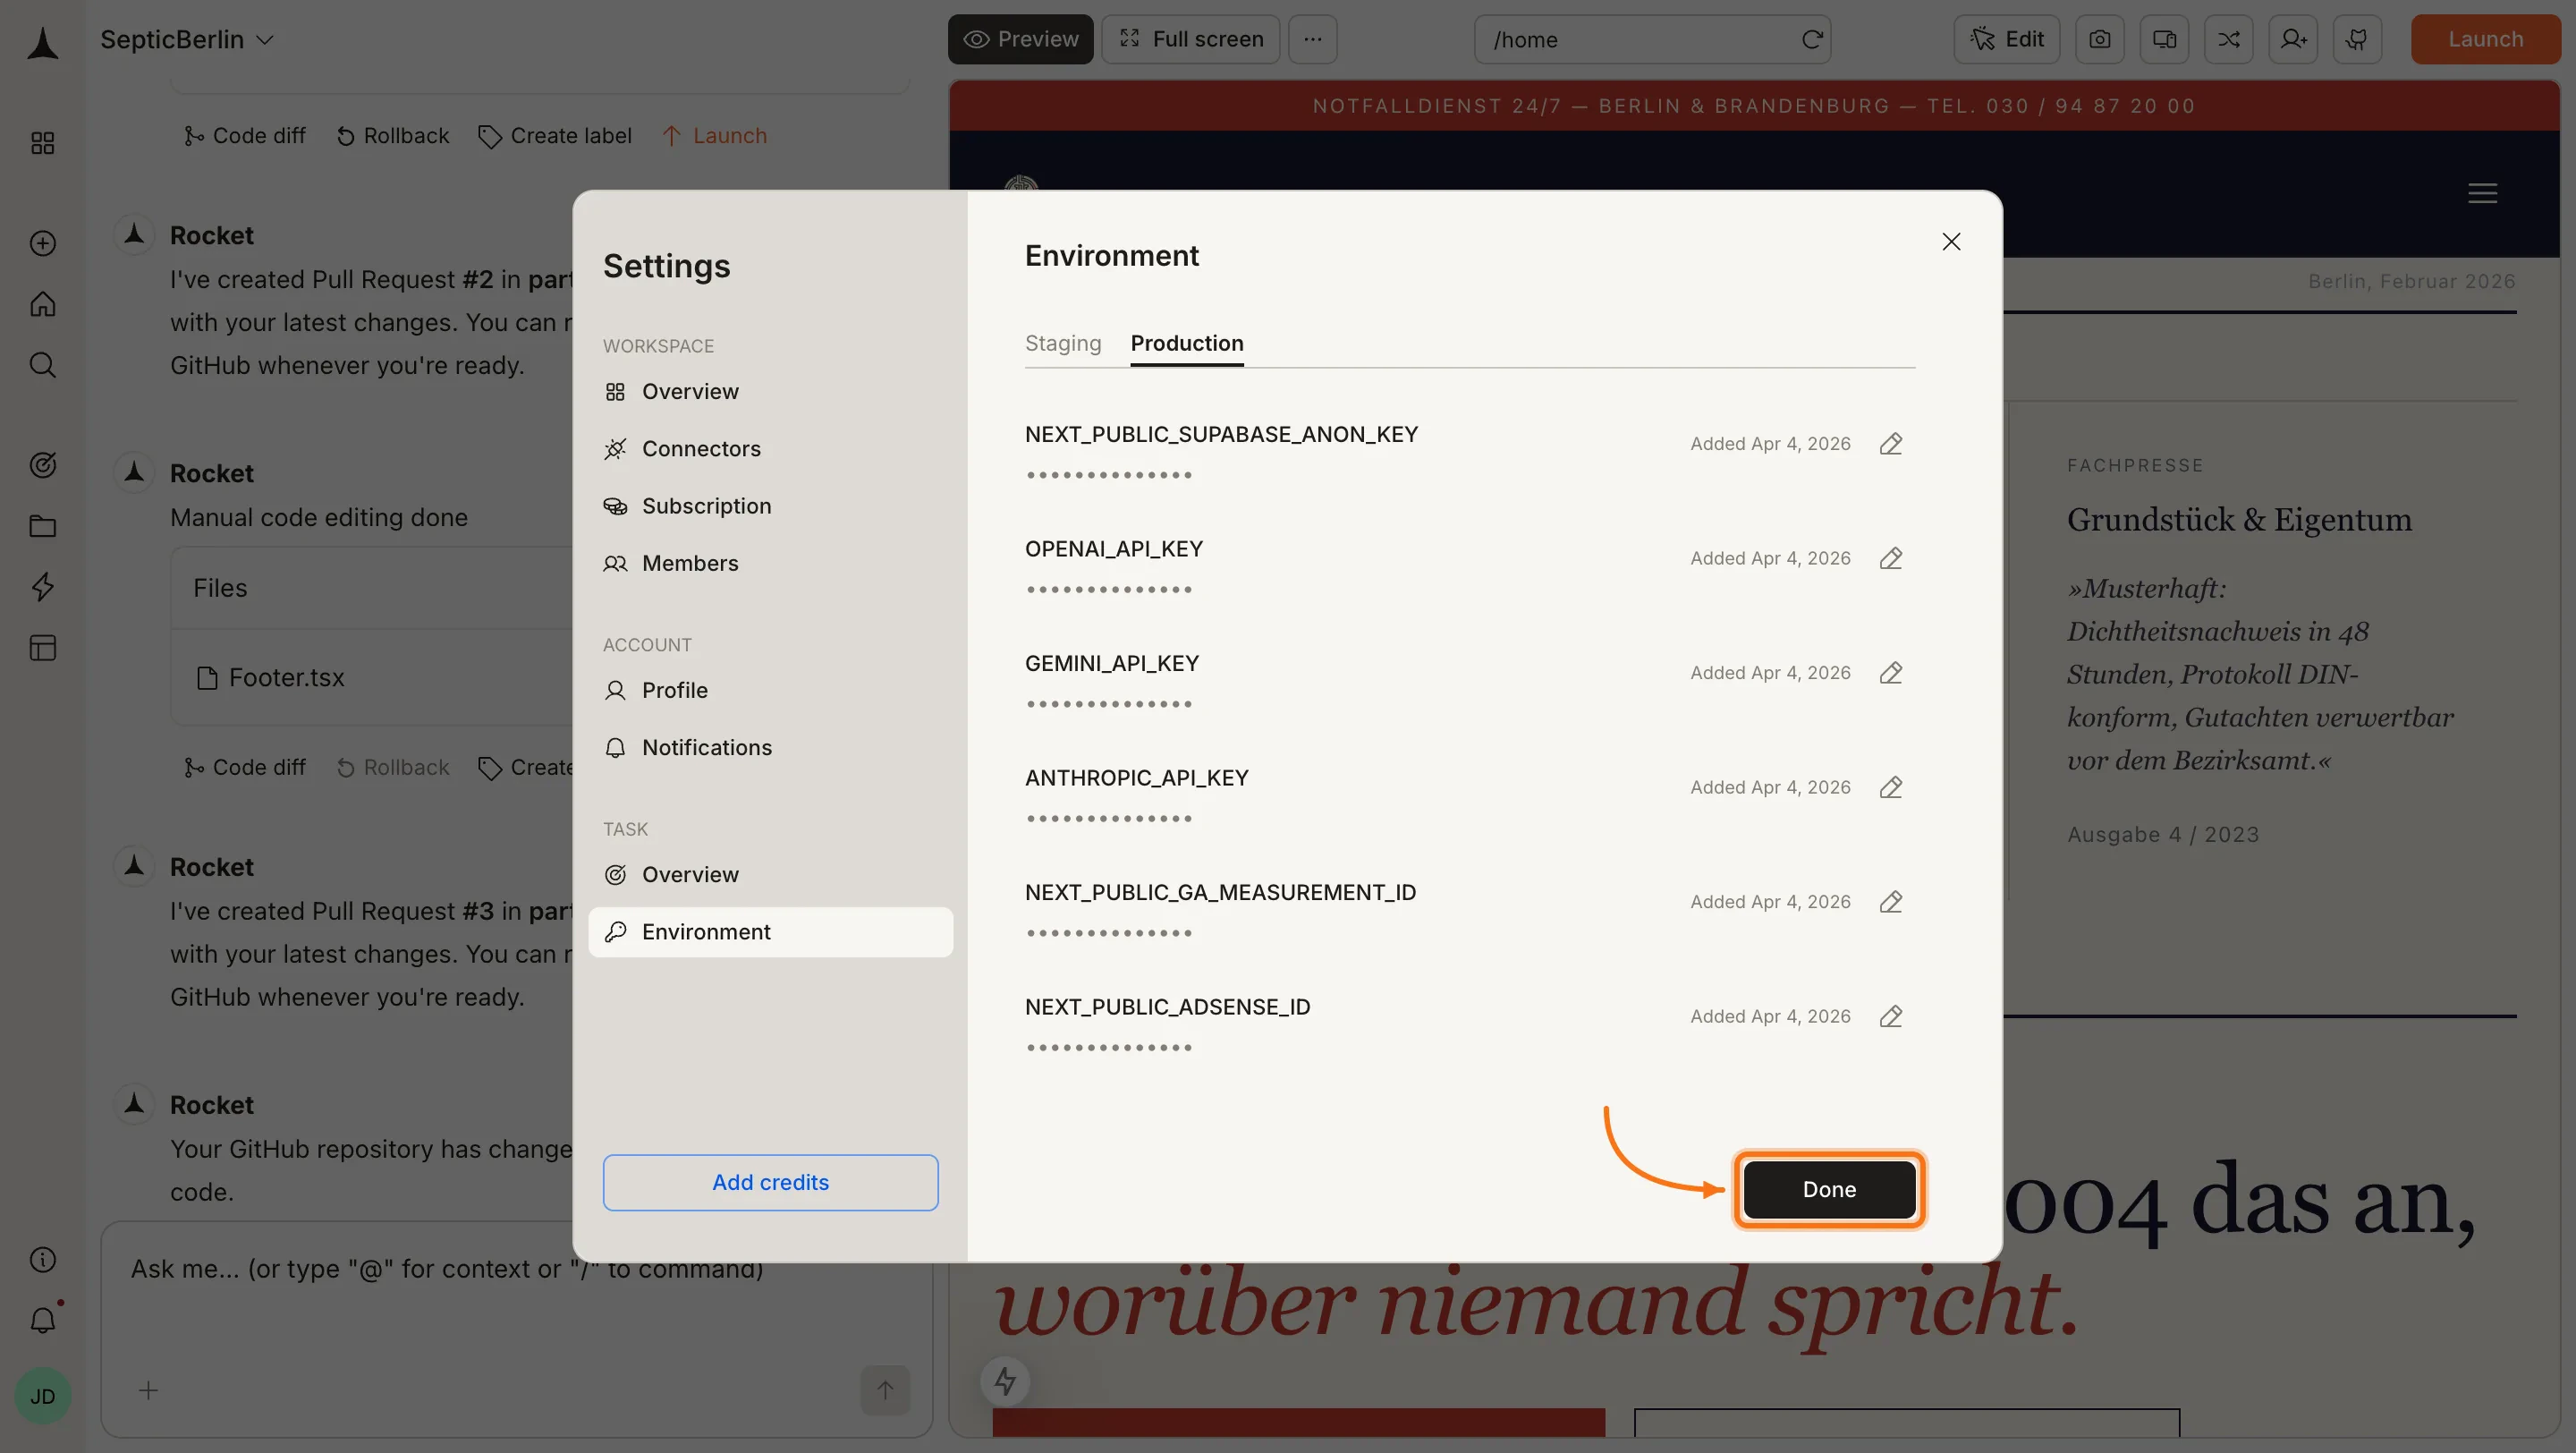
Continue with automatic setup
Rocket opens a popup explaining that it will configure your domain automatically. Click Continue.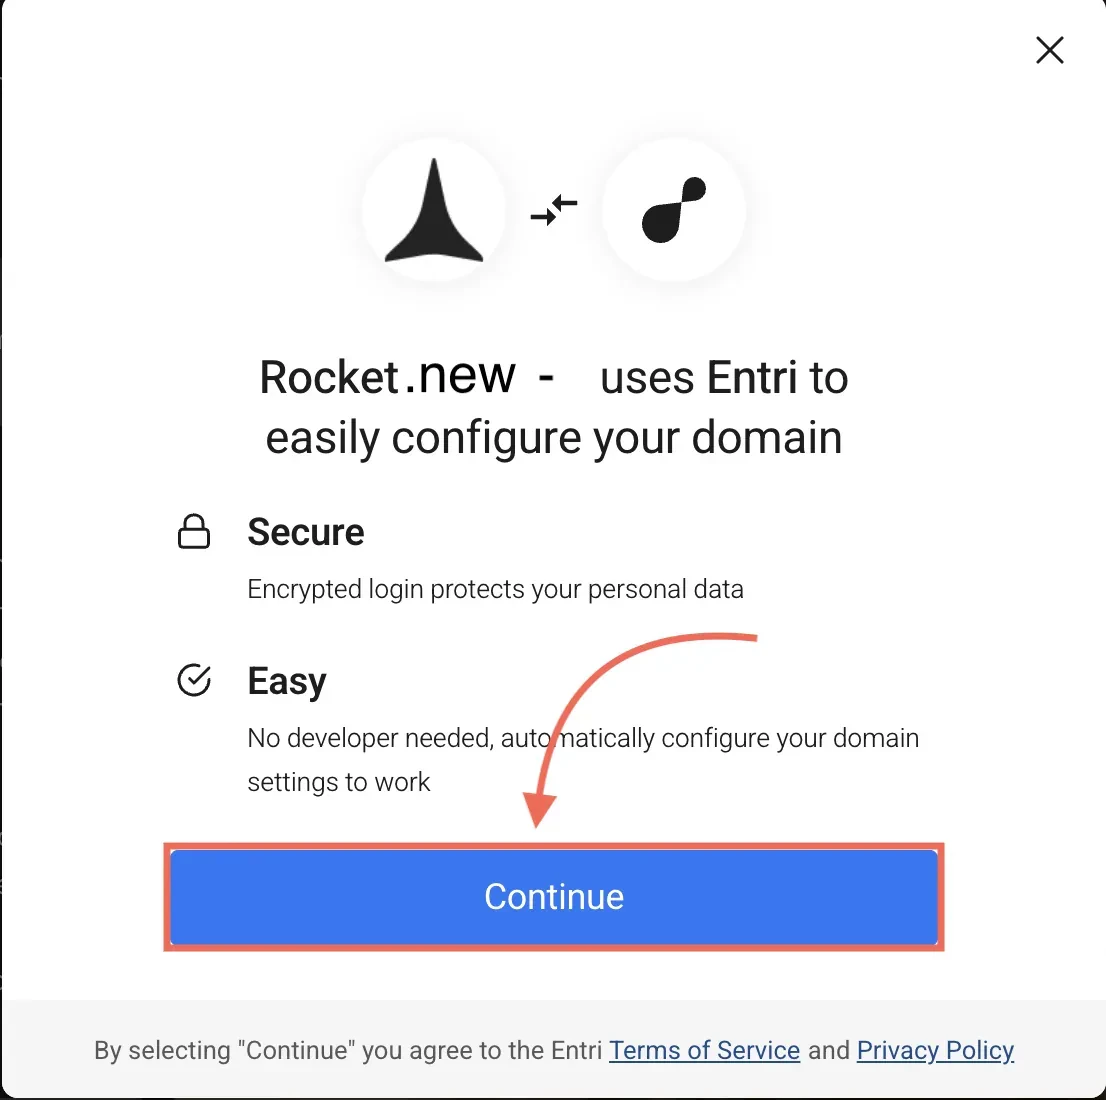
Authorize with your domain provider
Rocket shows a login screen for your domain provider. Enter your credentials and click Continue to grant one-time permission to configure DNS.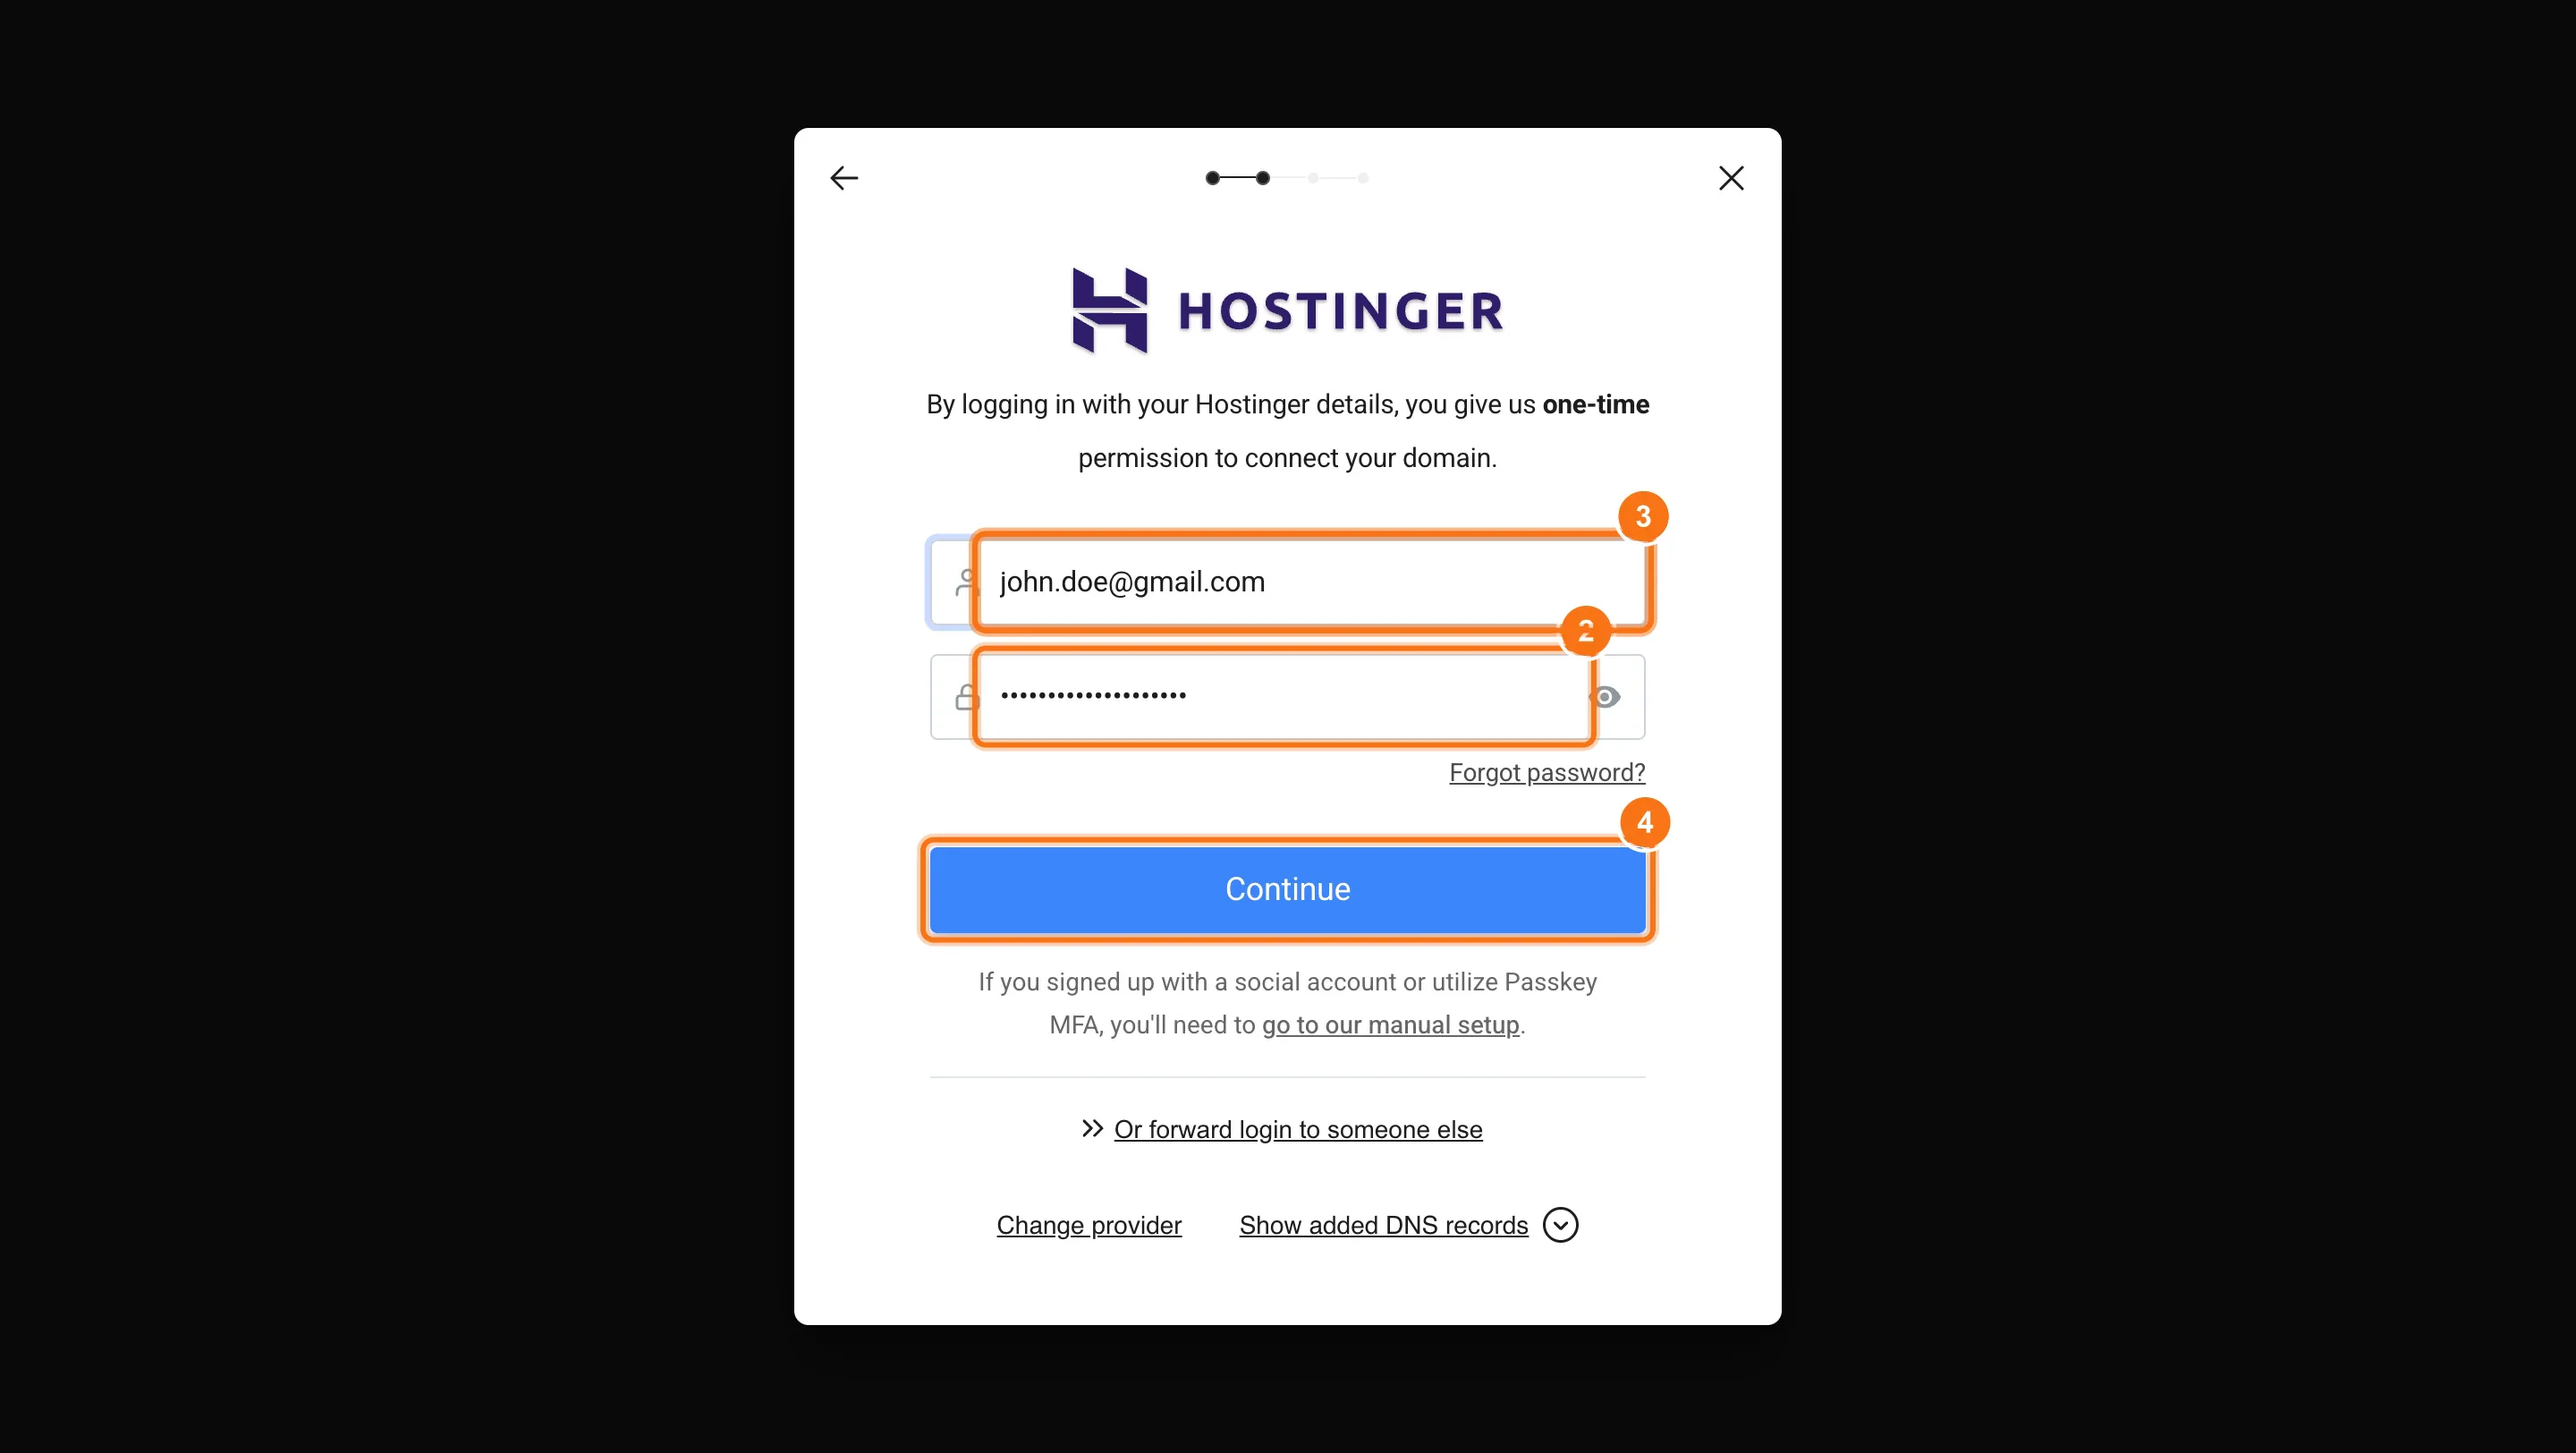
Confirm the DNS update
Your provider shows the existing DNS records and the new ones Rocket wants to add. Review them and click Okay, continue to approve the change.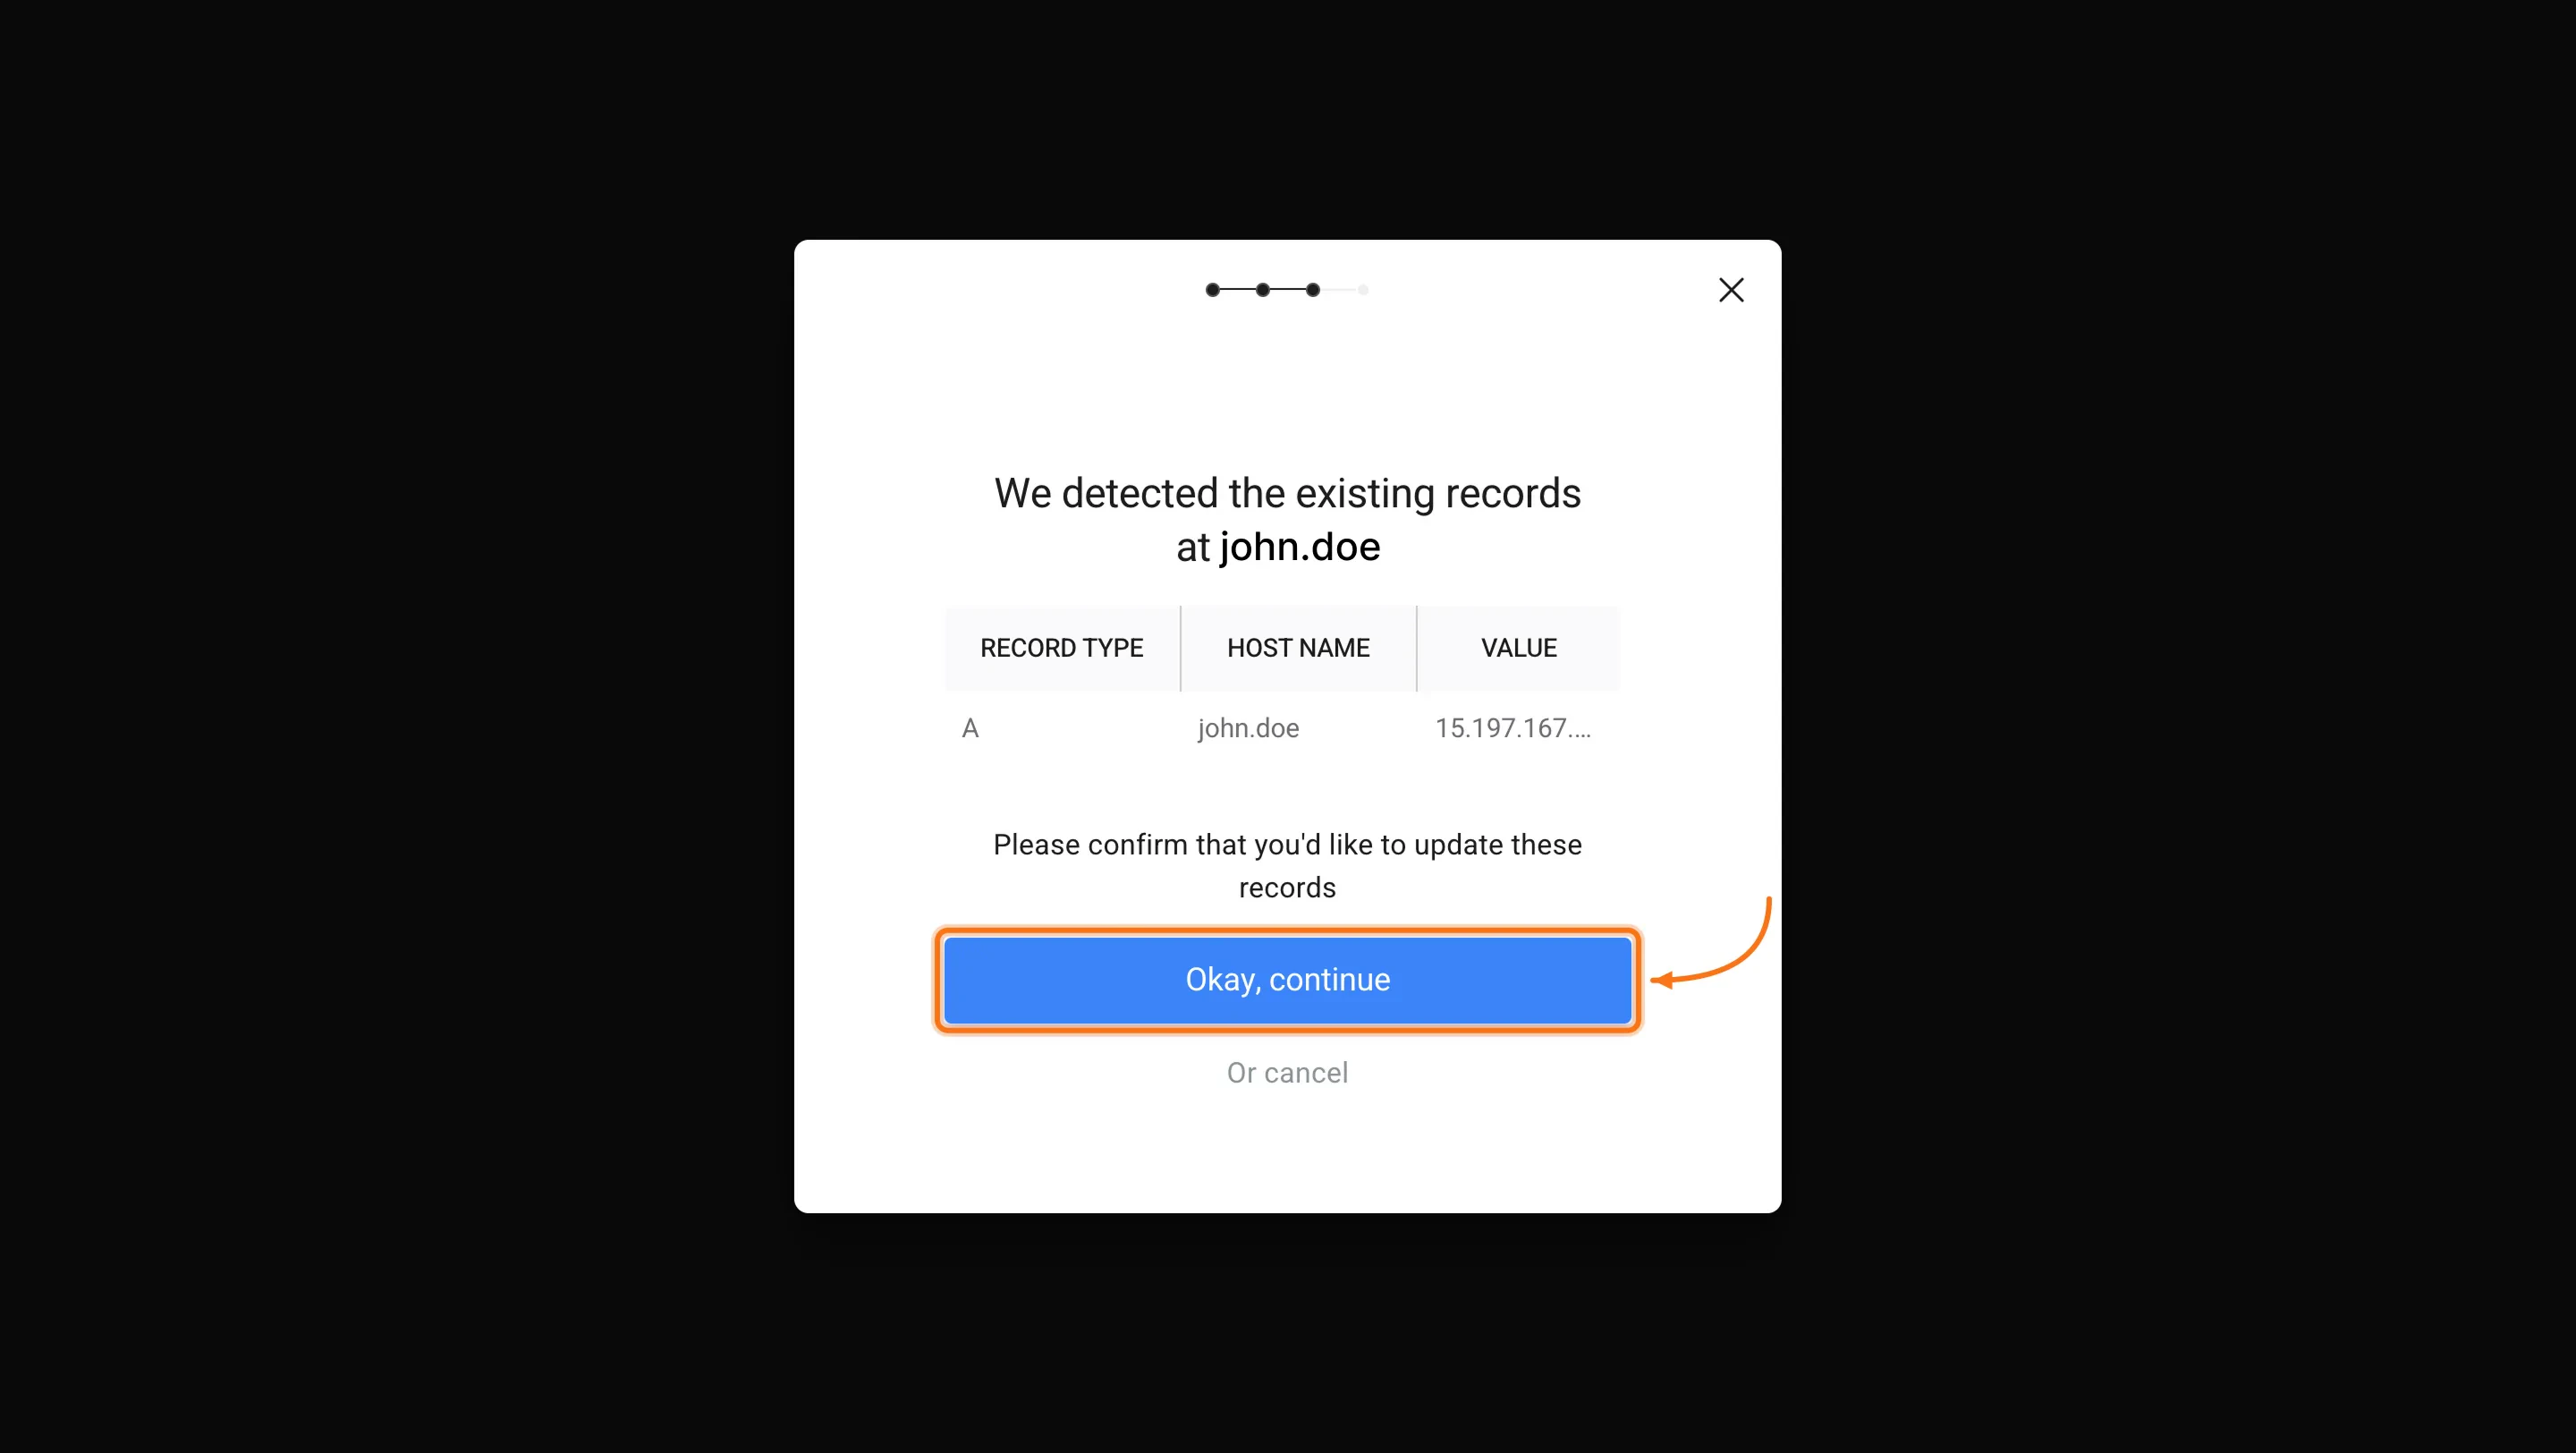
Manual setup (fallback)
Use this method if automatic setup is not available for your provider or did not complete successfully. Rocket shows you the exact DNS records and you add them directly in your domain provider’s dashboard.Open the Production tab and select a version
Click the Launch button, select the Production tab, choose your version, enter your domain, and click Next. Complete the Production Environment step as described above.
Switch to manual setup
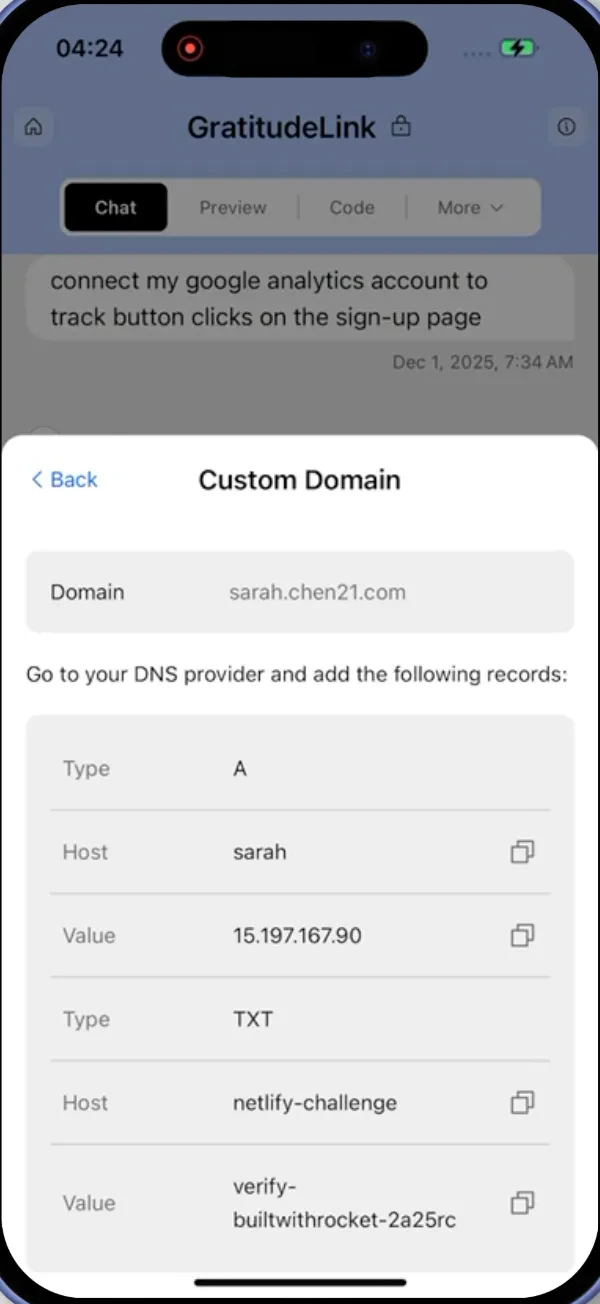
If automatic setup did not work or your provider is not supported, click Go to our manual setup on the automatic setup screen. Rocket shows you the exact DNS records to add.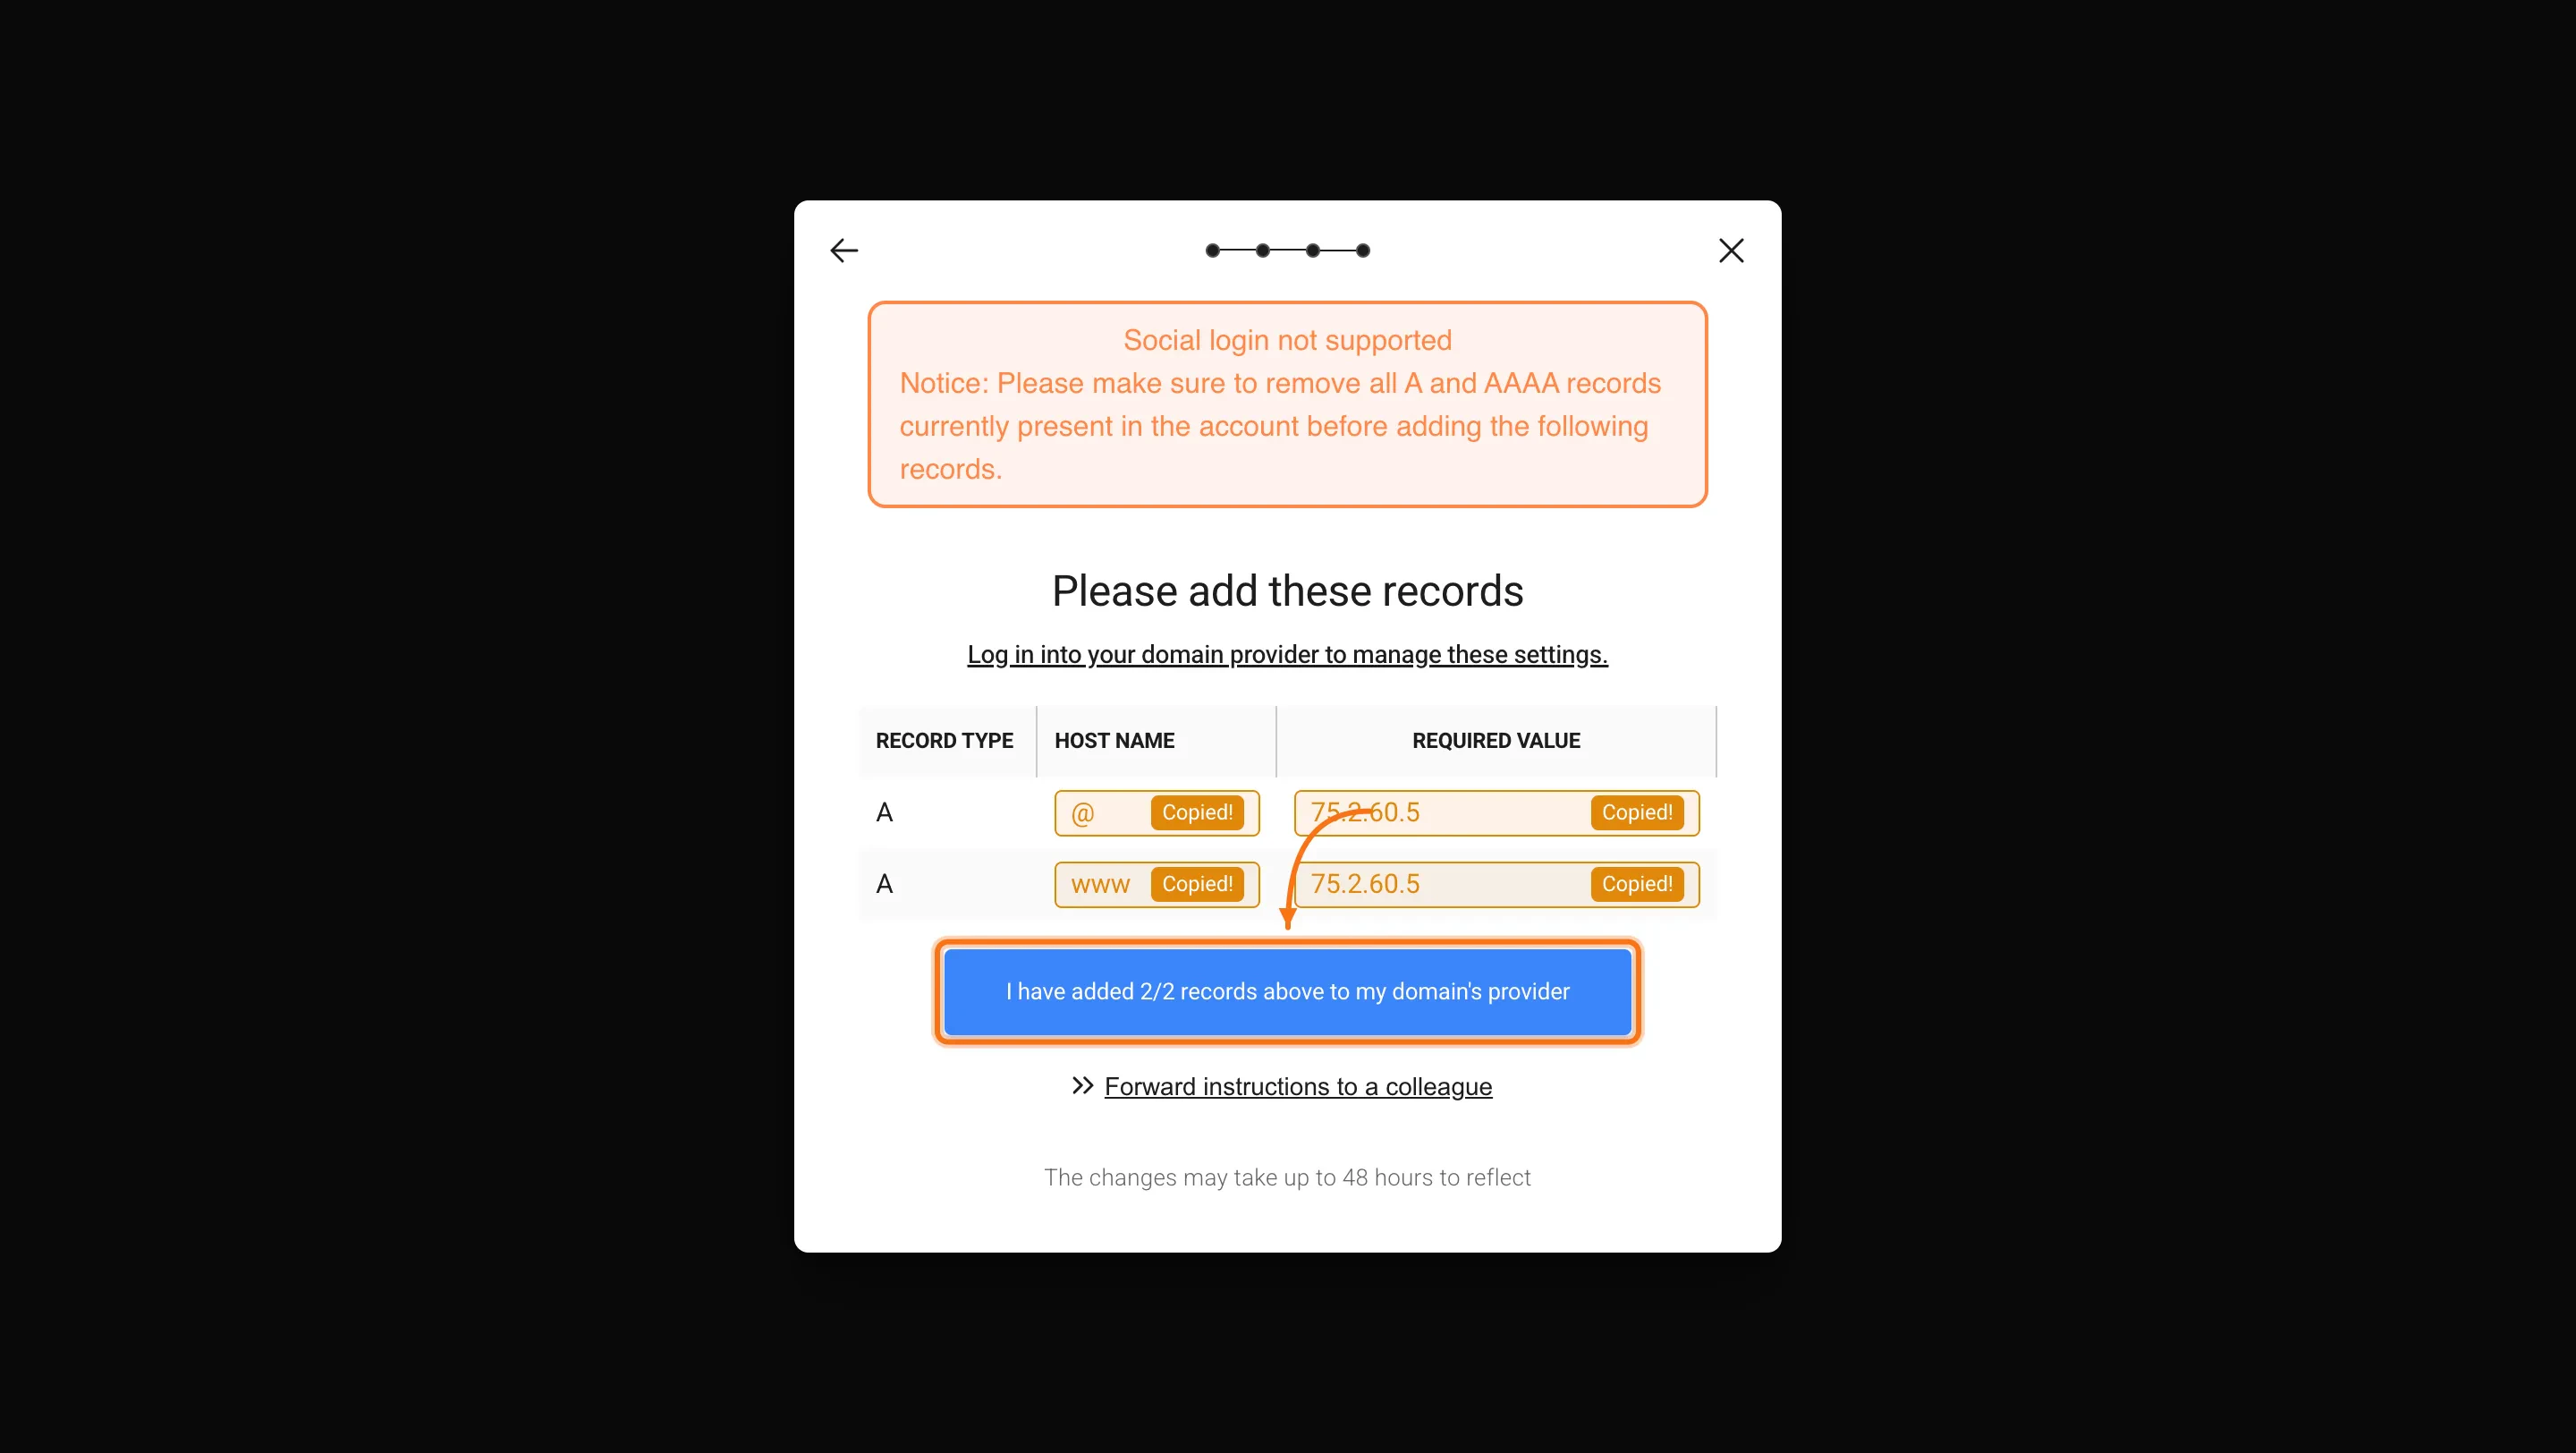
Confirm you have added the records
Once you have added all records in your provider’s dashboard, click I have added all records above to my domain’s provider in Rocket. Rocket starts monitoring for the DNS changes.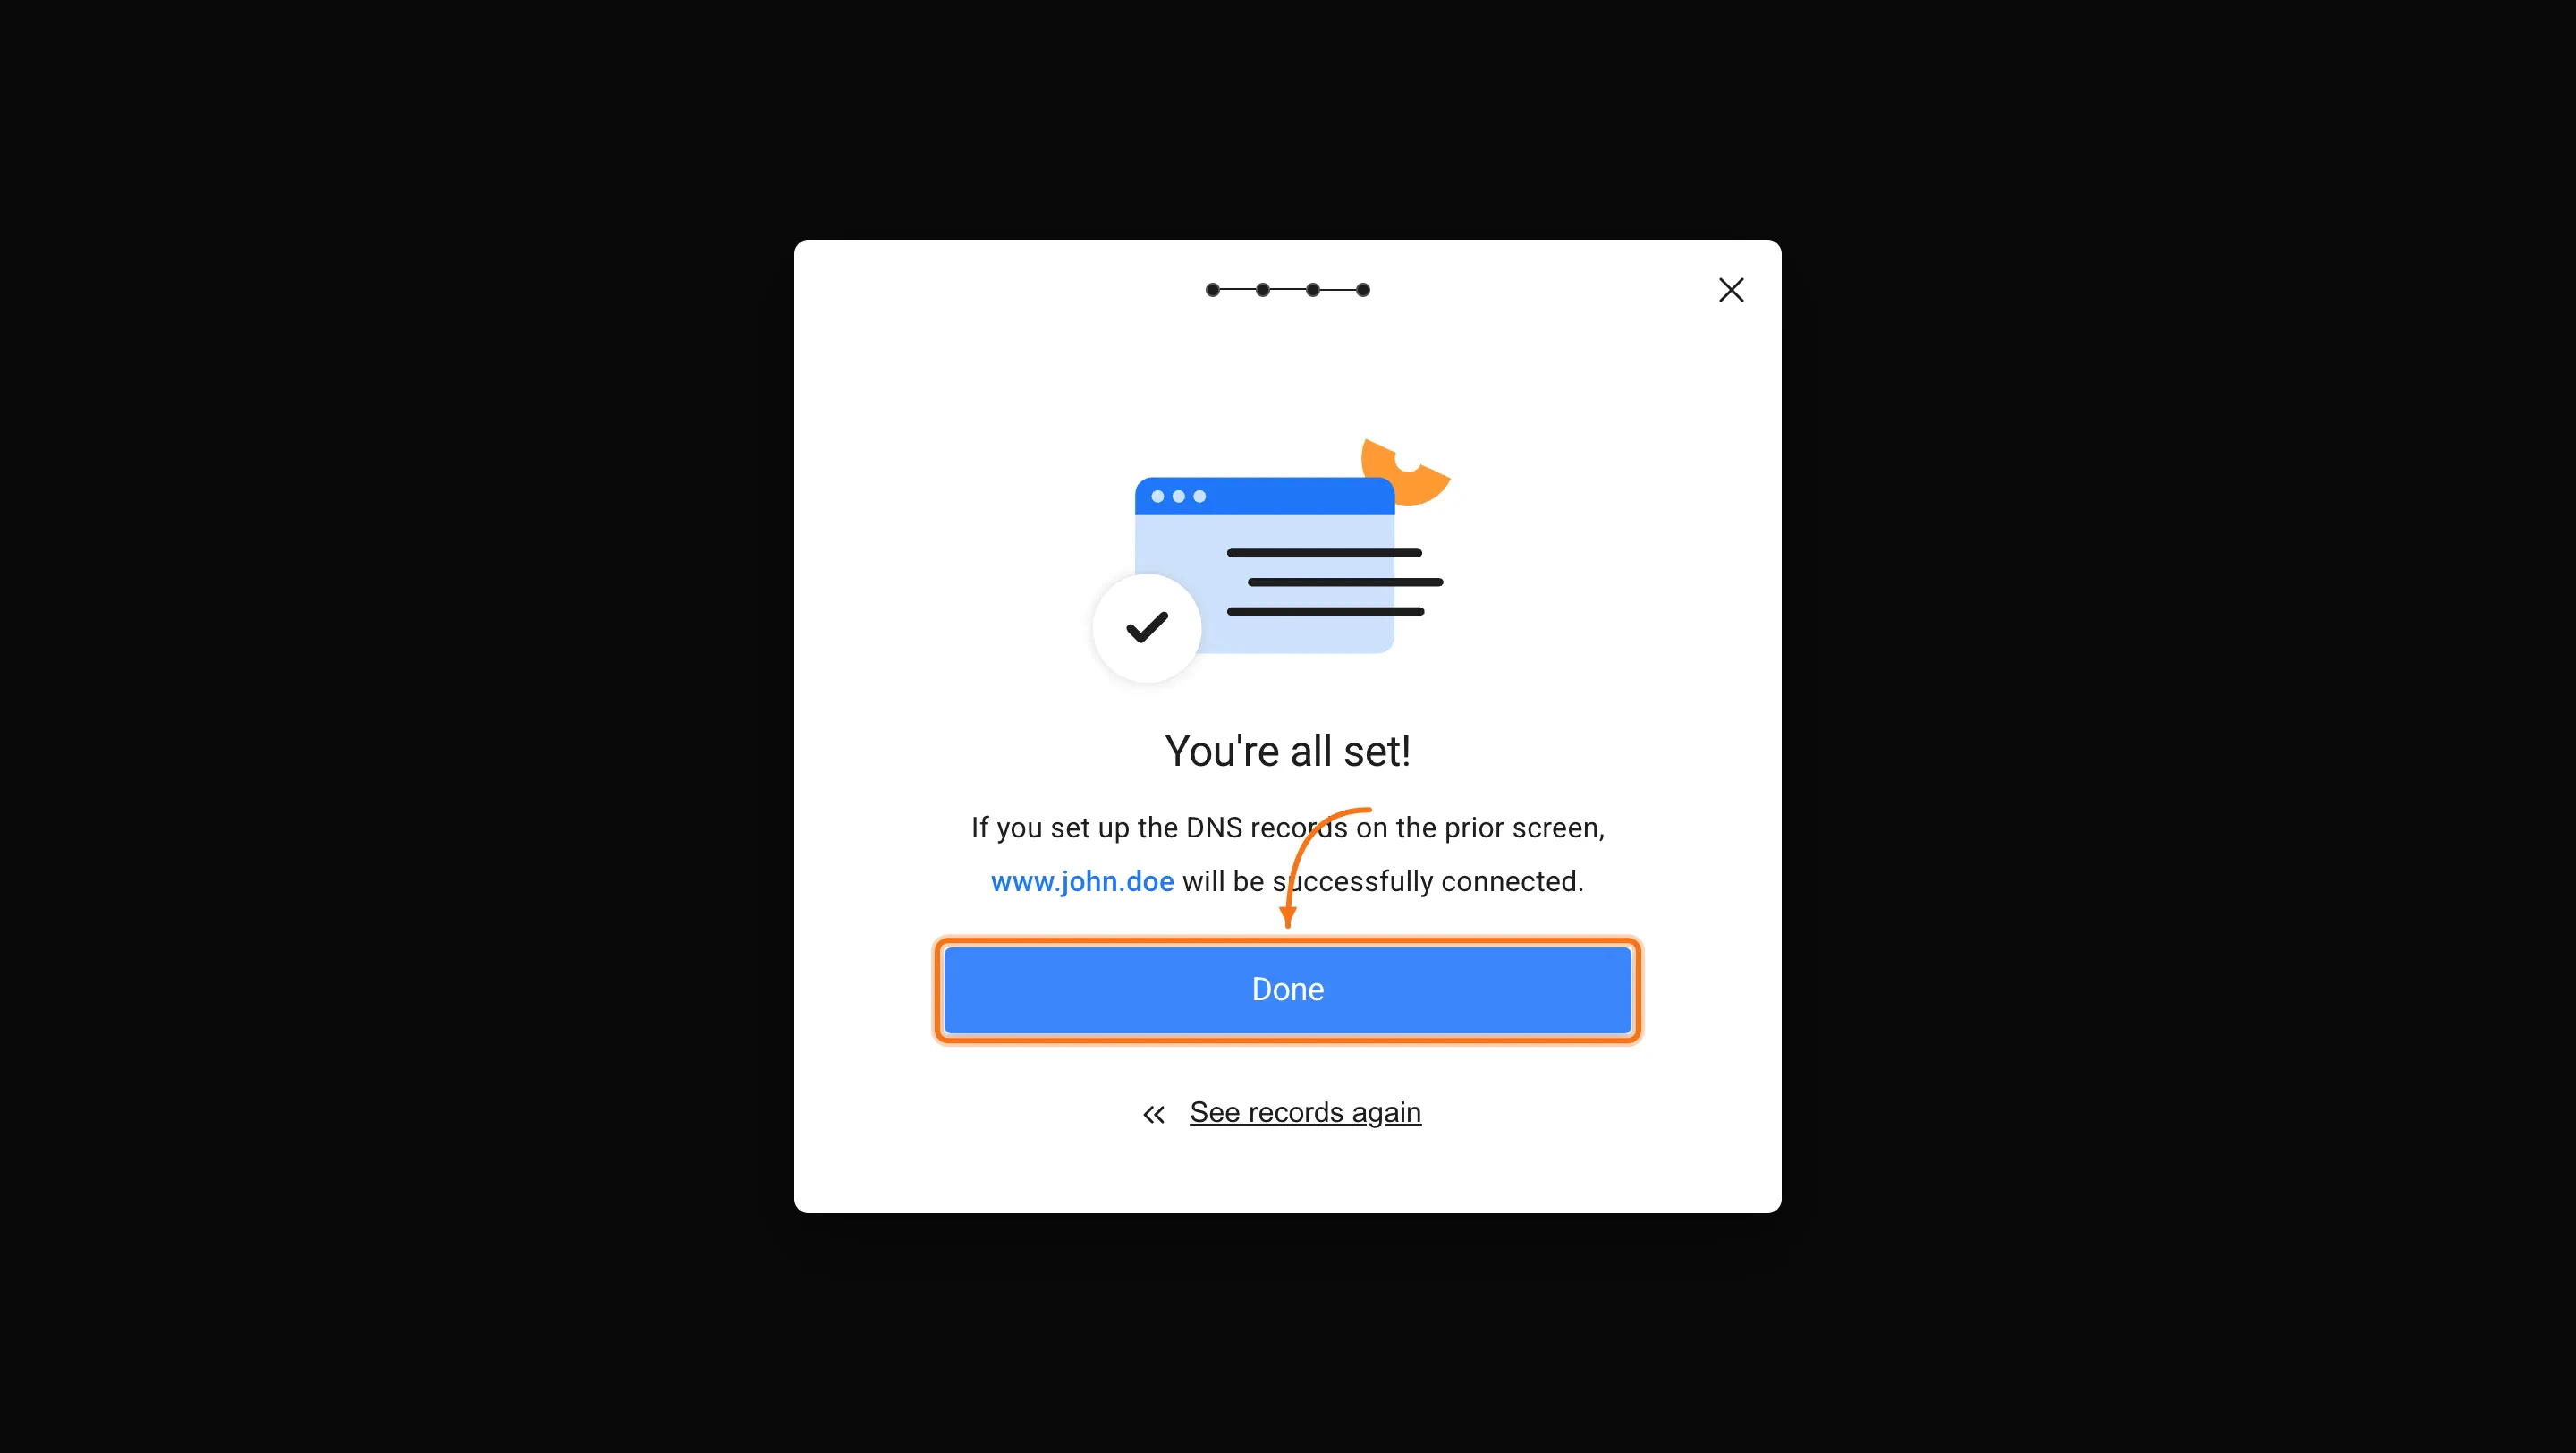

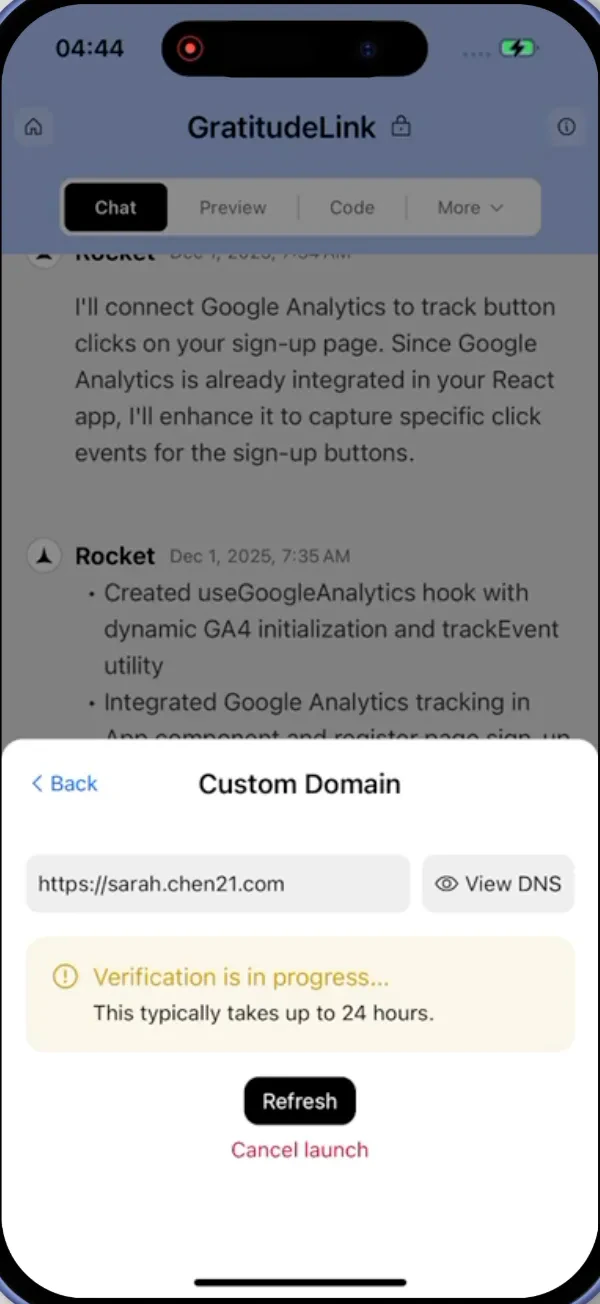
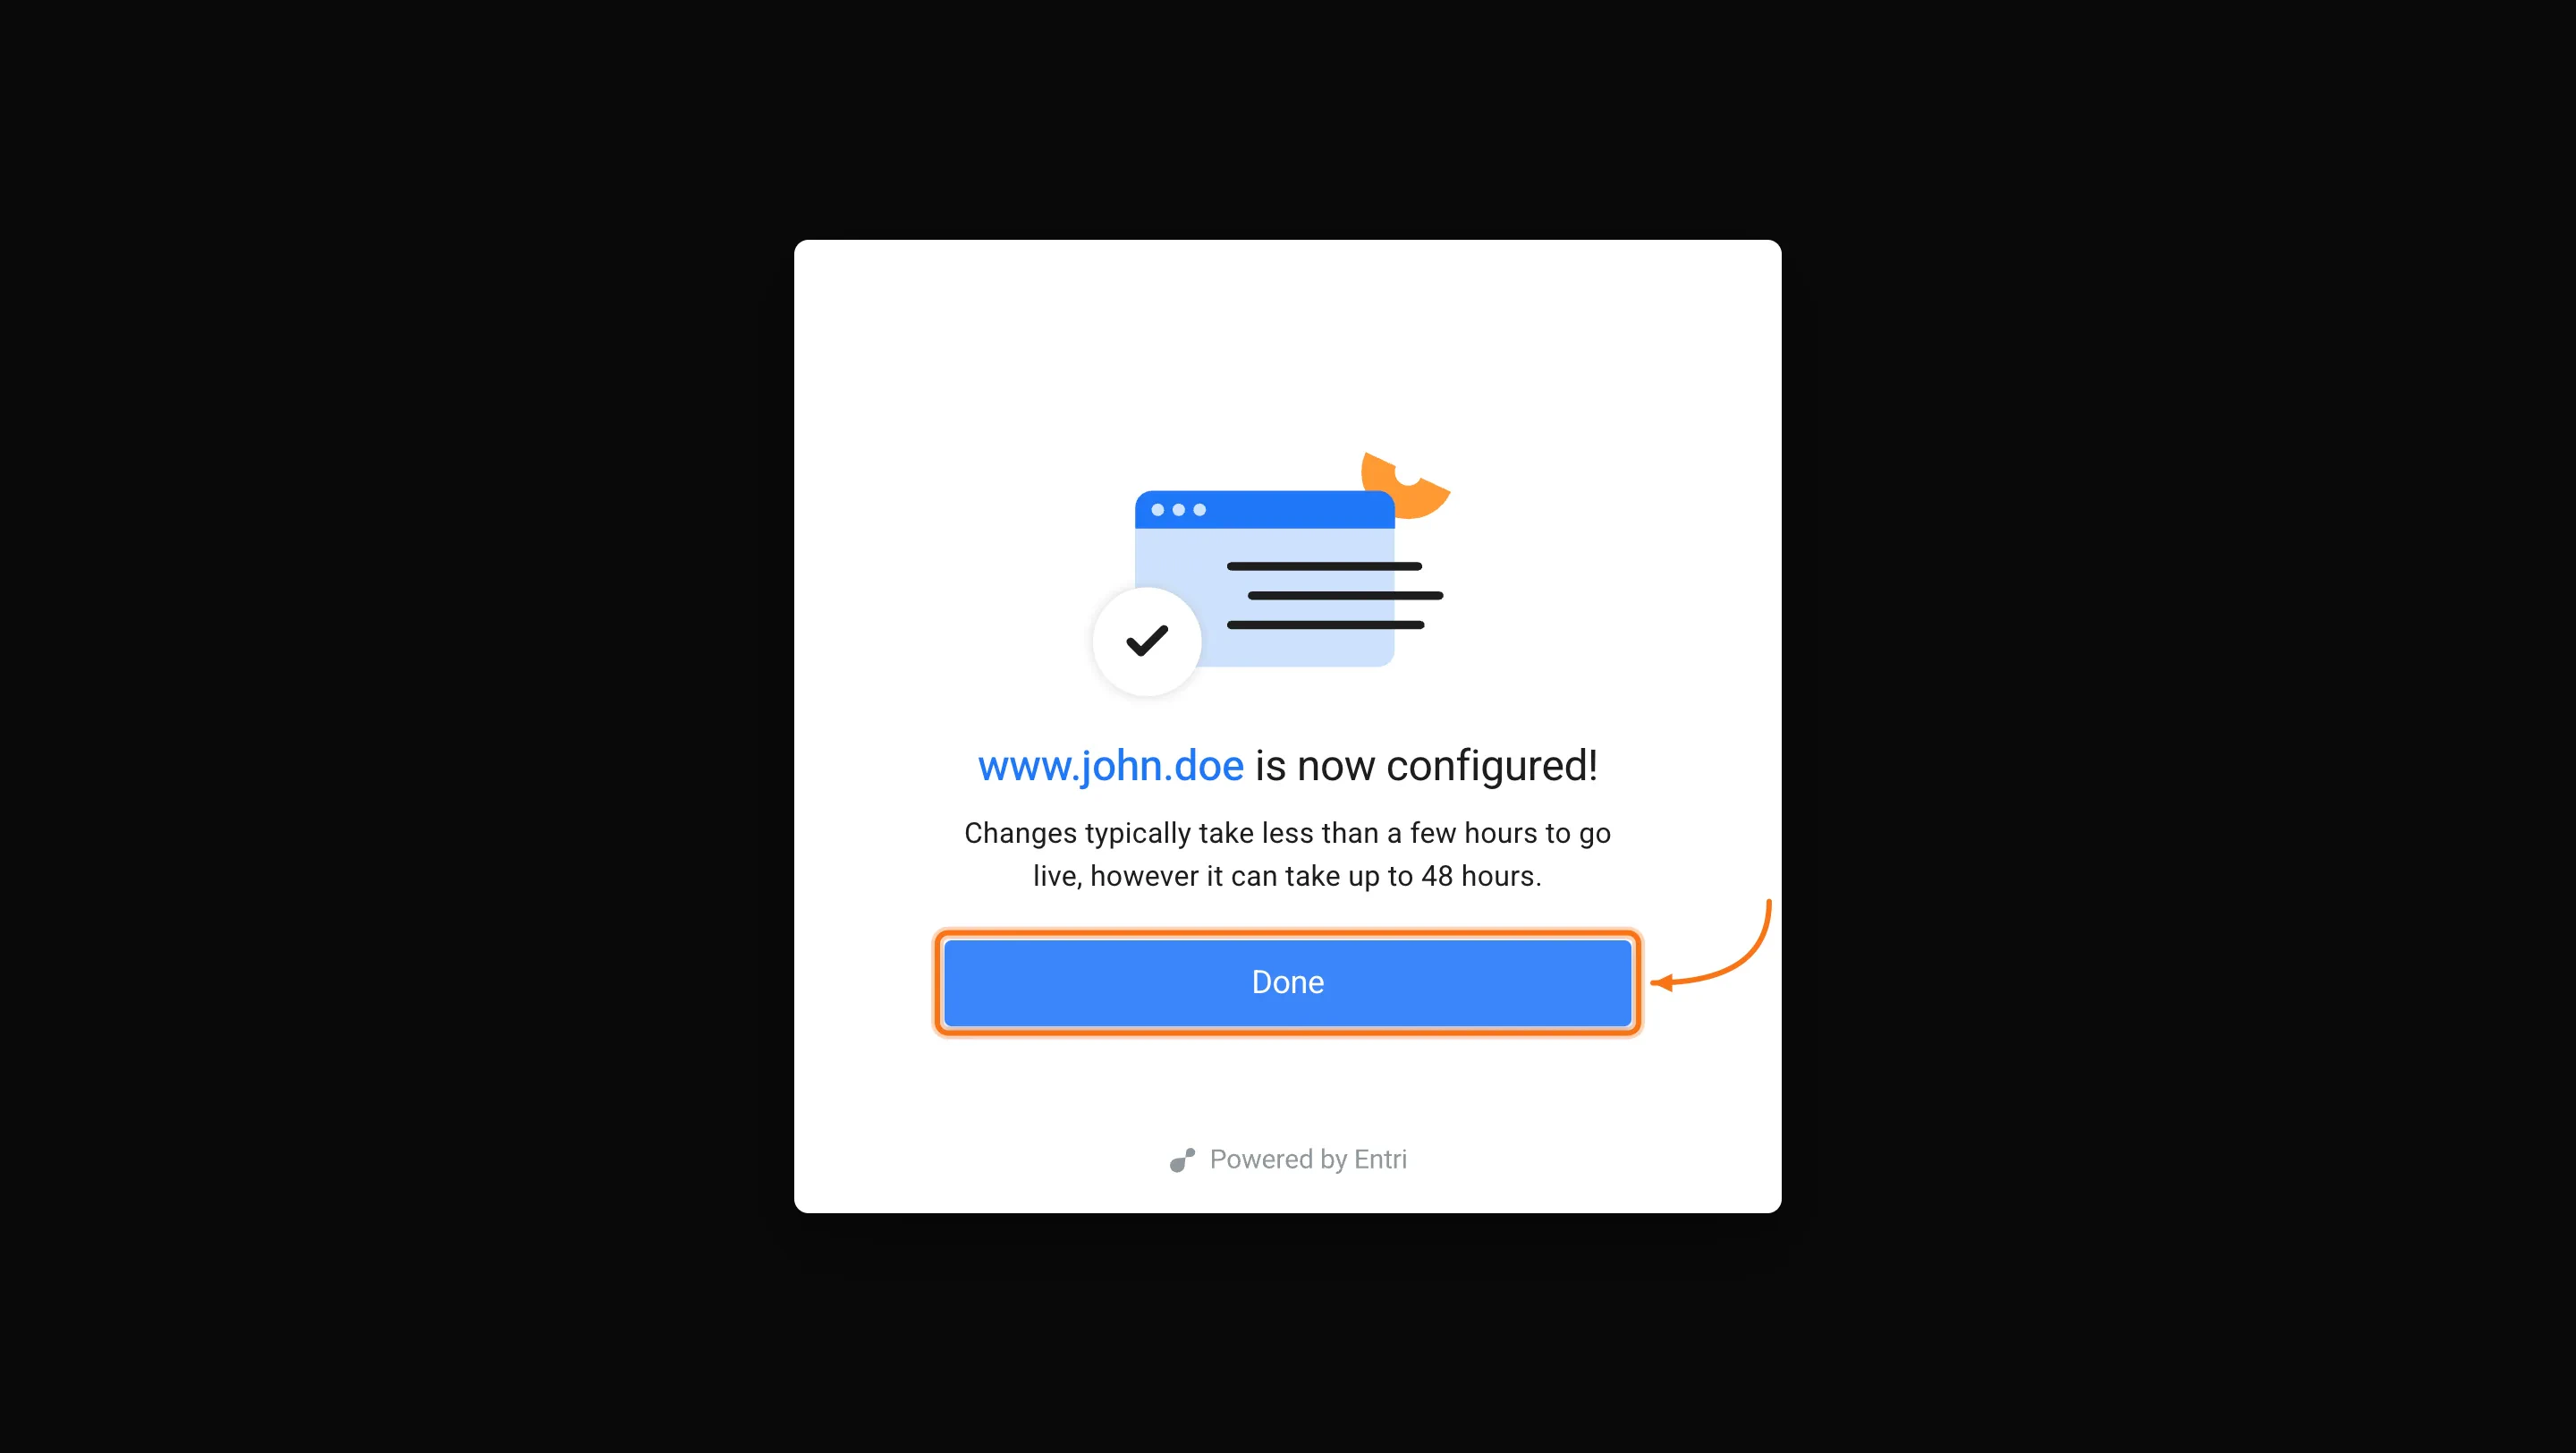
DNS changes can take up to 48 hours to propagate. Your domain may not work immediately after setup.
Fix conflicting DNS records
If your domain is not connecting after 48 hours, you likely have conflicting DNS records.Check your DNS records
Go to dnschecker.org, enter your domain, and select A as the record type.
Remove conflicting records
If you see multiple different IP addresses, log in to your domain provider’s dashboard and remove any A records that do not point to the IP address Rocket provided.
What’s next?
SEO & discoverability
Optimize meta tags and sitemaps so search engines find your site.
Analytics
Track visits, pageviews, and traffic sources from your dashboard.
Privacy compliance
Set up cookie consent, GDPR banners, and a privacy policy page.