Search, purchase, and connect a new domain to your Rocket.new app directly from the editor - registration, DNS, and HTTPS are handled for you.
Purchase a domain directly through Rocket and connect it to your app without visiting a separate registrar. Rocket uses IONOS to handle the purchase. You are redirected to IONOS to complete payment, and DNS is configured automatically when done.
Buying a domain through Rocket requires a paid plan (Pro or above).
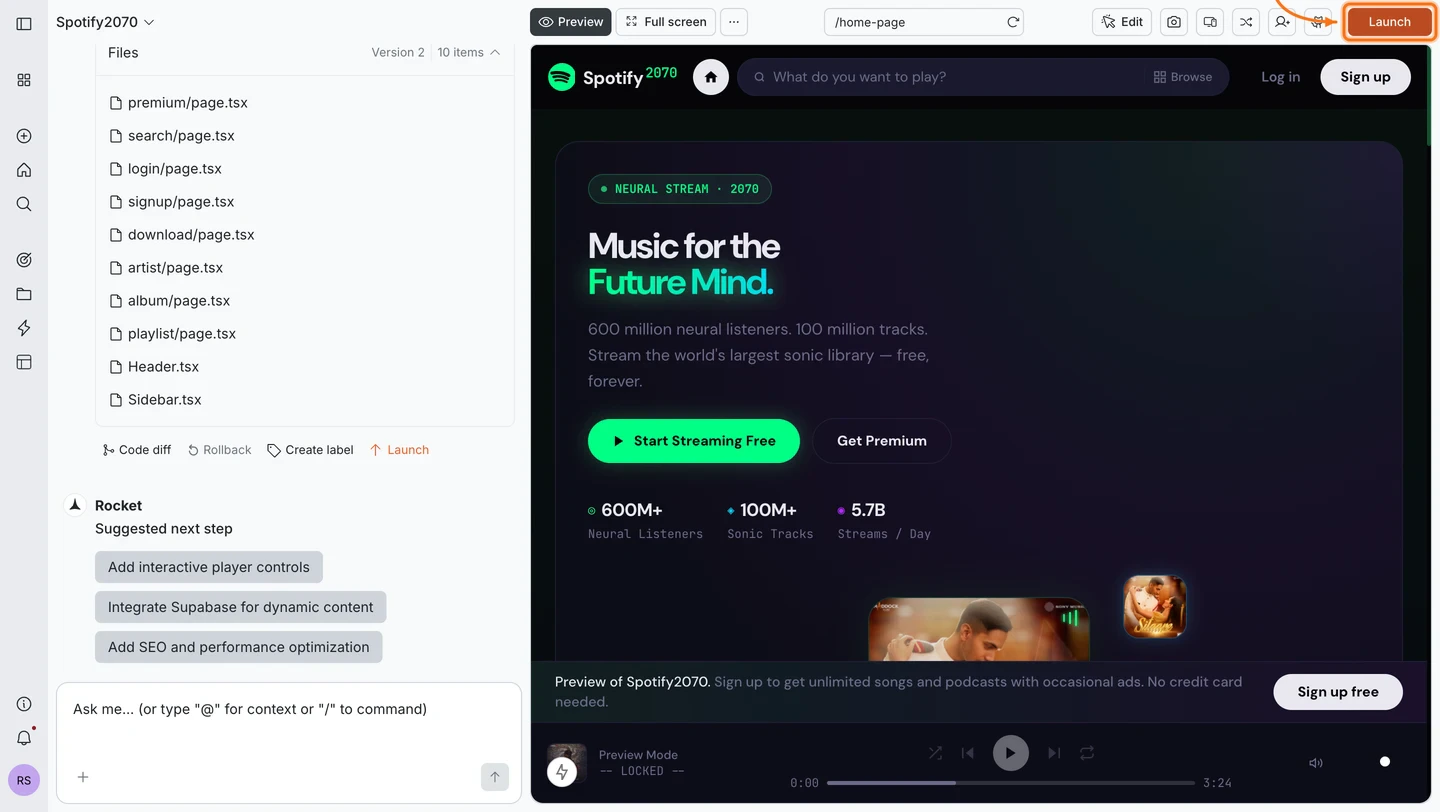
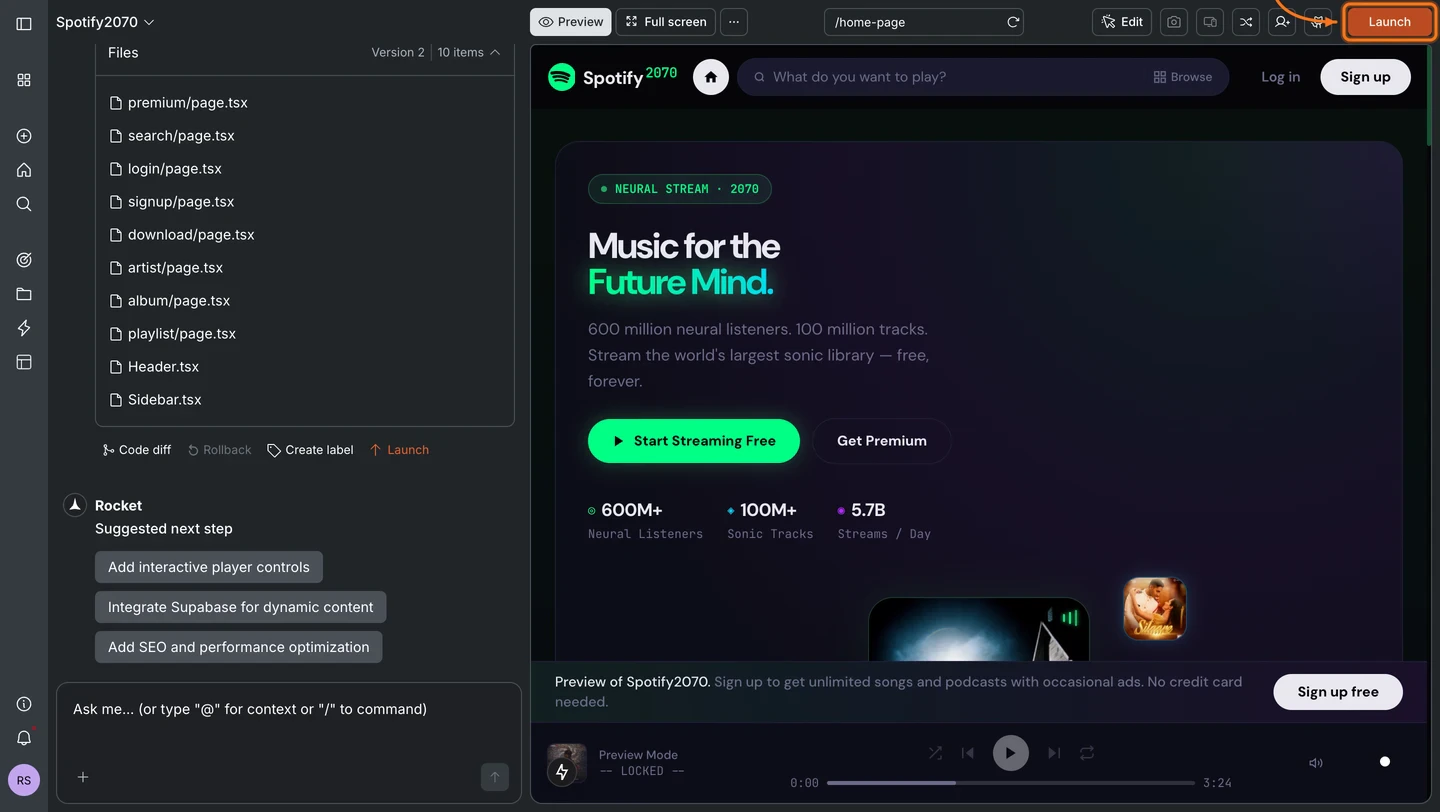
Click the Launch button in the top-right corner of your task.
Click Launch in the top-right corner
2
Start the domain purchase
You can reach the domain purchase from two places in the launch dialog:
From the Staging tab
From the Production tab
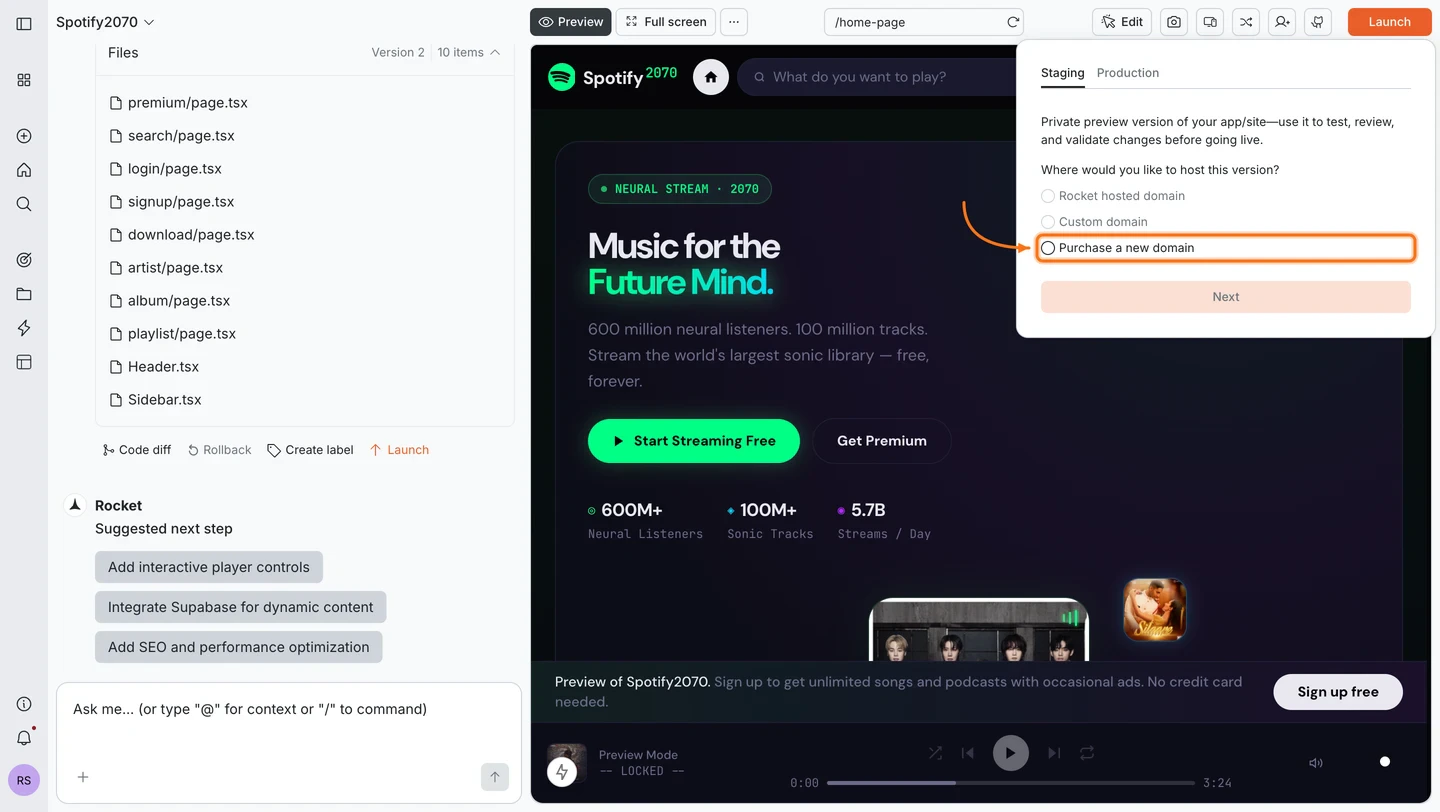
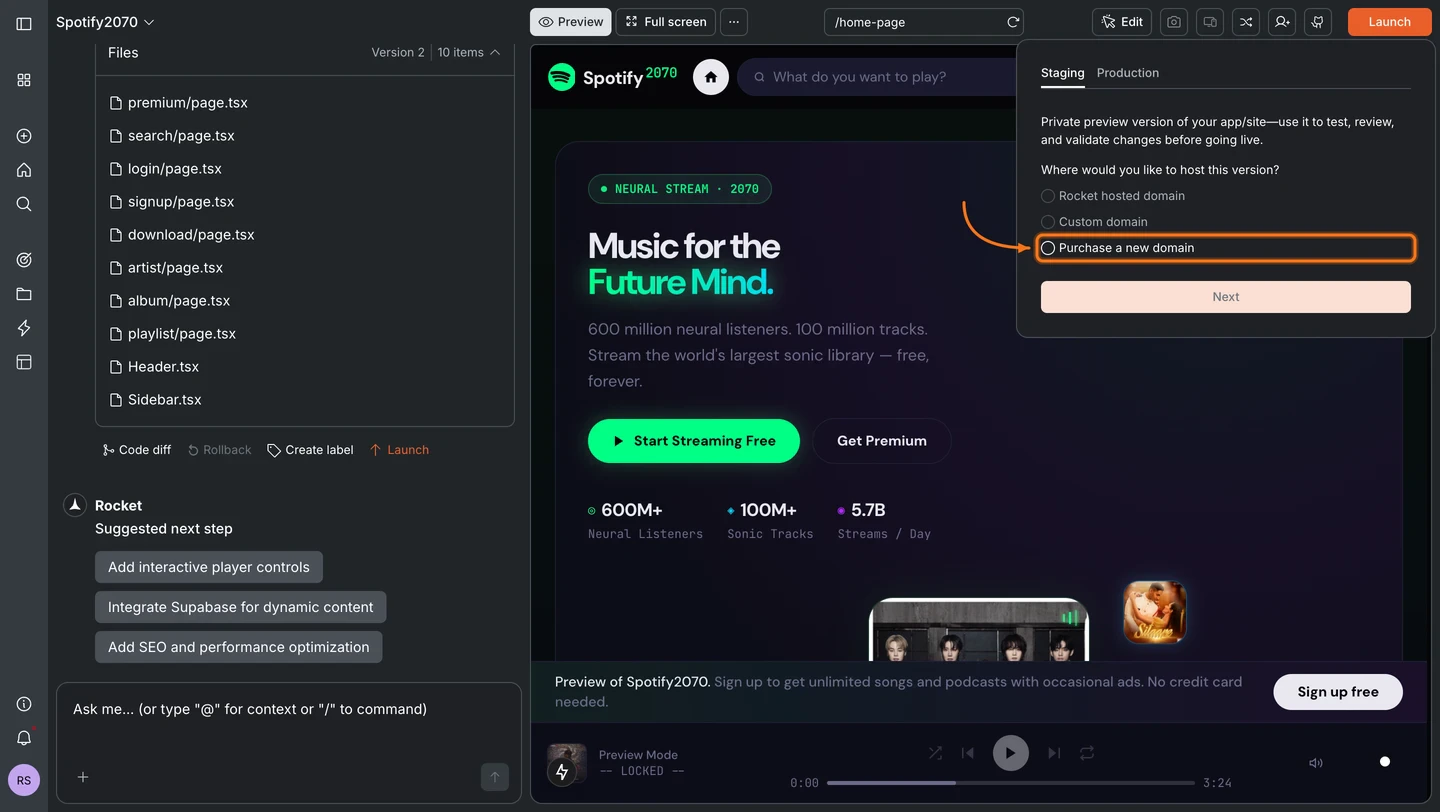
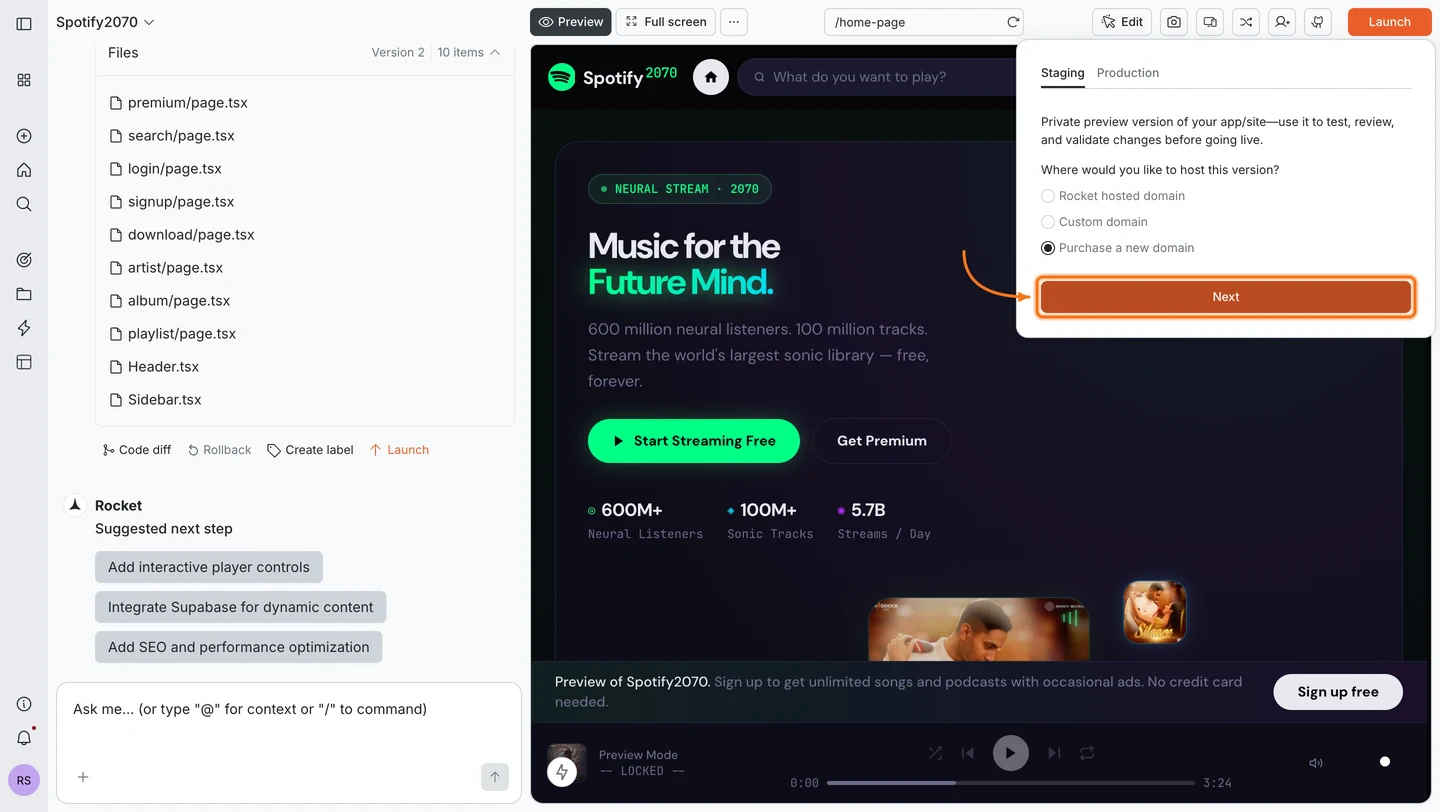
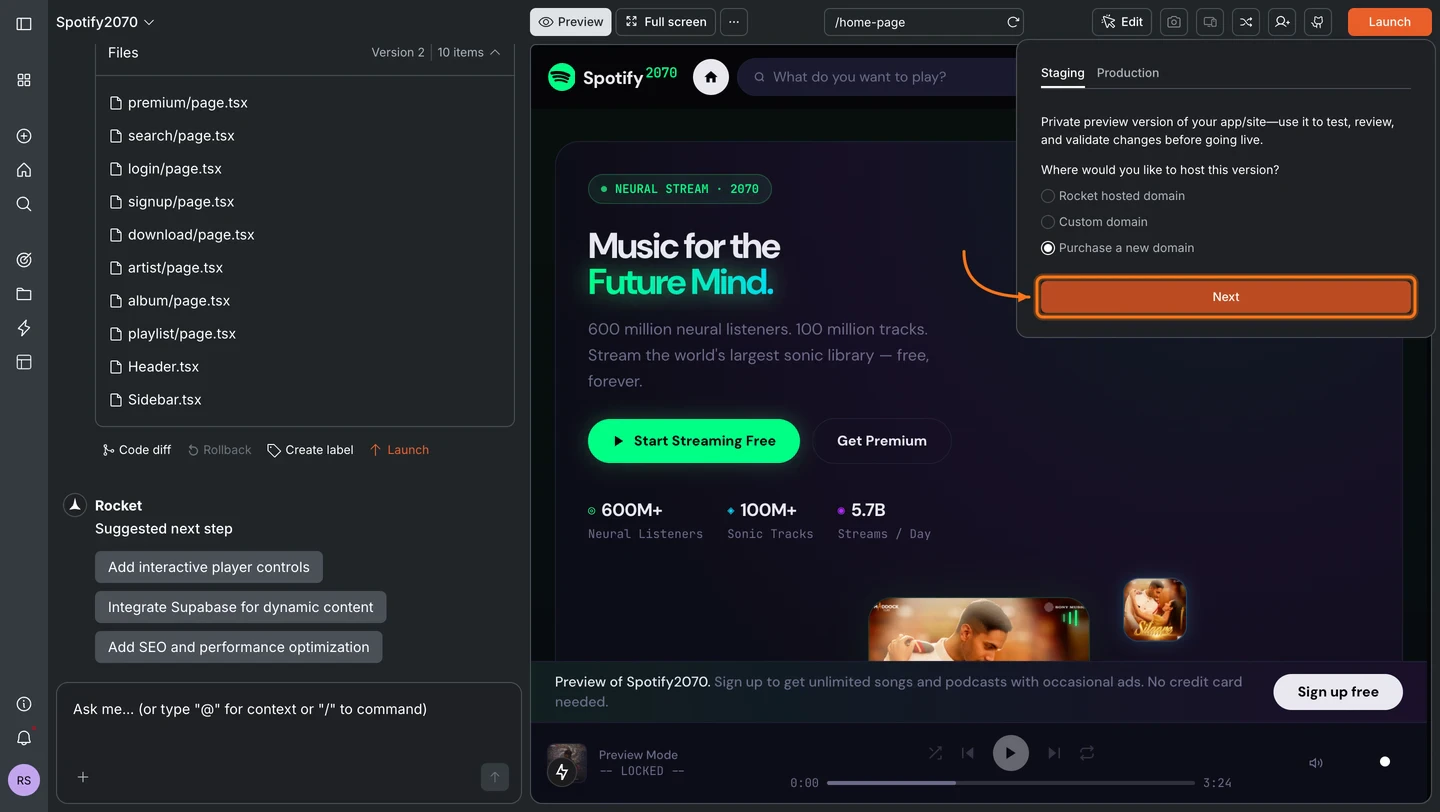
In the Staging tab, select Purchase a new domain and click Next.
Select Purchase a new domain in the Staging tab
Click Next to continue
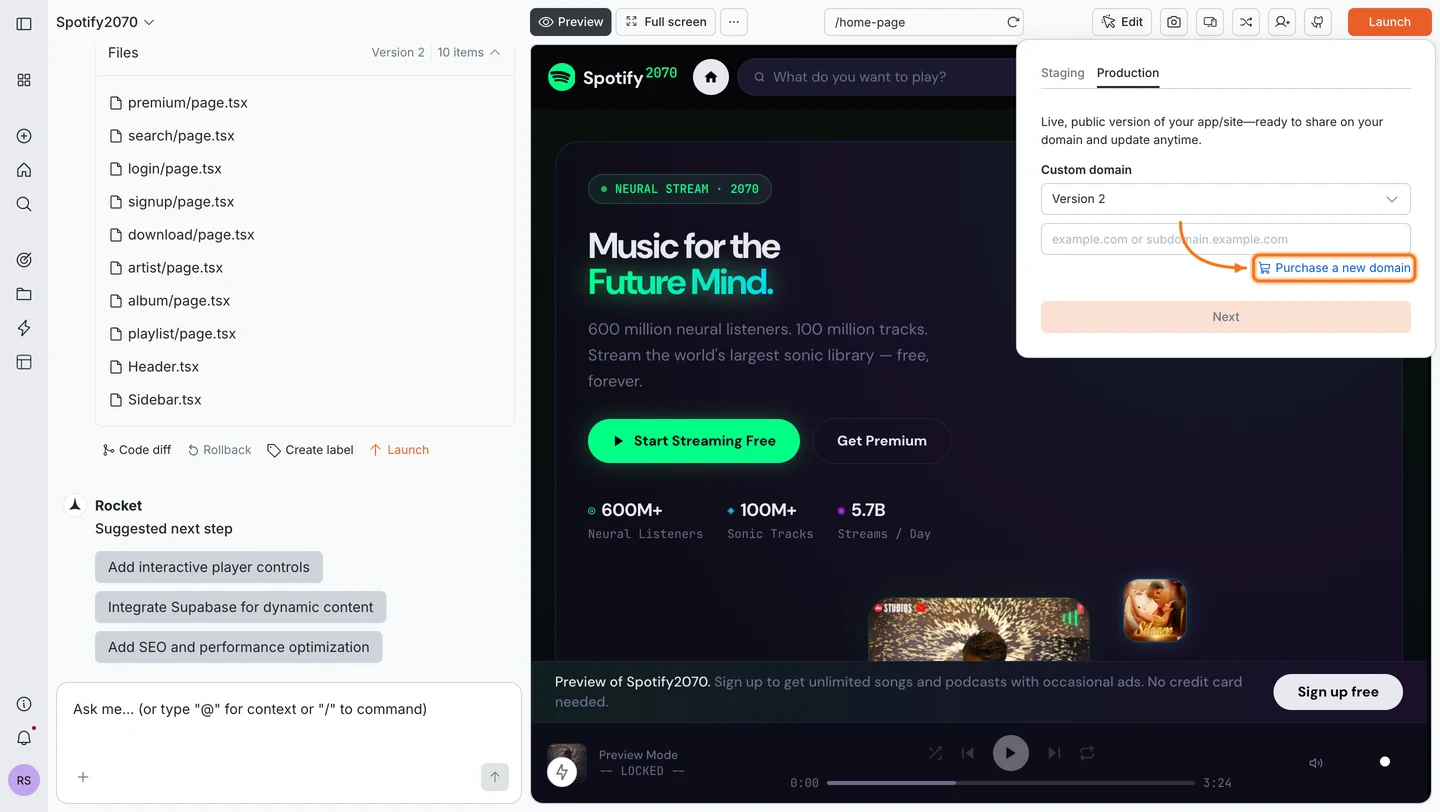
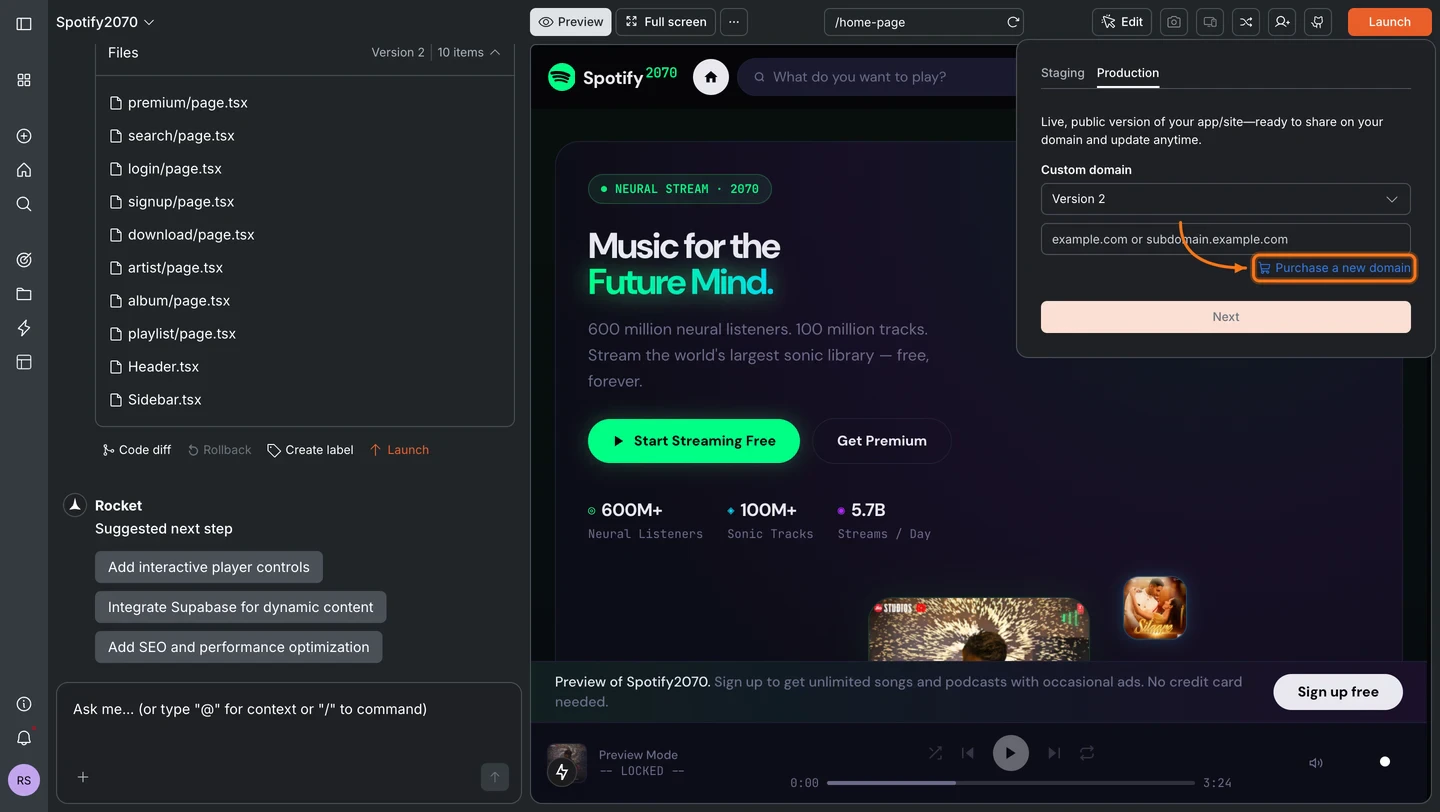
Switch to the Production tab. It shows a Custom domain input field with a Purchase a new domain link. Click it.
Click Purchase a new domain in the Production tab
3
Search for a domain
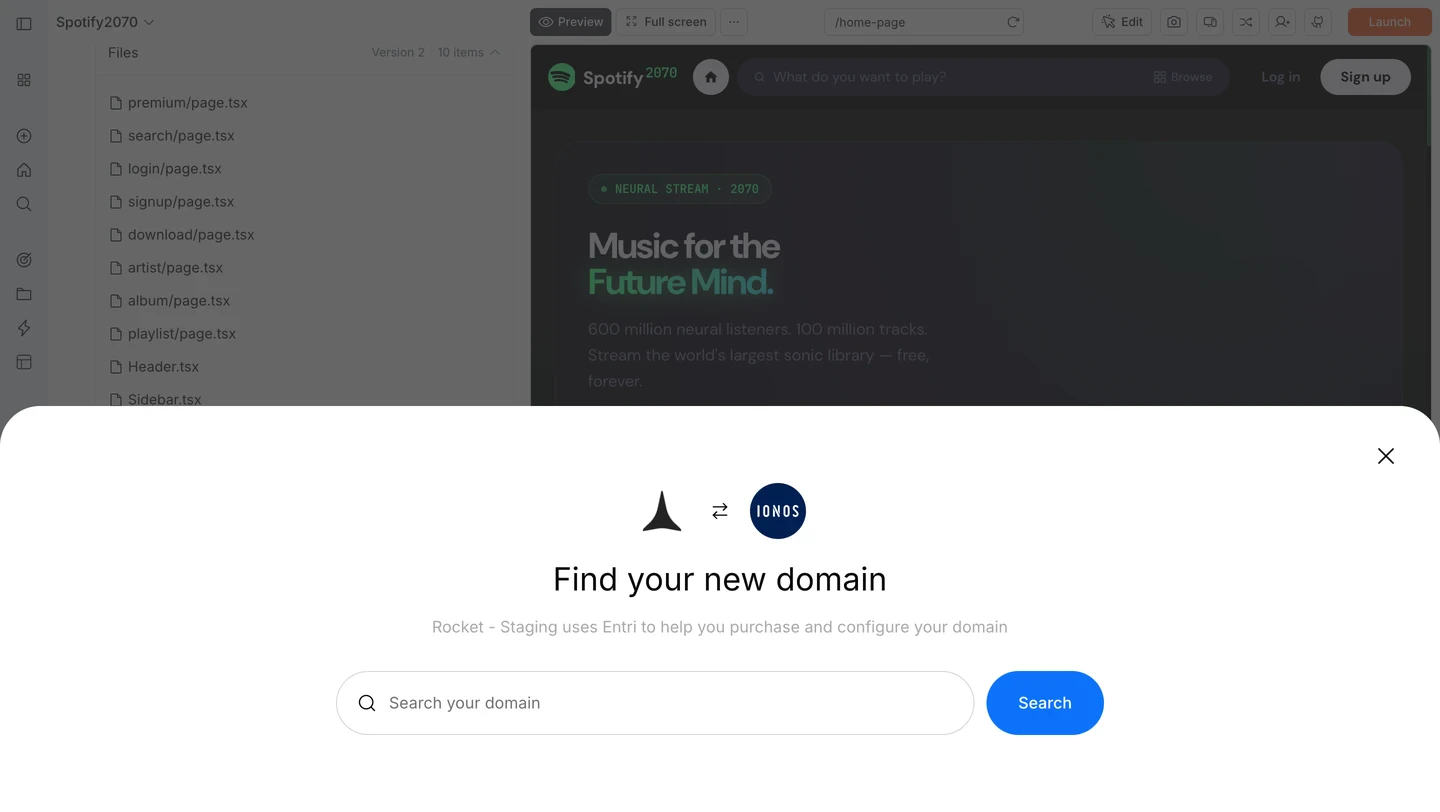
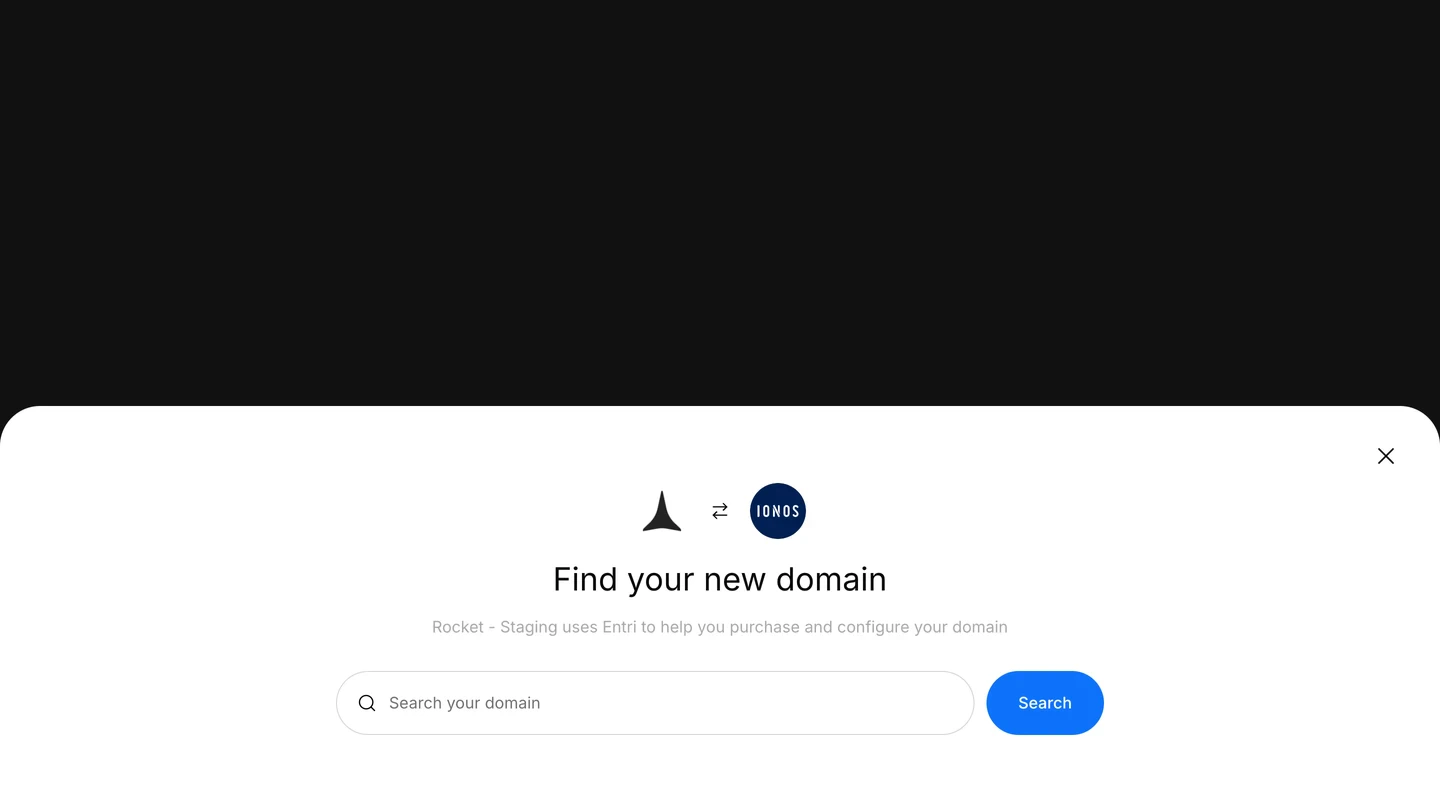
The IONOS domain search opens inside Rocket. Type the name you want and click Search.
Search for your domain name
4
Select a domain
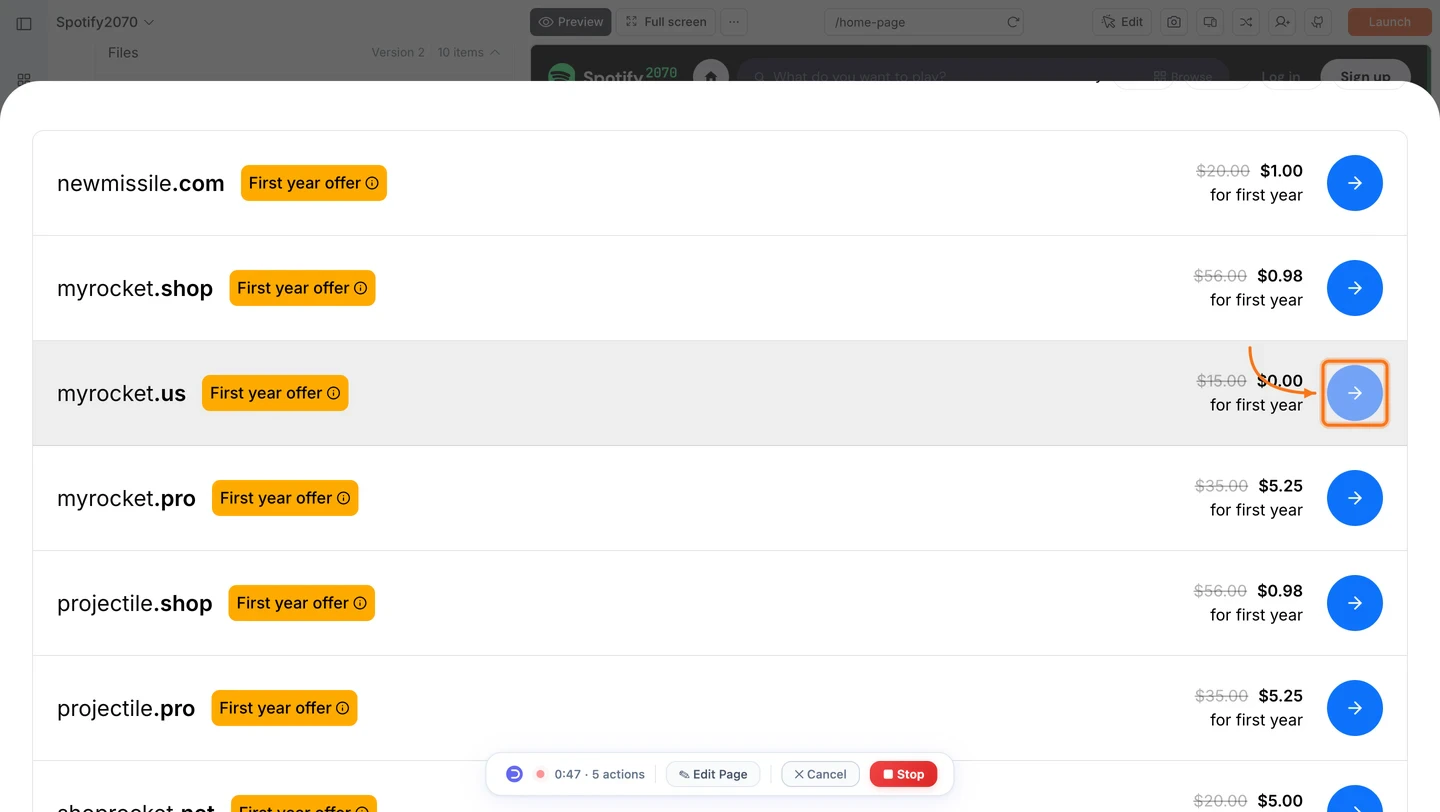
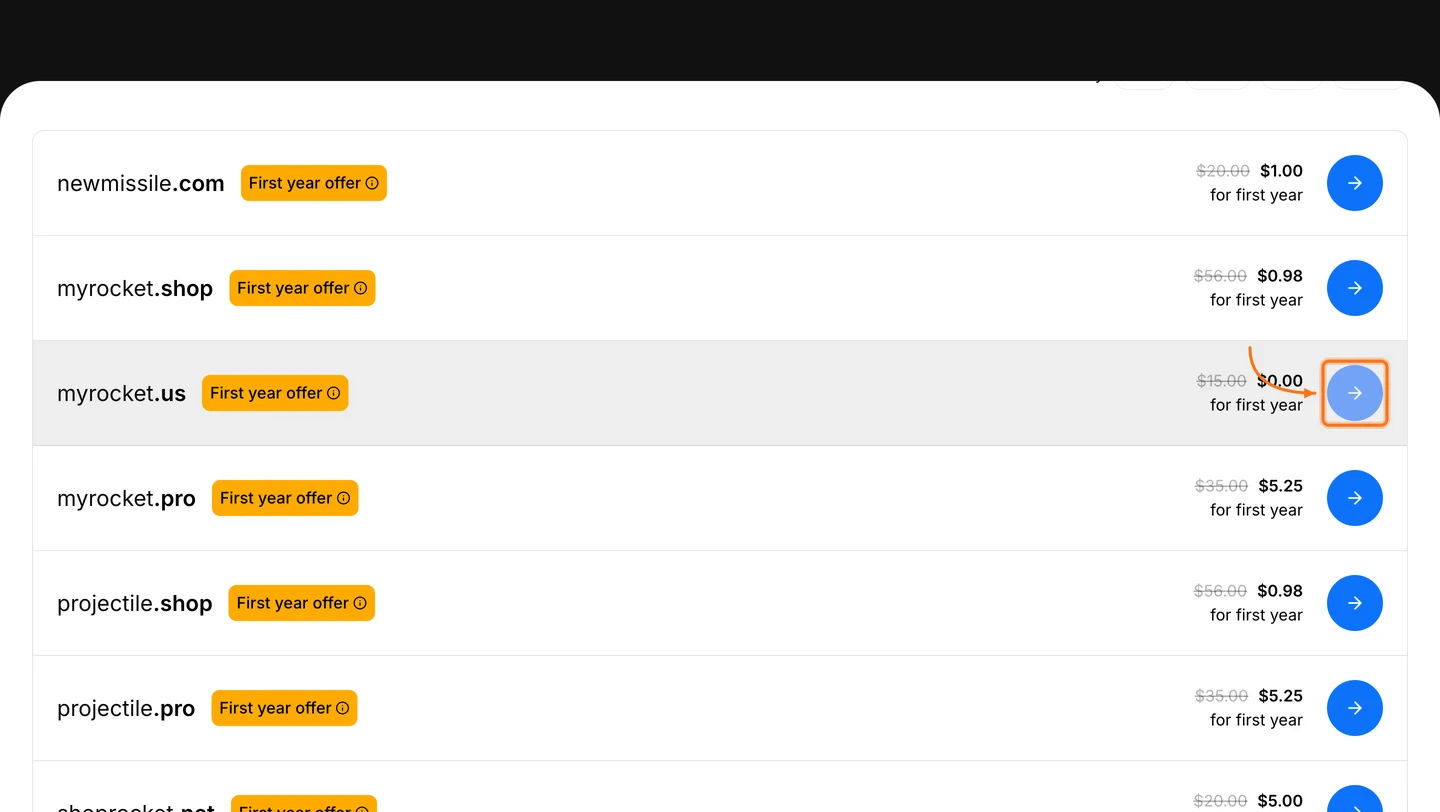
Browse available domains and their pricing. Click the → button next to the domain you want.
Choose a domain from the search results
5
Complete the purchase on IONOS
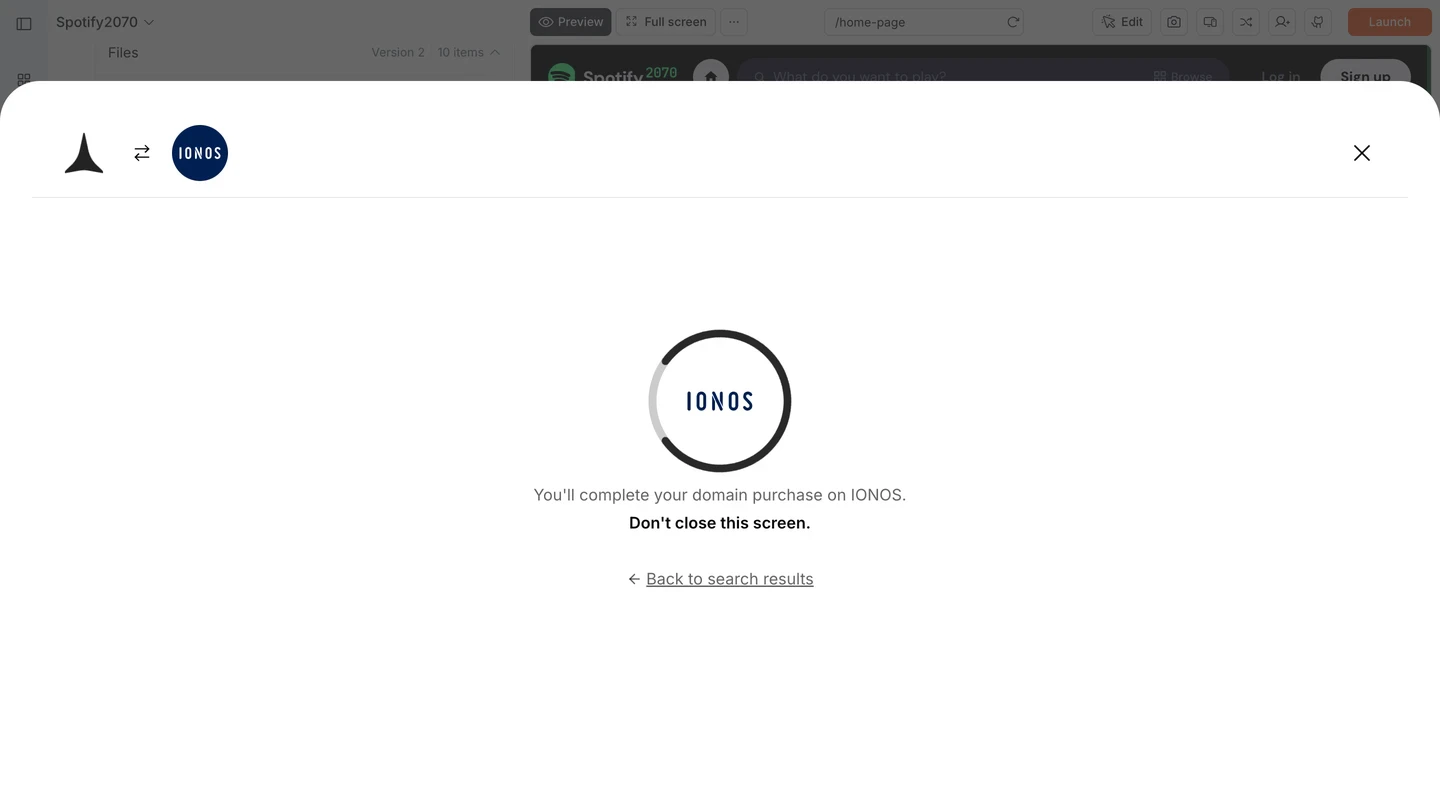
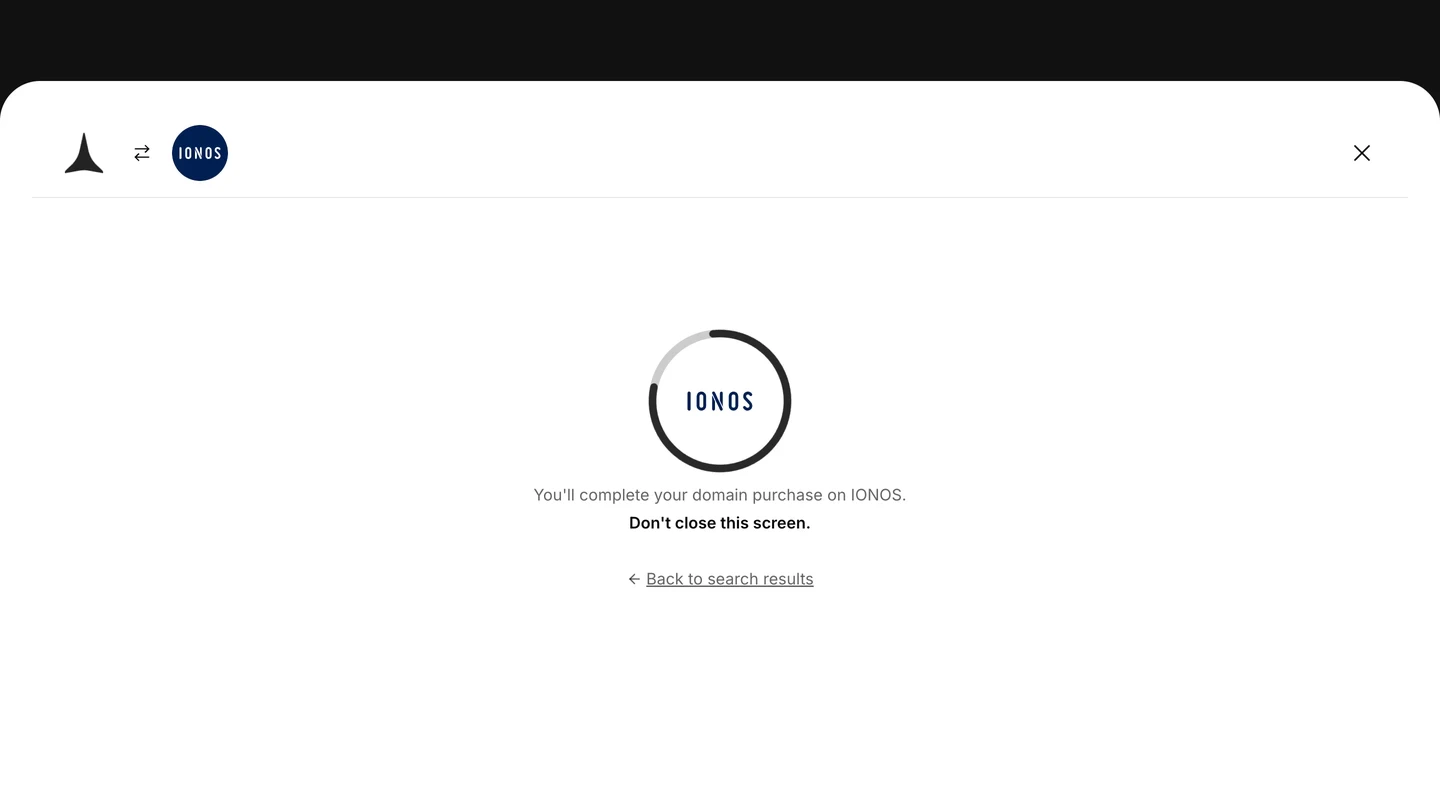
Rocket redirects you to IONOS to complete payment. Keep this screen open. Rocket connects your domain automatically once the purchase is confirmed.
You are redirected to IONOS to complete payment
Do not close the Rocket tab while the IONOS payment is in progress. Rocket needs this screen open to detect the completed purchase and configure your DNS automatically.