Before you start
You need a Rocket account. If you have not signed up yet, create an account first. Intelligence is included with your plan at no additional credit cost.Opening Intelligence
From the Rocket home screen, click Intelligence in the sidebar to enter Intelligence.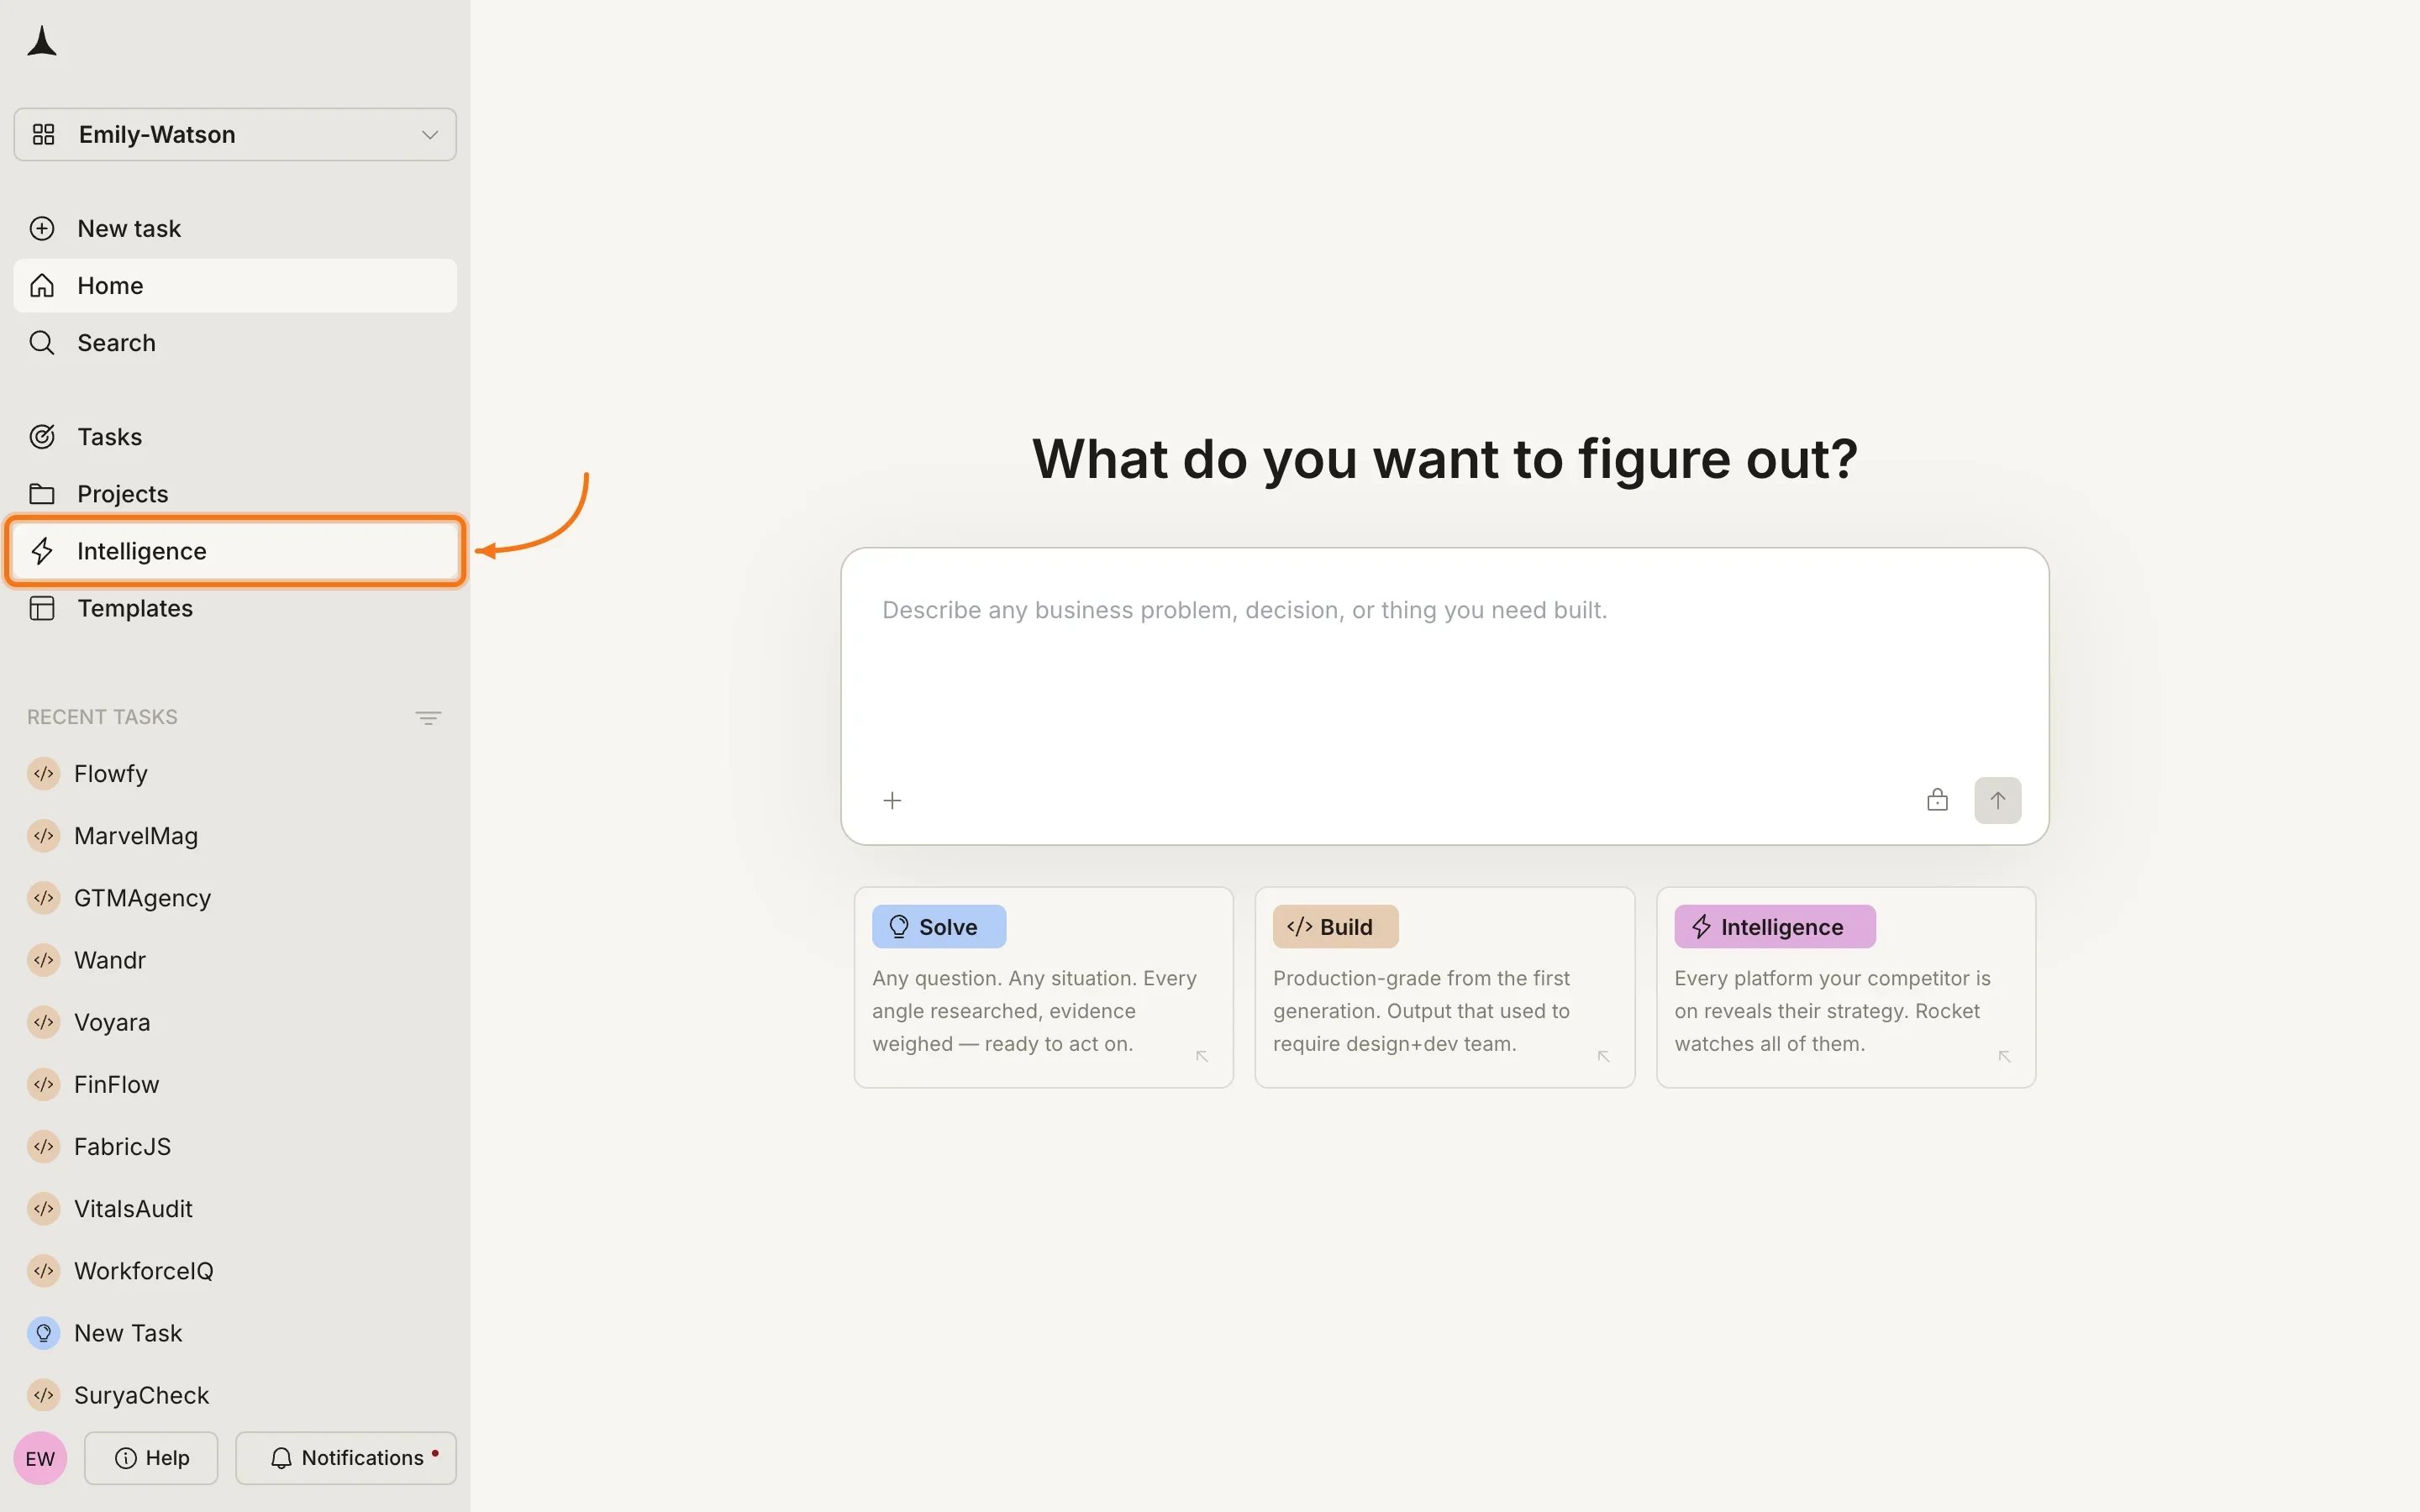
First-time setup
On your first visit, Intelligence personalizes your experience with a three-step wizard.Tell us about yourself
Enter your first name, last name, and business URL. Intelligence uses your company to understand your market and frame Intel relative to your competitive position.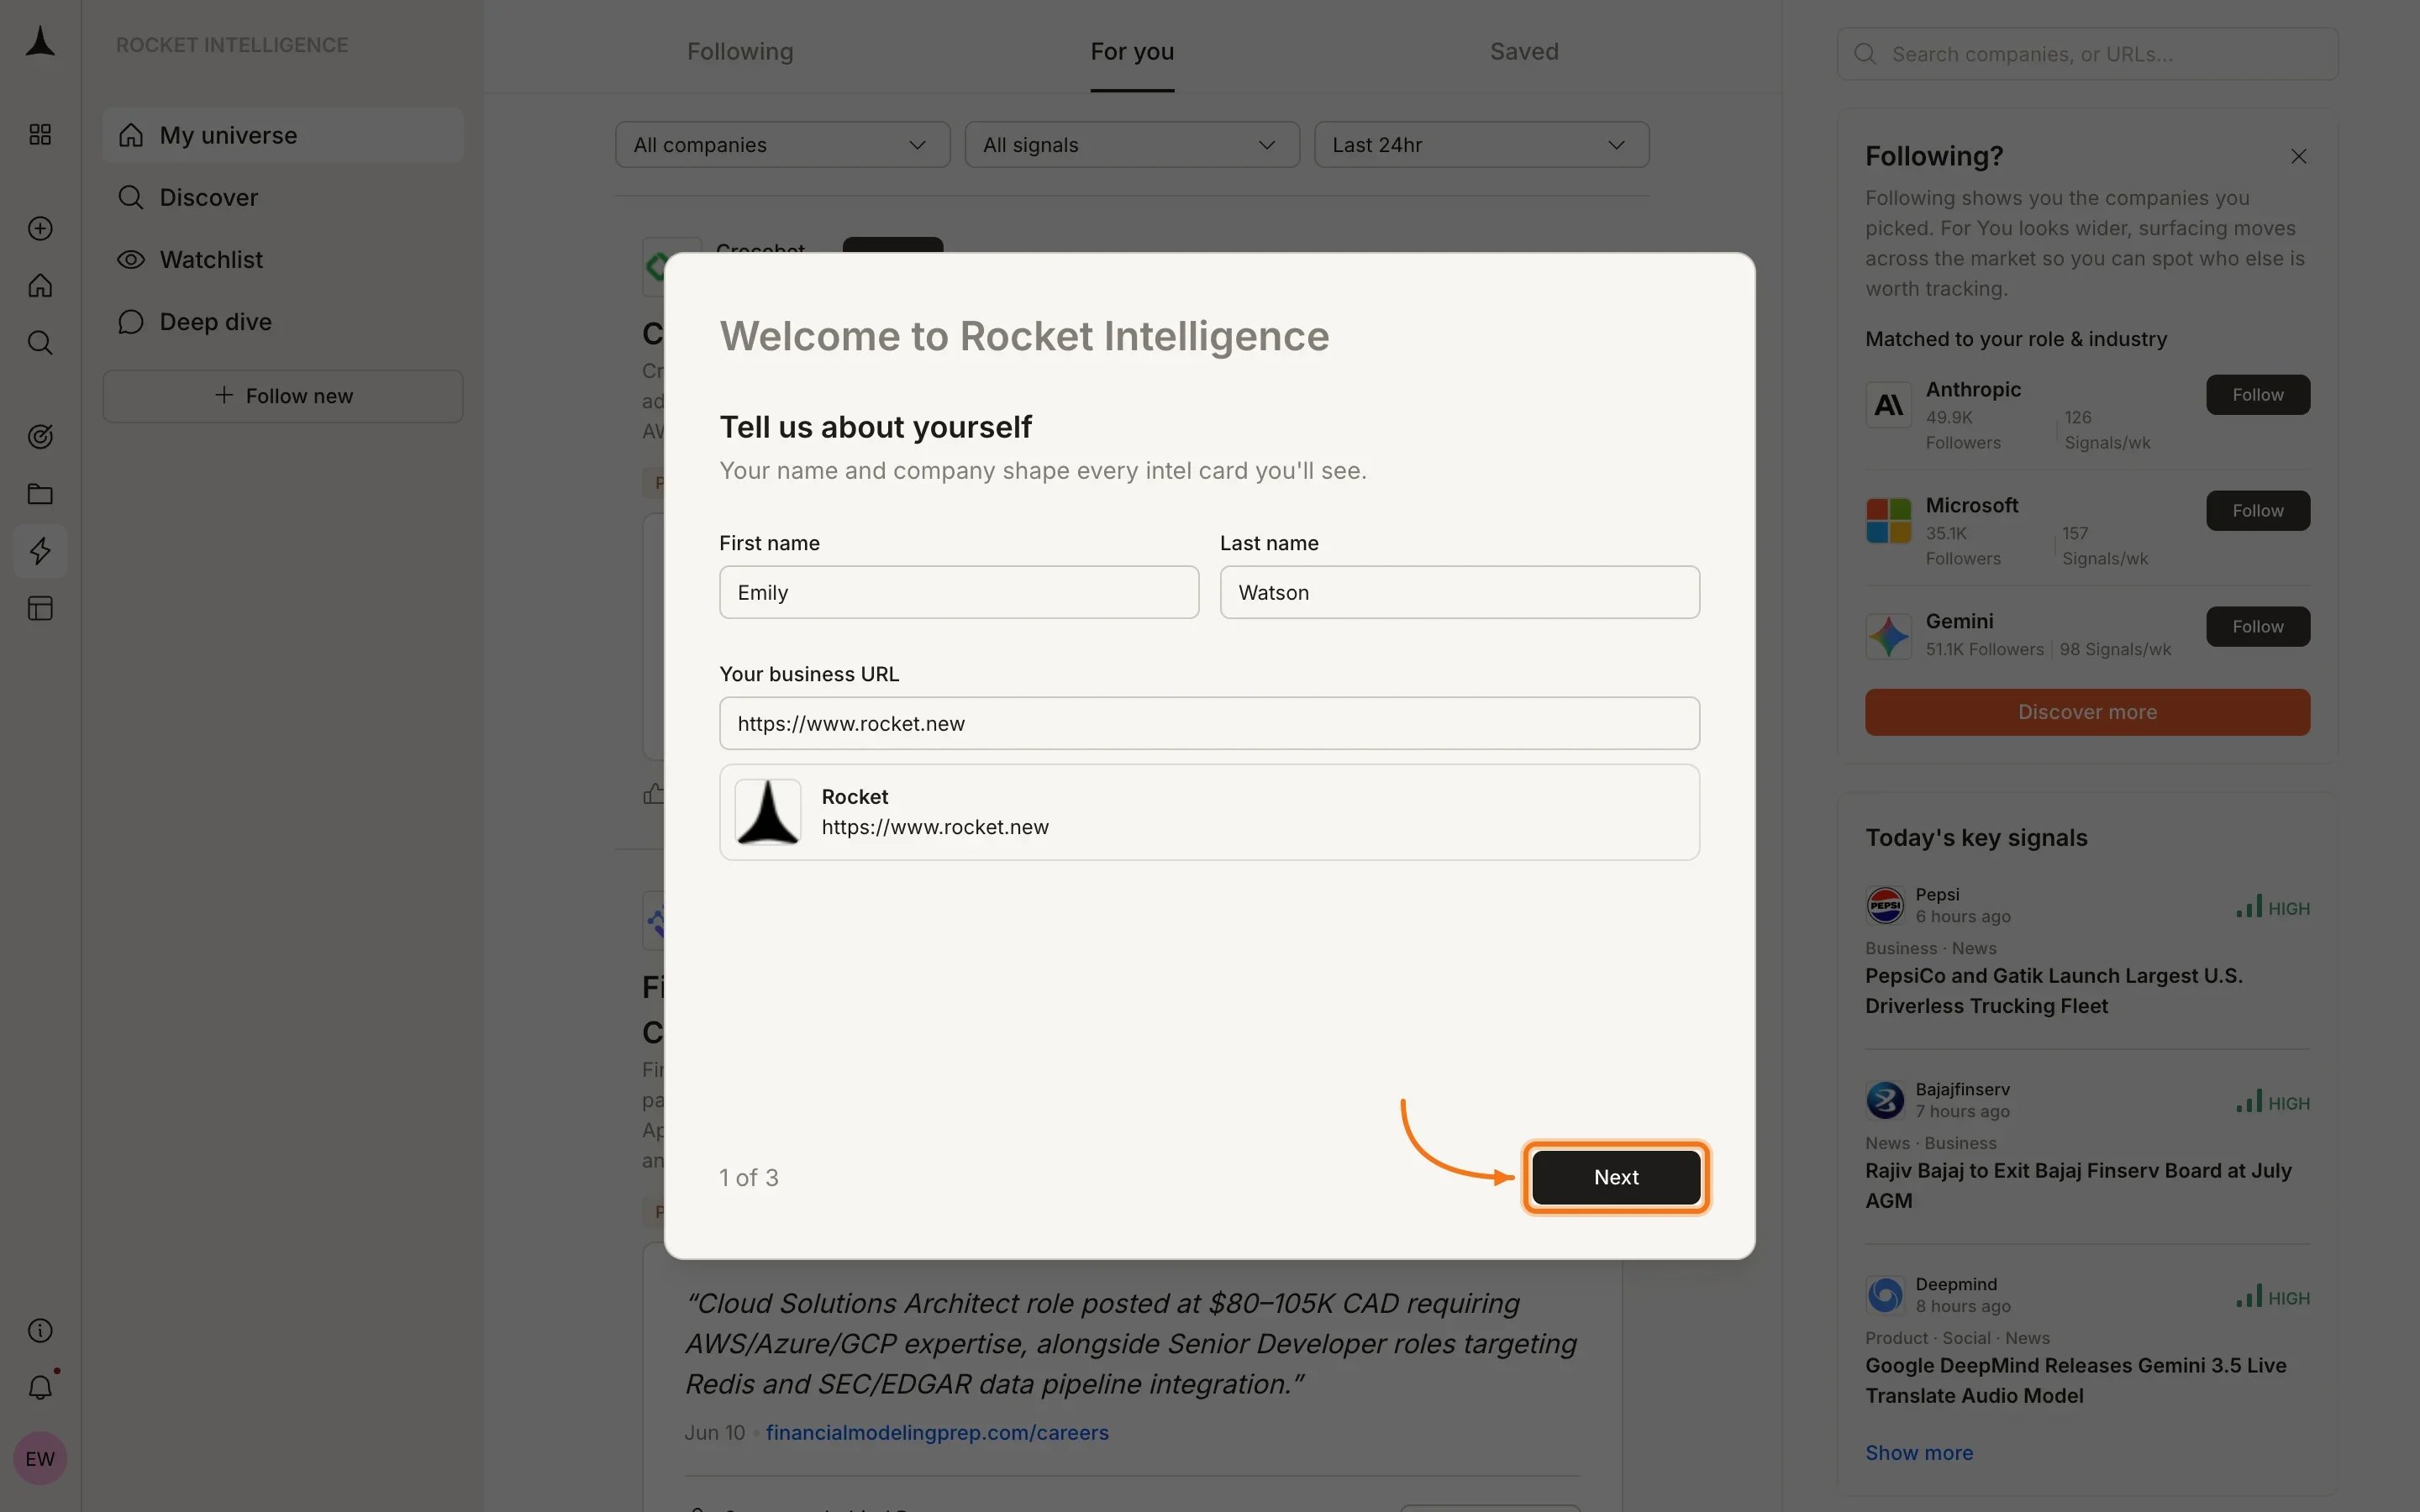
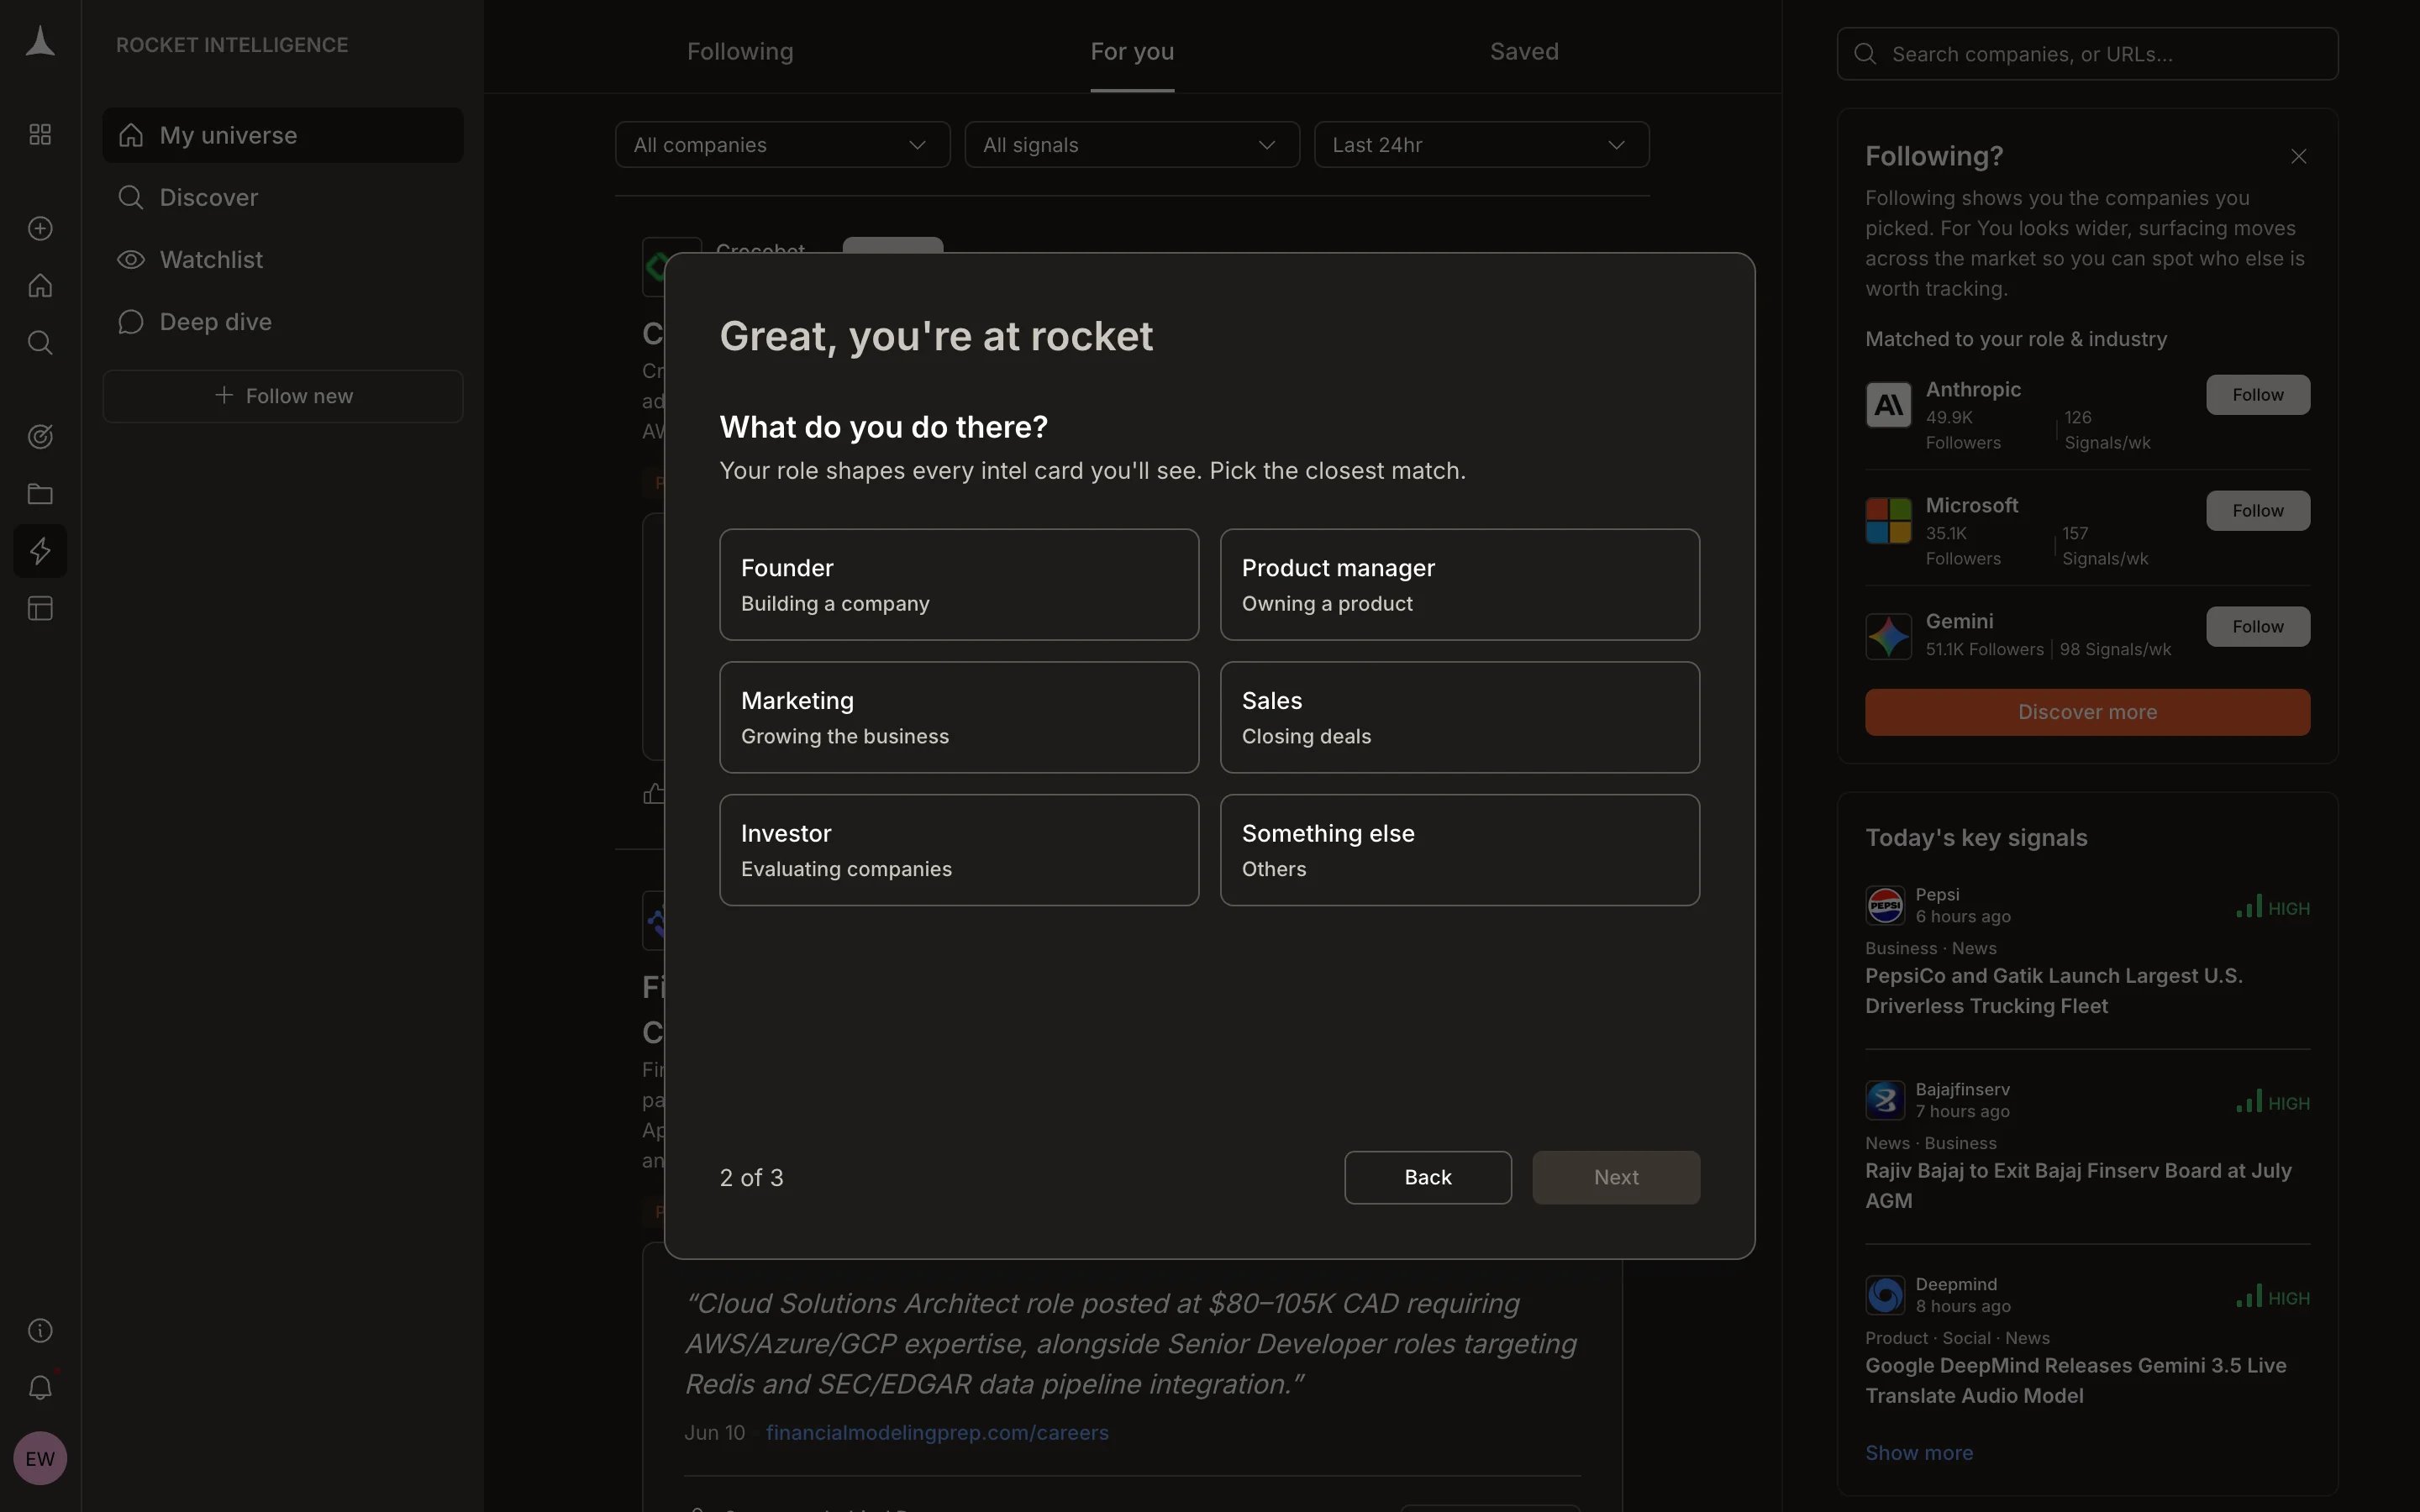
Select your role
Pick the role that best describes what you do. Your role shapes which signals surface first and how Intel is framed for you.Available roles:
- Founder: Building a company
- Product manager: Owning a product
- Marketing: Growing the business
- Sales: Closing deals
- Investor: Evaluating companies
- Something else: Others
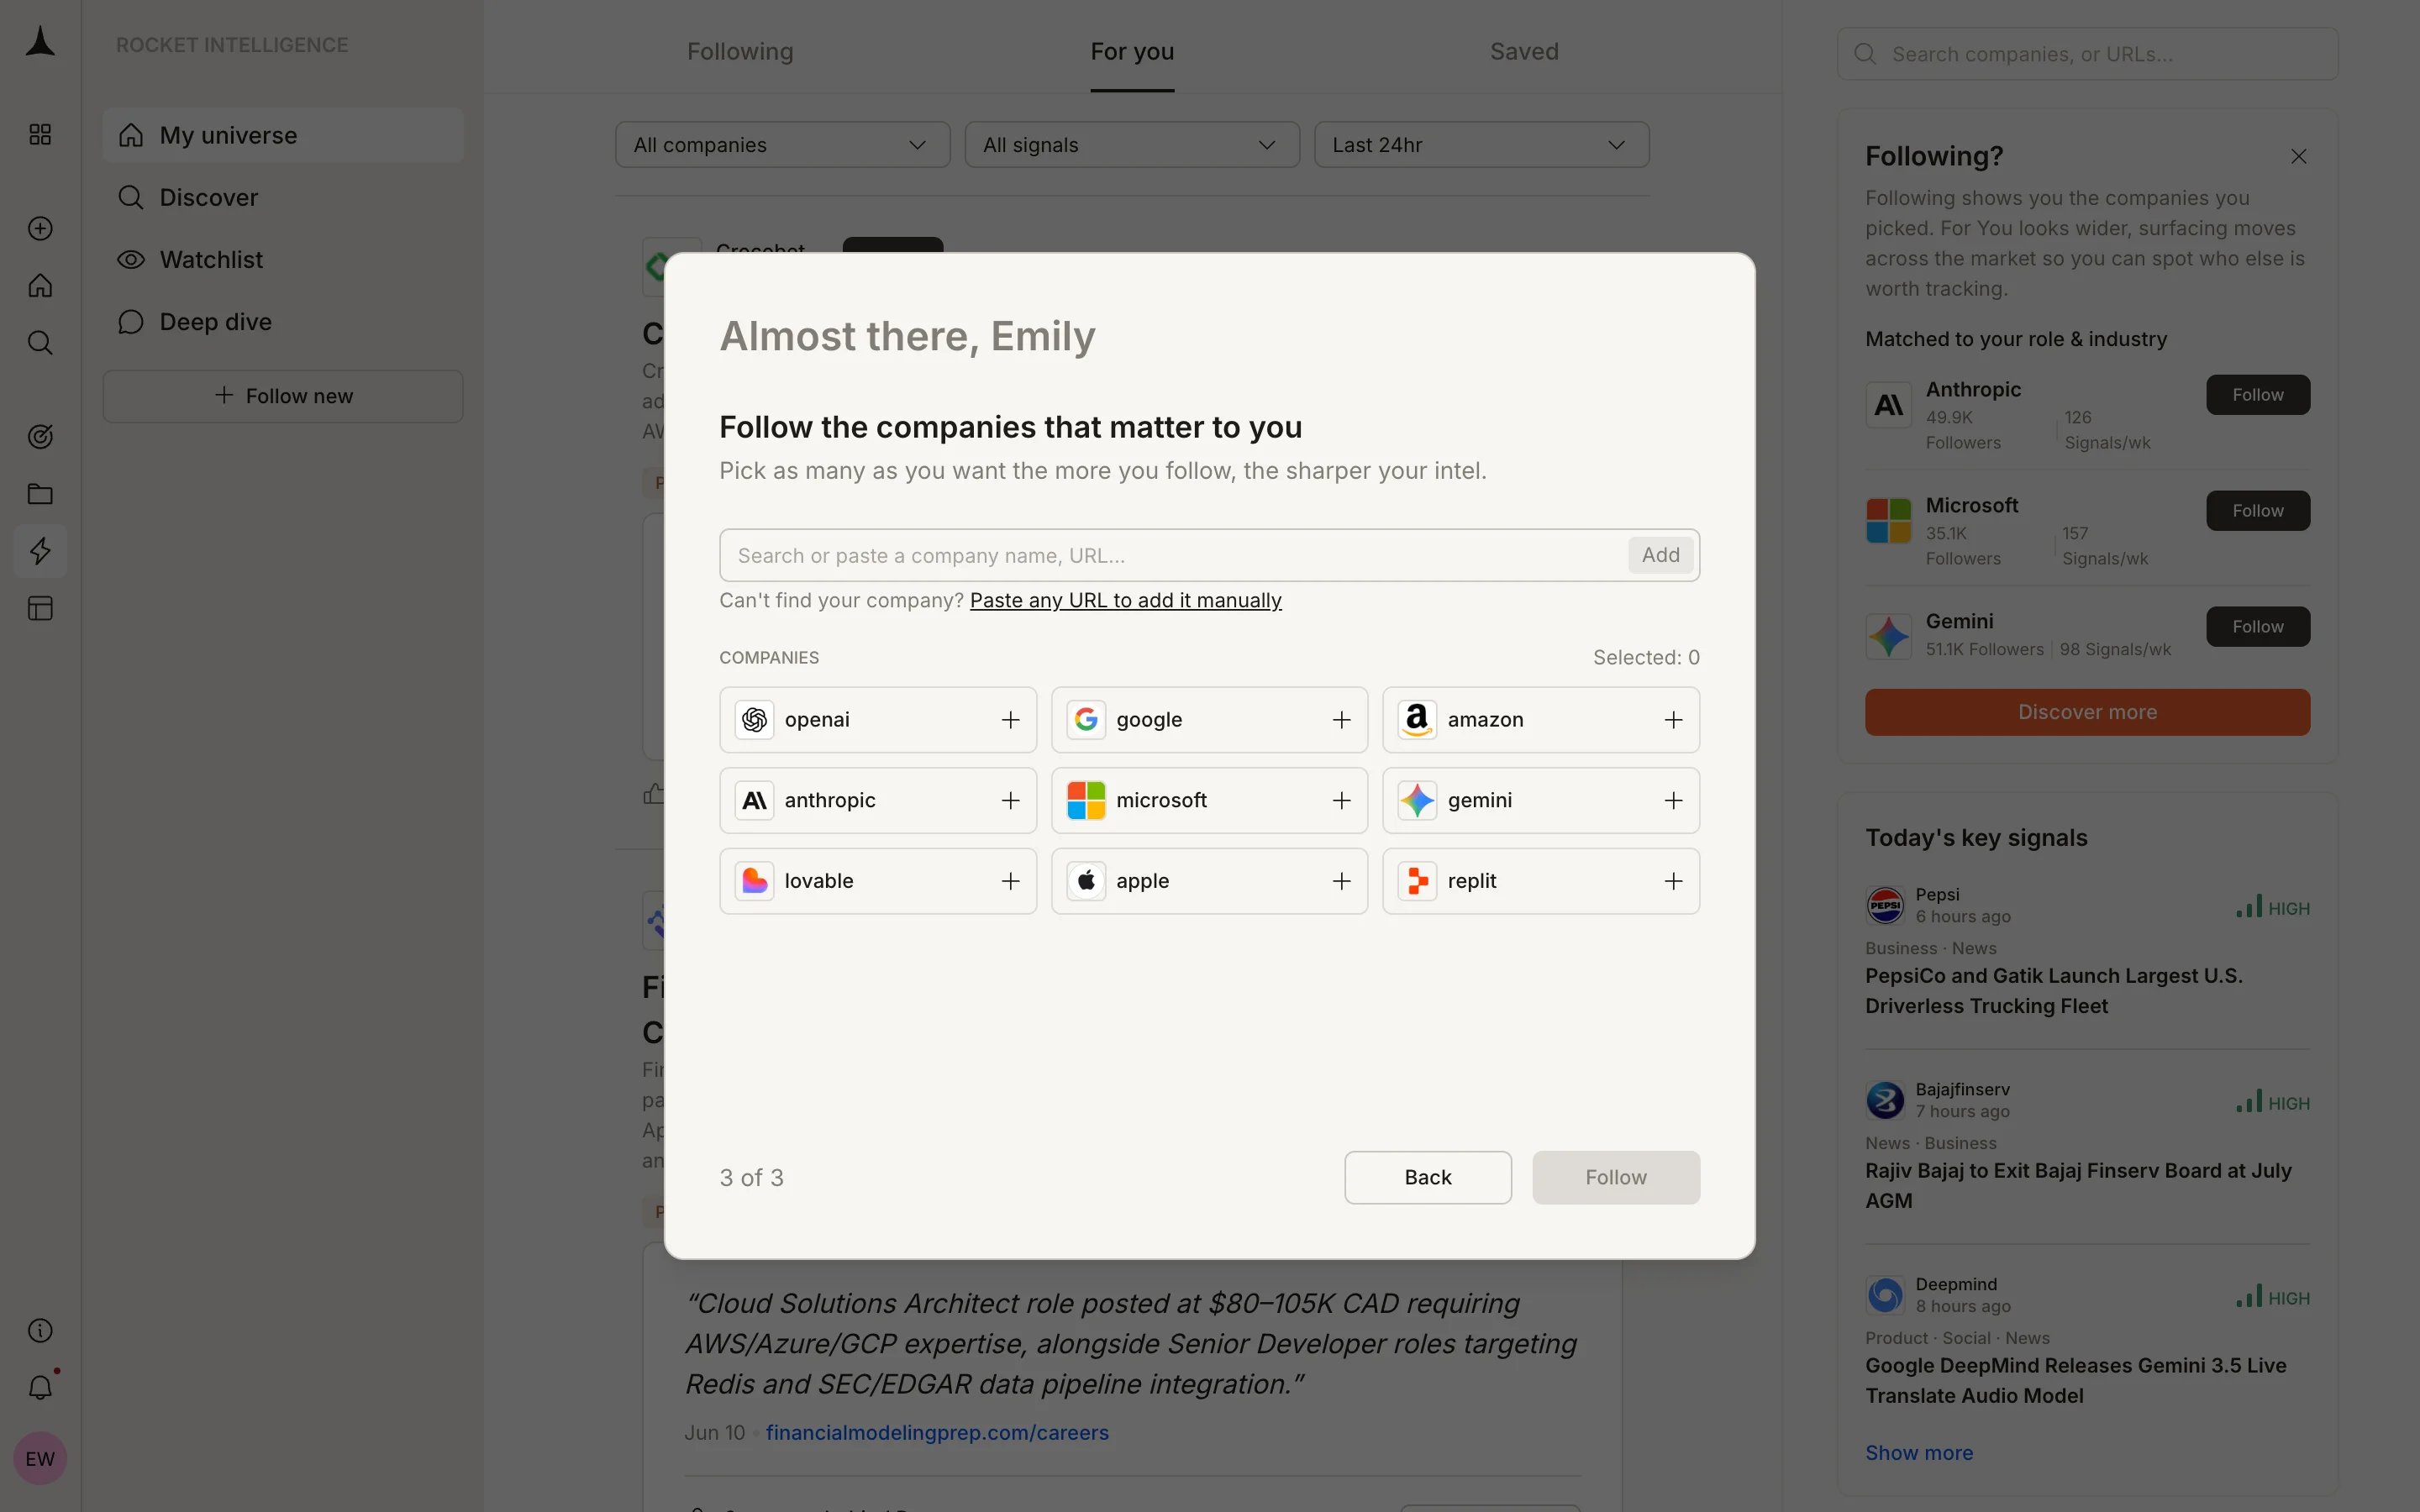
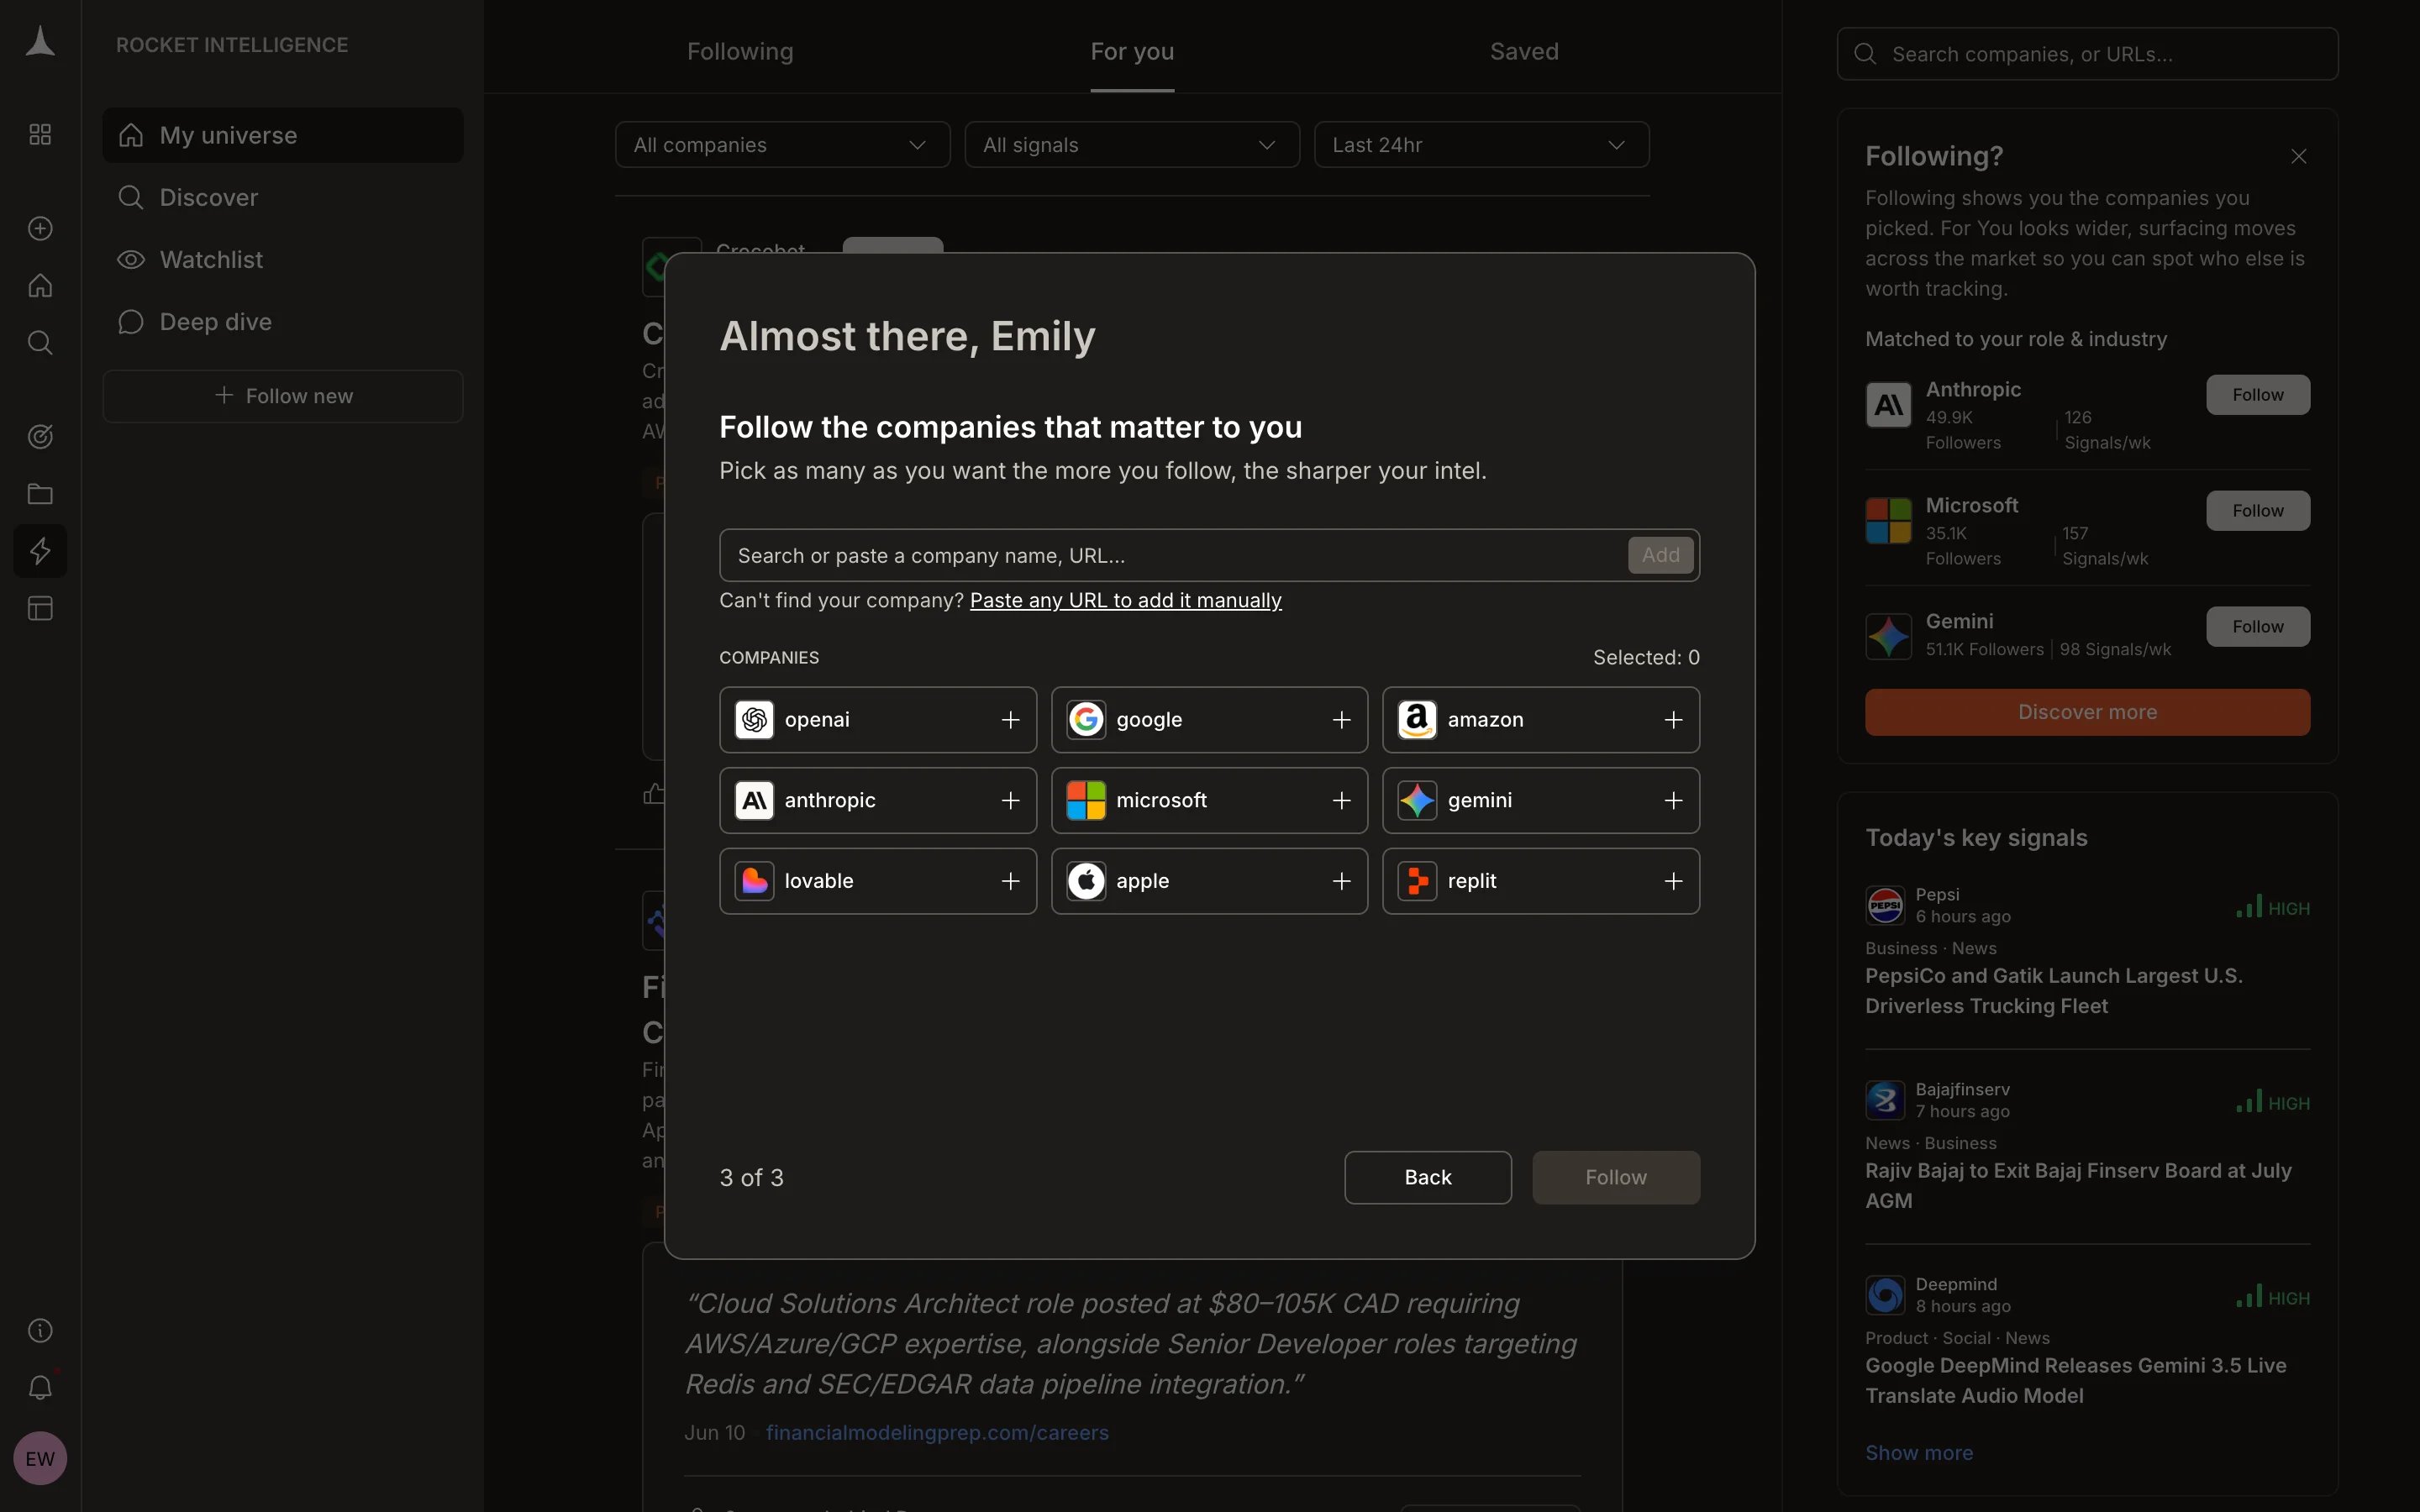
Adding more companies
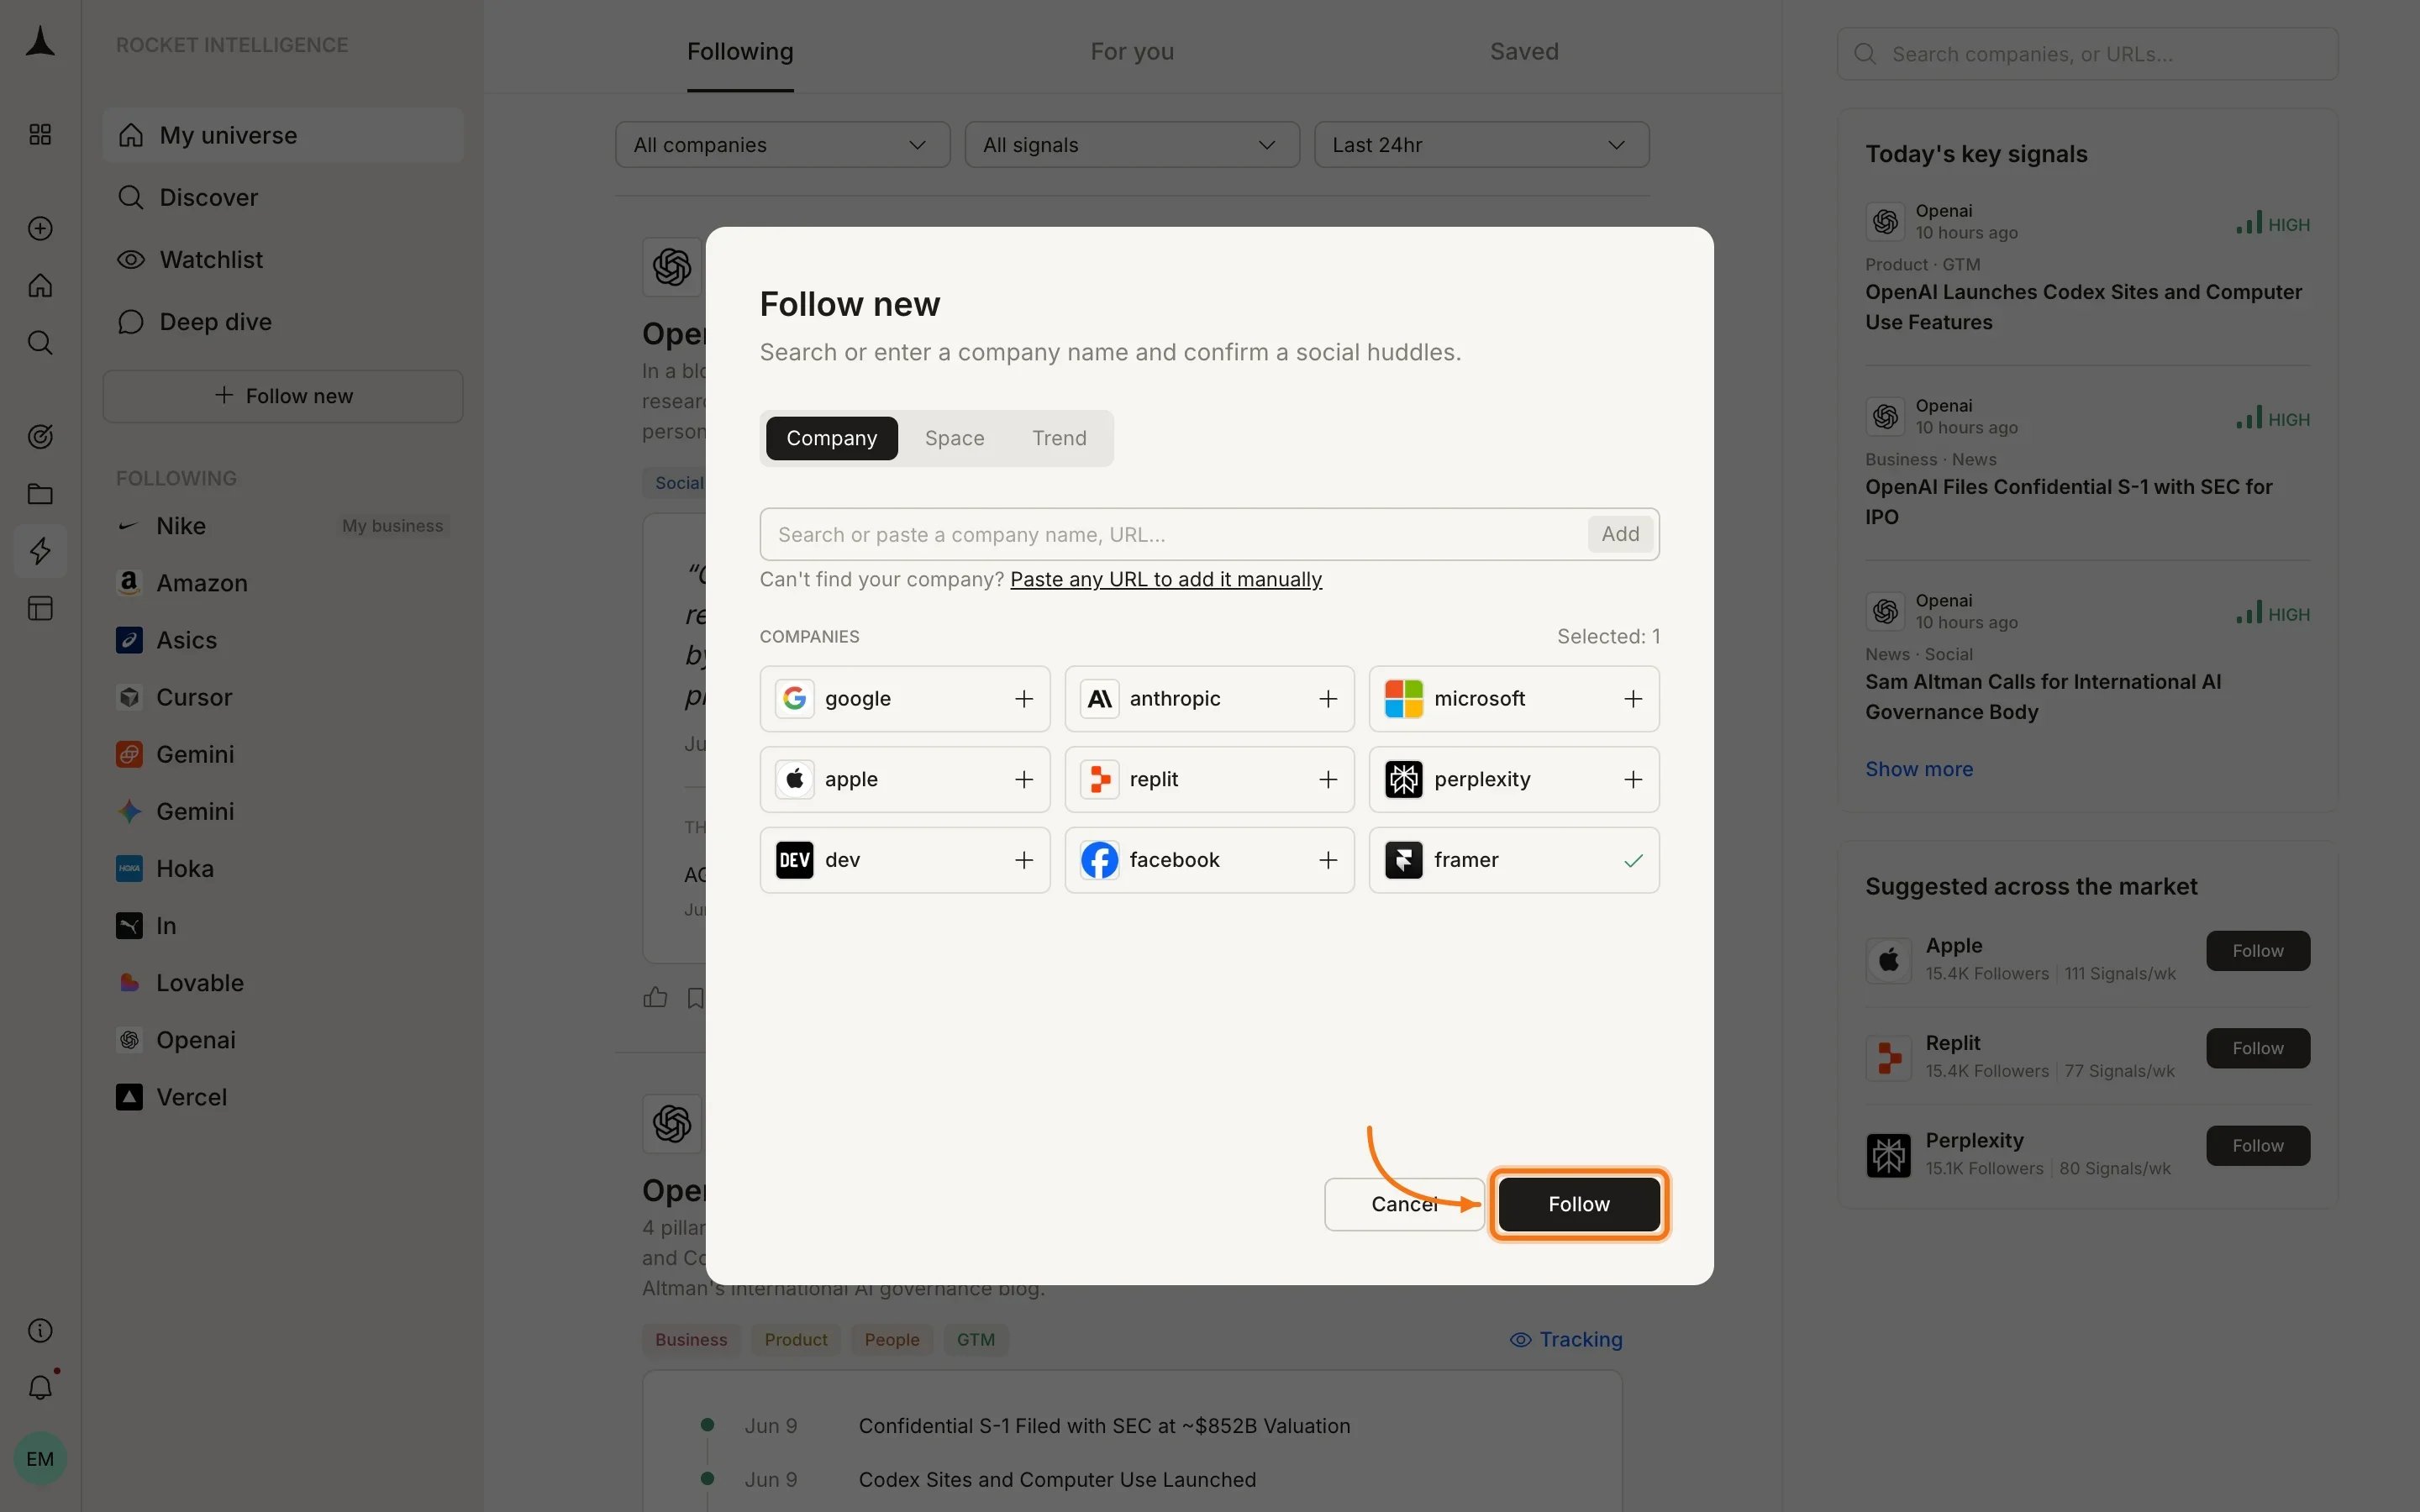
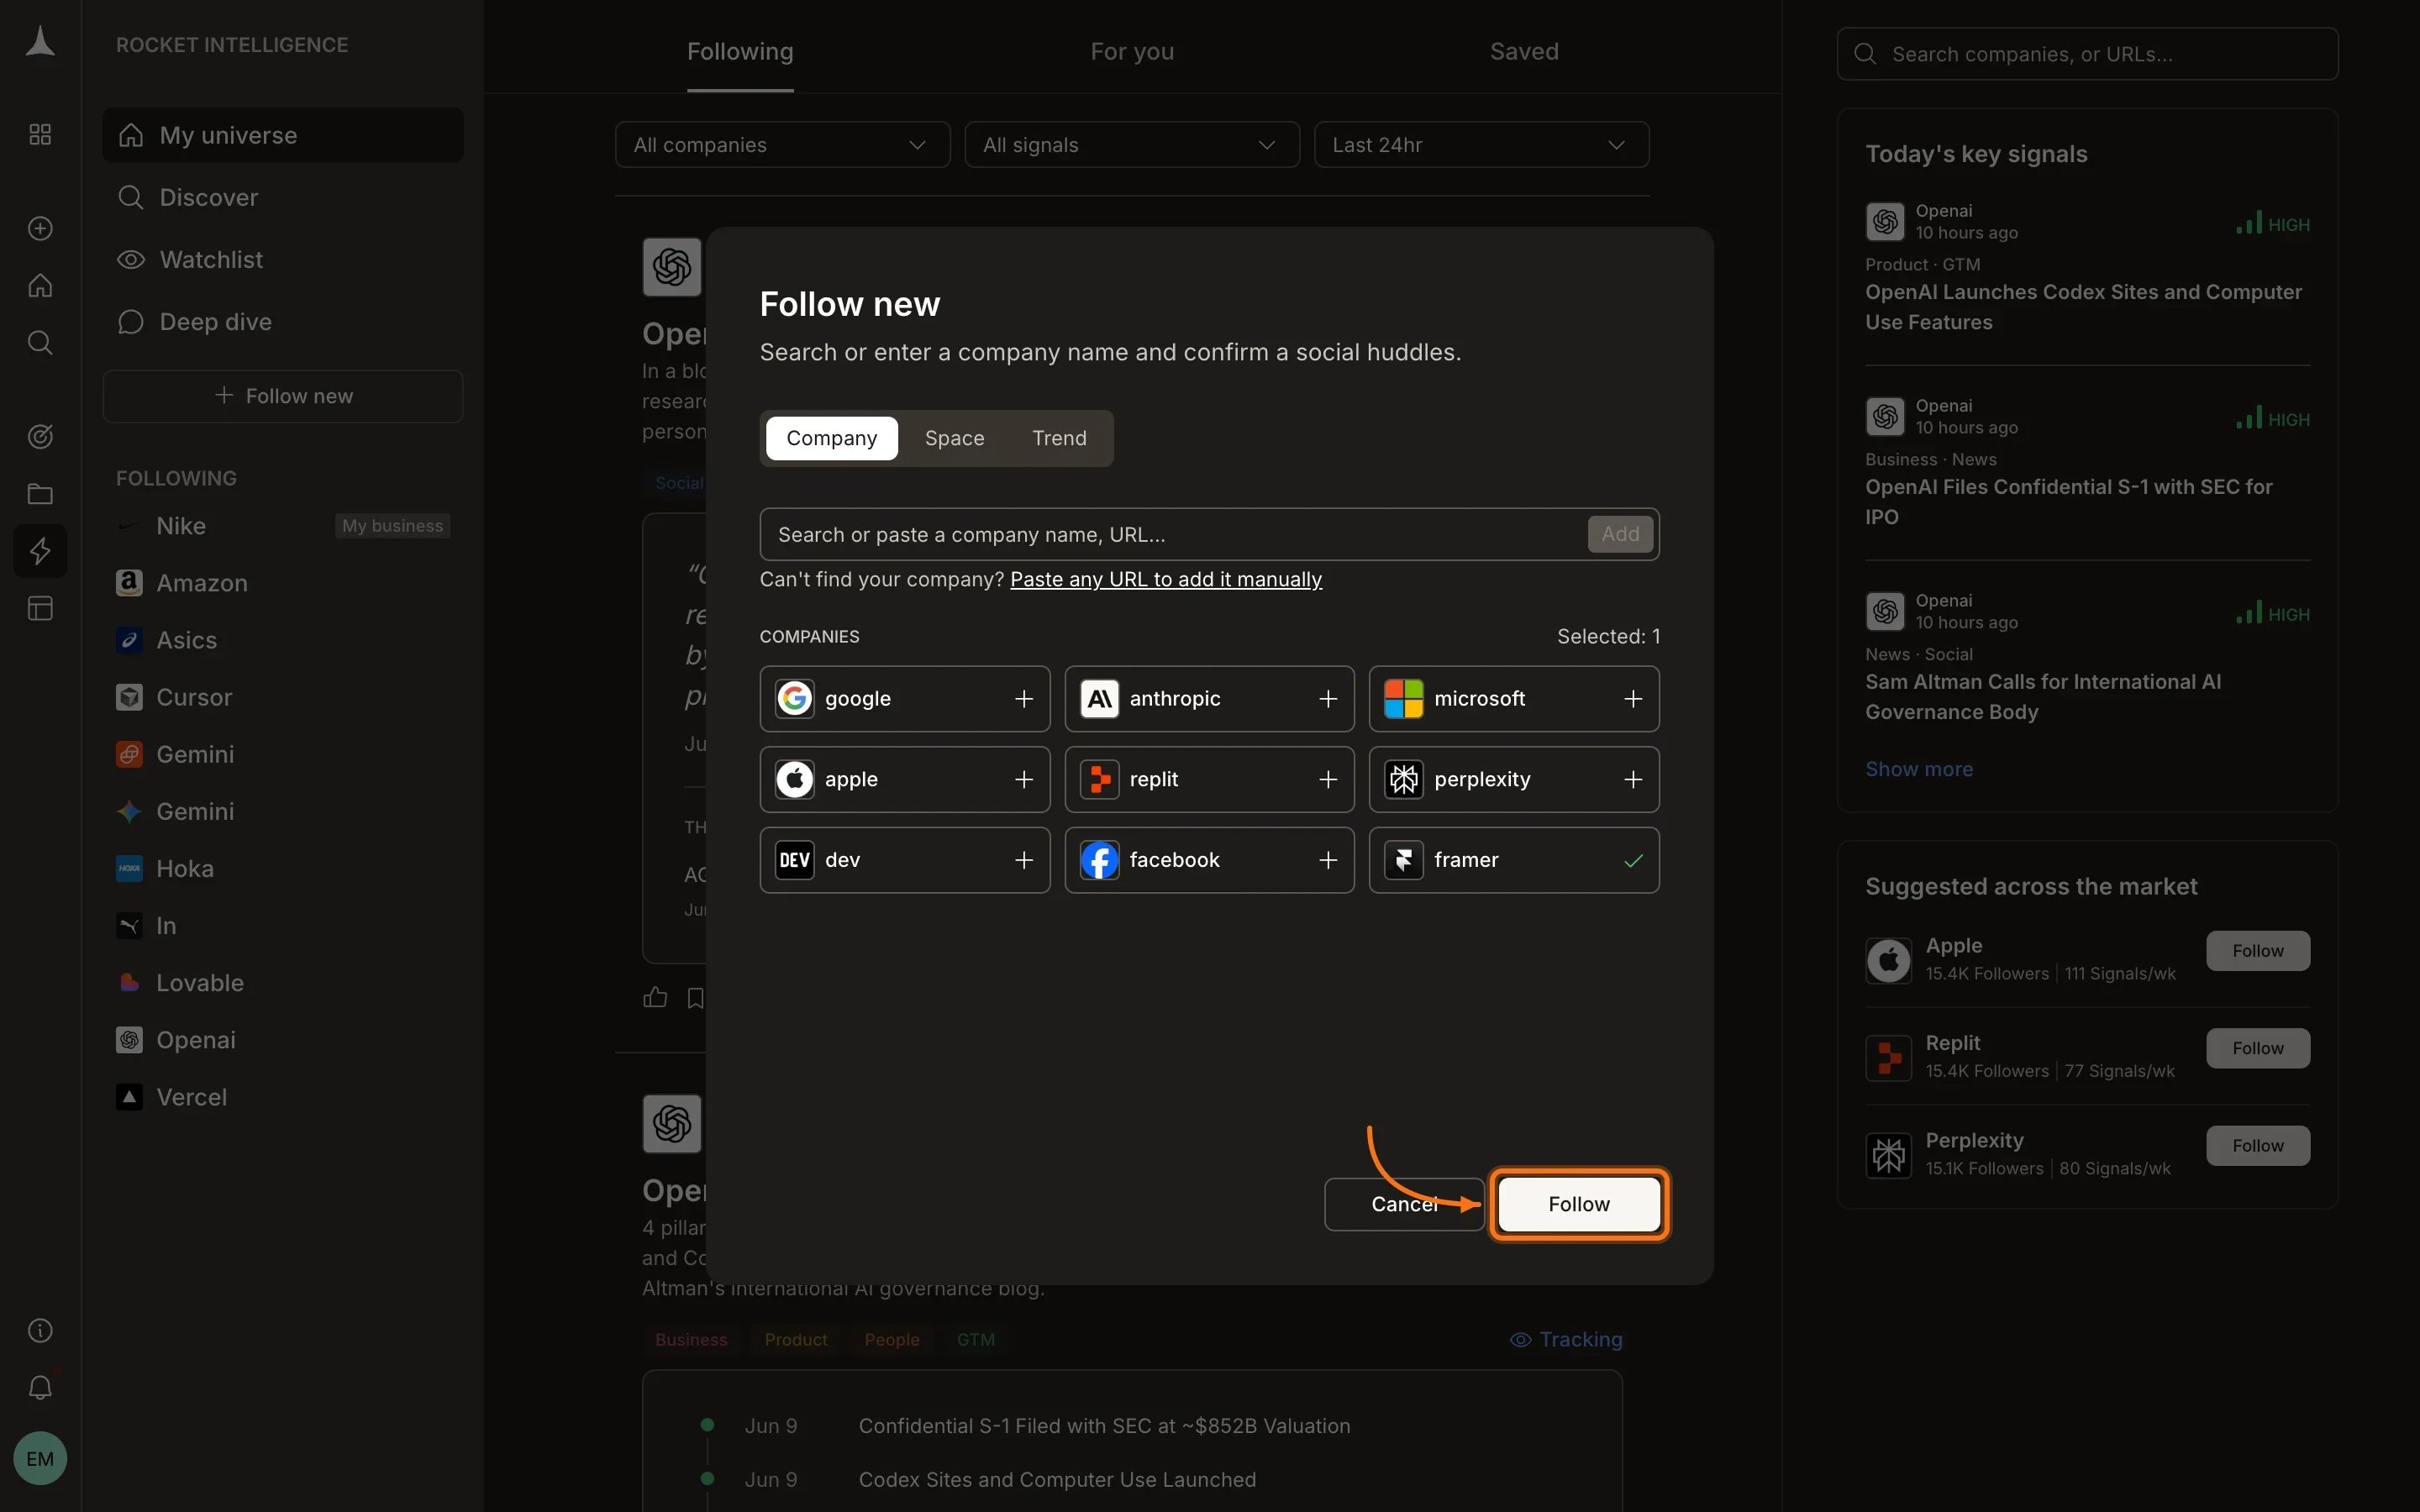
You can always add more companies to your universe later. Click + Follow new in the sidebar to open the follow modal.Click + Follow new
The button sits below your sidebar navigation. Click it to open the follow modal.
Browse or search
The modal shows Company, Space, and Trend tabs. Browse suggested companies or search by name or URL. Select one or more companies by clicking the + icon next to each.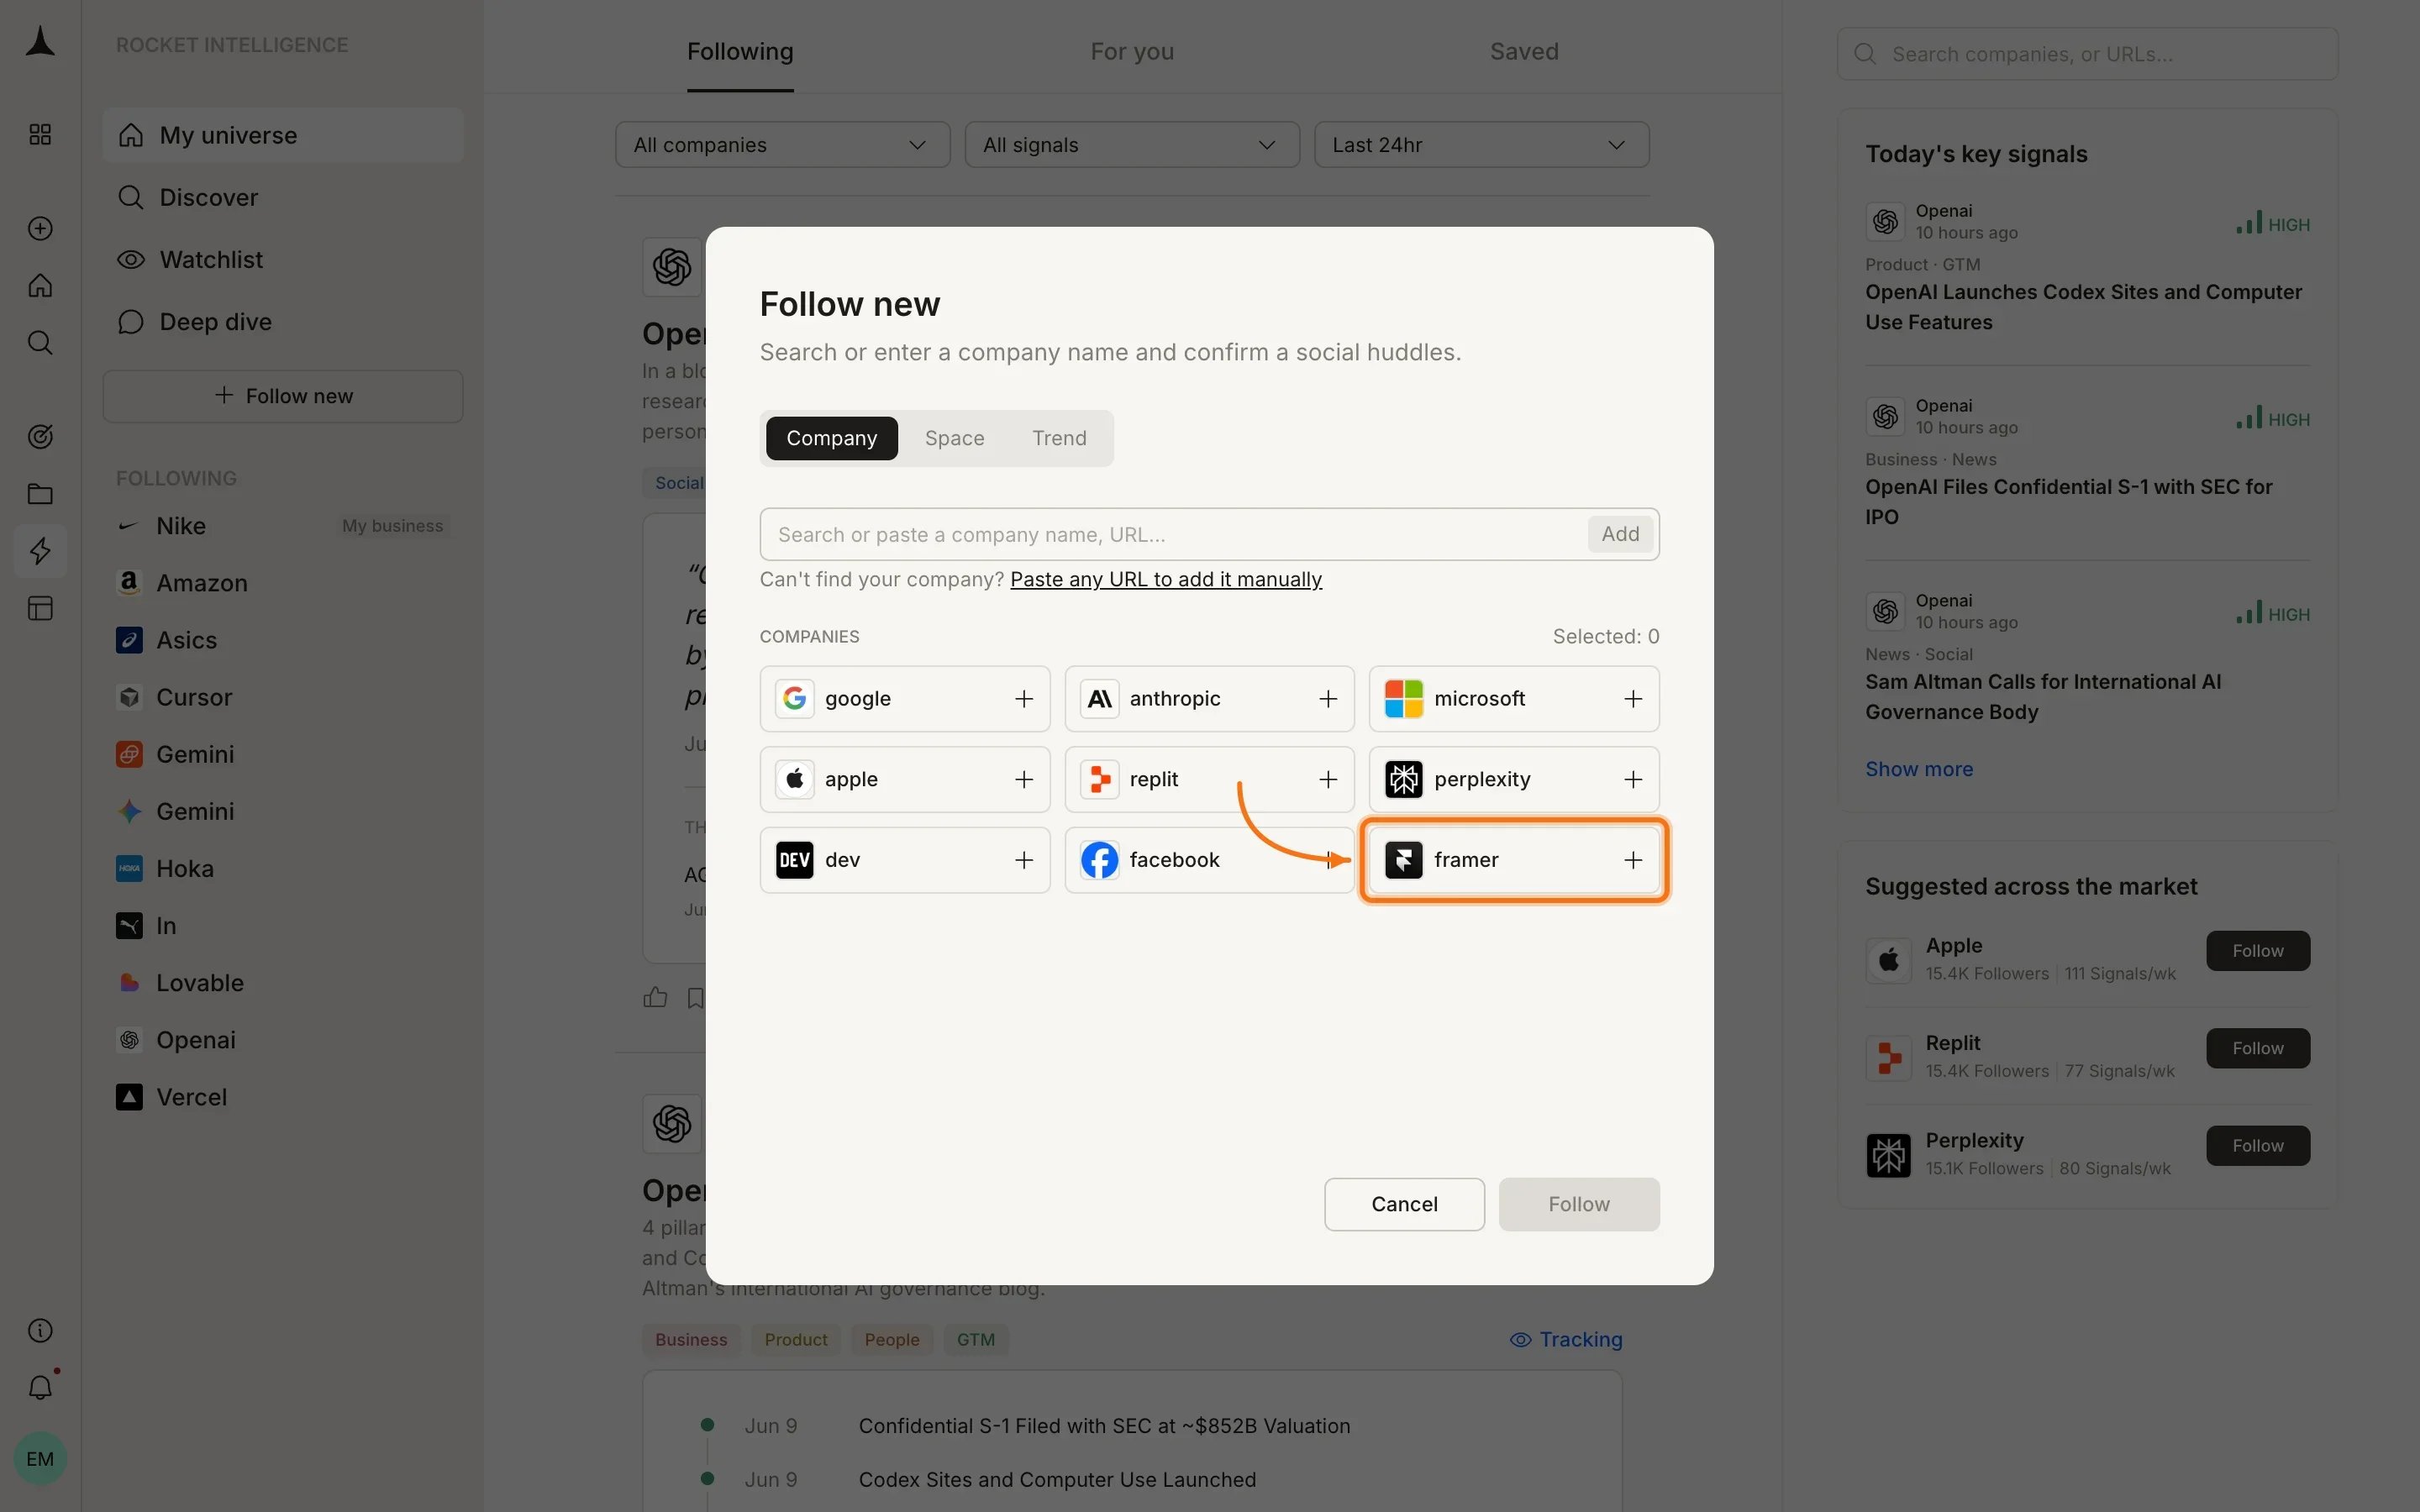

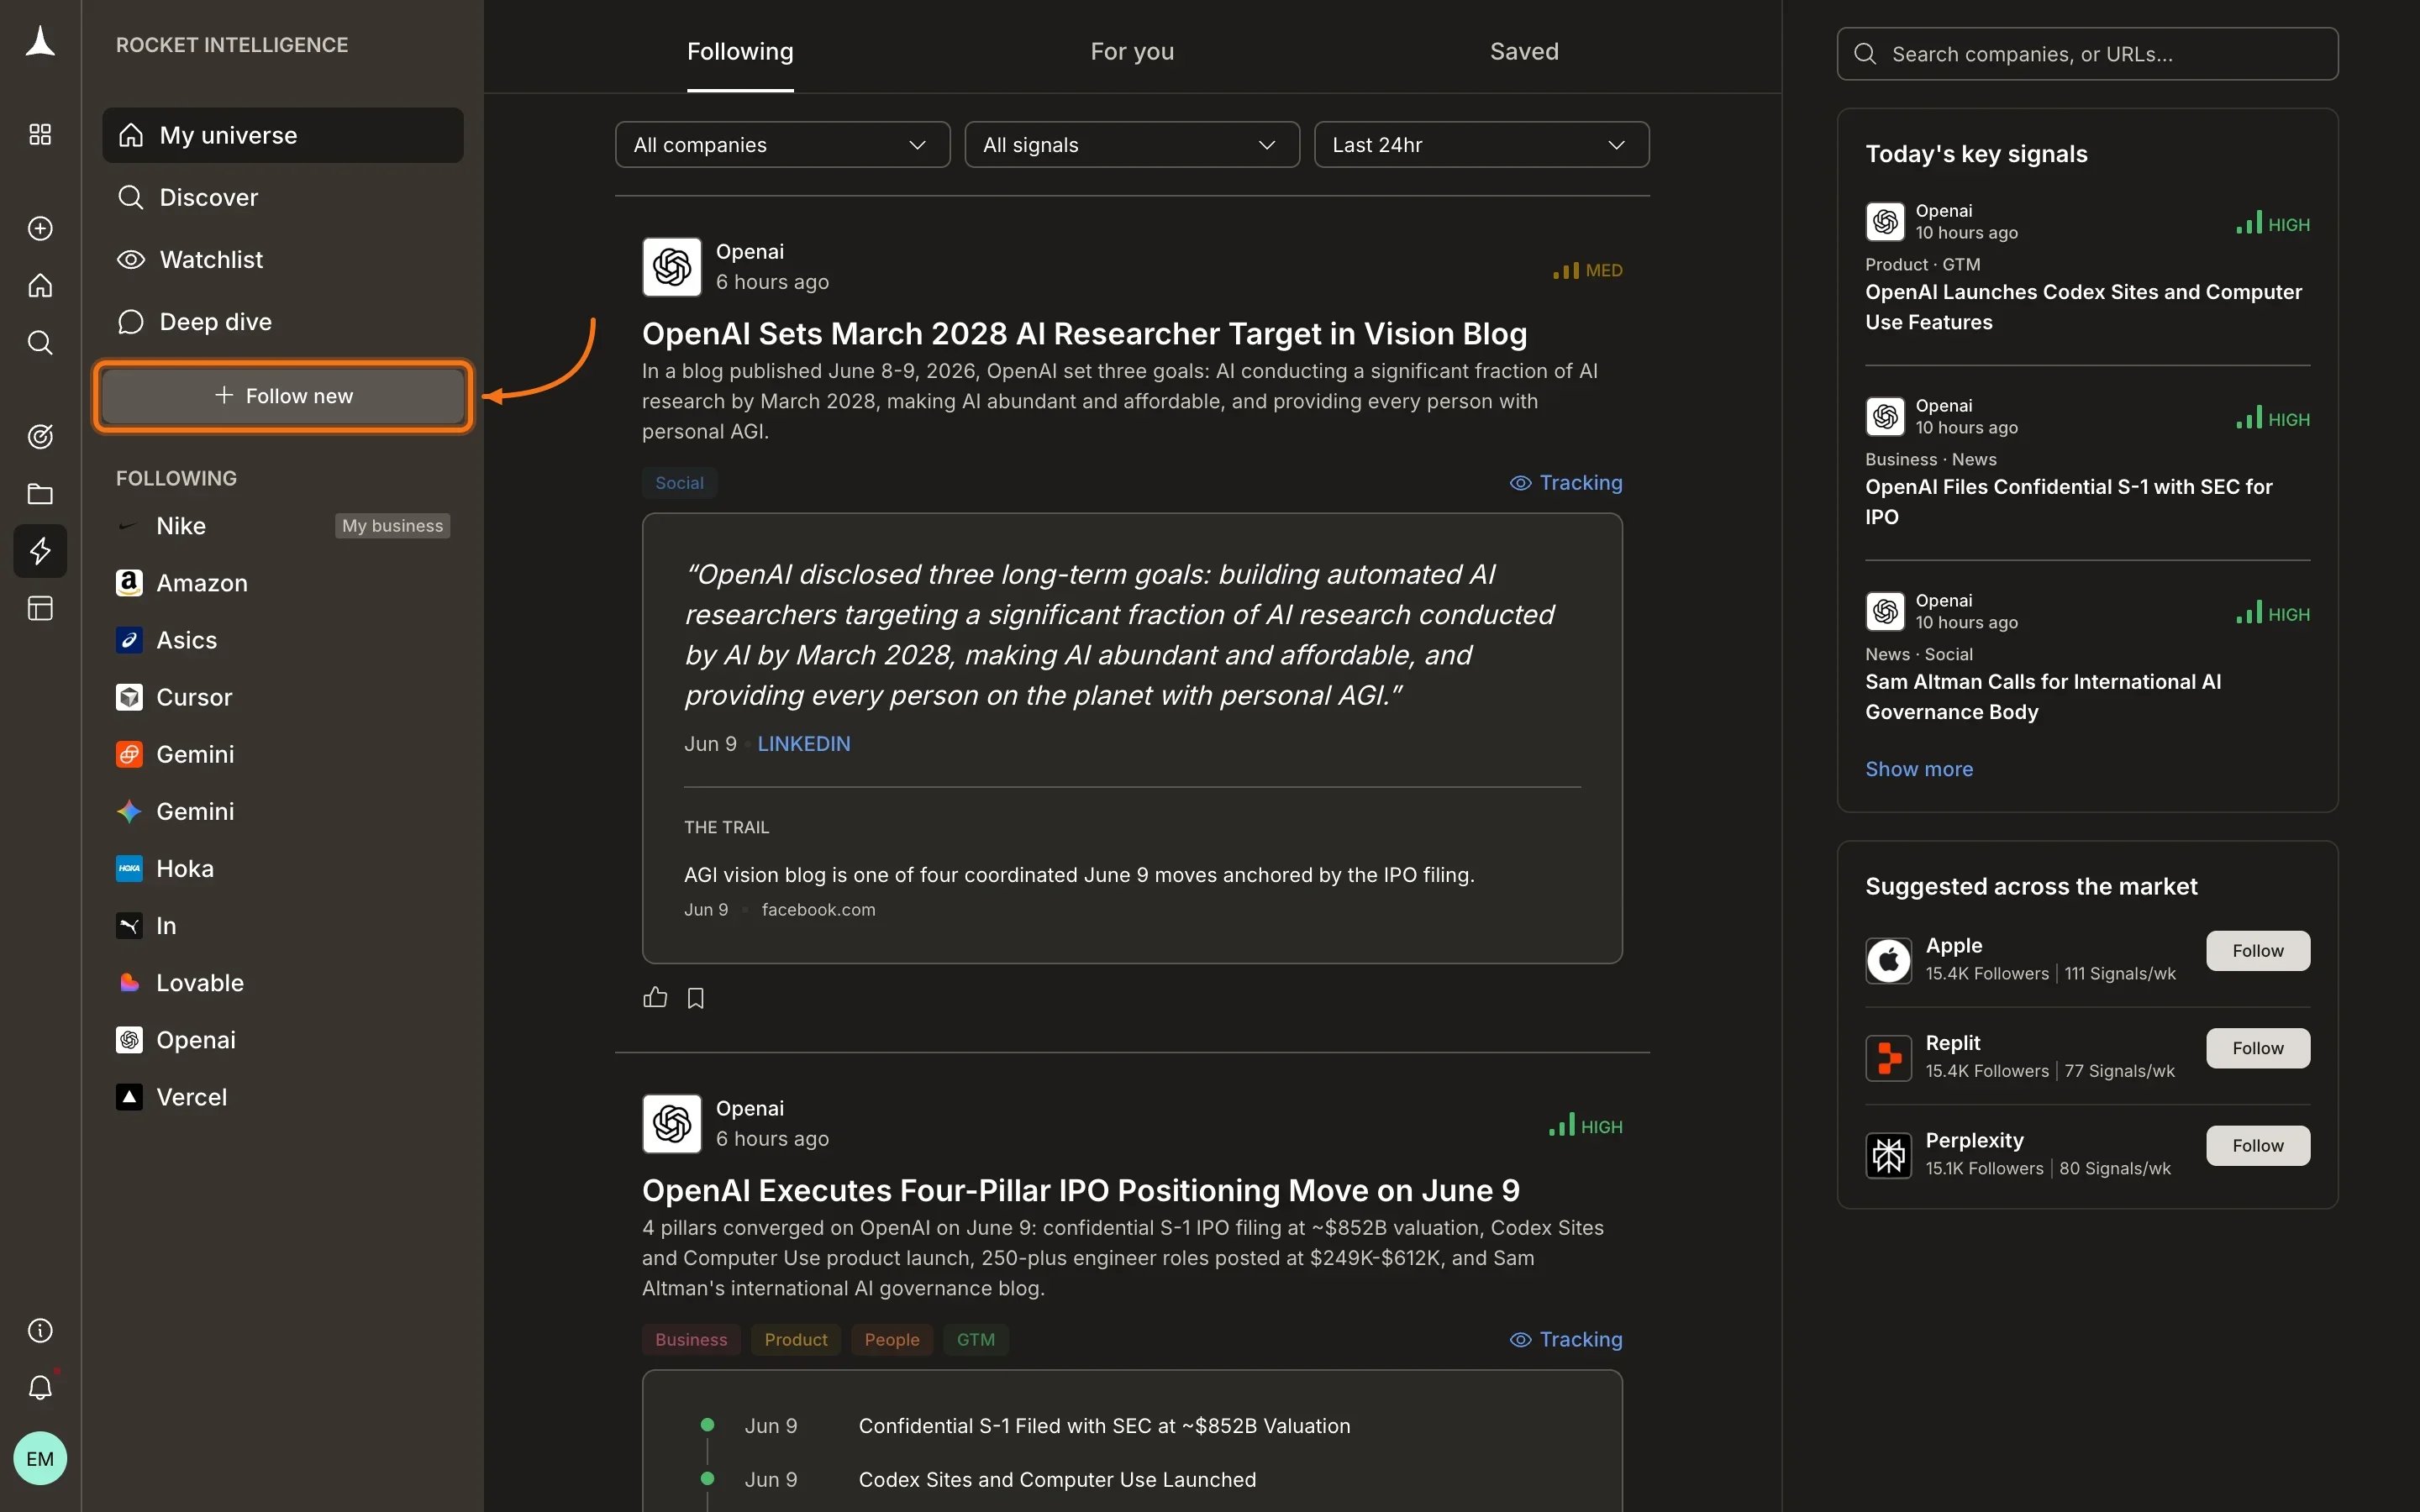
Your Intelligence layout
Once set up, your Intelligence home has three main areas:Sidebar
- My universe: returns you to your main feed
- Discover: browse all companies and add new ones
- Watchlist: view and manage your watchlists
- Deep dive: focused analysis mode (Coming soon)
- + Follow new: add companies to your universe
- Following: your followed companies with expandable pillar navigation
Header tabs
| Tab | Purpose |
|---|---|
| For you | Personalized Intel from both followed and unfollowed companies, ranked by relevance |
| Following | Intel from companies in your universe |
| Saved | Intel cards you have bookmarked |
Filter bar
Use the dropdowns at the top to filter by company, signal type, or time window (Last 24hr, Last 7 days, etc.).Daily rhythm
Scan For You daily
Spend 5 to 10 minutes reviewing what surfaced overnight. Each Intel item includes a “What this means for you” section connecting the signal to your business.
Go deeper when needed
Click View pillars on any Intel item to open the company’s full pillar view and investigate further.
Save important Intel
Click the bookmark icon on any Intel card to save it for later. Access saved cards from the Saved tab.
What’s next
Key concepts
Understand signals, Intel, pillars, and how personalization works.
Following feed
Intel scoped to companies you follow.
Company pillars
What each pillar watches and how to read company pillars.
Watchlists
Group companies with a lens and get scoped Intel.