What you can do
Deploy to a live URL
Publish your web app to a public Netlify URL with automatic HTTPS and global CDN. Your app is live in seconds.
Redeploy with updates
After making changes in Rocket, deploy again to push the latest version to the same URL instantly.
Custom domains
After deploying, connect your own domain through the Netlify dashboard and update your DNS records.
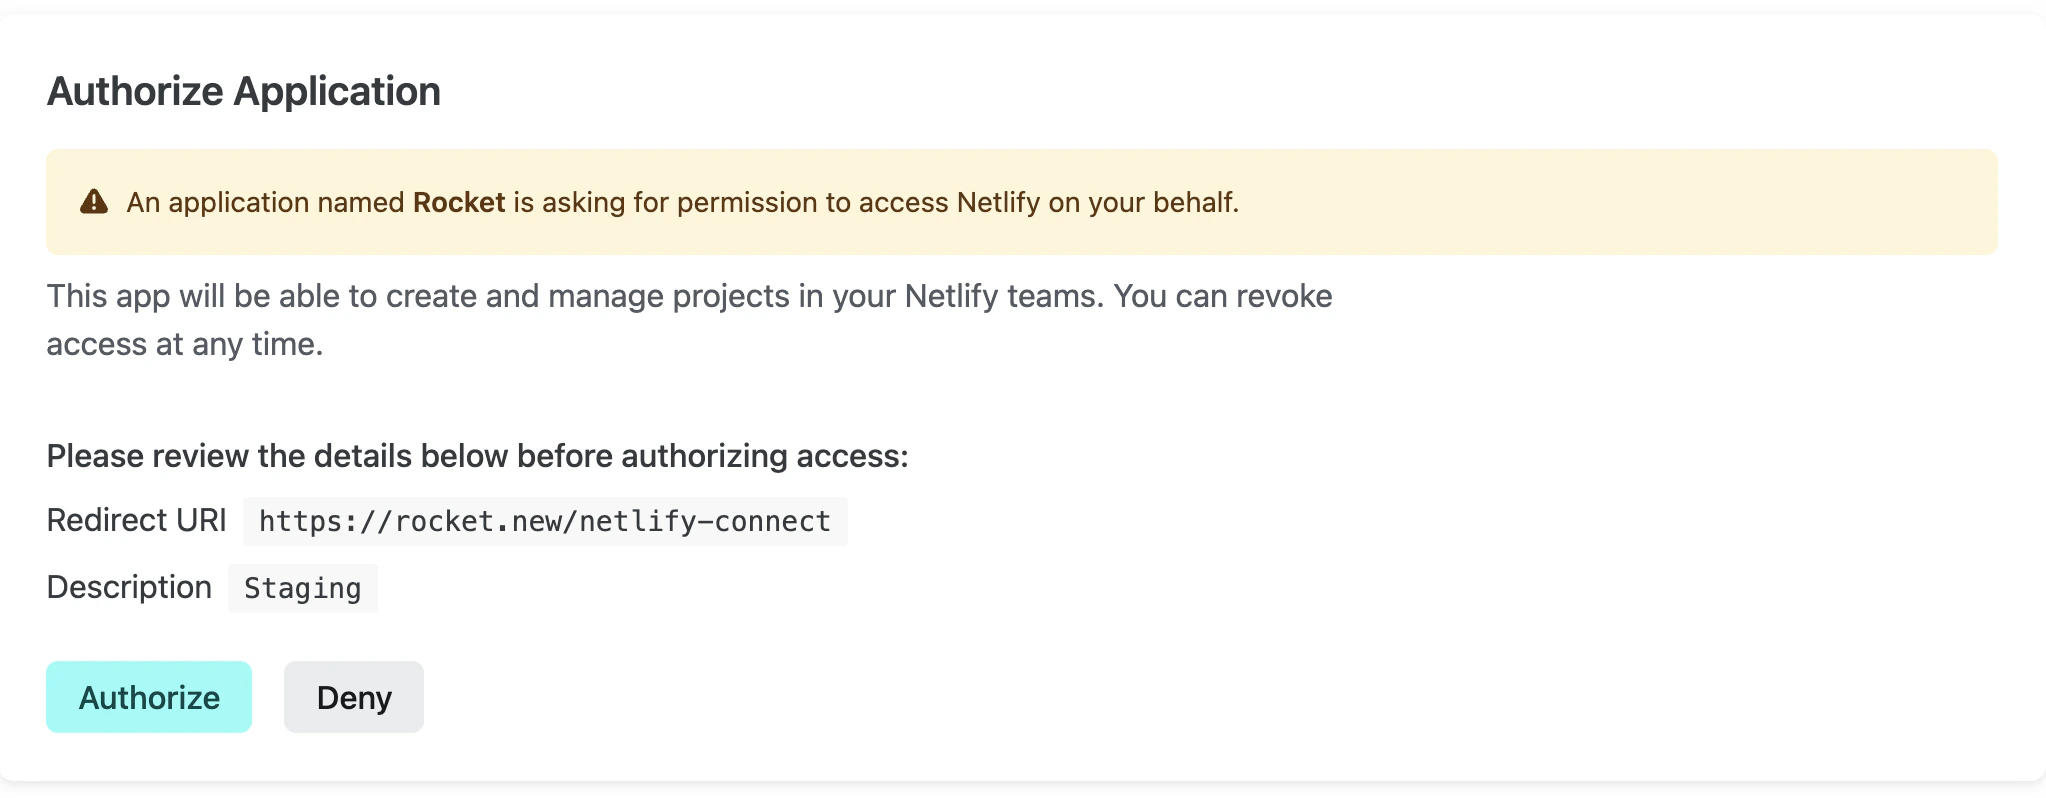
Connect Netlify
Netlify connects via OAuth, so no API key is needed. It is a workspace-level connector, so connect it once from Settings and it is available across all tasks.Connect from workspace Settings
Connect once from Settings and it is available across all tasks.
Disconnect a service
Disconnect or switch accounts from workspace Settings.
Deploy your task
Netlify deployment is triggered from the Rocket UI, not chat prompts. Click the Launch button in your task to publish.
Select environment
Pick the tab that matches your goal:
- Staging — deploy to a temporary URL for testing and sharing. See Publish to staging for the full flow (publish, update, unpublish).
- Production — go live on your own domain. See Custom domain for setup instructions.
Tips
- Web apps only. Netlify hosts web applications. Mobile apps built in Rocket cannot be deployed to Netlify.
- Default account available. If you do not connect your own Netlify account, Rocket uses a default one. Connect your own for full control over deployment history and custom domains.
- Custom domains are configured in Netlify. After deploying, go to the Netlify dashboard to connect a custom domain and update DNS records.
- Build settings are automatic. Rocket configures the correct build command and publish directory - no manual setup needed.
- HTTPS is included. All Netlify deployments come with free HTTPS certificates automatically.
What’s next?
Custom domains
Connect your own domain to your Netlify deployment.
GitHub
Push your code to GitHub for version control alongside Netlify deployments.
Google Analytics
Track visitors and page views on your live Netlify site with GA4.
All connectors
Browse every available integration.