Connect Razorpay to your Rocket.new app and accept payments, process refunds, manage subscriptions, and handle orders with a single prompt.
Connect Razorpay via OAuth and describe the payment flow you want in chat. Rocket generates the complete checkout experience: order creation, payment forms, webhook handlers, and subscription management, all grounded in your real Razorpay configuration.
This connector is only available for Next.js TypeScript web build tasks.
Razorpay is a workspace-level connector. Connect it once from Settings and it is available across all tasks.
You can connect from three places. All do the same thing.Option 1: From chatType a prompt that mentions Razorpay - for example, Connect Razorpay and add a checkout for ₹499. Rocket detects the intent and shows a Connect button inline. Click it and the authorization flow opens.
Razorpay connection prompt in chat
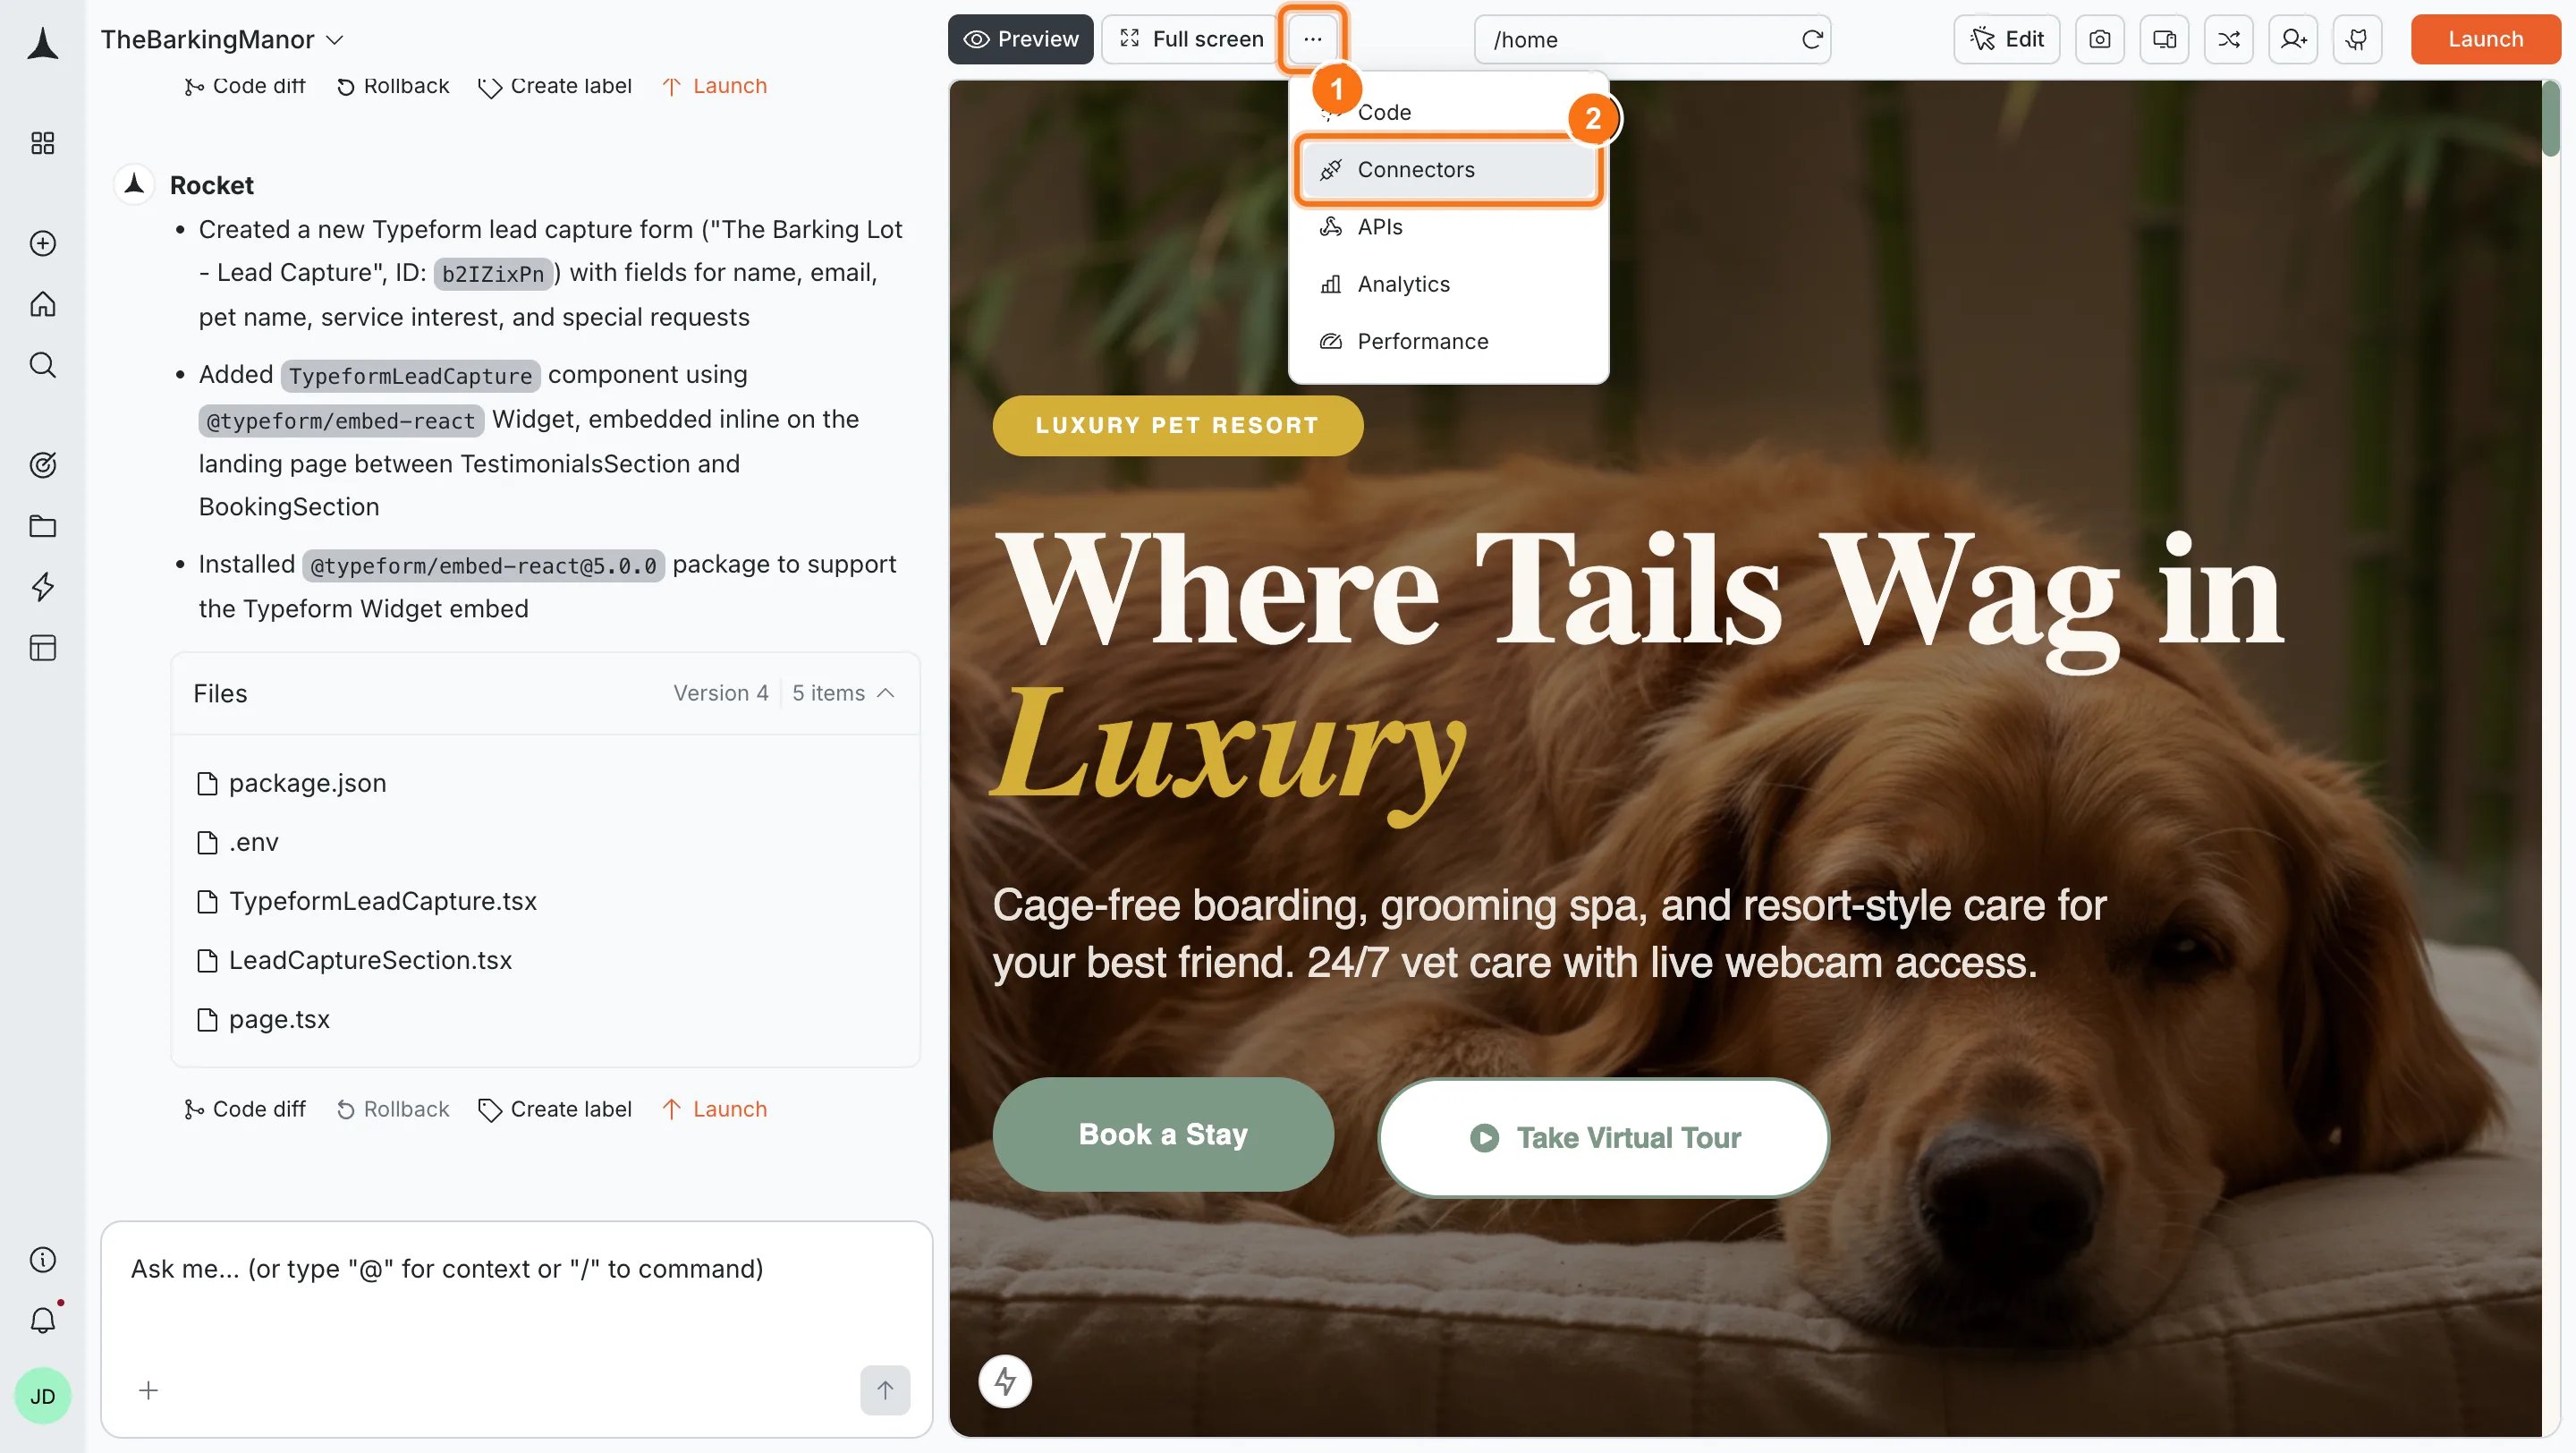
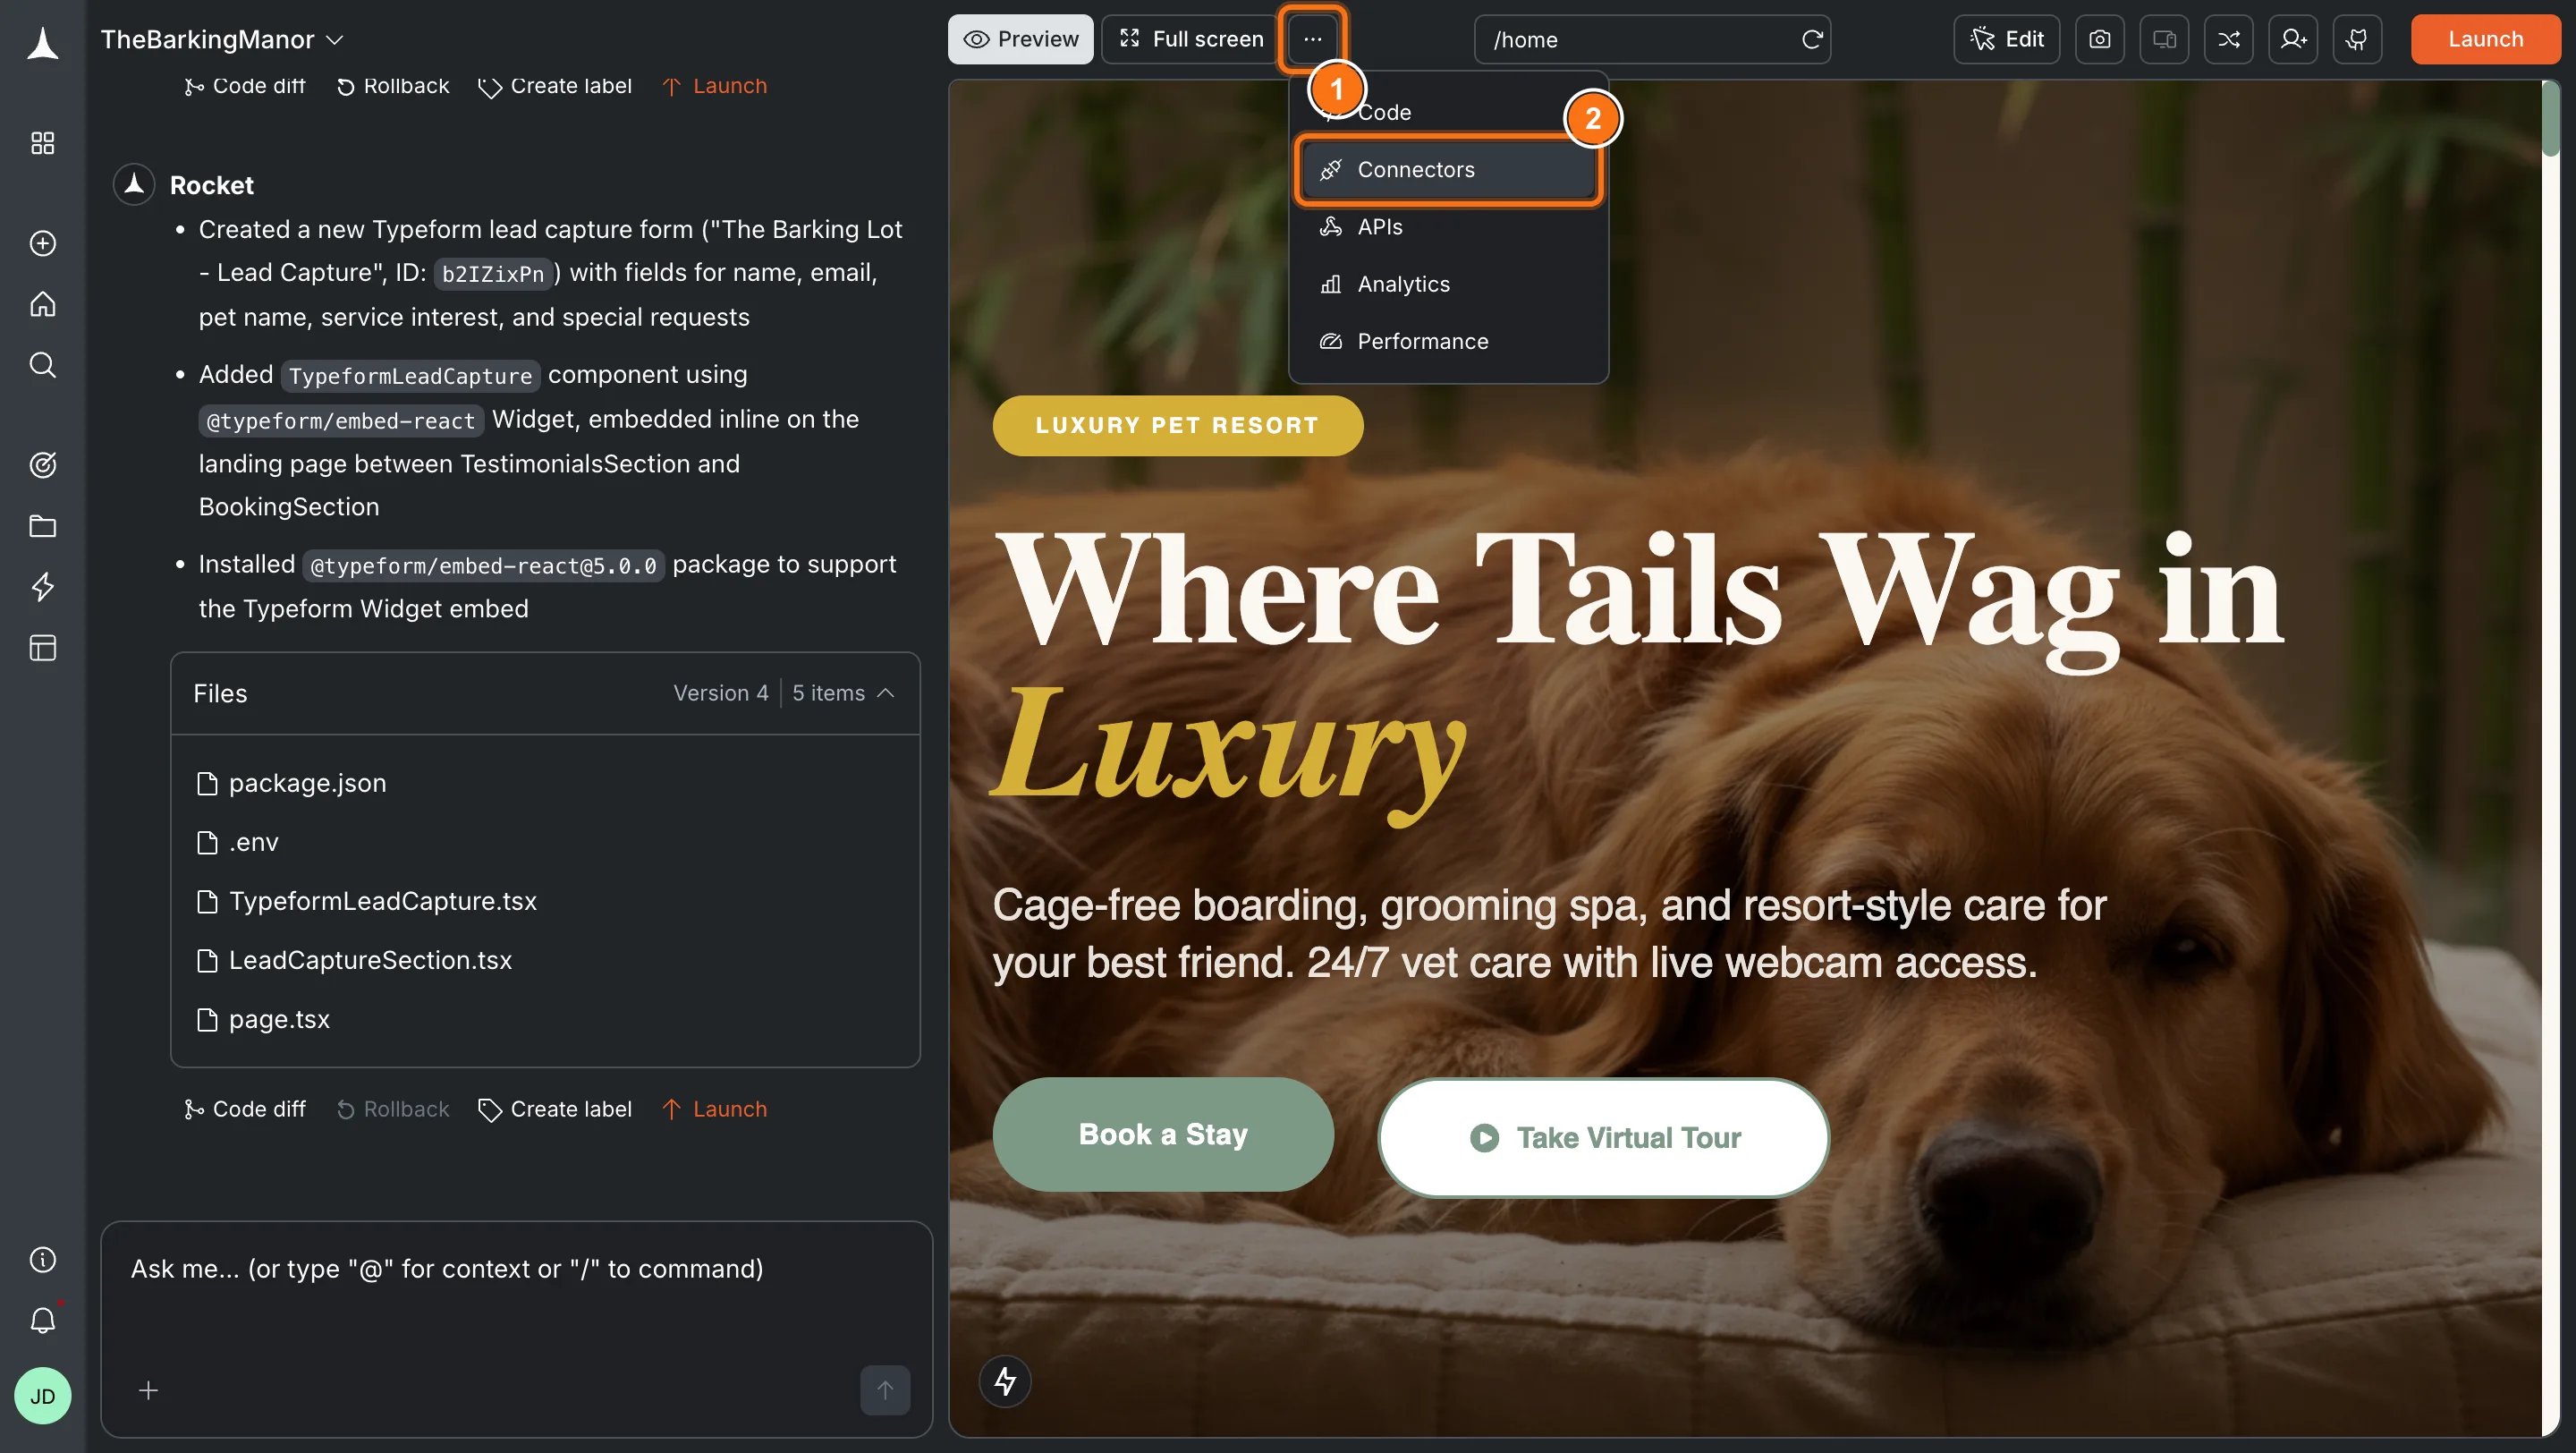
Option 2: From the Connectors tabClick the ... button in the preview toolbar, then select Connectors.
Open Connectors from the toolbar
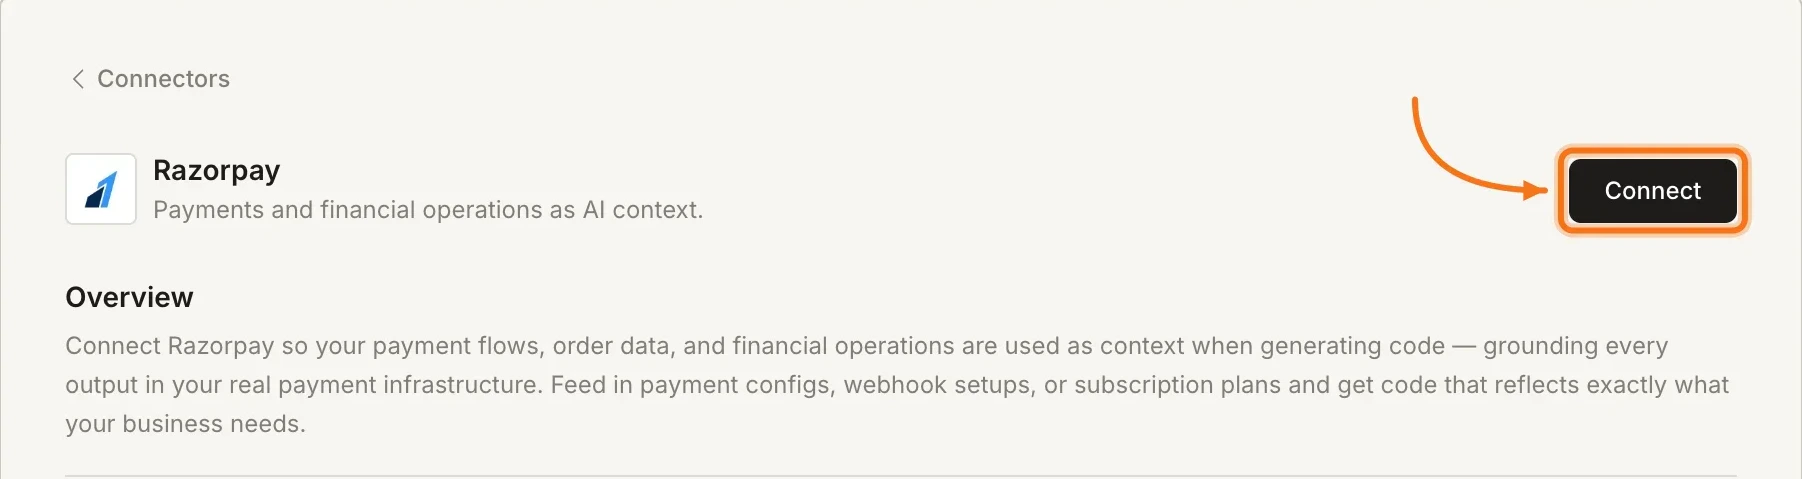
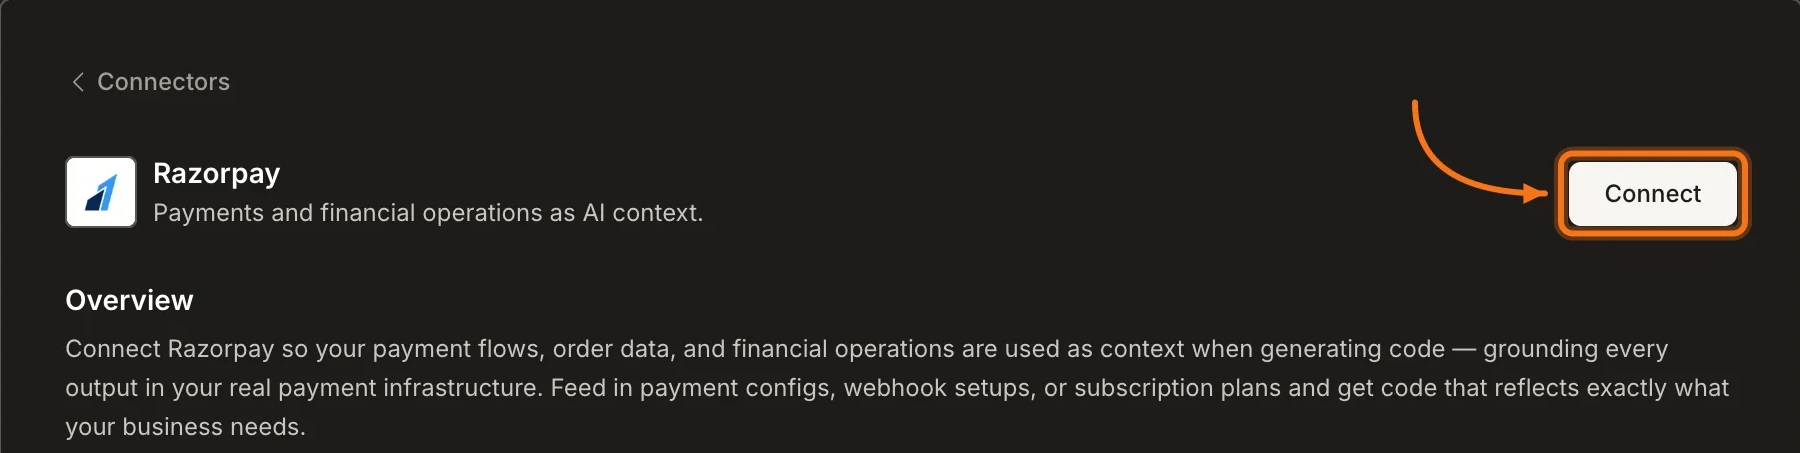
Click the Razorpay card, then click Connect.
Razorpay card in the Connectors panel
Option 3: From workspace Settings
Connect from workspace Settings
Connect once from Settings and it is available across all tasks.
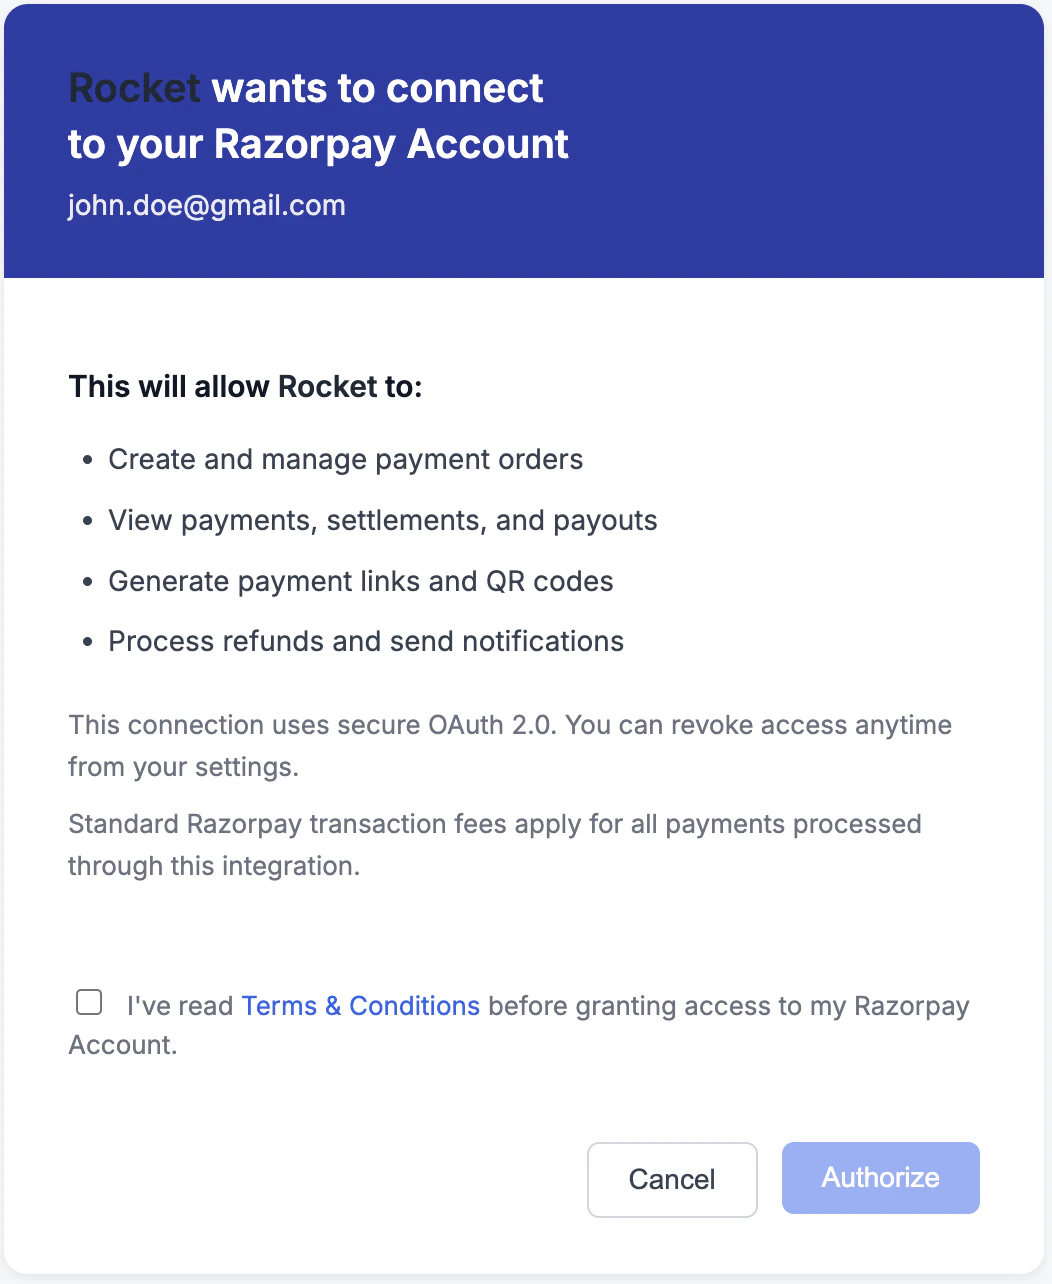
After clicking ConnectRazorpay’s authorization screen opens. Review the permissions Rocket is requesting, check I’ve read Terms & Conditions, then click Authorize. A green dot appears next to Razorpay when the connection is active.
Razorpay OAuth authorization screen
Disconnect
Disconnect a service
Disconnect or switch accounts from workspace Settings.
You can connect from two places. Both do the same thing.Option 1: From chatType a prompt that mentions Razorpay. Rocket detects the intent, shows a Connect button, and the authorization flow opens when you tap it.Option 2: From the Connectors tab
Tap the More button in the header.
Tap Integrations.
Tap the Razorpay card, then tap Connect.
After tapping ConnectRazorpay’s authorization screen opens. Review the permissions, check I’ve read Terms & Conditions, then tap Authorize. A green dot appears next to Razorpay when the connection is active.DisconnectGo to Integrations > Razorpay. Tap Disconnect to remove the integration.
Always start in Test Mode. Use Razorpay’s test credentials during development. Switch to Live Mode only when you are ready to accept real payments. Test card: 4111 1111 1111 1111.
Webhooks are handled automatically. Rocket generates the webhook handler code for common events like payment.captured, subscription.charged, and refund.processed.
Connect Supabase first. Rocket links Razorpay customers and orders to authenticated Supabase users. Connect Supabase before adding Razorpay for a complete payment flow.
Refunds and disputes live in Razorpay. Manage financial reconciliation, settlements, and disputes directly from the Razorpay Dashboard.
INR is the default currency. Razorpay supports multi-currency but defaults to INR. Mention your target currency explicitly in your prompt if needed.