This connector is only available for Next.js TypeScript web build tasks.
What you can do
Blog with rich content
Publish articles with images, categories, and author profiles managed in Strapi.
Documentation site
Structured docs with sidebar navigation and versioned content from Strapi.
Product catalog
Display products with images, descriptions, pricing, and variant options from Strapi.
Dynamic page sections
Render pages from Strapi content types with modular blocks like heroes, feature grids, and CTAs.
Team or directory page
Showcase team members, partners, or directory listings pulled from Strapi.
Before you connect
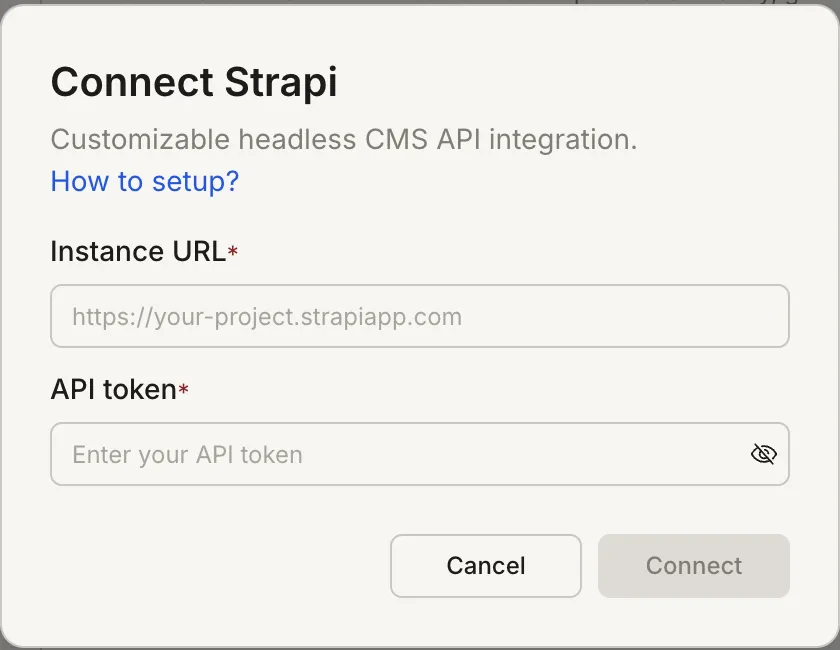
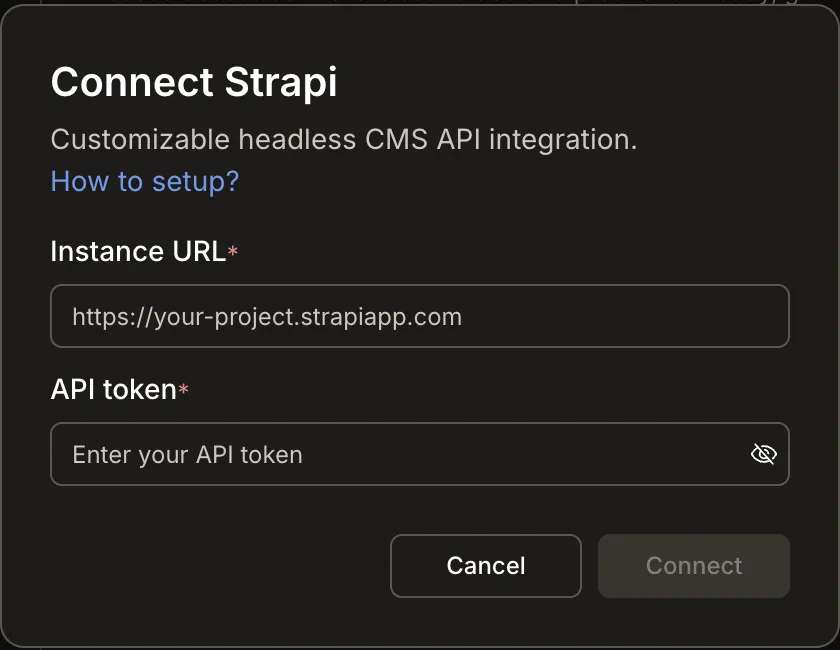
You need two things: your Strapi project URL (e.g.https://your-project.strapiapp.com) and an API token from your Strapi Admin Panel.
Get your Strapi API token from the Strapi documentation.
Strapi is a task-level connector. Each Rocket task connects to its own Strapi instance independently.
Connect Strapi
- Web Browser
- Mobile App
You can connect from two places. Both do the same thing.Option 1: From chatType a prompt that mentions Strapi, for example 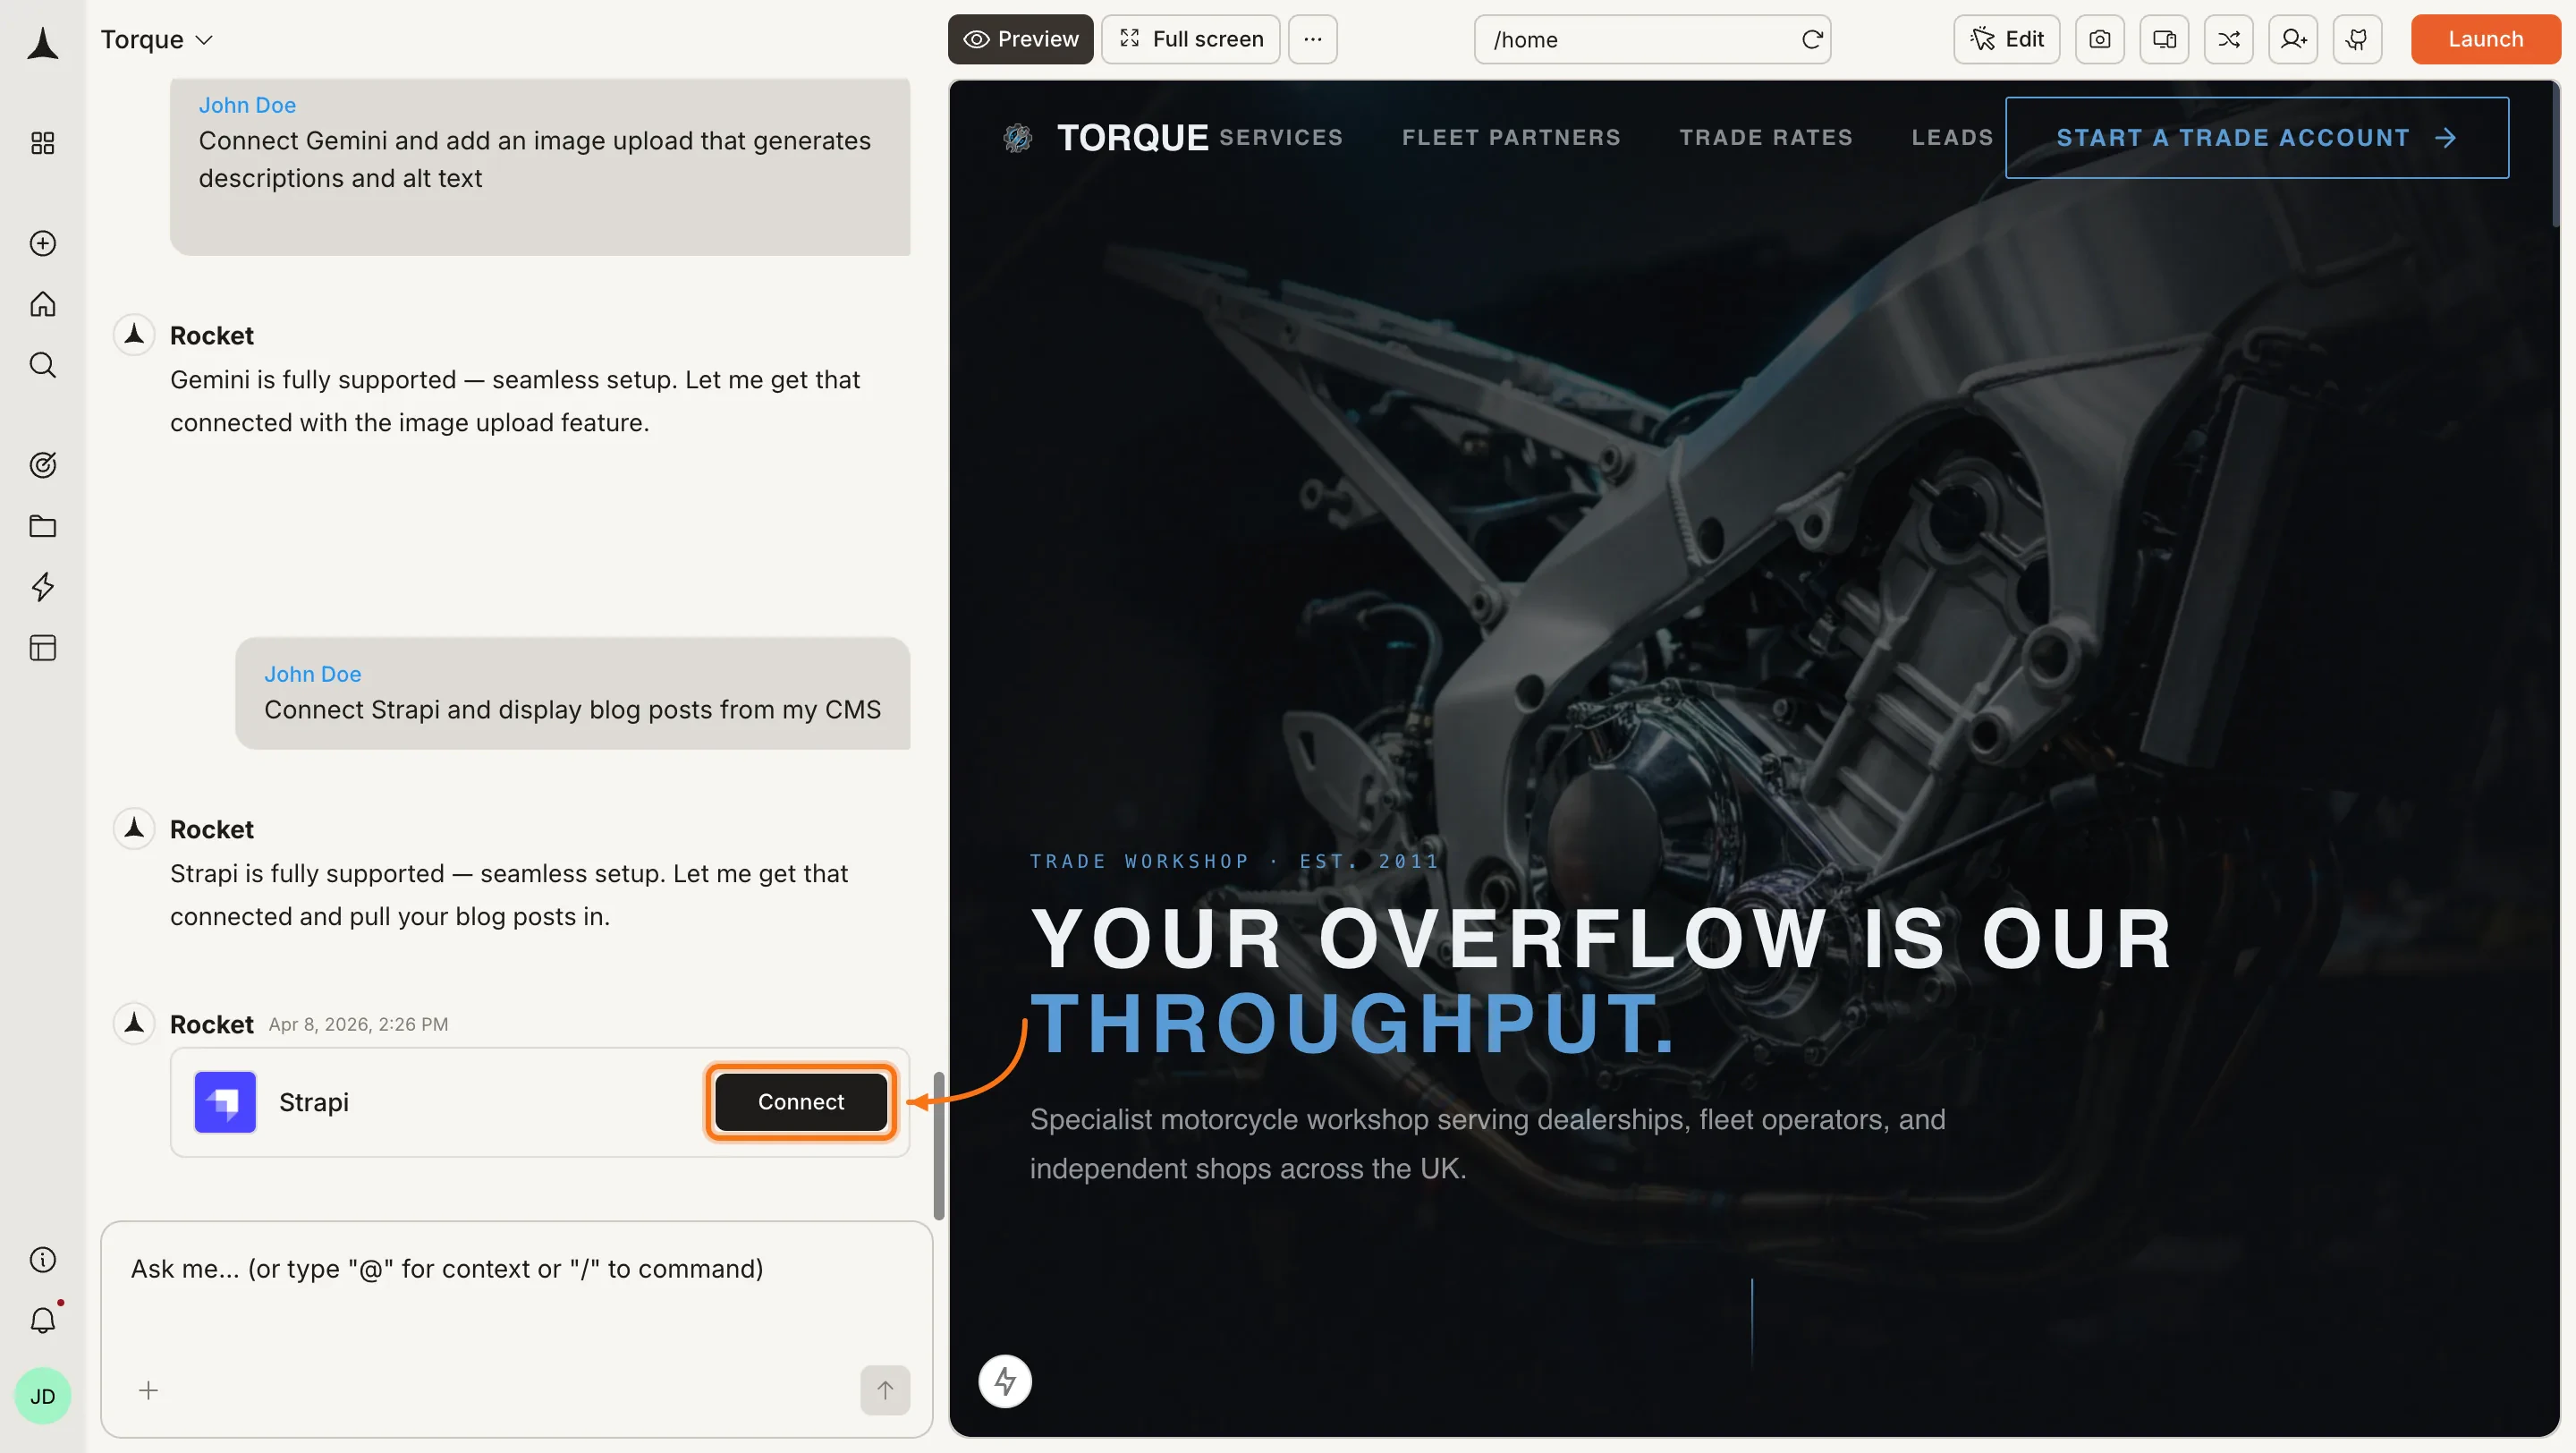
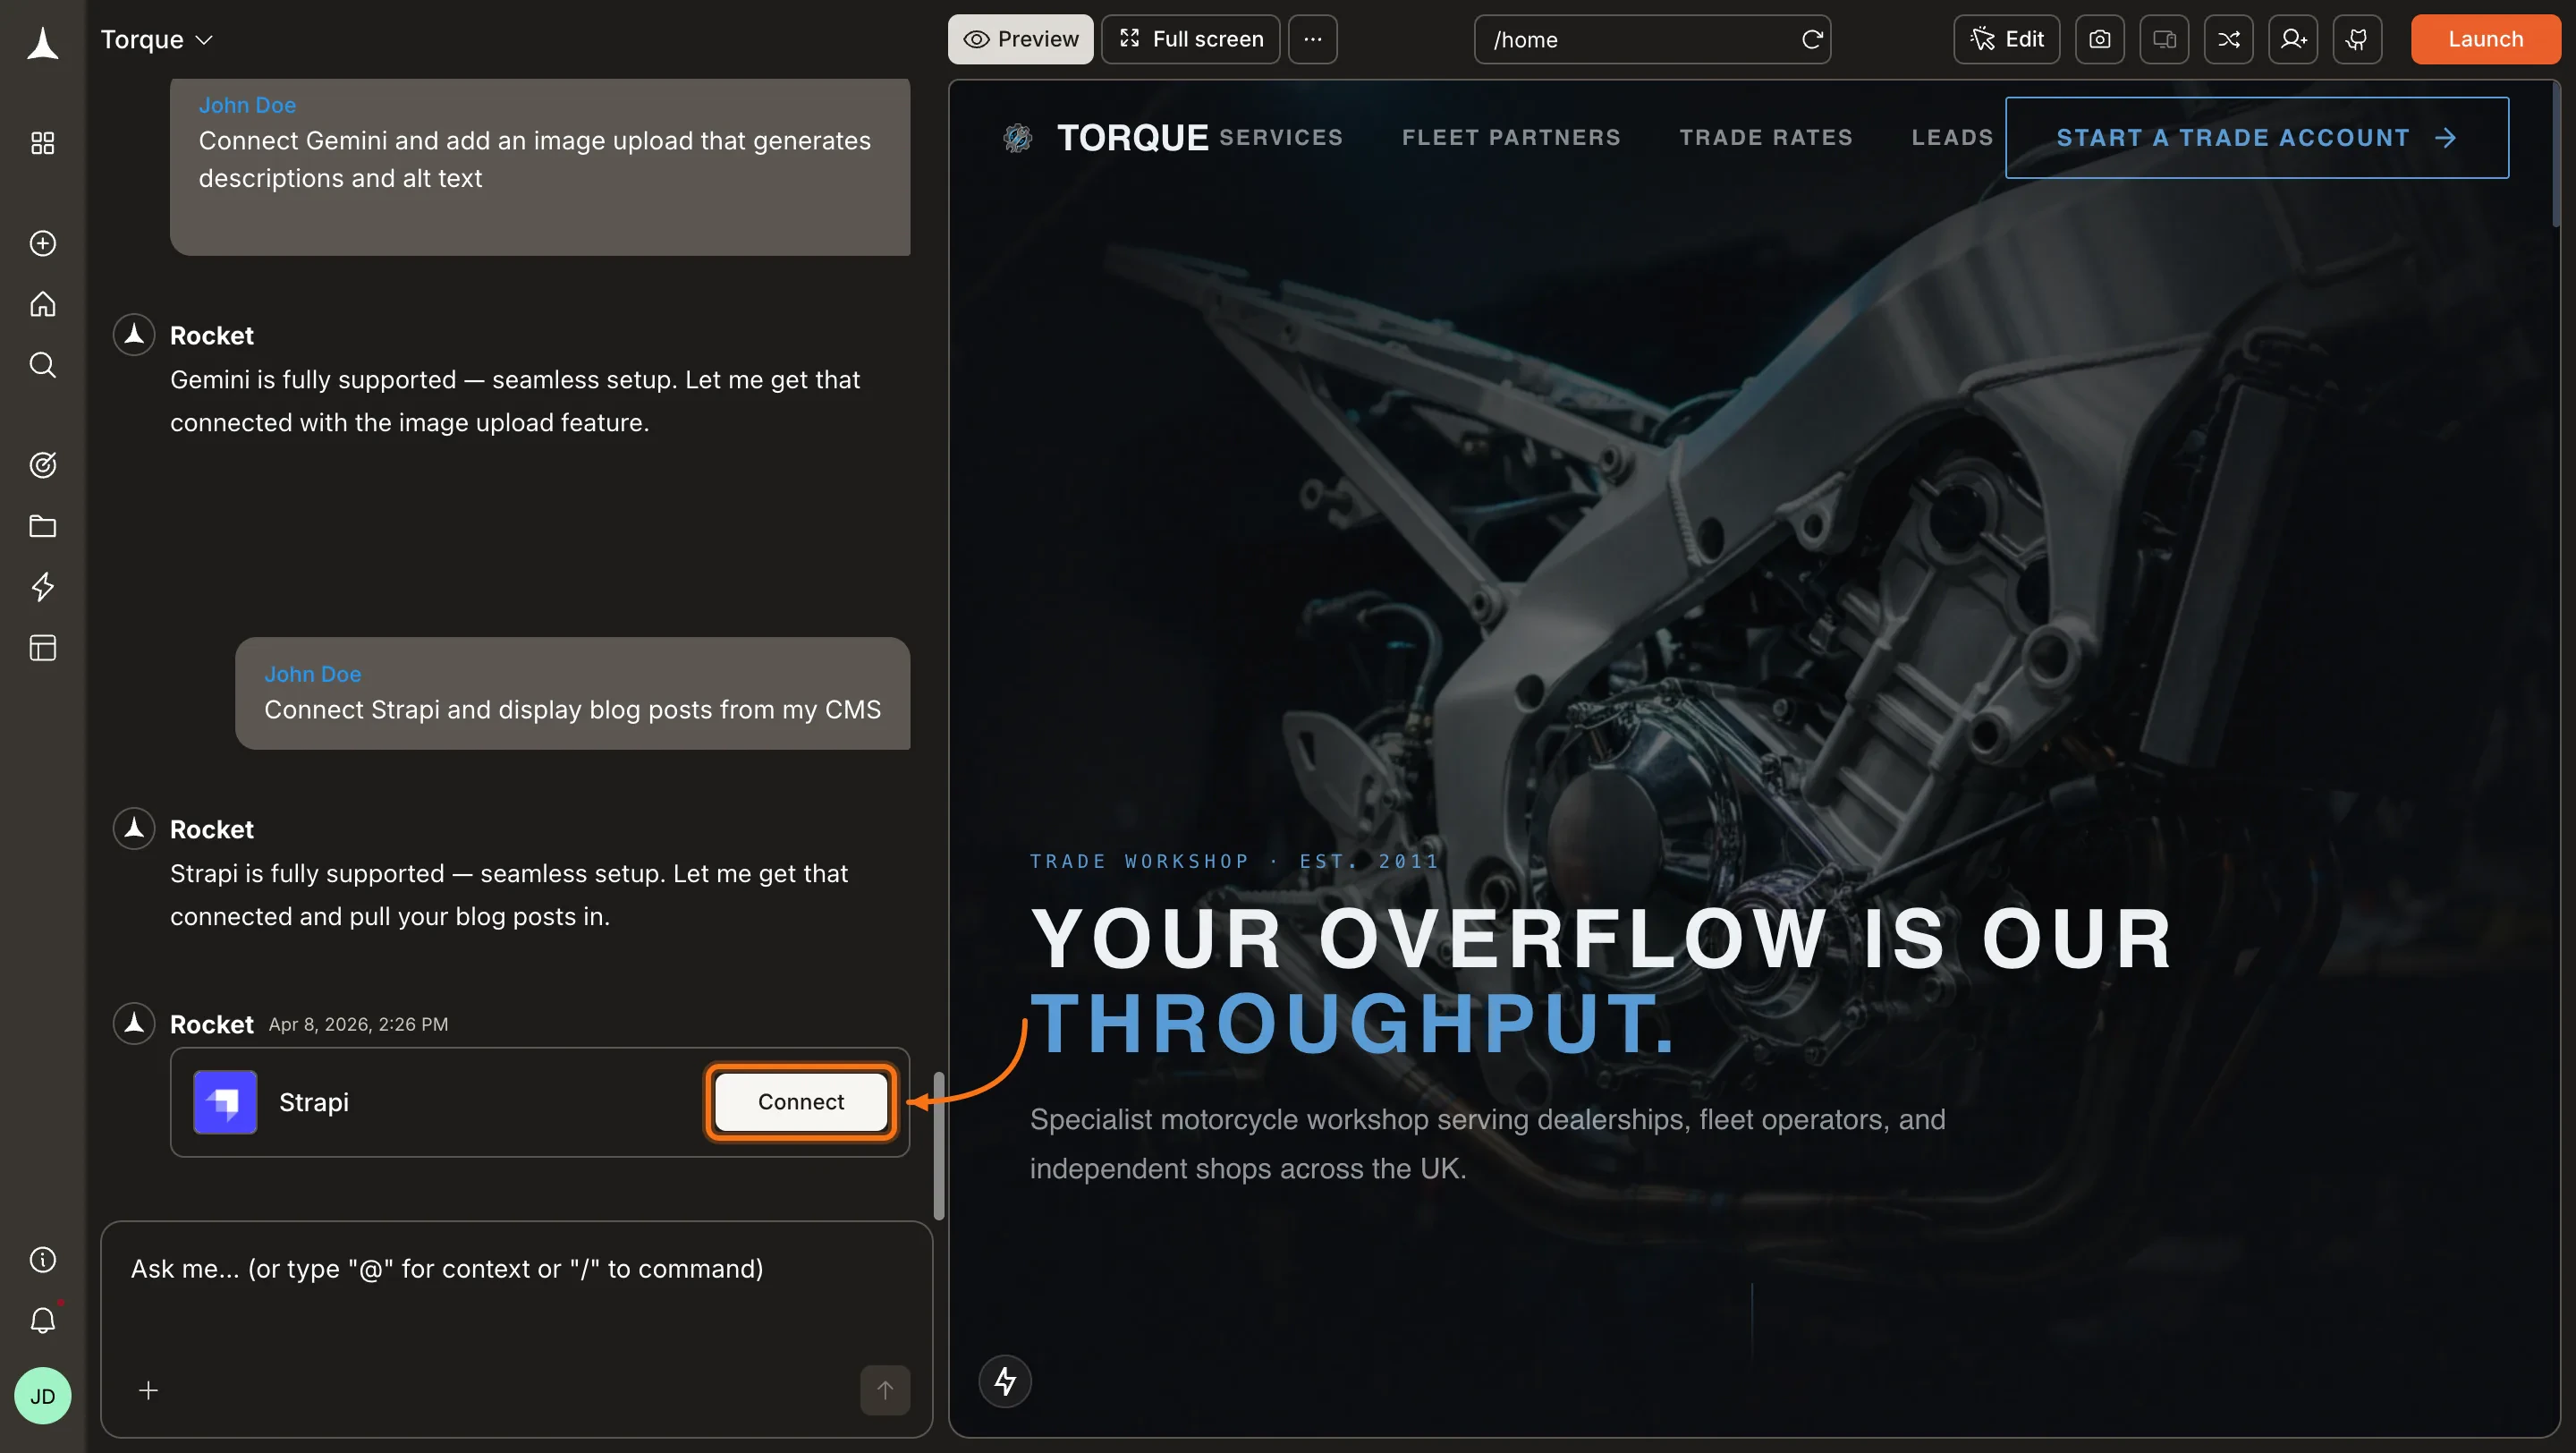
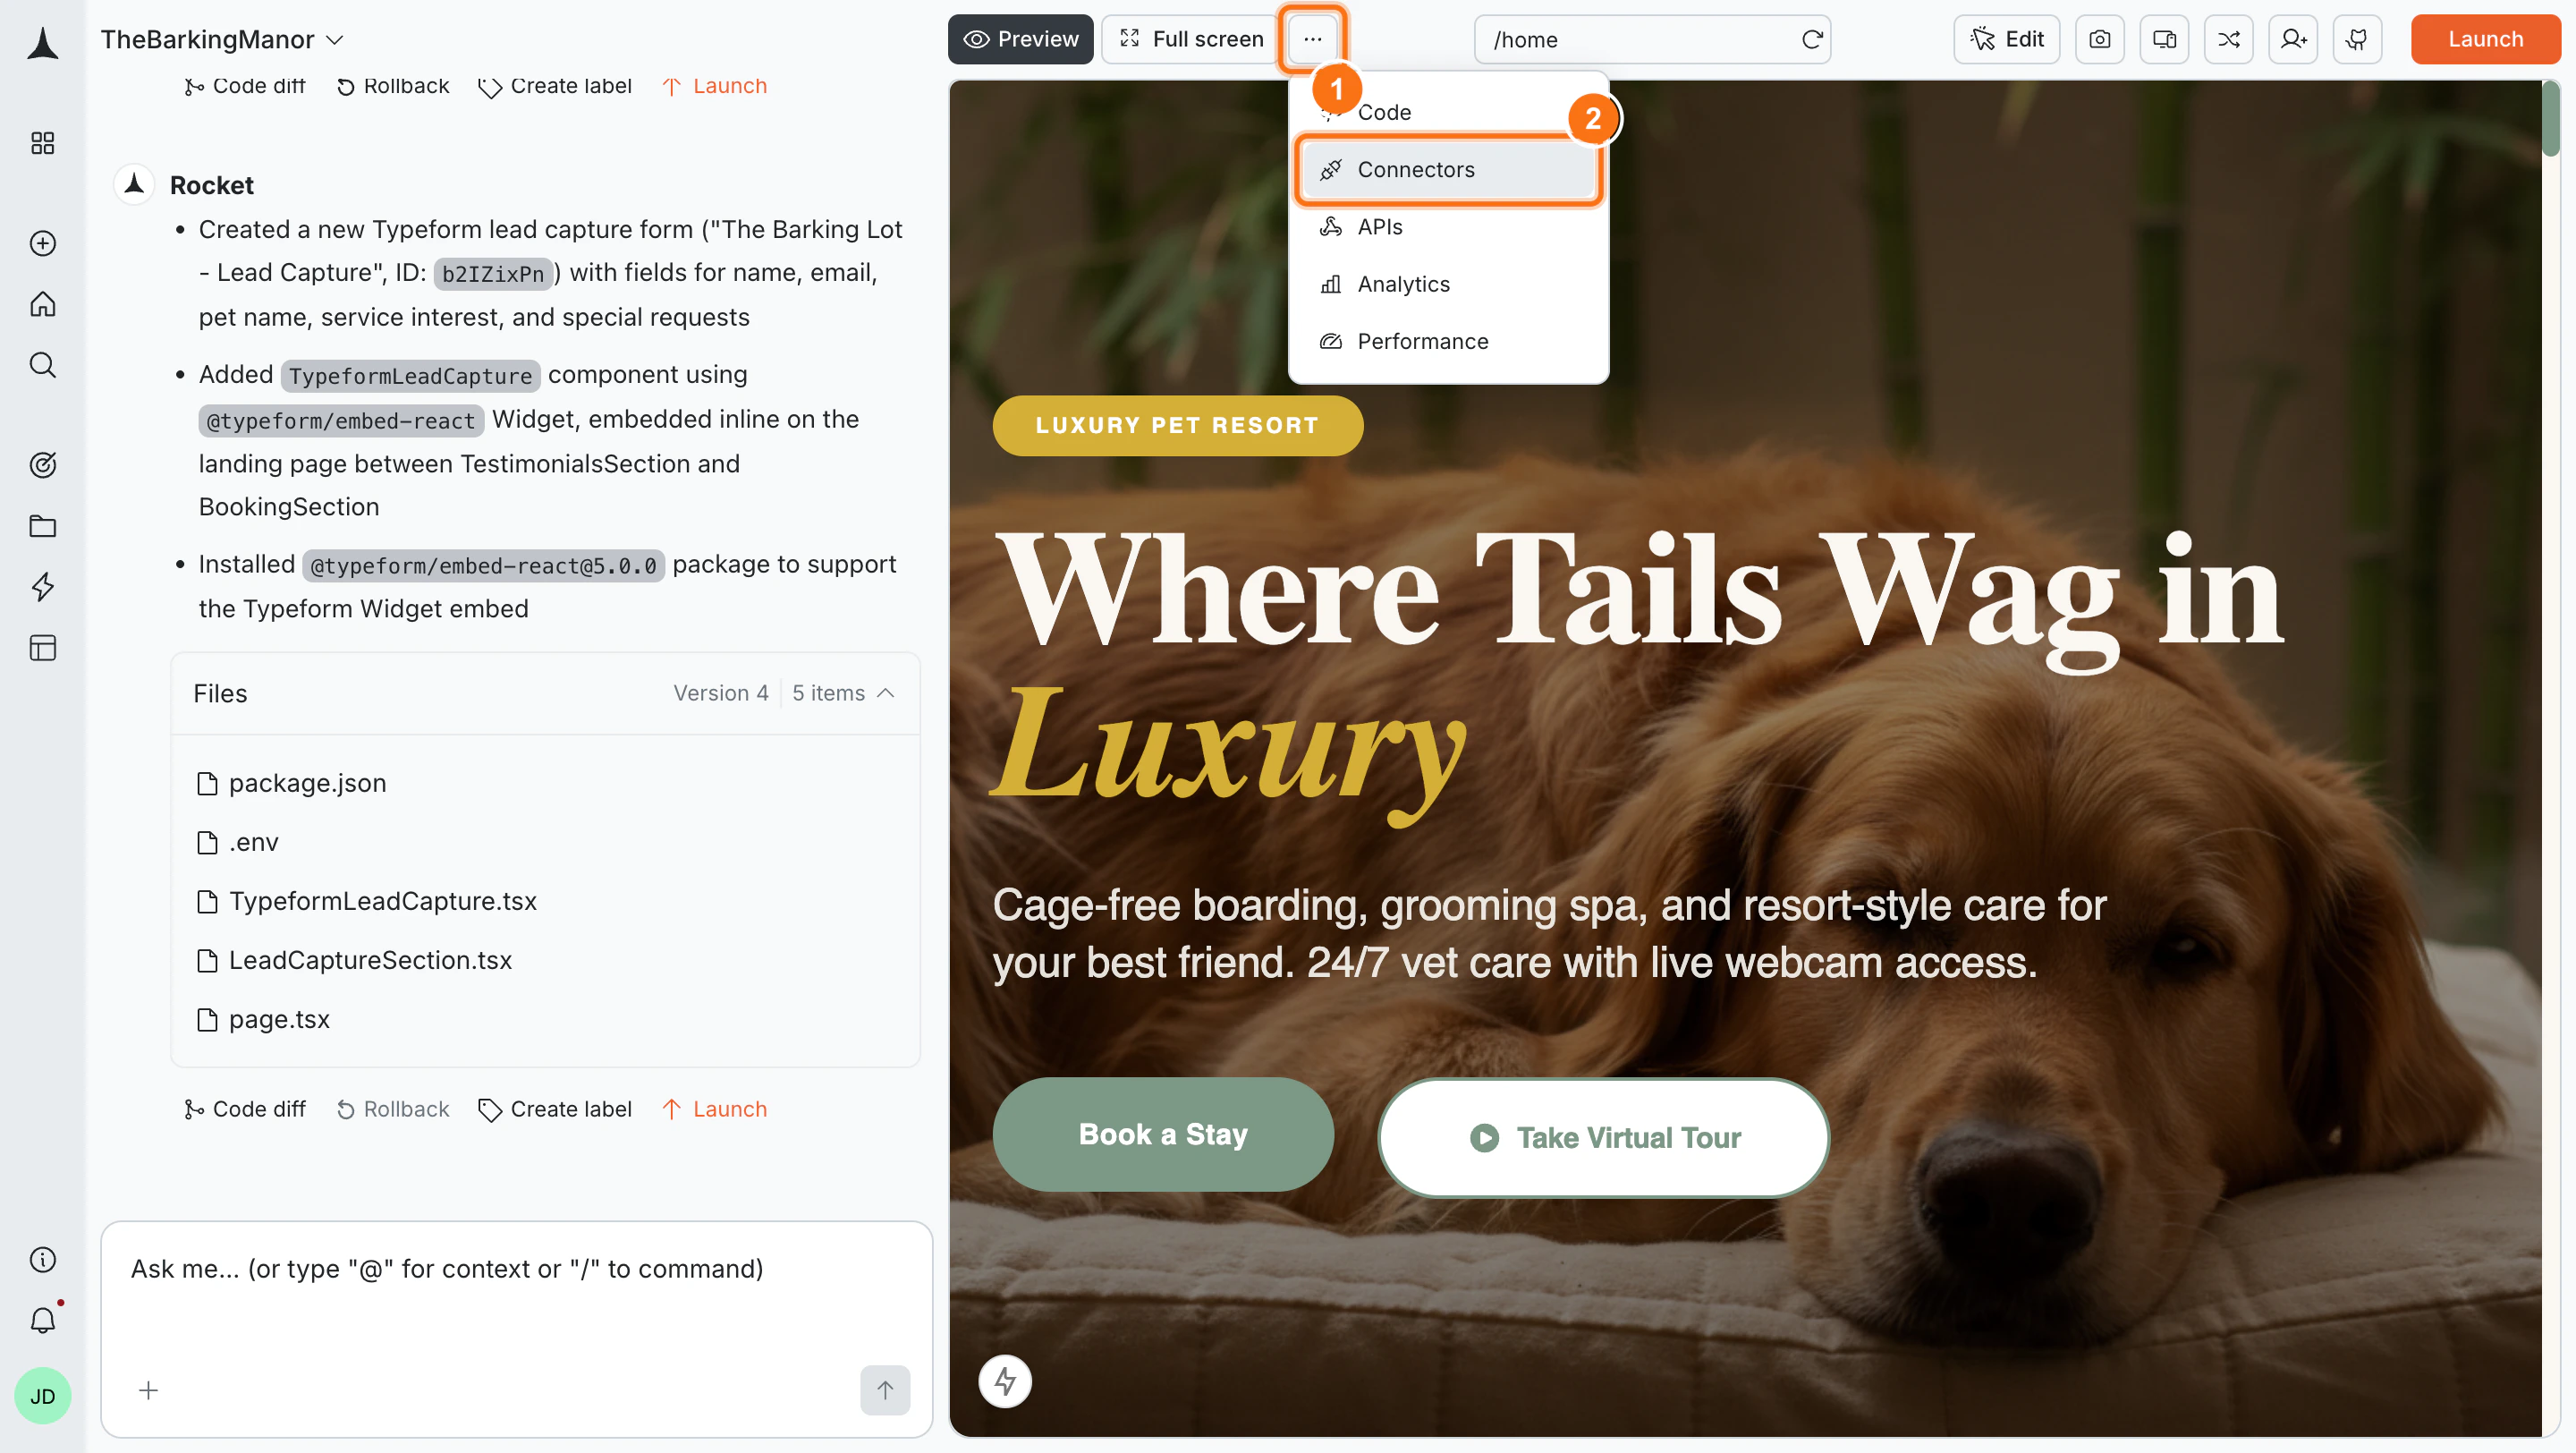
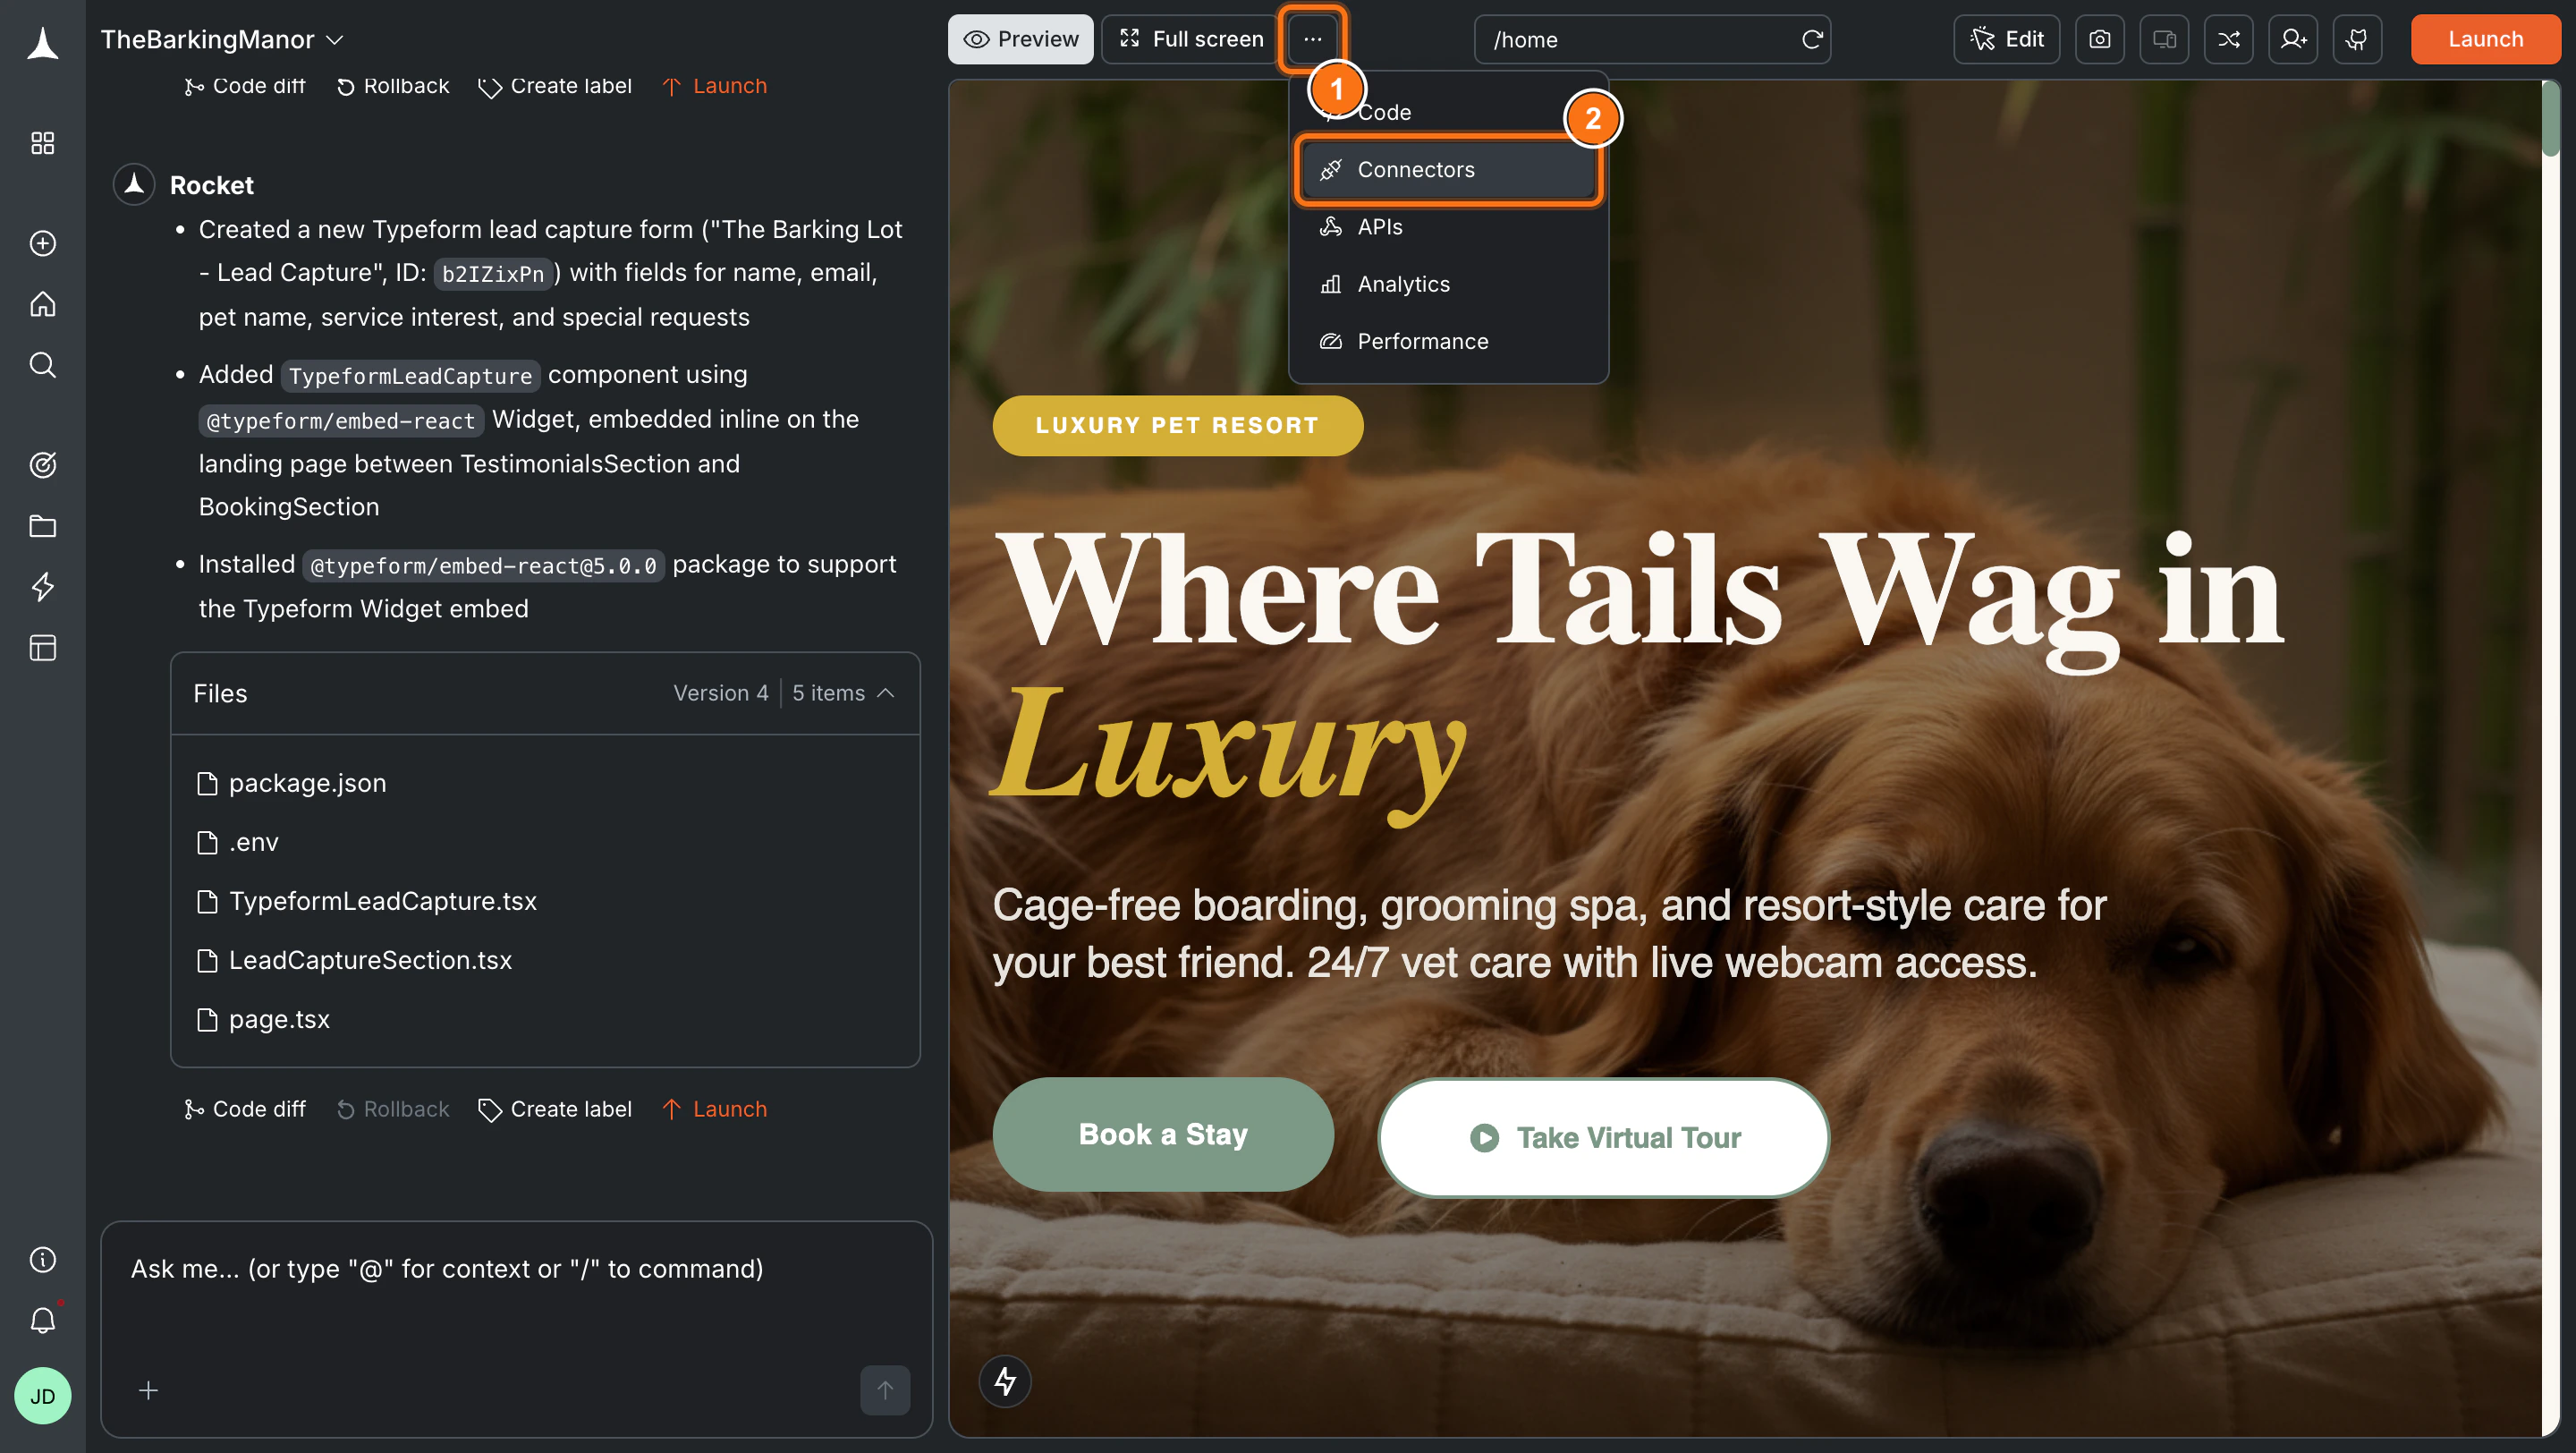
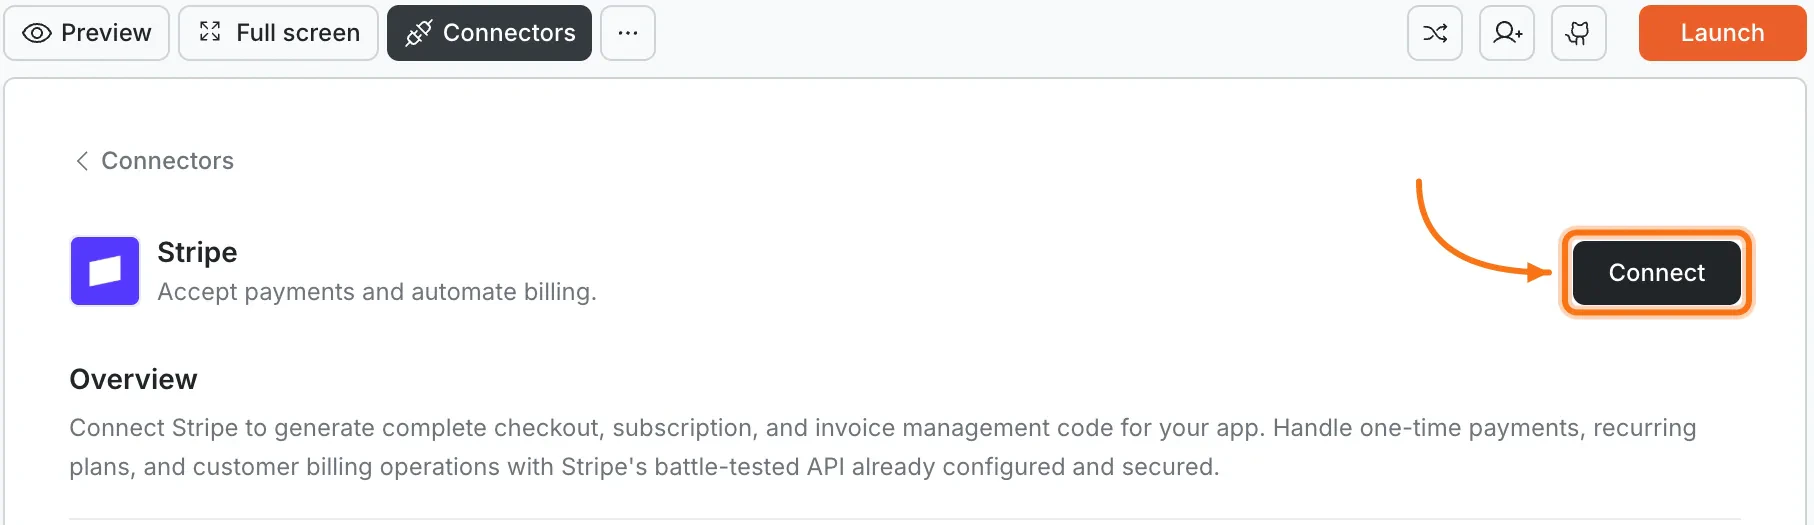
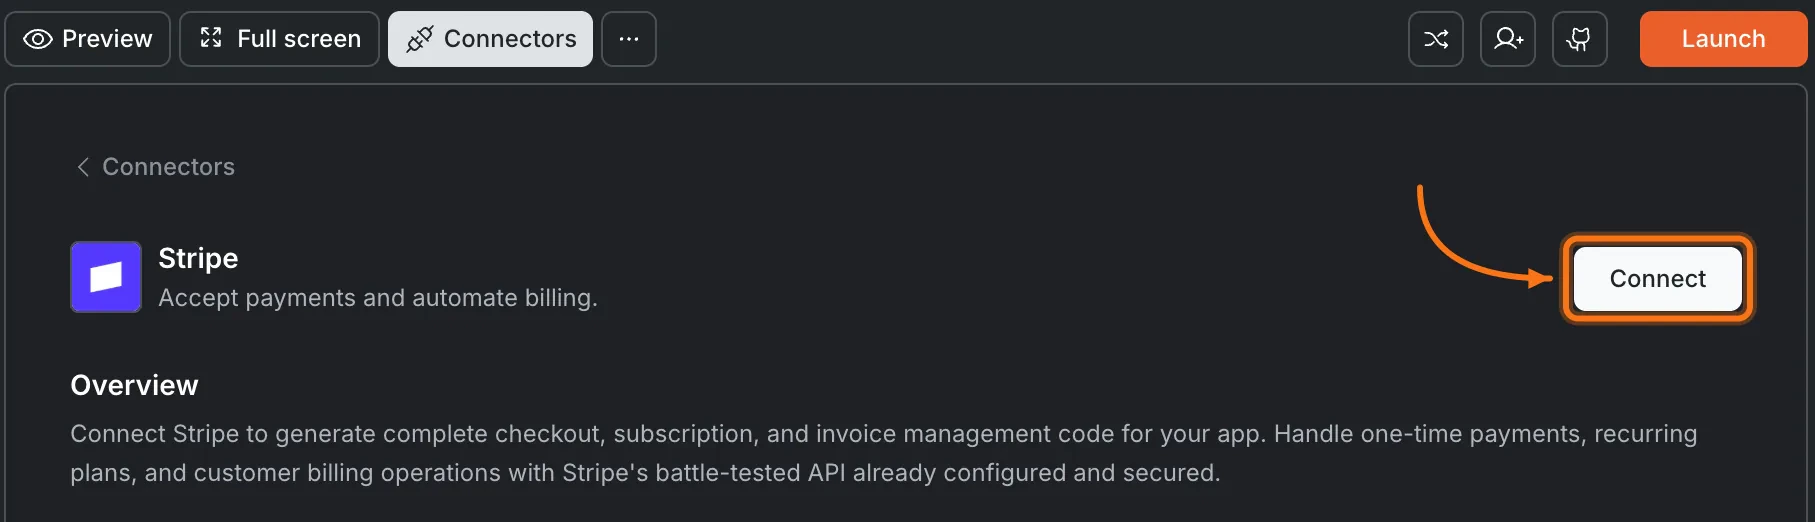
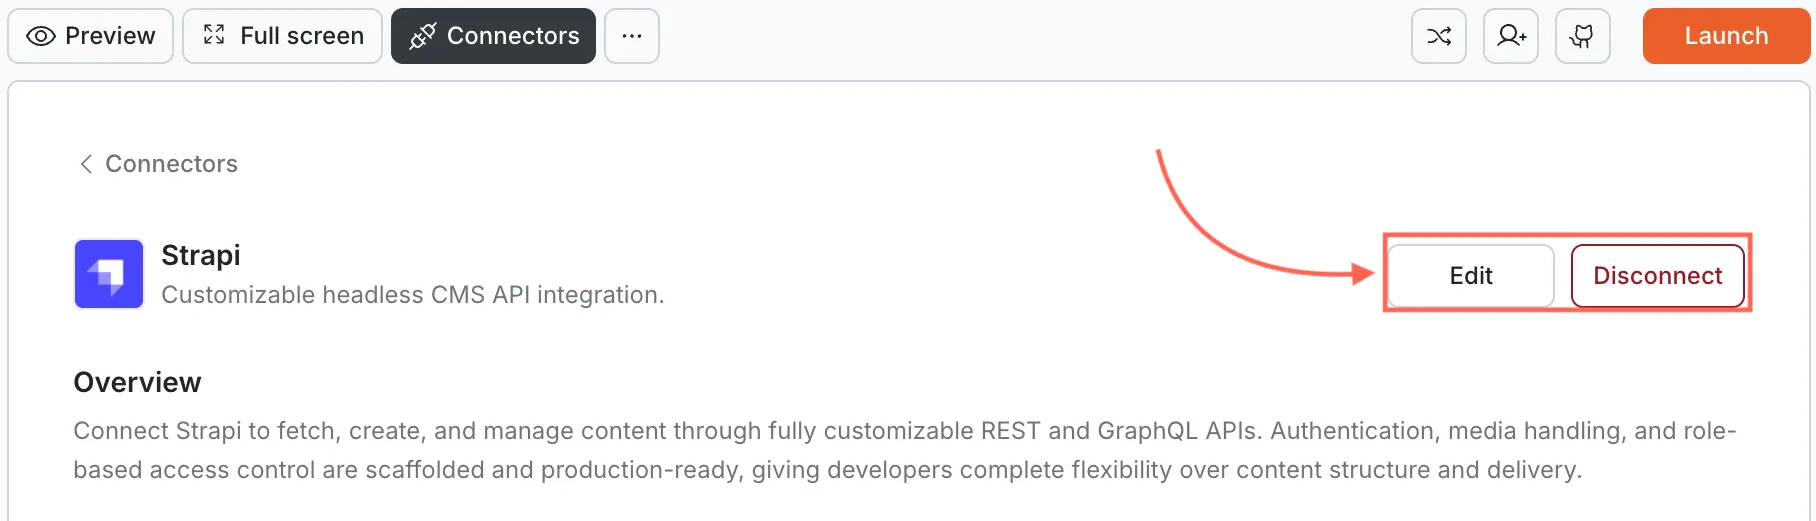
Connect Strapi and display blog posts from my CMS. Rocket detects the intent and shows a Connect button inline. Click it to open the credentials popup.... button in the preview toolbar, then select Connectors.Set up your Strapi instance
Skip this section if you already have a running Strapi instance with the MCP plugin installed.The MCP plugin is required for both Strapi Cloud and self-hosted projects.
Create an account
Go to Strapi Cloud and create an account.
Install the MCP plugin
Continue to Install the MCP plugin below.
Install the MCP plugin
Create content types and set permissions
Open the Admin Panel
Open the Strapi Admin Panel. For Strapi Cloud, click the Visit app button in your project dashboard to open the admin panel.
Create content types
Go to Content-Type Builder and create your content types (e.g., Blog, Product, Page).
Example prompts
| What you want | Prompt to use |
|---|---|
| Blog listing | Show all articles from my Strapi blog content type with thumbnails and dates. |
| Article detail page | When a user clicks an article, show the full rich-text body and author bio from Strapi. |
| Documentation site | Build a docs site with sidebar navigation from my Strapi docs collection. |
| Product catalog | Create a product grid from Strapi with images, prices, and a detail page for each item. |
| Dynamic page sections | Render pages from Strapi page-sections with hero, features, and CTA block types. |
| Search | Add a search bar to my Strapi blog that filters articles by title and content. |
| Category filter | Add category tabs to my Strapi product listing that filter items by type. |
| Pagination | Add pagination to my Strapi blog listing, showing 12 posts per page. |
| Image gallery | Display images from my Strapi media library in a responsive masonry grid. |
Tips
- Your API token is stored securely. Rocket encrypts it at rest and never exposes it in client-side code.
- Strapi must be publicly accessible. Your instance needs to be reachable from the internet. Local-only instances will not work unless tunnelled.
- One Strapi project per task. Each Rocket task connects to one set of Strapi credentials. Use different tasks for different Strapi instances.
- Content deletion happens in Strapi. Rocket can create and update records, but delete content and assets directly from your Strapi admin panel.
- Use the right token type. Full Access works for development. Use a Read-only token for production apps that only display content.
What’s next?
Directus
Comparing headless CMS options? See how Directus works with Rocket.
Supabase
Pair Strapi content with Supabase auth and user management.
Resend
Send notification emails when new content is published from Strapi.
All connectors
Browse every available integration.