Plug Directus into Rocket.new to build content-driven sites, product catalogs, and multi-language storefronts with a flexible headless CMS.
Describe the content experience you want in chat and Rocket generates pages, listing views, and dynamic layouts that pull directly from your Directus collections.
You need a running Directus instance and an access token.
Get your Directus access token from the Directus documentation.
1
Open your User Profile
Open your Directus project and go to your User Profile.
2
Generate a new token
Scroll to the Token field and click Generate New Token.
3
Copy the token and URL
Copy the token and note your project URL (e.g., https://your-project.directus.app).
Never paste your Directus access token directly into Rocket chat. Always use the secure connection flow. If you think your token has been exposed, regenerate it from your Directus User Profile.
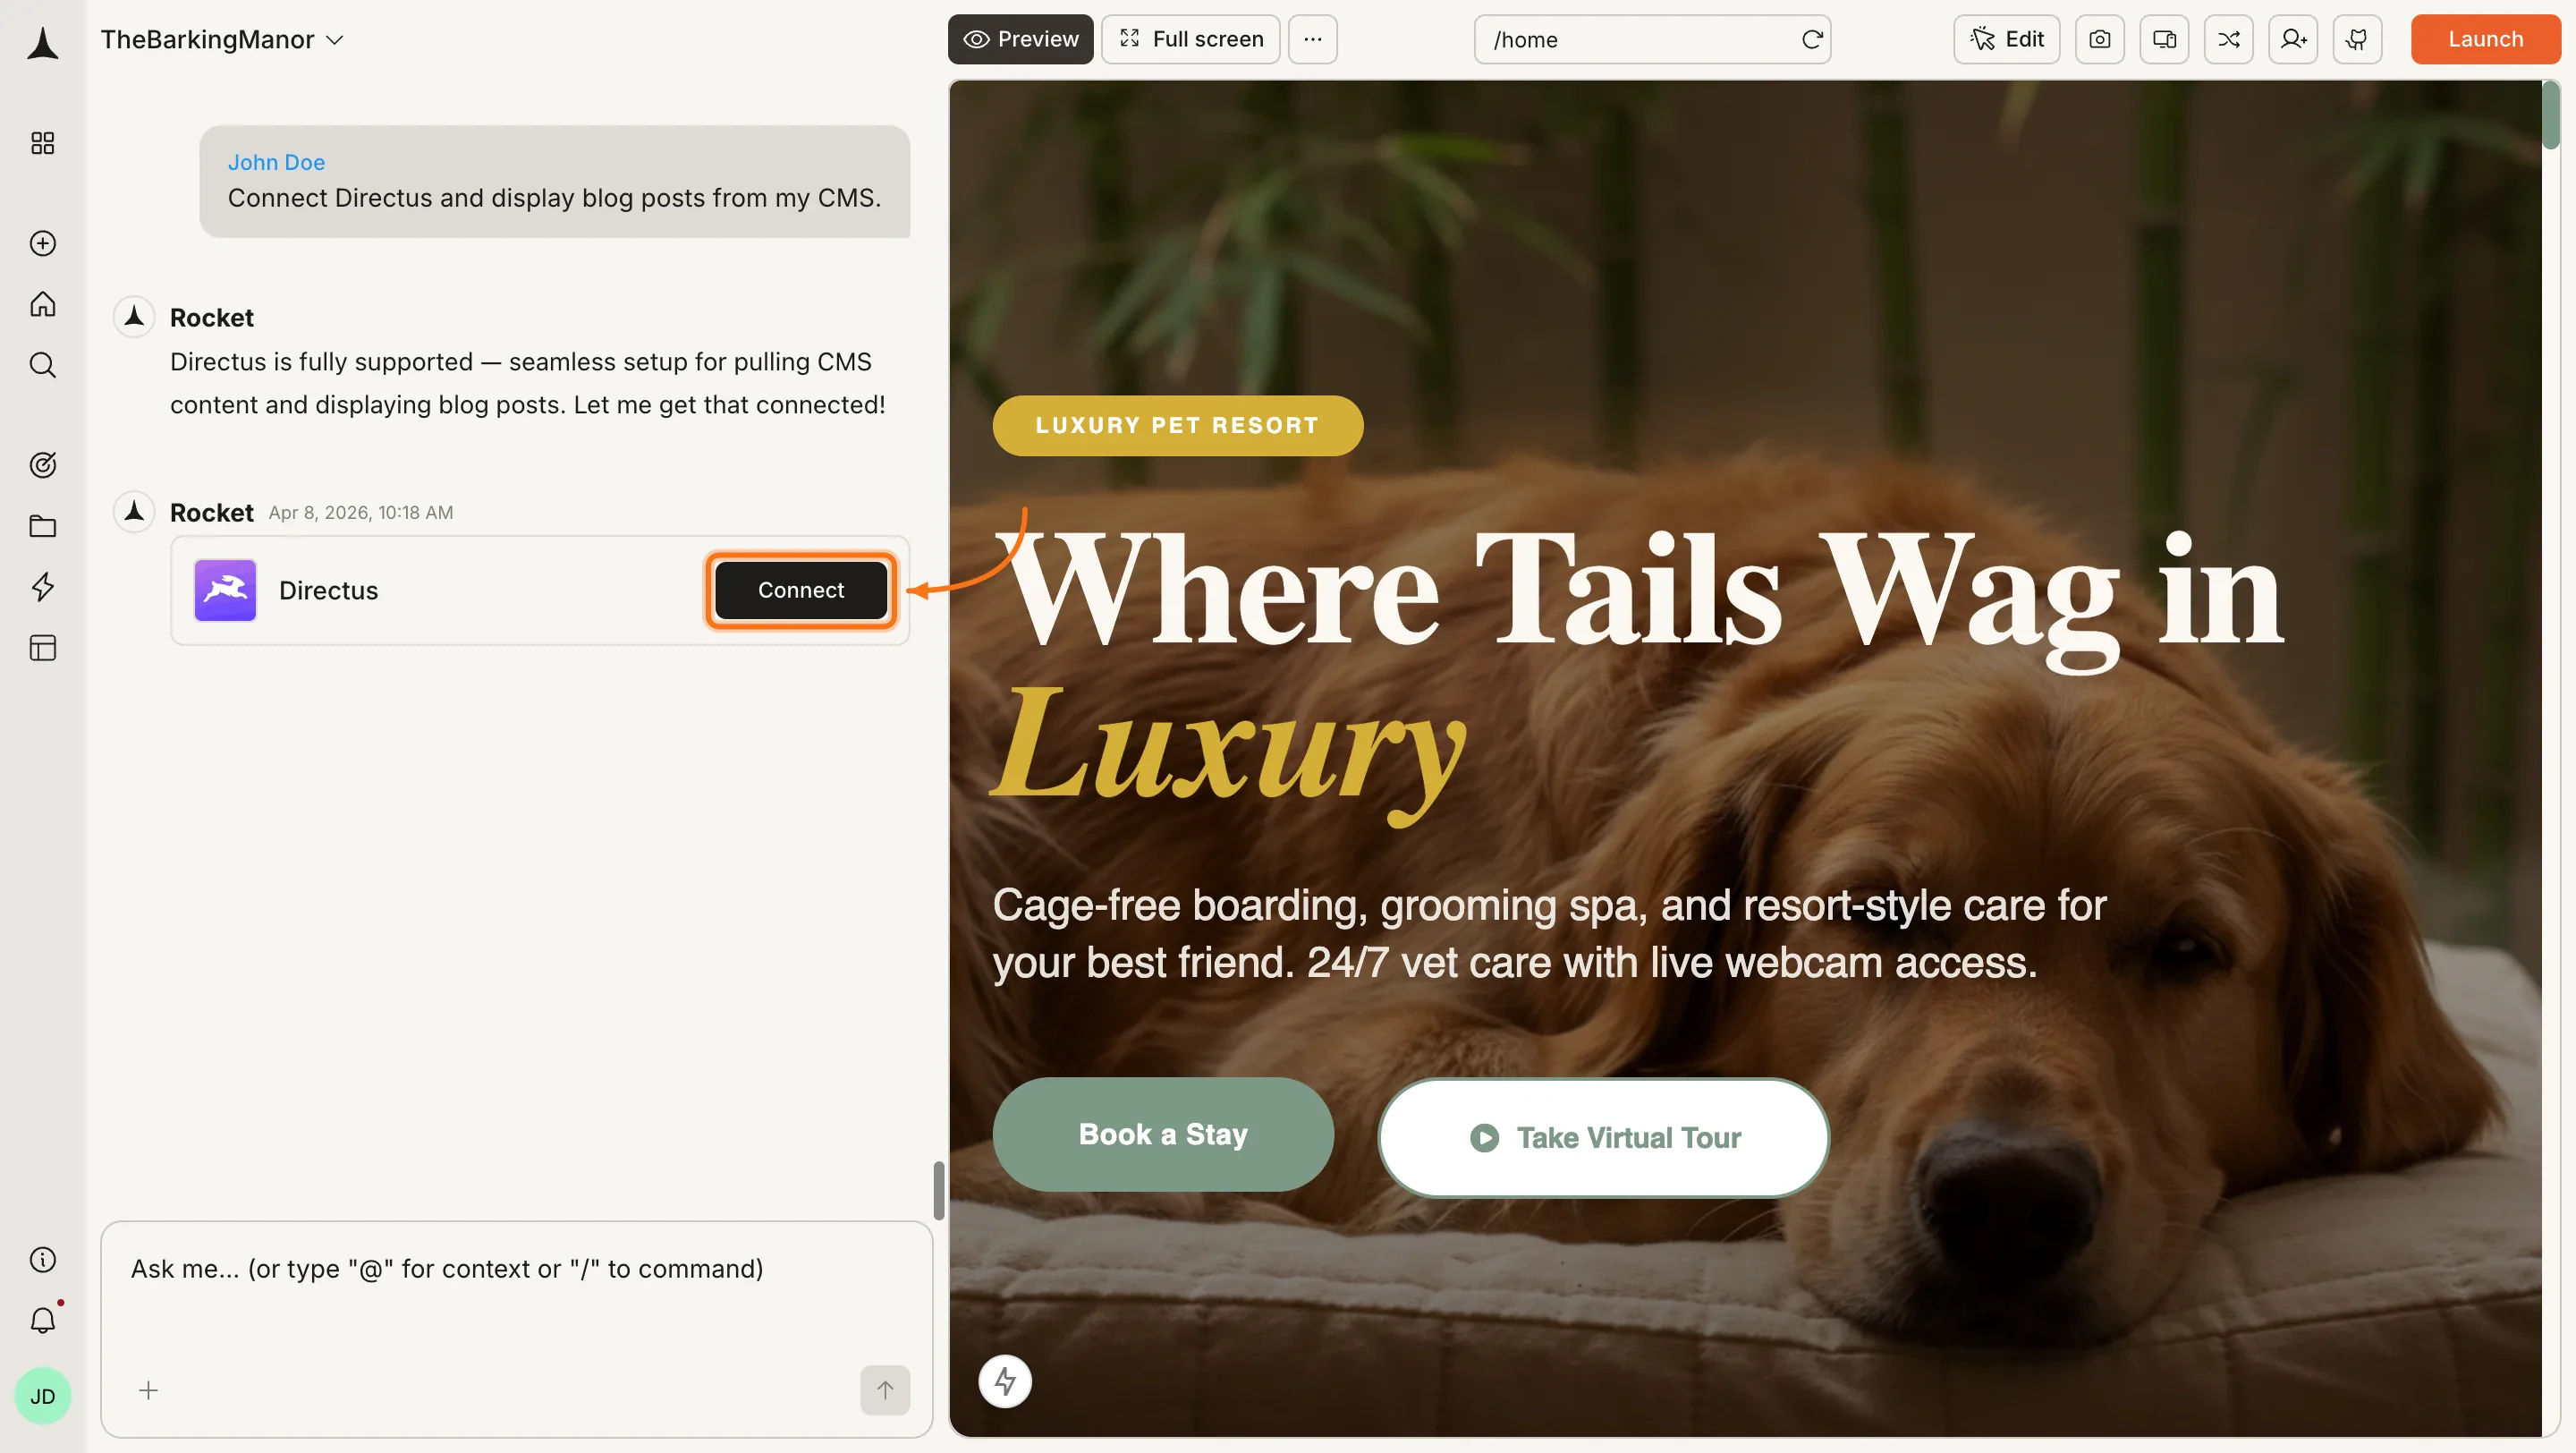
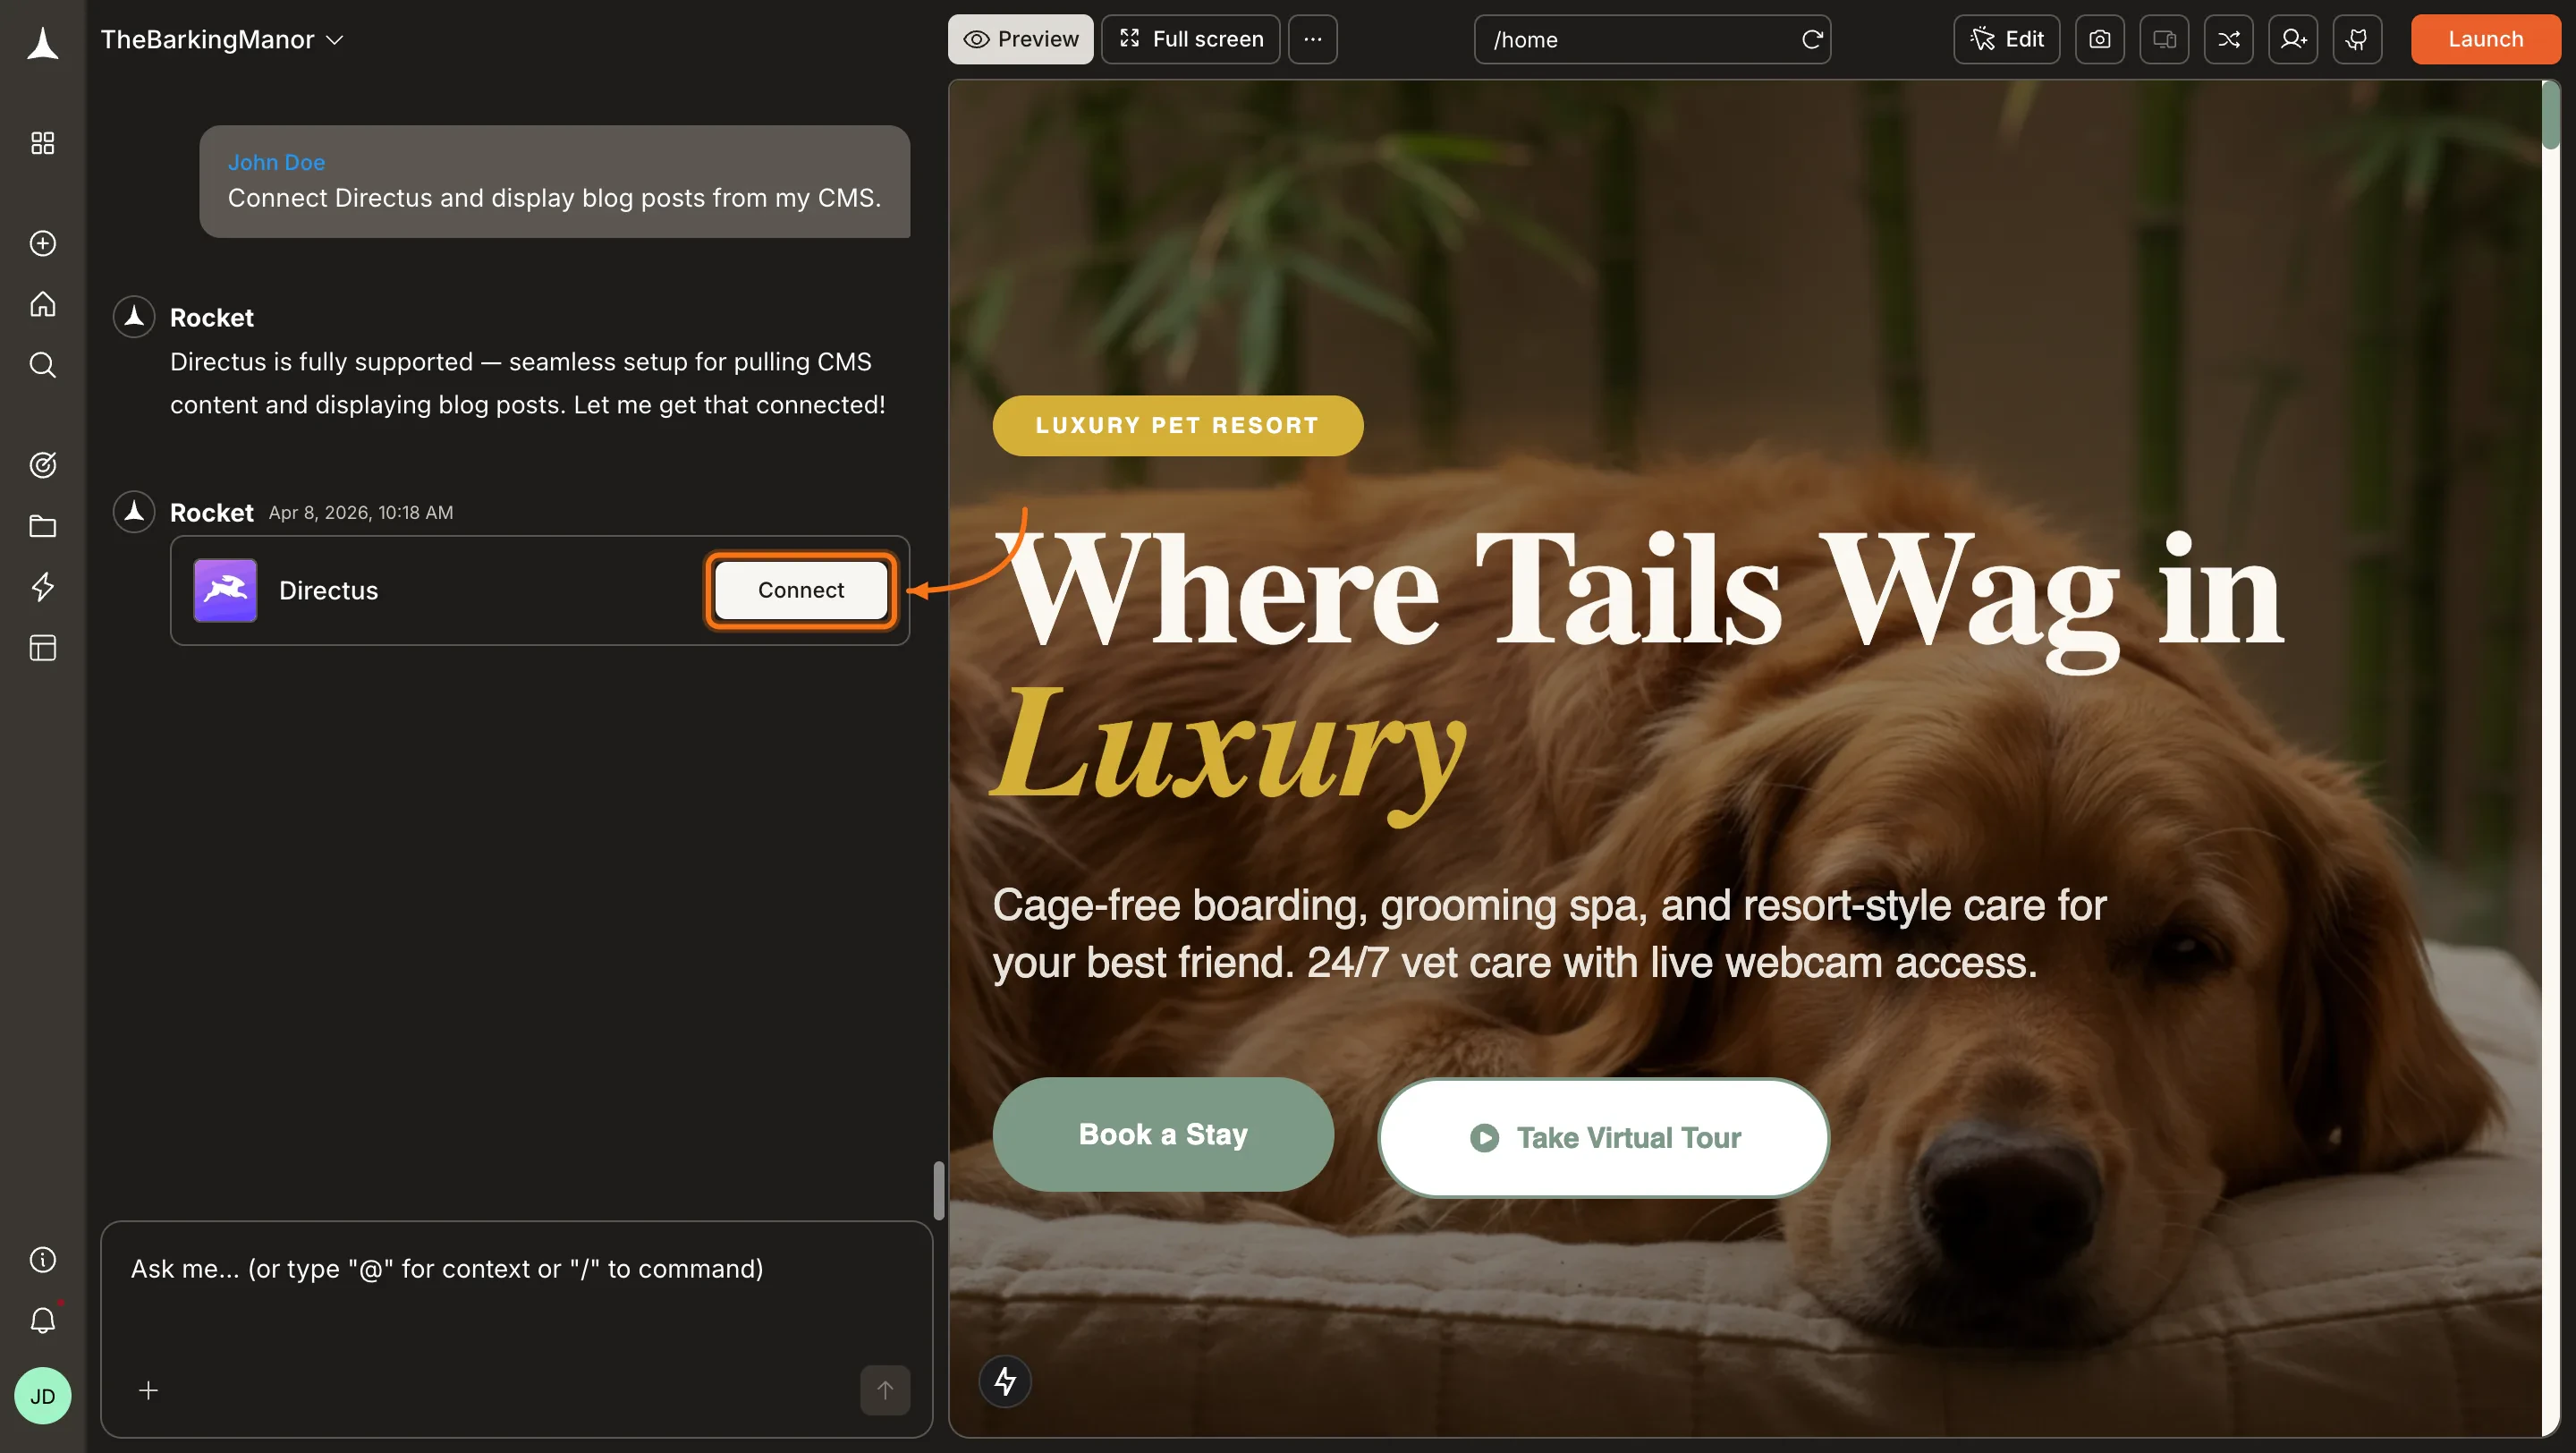
You can connect from two places. Both do the same thing.Option 1: From chatType a prompt that mentions Directus, for example Connect Directus and build a blog listing page from my articles collection. Rocket detects the intent and shows a Connect button inline. Click it to open the credentials popup.
Directus connection prompt in chat
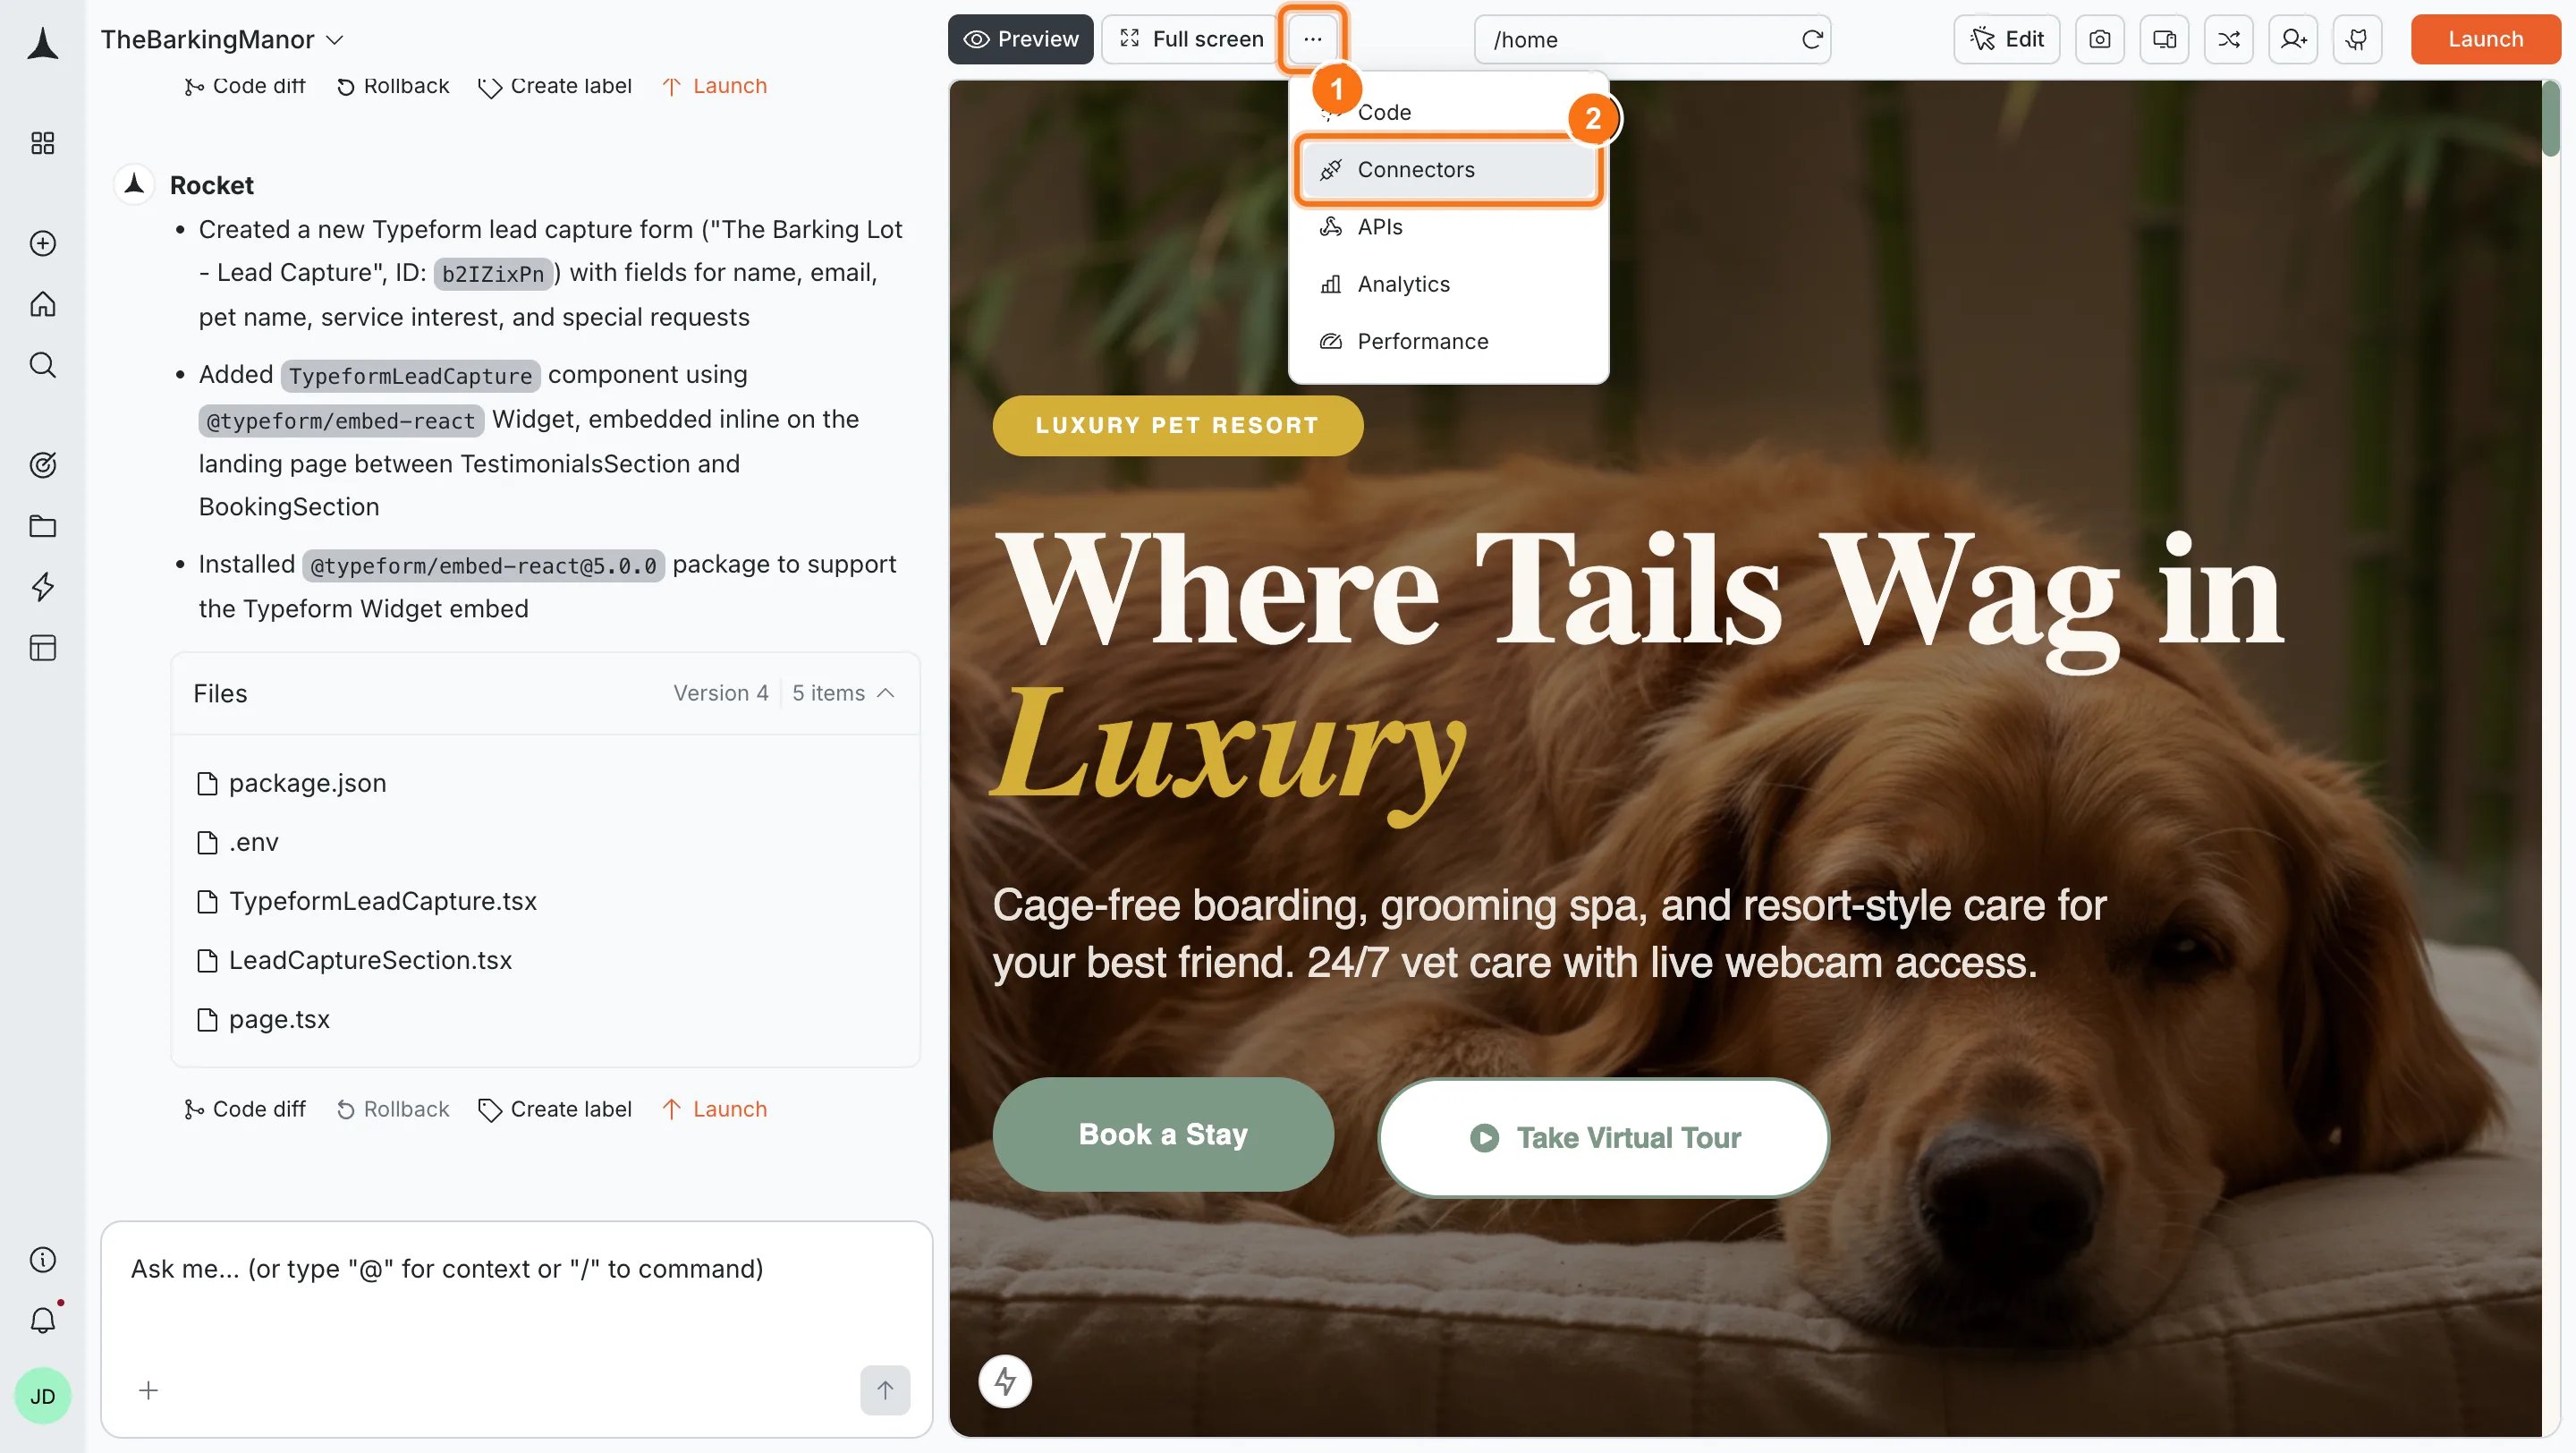
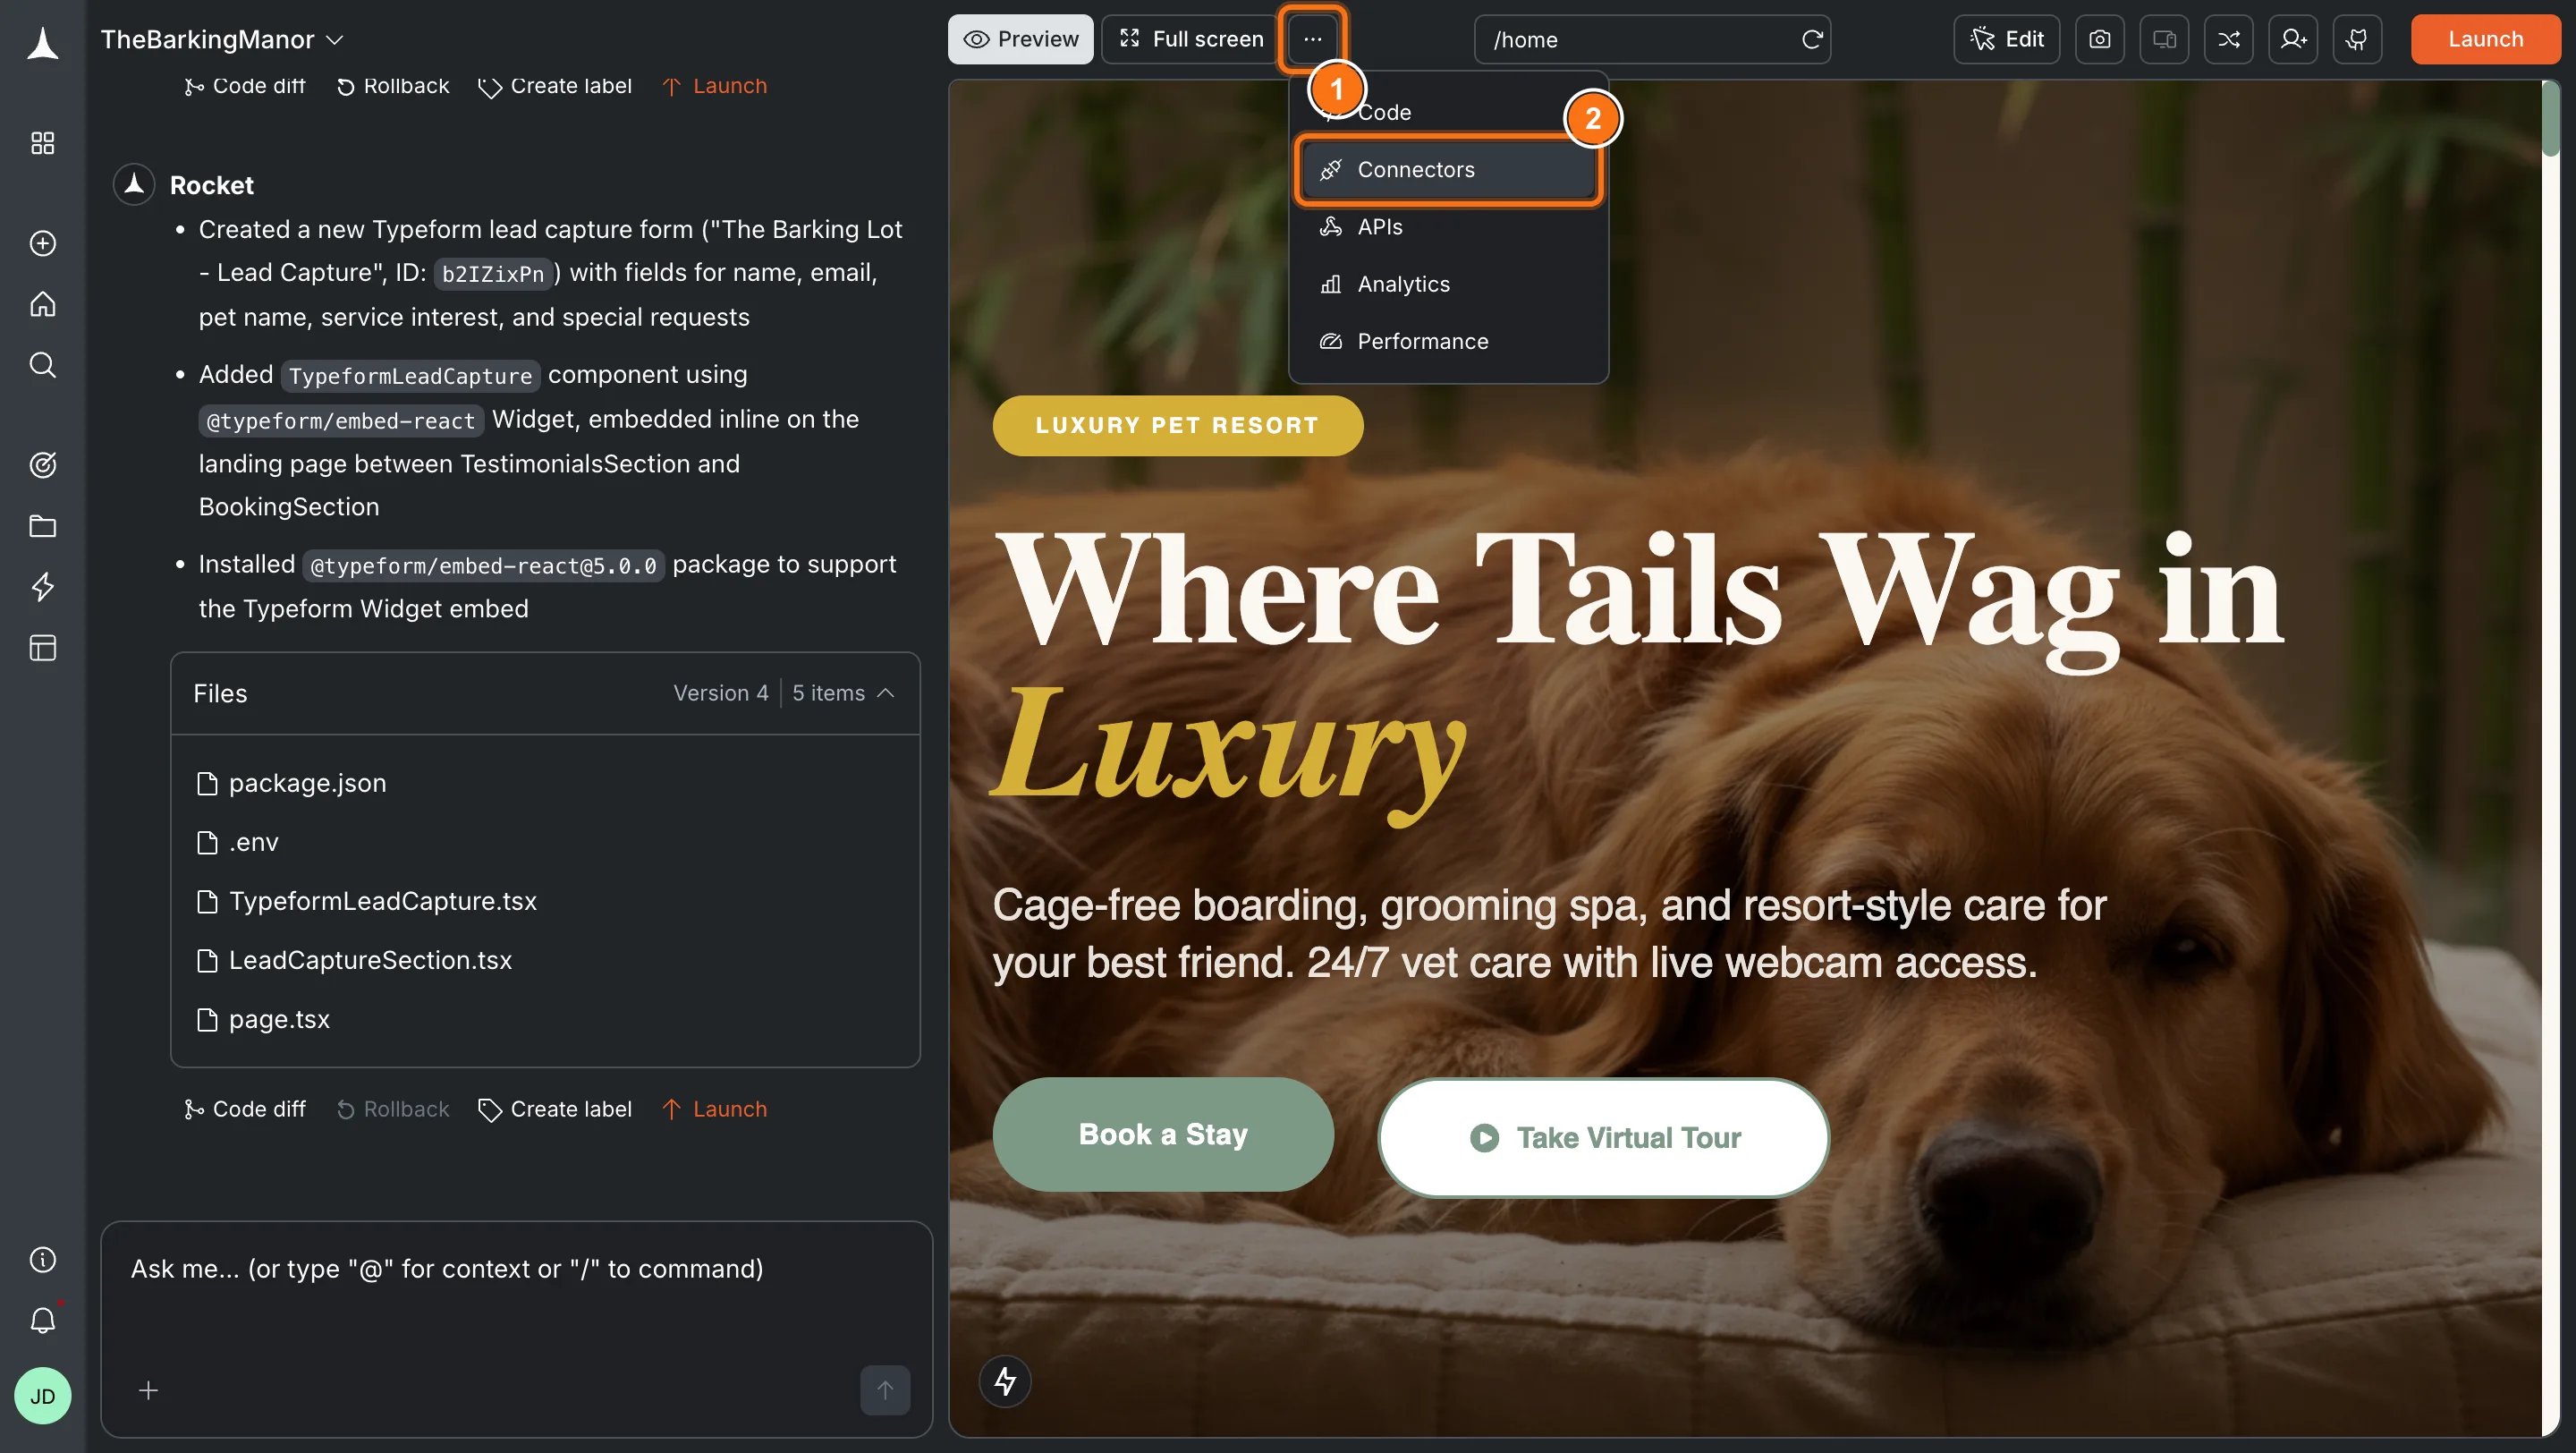
Option 2: From the Connectors tabClick the ... button in the preview toolbar, then select Connectors.
Open Connectors from the toolbar
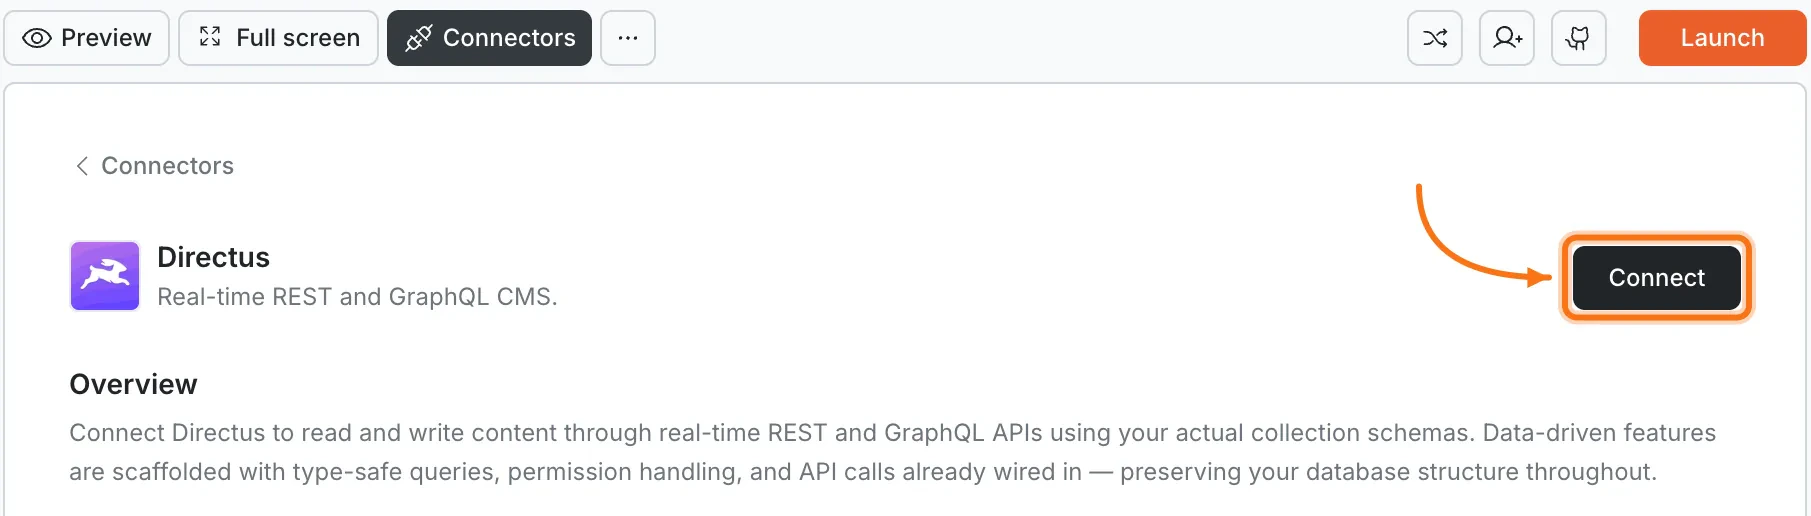
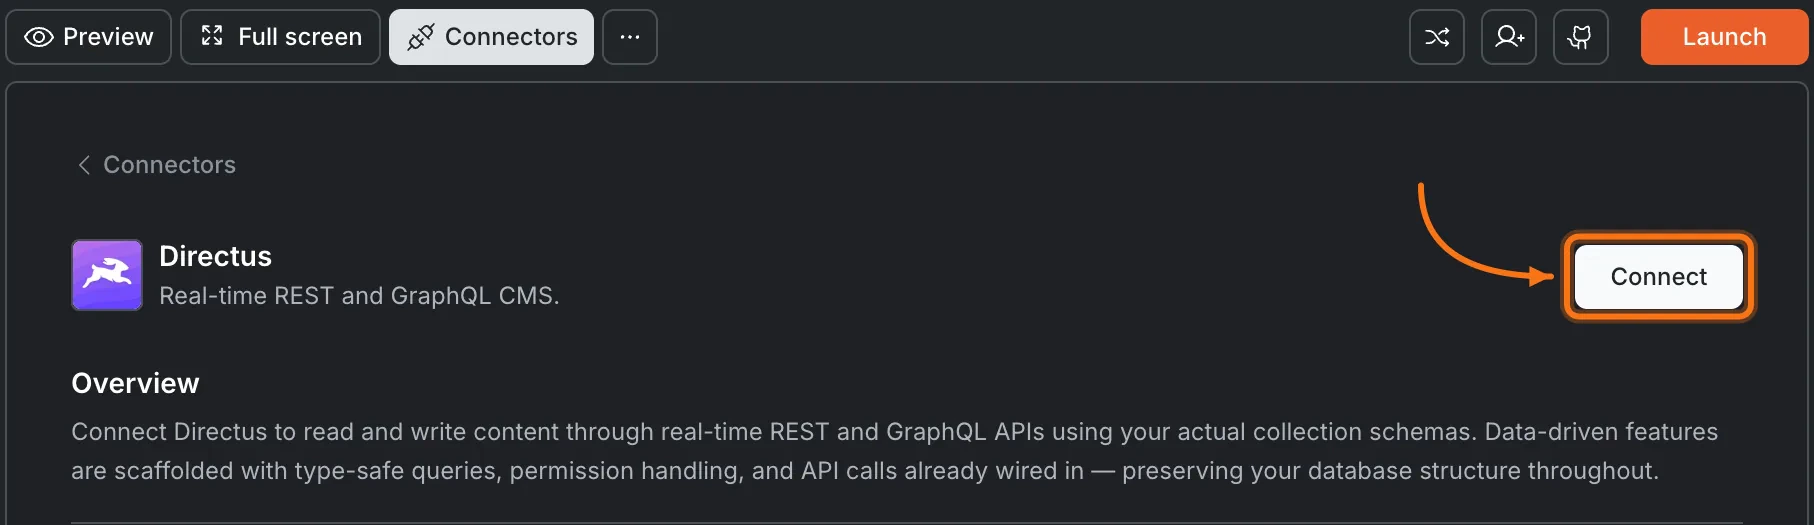
Click the Directus card, then click Connect.
Directus card in the Connectors panel
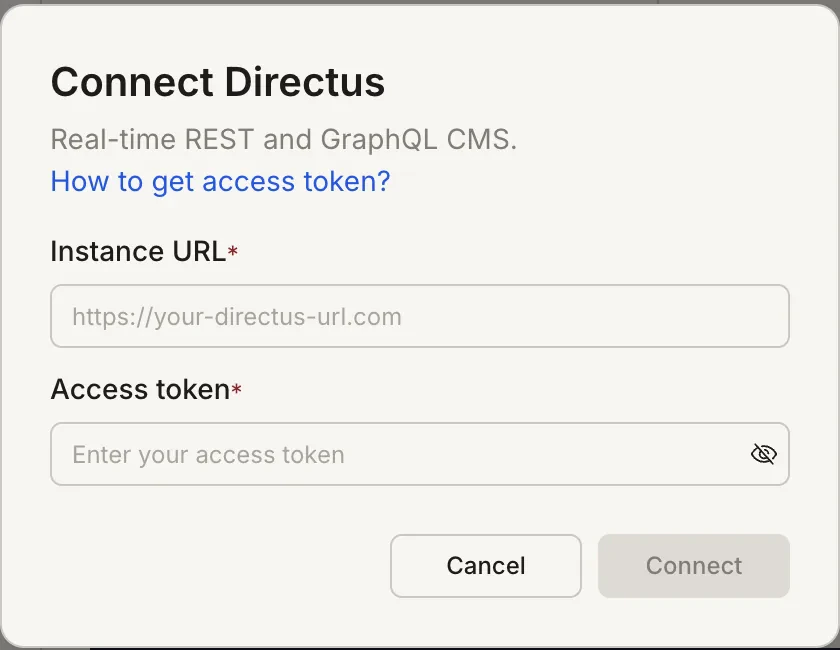
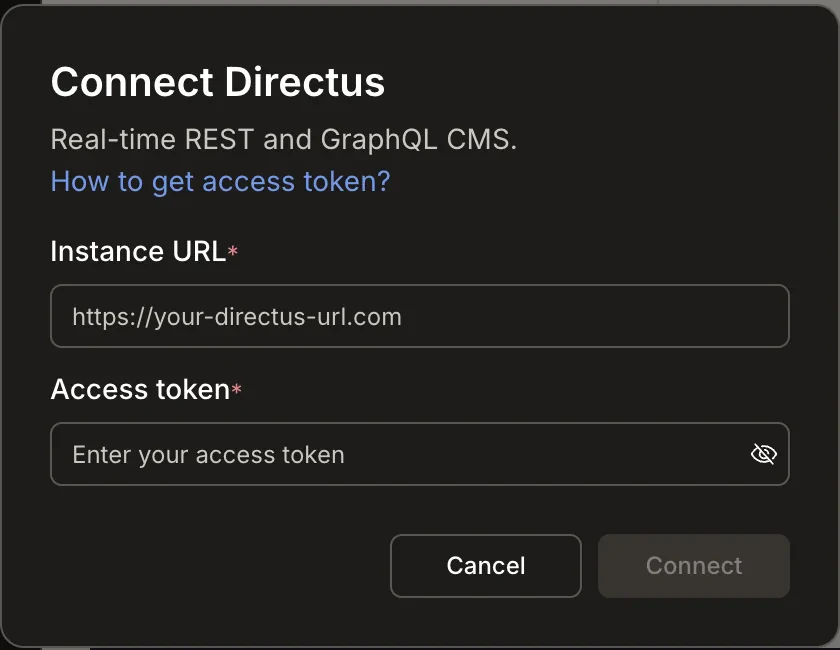
After clicking ConnectA popup opens. Enter your Project URL and Access Token, then click Save.
Directus credentials popup
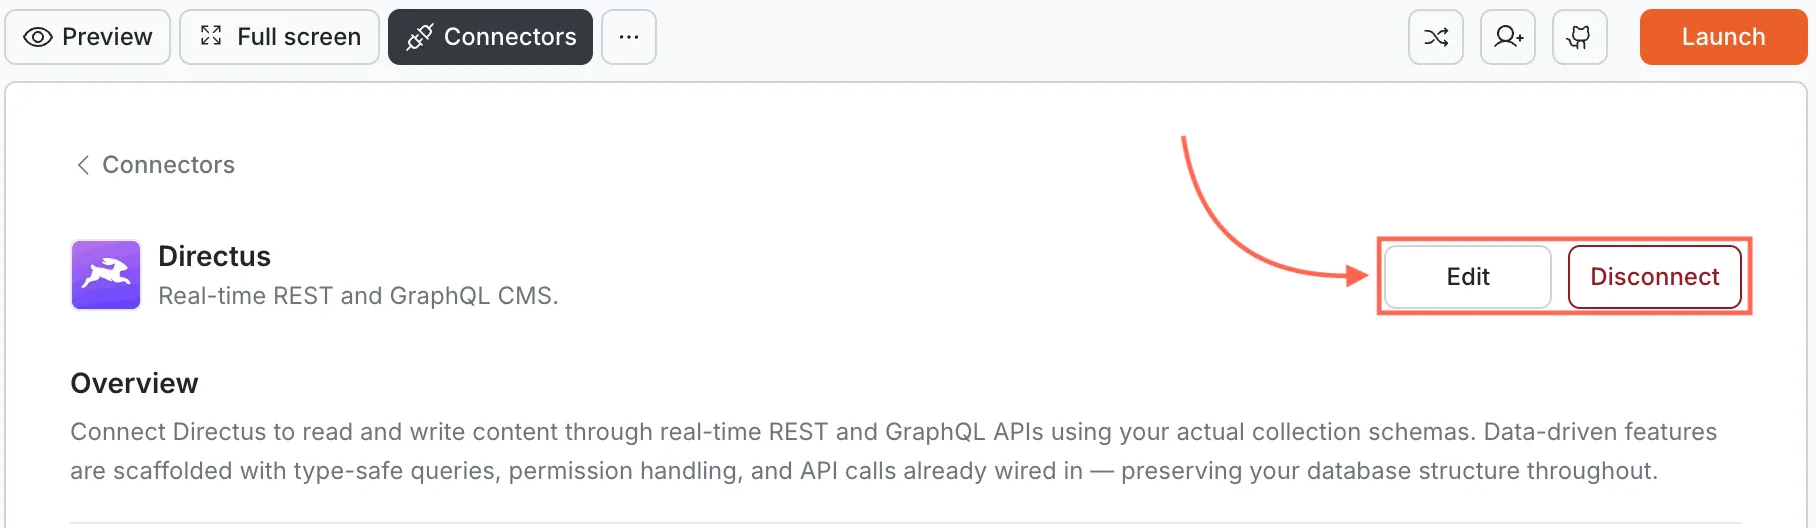
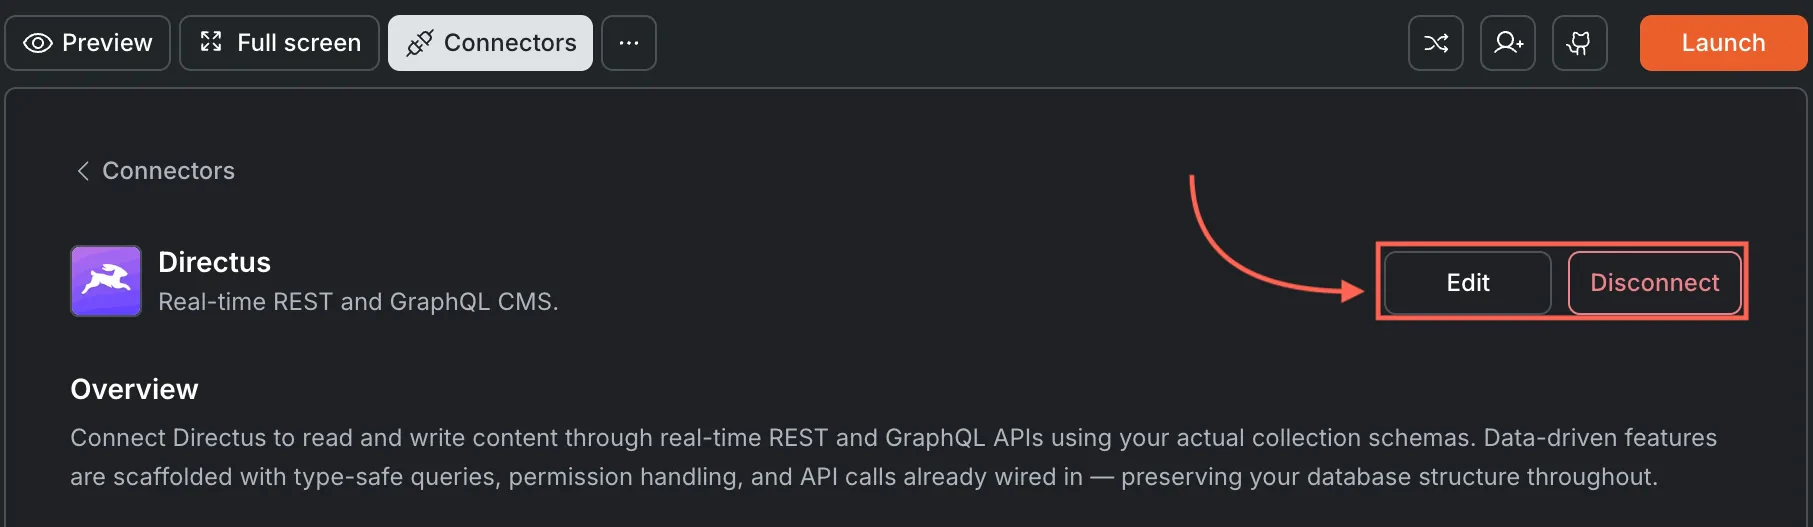
A green dot appears next to Directus when the connection is active.Update or disconnectOpen Connectors > Directus and click the card. Replace the existing credentials to update, or click Disconnect to remove the integration.
Edit or disconnect Directus
You can connect from two places. Both do the same thing.Option 1: From chatType a prompt that mentions Directus. Rocket detects the intent and shows a Connect button inline. Tap it to open the credentials screen.Option 2: From the Connectors tabTap the More button in the header, then tap Integrations. Tap the Directus card, then tap Connect.After tapping ConnectEnter your Project URL and Access Token, then tap Done to save. A green dot appears next to Directus when the connection is active.Update or disconnectGo back to the Directus card in Integrations. Update your credentials anytime or tap Disconnect to remove the integration.
Choose token permissions carefully. The access token inherits the permissions of the Directus user that generated it. Use a dedicated service account with scoped permissions for production apps.
Your access token is stored securely. Rocket encrypts it at rest and never exposes it in client-side code.
Directus must be publicly reachable. Local-only instances will not work. Your Directus URL must be accessible from the internet.
Deleting content must happen in Directus. Rocket can create and update records, but content and asset deletion should be managed directly in your Directus admin panel.
One Directus project per Rocket project. Each Rocket project connects to one set of credentials. Use different Rocket projects for different Directus instances.
Licensing. Directus is licensed under BSL 1.1. Organizations with over $5 million in total finances require a commercial license. Smaller organizations and individuals can use Directus commercially without a license.