This connector is only available for Next.js TypeScript web build tasks.
What you can do
CRM and lead tracker
Manage contacts, deals, and sales pipelines with a clean interface backed by Airtable data.
Content calendar
Plan and schedule blog posts, social media content, and marketing campaigns from a shared calendar.
Inventory tracker
Track stock levels, product details, and reorder thresholds for physical or digital goods.
Task management board
Organize tasks, assign team members, and track progress with a Kanban board.
Event registration
Collect RSVPs, manage attendee lists, and display upcoming events from Airtable.
Connect Airtable
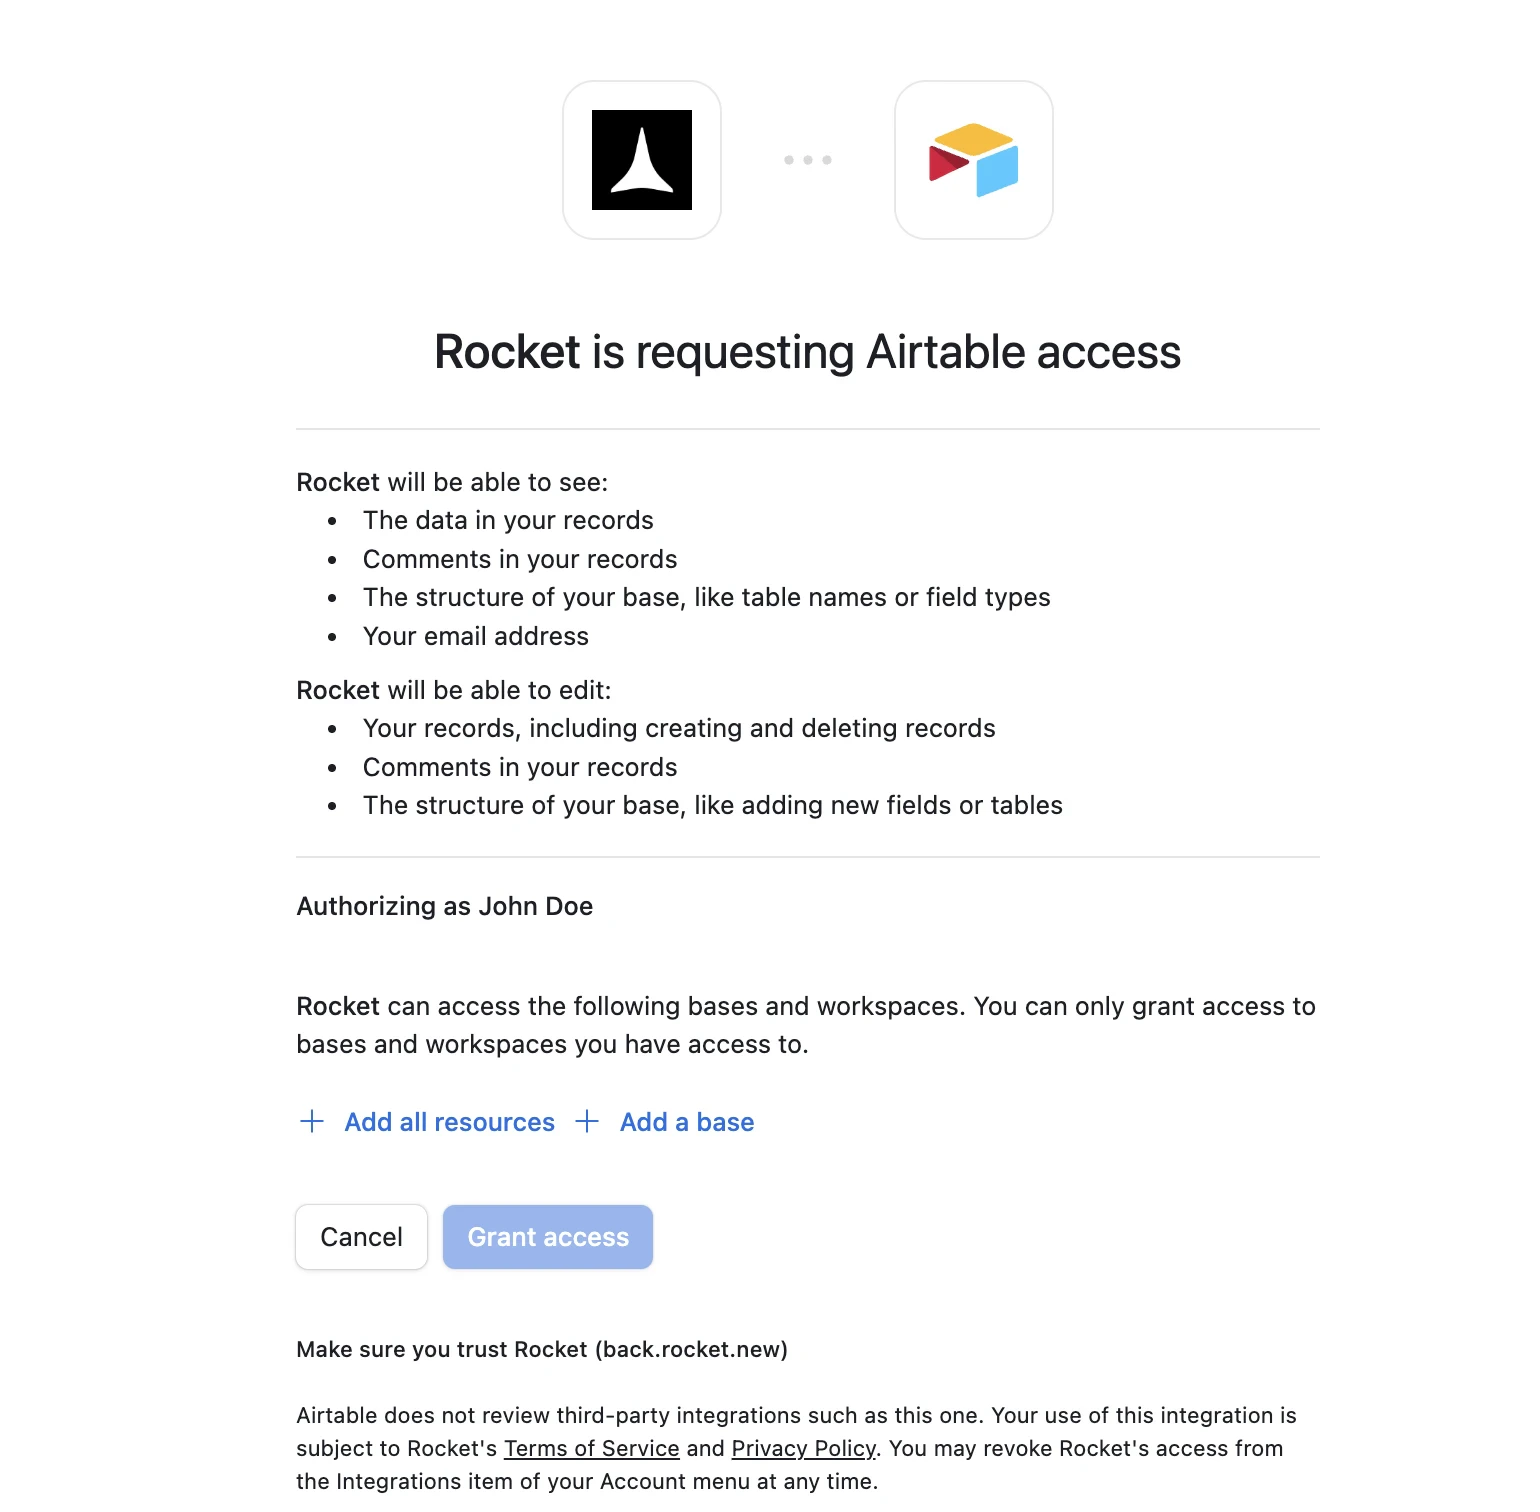
Airtable uses OAuth so no API key is needed.Airtable is a workspace-level connector. No matter where you connect it (Settings, Connectors tab, or chat), it links to your entire Rocket workspace and is available across all tasks.
- Web Browser
- Mobile App
You can connect from three places. All do the same thing.Option 1: From chatType a prompt that mentions Airtable, for example 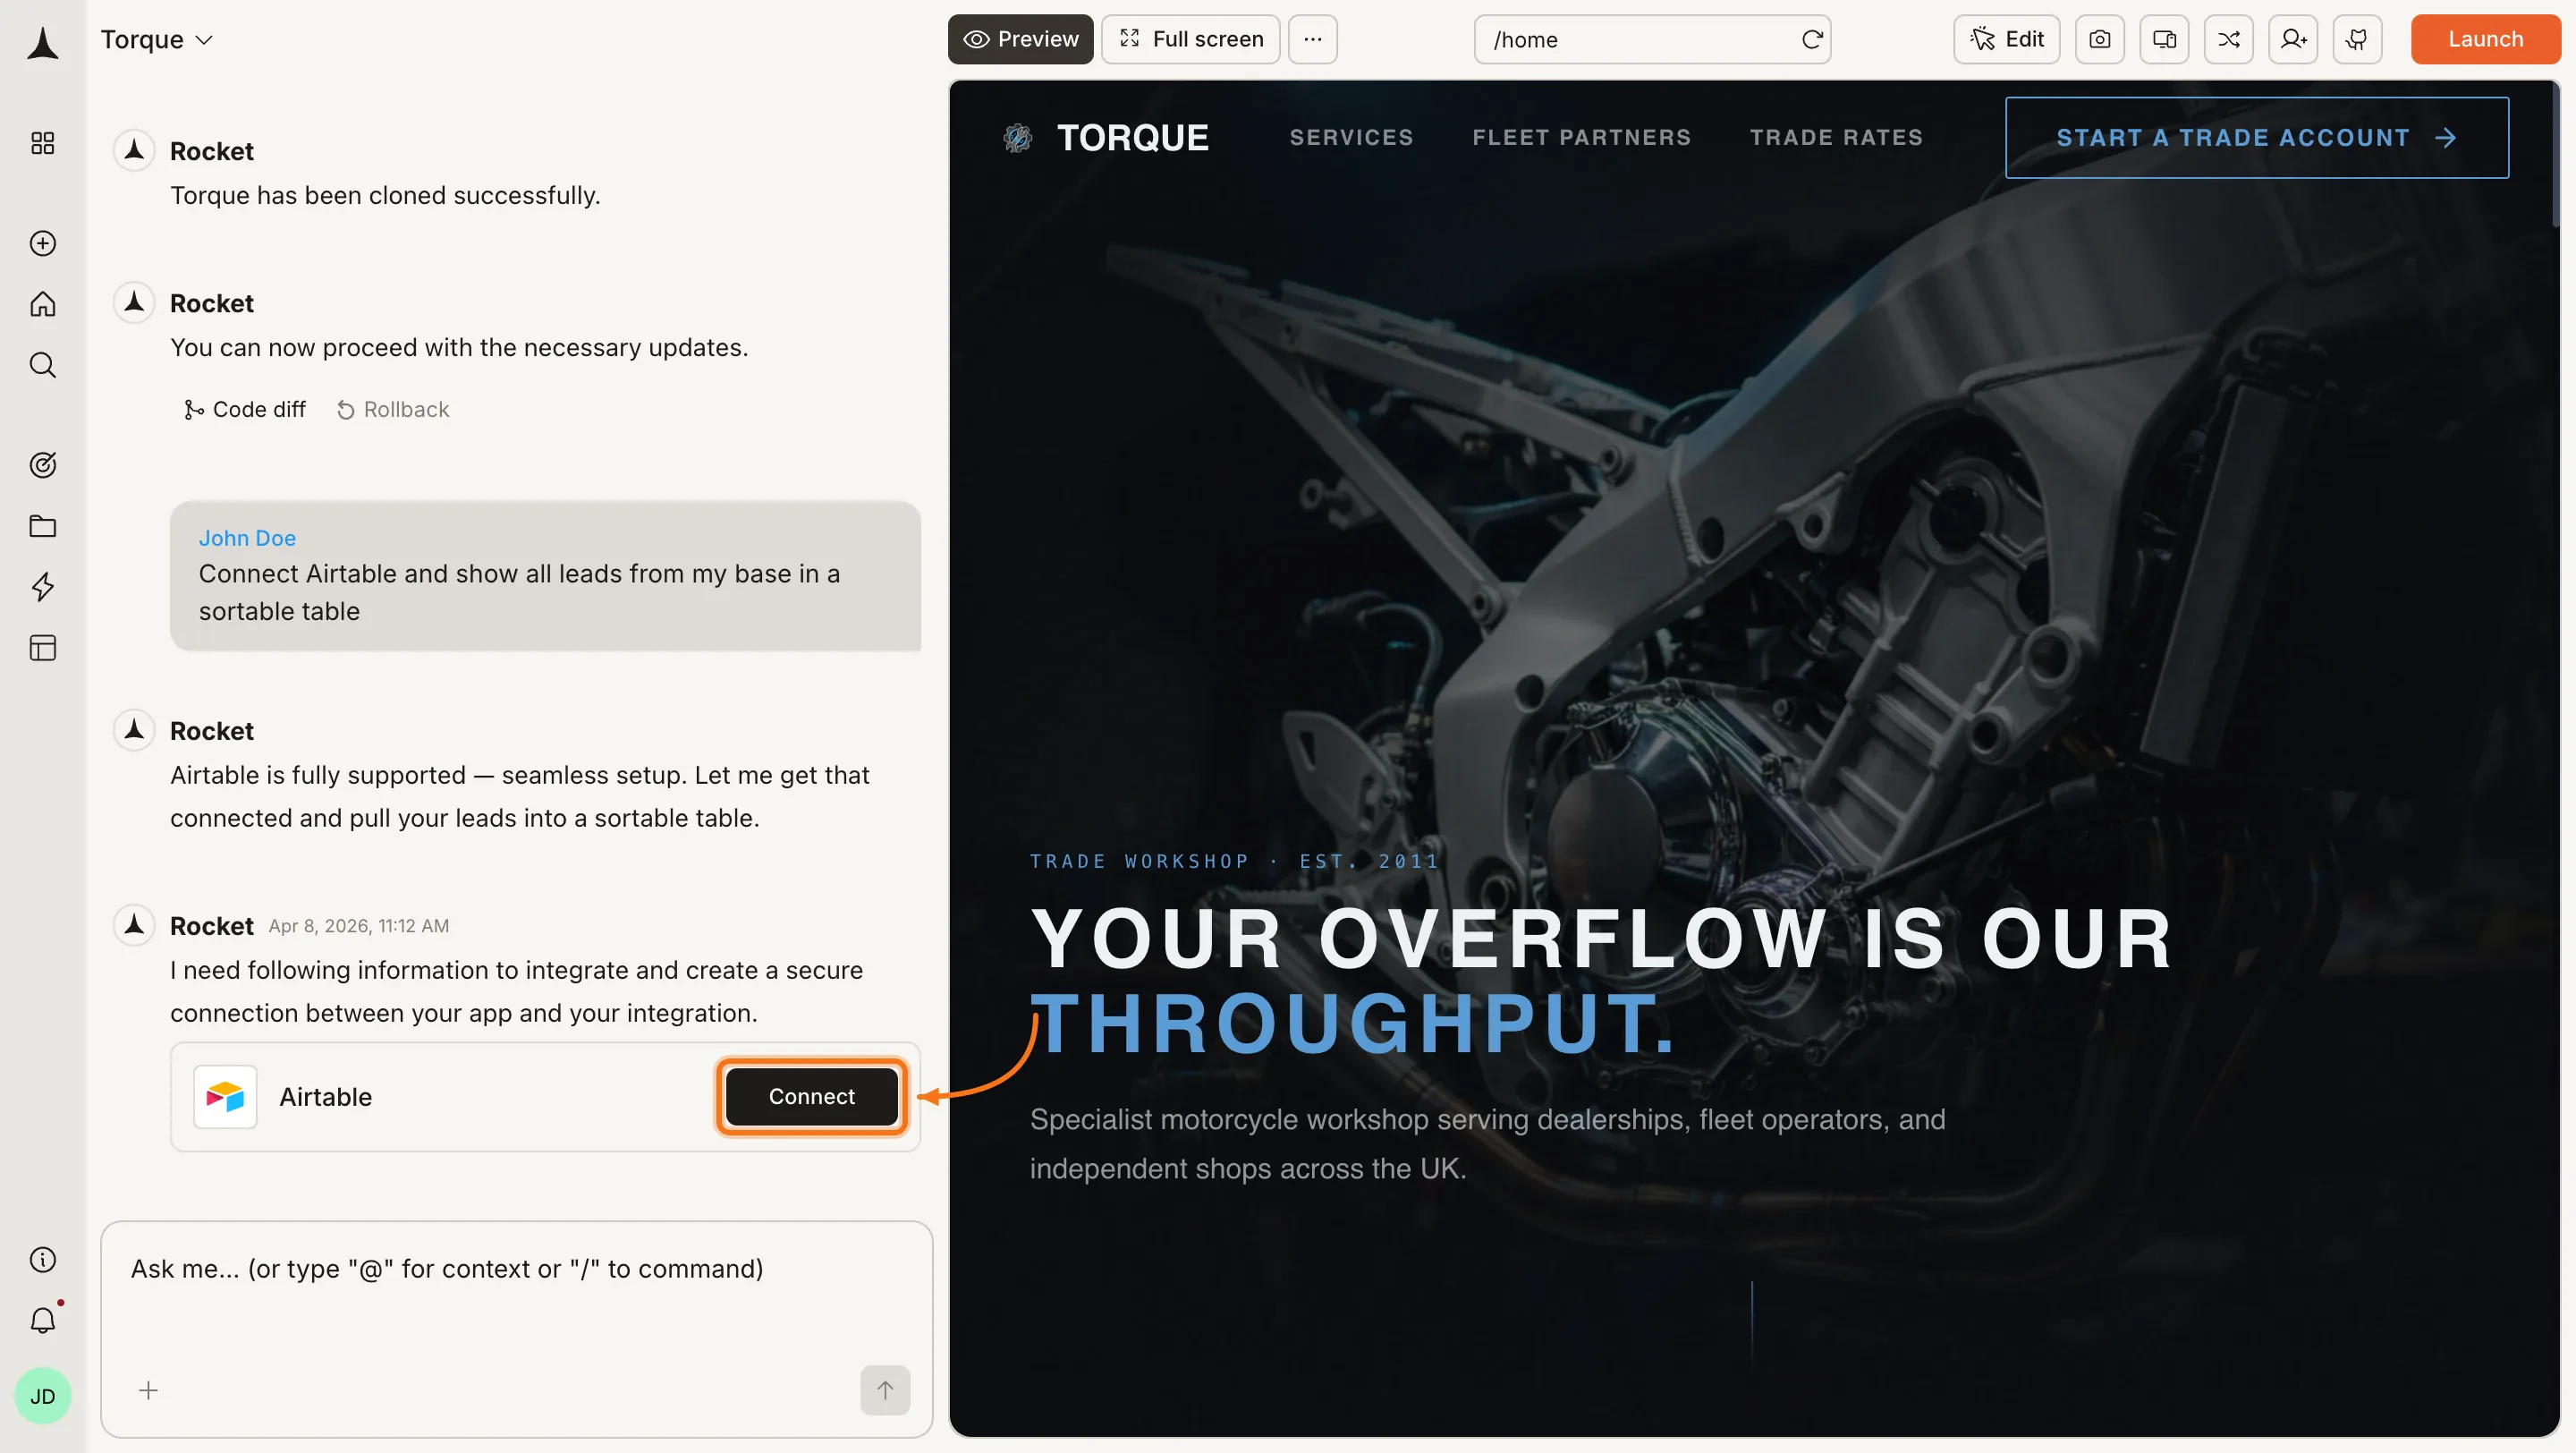
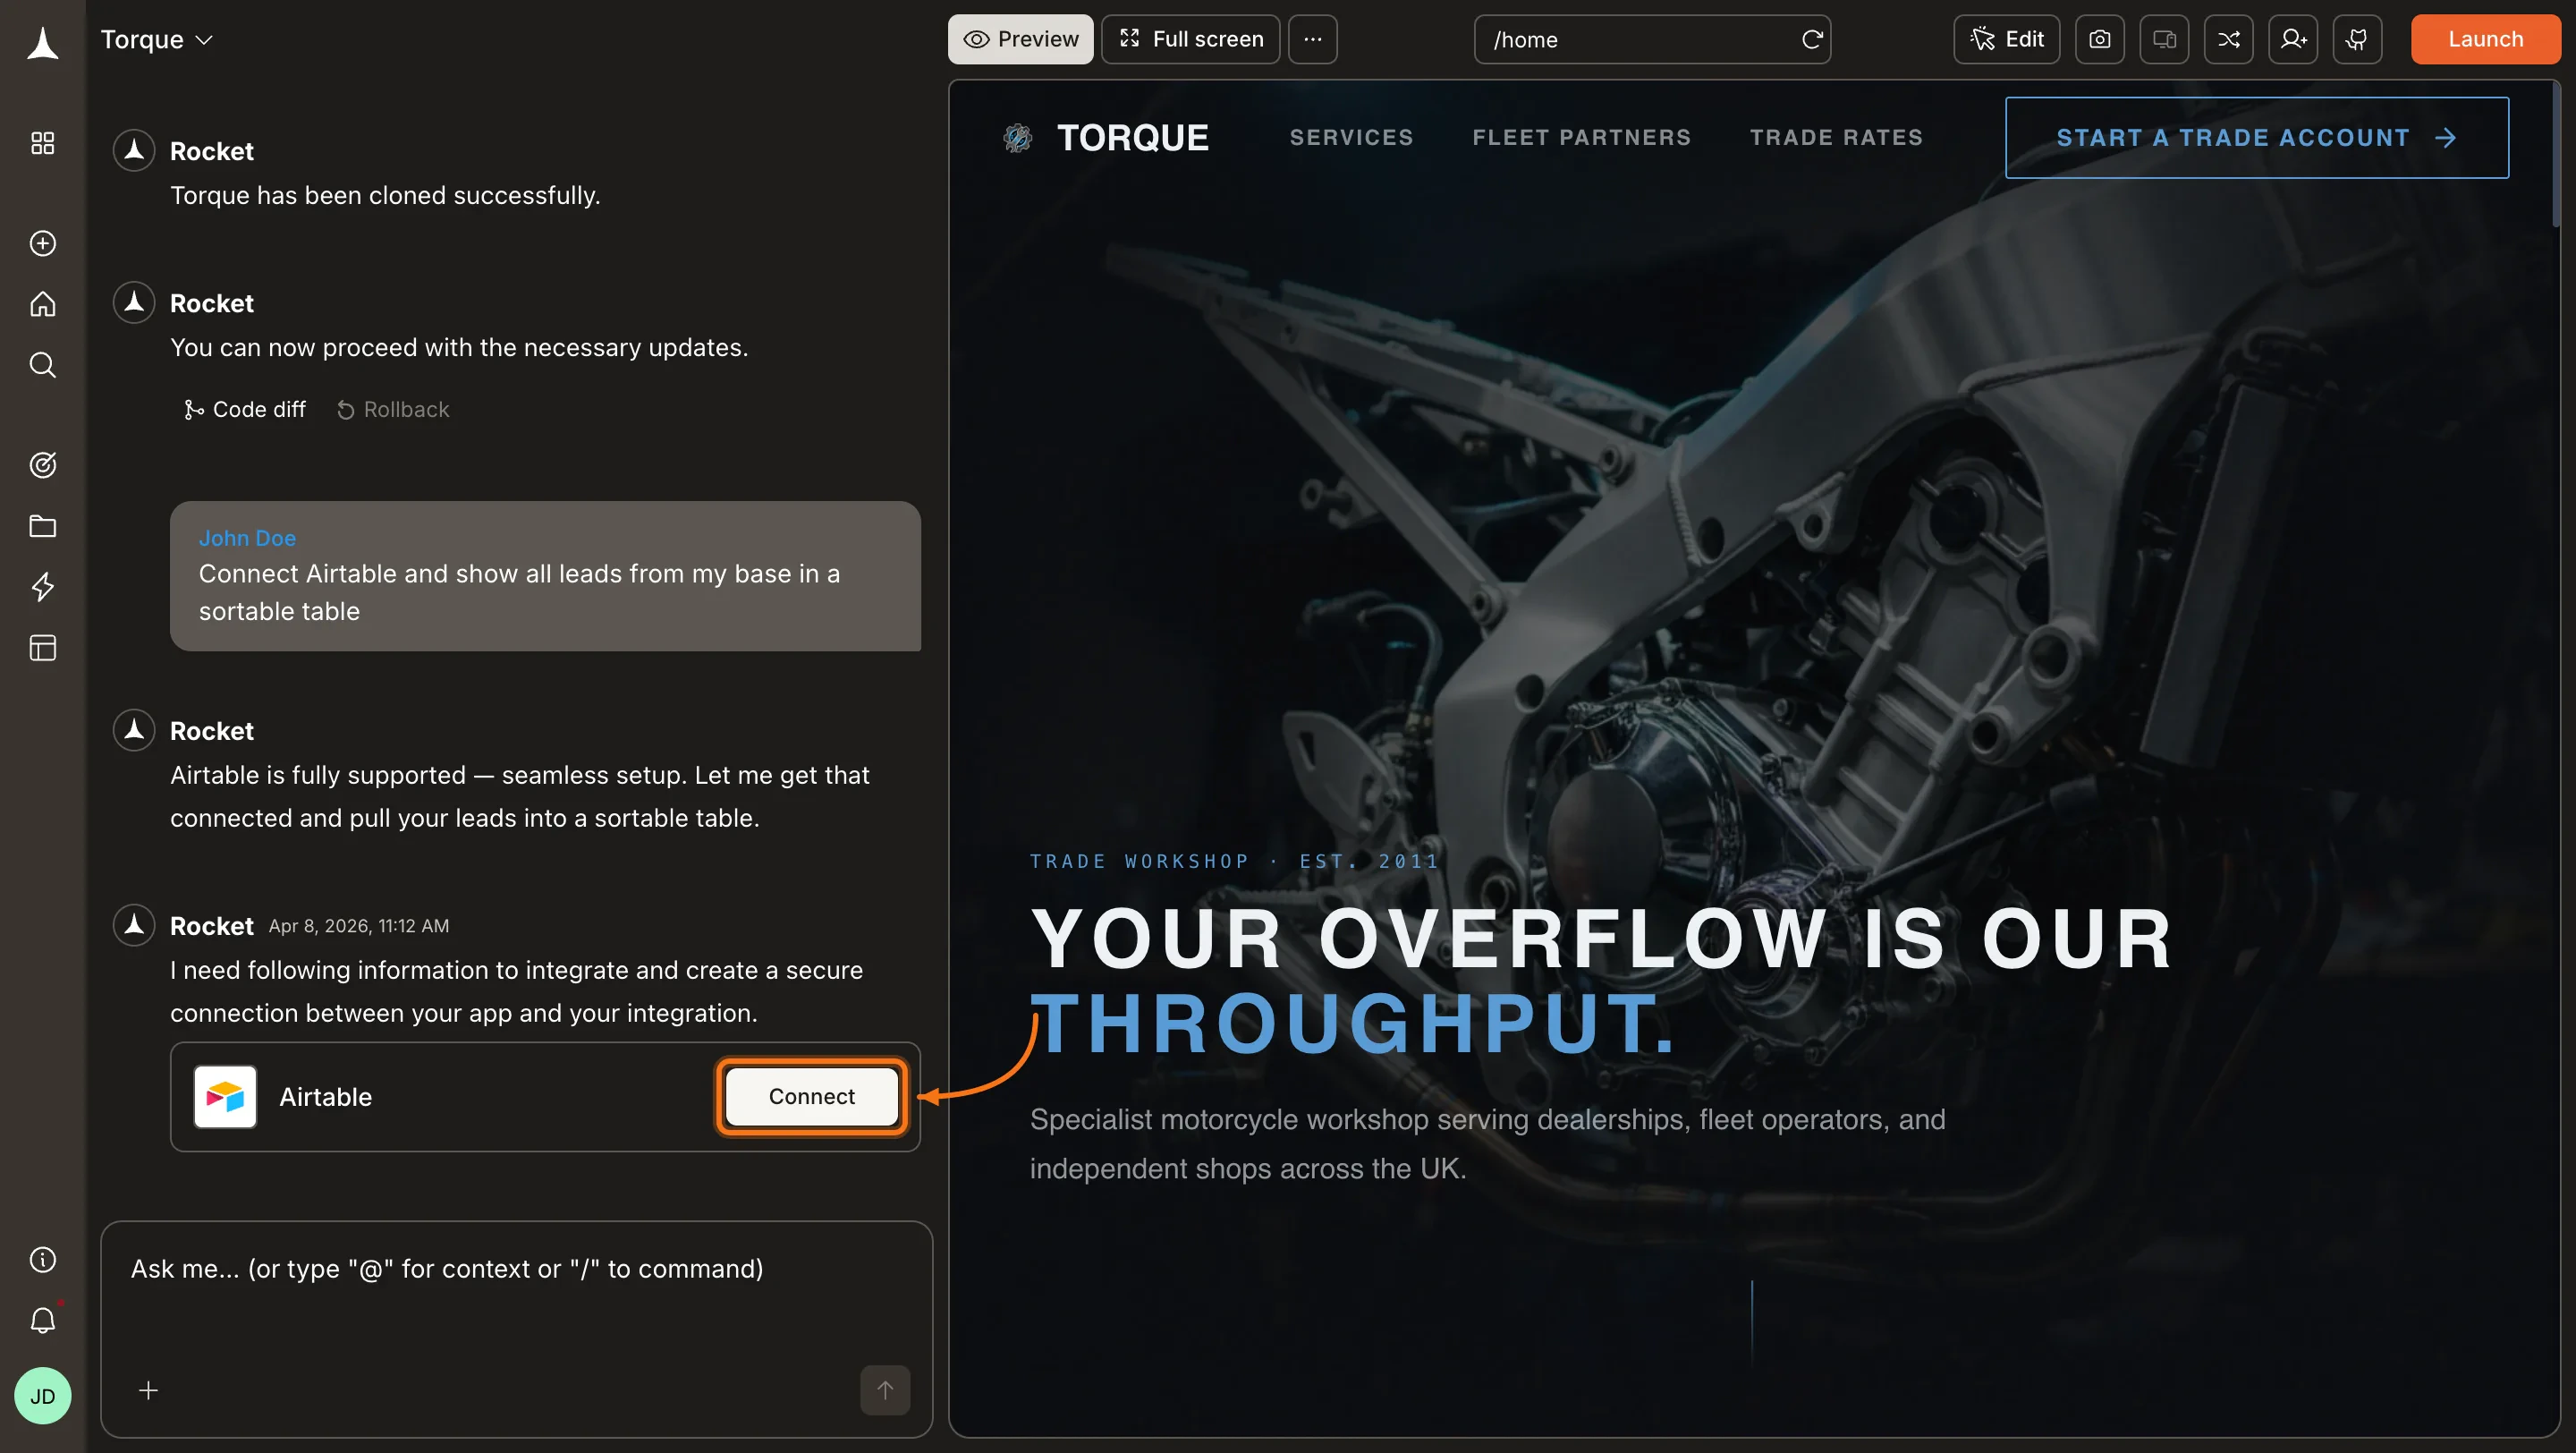
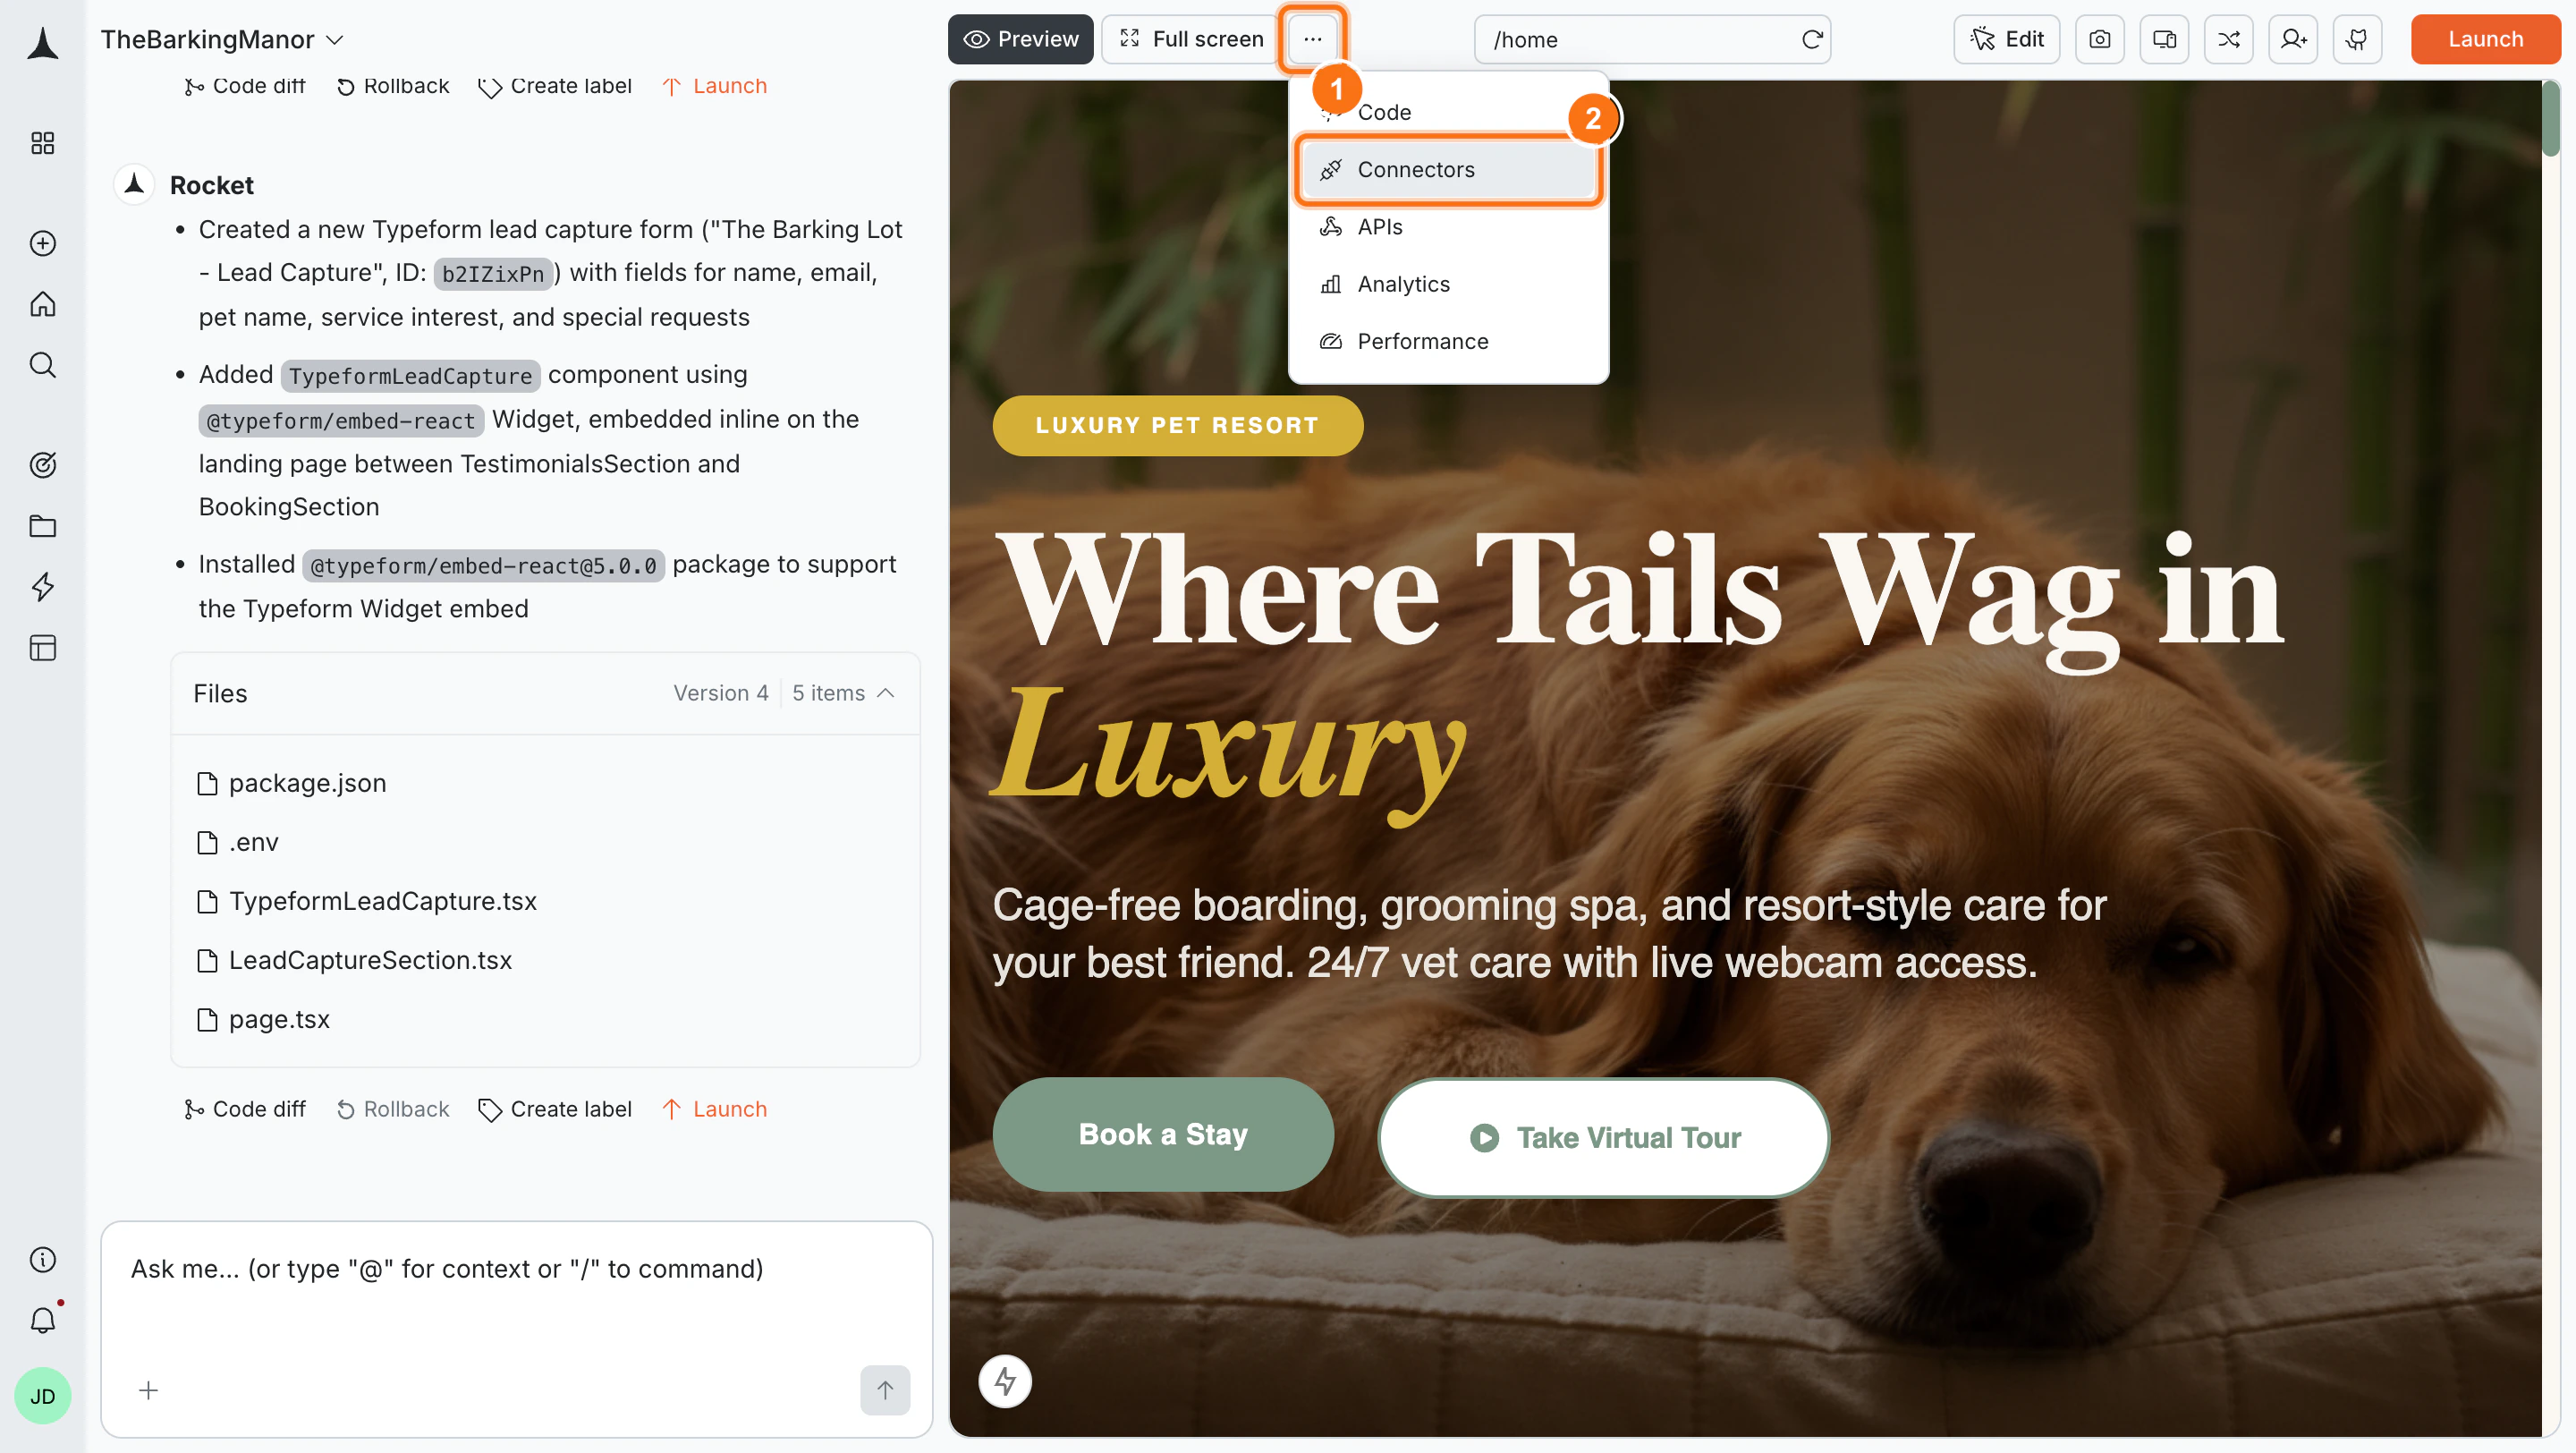
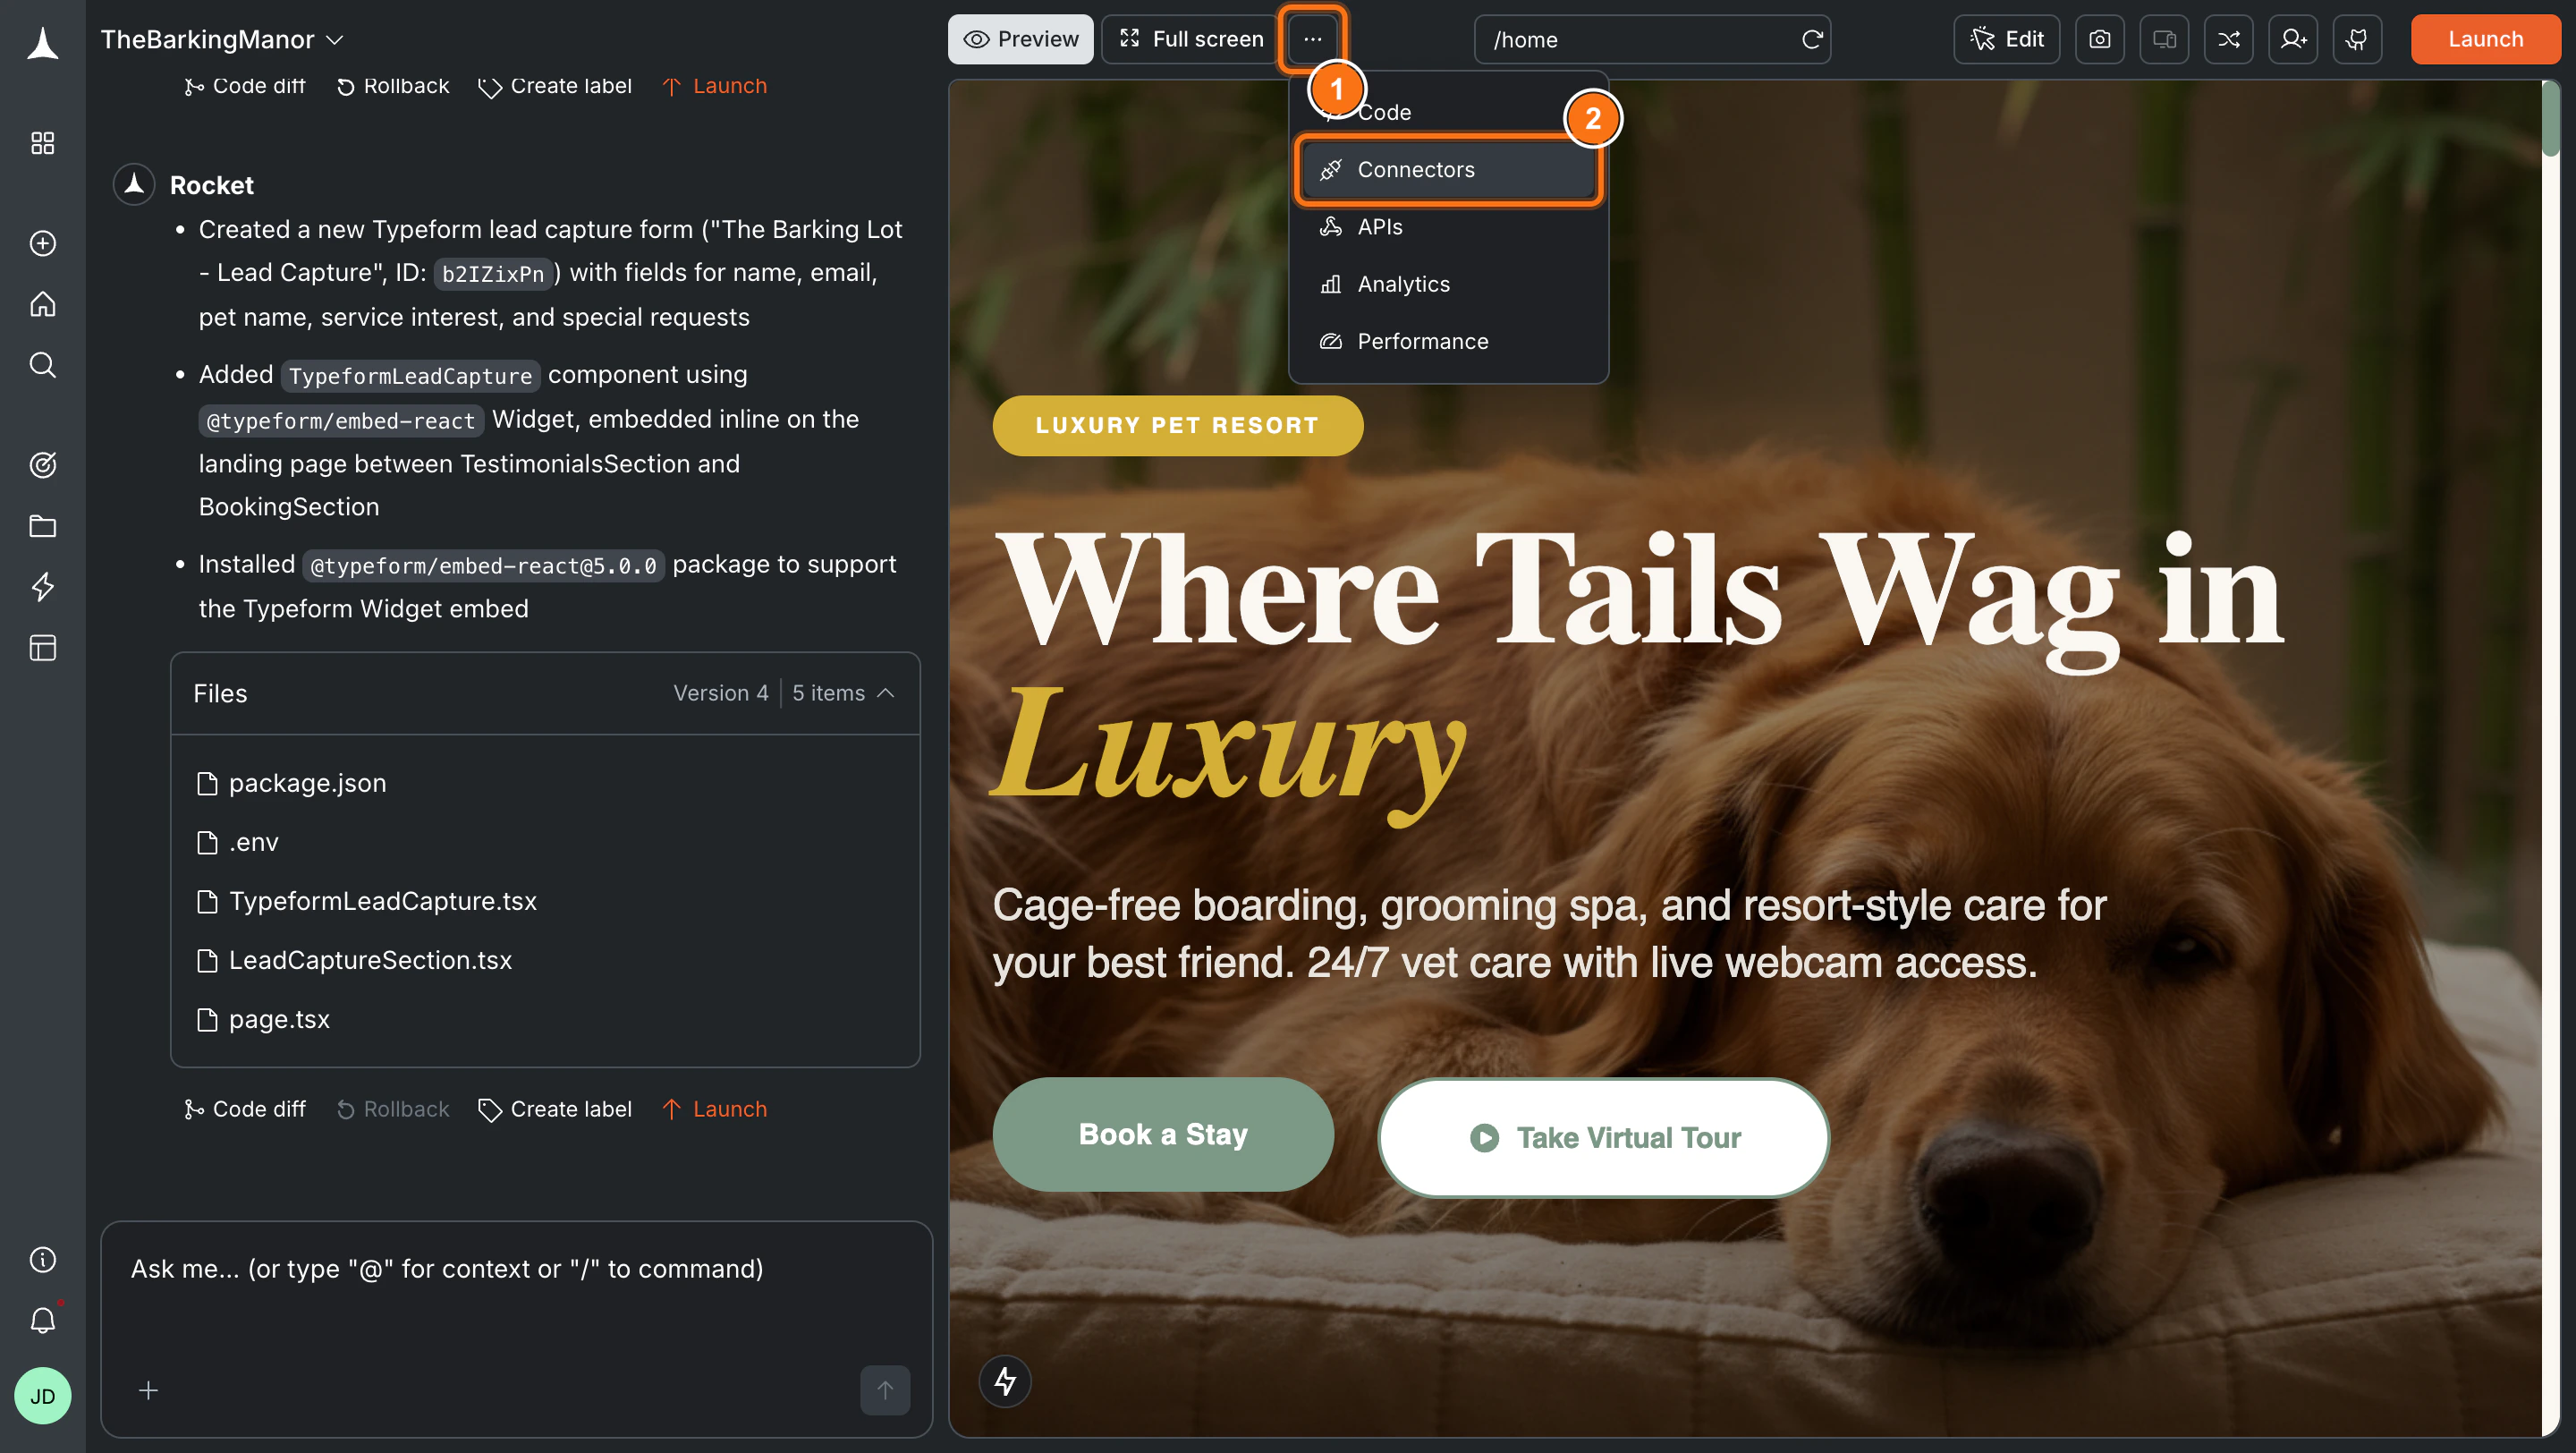
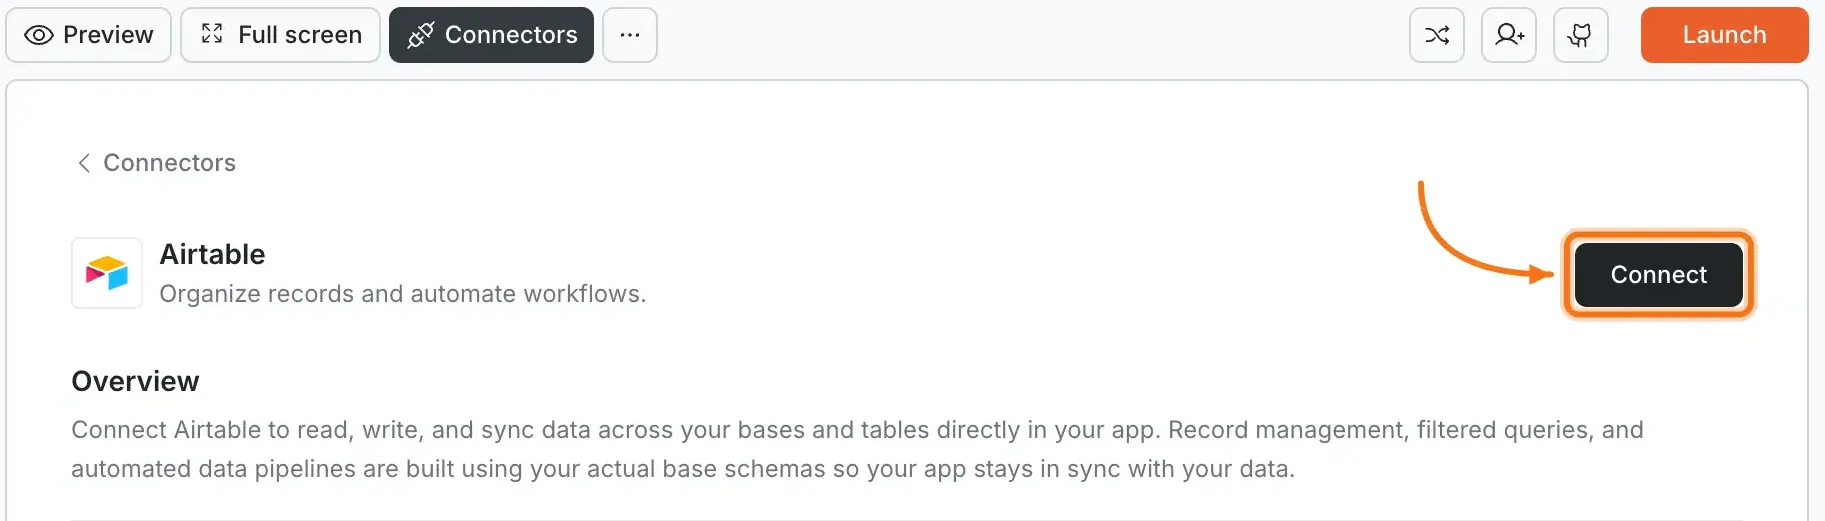

Connect Airtable and show all leads from my base in a sortable table. Rocket detects the intent and shows a Connect button inline. Click it and the OAuth flow opens.... button in the preview toolbar, then select Connectors.Manage workspace connectors
Connect once from Settings and it is available across all tasks.
- Add all resources grants access to all current and future bases in your workspace. Recommended for most users.
- Add a base grants access to specific bases only. Use this if you want to limit Rocket’s access to a subset of your data.
Disconnect a service
Disconnect or switch accounts from workspace Settings.
Example prompts
| What you want | Prompt to use |
|---|---|
| Lead dashboard | Show all leads from my Airtable base in a sortable table with status filters. |
| Add-record form | Create a form that adds new contacts to my Airtable Contacts table. |
| Content calendar | Build a monthly calendar view of blog posts from my Airtable content base. |
| Inventory tracker | Display products from Airtable with stock levels and a low-stock warning badge. |
| Kanban board | Create a drag-and-drop Kanban board synced with my Airtable tasks base. |
| Search and filter | Add a search bar and category filter to my Airtable product listing page. |
| Detail page | When a user clicks a row, open a detail page showing all fields for that Airtable record. |
| CSV export | Add an Export to CSV button that downloads all visible Airtable records. |
| Charts | Show a bar chart of leads by status using data from my Airtable base. |
| Inline editing | Let users edit Airtable records directly in the table without opening a separate form. |
Tips
- Choose base access carefully. “Add all resources” is convenient but grants broad access. Use “Add a base” if you only want Rocket to work with specific bases.
- Base structure matters. Make sure your Airtable base has clear table and field names. Rocket reads these to generate accurate views and forms.
- Rate limits apply. Airtable limits API requests to 5 requests per second per base. High-traffic apps may need caching or a dedicated backend.
- Deleting records is permanent. Airtable does not have a built-in undo for deleted rows. Be cautious with delete operations.
- One Airtable account per workspace. All tasks share the same connected account.
What’s next?
Supabase
Need a full relational database with auth? Supabase pairs well with Airtable for hybrid setups.
Resend
Send automated emails when new records are added to your Airtable base.
Google Analytics
Track how users interact with your Airtable-powered dashboards and forms.
All connectors
Browse every available integration.