Send transactional email from your Rocket.new app with Resend, including welcome messages, password resets, and order confirmations from a prompt.
Connect Resend and describe the email flow you want in chat. Rocket generates the complete implementation: email templates, send logic, and secure API integration.
Never paste your Resend API key directly into chat. Always use the secure connection popup. If your key has been exposed, rotate it immediately from the Resend dashboard.
Resend works best paired with Supabase for linking emails to authenticated users. You can also route Supabase Auth emails through Resend’s SMTP for full branding control.
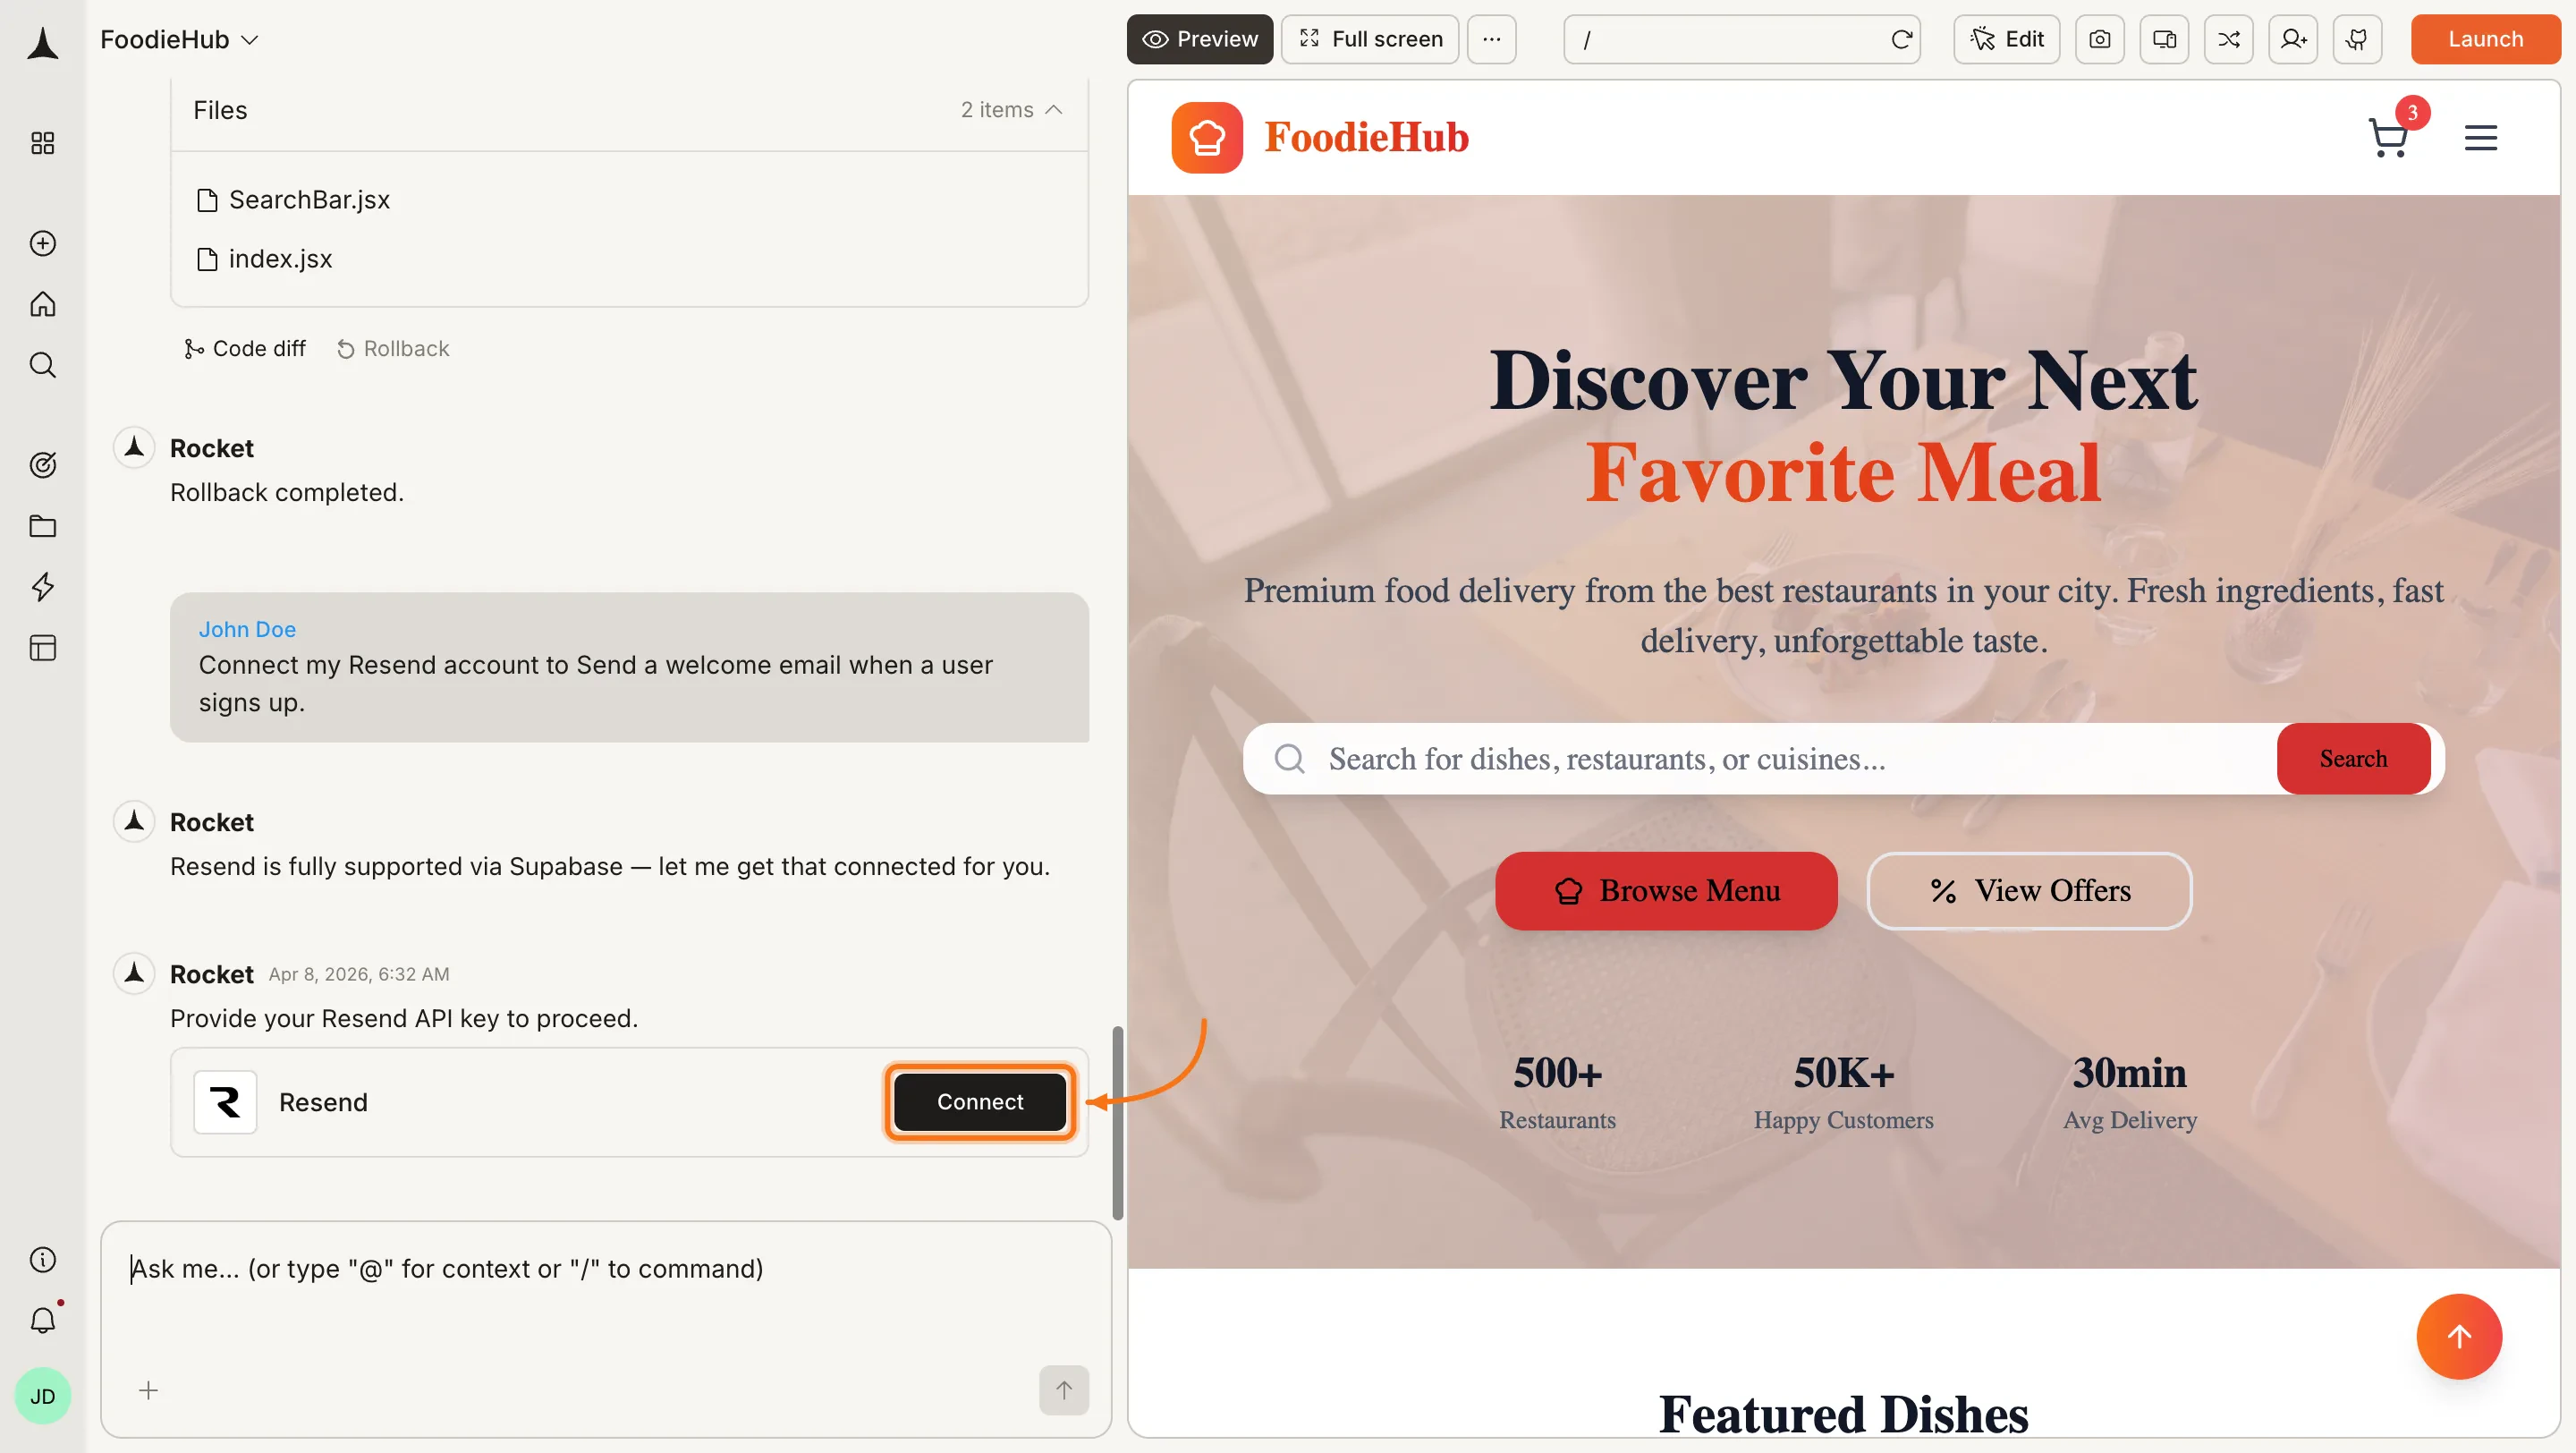
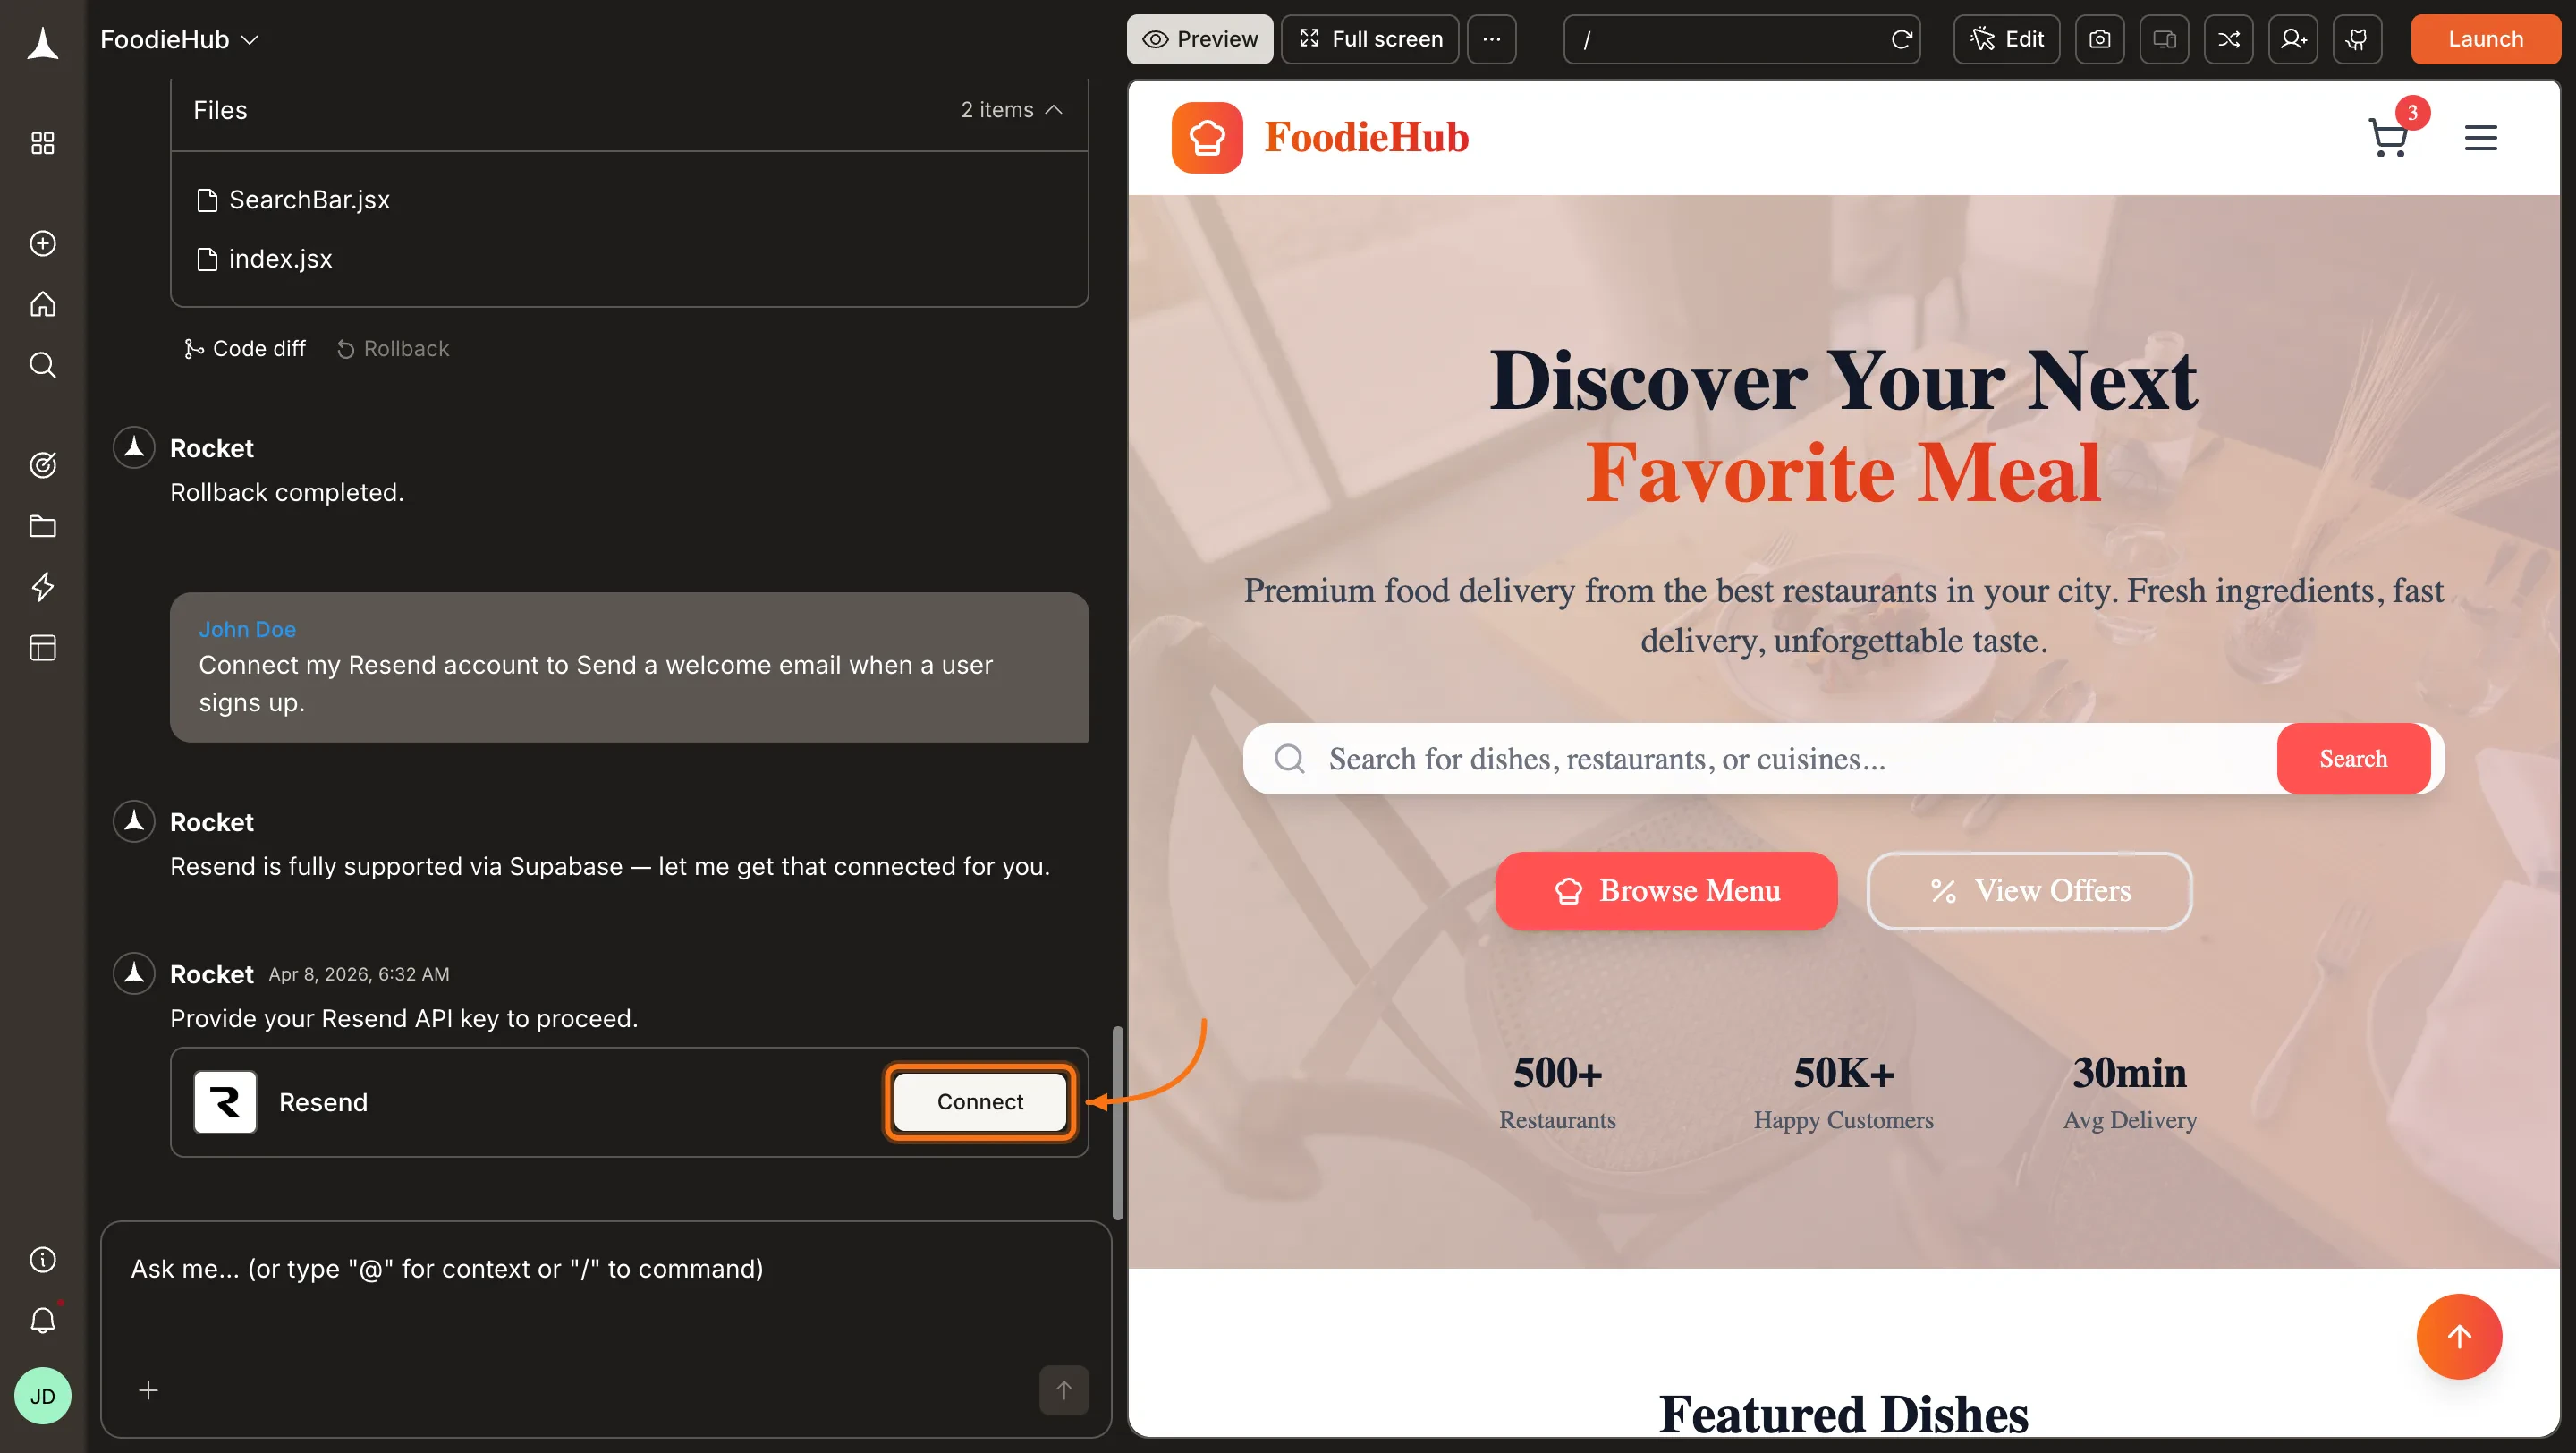
You can connect from two places - both open the same popup.Option 1: From chatType a prompt that mentions Resend - for example, Connect Resend and send a welcome email when a user signs up. Rocket detects the intent and shows a Connect button inline. Click it and the popup opens.
Resend connection prompt in chat
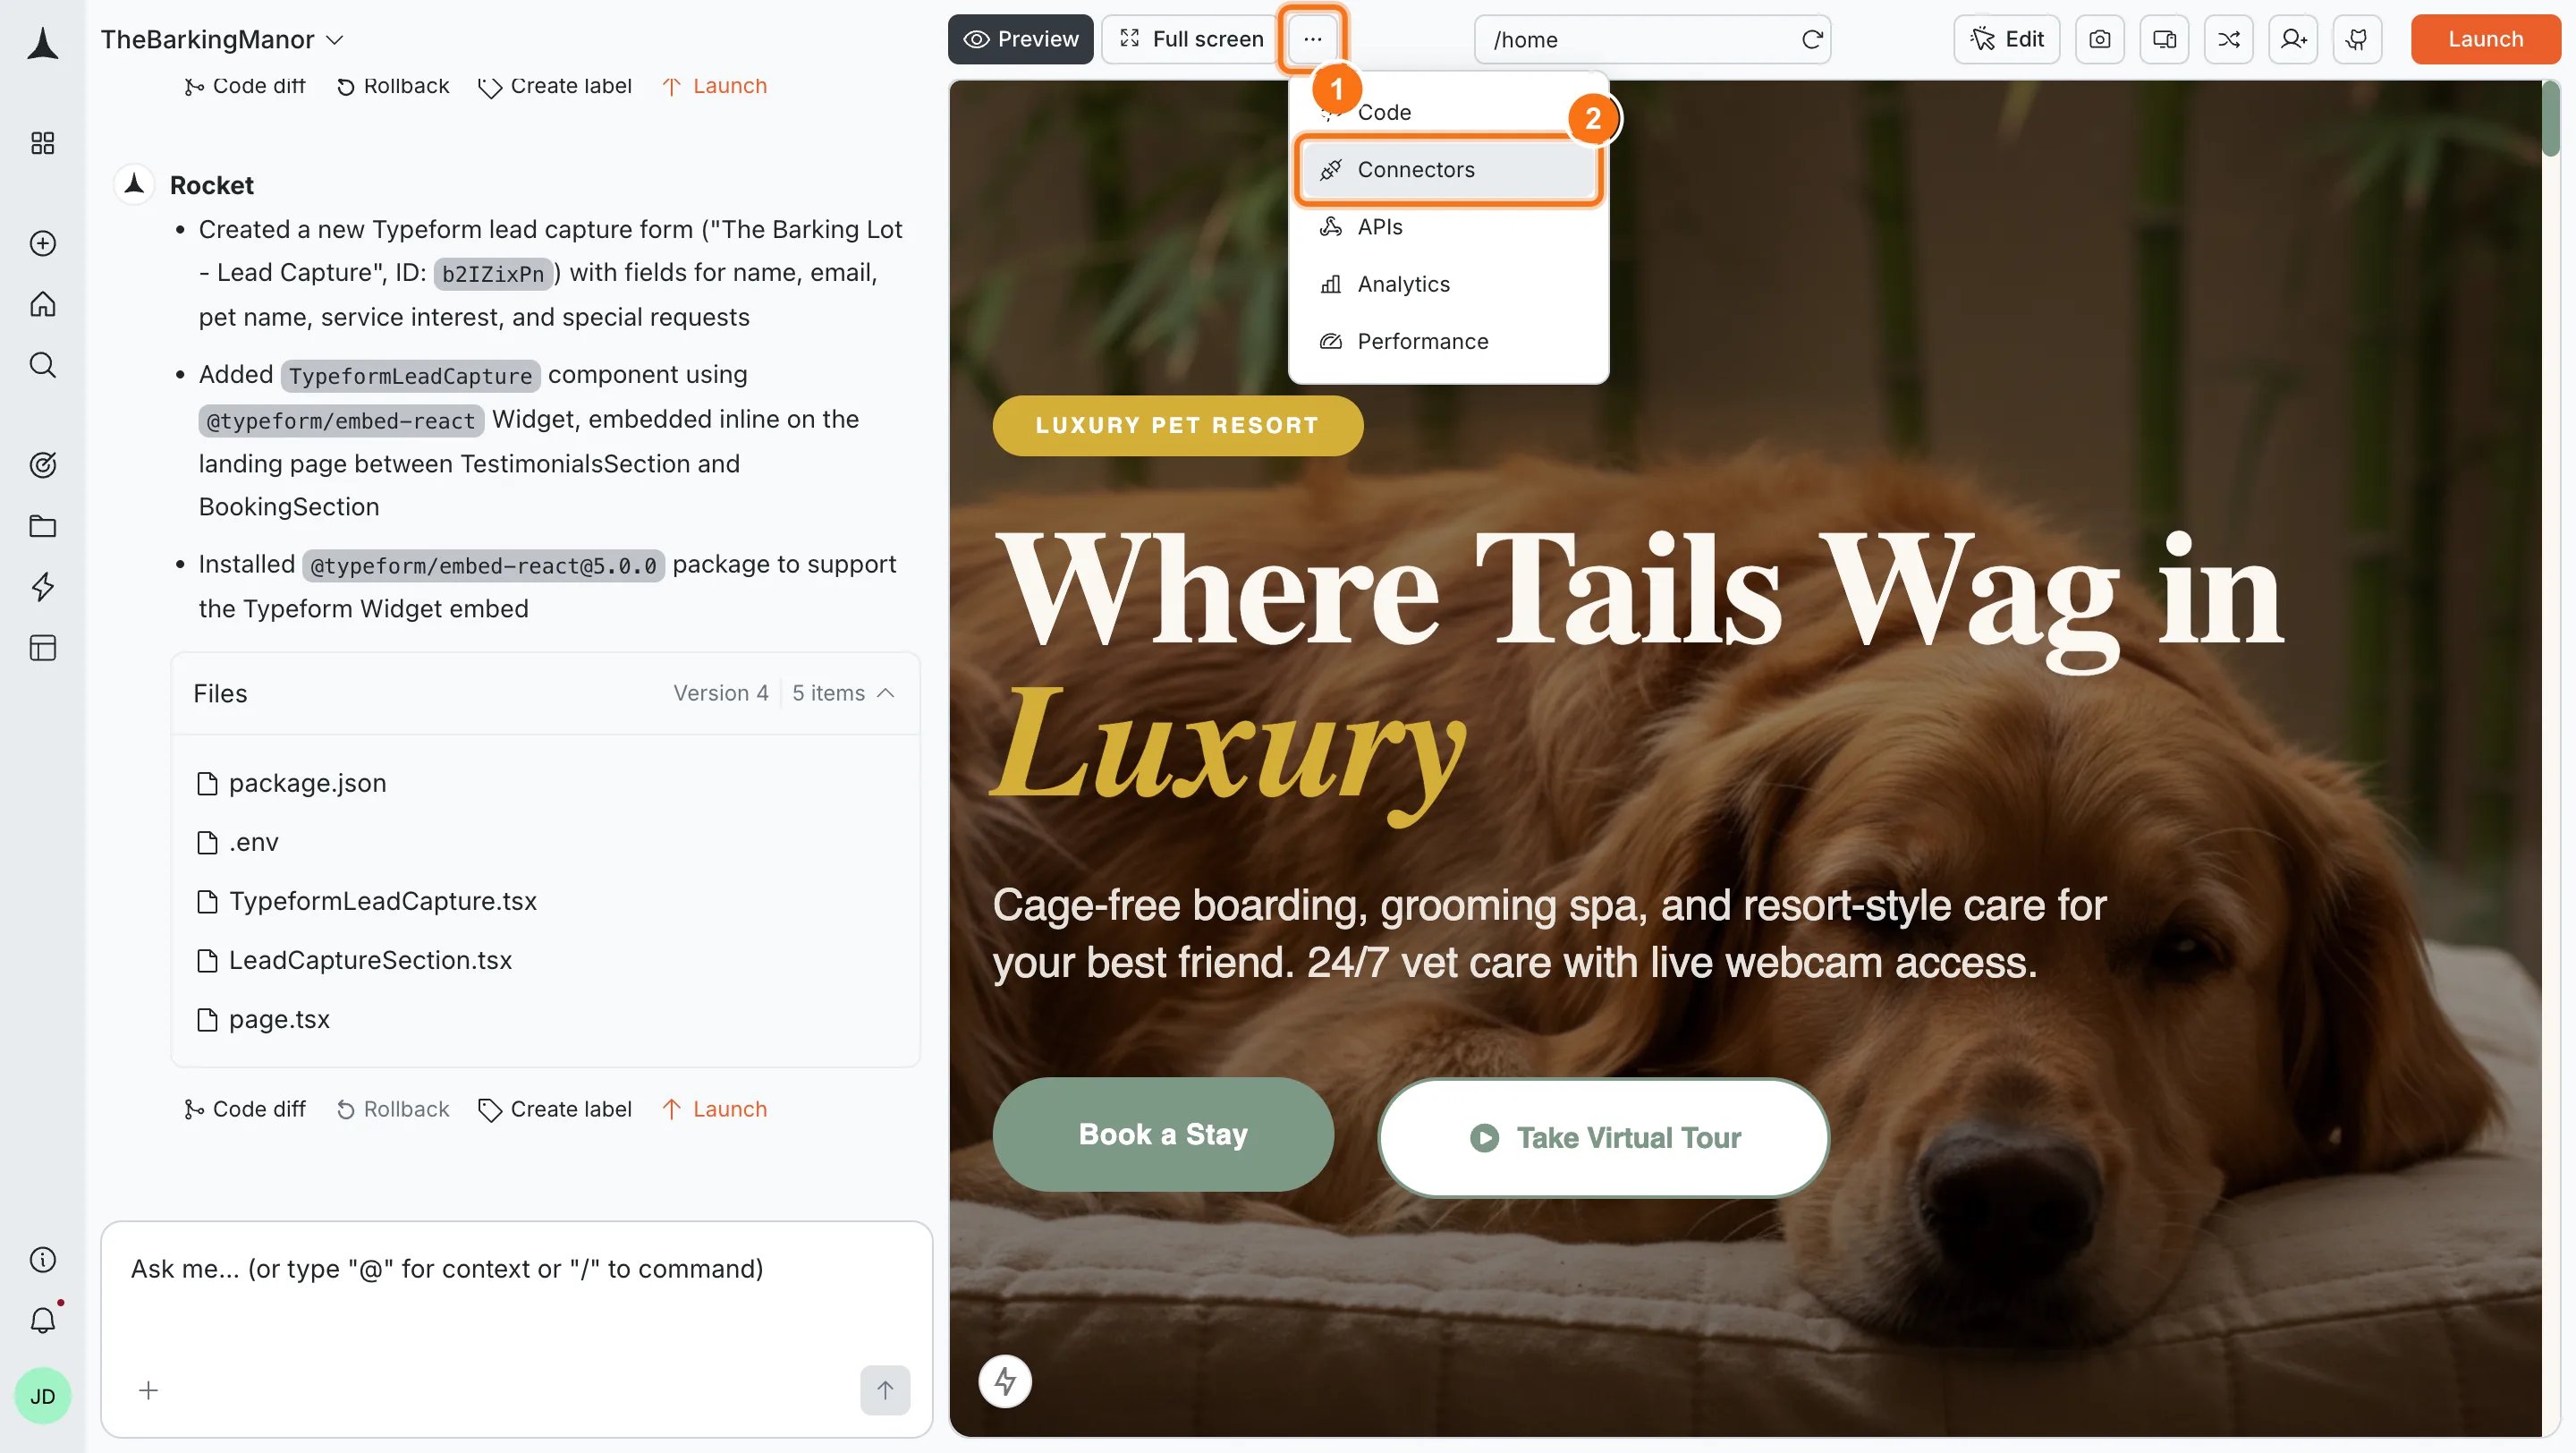
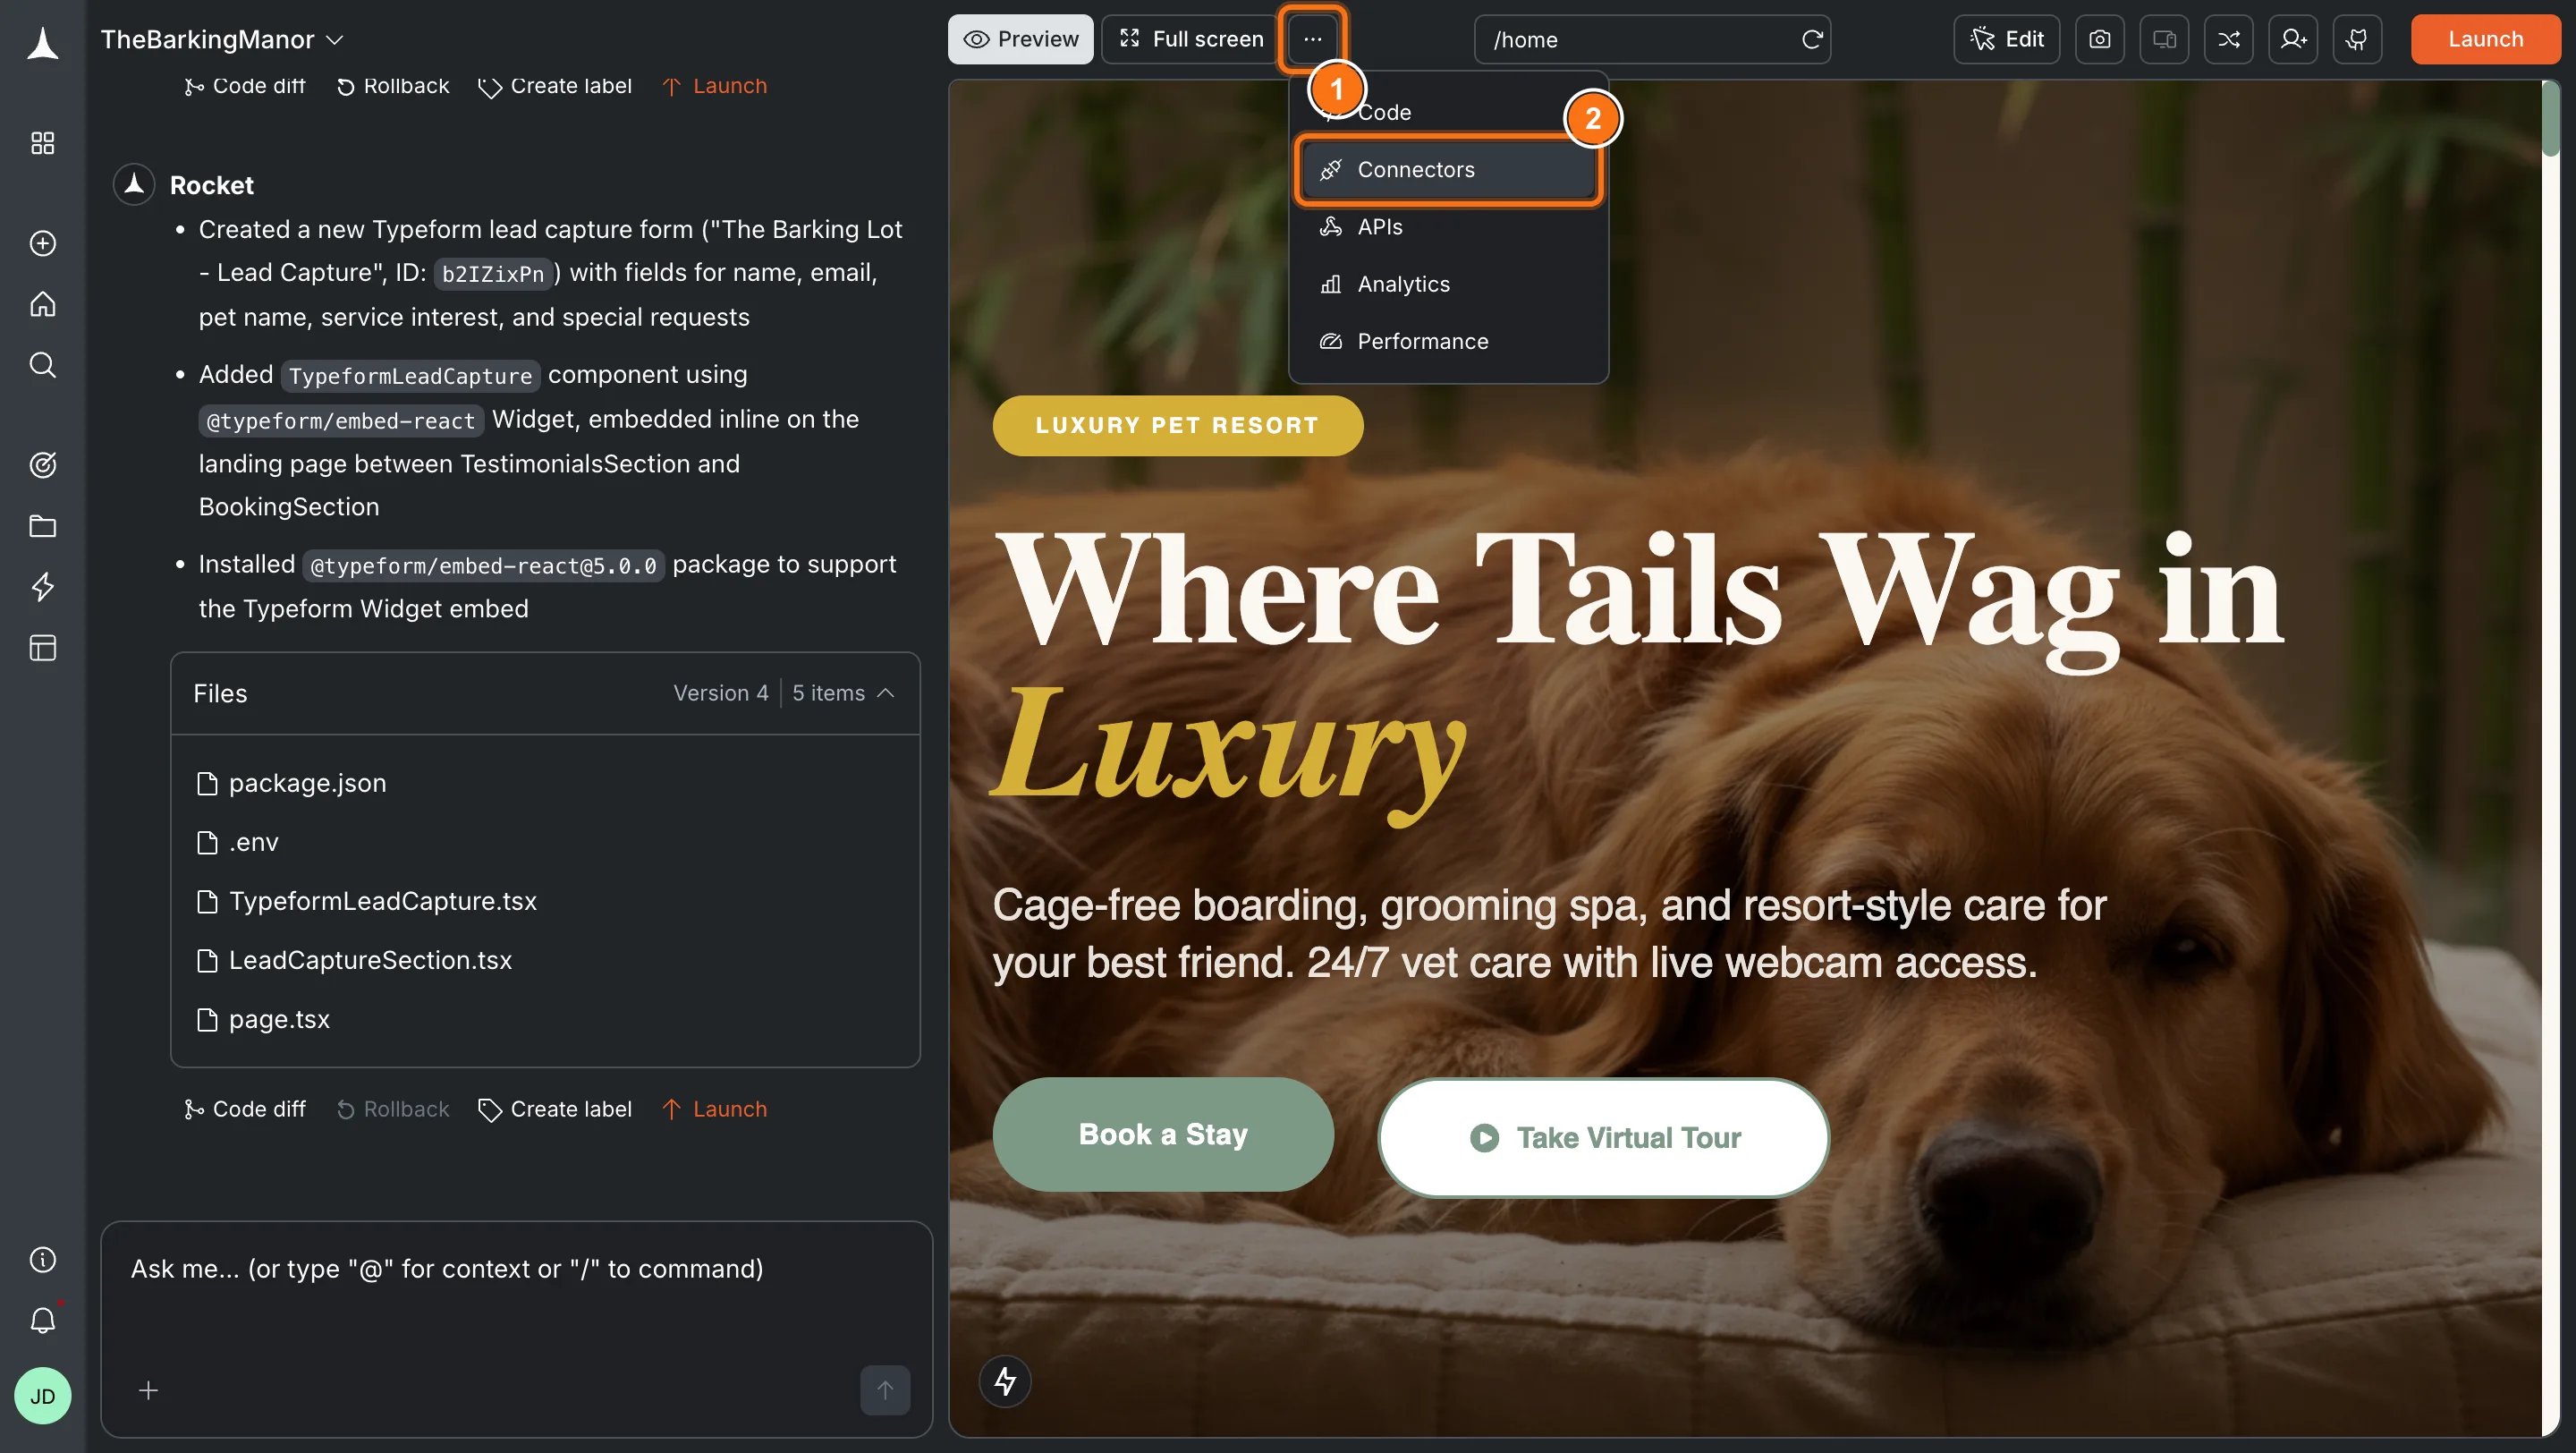
Option 2: From the Connectors tabClick the ... button in the preview toolbar, then select Connectors.
Open Connectors from the toolbar
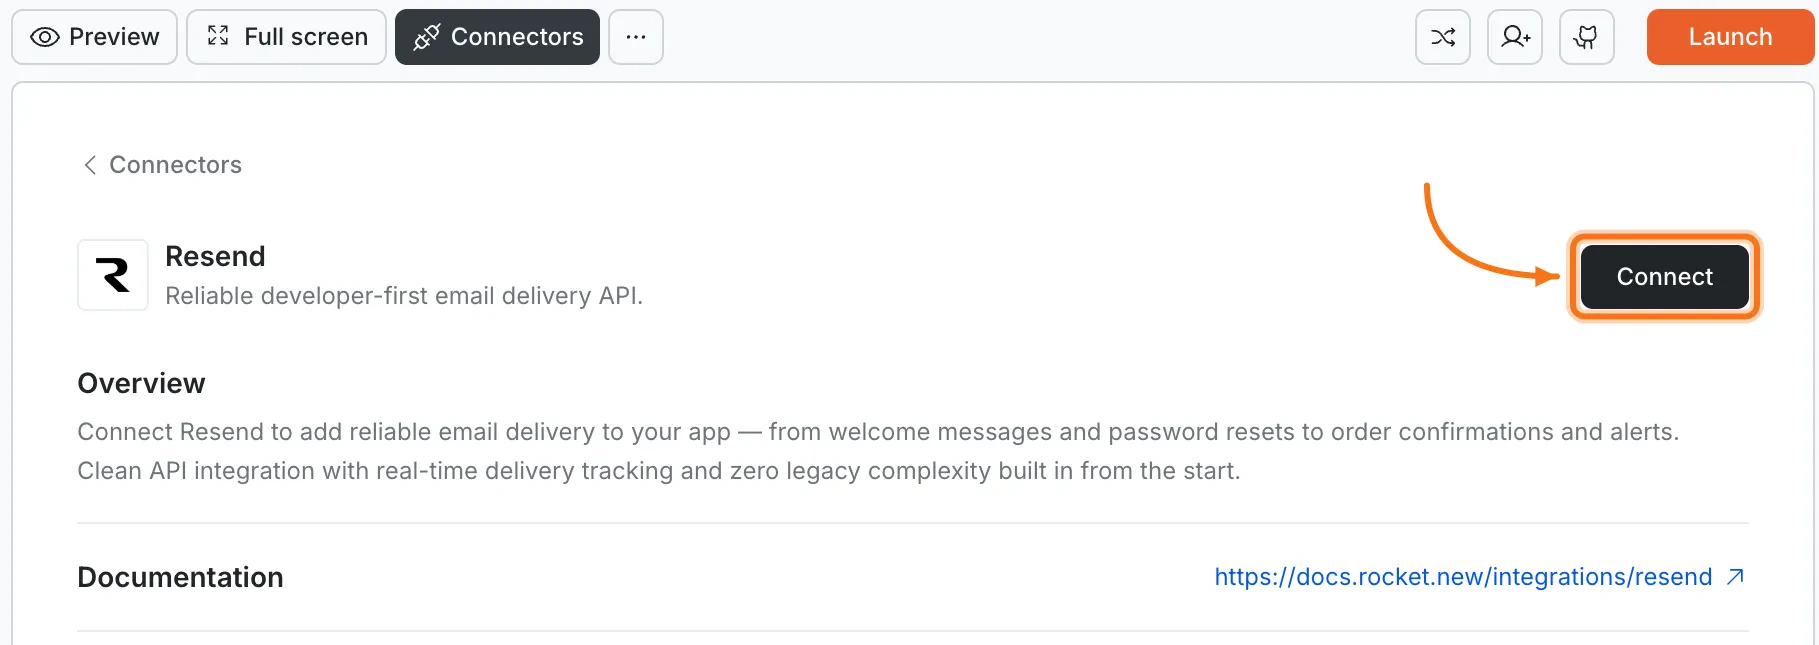
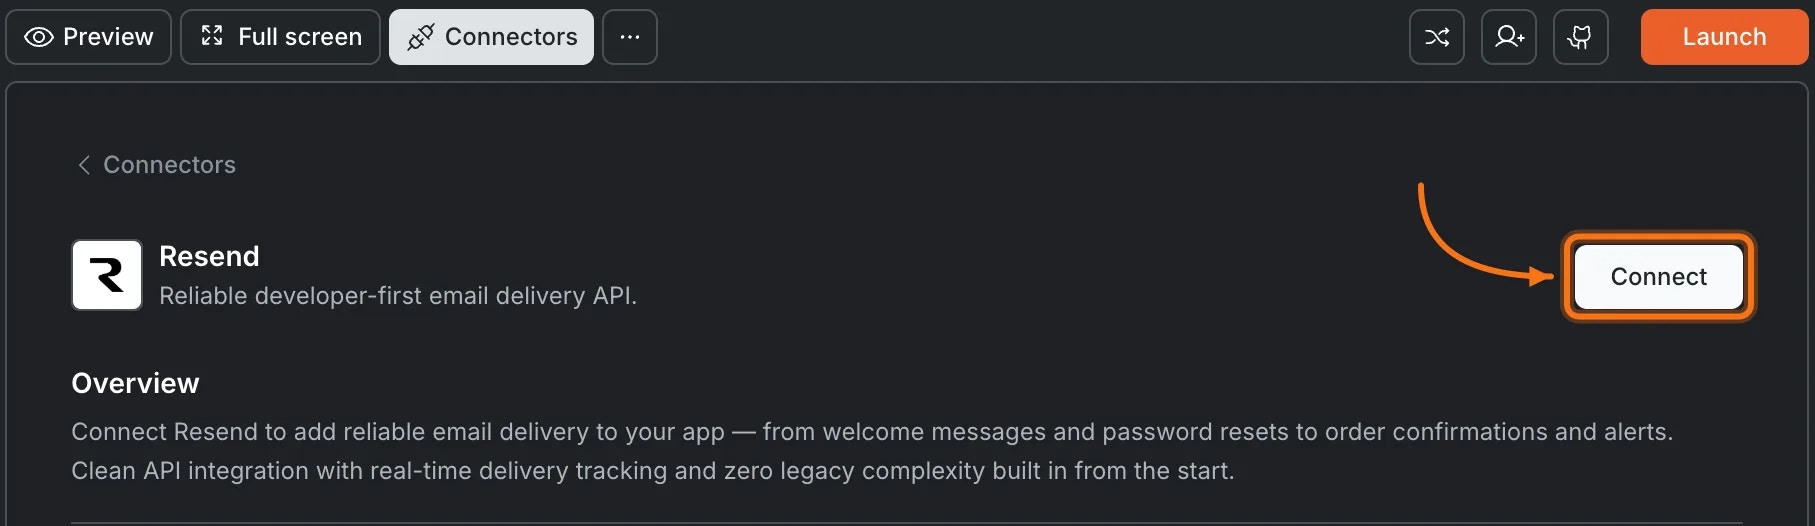
Click the Resend card, then click Connect.
Resend card in the Connectors panel
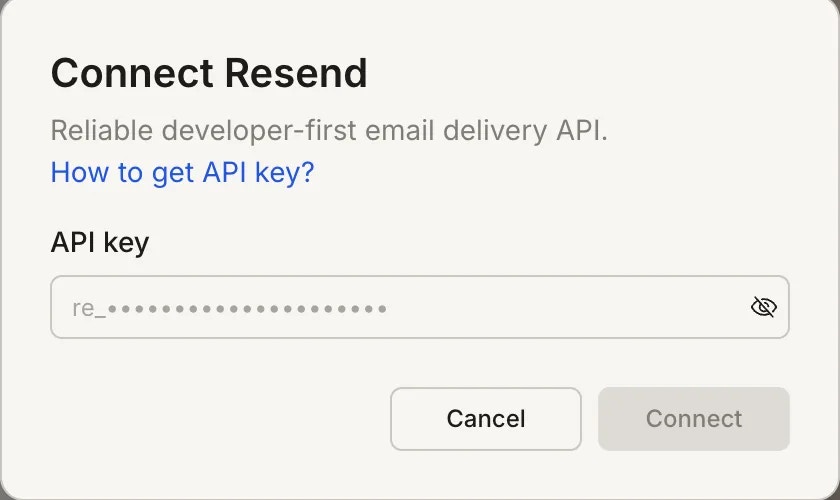
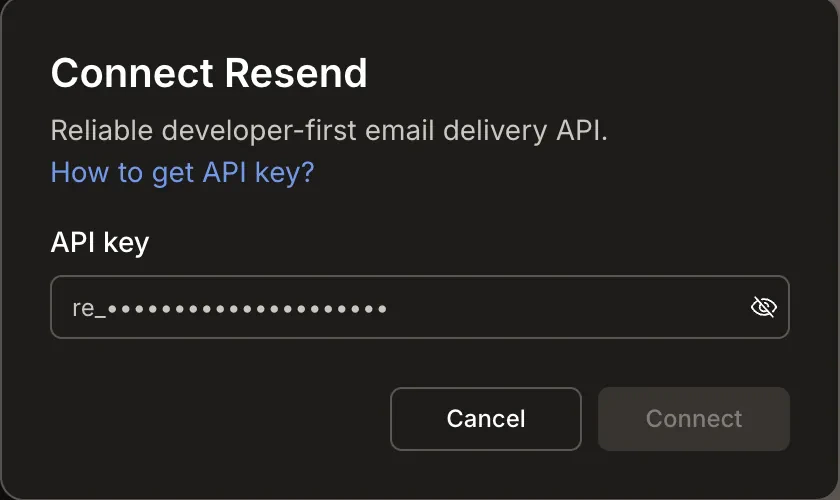
After clicking ConnectA popup opens. Paste your API key, then click Save. A green dot appears next to Resend when the connection is active.
Paste your Resend API key in the popup
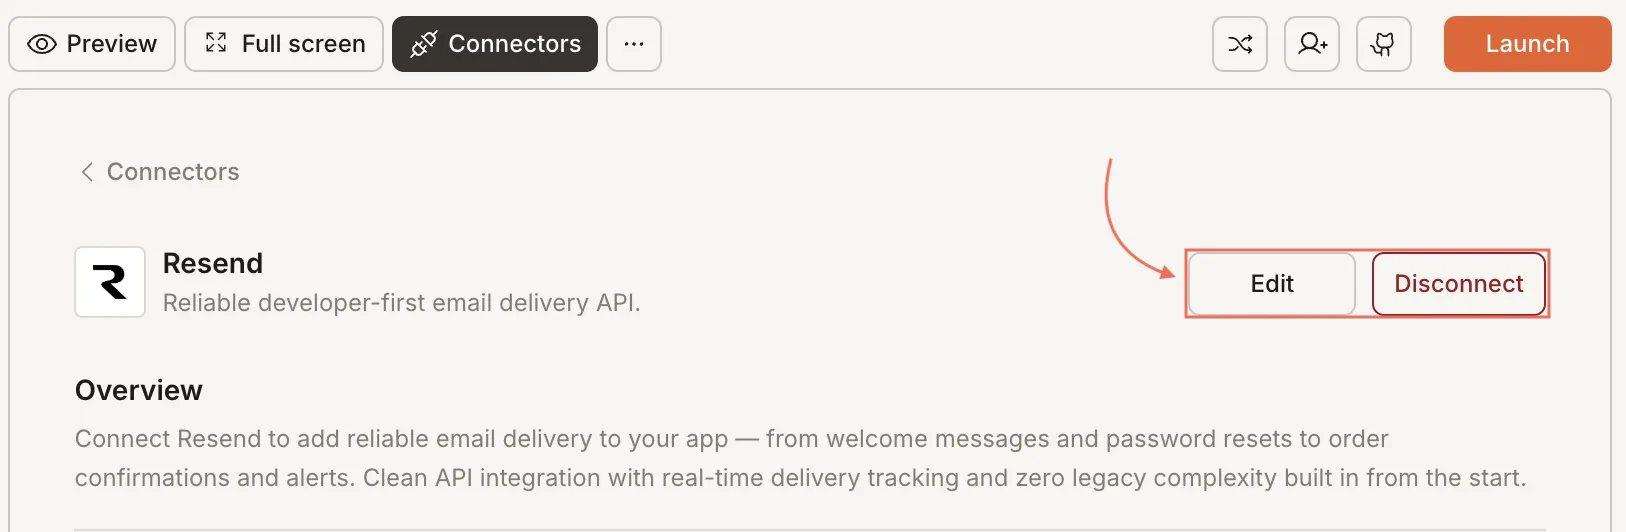
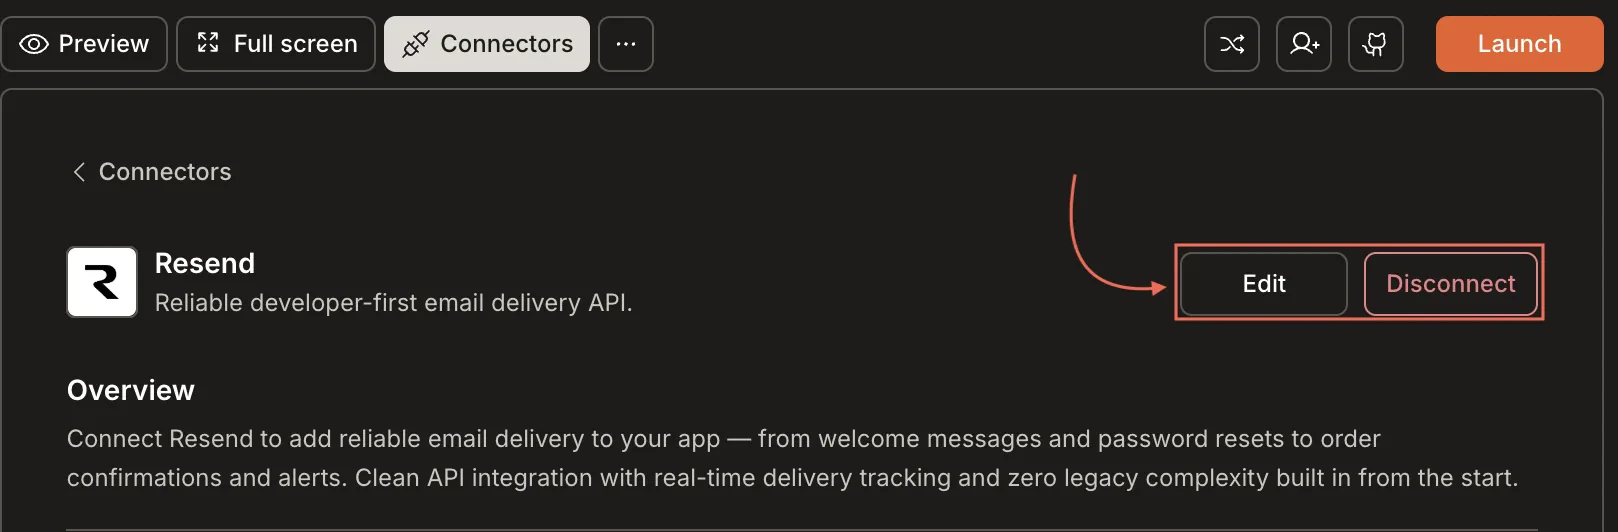
Update or disconnectGo to Connectors > Resend. Update your key or click Disconnect to remove the integration.
Disconnect Resend
You can connect from two places - both open the same popup.Option 1: From chatType a prompt that mentions Resend. Rocket detects the intent, shows a Connect button, and the popup opens when you tap it.Option 2: From the Connectors tab
Tap the More button in the header.
Tap Integrations.
Tap the Resend card, then tap Connect.
After tapping ConnectA popup opens. Paste your API key, then tap Done. A green dot appears next to Resend when the connection is active.Update or disconnectGo to Integrations > Resend. Update your key or tap Disconnect to remove the integration.
Supabase is recommended. Rocket links Resend emails to Supabase user accounts for the best experience. Most auth email flows (welcome, password reset) work best with Supabase connected.
SMTP routing for auth emails. Route Supabase Auth emails through Resend for custom branding. See the Resend + Supabase SMTP guide.
Resend Audiences for marketing. Resend supports newsletters and marketing emails through Audiences and Broadcasts, with built-in analytics and unsubscribe handling.
API key security. Your key is encrypted at rest and never exposed in your project code. Always use the secure integration flow to connect.
One Resend account per project. Each Rocket project connects to one Resend API key. Use different projects for different Resend accounts.
Free plan sender limits. Free Resend accounts can only send from the default account email. To use a custom domain, upgrade your Resend plan, verify the domain, and update the from field in your Supabase Edge Function.
How to change the sender email in your Supabase Edge Function
Once your domain is verified in Resend, update the from field in the Edge Function that handles sending.
Open the function that handles email sending (for example, send-welcome-email).
Click the Code tab.
Find the resend.emails.send call and update the from field:
await resend.emails.send({ from: "noreply@yourdomain.com", // your verified domain address to: recipientEmail, subject: "...", html: "...",});
Click Deploy (or Redeploy) to apply the change.
Trigger the function to confirm the email arrives from the new address. Use the Logs tab if anything fails.
If you route Supabase Auth emails (password reset, magic link) through Resend SMTP, the sender address for those is set separately under Project Settings → Authentication → SMTP Settings in the Supabase Dashboard, not in an Edge Function.