Connect Airtable to Rocket.new to build CRM dashboards, editorial content calendars, and inventory trackers backed by your no-code database.
Describe the data views you need in chat and Rocket generates forms, dashboards, and filtered lists that read from and write to your Airtable bases automatically.
Airtable is a workspace-level connector. No matter where you connect it (Settings, Connectors tab, or chat), it links to your entire Rocket workspace and is available across all tasks.
Web Browser
Mobile App
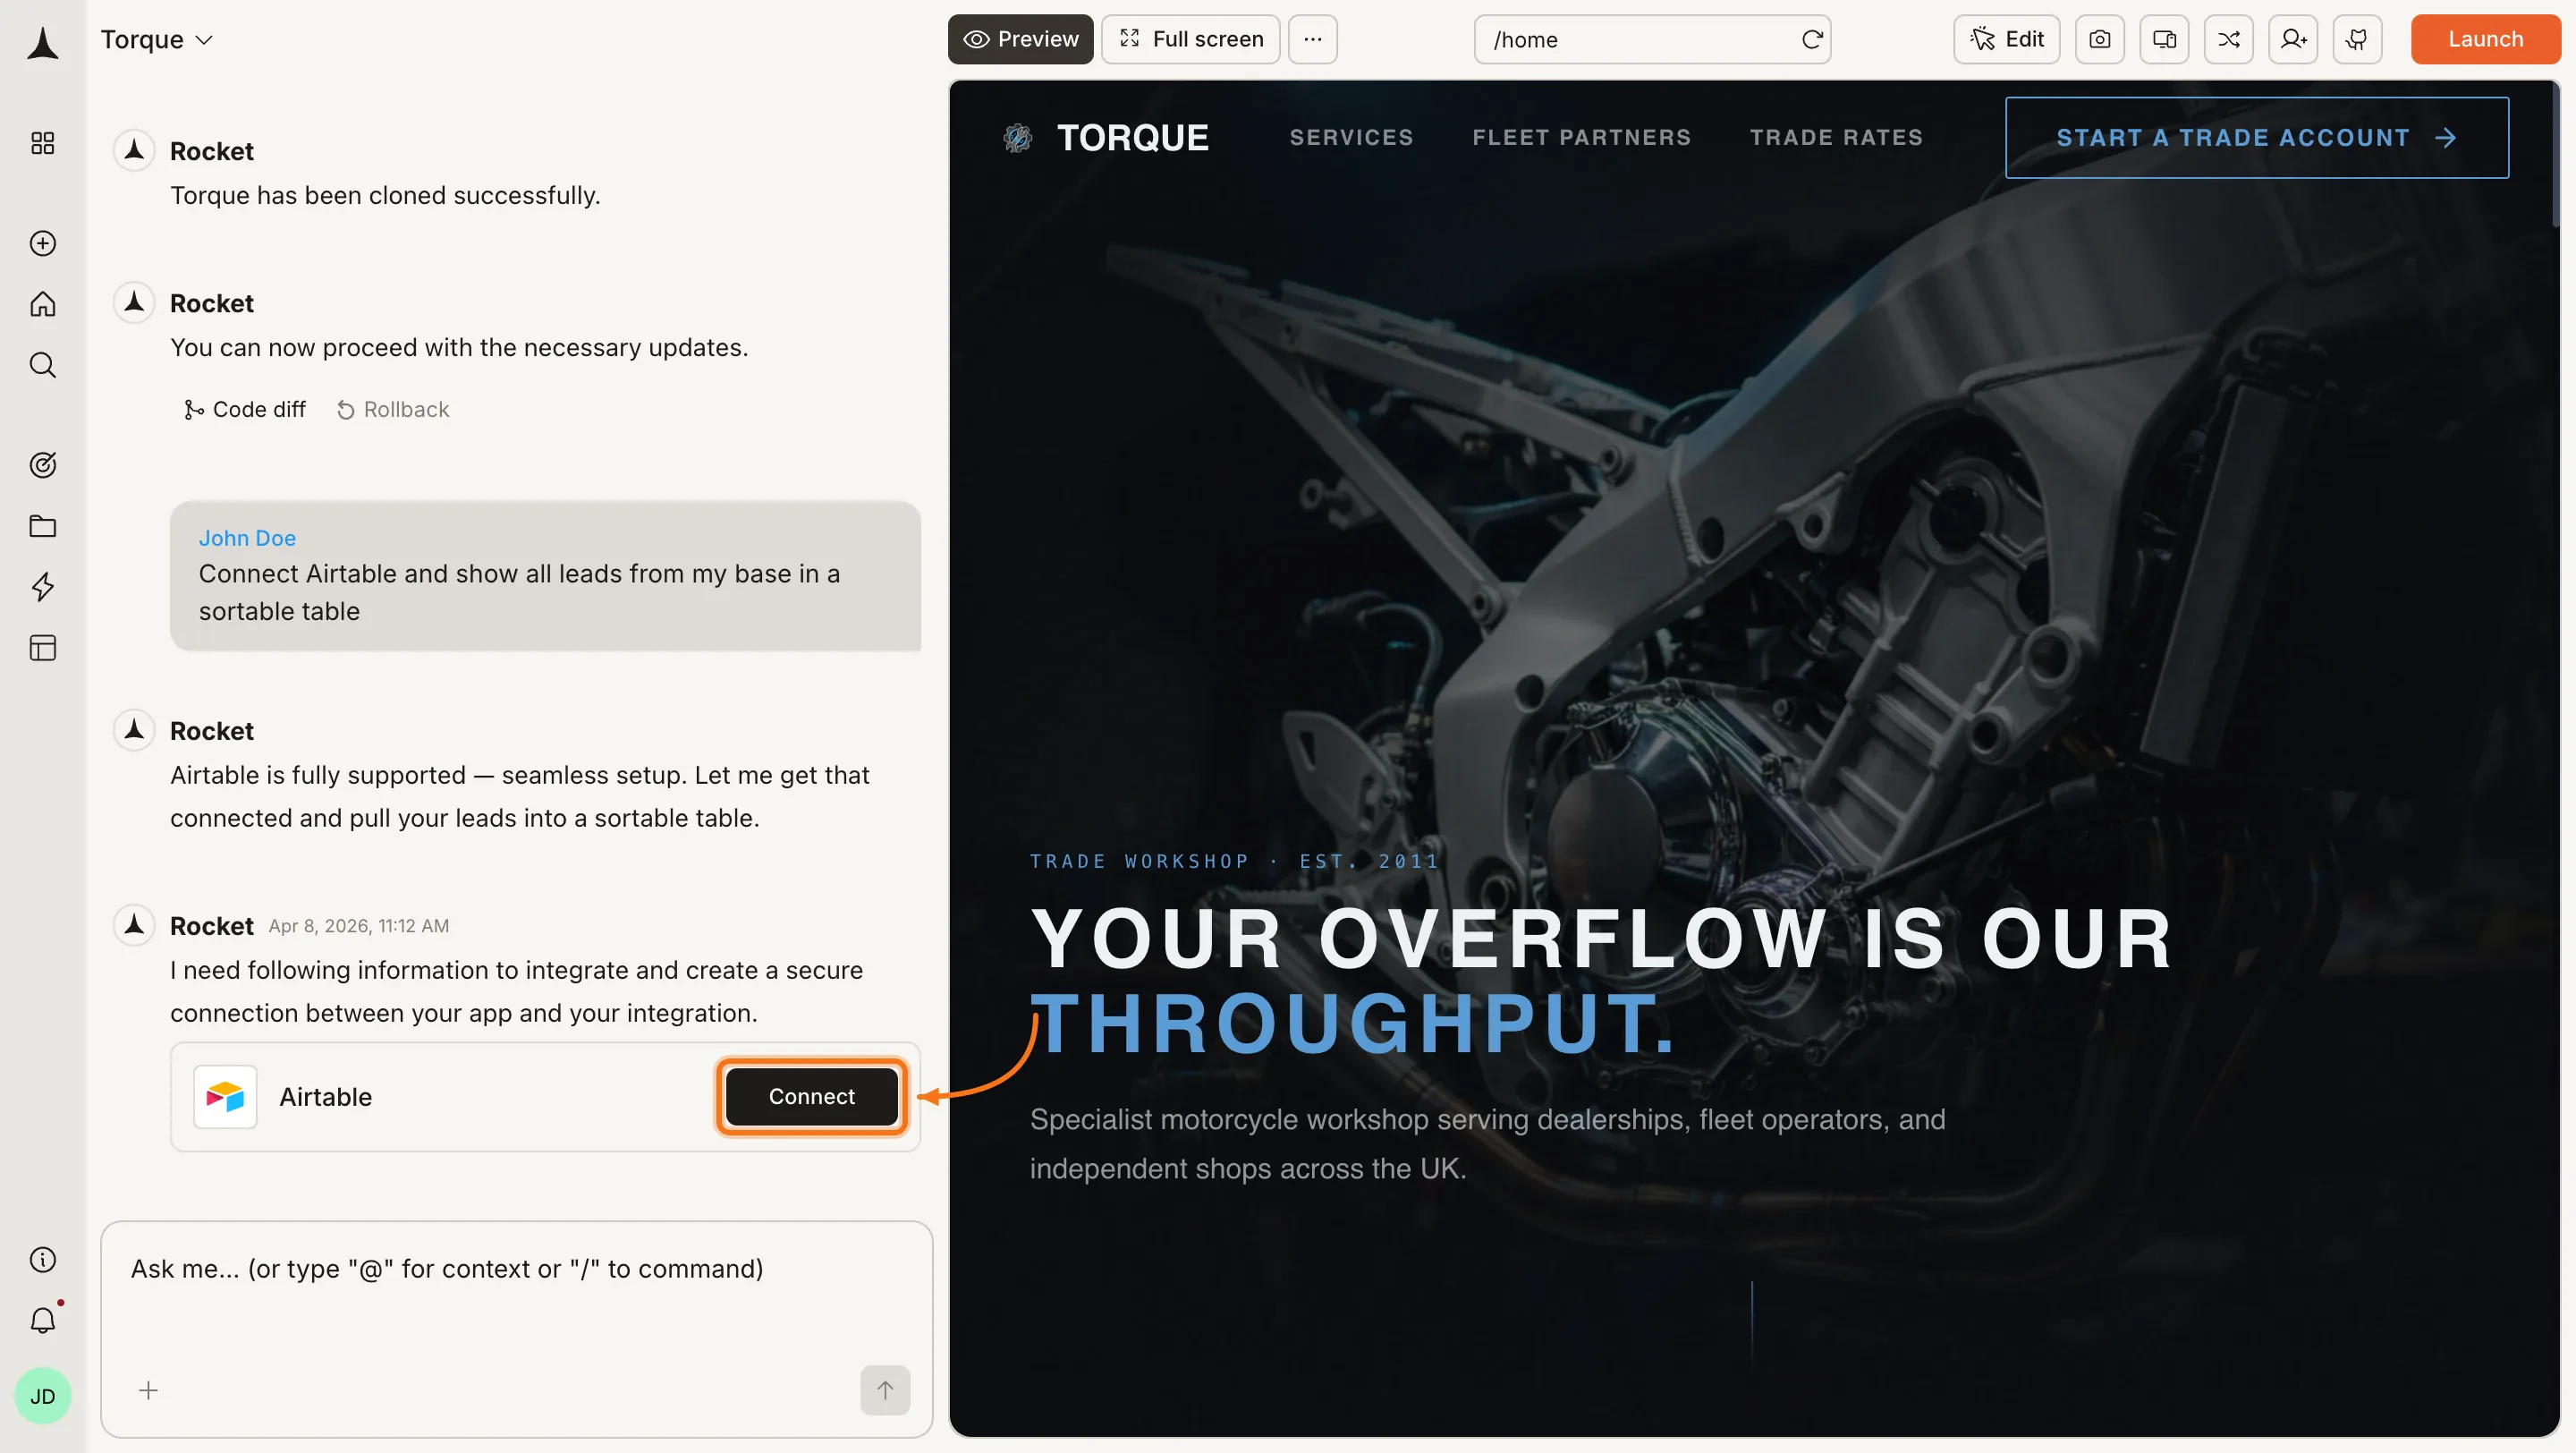
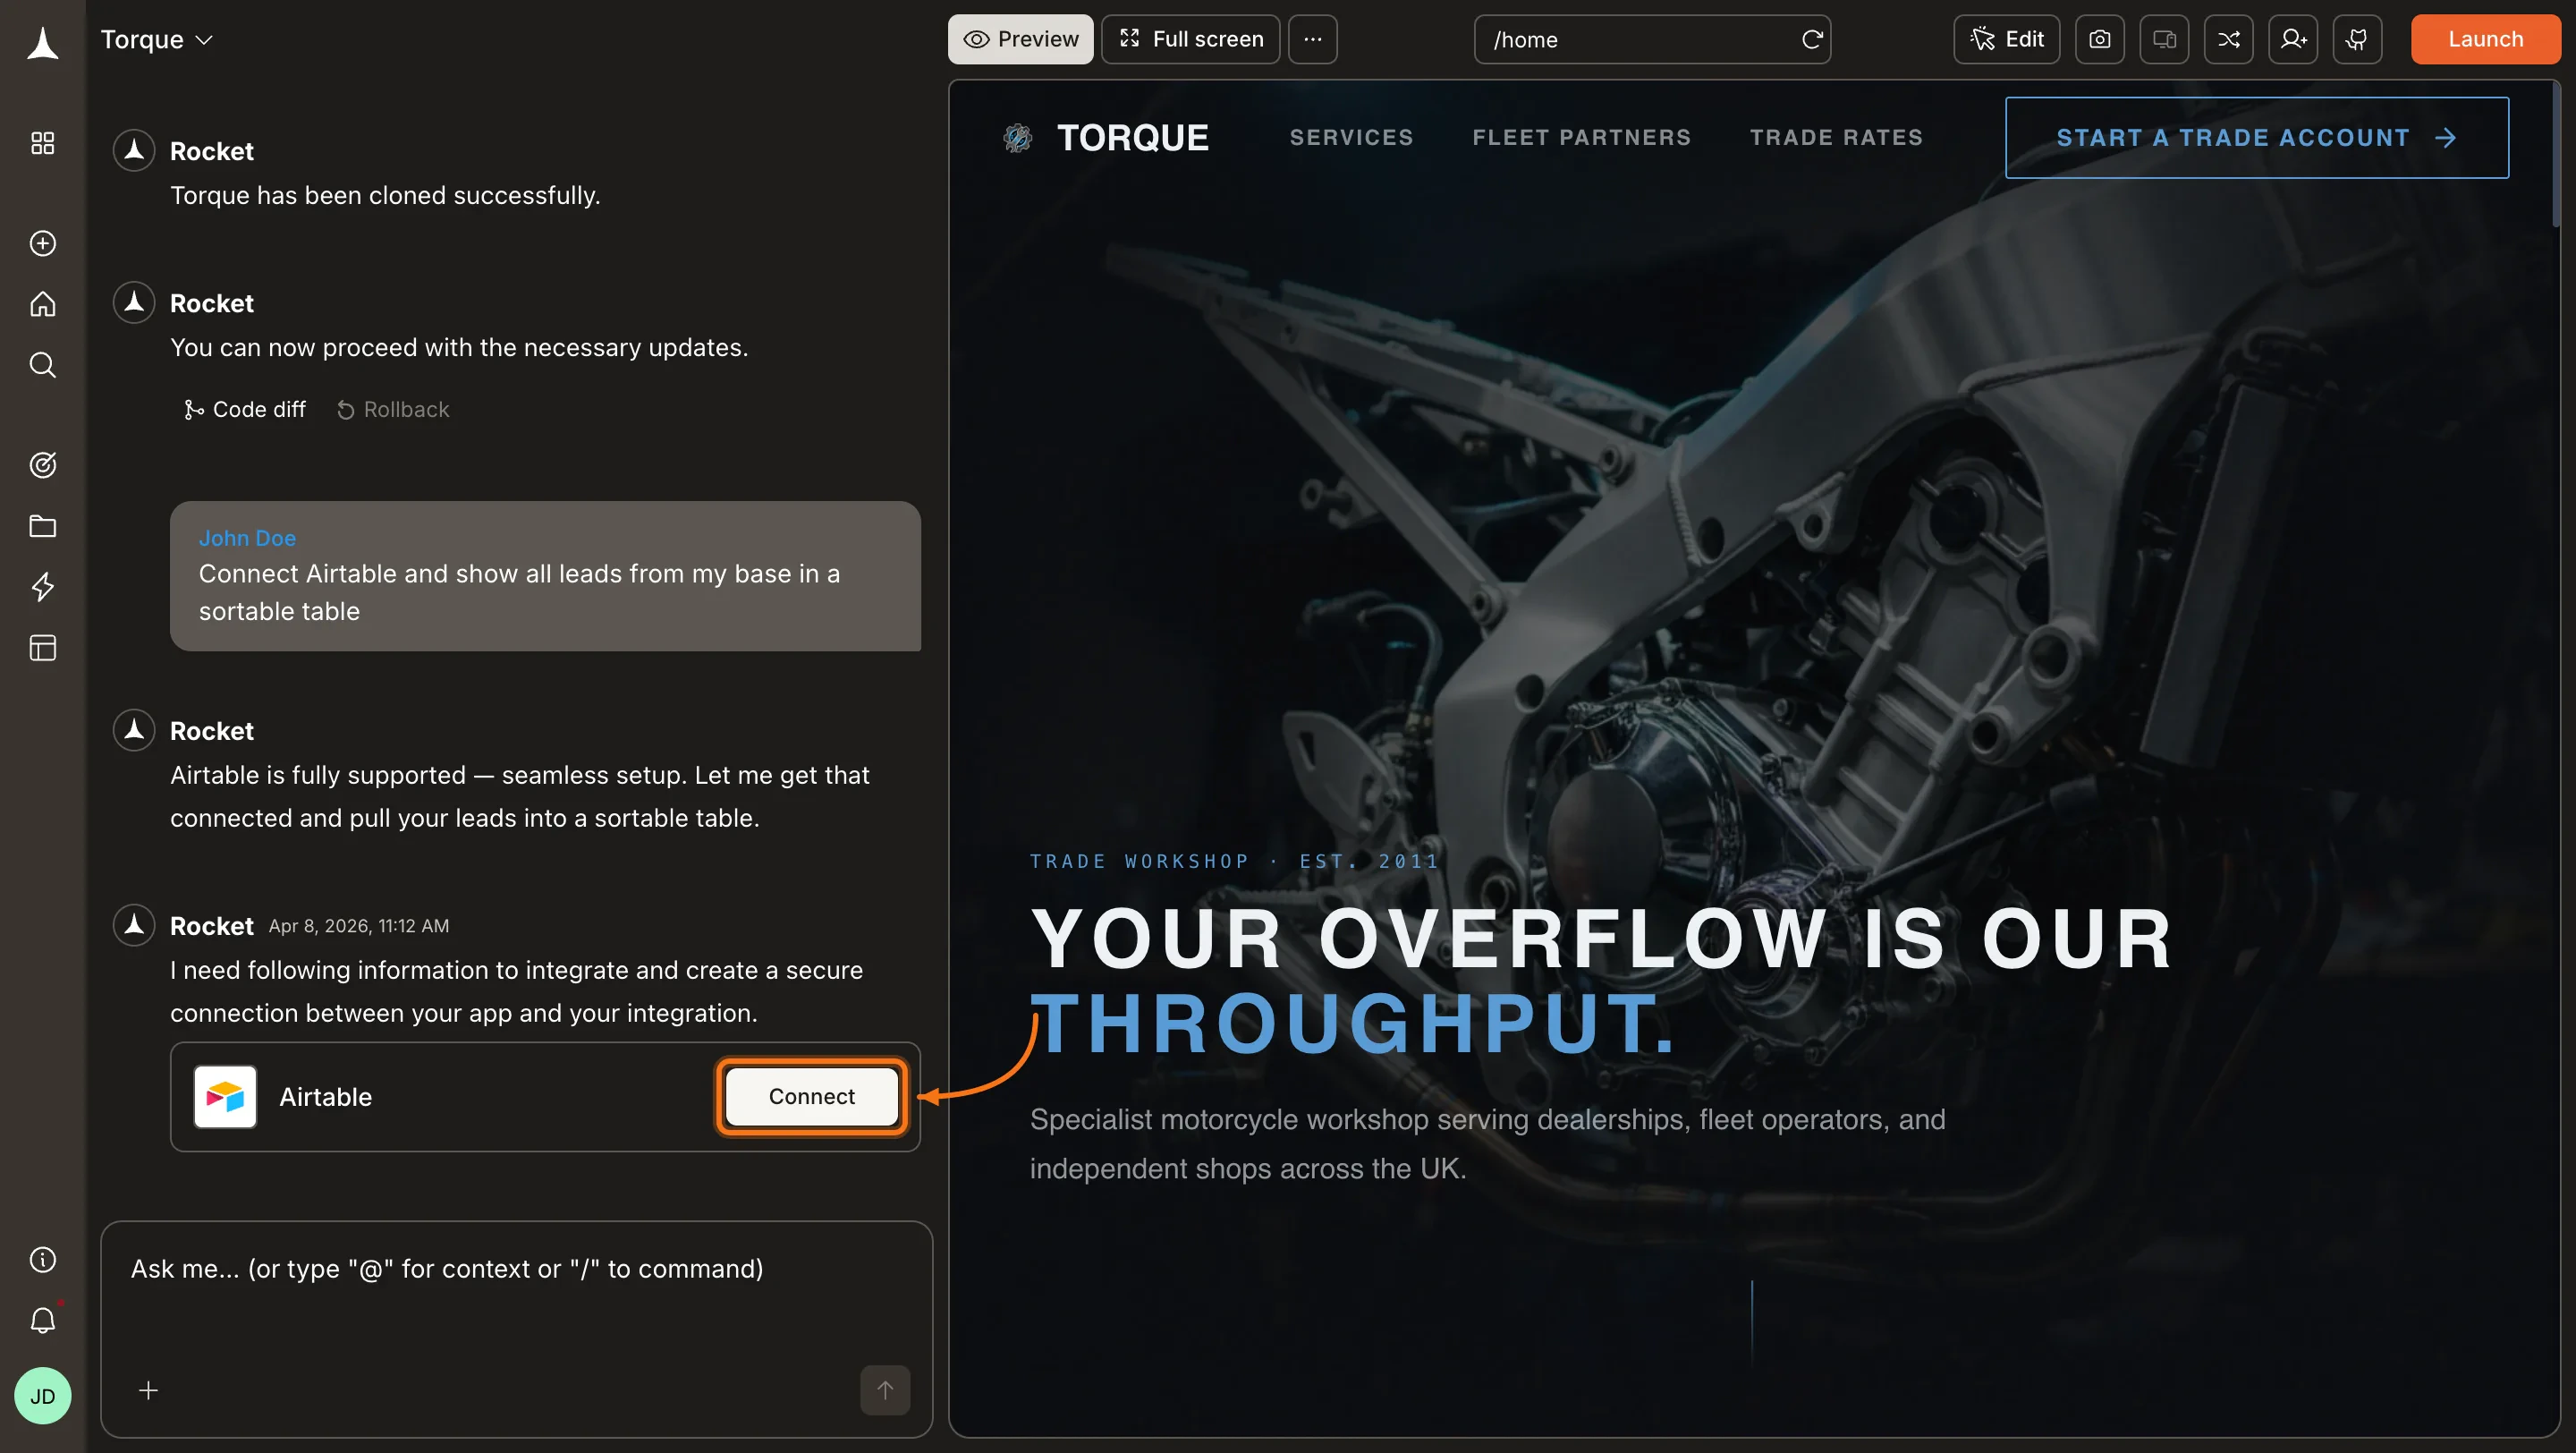
You can connect from three places. All do the same thing.Option 1: From chatType a prompt that mentions Airtable, for example Connect Airtable and show all leads from my base in a sortable table. Rocket detects the intent and shows a Connect button inline. Click it and the OAuth flow opens.
Airtable connection prompt in chat
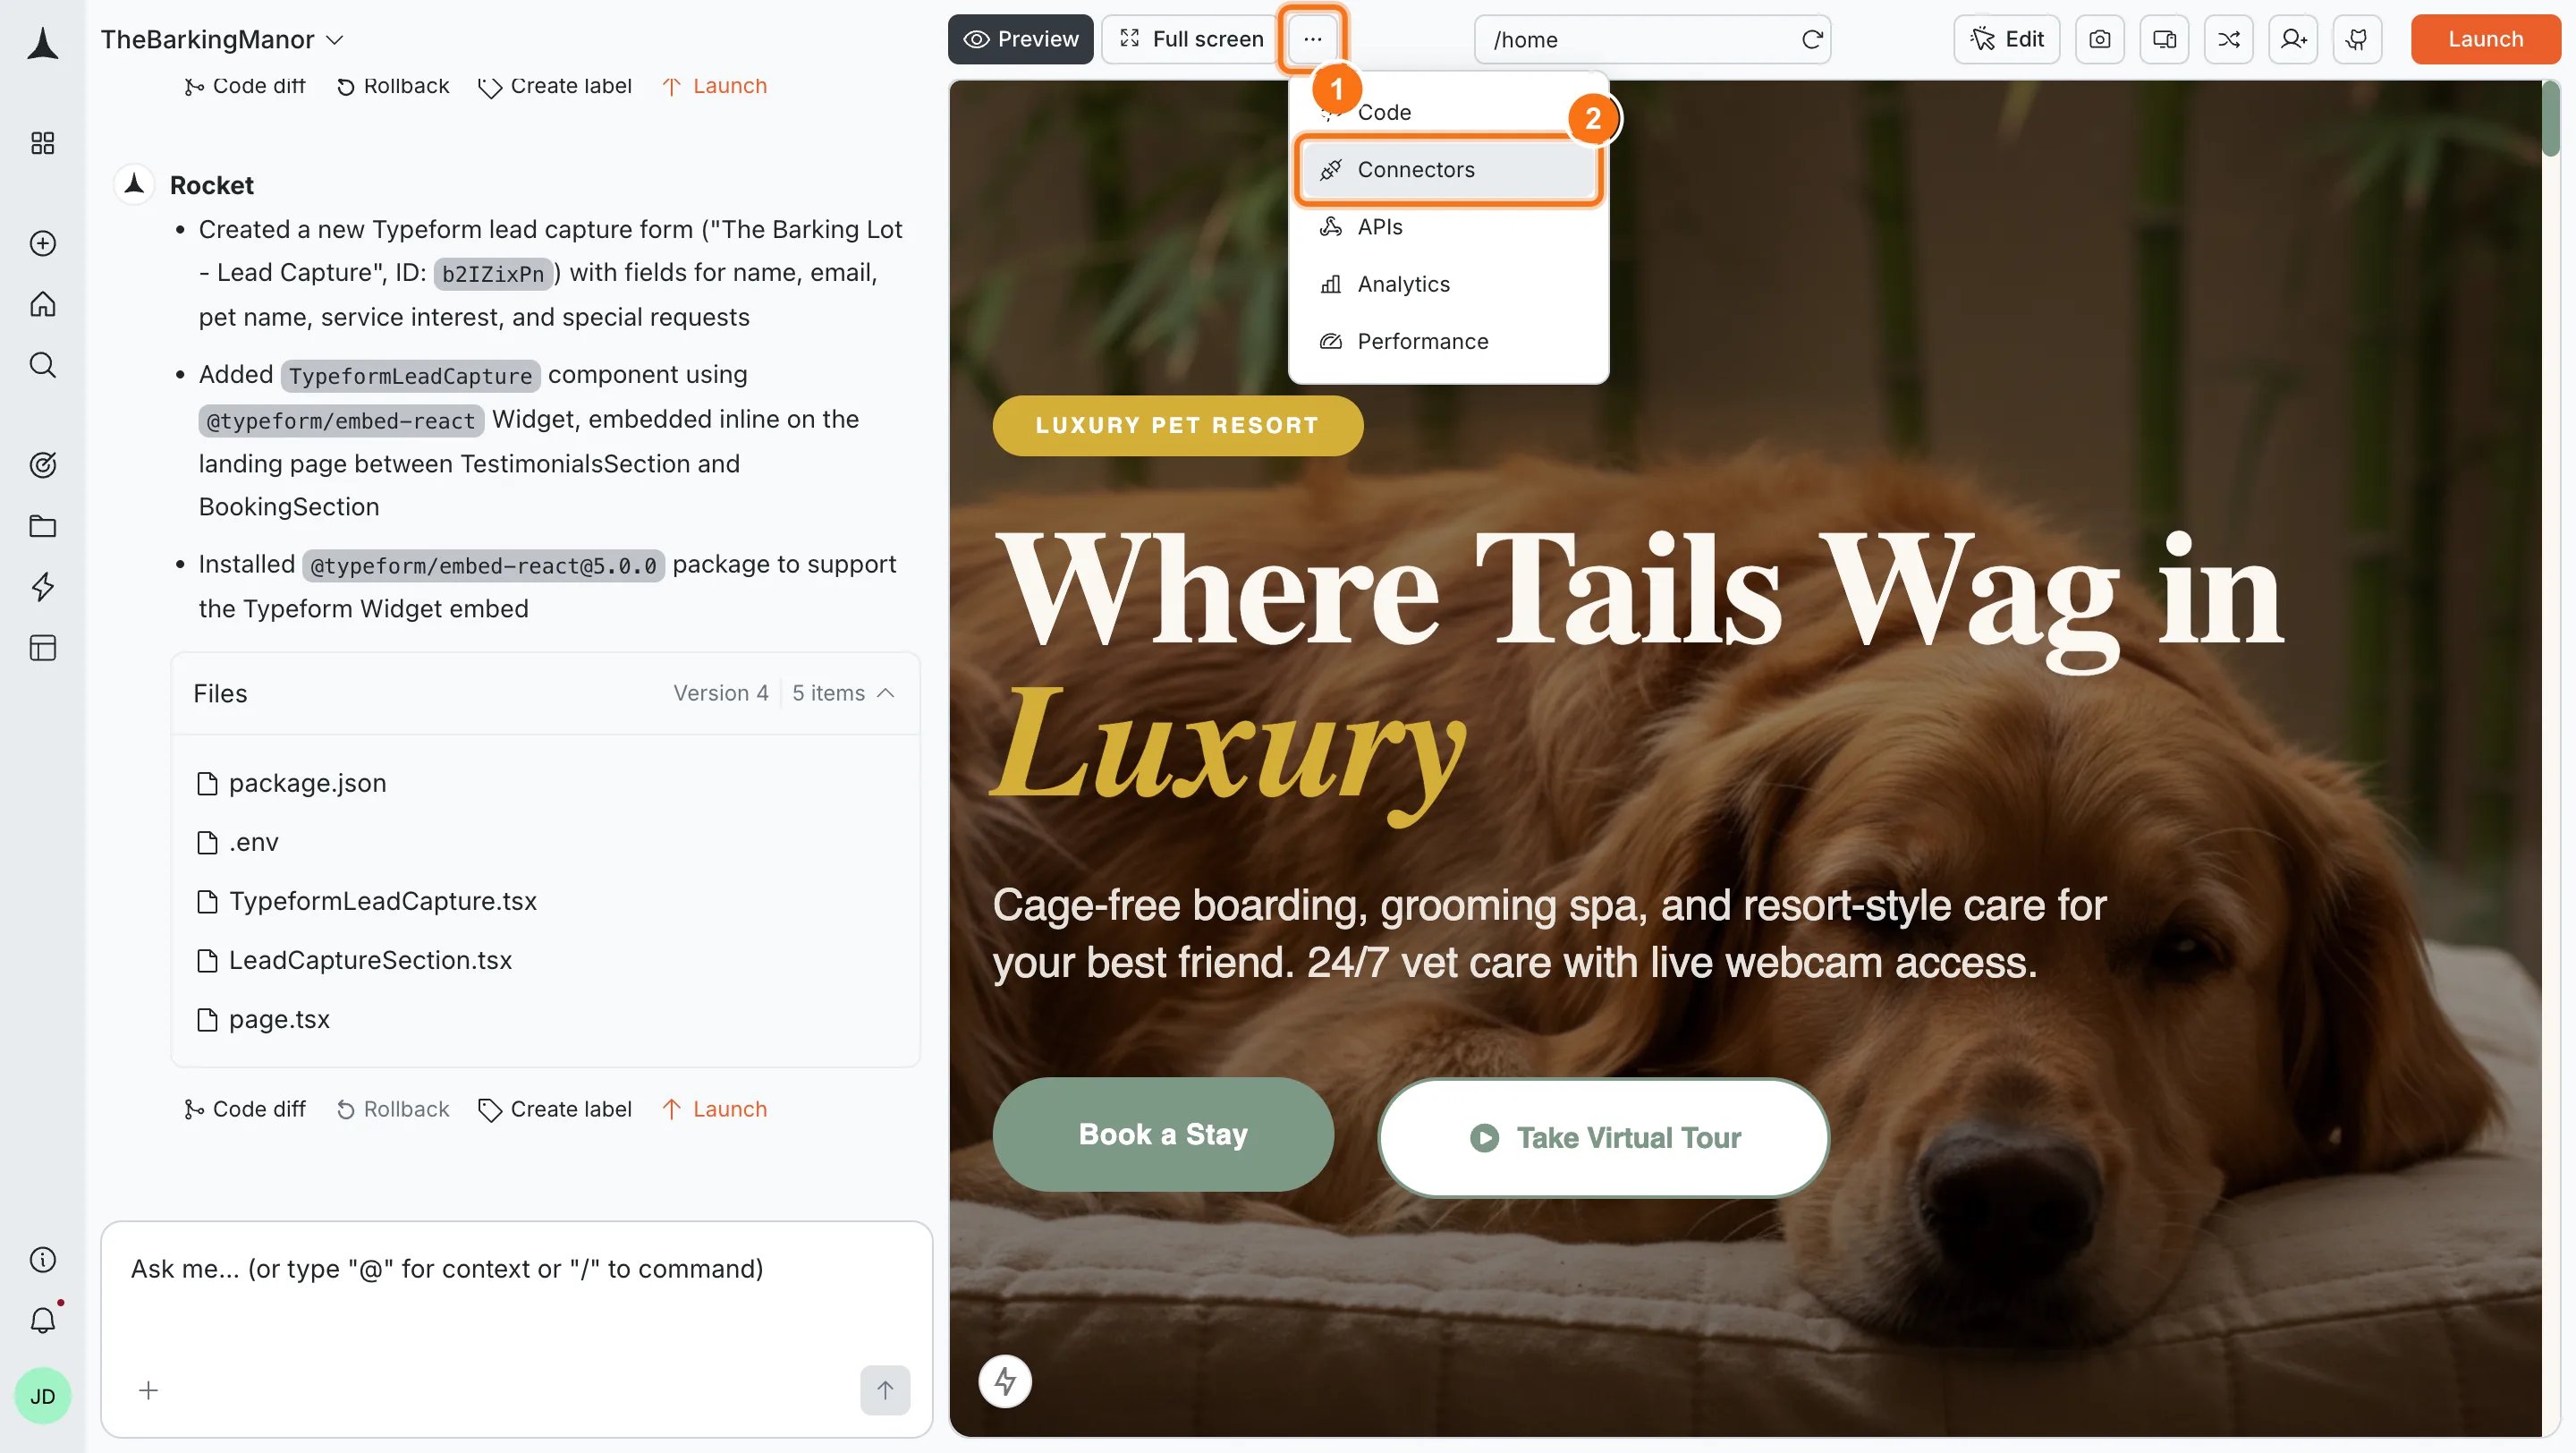
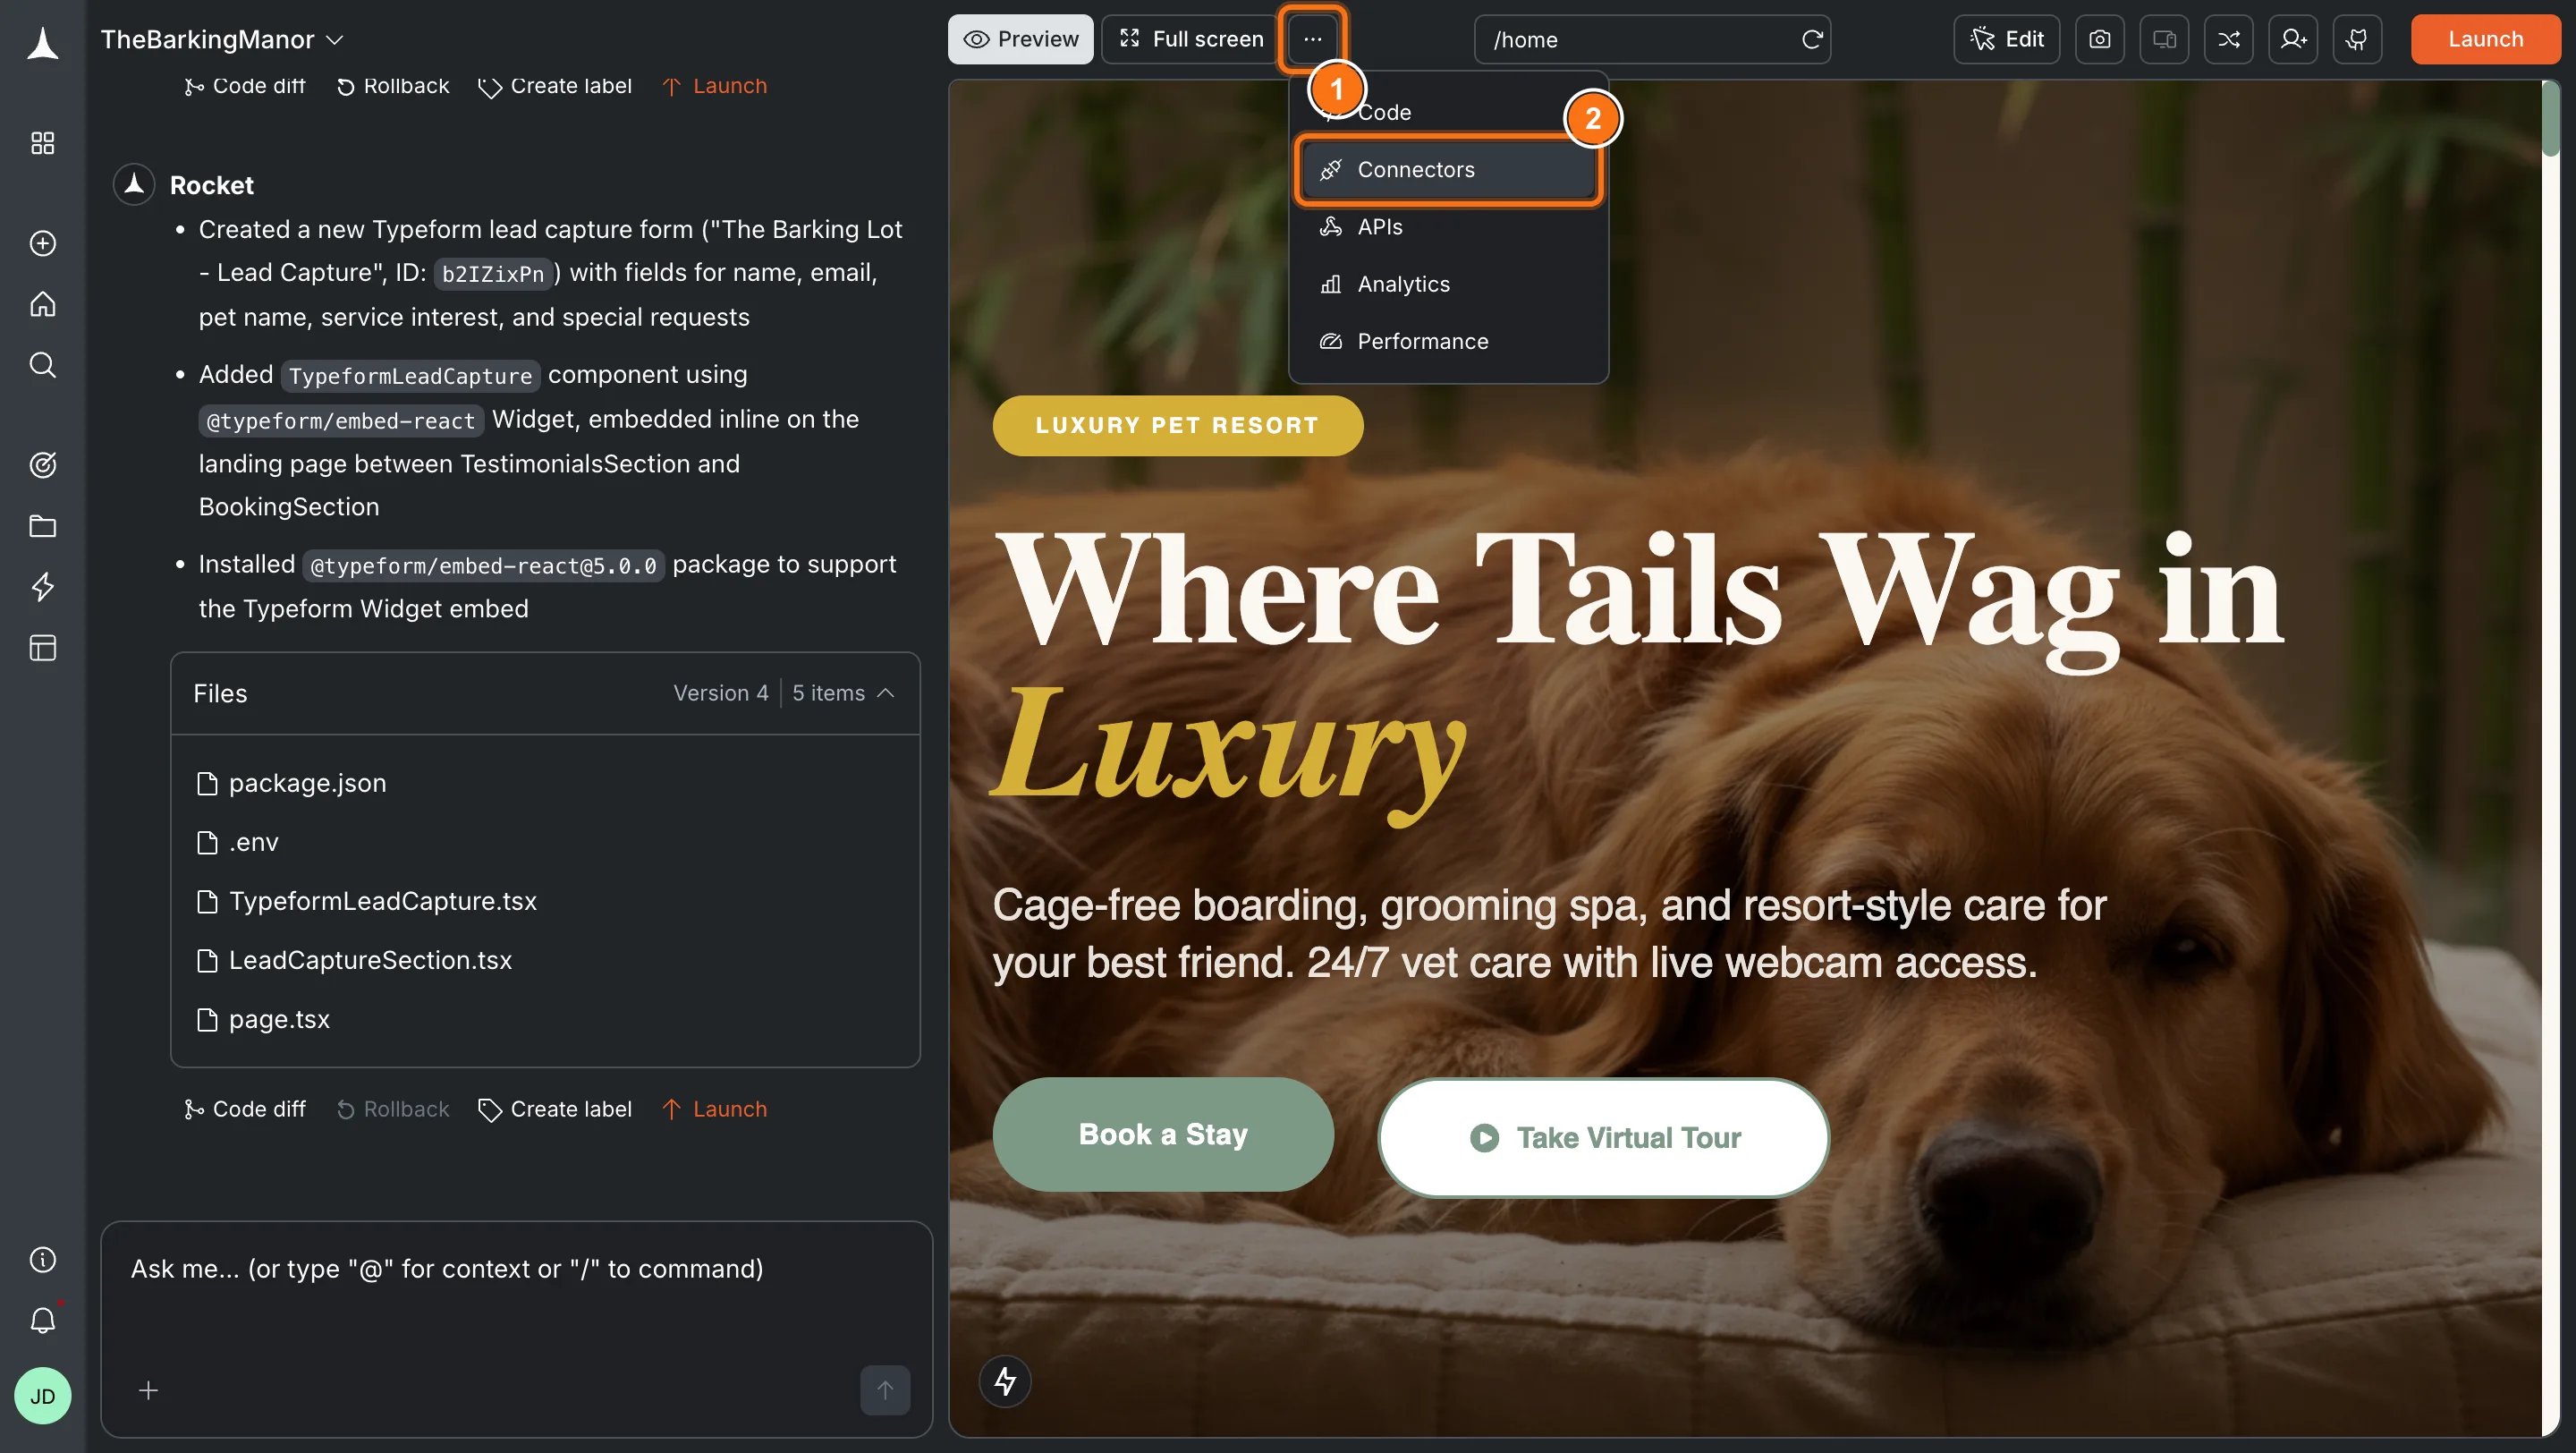
Option 2: From the Connectors tabClick the ... button in the preview toolbar, then select Connectors.
Open Connectors from the toolbar
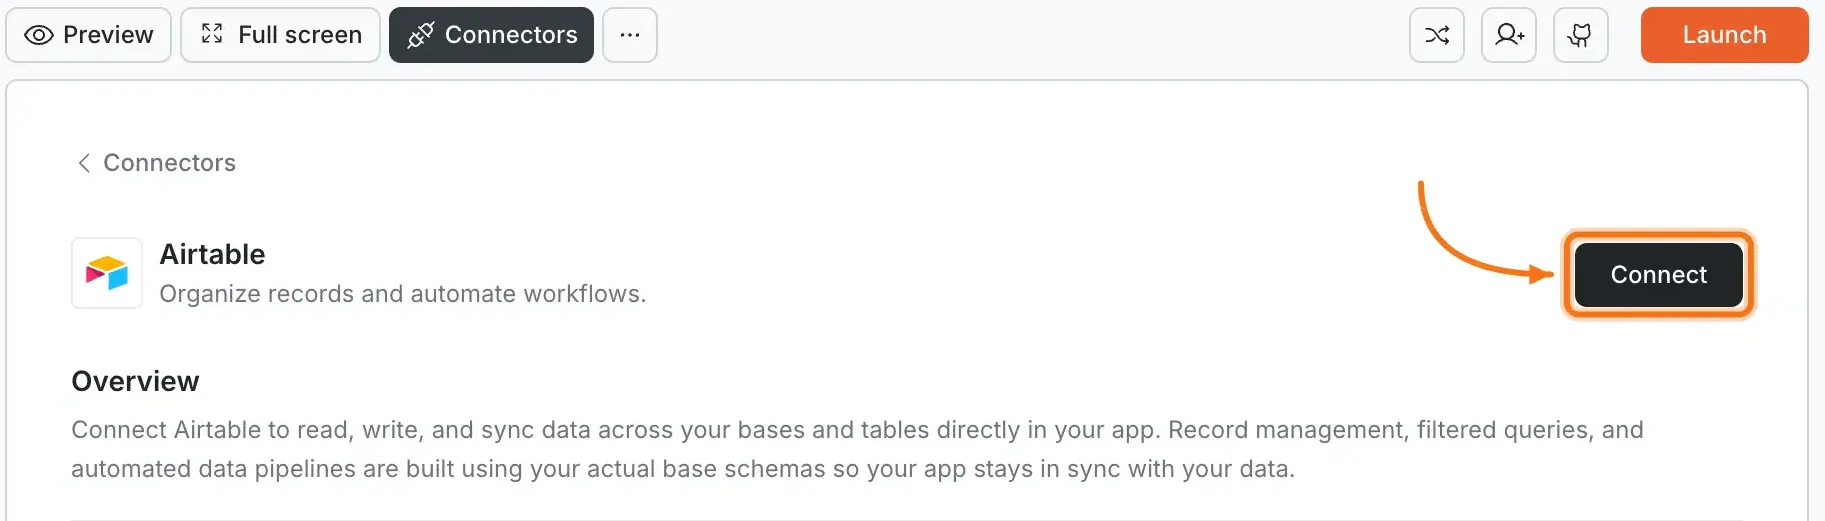
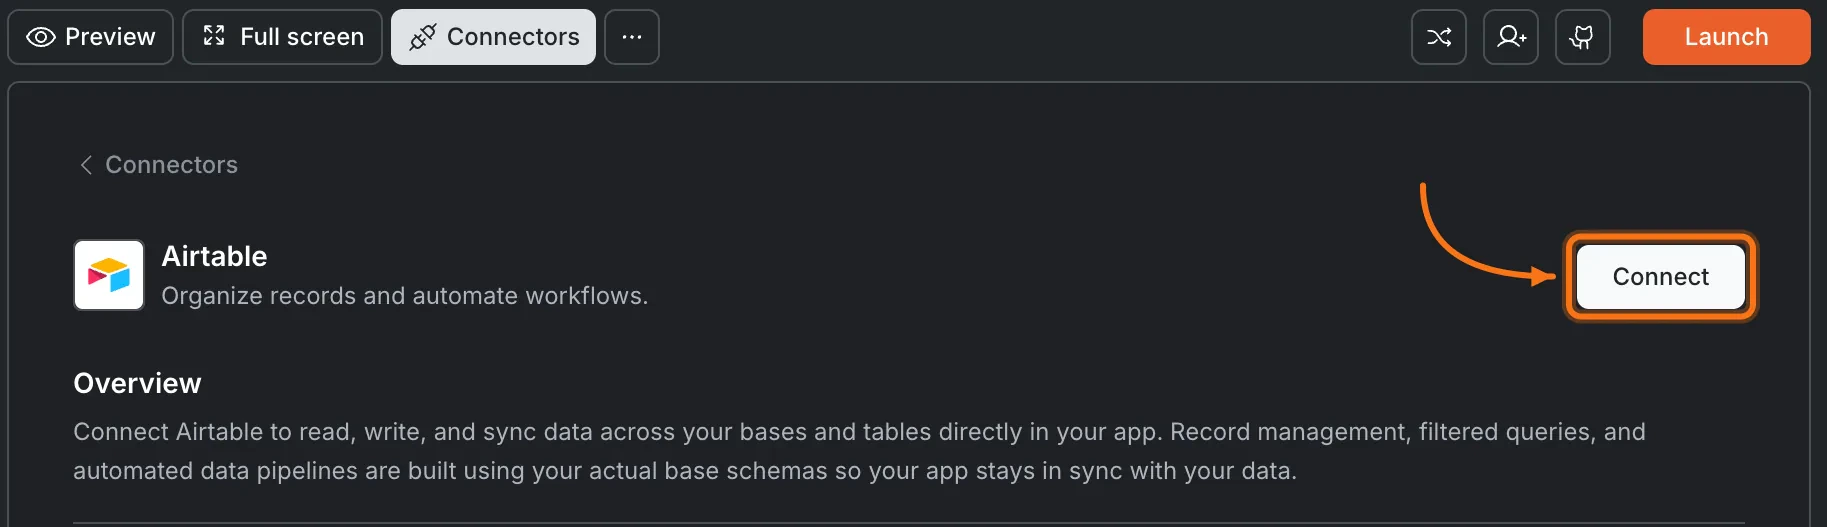
Click the Airtable card, then click Connect.
Airtable card in the Connectors panel
Option 3: From workspace Settings
Manage workspace connectors
Connect once from Settings and it is available across all tasks.
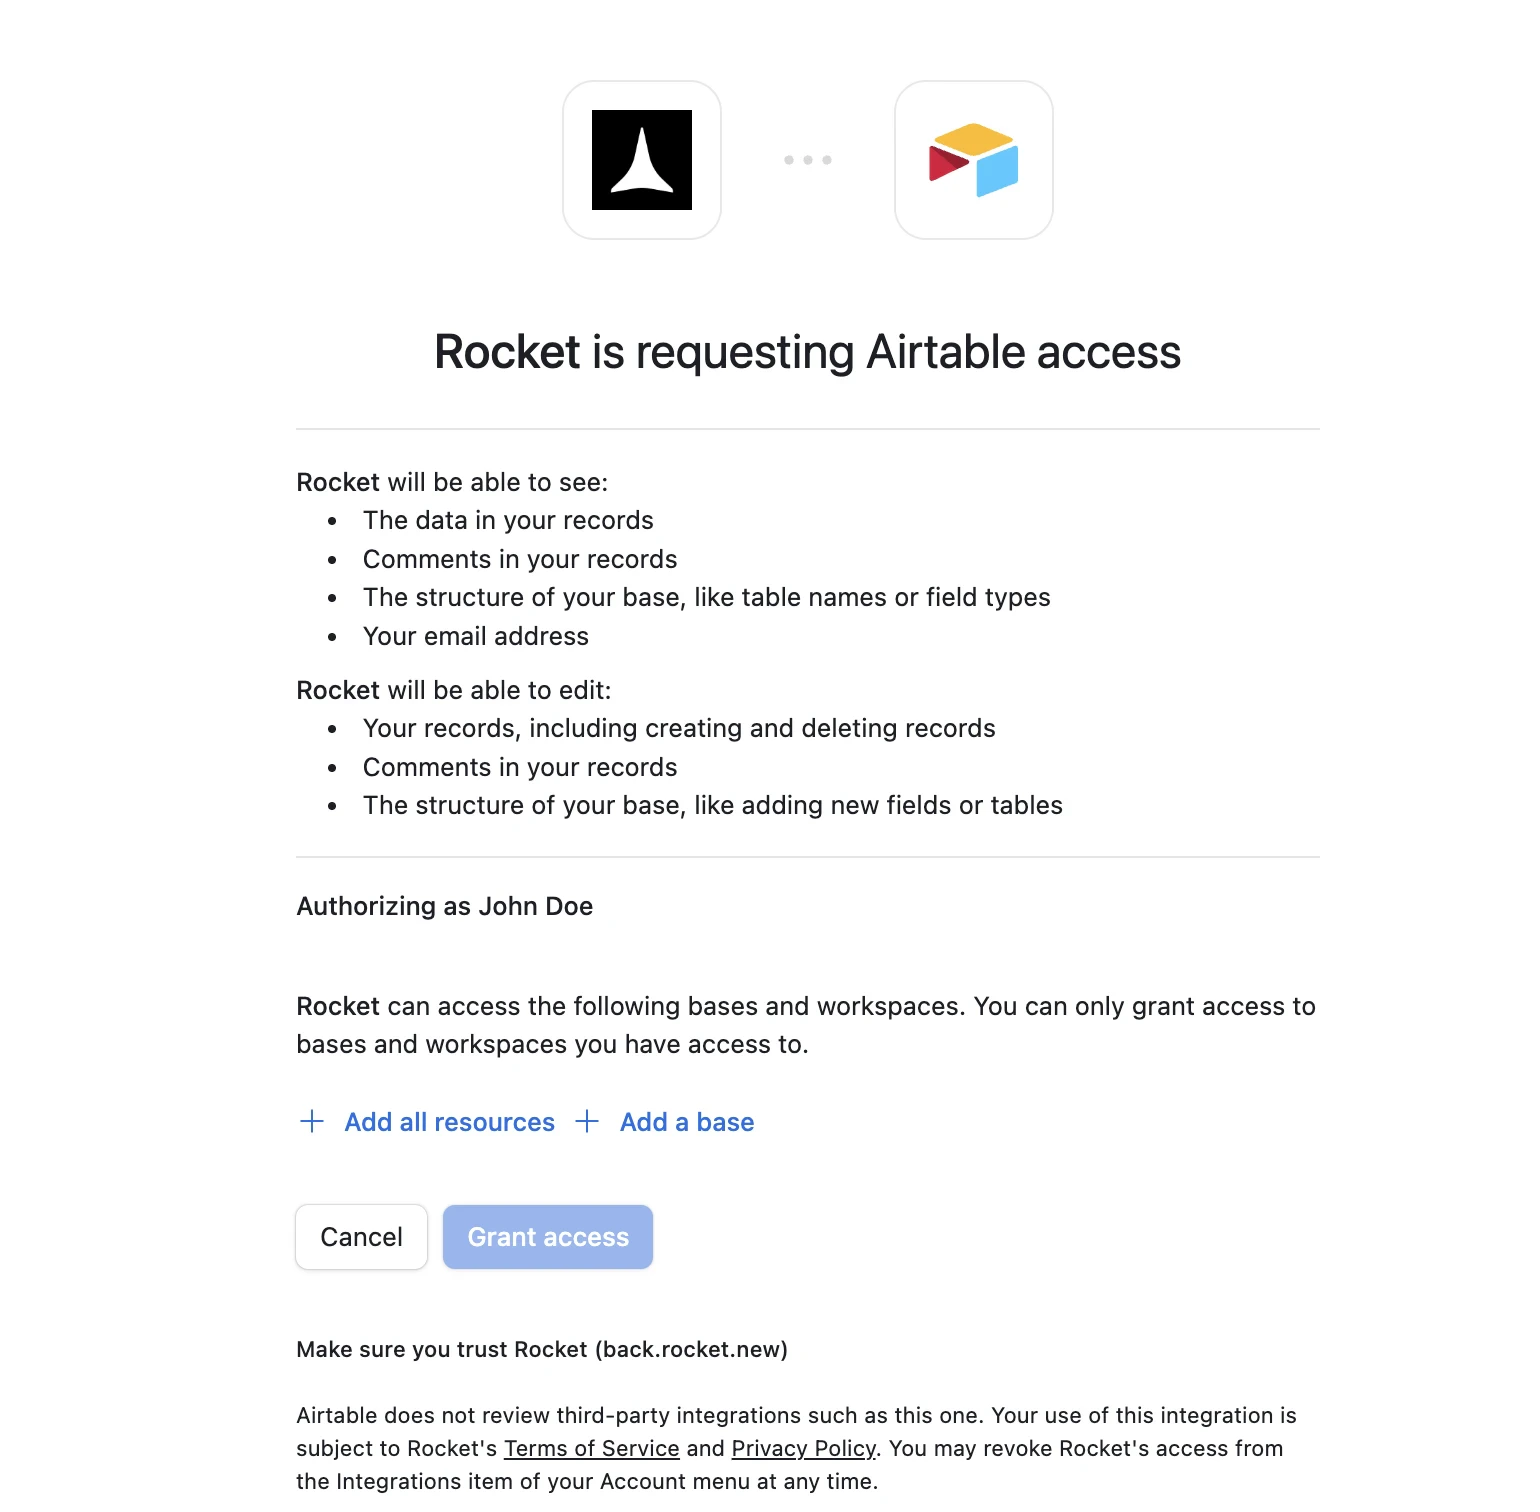
After clicking ConnectAn Airtable authorization screen opens in your browser.
Airtable OAuth authorization screen
Choose which bases Rocket can access:
Add all resources grants access to all current and future bases in your workspace. Recommended for most users.
Add a base grants access to specific bases only. Use this if you want to limit Rocket’s access to a subset of your data.
Click Grant access. A green dot appears next to Airtable when the connection is active.Disconnect
Disconnect a service
Disconnect or switch accounts from workspace Settings.
You can connect from three places - all do the same thing.Option 1: From workspace SettingsOpen your workspace, go to Settings, and tap Connectors. Tap the Airtable card and tap Connect.Option 2: From the Connectors tab inside a task
Tap the More button in the header.
Tap Integrations.
Tap the Airtable card, then tap Connect.
Option 3: From chatType a prompt that mentions Airtable. Rocket detects the intent and shows a Connect button inline - tap it.After tapping ConnectAn Airtable authorization screen opens. Choose which bases to grant access to:
Add all resources grants access to all current and future bases. Recommended for most users.
Add a base grants access to specific bases only.
Tap Grant access. A green dot appears next to Airtable when the connection is active.DisconnectGo back to the Airtable card in Integrations. Tap Disconnect to remove the integration.
Choose base access carefully. “Add all resources” is convenient but grants broad access. Use “Add a base” if you only want Rocket to work with specific bases.
Base structure matters. Make sure your Airtable base has clear table and field names. Rocket reads these to generate accurate views and forms.
Rate limits apply. Airtable limits API requests to 5 requests per second per base. High-traffic apps may need caching or a dedicated backend.
Deleting records is permanent. Airtable does not have a built-in undo for deleted rows. Be cautious with delete operations.
One Airtable account per workspace. All tasks share the same connected account.