

HubSpot
Connect HubSpot to your Rocket.new app and sync contacts, manage deals, track leads, and automate CRM workflows with a single prompt.
Connect HubSpot and describe the CRM flow you want in chat. Rocket generates the complete integration: contact creation, deal pipeline management, email event tracking, and marketing automation triggers, all grounded in your actual HubSpot configuration.
What you can do
Contact management
Create, read, update, and delete contacts from your app. Sync lead forms directly into your HubSpot CRM.
Deal pipeline
Build pipeline views, move deals between stages, and manage your sales funnel from within your app.
Email event tracking
Track email opens, clicks, and bounces from your app and surface that data in dashboards or contact timelines.
Marketing automation
Trigger HubSpot workflows and sequences from user actions in your app, such as form submissions or sign-ups.
Before you connect
You need a Private App access token from HubSpot. Private App tokens are scoped to the specific permissions you grant and do not expire unless rotated or revoked.
Create or manage Private Apps in your HubSpot account
How to create a Private App token:
In HubSpot, go to Settings → Integrations → Private Apps.
Click Create a private app.
Give it a name (e.g., "Rocket Integration").
Under Scopes, grant the permissions your app needs. Common scopes:
| Scope | Purpose |
|---|---|
crm.objects.contacts.read | Read contacts |
crm.objects.contacts.write | Create and update contacts |
crm.objects.deals.read | Read deals |
crm.objects.deals.write | Create and update deals |
crm.objects.companies.read | Read companies |
Click Create app and copy the generated token. Tokens start with pat-.
Never paste your HubSpot token directly into chat. Always use the secure connection popup. If your token has been exposed, rotate it immediately from Settings → Private Apps.
Connect HubSpot
You can connect from two places - both open the same popup.
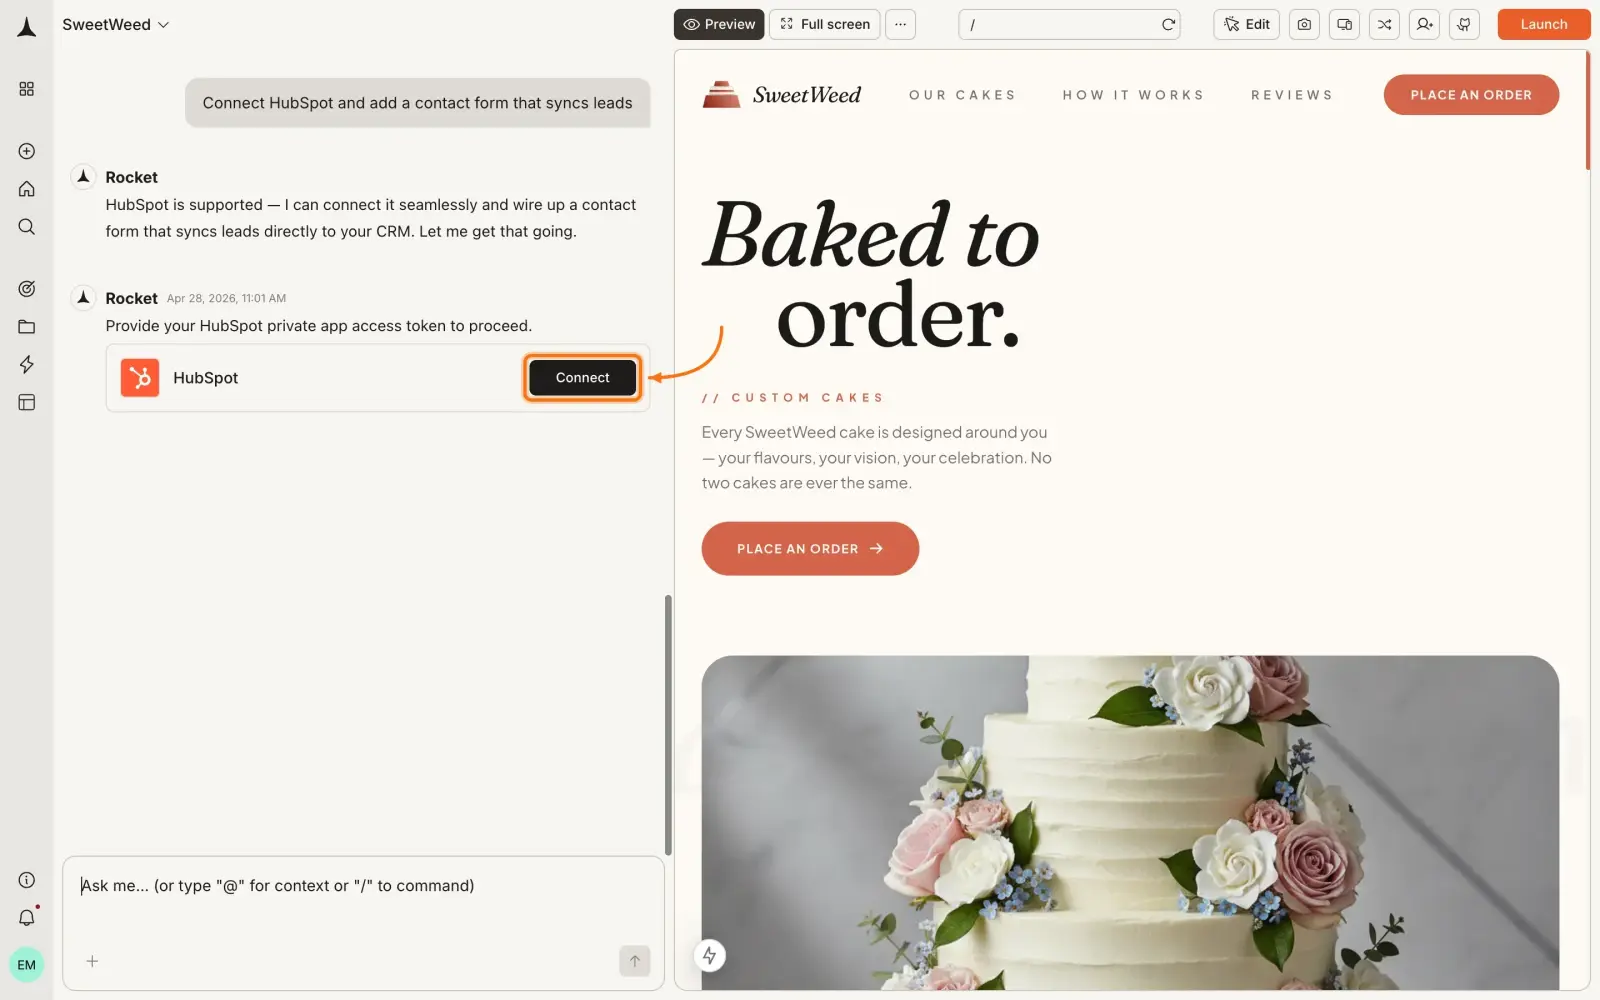
Option 1: From chat
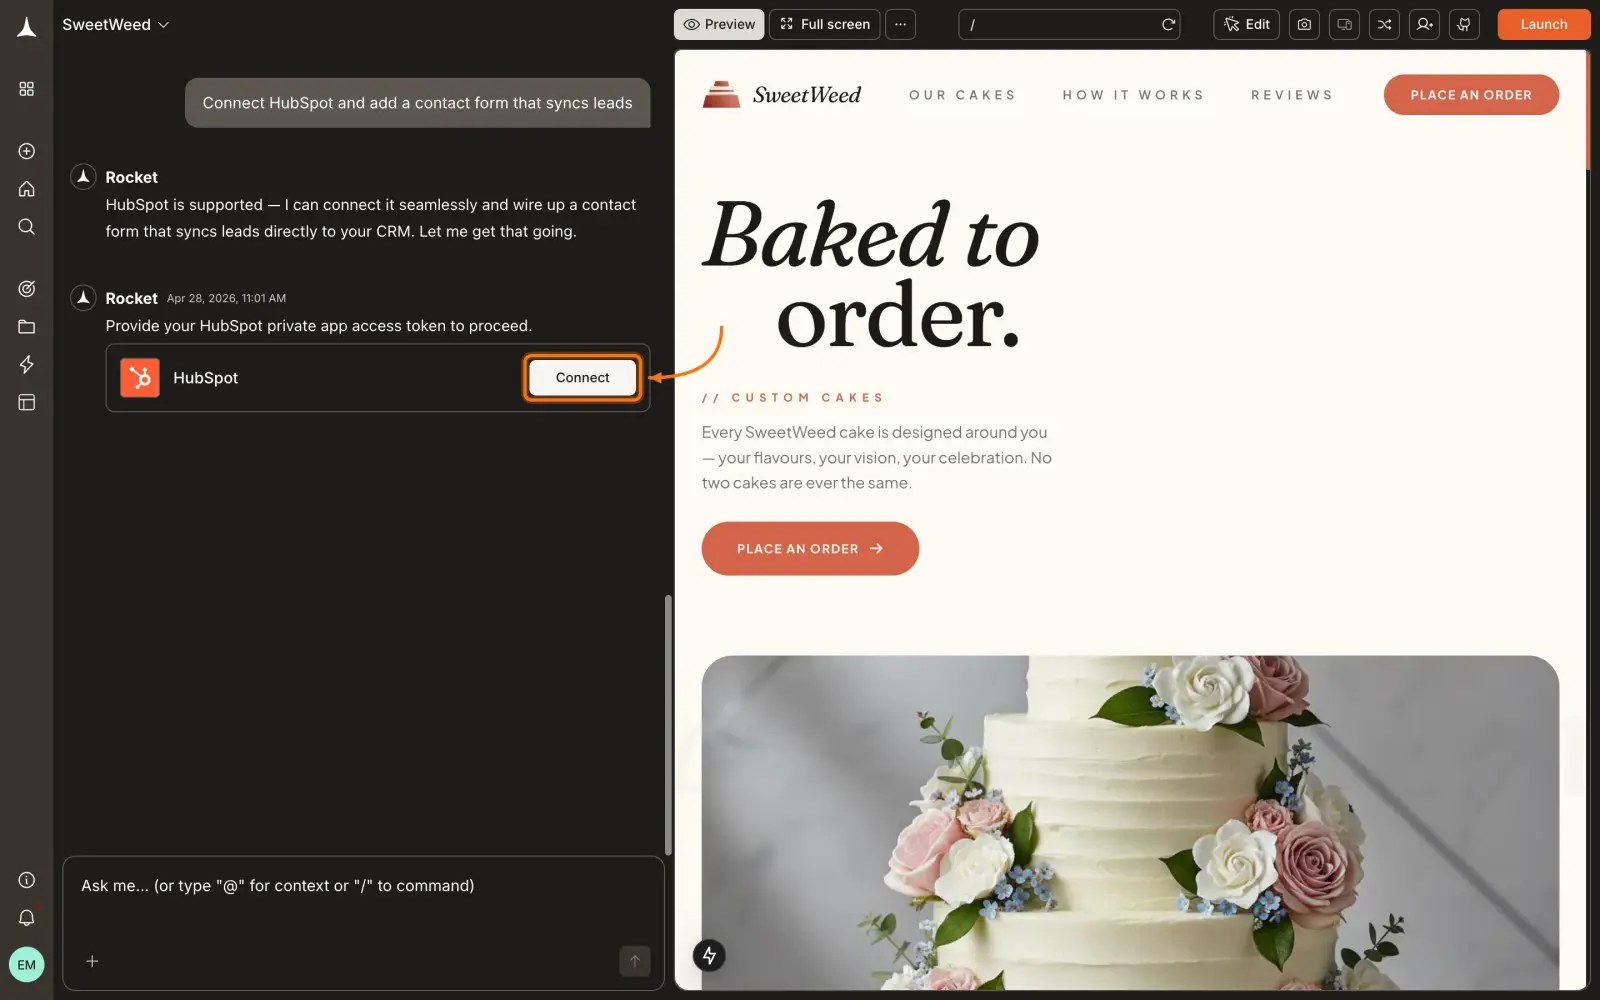
Type a prompt that mentions HubSpot - for example, Connect HubSpot and add a contact form that syncs leads. Rocket detects the intent and shows a Connect button inline. Click it and the popup opens.
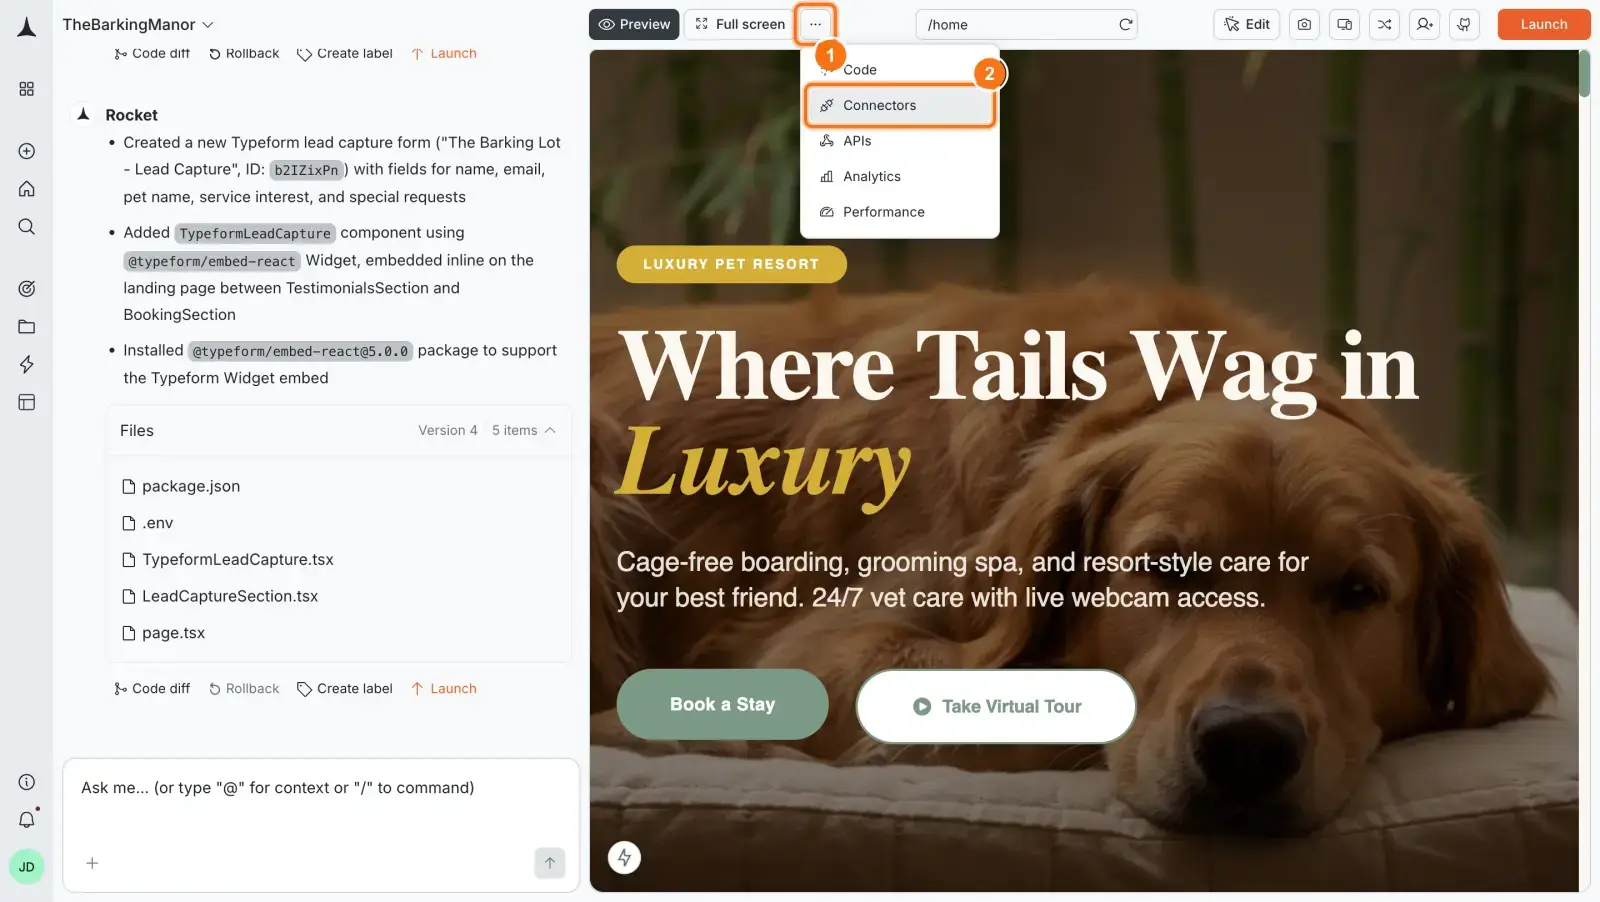
Option 2: From the Connectors tab
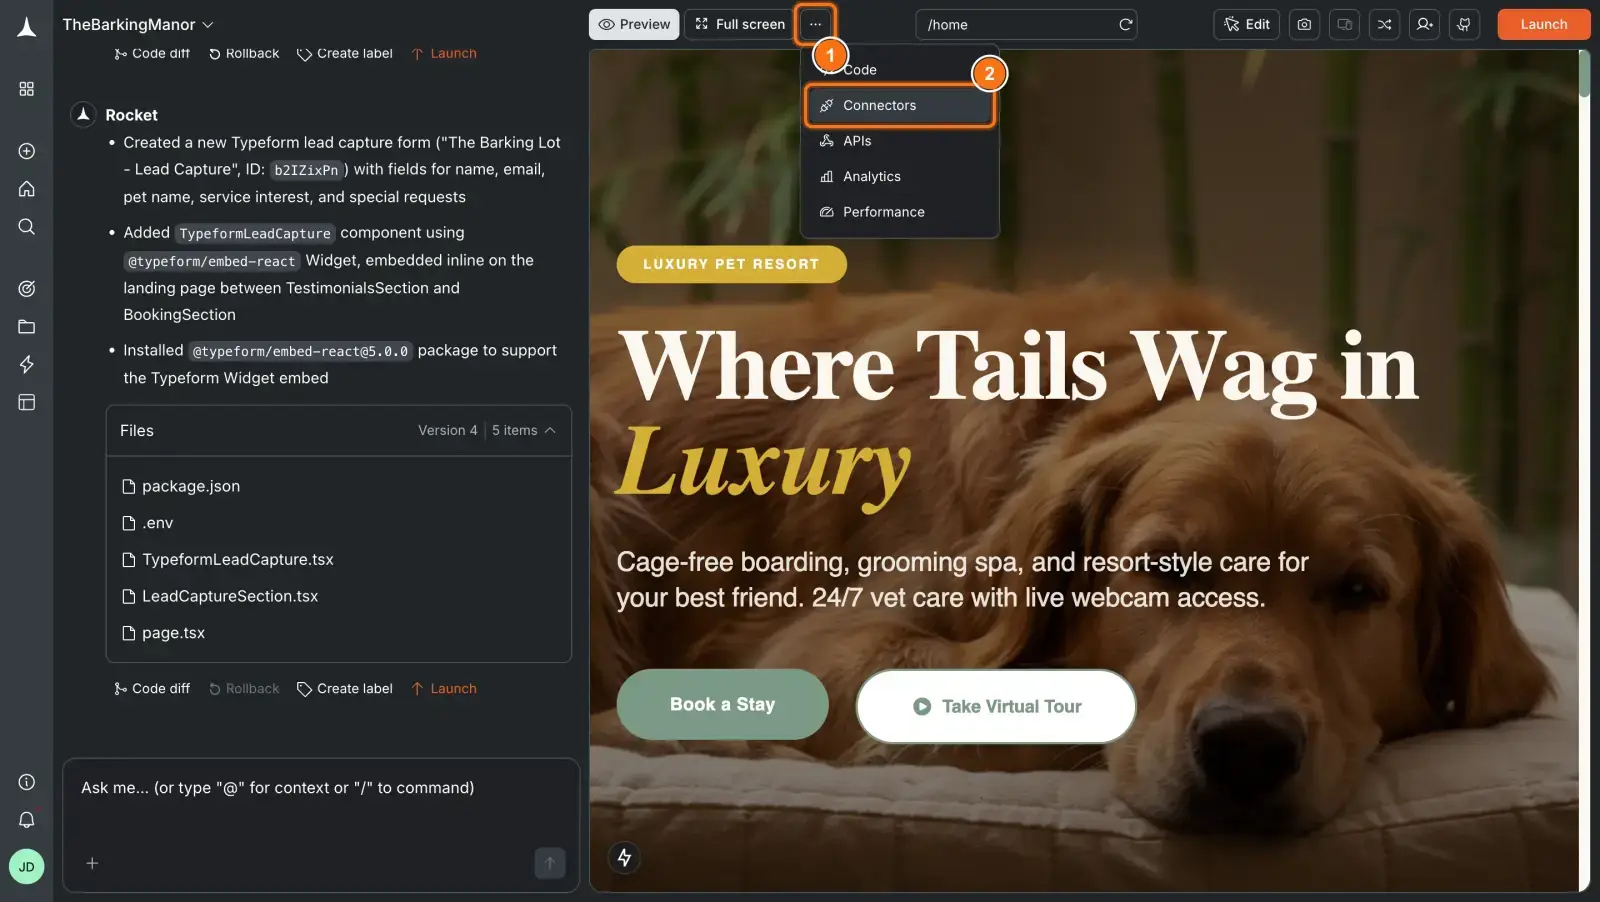
Click the ... button in the preview toolbar, then select Connectors.
Click the HubSpot card, then click Connect.
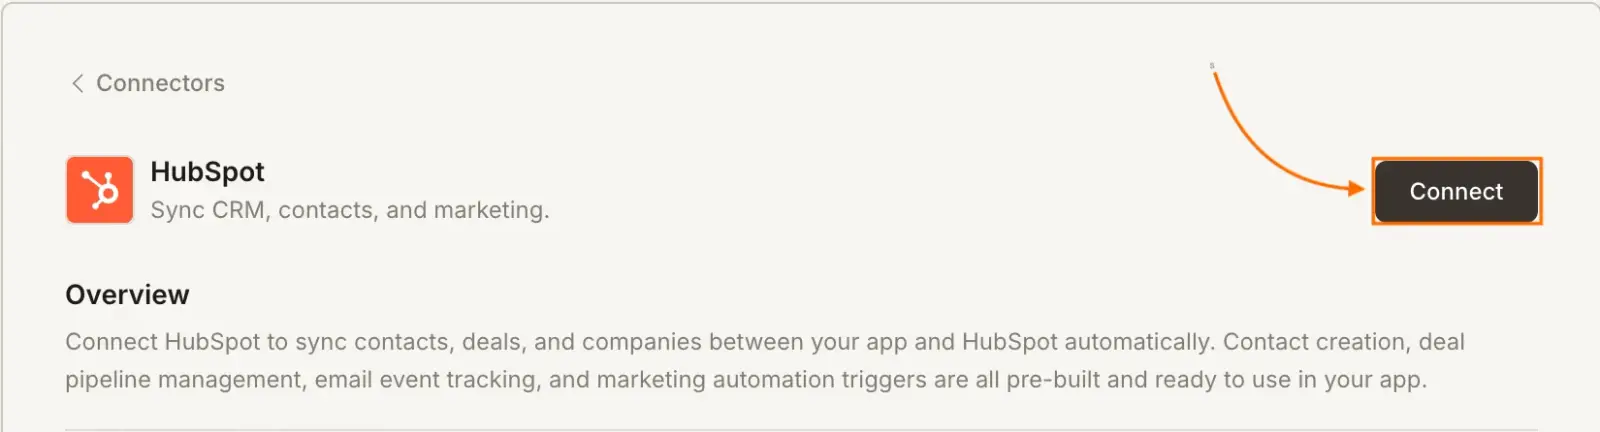
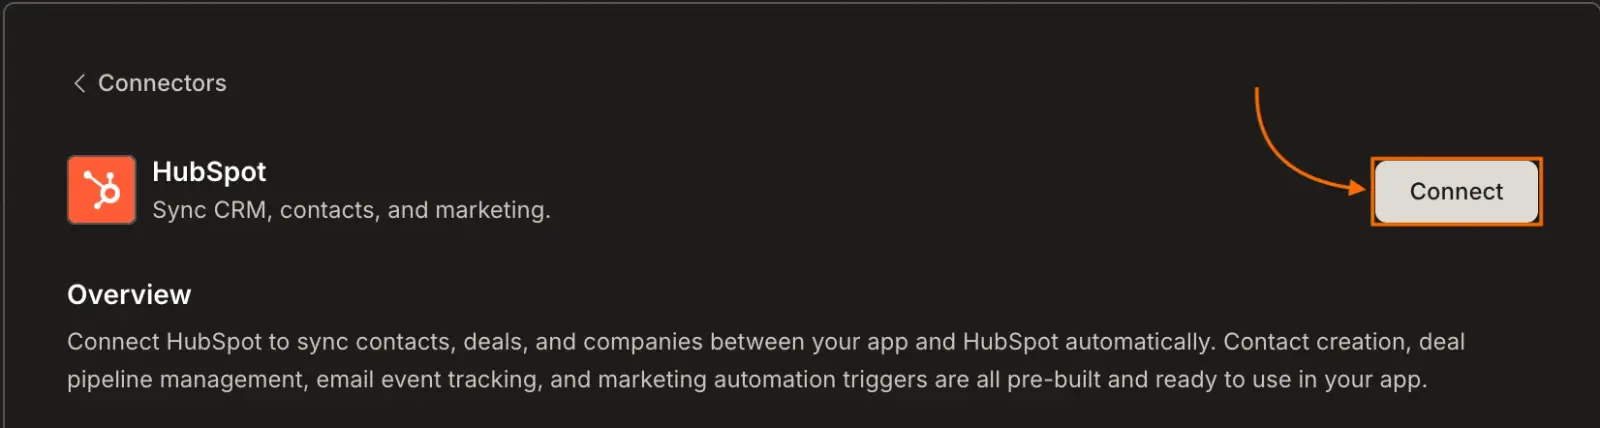
After clicking Connect
A popup opens. Paste your Private App access token (starts with pat-), then click Save. A green dot appears next to HubSpot when the connection is active.
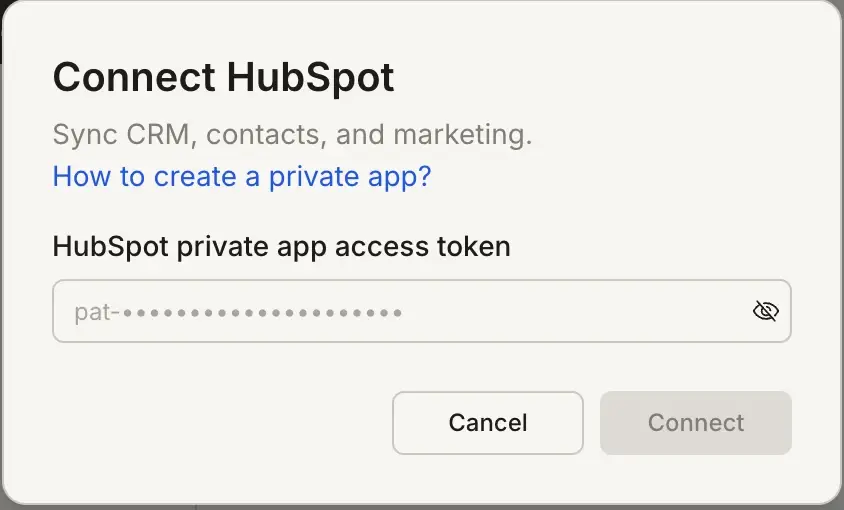
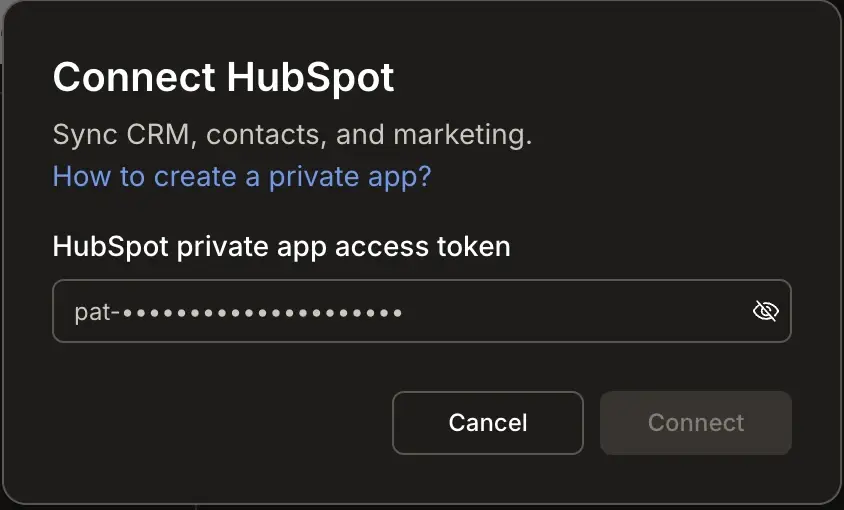
Update or disconnect
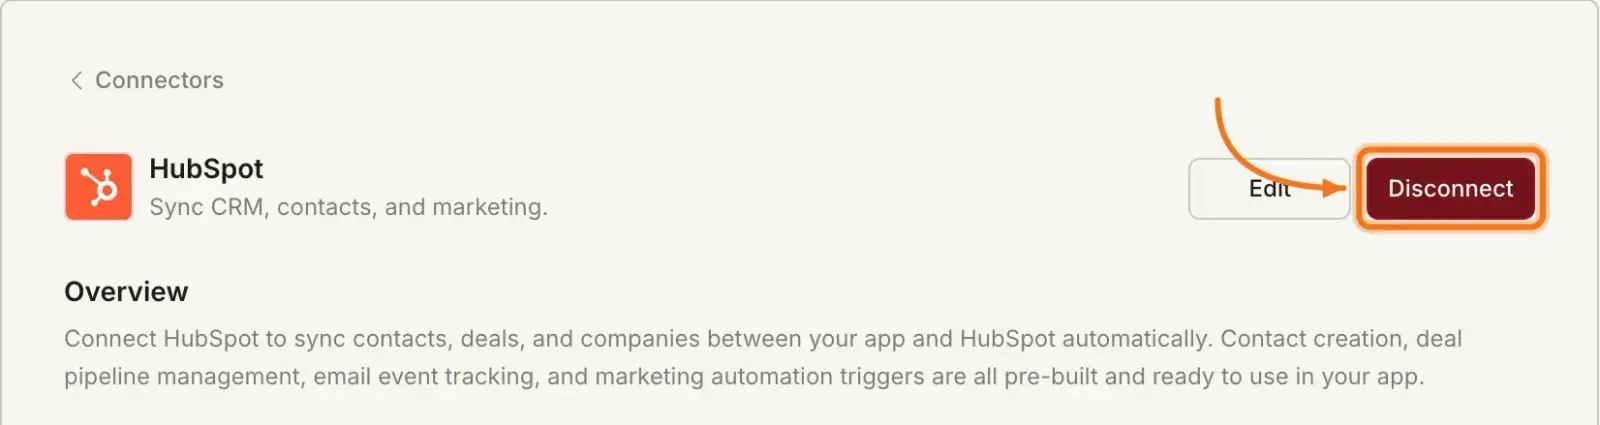
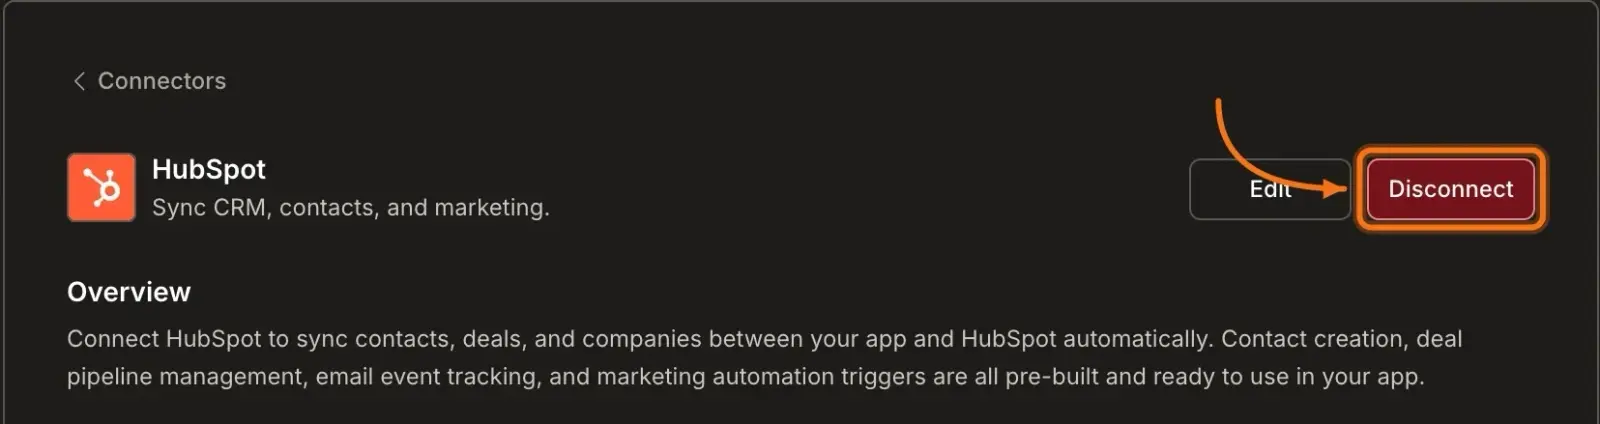
Go to Connectors > HubSpot. Update your token or click Disconnect to remove the integration.
Example prompts
| Use case | Prompt |
|---|---|
| Lead capture form | Add a contact form that creates a new HubSpot contact on submission with name, email, and company fields. |
| Deal pipeline view | Build a Kanban board showing my HubSpot deals grouped by pipeline stage with drag-to-move functionality. |
| Contact list | Add a Contacts page that lists all HubSpot contacts with search, filter by lifecycle stage, and a detail view. |
| CRM dashboard | Create a CRM dashboard showing total contacts, open deals, deals by stage, and recent activity from HubSpot. |
| Signup → CRM sync | When a user signs up, automatically create a HubSpot contact and set their lifecycle stage to Lead. |
| Deal creation | Add a Create Deal form that pushes a new deal to HubSpot with name, amount, stage, and associated contact. |
Tips
- Grant only the scopes you need. Overly broad HubSpot Private App tokens are a security risk. Scope tokens to the specific objects your app reads and writes.
- Tokens do not expire automatically. Rotate your token periodically from Settings → Private Apps as a security best practice.
- HubSpot tools are powered by Composio MCP. Rocket uses Composio under the hood to execute HubSpot API calls. You do not need to configure Composio separately.
- Test with a sandbox. Use a HubSpot sandbox or developer account during development to avoid polluting production CRM data.
- One token per task. Each Rocket task connects to a single HubSpot Private App token. Use the same token across tasks if they target the same HubSpot account.
What's next?
Supabase
Store user sessions and app data alongside your HubSpot CRM data.
Resend
Send transactional emails to contacts after CRM events like deal closes or form submissions.
Typeform
Capture leads with Typeform and sync them directly to HubSpot contacts.
Google Analytics
Track funnel conversion alongside CRM data for full-funnel attribution.