Embed Typeform into your Rocket.new app to add conversational lead capture forms, customer feedback surveys, and interactive quizzes with logic.
Describe the form you need in chat and Rocket generates the embed, response handling, and conditional logic automatically.
Typeform’s free plan allows only 10 responses per month. This limit applies across all your embedded forms. Upgrade to a paid Typeform plan for unlimited responses.
Typeform connects via OAuth, so no API key is needed.
Typeform is a workspace-level connector. No matter where you connect it (Settings, Connectors tab, or chat), it links to your entire Rocket workspace and is available across all tasks.
Web Browser
Mobile App
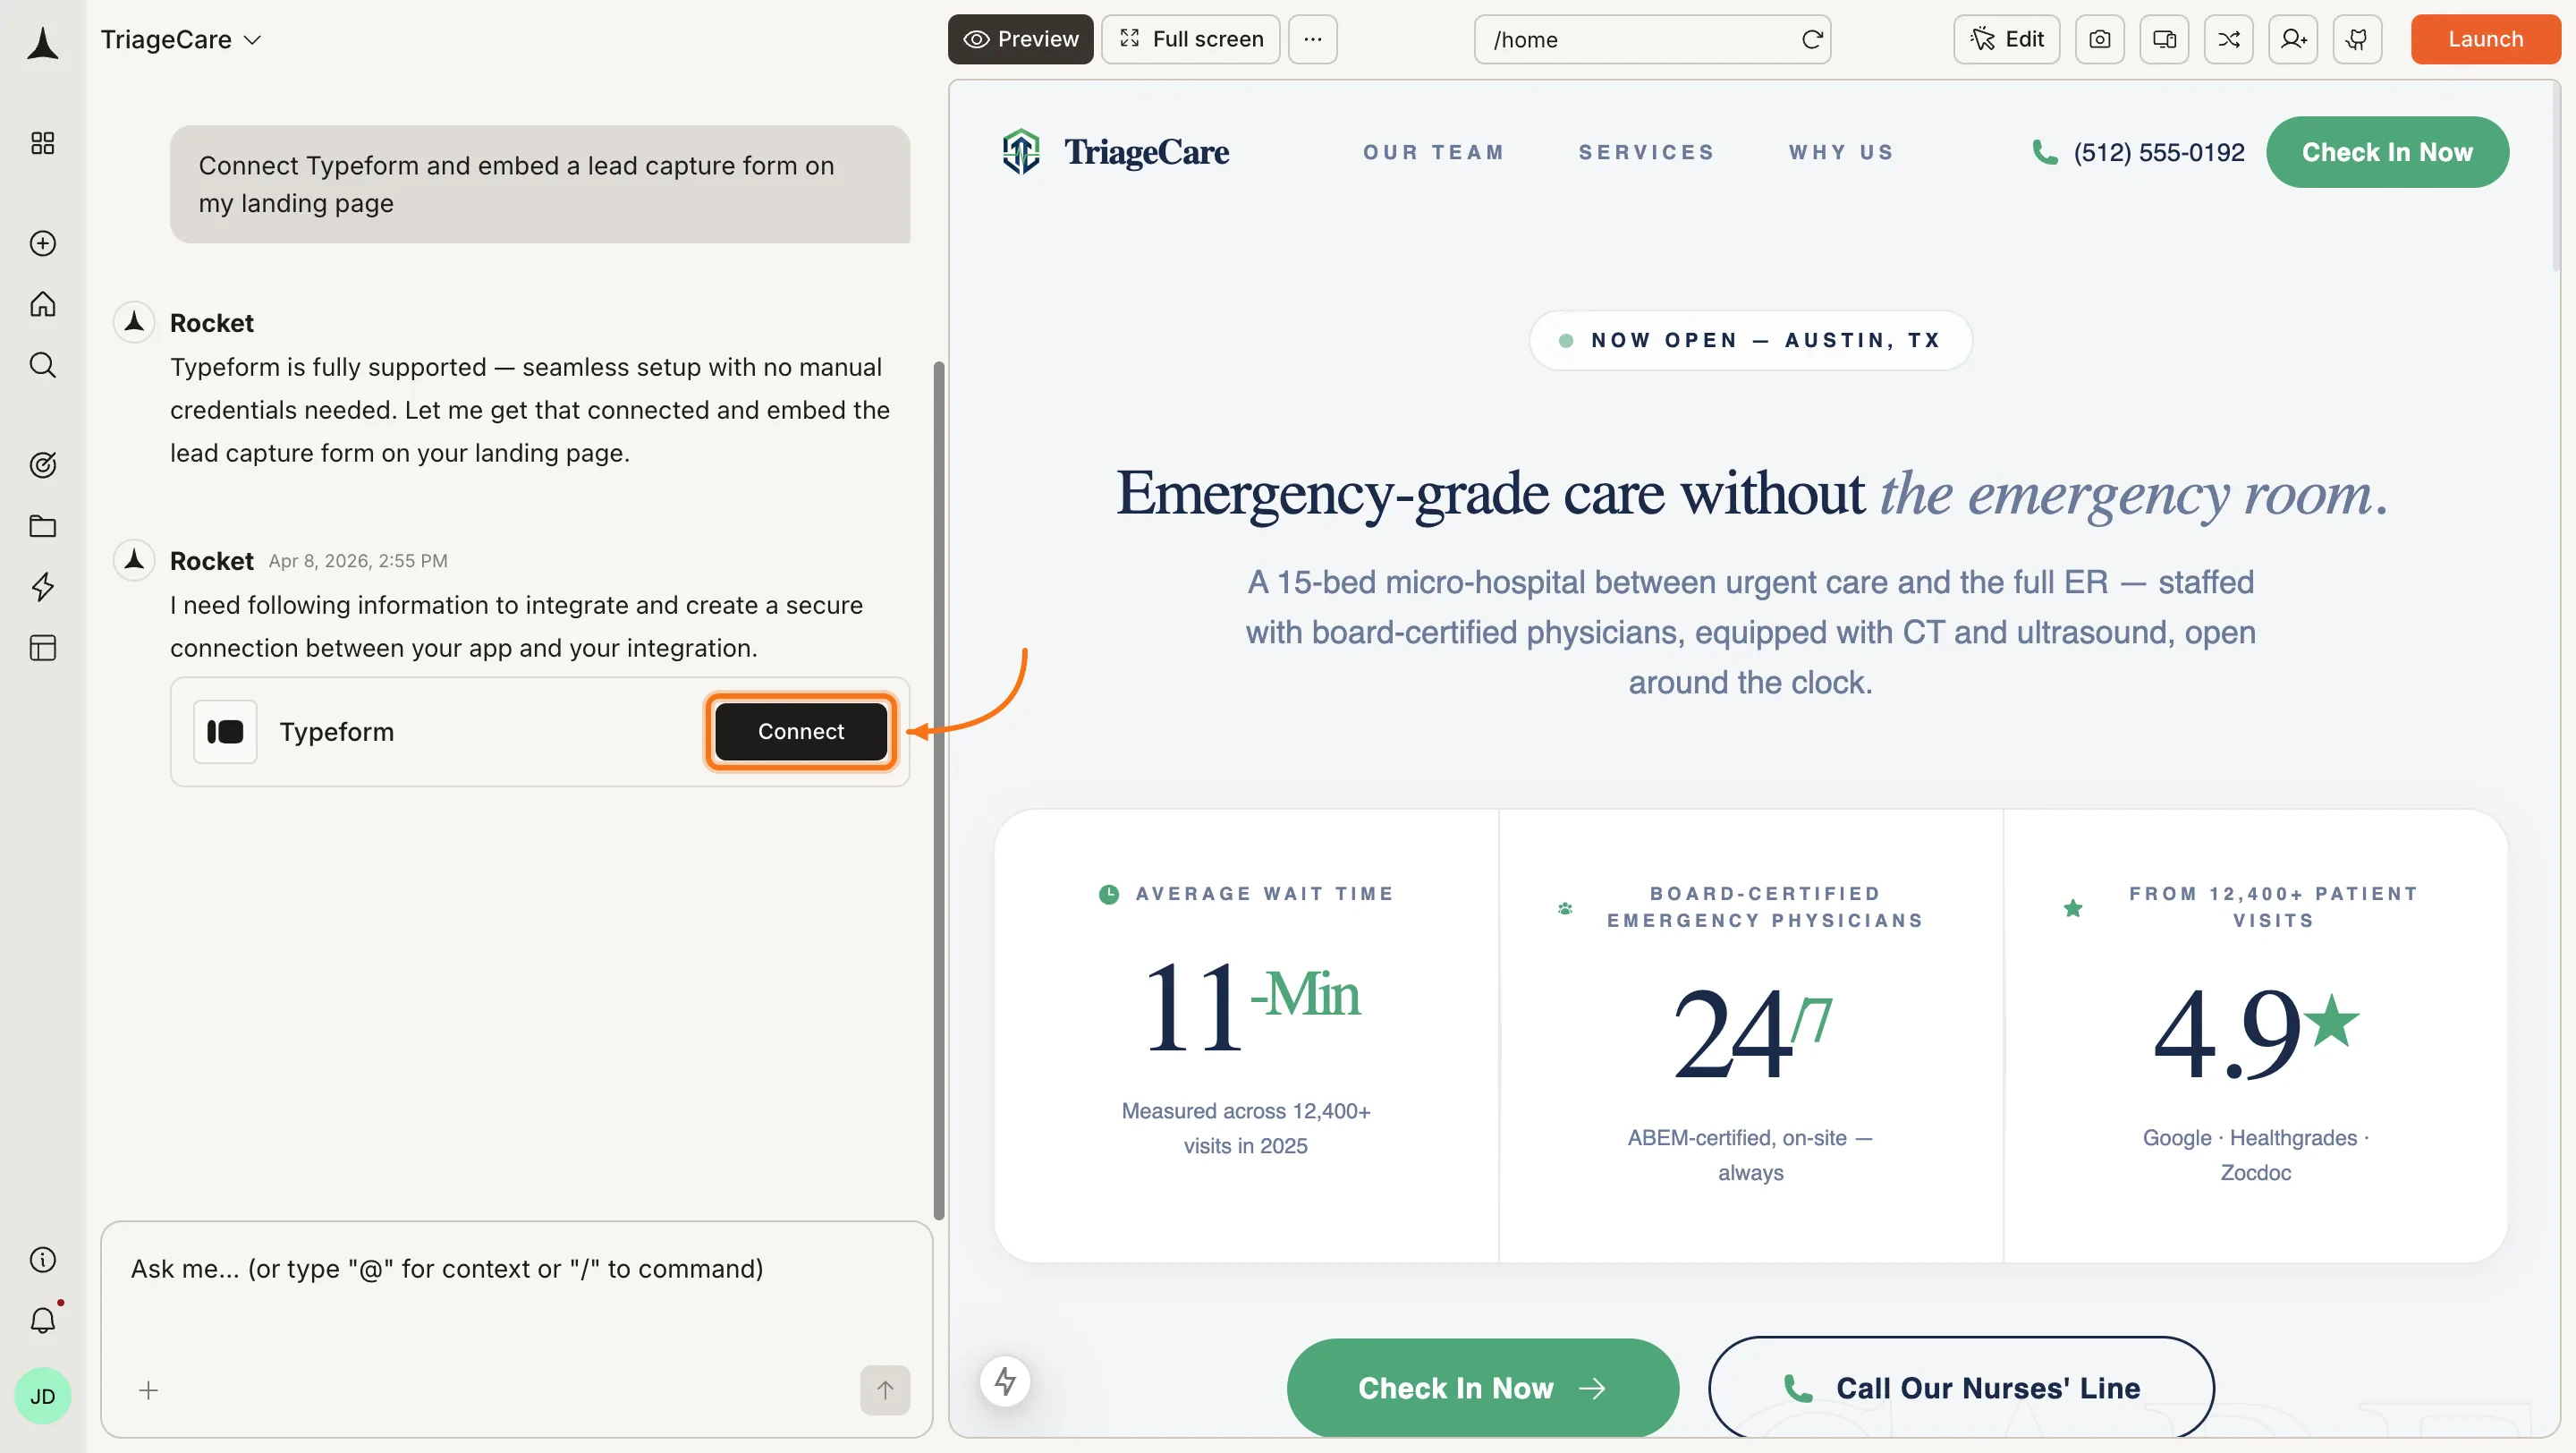
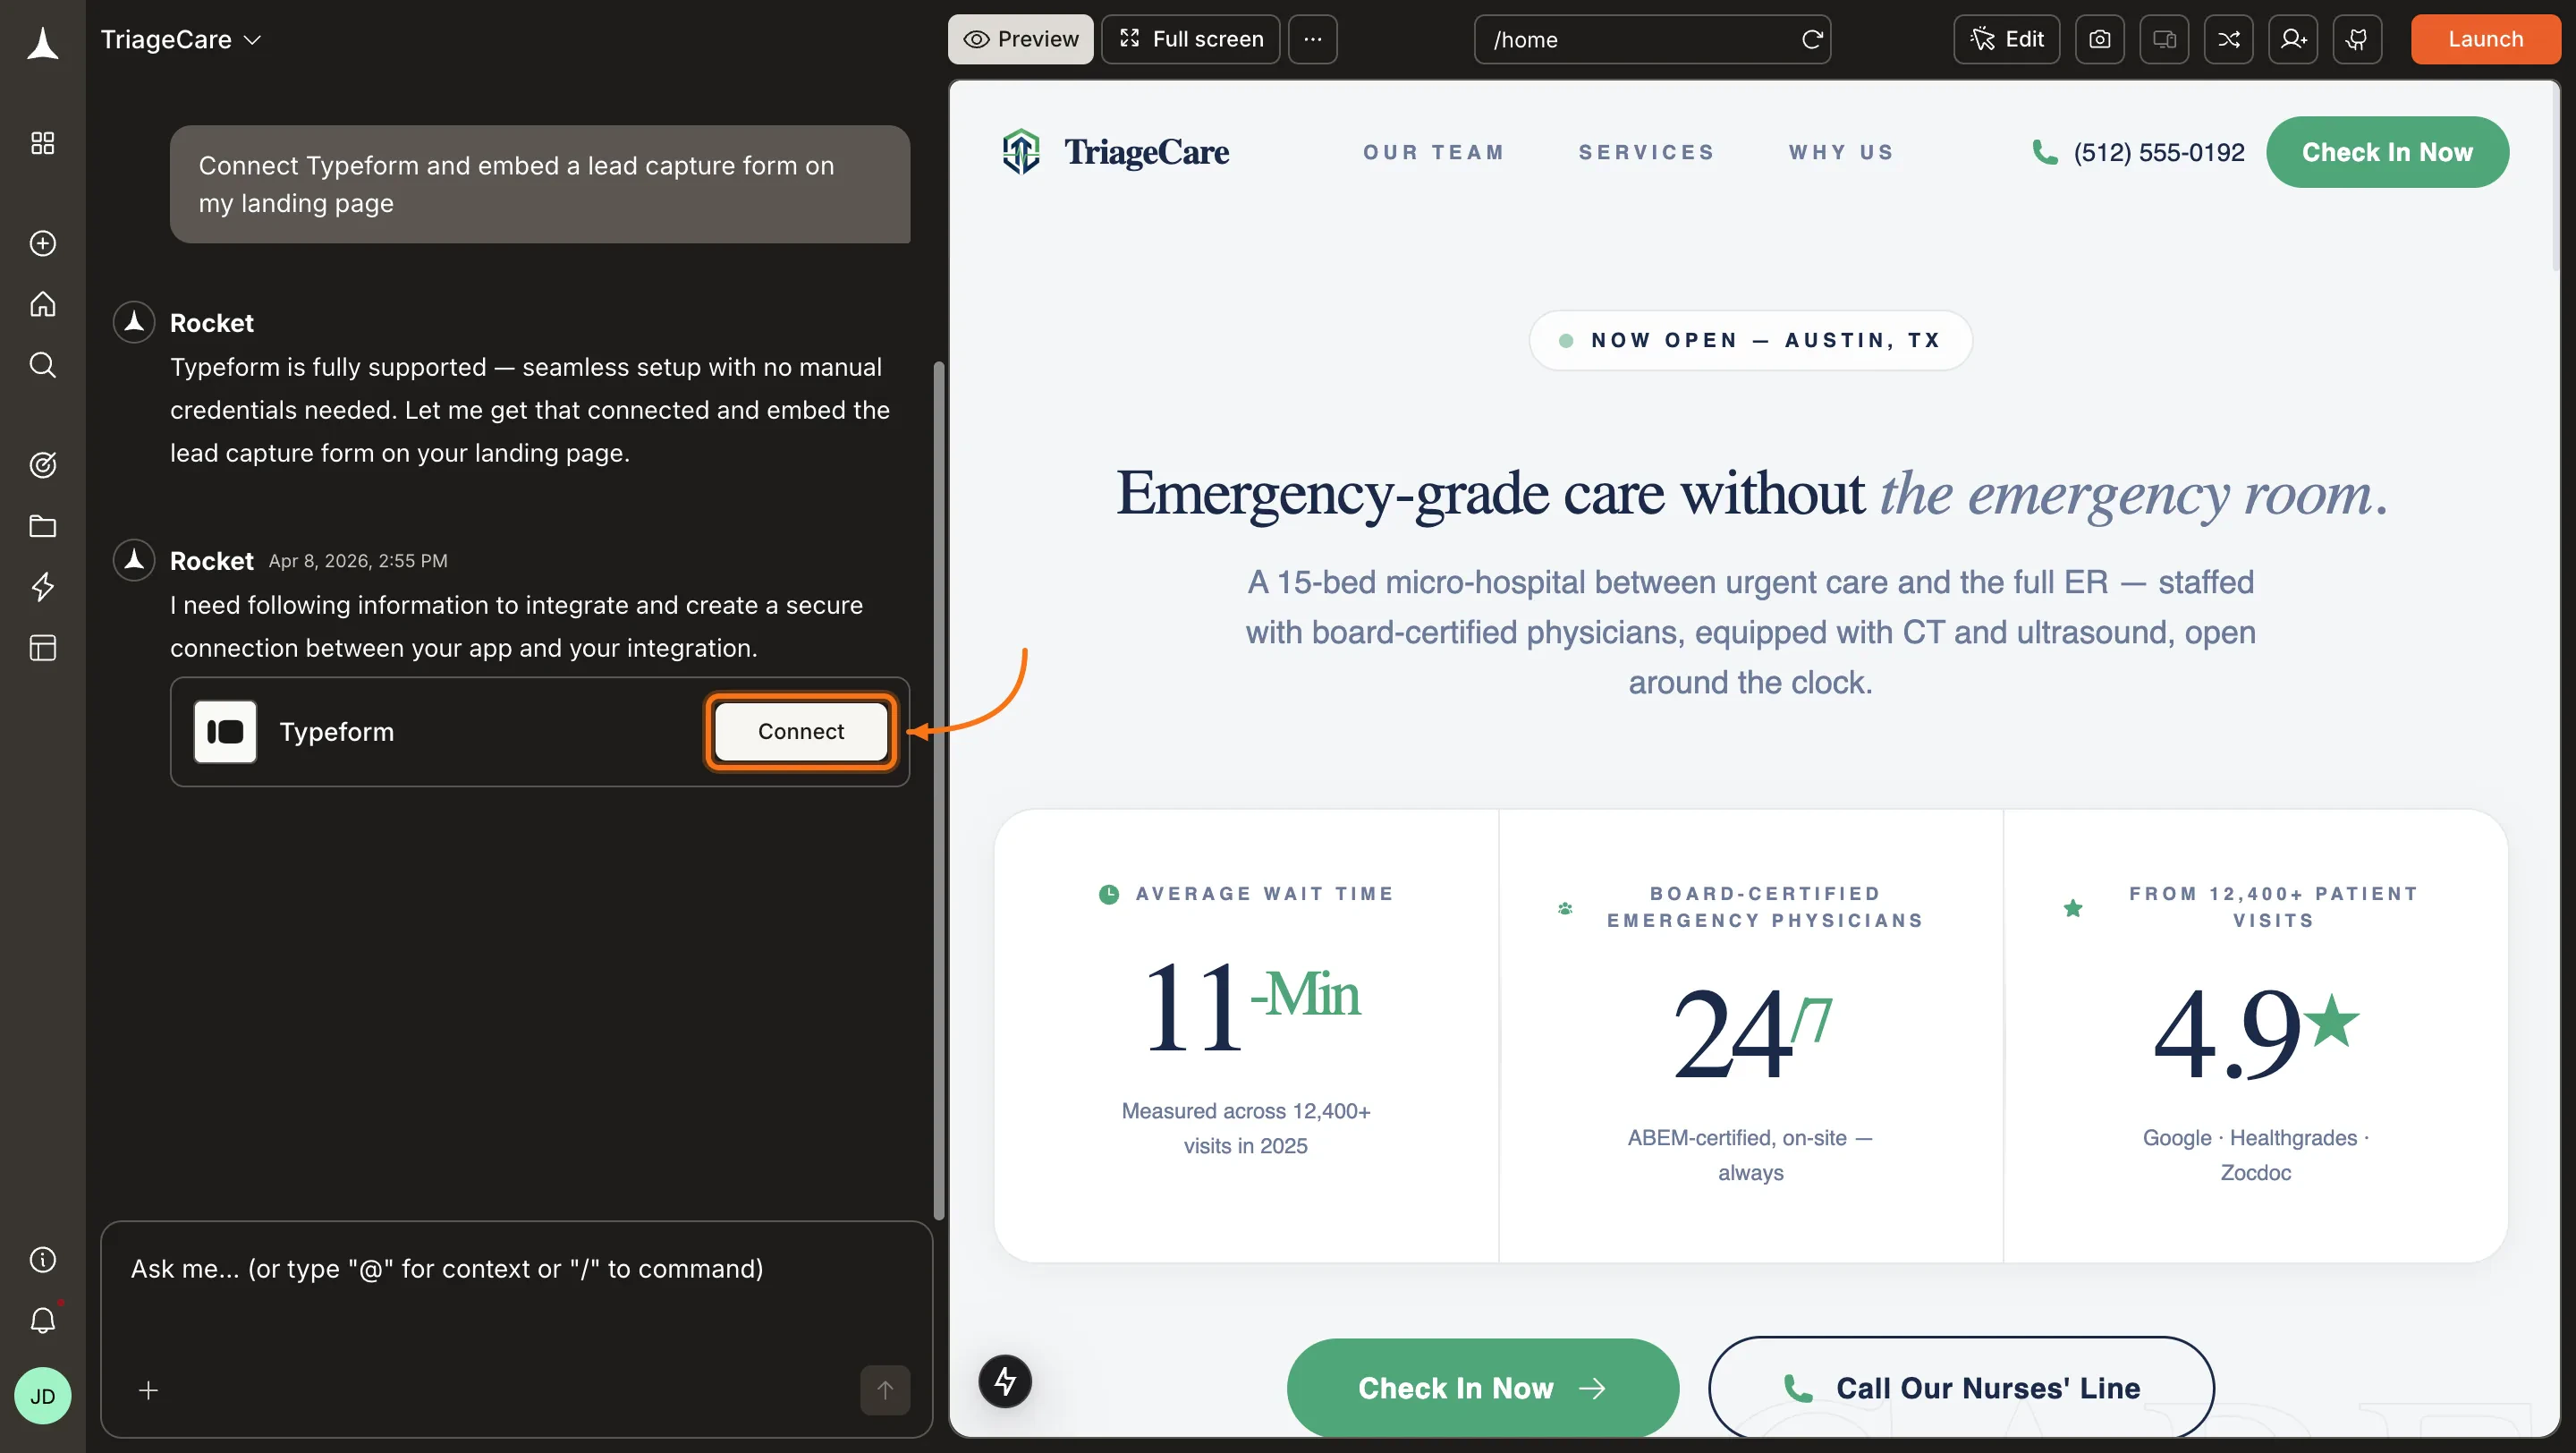
You can connect from three places. All do the same thing.Option 1: From chatType a prompt that mentions Typeform, for example Connect Typeform and embed a lead capture form on my landing page. Rocket detects the intent and shows a Connect button inline. Click it and the OAuth flow opens.
Typeform connection prompt in chat
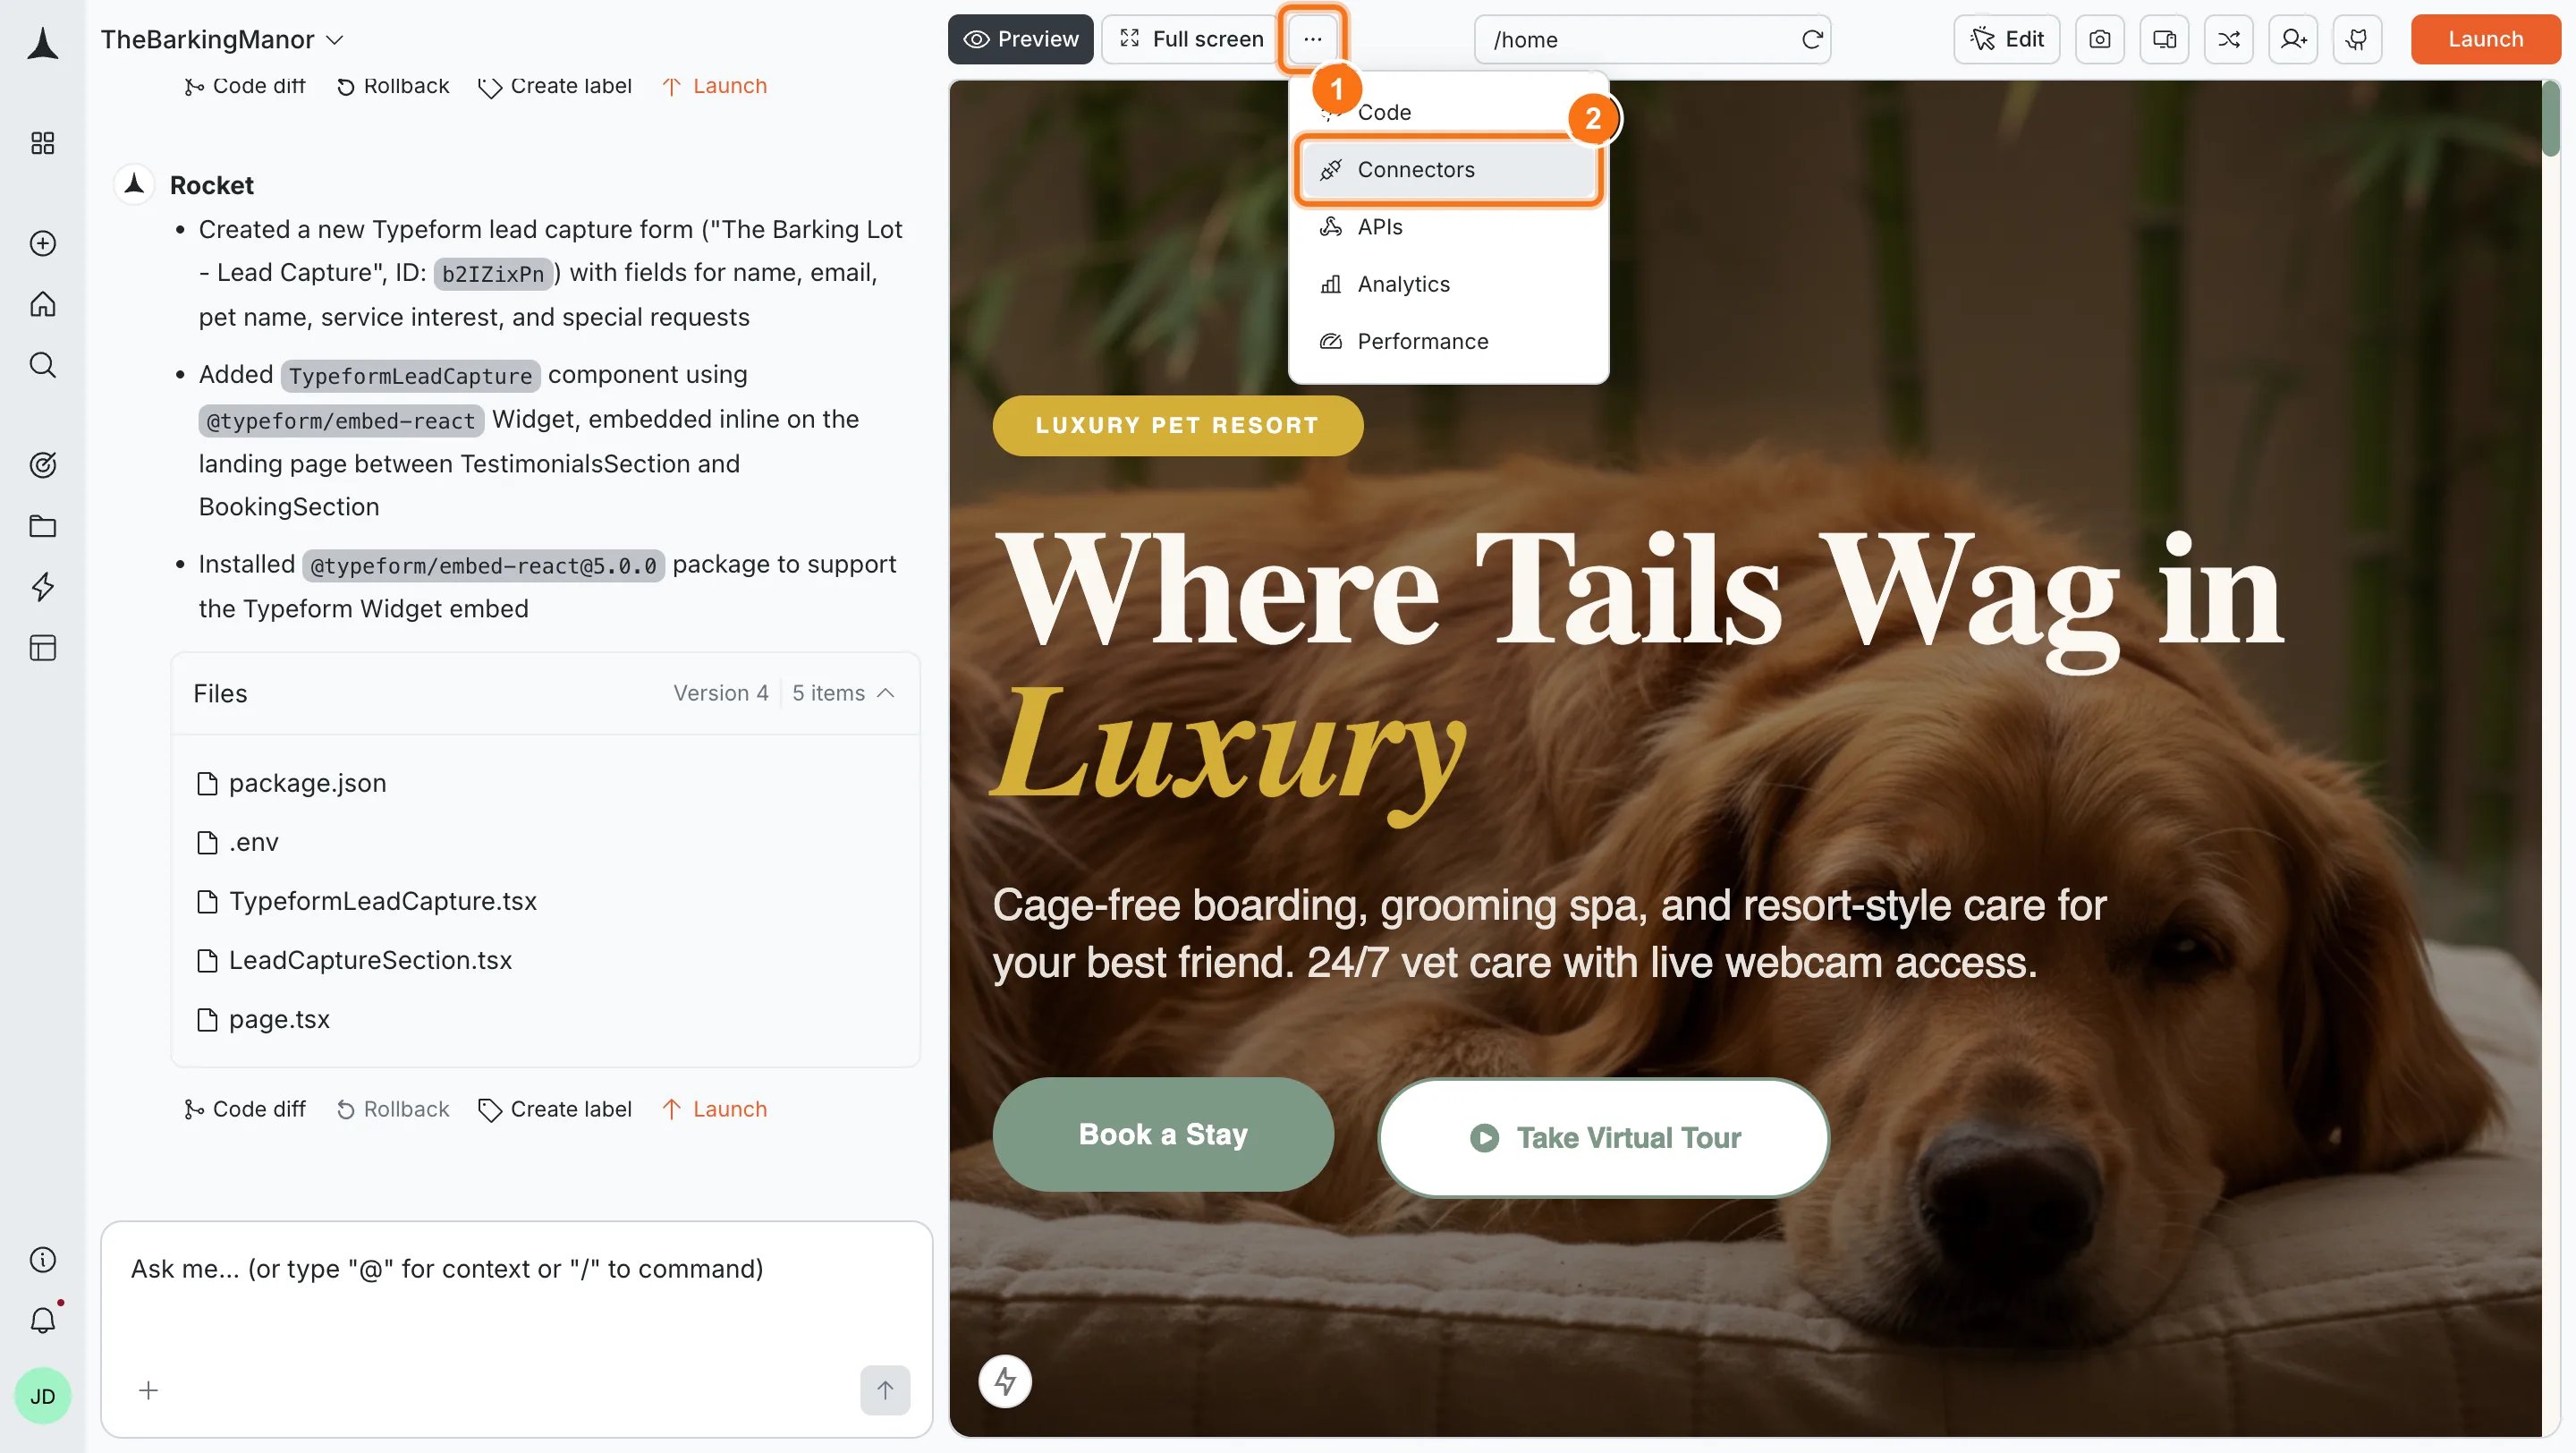
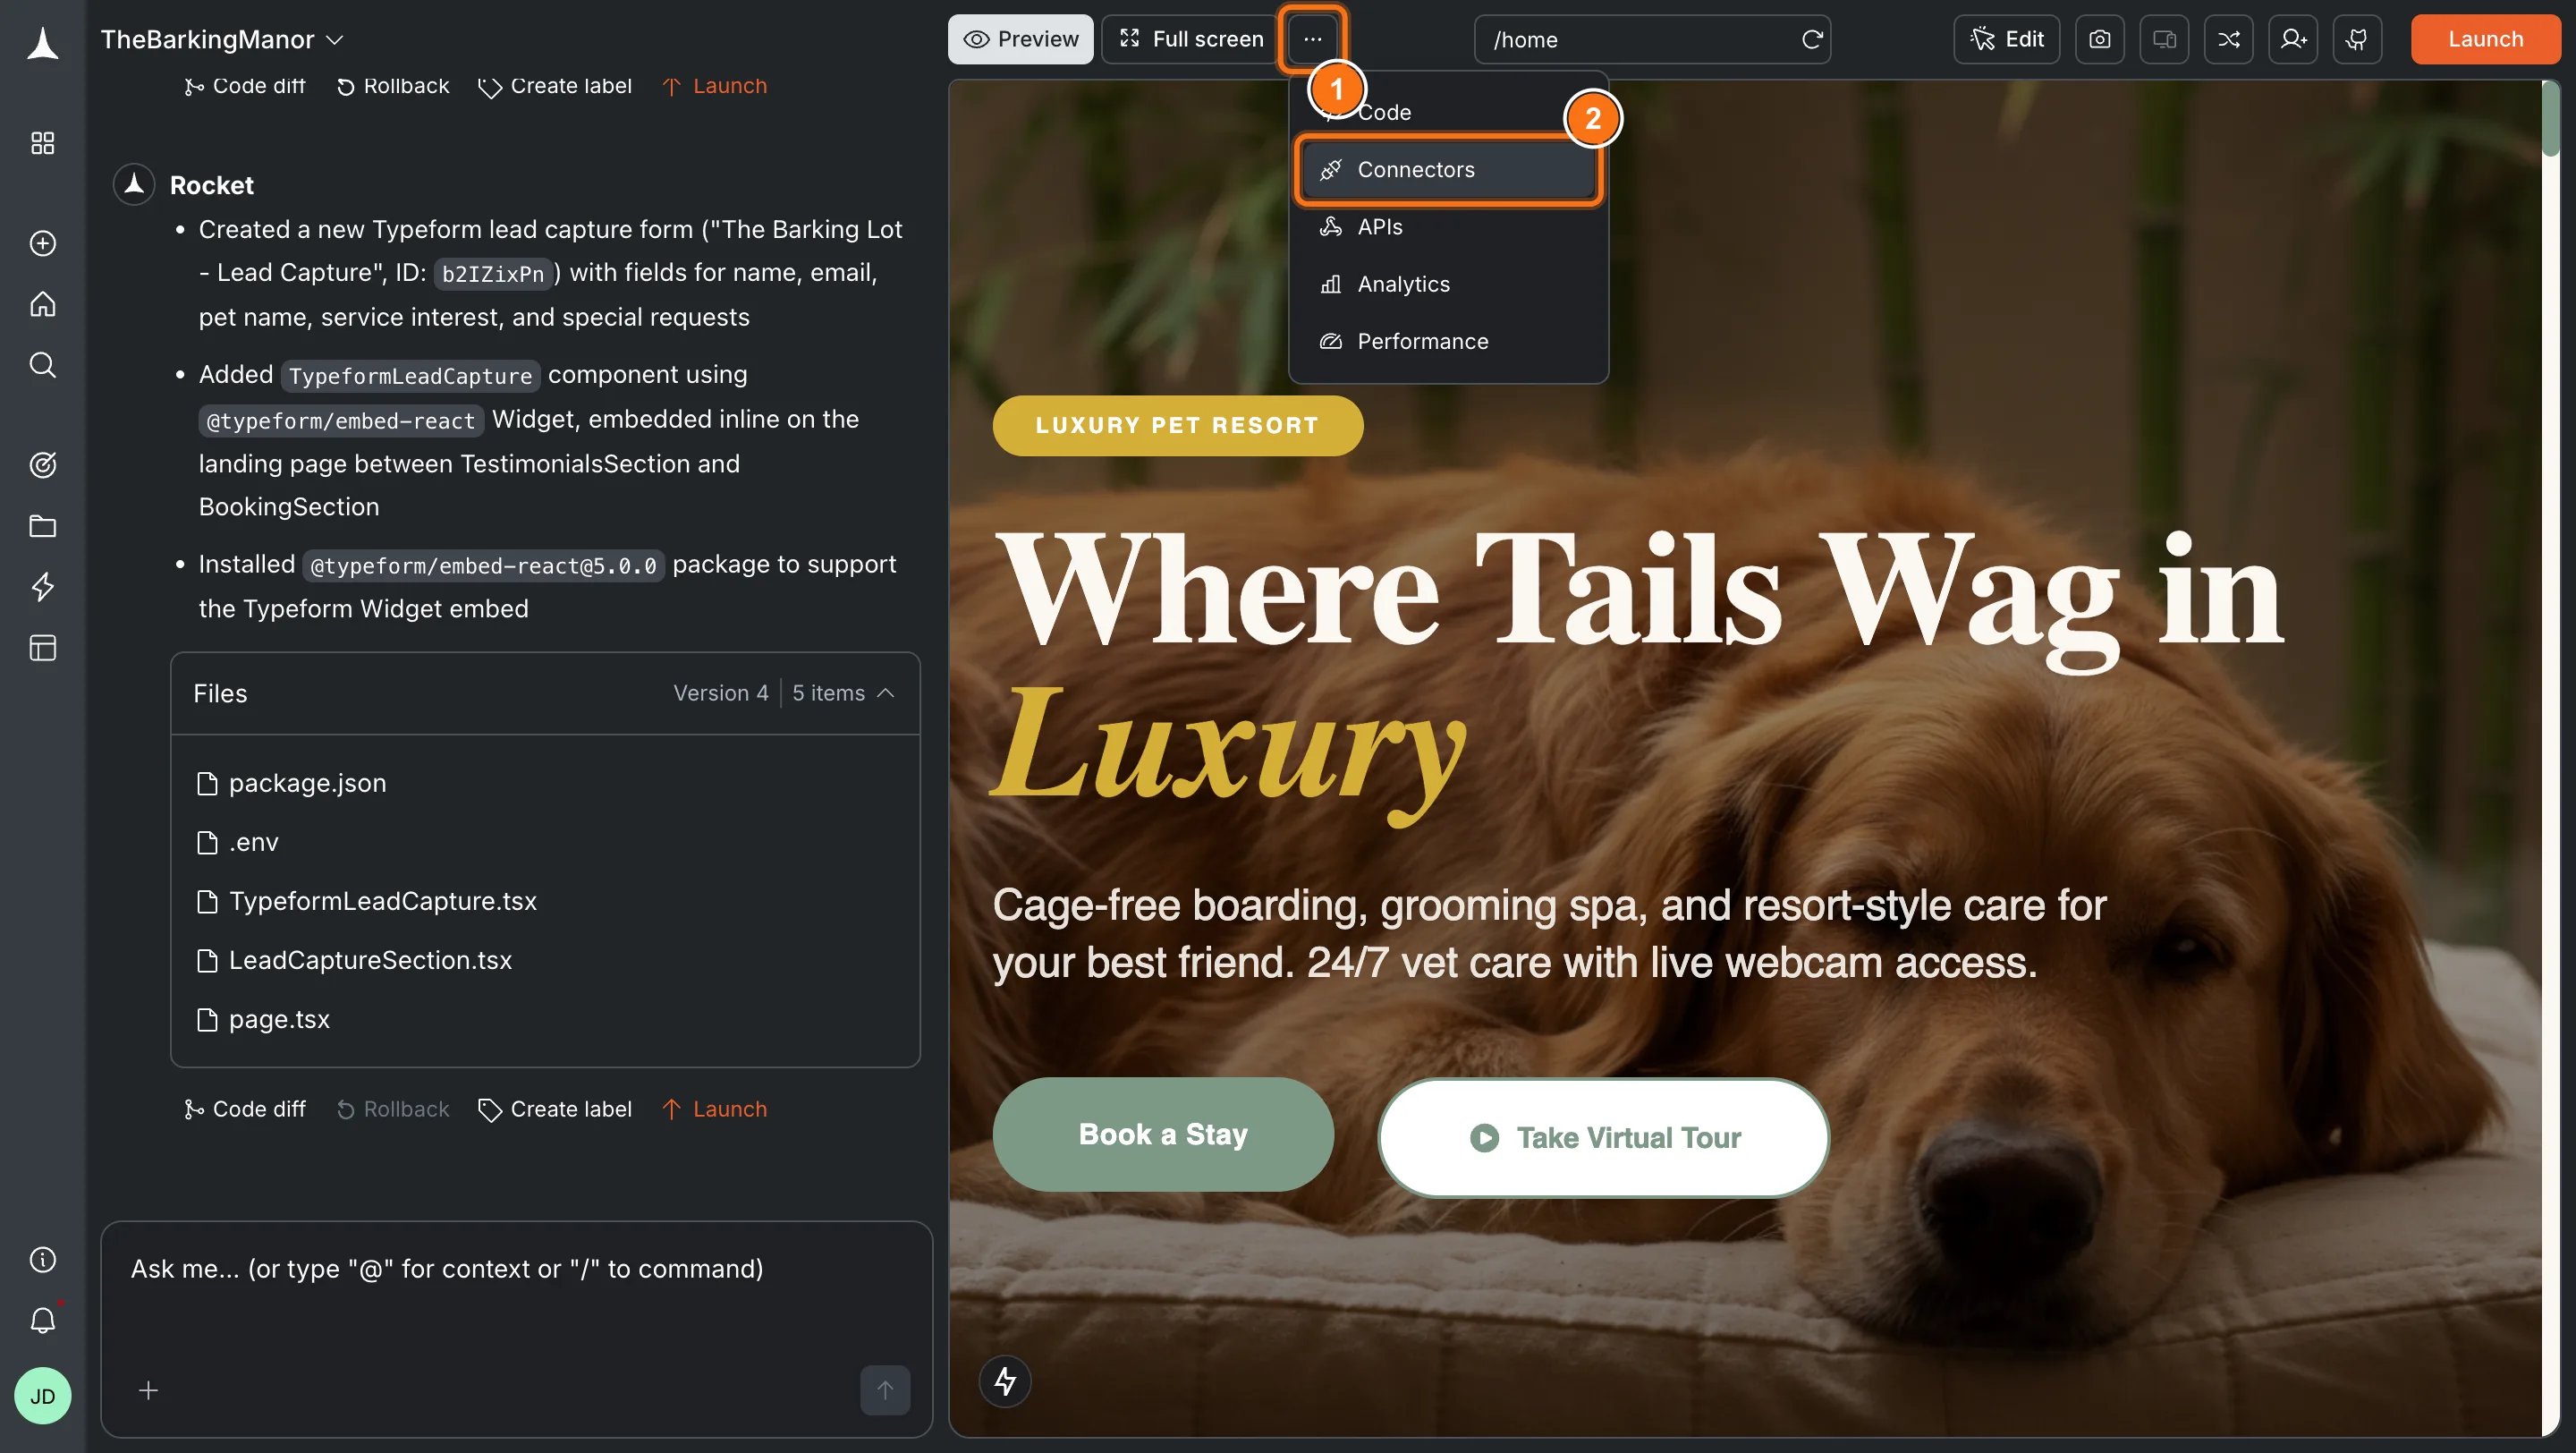
Option 2: From the Connectors tabClick the ... button in the preview toolbar, then select Connectors.
Open Connectors from the toolbar
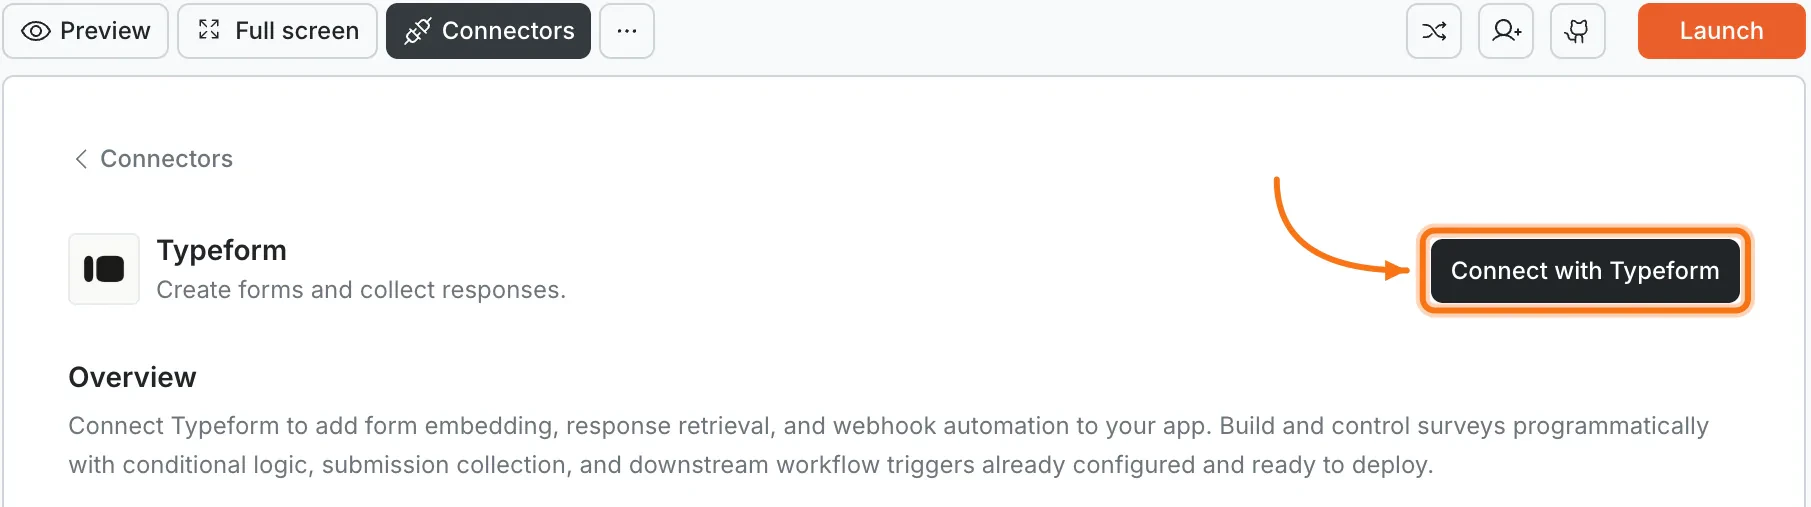
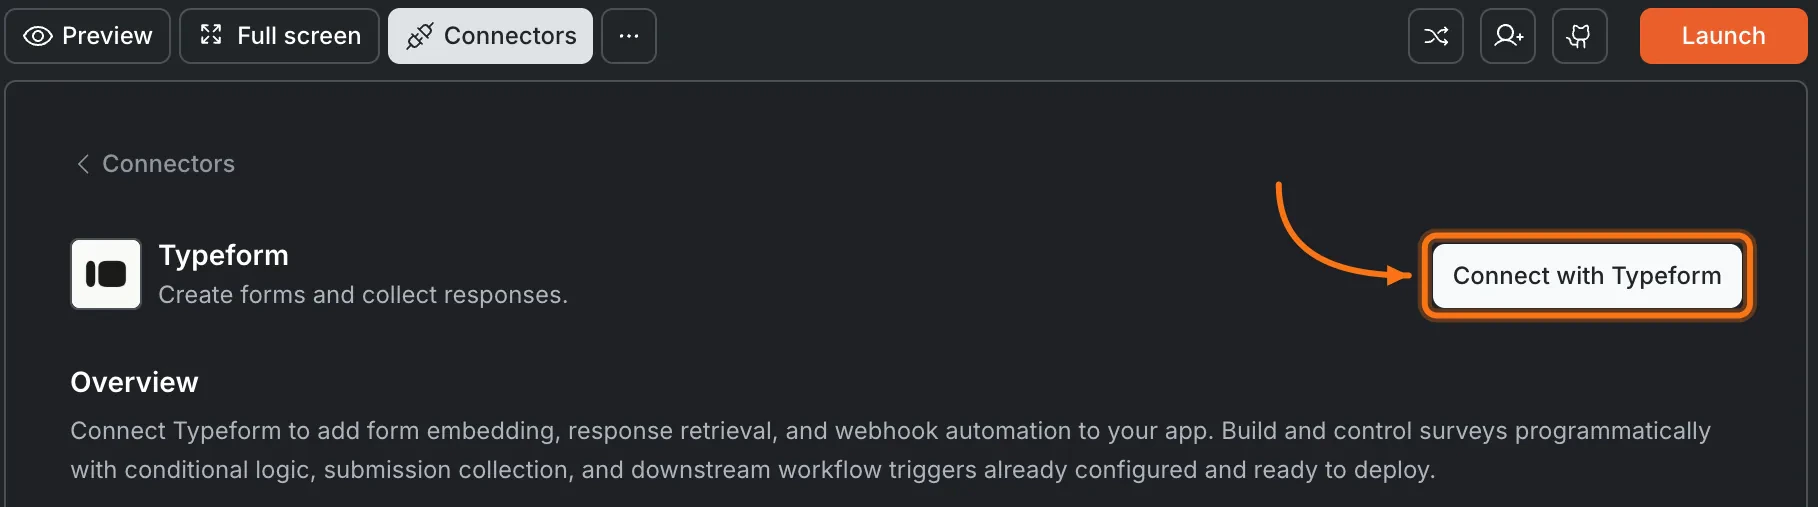
Click the Typeform card, then click Connect with Typeform.
Typeform card in the Connectors panel
Option 3: From workspace Settings
Manage workspace connectors
Connect once from Settings and it is available across all tasks.
After clicking ConnectA Typeform authorization screen opens in your browser. Log in and grant Rocket access to your forms. A green dot appears next to Typeform when the connection is active.Disconnect
Disconnect a service
Disconnect or switch accounts from workspace Settings.
You can connect from three places. All do the same thing.Option 1: From chatType a prompt that mentions Typeform. Rocket detects the intent and shows a Connect button inline. Tap it and the OAuth flow opens.Option 2: From the Connectors tab
Tap the More button in the header.
Tap Integrations.
Tap the Typeform card, then tap Connect with Typeform.
Option 3: From workspace SettingsOpen your workspace, go to Settings, and tap Connectors. Tap the Typeform card and tap Connect with Typeform.After tapping ConnectA Typeform authorization screen opens. Log in and grant Rocket access to your forms. A green dot appears next to Typeform when the connection is active.DisconnectGo back to the Typeform card in Integrations. Tap Disconnect to remove the integration.