

Configure Google Cloud Console and Supabase so Google sign-in works in your Android APK. This guide covers creating OAuth credentials, configuring Supabase, and updating your app configuration.
Your SHA-1 Certificate Fingerprint
Rocket generates a unique SHA-1 fingerprint for your app. You will need it in Step 1c below. To find it:1
Open the Launch popup
In your Rocket project, click Launch in the top-right corner.
2
Go to the APK tab
Click the APK tab.
3
Copy the SHA-1 key
Your SHA-1 key is shown at the top of the tab. Click the copy icon next to it.
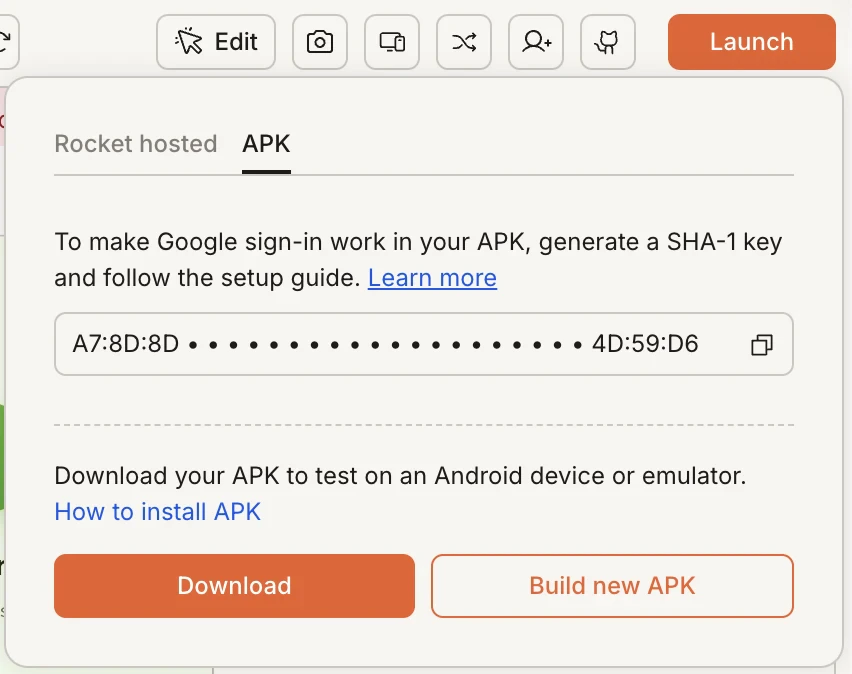
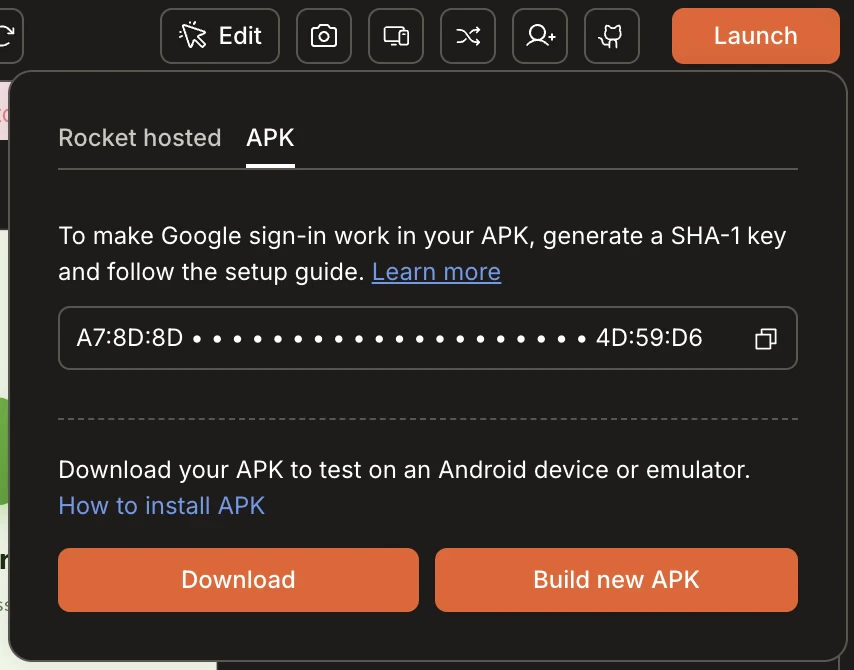
SHA-1 key shown in the APK tab of the Launch popup.
Step 1 - Google Cloud Console
1a. Create or select your project
1
Open Google Cloud Console
Go to console.cloud.google.com and sign in.
2
Select or create a project
Click the project selector at the top of the page. Select your existing project, or click New Project, give it a name, and click Create.
1b. Set up the OAuth Consent Screen
This is the screen your users see when Google asks for permission to share their account details with your app.1
Open OAuth consent screen
In the sidebar, go to APIs & Services > OAuth consent screen and click Get Started.
2
Fill in app details
Fill in App name and User support email, then click Next.
3
Select user type
Select External and click Next.
4
Add developer contact
Fill in your Developer contact email and click Next.
5
Create the consent screen
Click Create.
Leave the app in Testing mode for now. Add your own Google account as a test user so you can sign in during testing.
1c. Create the Android OAuth Client ID
This credential identifies your app to Google during sign-in.1
Create a new OAuth client ID
Go to APIs & Services > Credentials and click + Create Credentials > OAuth client ID.
2
Set application type to Android
Set Application type to Android.
3
Fill in the credential details
Fill in the following:
4
Save the credential
Click Create, then OK.
1d. Create the Web OAuth Client ID
Supabase requires a separate Web Client ID to handle authentication on your behalf.1
Create a new OAuth client ID
Click + Create Credentials > OAuth client ID again.
2
Set application type to Web
Set Application type to Web application. Name it e.g.
MyApp Web (Supabase).3
Add the redirect URI
Under Authorized redirect URIs, click + Add URI and enter:Replace
<your-project-ref> including < and > with your Project ID, found in Supabase under Settings > General.4
Create and copy credentials
Click Create. A dialog shows your Client ID and Client Secret. Copy and save both values - you will need them in Step 2.
Step 2 - Configure Supabase
2a. Enable Google Sign-In
1
Open your Supabase project
Log in to supabase.com and open your project.
2
Navigate to Providers
Go to Authentication > Providers in the sidebar.
3
Enable Google sign-in
Find Google, click to expand it, and toggle Enable sign in with Google to ON.
4
Enter credentials and save
Paste the Web Client ID and Client Secret you saved in Step 1d. Click Save.
2b. Add the redirect URL
1
Open URL Configuration
In the sidebar, go to Authentication > URL Configuration.
2
Add the redirect URL
Under Redirect URLs, click Add URL and enter:Replace
com.yourcompany.appname with your namespace value from android/app/build.gradle.kts.3
Save the configuration
Click Save.
Step 3 - Update Your App Configuration
In Rocket, open Code and findenv.json in the root folder of your project. Find the GOOGLE_WEB_CLIENT_ID field and replace the placeholder with the Web Client ID you copied in Step 1d.
You Are All Set
Go back to Rocket, click Build APK, and download your APK once the build is complete.Google sign-in is ready
Google Cloud Console, Supabase, and your app are configured. Google sign-in will now work in your APK.
What’s next?
Social auth
Add more OAuth providers like GitHub, Apple, or Discord.
Supabase overview
See all Supabase features available in Rocket.